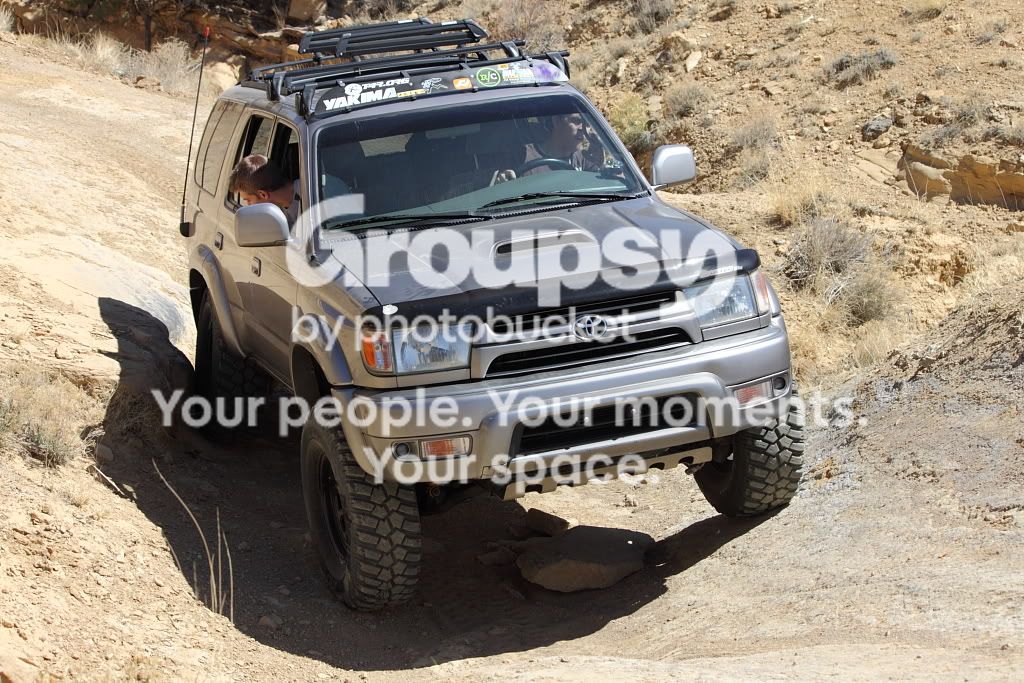
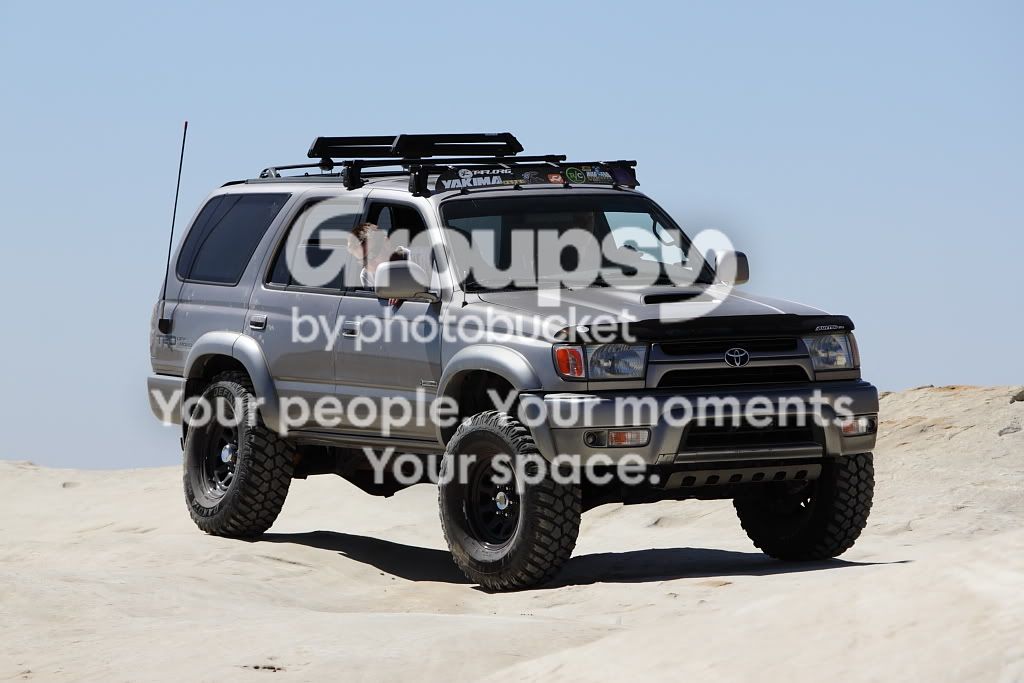
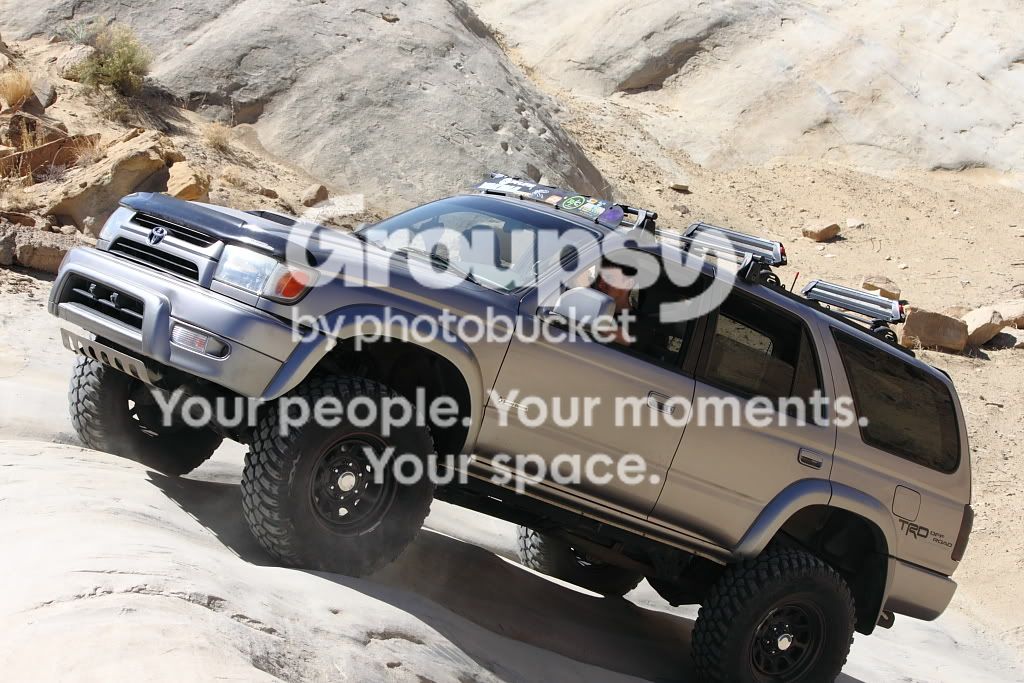
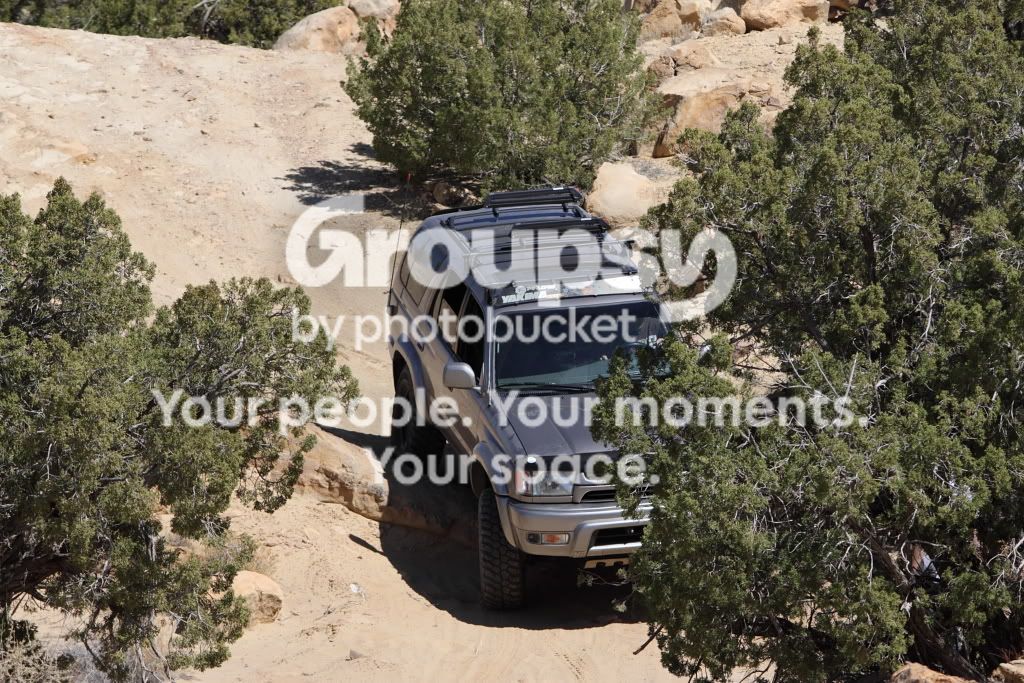
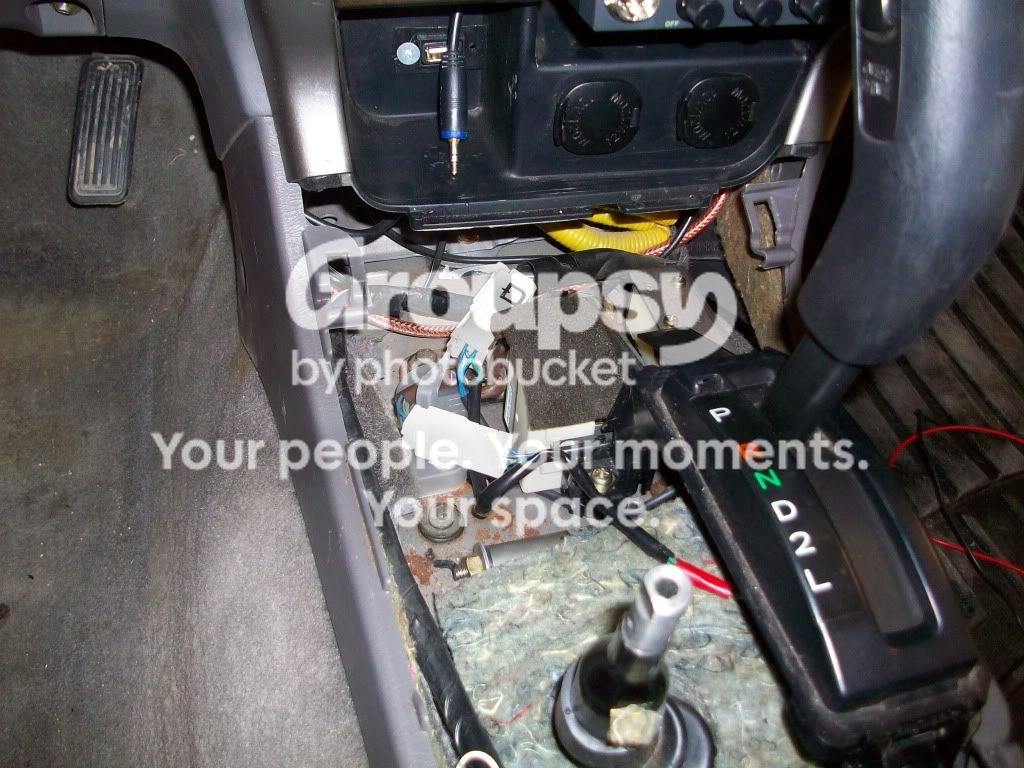
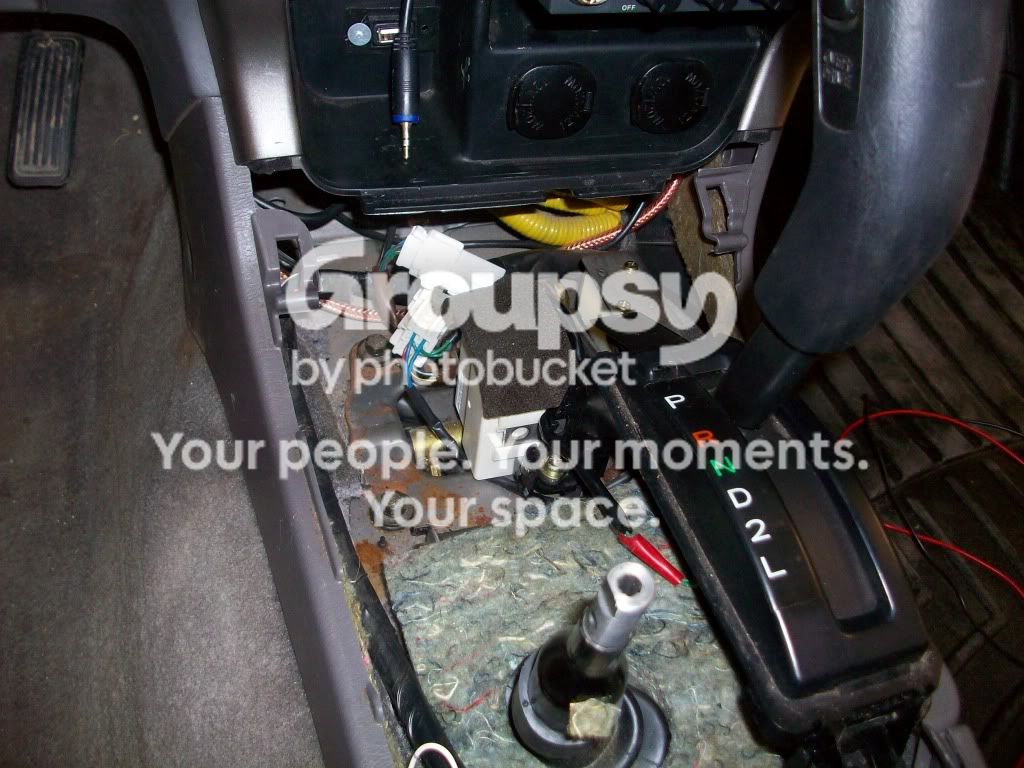
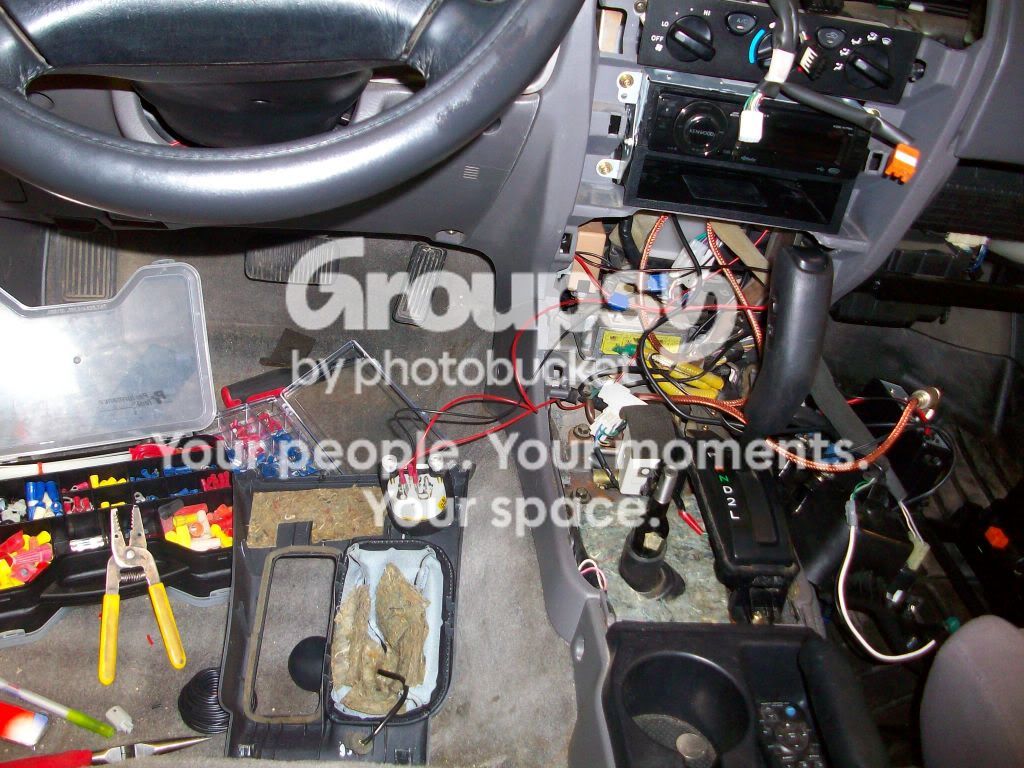
Ripcord's 2002 4Runner Sport Ed.

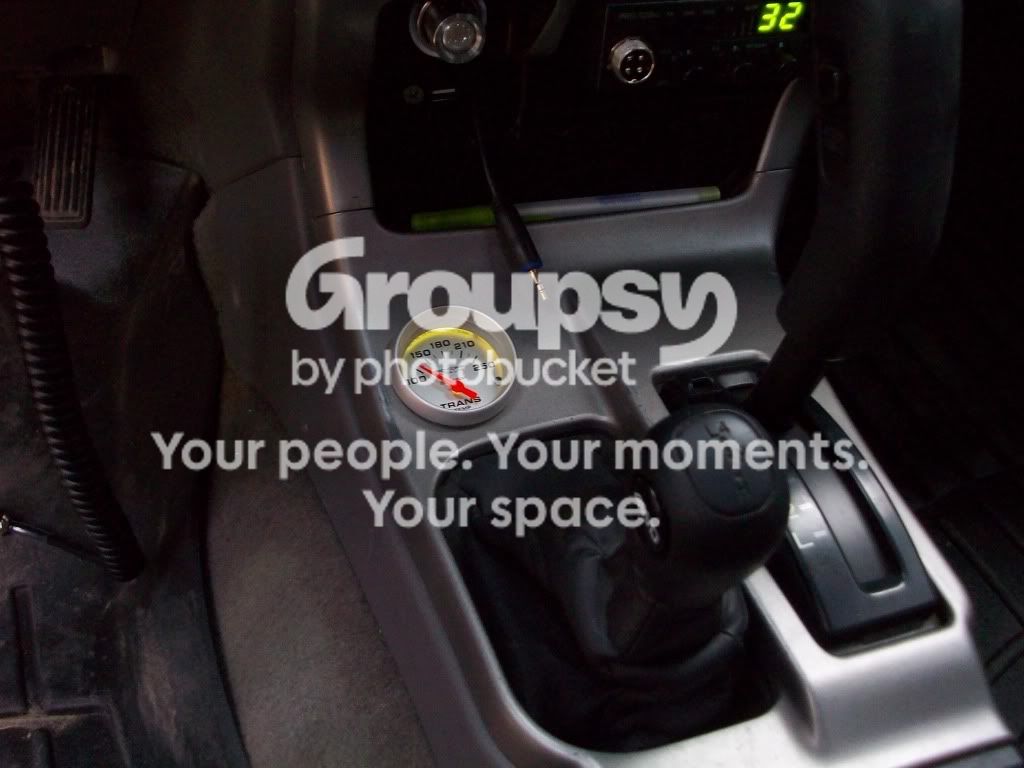
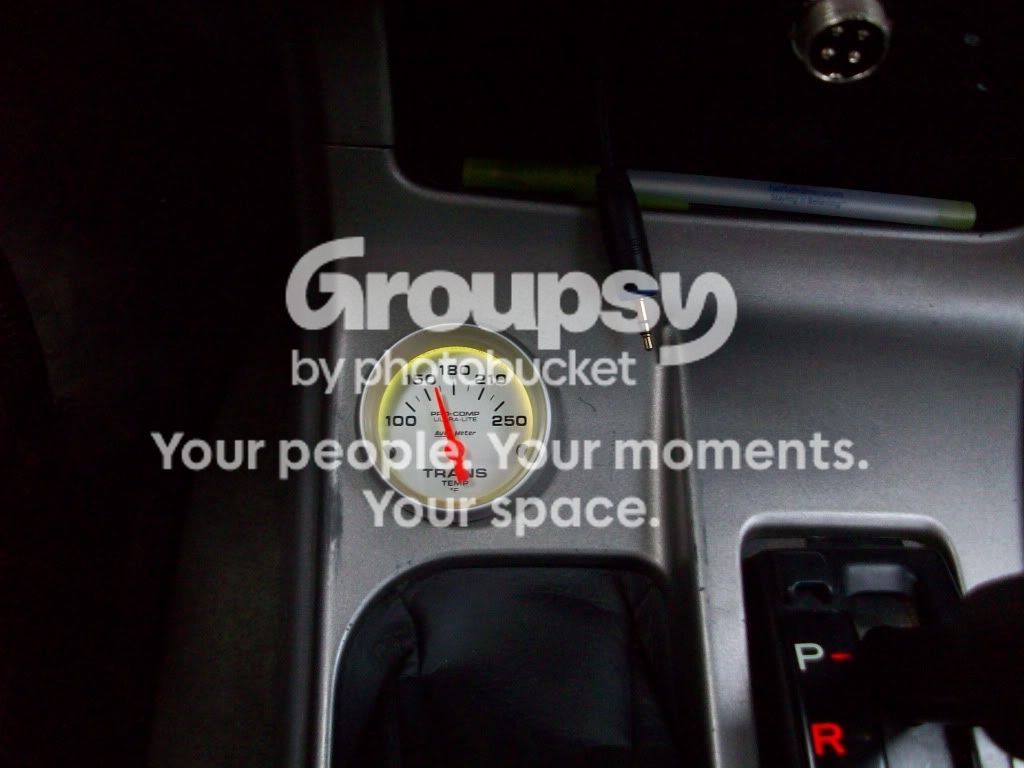
Not to mention the gauge by the shifter just looks sweet! :banana:
This too!


I'm also studying up on field monitor installs, gotta figure out this mess of wires...:keyboard:
89415793_photobucket_62289_.jpg~original
 
Last edited:
Extra 12v outlet.. behind the dash.

March 24, 2011

So I finished the install of the extra outlet for the radar detector, here's the little write-up.

Parts:
-Basic universal automotive power outlet ($5.99)
-18 gauge wire
-wire connectors
-quick splice ($2.99 pack of 6)
-Electrical wiring sleeve (8 feet- $8.99)
-zip ties
-1 ground screw

Tools:
-Wire cutter/ stripper/ crimper
-10mm socket to remove driver kick panel
-screwdriver

Time: 30 minutes-1 Hour

Resource Thread:
http://www.toyota-4runner.org/accessories/49919-added-another-12v-socket.html


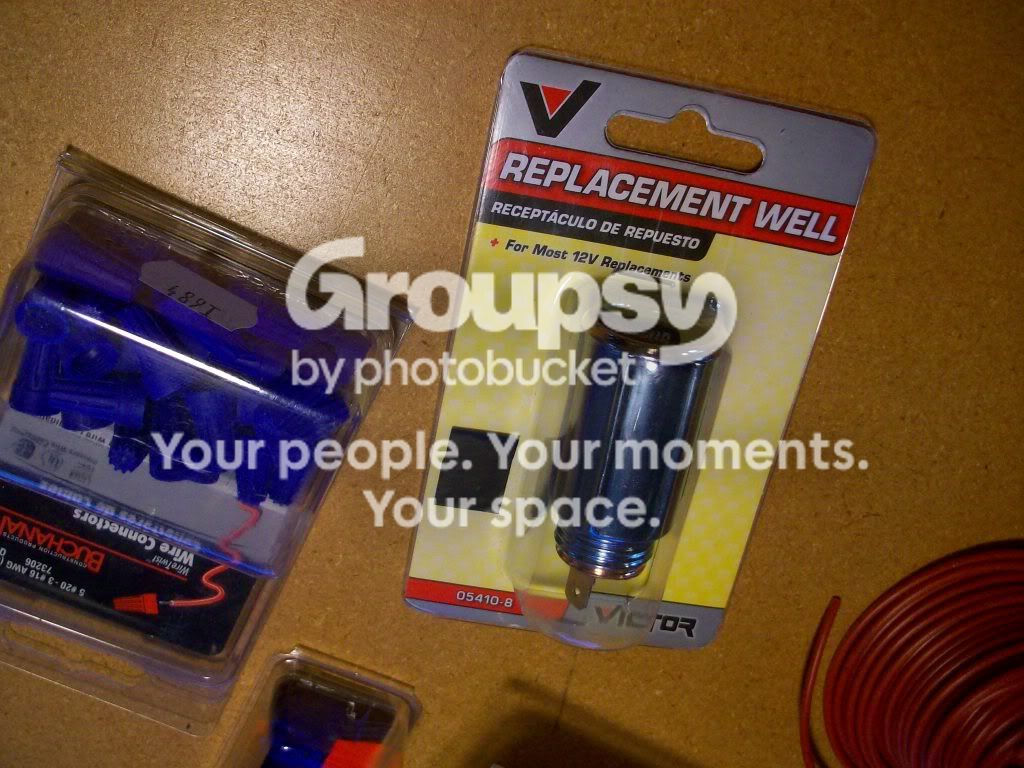
Generic power well.
100_0767.jpg~original


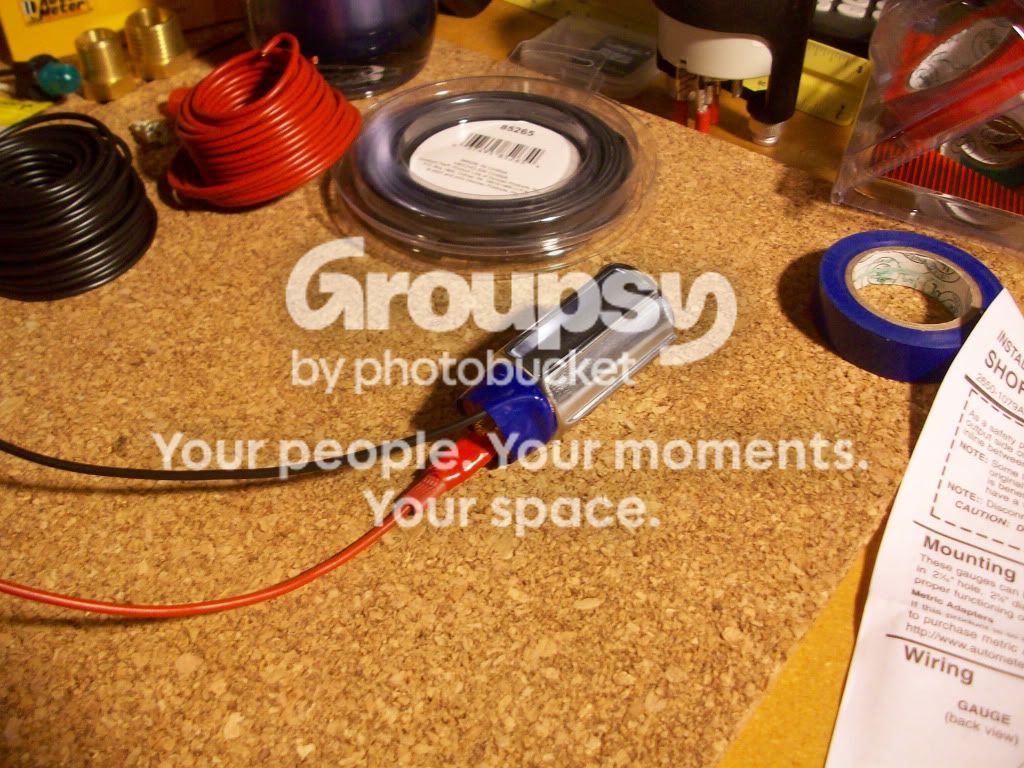
Plug ready to go in:
(The ground prong snapped off so I stripped a big section of wire and wrapped it around the surface where the prong was attached)
100_0777.jpg~original


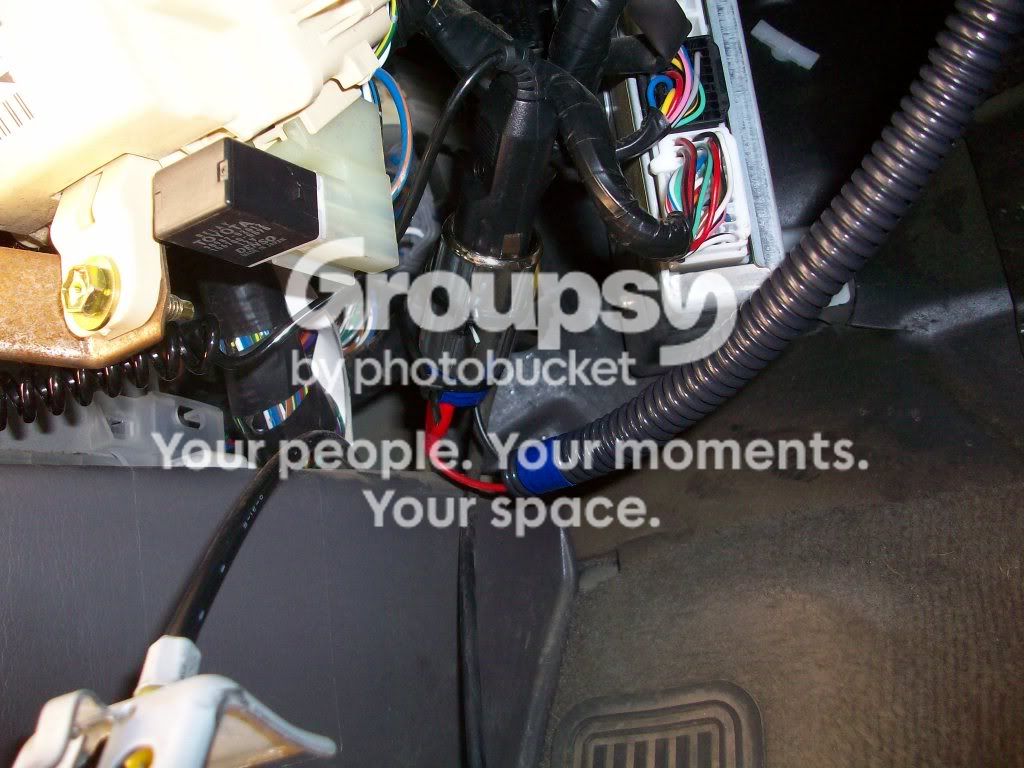
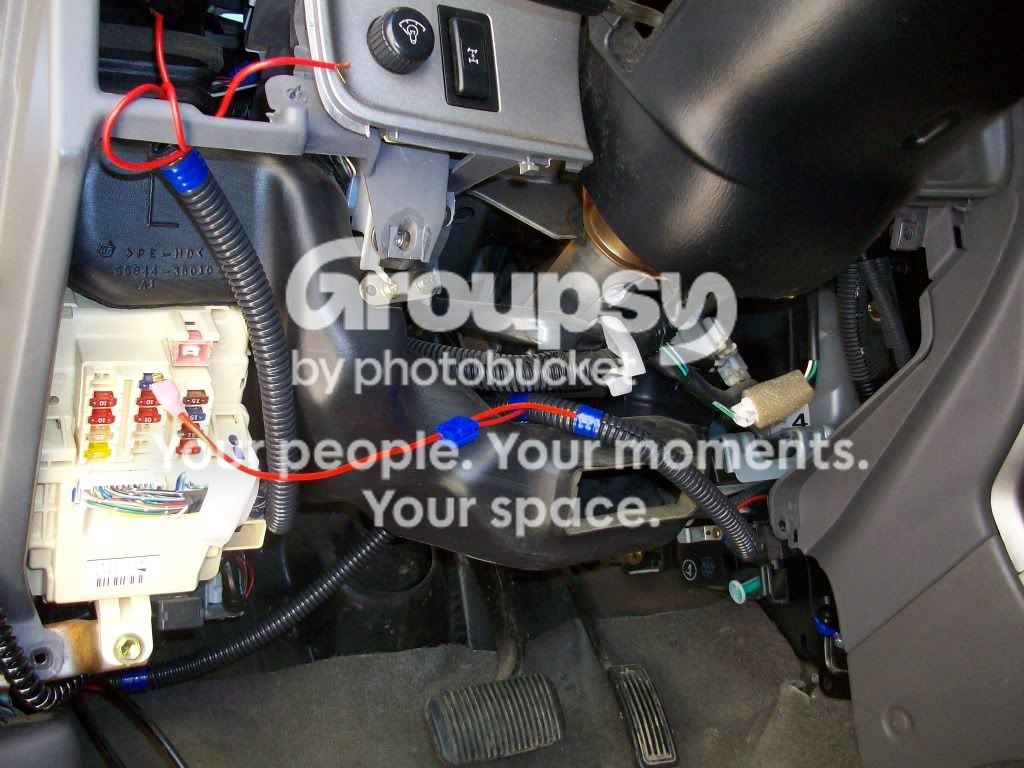
Zip-tied the power outlet behind the fuse box. Outlet is facing up in case I ever need to unplug it.
100_0788.jpg~original


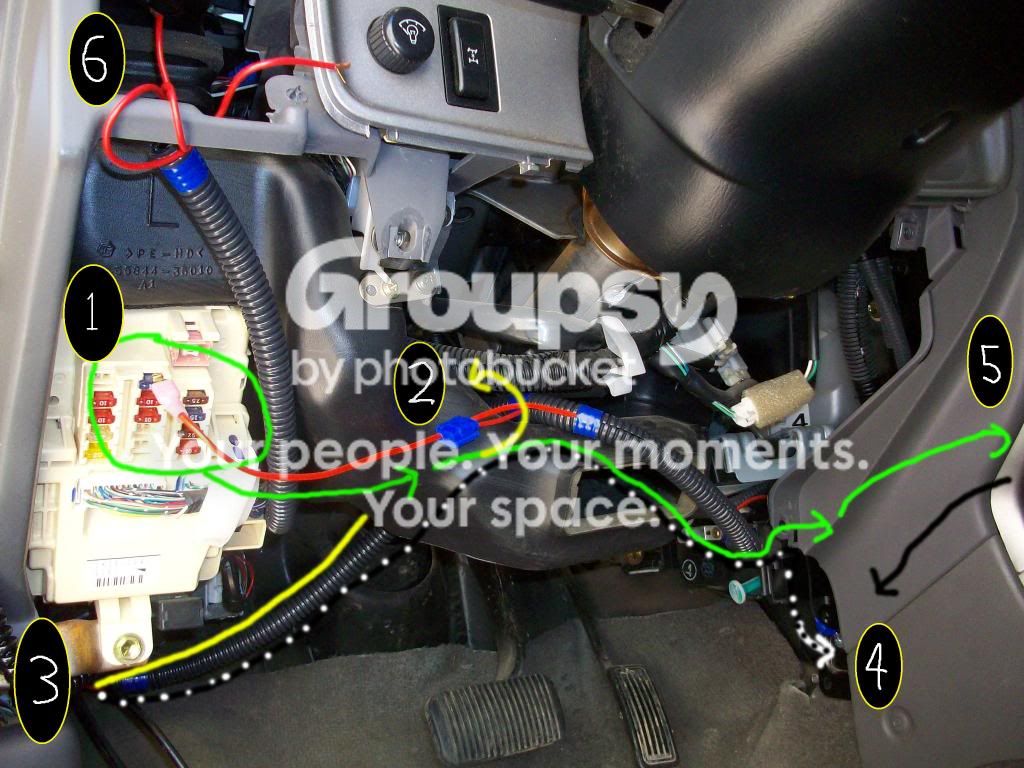
I had an existing fuse tap for the CB, I simply spliced into that wire for the power.
GREEN: Existing 12v ingition for CB radio
BLACK: CB ground
YELLOW: Power wire for outlet, spliced into main wire.
BLK/WHT: ground for outlet
1: Fuse tap
2: Quick splice
3: New outlet
4: Ground screw for CB and outlet.
5: CB radio
6: Andymod 2.0 wires (not involved here)
100_0778.jpg~original

If you don't have an existing fuse tap. All you need to do is get an add-a-fuse to power the outlet, then run a ground wire to a grounding point.

Same picture but without the MS paint job, so you can see what I did.
100_07782.jpg~original


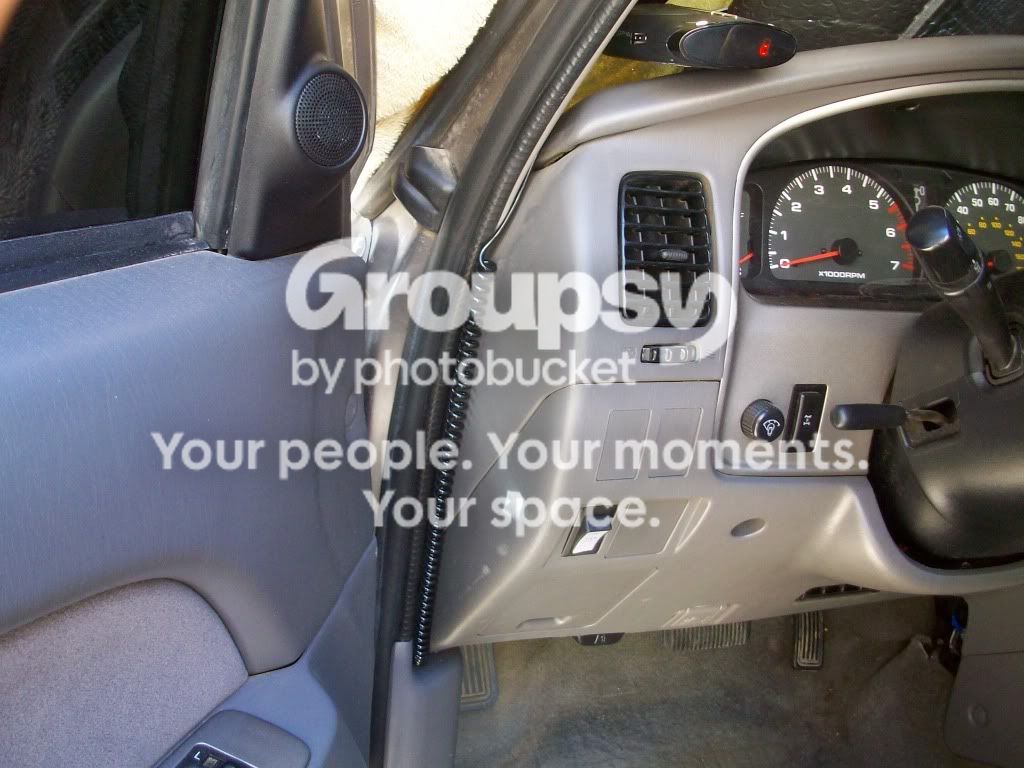
Radar detector cable running up the side of the door jamb. Does NOT get in the way here.
100_0790.jpg~original


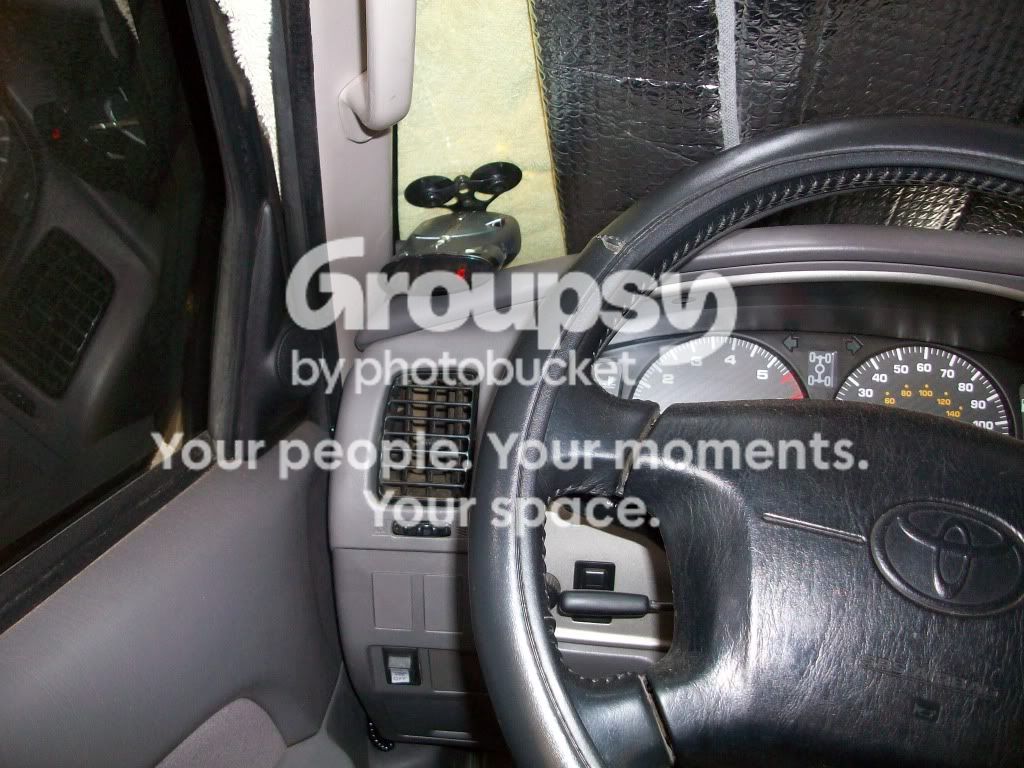
I had to bend the mounting bracket to make it sit strait.
I chose this location because it was easier for routing the radar detector cable and I can still use my windshield reflector without removing the radar detector.
100_0789.jpg~original


IMG_0007-2.jpg~original


IMG_0005-3.jpg~original


~~~~~~~~~~~~~~~~~~~~~~~~~~~~~~~~~~~~~~~~~~~~~~~~~~~
++++++++++++++++++++++++++++++++++++++++++++++++++++++++++++++

I also added an extra driver's Grab Handle

Resource post:
BigFishAllDay's Build: Post 705432

The two black circles I colored are where there are existing screw holes underneath the headliner.
100_0651.jpg~original


Installed
100_0657.jpg~original
 
Last edited:
Nice work man... you've been a busy dude lately. I would like to do that w/my radar detector, but it's an Escort x50 and it has a smartcord w/the silencer button on the cord... can't afford to lose that button, it's way too handy.

BTW, you need a better AndyMod sticker for your switch. I have a few extras leftover from when I made mine, if you want one let me know. Pics in the build thread of that too... page 3?

I was thinking about it, and you're probably going to run into some issues when you try to sink that gauge near the shifter. Once you see what I'm talking about, hit me up.
 
Cool man! Looks like a clean install!
Thanks man, I tried to make it look somewhat professional. I even straitened up the sloppy job that the CB guy left behind.


Nice work man... you've been a busy dude lately. I would like to do that w/my radar detector, but it's an Escort x50 and it has a smartcord w/the silencer button on the cord... can't afford to lose that button, it's way too handy.

BTW, you need a better AndyMod sticker for your switch. I have a few extras leftover from when I made mine, if you want one let me know. Pics in the build thread of that too... page 3?

I was thinking about it, and you're probably going to run into some issues when you try to sink that gauge near the shifter. Once you see what I'm talking about, hit me up.
Oh I see, my Cobra has the volume + mute on the unit itself. It was only was I was able to do this.

I would love to get a better andymod switch sticker! Handwritten (on/off) on a piece of white electrical tape just shouts OEM, right? Next time we meet up ill be sure to get one of those off of you. Thanks!

Yeah, I noticed that clearance issue the first time I tore into my center console a year back. I ignored it, hoping it would go away.. it didn't. Ill ask you about it on your thread.
 
Last edited:
Hey man, looking good! Just wanted to drop in and say thanks for the extra ISR help, I FINALLY got it working! Now I'm itching to get my 883's and 8 wraps in.
 
Hey man, looking good! Just wanted to drop in and say thanks for the extra ISR help, I FINALLY got it working! Now I'm itching to get my 883's and 8 wraps in.

Thanks! And that is awesome news, glad to hear that you figured it out! :thumb3:

Let me know how you like the 883 coils with the ARB. They are a tad stiff with the stock bumper, but not too bad. Were you planning on running a winch also?
 
Rio Puerco day trip.

March 26, 2011


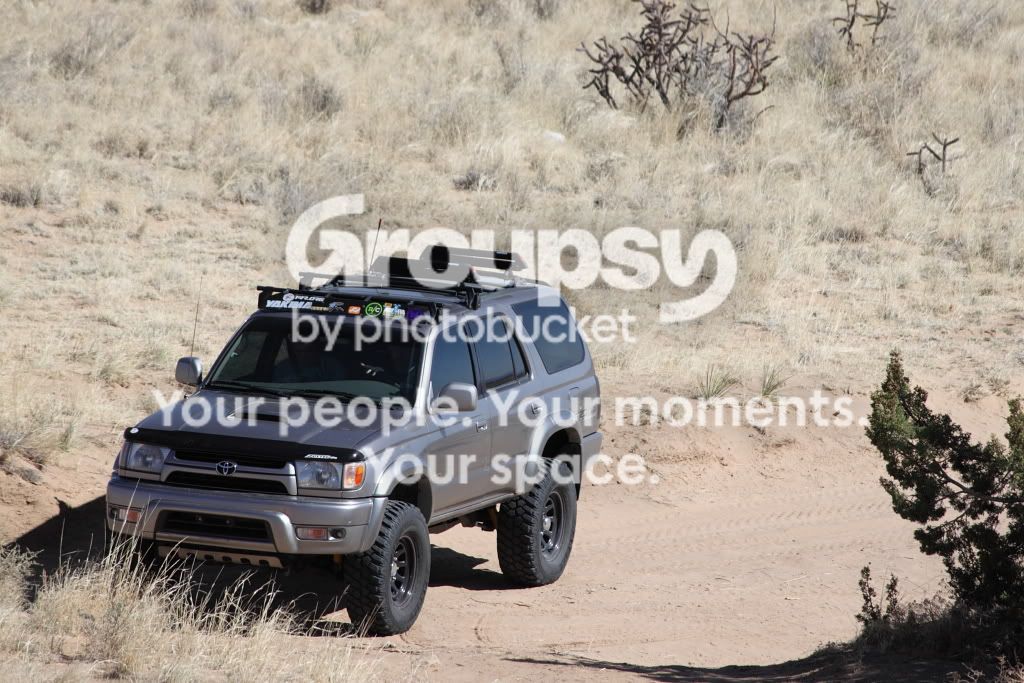
On Saturday, a few good friends and I met up for some offroading. One of them is a local member of the Tacomaworld forums. We were only out for a few hours, but we had plenty of fun. Two of the guys that went had some really nice cameras and were designated as our official photographers. My 4x4 actuator, which had been acting up again recently, did perfect! Popped right into 4Hi then the center diff locker clicked right in as well, just that put a huge smile on my face.

We had my 4runner, a 2001 4x4 Tacoma with 2.5" lift and 32" BFG's, and a sportsman ATV (which I towed there).

The Tacoma's build can be found on Tacomaworld:
Steve o 77's Build/Pics - Tacoma World Forums

See most of the pictures from the trip on the gallery thread:
http://www.toyota-4runner.org/gallery/86152-rio-puerco-nm-offroading-march-26-2011-a.html

Tinting came out perfect! At least that's the 1st thing I notice about this pic..
IMG_09742.jpg~original


IMG_10082.jpg~original


IMG_10842.jpg~original


IMG_10382.jpg~original


DSC_1118.jpg~original


IMG_10912.jpg~original


IMG_11122.jpg~original


IMG_10872.jpg~original
 
Last edited:
Transmission Temp. Gauge Install

|March 29, 2011|

I finally got around to installing my transmission temp gauge today.

Here is the write-up:

Parts:
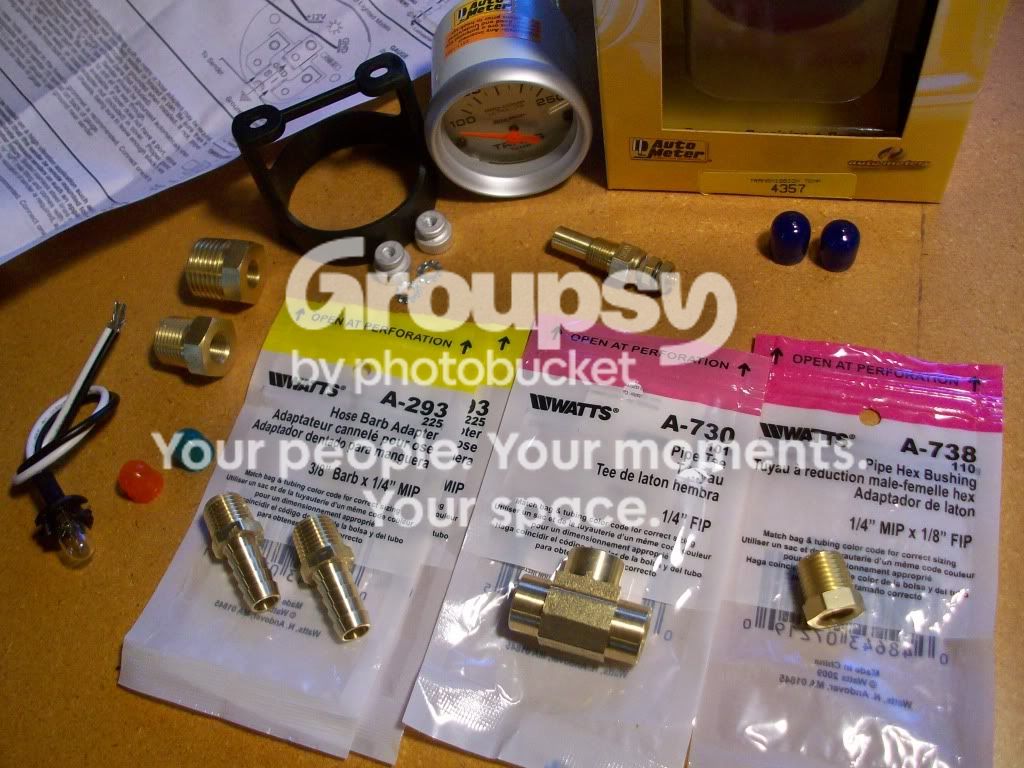
-Autometer 4357 Electric Transmission temperature gauge ($54.99)
-18 Gauge wire (red & black)
-Electrical tape (assorted colors)
-Quick splices ($2.99 pack of 6)
-Wire connectors
-Zip-ties
-Electrical wiring sleeve (8 feet- $8.99)
-Brass fittings: (1) 1/4" Tee [$5.51], (1) 1/8 to 1/4 adapter [$1.45], (2) 1/4" 3/8 barbs [$2.24 ea.]

Tools:
-Wire cutter/ stripper/ crimper
-screwdriver
-Electric Drill with 2" Hole bit.
-Roll of Teflon tape

Time:
1 - 1.5 hours

Wiring:
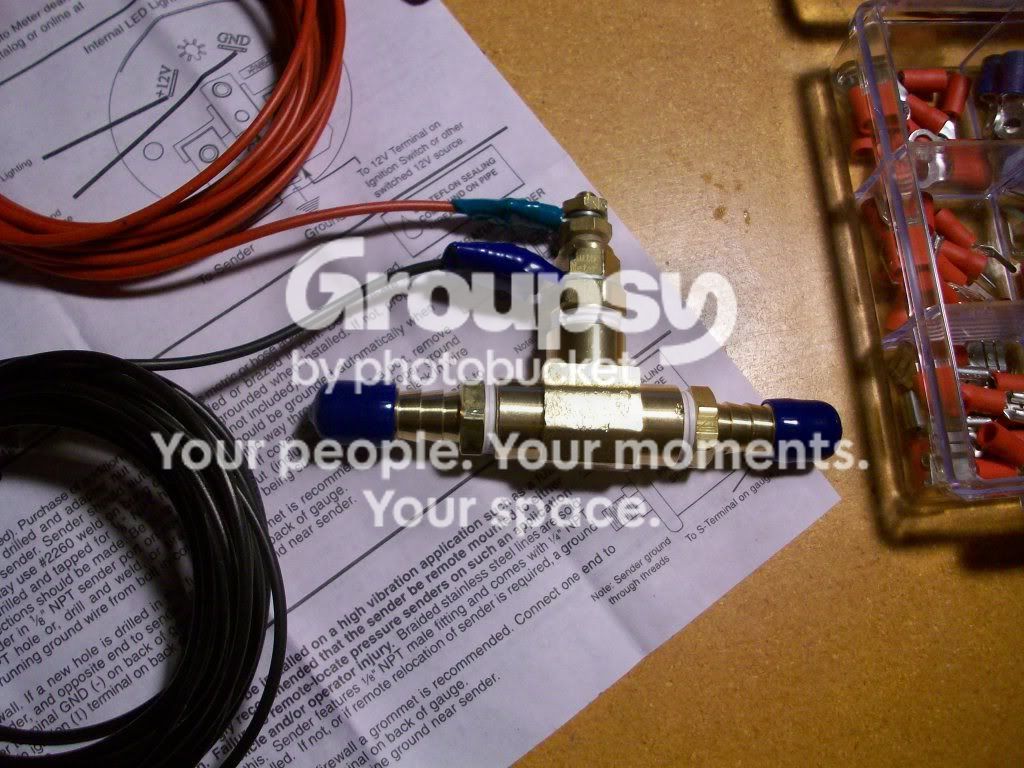
For gauge power, I again spliced into the main CB radio power wire as I did with the extra outlet. I grounded the gauge and sender unit (both have their own ground) to the same screw that my extra outlet and CB are grounded too. The sender wire goes strait from the sender unit to the gauge.
For the gauge light, i just stole the wiring for the light in the cigarette lighter ring, that bulb was out anyway so it was just easier this way.


Here is what the gauge comes with and all of the Brass fittings I bought.
I did not end up using the brass adapters that came with the gauge, only the brass sender unit.
100_0759.jpg~original


Wiring all set up and Teflon tape on the threads.
100_0775.jpg~original


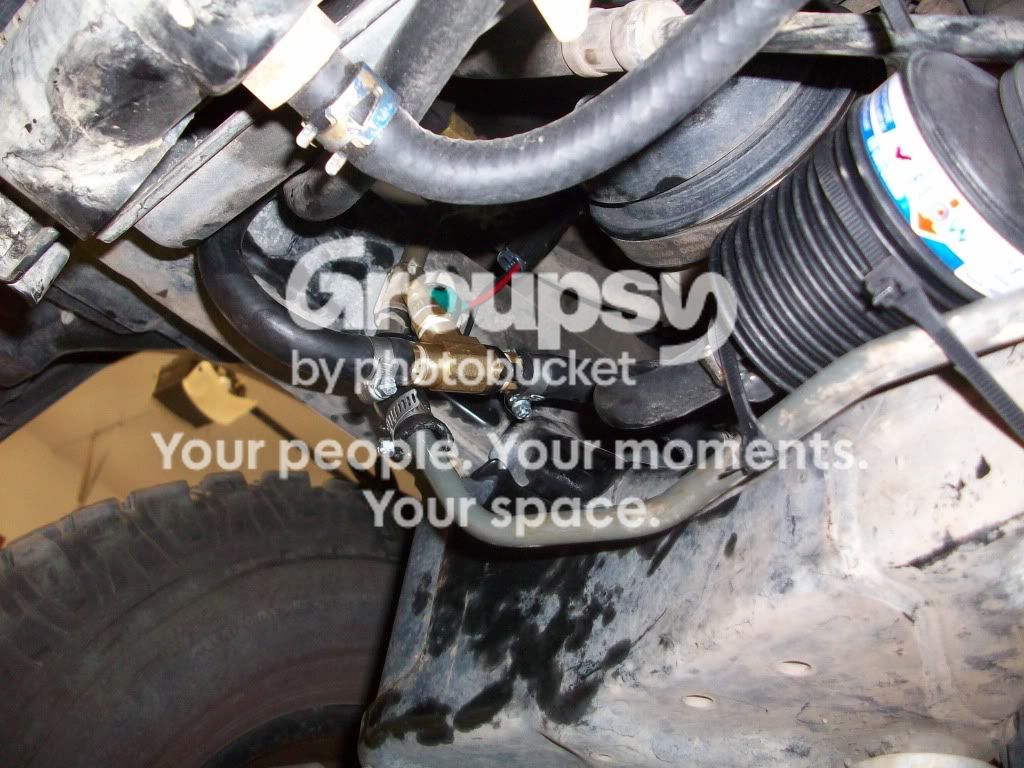
Sending unit in the hot line.
100_0794.jpg~original


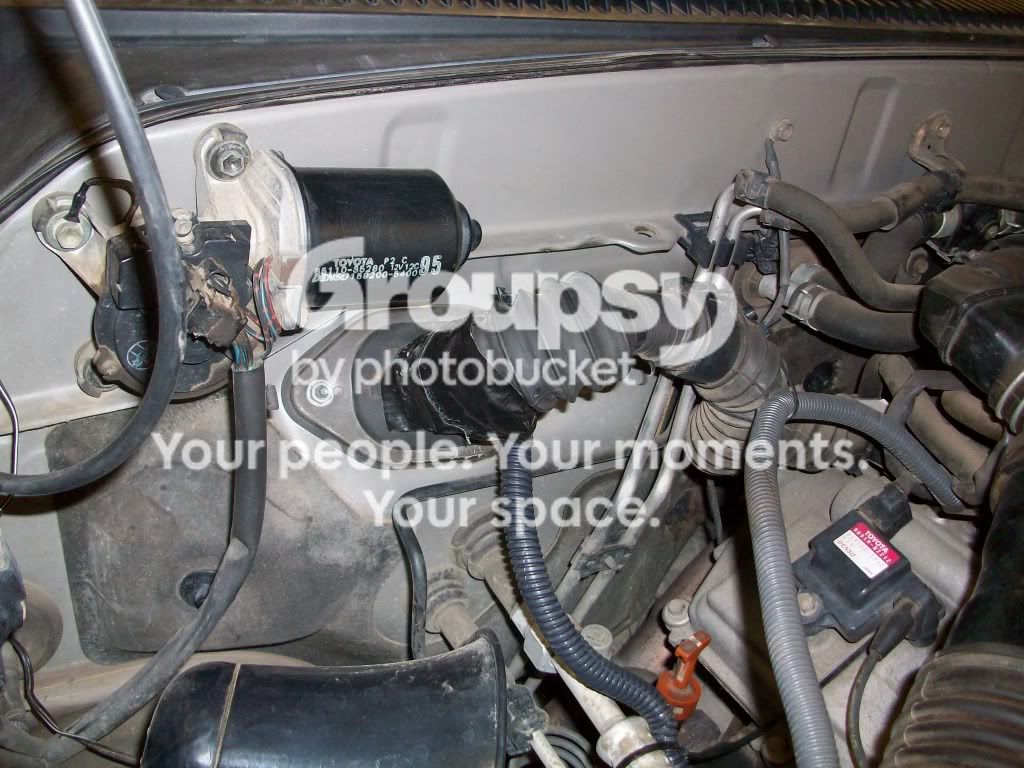
This is where I went through the firewall.
100_0805.jpg~original


Behind where I wanted to mount the gauge, there were a few plugs and a clear plastic piece holding them there.
100_0802.jpg~original


Plugs moved:
100_0803.jpg~original


Oh how I hate wiring.. :ybrick:
100_0804.jpg~original


All finished! :banana:
The gauge ended up a bit left of where I wanted it, not too much though. With the other plastic box in the way down there and nowhere to move it, I was unable to perfectly center it anyway..
100_0813.jpg~original

100_0808.jpg~original


I went for a little test drive, I averaged about 160-170 degrees F with lots of fast starts and downshifting to accelerate and so on. So the gauge seems to be working fairly accurately.
 
Last edited:
Looks like a lot of fun man, I wish I could have made it out.
Me too, but wouldn't want to take away time with your family.
My buds are still working on a few dates for the next trip. We were also thinking Jemez? Don't know too much about what is up there though, and it's kind of a long drive.

Either way, you'll be the first to know.


It turned out great! I like the mounting location as well. Good work!
Nice work man! That gauge looks like it belongs there!

Thanks dudes!


If we are all lucky, expect to see the field monitor in about 1-2 weeks.
 
Glad to see you figured out the re-arrangement of the plugs underneath the shifter trim. I had no doubt that you would, with the mechanical engineering background and all. :nerd:

That came out cherry man. BTW, there's alot in Jemez, but that's not a long drive at all. Jemez is only 1.5 hours away, but... up by our cabin in CO... Blanca Peak is only an hour away. Look it up. Como Lake, Blanca Peak... supposed to be one of the hardest trails in CO.
I'm not sure if I'm ready for it yet. It's supposed to be a truck breaker, and people die up there every couple years, rolling off the mountain.
 
dang man that temp guage looks cool. im gonna be getting a tranny cooler here soon and would love to have one of these. Im just not sure i trust myself installing a guage haha. looks good man, do you know if there is a way to change the bulb in the guage to an led?
 
dang man that temp guage looks cool. im gonna be getting a tranny cooler here soon and would love to have one of these. Im just not sure i trust myself installing a guage haha. looks good man, do you know if there is a way to change the bulb in the guage to an led?

I think it is a 194. That's the one that's pretty large right?

Although, IMO a LED here would be too bright. The gauge does come with a red condom light bulb cover though. That's what I would do. See the 1st picture on that post.

EDIT:
Here is a few from autometer, but it says they are all amber..
http://www.summitracing.com/parts/ATM-3287/
 
Last edited:
Glad to see you figured out the re-arrangement of the plugs underneath the shifter trim. I had no doubt that you would, with the mechanical engineering background and all. :nerd:

That came out cherry man. BTW, there's alot in Jemez, but that's not a long drive at all. Jemez is only 1.5 hours away, but... up by our cabin in CO... Blanca Peak is only an hour away. Look it up. Como Lake, Blanca Peak... supposed to be one of the hardest trails in CO.

I'm not sure if I'm ready for it yet. It's supposed to be a truck breaker, and people die up there every couple years, rolling off the mountain.

I down for Jemez then, I love the country up there! Much better than desert.
 
Last edited:
|April 2, 2011|

Just ordered from toytec..
Rear_Bilstein_Sh_4bab8874013c2.jpg


Time to replace the HD OME rear shocks.


..Also just subscribed to 4WD Toyota Owner magazine.
 
Last edited:

Members online

No members online now.

Forum statistics

Threads
278,312
Messages
3,554,083
Members
248,016
Latest member
Advally Service

Trending content

Back
Top