Darwinian_Crusader
New member
I originally saw this mod on a gun forum and thought that I could use the same process to color fill my 4wd shift knob.
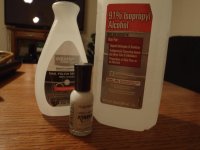
Supplies: You will need everything pictured below; Rubbing alcohol, nail polish of your desired color, and nail polish remover. Other things you will need that are not pictured are; paper towels and q-tips.
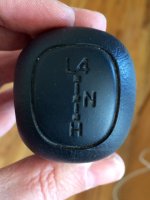
Cleaning: After you remove your shift know, you must clean all the nasty crud and oils off of it. To do this use the paper towels, q tips, and alcohol to clean your knob. Make sure you do a good with this and pay special attention to the recessed areas. Sorry for the blurry picture, but you can really see how nasty these can get.
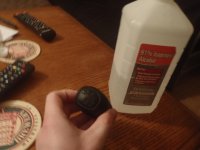
Coloring: Now that you are done polishing your knob, you need to color it. This will be done by using your nail polish and applying the color with the supplied brush to the knob face. Use a blotting motion to get the polish into the recessed areas. Be very careful not to add too much and fill the areas completely up. It will look like this.
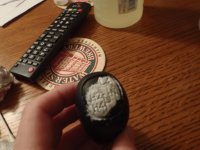
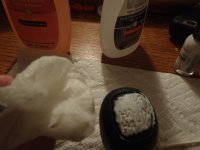
Now we need to get rid of the extra. After you brush on the color, wet a paper towel with the nail polish remover and wipe away the polish on the surface. Don't use too mush pressure, or else you will end up removing the color fill as well. You may have to use a few clean paper towels to eliminate all streaking. You will be left with something like this:
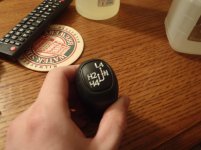
This doesn't look the best, but that's okay. Thin coats are your friend and we just repeat the coloring process until the desired level of fill is achieved.
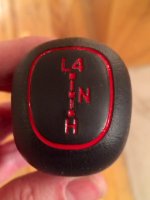
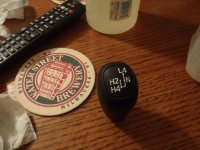
Make sure you wipe off the nail polish really well, and use fresh paper towels, or else you end up with a milky haze on your knob. You may need to apply 2 or 3 coats, but your finished product should look like this:
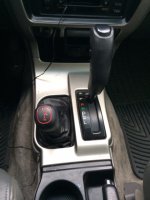
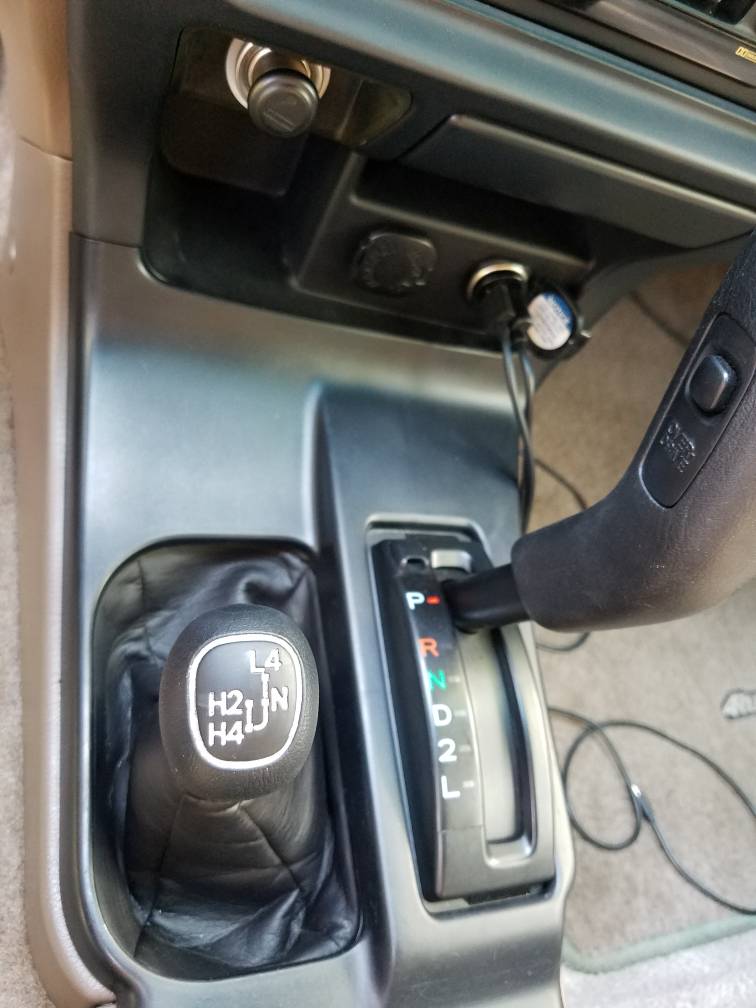
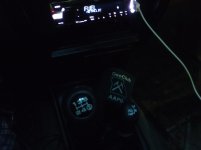
Installed:
Thanks for taking the time to read through this. The whole process took all of maybe 10 minutes and a few bucks. It's not an eye turning mod, but looks sharp in my opinion.
Supplies: You will need everything pictured below; Rubbing alcohol, nail polish of your desired color, and nail polish remover. Other things you will need that are not pictured are; paper towels and q-tips.
Cleaning: After you remove your shift know, you must clean all the nasty crud and oils off of it. To do this use the paper towels, q tips, and alcohol to clean your knob. Make sure you do a good with this and pay special attention to the recessed areas. Sorry for the blurry picture, but you can really see how nasty these can get.
Coloring: Now that you are done polishing your knob, you need to color it. This will be done by using your nail polish and applying the color with the supplied brush to the knob face. Use a blotting motion to get the polish into the recessed areas. Be very careful not to add too much and fill the areas completely up. It will look like this.
Now we need to get rid of the extra. After you brush on the color, wet a paper towel with the nail polish remover and wipe away the polish on the surface. Don't use too mush pressure, or else you will end up removing the color fill as well. You may have to use a few clean paper towels to eliminate all streaking. You will be left with something like this:
This doesn't look the best, but that's okay. Thin coats are your friend and we just repeat the coloring process until the desired level of fill is achieved.
Make sure you wipe off the nail polish really well, and use fresh paper towels, or else you end up with a milky haze on your knob. You may need to apply 2 or 3 coats, but your finished product should look like this:
Installed:
Thanks for taking the time to read through this. The whole process took all of maybe 10 minutes and a few bucks. It's not an eye turning mod, but looks sharp in my opinion.
Attachments







Last edited: