Show Off Your LED Light Bars

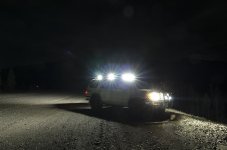
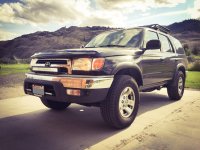
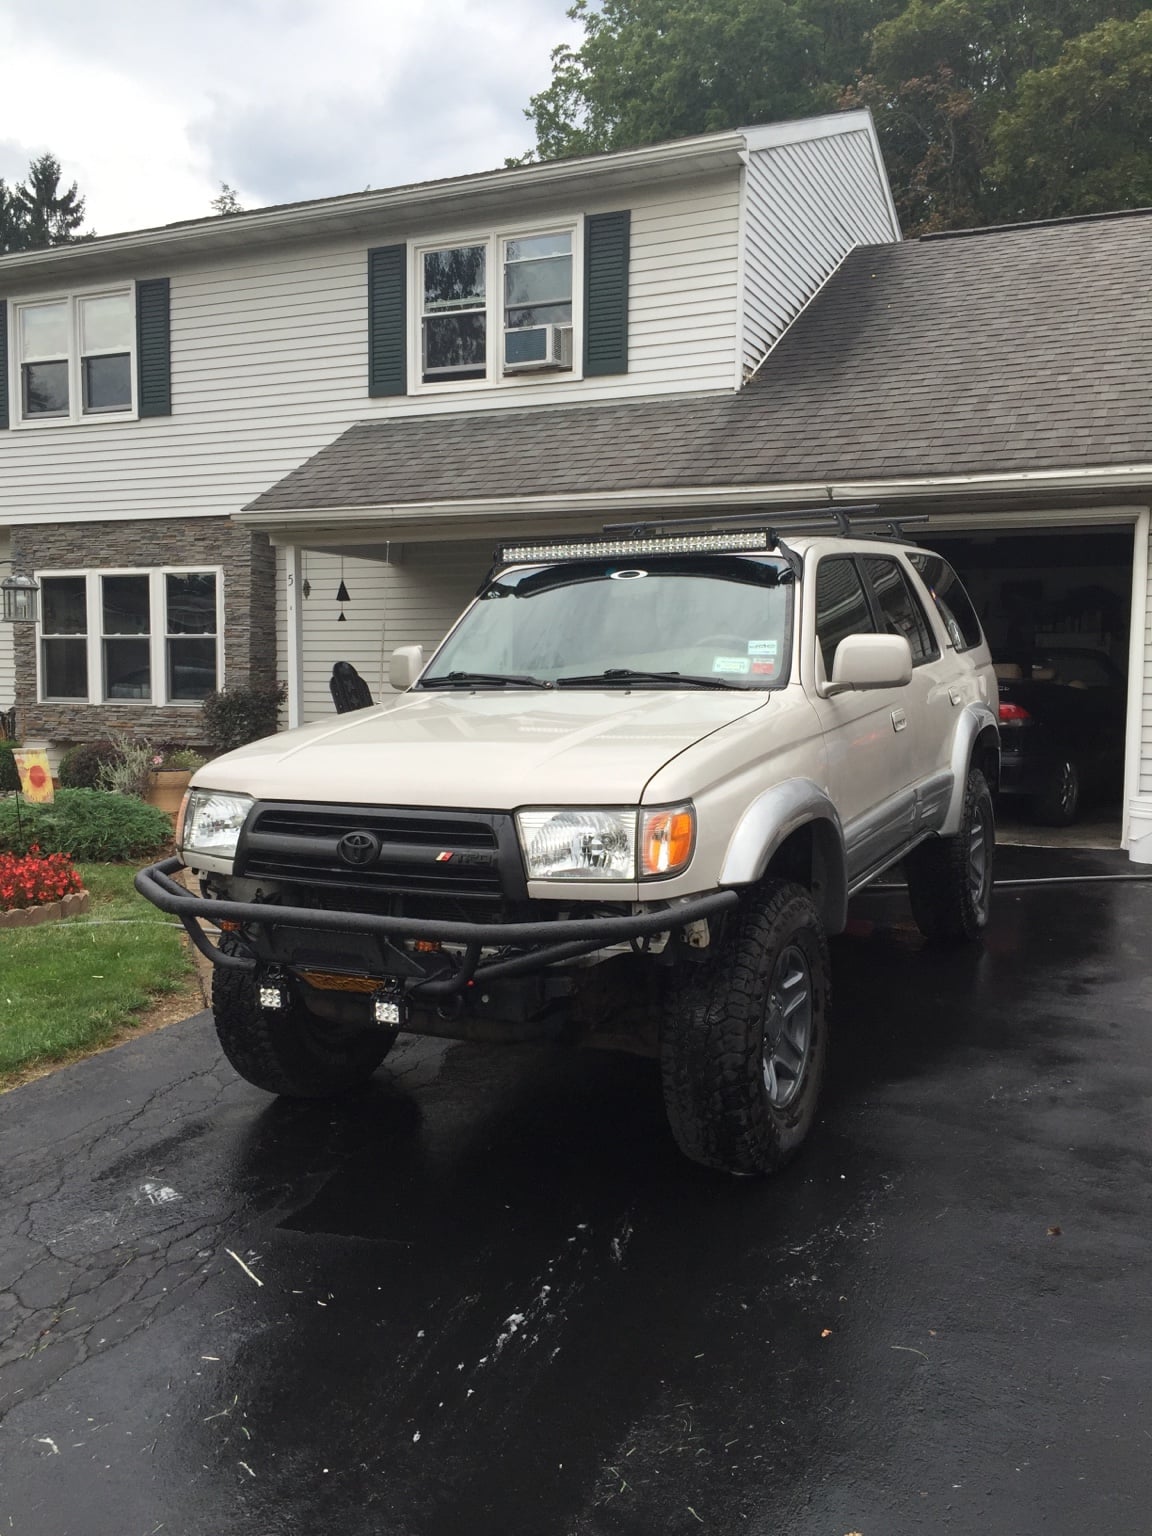
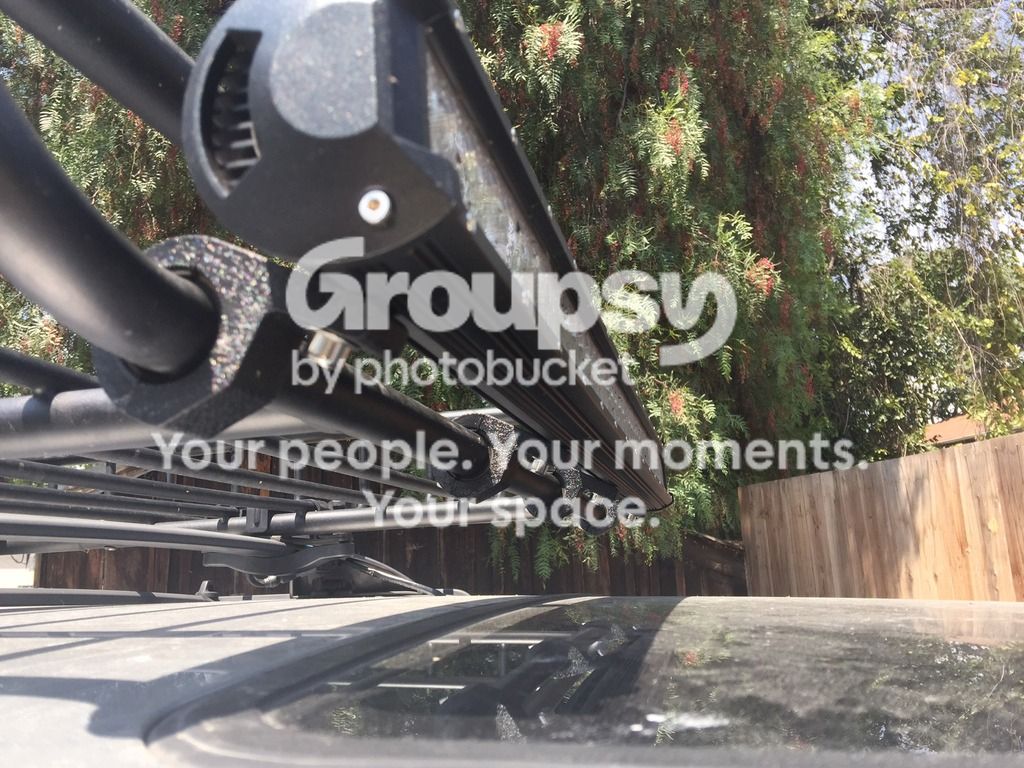
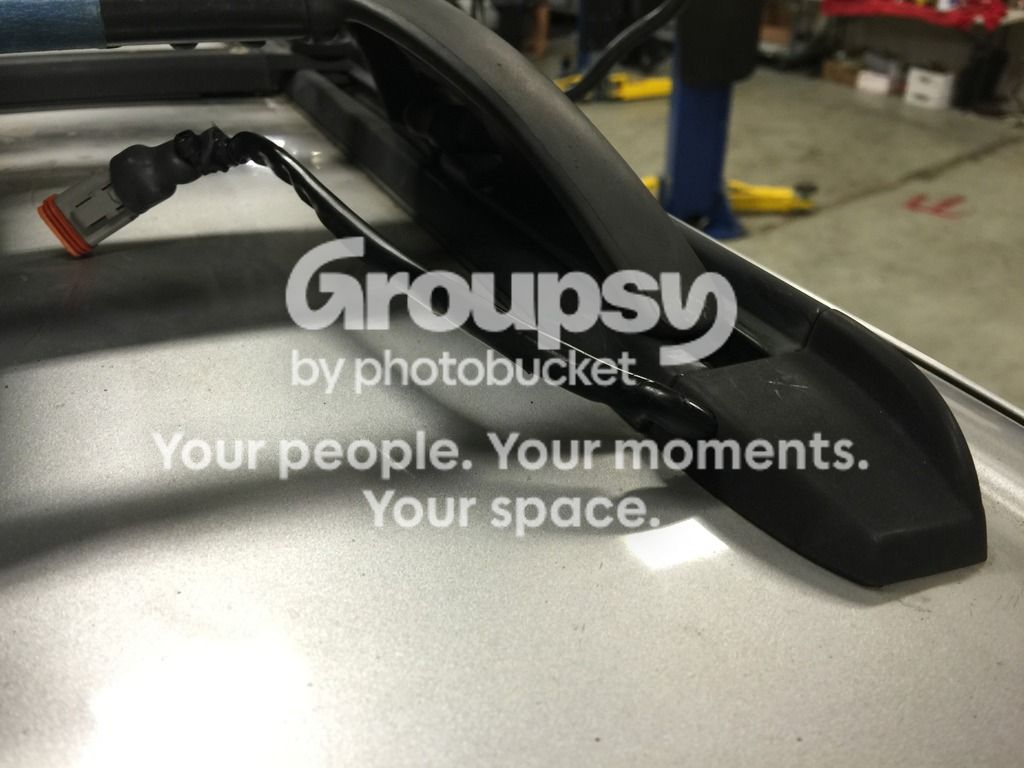
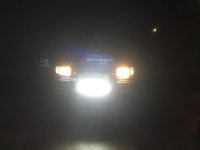
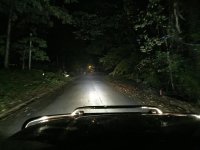
30" Lifetime LED SR up top, Rigid Duallys spots on bumper, 6x 15w Ebay bars around the rack 2 per side and back.

Soon to come a pair of Rigid Duallys amber floods once the plate bumper gets built.
 

Attachments

  • DSC_80442.jpg
    DSC_80442.jpg
    68.5 KB · Views: 5,099
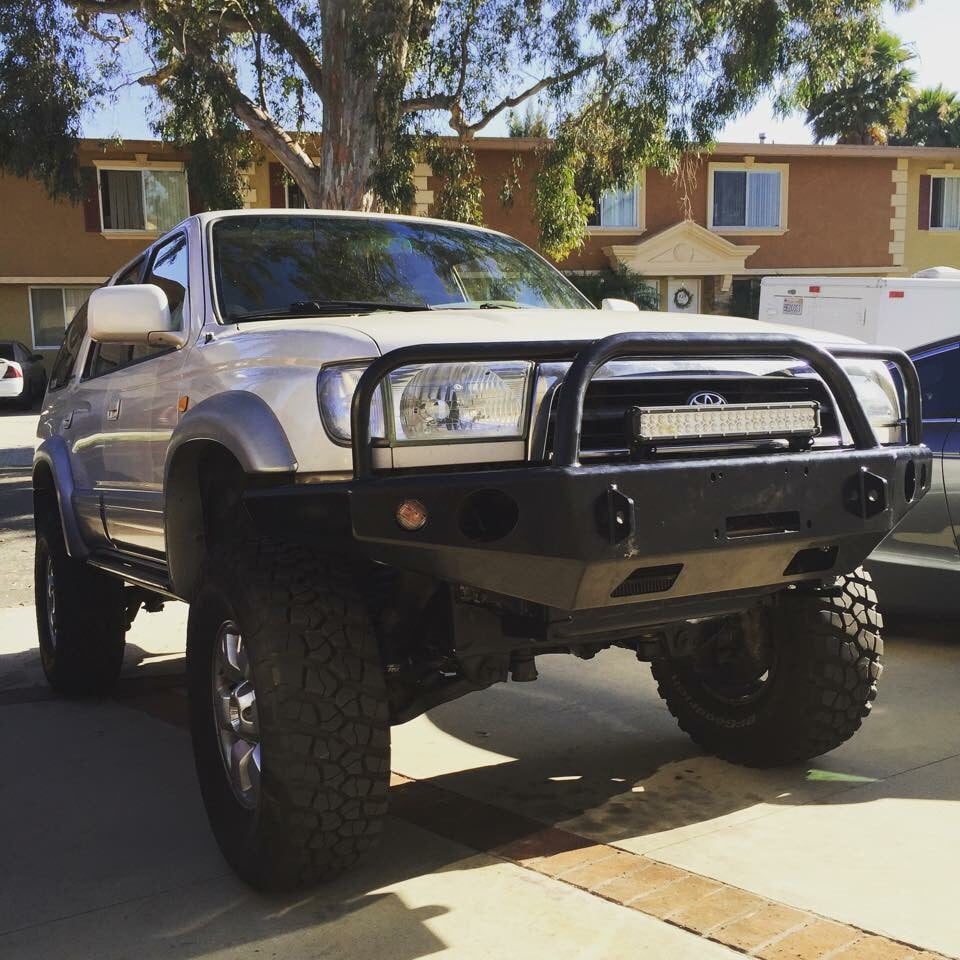
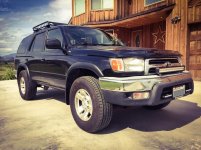
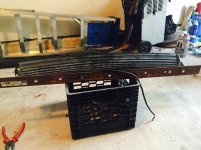
32" 180W radius/curved light bar with all spot reflectors. The curve of the bar matches the curve of the bumper almost perfectly.
 

Attachments

  • Light bar quarter view.jpg
    Light bar quarter view.jpg
    135.6 KB · Views: 8,602
  • FullSizeRender-4.jpg
    FullSizeRender-4.jpg
    138.4 KB · Views: 6,572
lightbar2.jpg
lightbar1.jpg

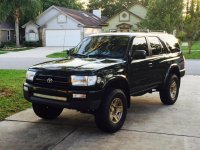
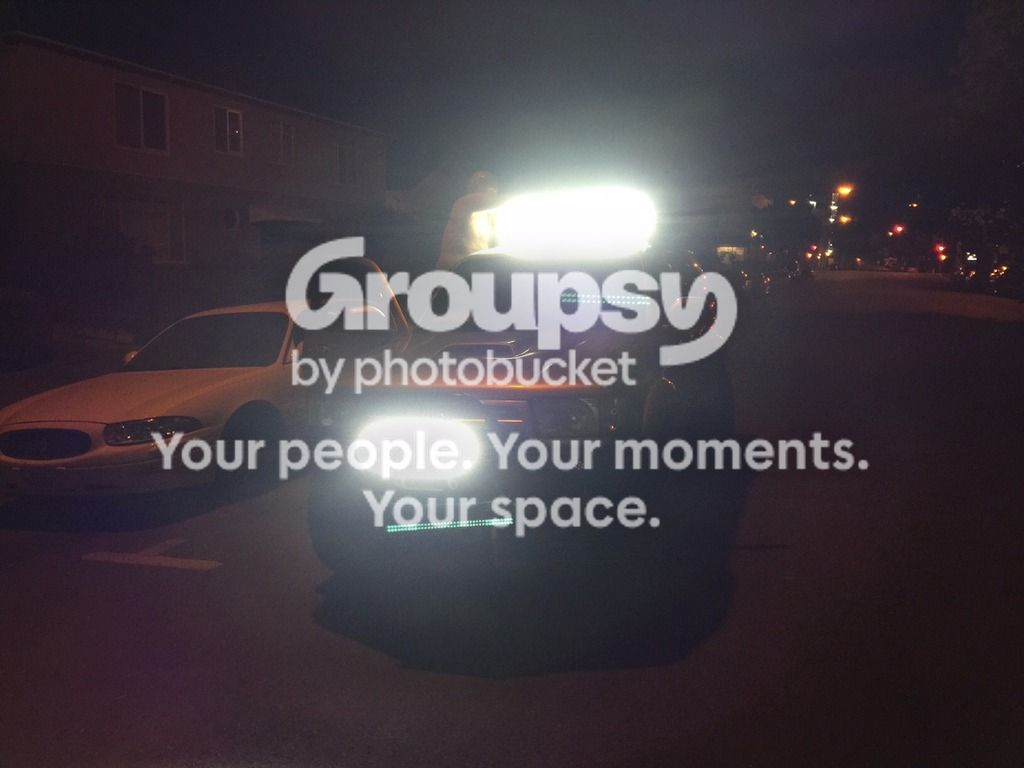
Nothing too fancy. I live out in the middle of nowhere and the lightbar definitely helps at night. At least I see the deer before I hit them :lol:

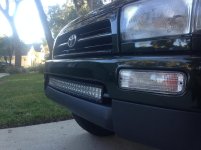
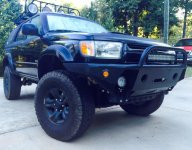
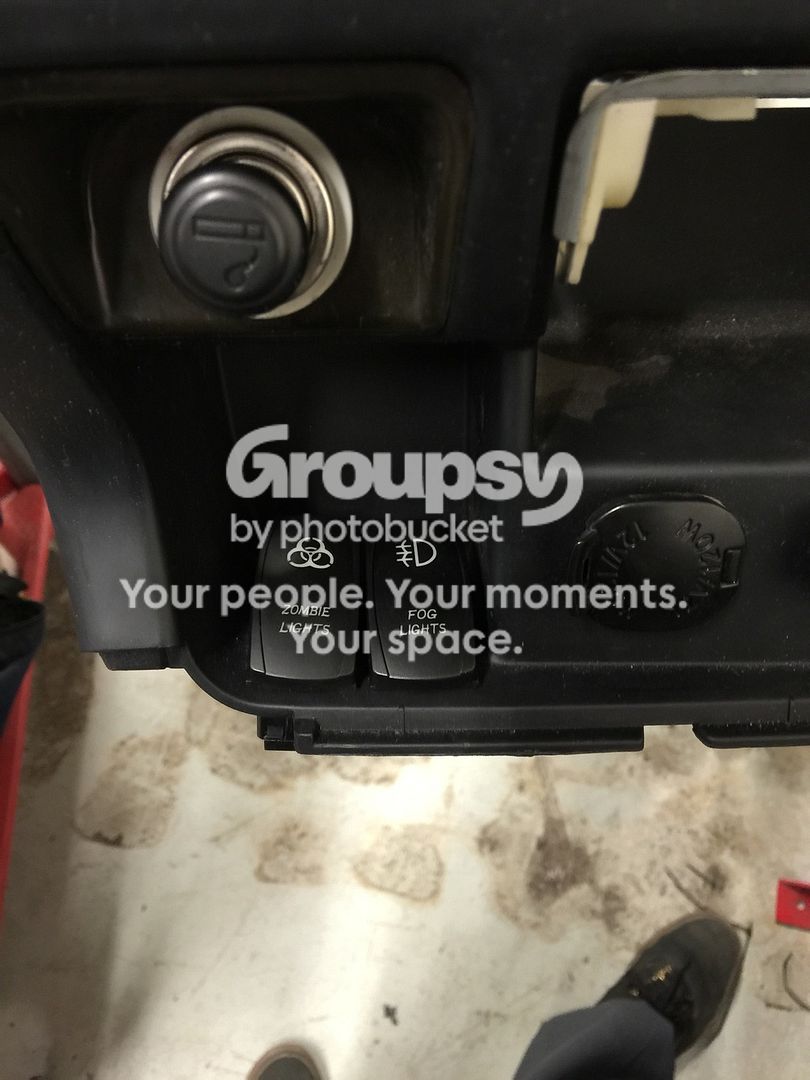
The one in front of the grill is a 25" Eyourlife Spot/Flood Combo and the smaller ones on either side of the plate are KAWELL Ultra-thin Floods. I hooked the floods up to my factory fog lights so I didn't have to have another switch on my dash. I originally planned on mounting them under my rear bumper and hooking them up to my back up lights so they turn on when I put it in reverse. I'll move them back there when I get my new front bumper and some driving lights.

Here's where I bought them from if anyone is interested. I've never used Rigids or Baja Designs... so I don't know what I'm missing out on haha. These ones work just fine for the price I paid!
Amazon.com: Eyourlife Dual Row Cree Led Combo Bumper Light Bar 25" 162W
Amazon.com: KAWELL® Off Road 18W CREE Ultra-thin 60 Degree LED Flood Light
 

Attachments

  • lightbar2.jpg
    lightbar2.jpg
    133.9 KB · Views: 9,336
  • lightbar1.jpg
    lightbar1.jpg
    136.2 KB · Views: 5,478
That looks real good, have any details on how you mounted it?

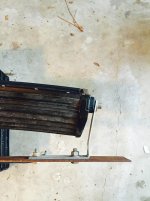
Thanks! I'll get some pictures up when I get a chance, but the way I have it mounted isn't ideal. I couldn't find any company that actually makes a mounting bracket for it, so I made my own. It's made from a piece of flat steel with two 90 degree angle brackets mounted on the ends that I kicked out to match up with the angle of the ends of the light. It is then mounted to the radiator bracket.

I actually have it out right now as someone had promised me that they would make a nice bracket for me for cheap, and then they flaked out.

There is another guy somewhere on here that mounted a similar radius lightbar directly to the radiator bracket, drilling into the bracket, but I haven't been able to find that thread again. He said his mount was really sturdy, where mine vibrates visibly on bumpy roads. If anyone knows who that is, please let me know as I'm looking to make mine better.
 
That looks real good, have any details on how you mounted it?


So, it's not pretty, but it worked alright......well, it made the light fit nicely. It's just not solid enough for my liking. I picked up the pieces from Home Depot and modified accordingly. I bent the 90 degree brackets to fit the light, and drilled holes in the flat piece of steel to line up with the radiator support holes, and then bolted it to the radiator support.

It is probably possible to mount a bracket from the light to the radiator support, but the angles are kinda weird because where I would mount directly to the radiator support is right where it starts to curve on each end. If the radiator support was flat and straight across, it'd be perfect.

I know there's gotta be a better way, so that's what I'm working on now--will post it when I figure it out. Any ideas, shoot them my way.

 

Attachments

  • IMG_1743.jpg
    IMG_1743.jpg
    129 KB · Views: 4,900
  • IMG_1744.jpg
    IMG_1744.jpg
    125.8 KB · Views: 4,894
  • IMG_1745.jpg
    IMG_1745.jpg
    130.7 KB · Views: 4,903
So, it's not pretty, but it worked alright......well, it made the light fit nicely. It's just not solid enough for my liking. I picked up the pieces from Home Depot and modified accordingly. I bent the 90 degree brackets to fit the light, and drilled holes in the flat piece of steel to line up with the radiator support holes, and then bolted it to the radiator support.

It is probably possible to mount a bracket from the light to the radiator support, but the angles are kinda weird because where I would mount directly to the radiator support is right where it starts to curve on each end. If the radiator support was flat and straight across, it'd be perfect.

I know there's gotta be a better way, so that's what I'm working on now--will post it when I figure it out. Any ideas, shoot them my way.

What isn't solid about it? I'm assuming the vertical support? Does it vibrate or something? Other than the brackets from the metal strip going to the light everything looks pretty solid. Unless the radiator support itself is the problem... Sorry, I haven't had the front bumper on my truck off yet so don't know what everything looks like under there.
 
What isn't solid about it? I'm assuming the vertical support? Does it vibrate or something? Other than the brackets from the metal strip going to the light everything looks pretty solid. Unless the radiator support itself is the problem... Sorry, I haven't had the front bumper on my truck off yet so don't know what everything looks like under there.

Yeah, it vibrates a little bit on pavement, and even more on dirt roads. So the vertical support is what is lacking. I'm probably just being a bit picky, but I know what I want. The radiator support is really solid. I think it more has to do with the bolts connecting the flat piece of steel to the radiator support are not very close to the end where the bracket holding the light meets the flat steel, and that allows for just enough flex to annoy me.

I just bought a bracket that is intended for a straight light bar that I'm going to try to bend to work for my curved bar as it is a bit more solid, instead of trying to mess with the homemade one again.

You can get a pretty good idea of what's going on under there without taking anything off, just poking your head under.
 
Last edited:
Light Bar

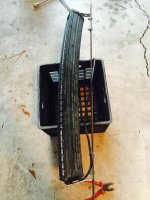
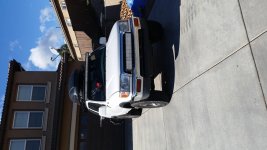
A buddy of mine ordered this LED bar and 3 LED's were out so they sent him a new. He got to keep the one that didn't work so he gave it to me. I stripped it apart and found that a resistor didn't have adequate solder. Hit the contacts and put some extra solder on it. When I put everything back together I sealed it with marine grade 3m clear silicone. I put it under water and did a leak test. I also wired it up to my high beams.
 

Attachments

  • 2015-11-06 19.13.02.jpg
    2015-11-06 19.13.02.jpg
    126.2 KB · Views: 3,097
  • 2015-10-28 19.25.32.jpg
    2015-10-28 19.25.32.jpg
    162.6 KB · Views: 2,951
  • 2015-10-28 19.27.55.jpg
    2015-10-28 19.27.55.jpg
    130.5 KB · Views: 2,967
Lights

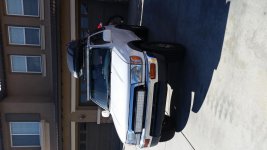
48" radius and 29" Quadrow
Both by Eyourlife
 

Attachments

  • 20151125_112707.jpg
    20151125_112707.jpg
    134.8 KB · Views: 2,827
  • 20151125_112721.jpg
    20151125_112721.jpg
    133.1 KB · Views: 2,814
Last edited:

Members online

Forum statistics

Threads
278,312
Messages
3,554,085
Members
248,016
Latest member
Advally Service

Trending content

Back
Top