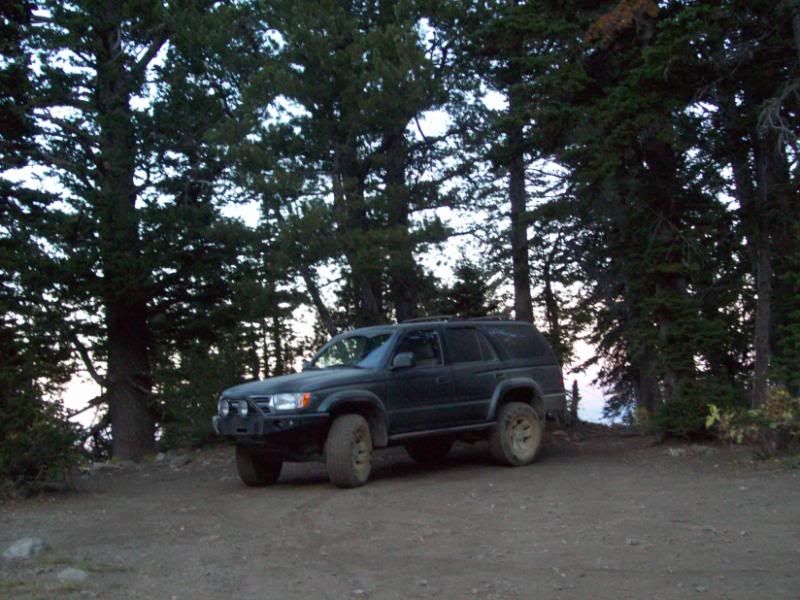
Smallfry's 3rd Gen Build

smallfry

New member
Never started a build thread over here on my 2000 4runner so here it goes.

Back in September 2008 I sold my 96 4runner with about 197,xxx miles on the clock and picked up a 2000 4runner with about 94,xxx miles on it.

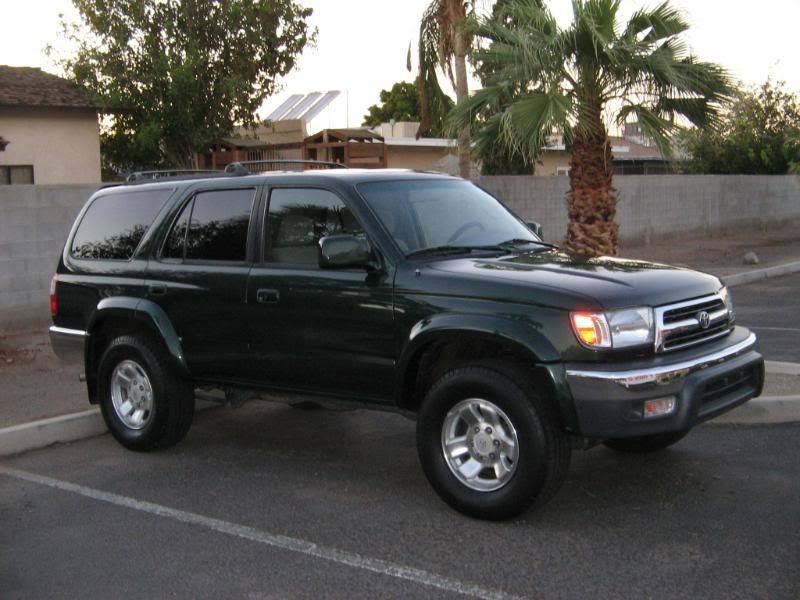
When I bought her:
2000 Toyota 4runner, auto 4x4 w/ elocker and sunroof, 94,xxx miles. The suspension was shot and the tires were crap (probable the 2nd set of tires on it, front passenger side tire blew out due to the crappie tires)

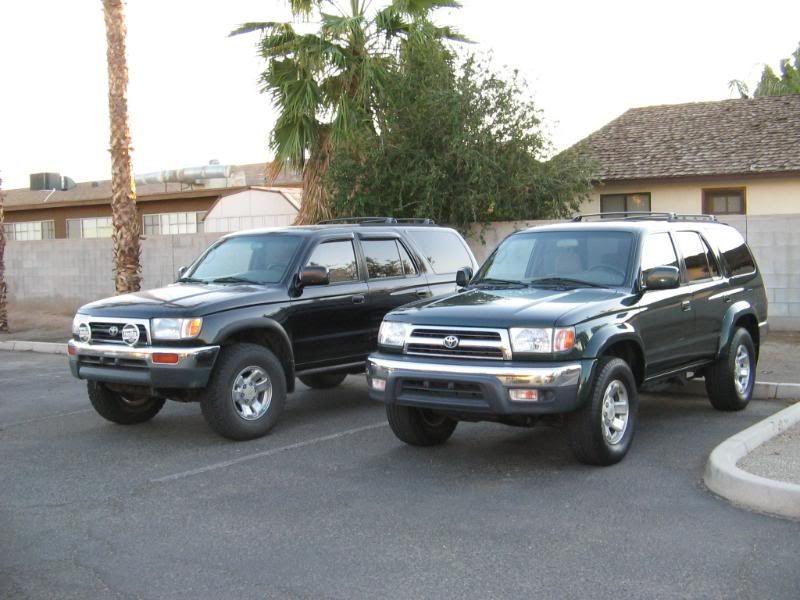
Next to the old 4runner:
IMG_1522.jpg~original

IMG_1526.jpg~original


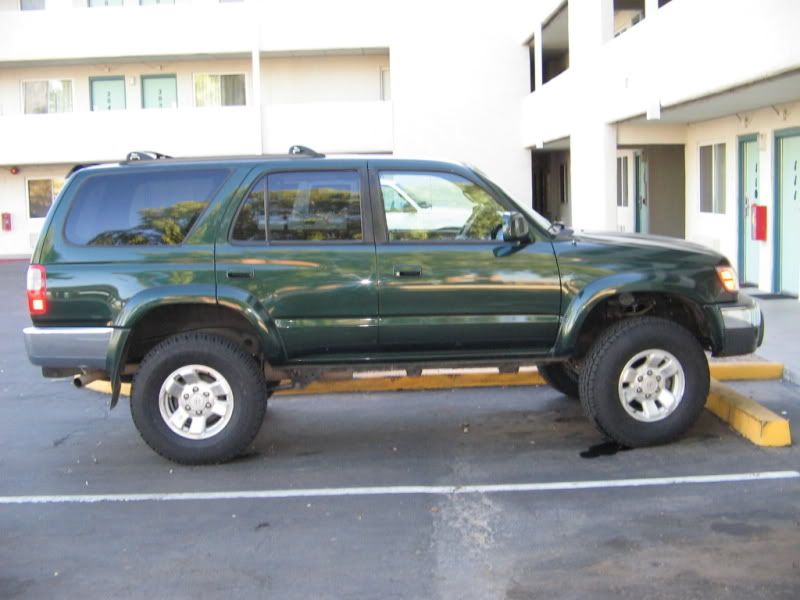
First minor change (tires and suspension, 265/75/16 Yokohama Geolander AT's and Sonoran Steel 7.2 lift :) )
IMG_1553.jpg~original


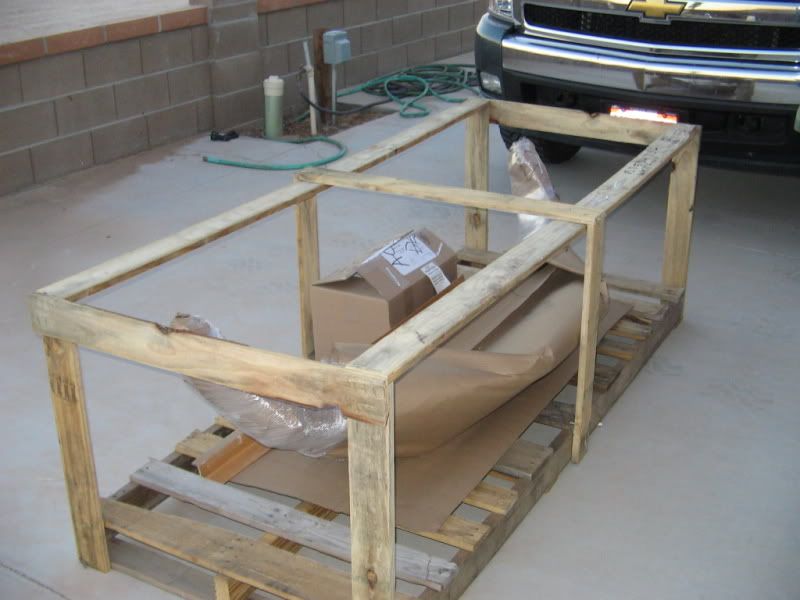
Christmas came early yesterday (an added bonus from the sale of my previous 4runner)
IMG_1643.jpg~original

IMG_1645.jpg~original


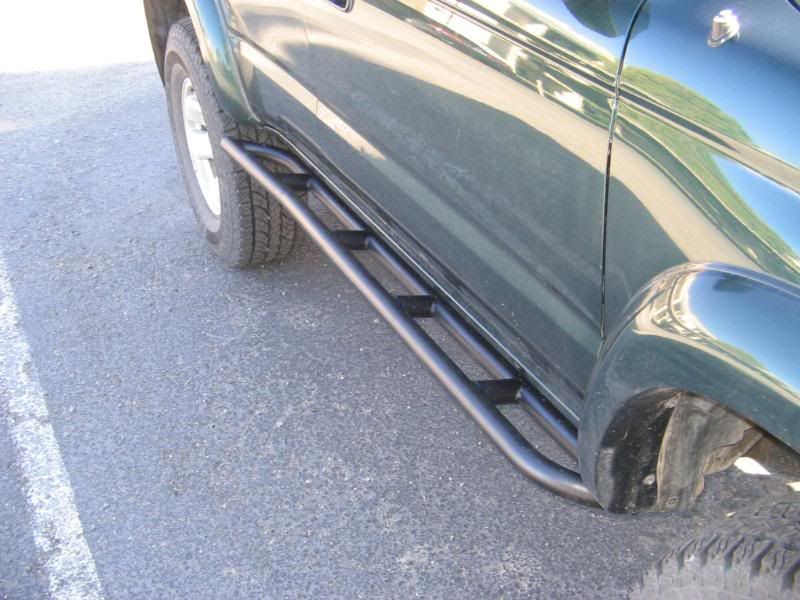
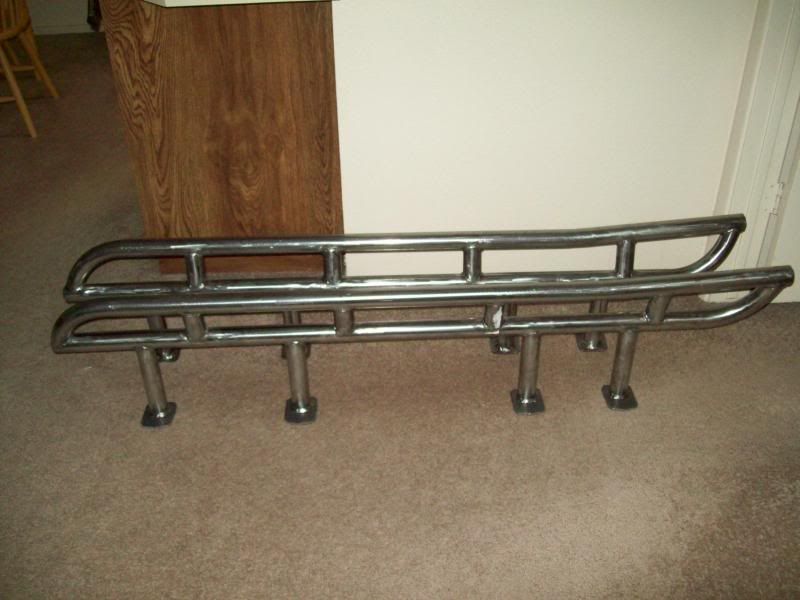
Stubb's HD-SKO, got to protect the rocker panels while out in and bout exploring:
100_1706.jpg~original
 
Register to hide this ad
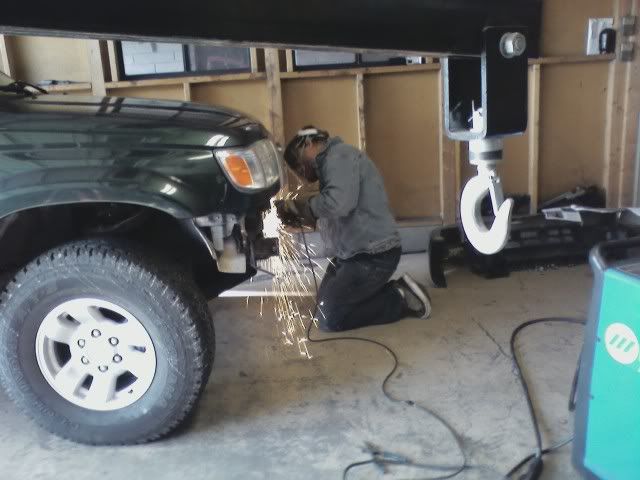
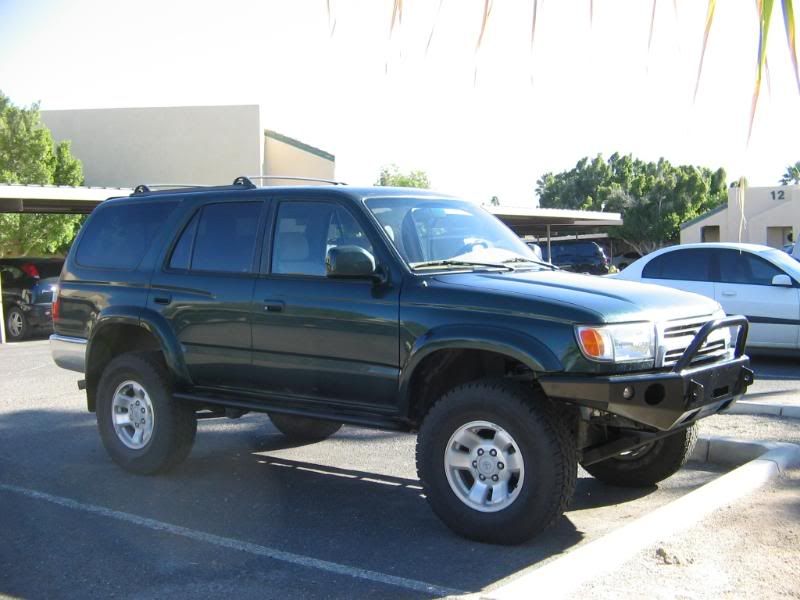
Bumper and sliders install plus the drama of it all

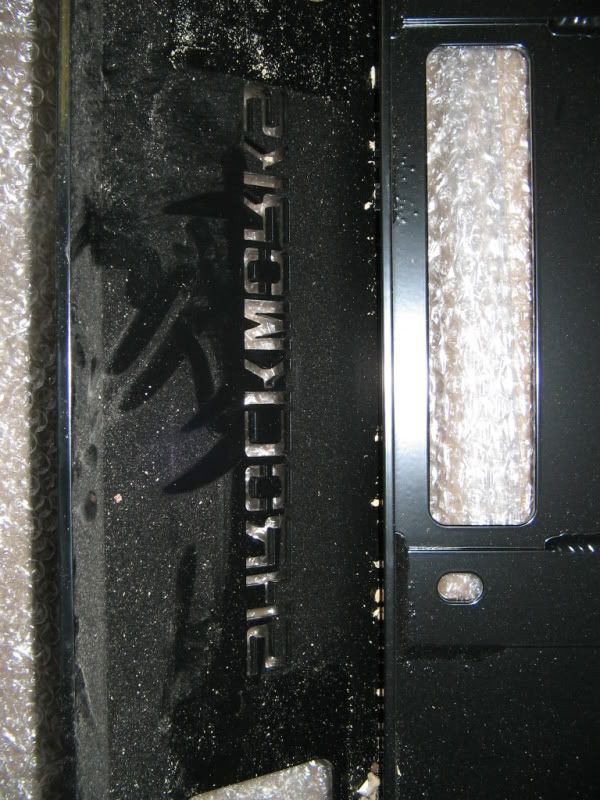
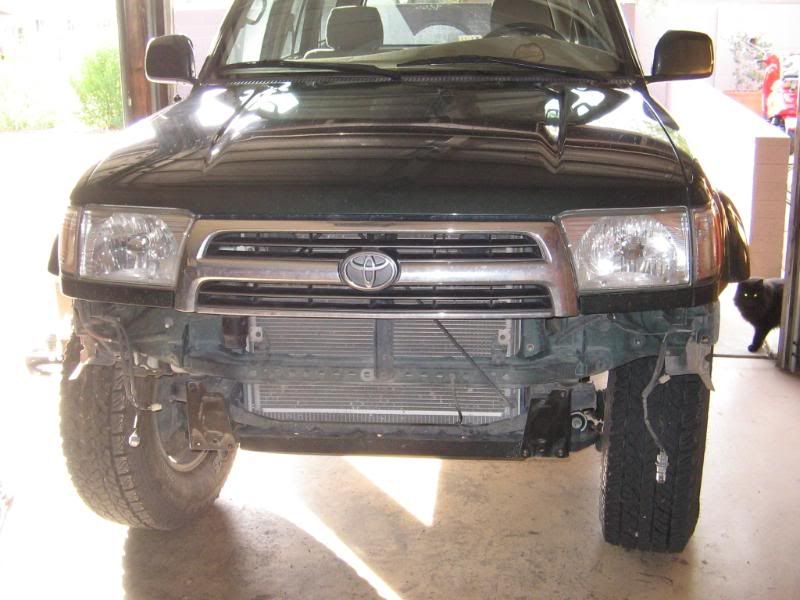
Off with the old and on with the new (one benefit of living in Arizona was the Steve Schaffer for Sonoran Steel was close by):
1220081307.jpg~original


IMG_1780.jpg~original


http://img.photobucket.com/albums/v681/tbox/Bumper/IMG_1781.jpg[/IMG
]
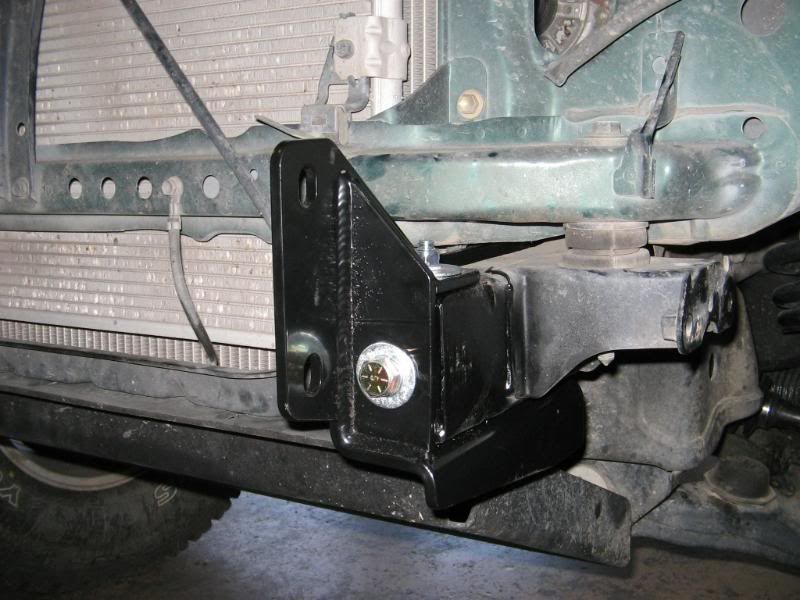
New endcaps and bumper brackets:
[IMG]http://img.photobucket.com/albums/v681/tbox/Bumper/IMG_1782.jpg~original

IMG_1783.jpg~original


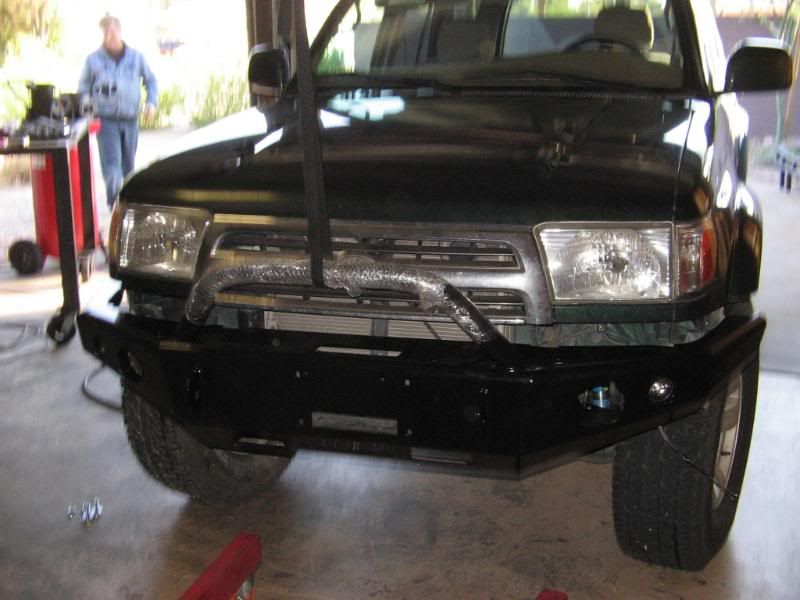
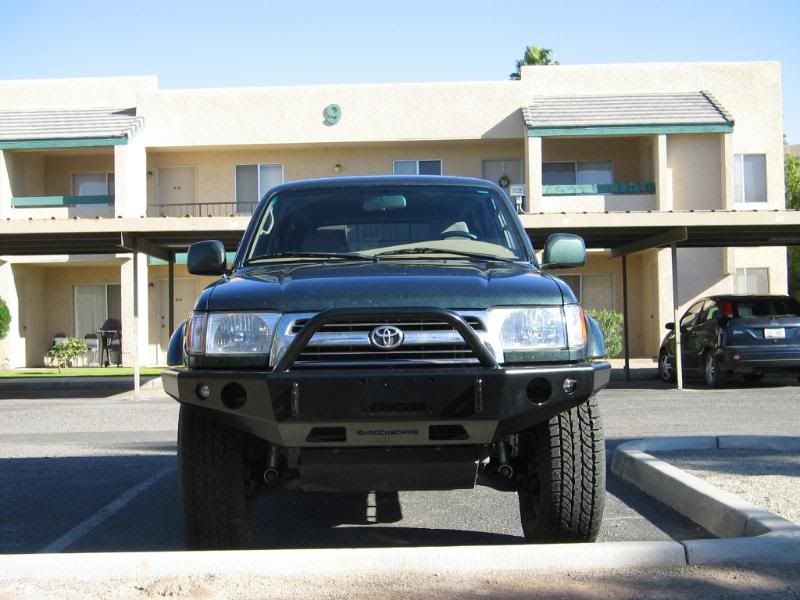
Going into place and the final prodcut
IMG_1784.jpg~original


IMG_1786.jpg~original


IMG_1787.jpg~original


The last item Stubbs HD-SKO Sliders
IMG_1789.jpg~original


Took about 7hrs. from start to finish which doesn't include the 2hr wait to have the electric company fix the power line.
Overall, the Shrockworks bumper is awesome but a pain in the butt to install. We spent about an hour alone trying to get the bumper aligned up with the brackets. Ultimately, we had to spread the brackets apart, grease them up and grind the powercoat off to get the bumper to fit properly. It will suck way downline when I get a winch and we have to take the whole thing off again. Good thing that ain't happening for awhile.
 
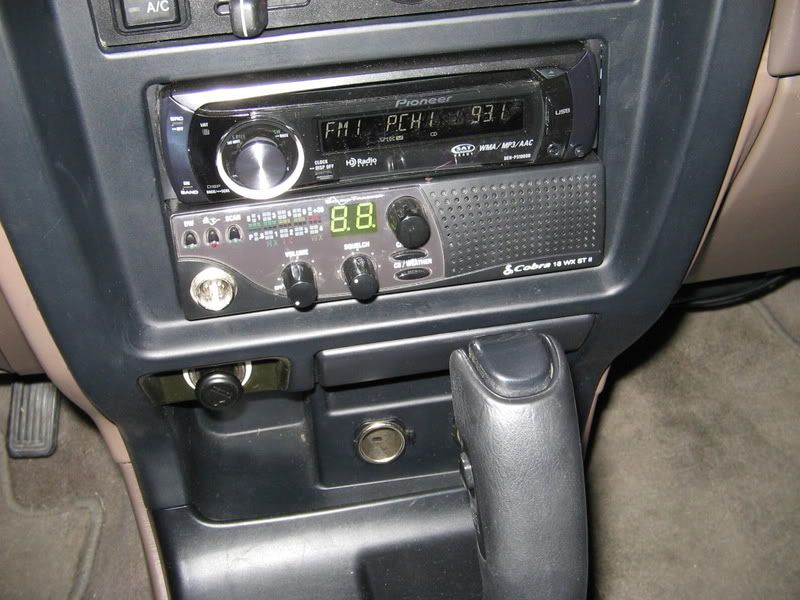
CB Install

Reinstalled the CB out of my old 4runner and picked up a new headunit since the stock radio's volume knob was broke.

IMG_0124.jpg~original


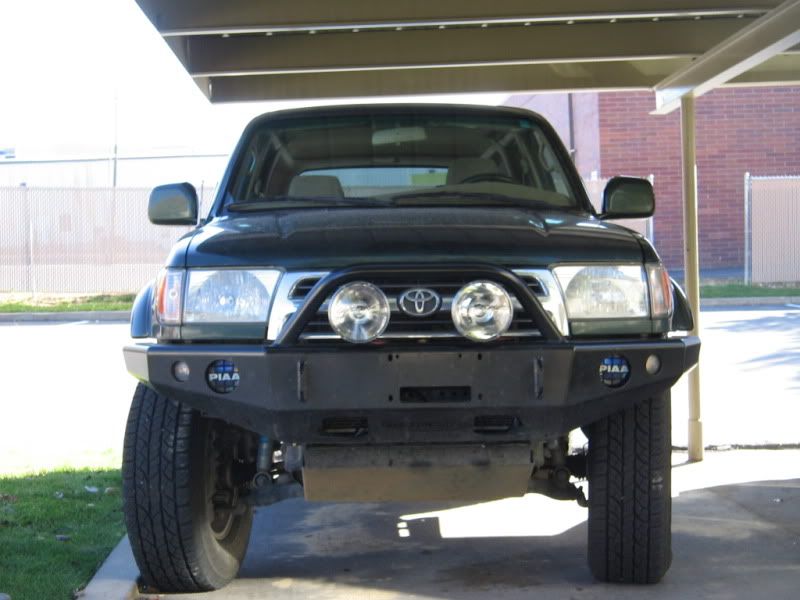
PIAA 510's installed

IMG_0262.jpg~original


They work
IMG_0264.jpg~original


At the same time I removed the DRL module, which is now in storage under my bed.

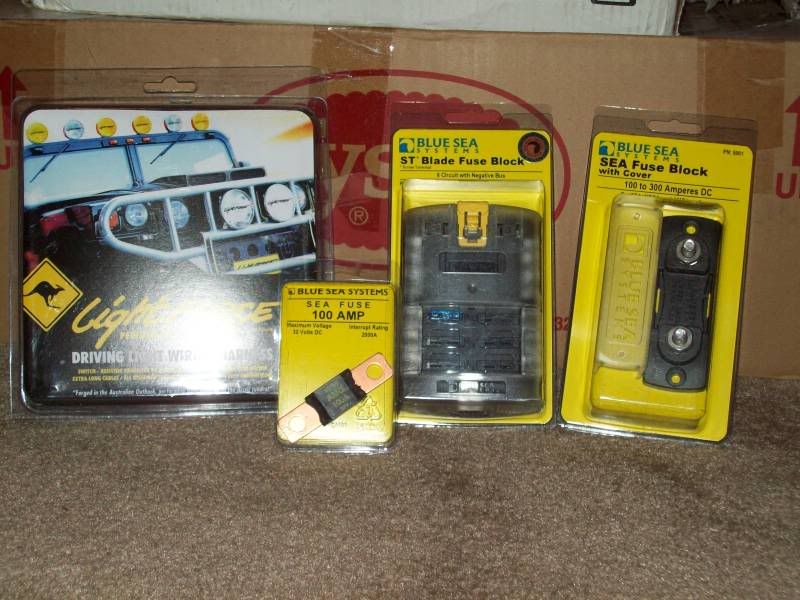
Shortly after installing the PIAA's I picked up a set of Lightforce 170's from Wil at Sierra Expeditions as a few other goodies from Marine Technology.

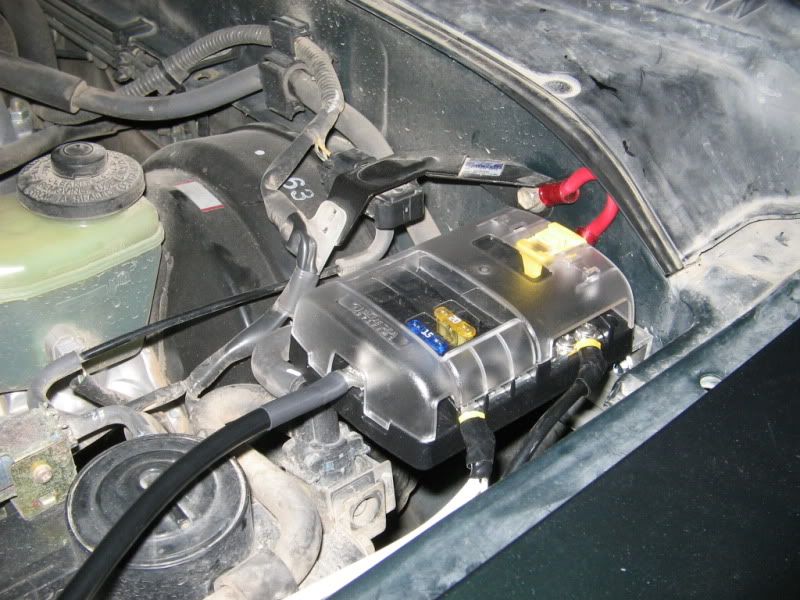
Blue Sea 5025 ATO Fuse Block, 6-Circuit with Cover and Negative Bus
Blue Sea 5001 SEA Mega Fuse Block
Blue Sea Mega SEA Fuses 100A-300A (ordered a 100amp fuse, fiqured that be enough).

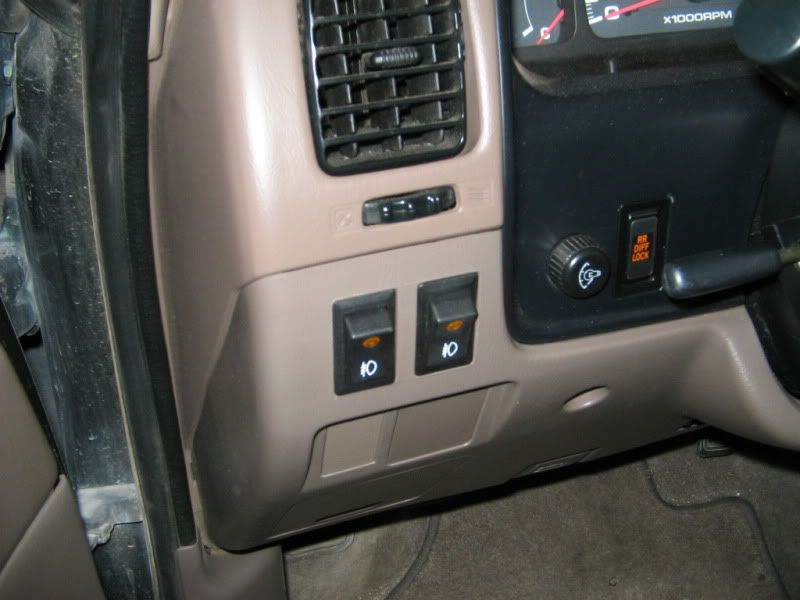
OEM Toyota Foglight Switch

100_1207.jpg~original
 
Fuse Block and Light Install:

1. For those 3rd gen 4runner owners with the Shrockworks bumper. If you decide to get a set of Lightforce 170 lights they will not fit in the holes provide by Shrockworks. You have to drill new holes about 1-1/2" over from the exiting holes and request the low light mounts. Otherwise the lights will be too tall by roughly 1/4 - 3/8". Thanks to Wil for the new mounts.

2. My mounting setup is for the Shrockworks bumper with the single hoop.

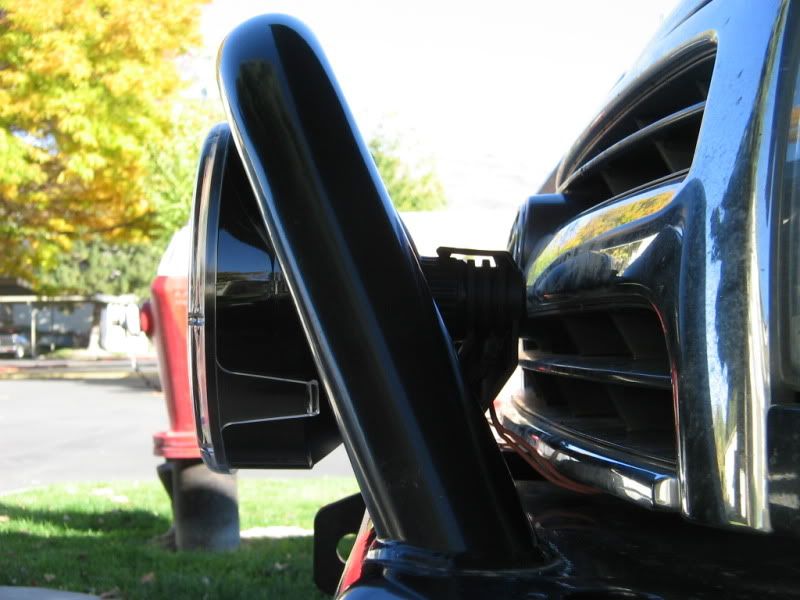
3. I reversed the lights mounts so no modification was required to the grill (have about a 3/8 -1/2" clearance).

4. The wiring hook up for the lights suck!!! The crappie connectors they supply you with in the wiring kit are junk (IMO). I ended up destory two of them.

5. Thanks to Johnny Lange of the Wasatch Cruisers for helping to mount the aux fuse block and fuse.


Okay, so here are the pictures after that little rant/soap box :sombrero:. Pardon the dirty battery. I still need to do some clean-up.

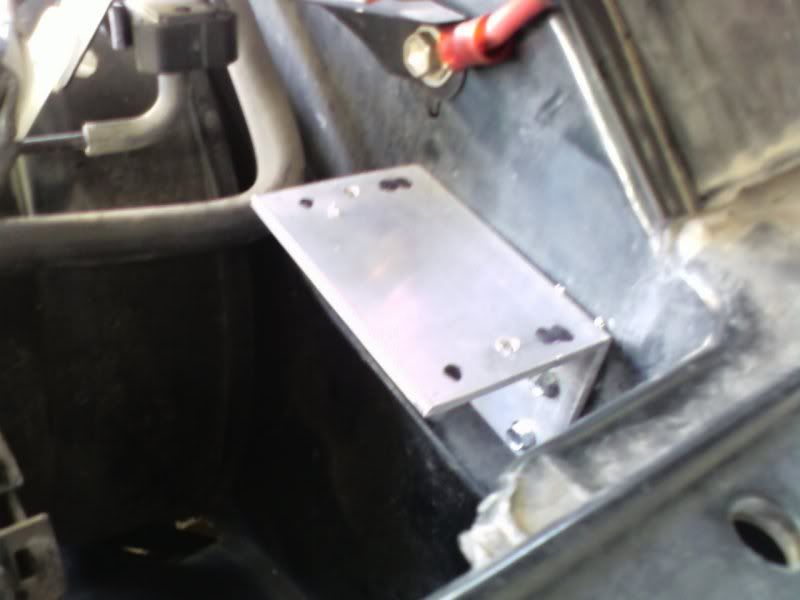
Aux fuse block mounting bracket (see #5). Kind of took us awhile to fiqure out where to mount the block since there are not that many good places in the 4runner's engine bay to mount it too.

1025091305.jpg~original


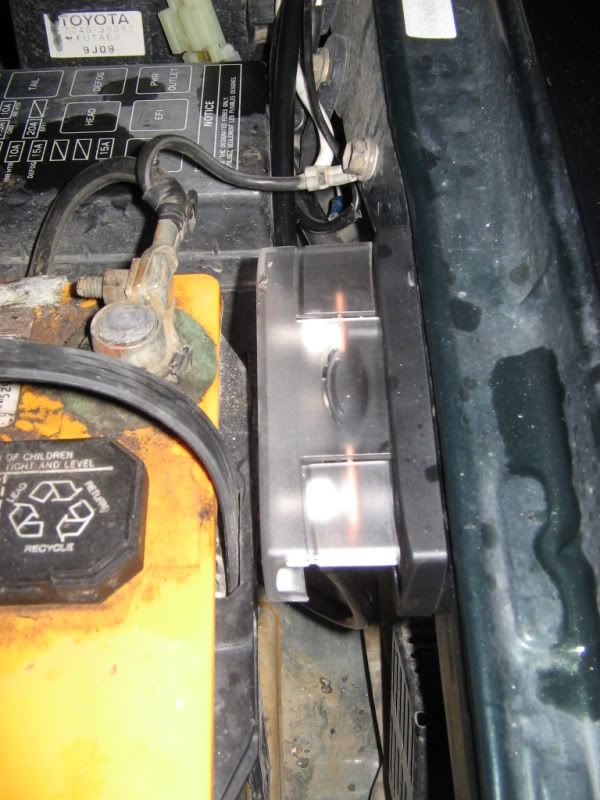
Aux. Fuse
IMG_0107.jpg~original


Since I already have a set of PIAA fog lights installed I had to fiqure out a new mounting location of the lightforce relays. The best solution I could come up with was to mount it where the control for my DRL's was. Since I already disconnected them prior to this in seemed like a good place.

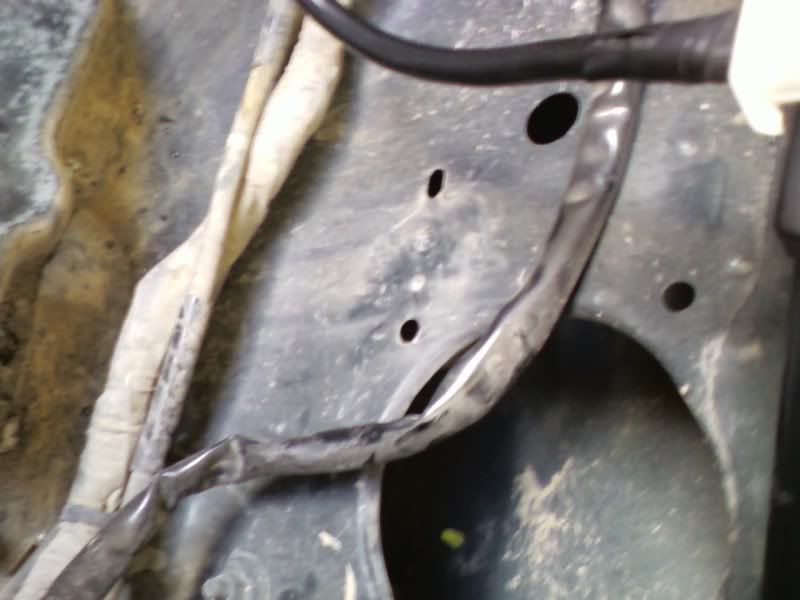
Where the module used too be:
1025091328.jpg~original


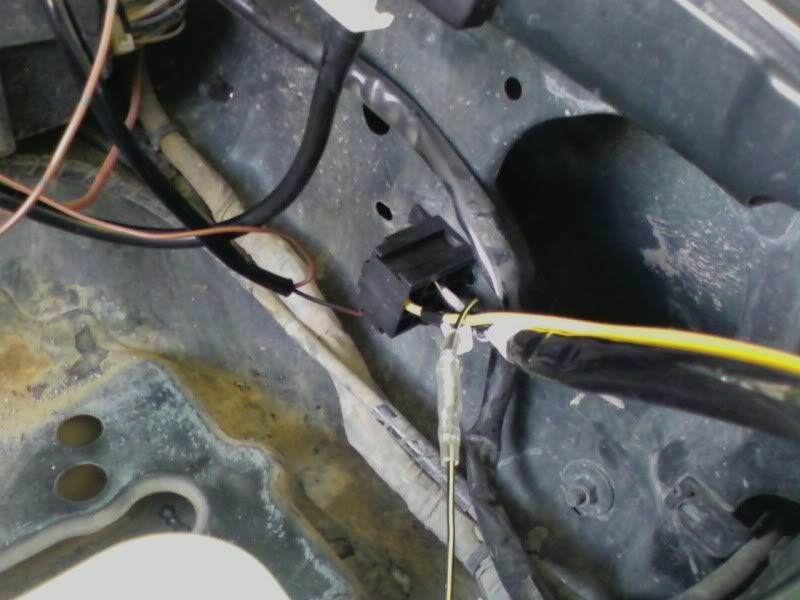
Relay installed
1025091336.jpg~original


I ended up mounting the inline fuse to the bolt/location that I have the relay for my other lights installed. By the way the mounting hole in the inline fuse is a little small. All of the wiring I tried to run along the left side fender under some of the hose's which made for some fun times.


Aux. fuse block all buttoned up.
IMG_0106.jpg~original


The stock switch proivded with the wiring kit again sucks but that's my opinion so I picked up another factory switch. Only thing I have to do is run a ground wire so it will light up.

IMG_0102.jpg~original


The finished product

IMG_01031.jpg~original


The clearance issue I mentioned in #3 and 5 above. The lights sit pretty flush/inline with the front of the hoop.

IMG_0104.jpg~original


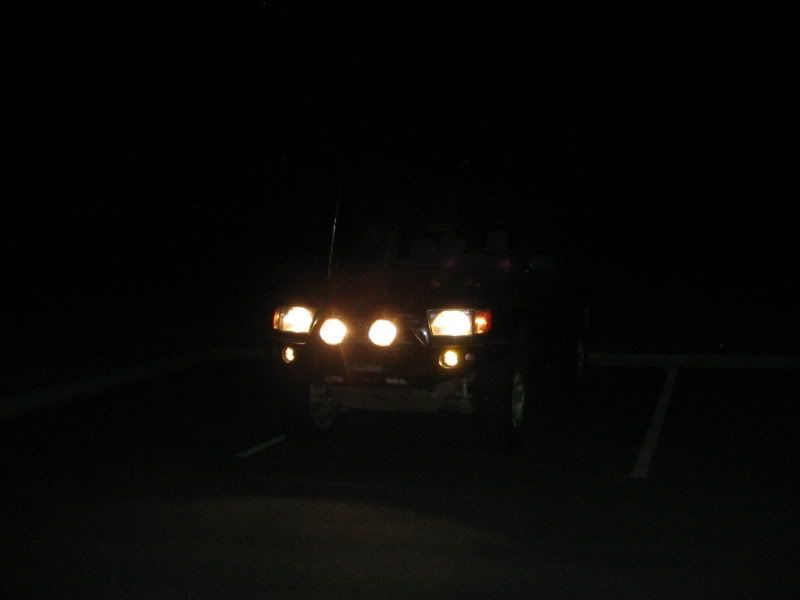
All lite up (this was the only to come out decent since my camera doesn't take very good night time photo's)

IMG_0112.jpg~original
 
Last edited:
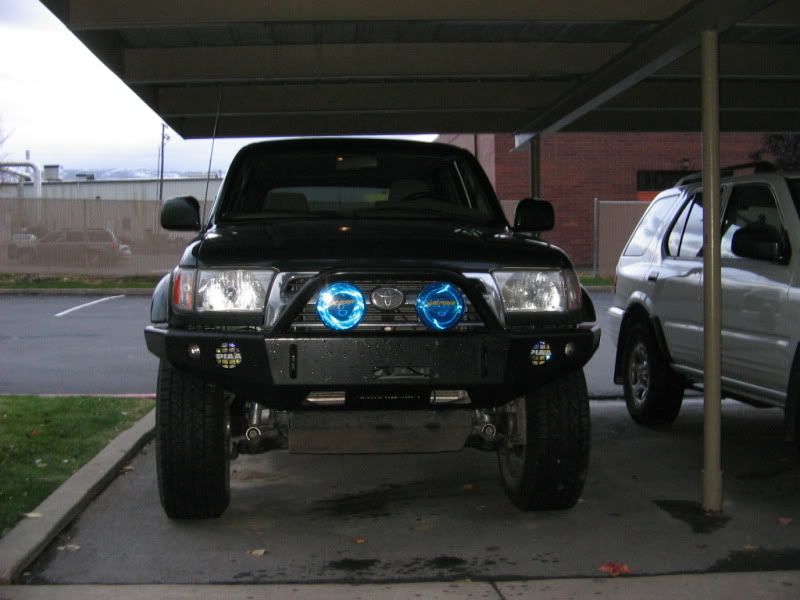
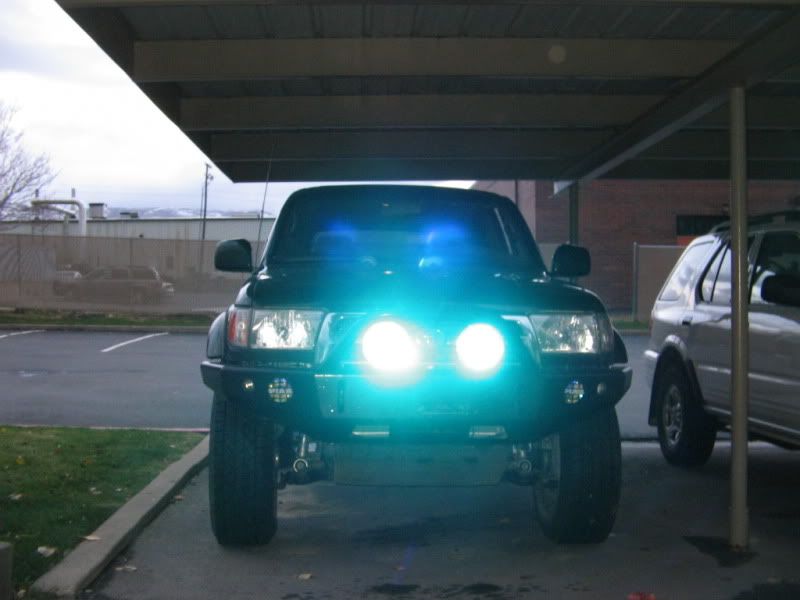
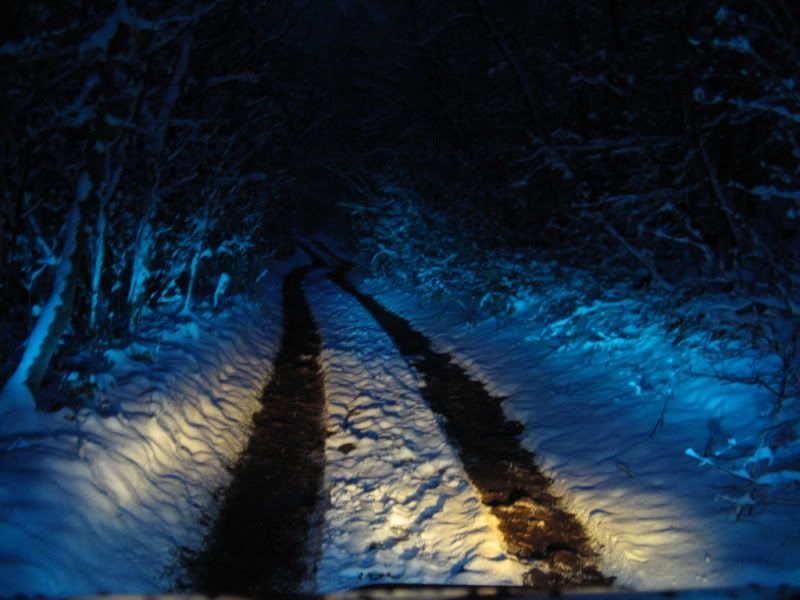
Well, another little item I picked up when I bought the lights were the Blue colored lens. I thought they would be a good investment for the winter time up here in Utah. You know for when I want to go play in the snow. :victory:

Any who these are the Combo lenses - pencil beam with a wide beam. The clear covers aren't that great in the snow since thye produce a little too much glare. Tried that out this morning on my way to work.

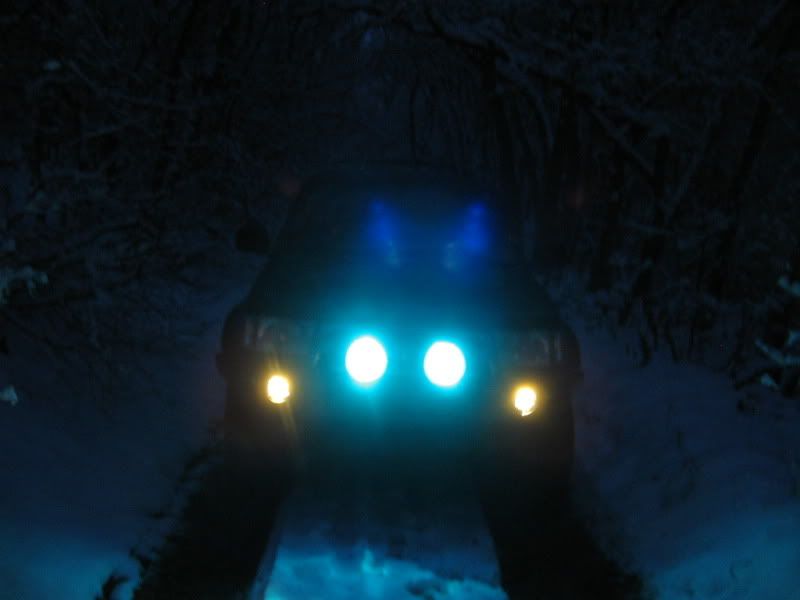
So I went out tonight to Canyon Creek (just a short little trail)to see how they looked and truth be told I had a blast with them.

That which is blue:
IMG_0117.jpg~original


IMG_0118.jpg~original


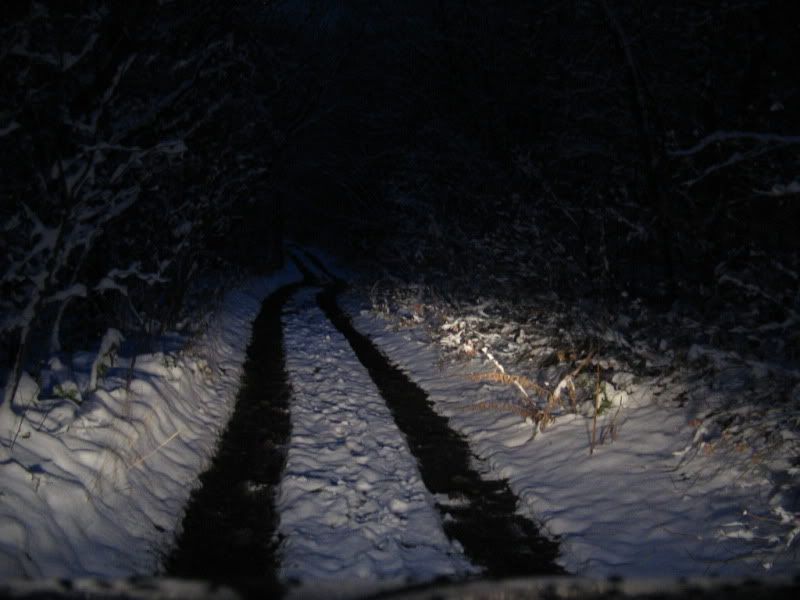
Without the flash on:
IMG_0132.jpg~original


Headlights alone -
IMG_0140.jpg~original


Lightforce light with my Piaa fog lights turned on -
IMG_0139.jpg~original


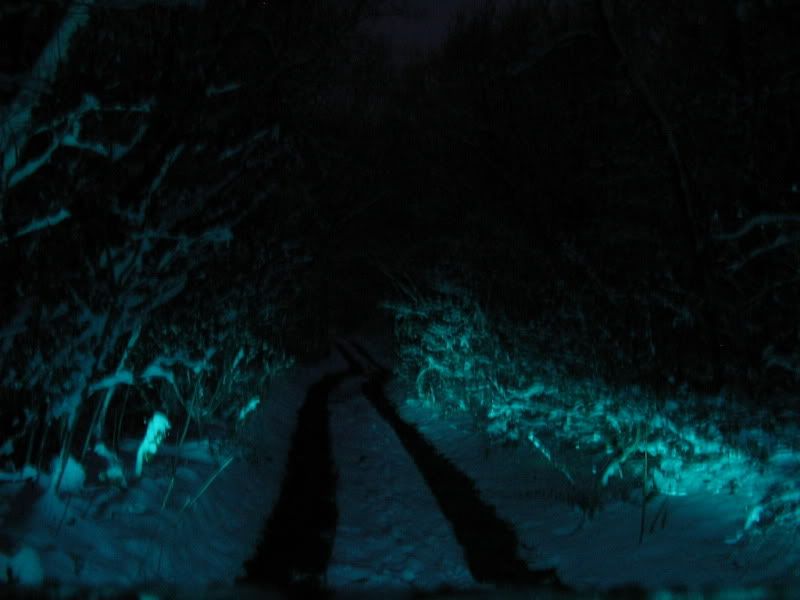
Lightforce by themselves -
IMG_0141.jpg~original


It was interesting trying out the lights with different settings
1. Headlights only
2. Fog lights by themselves
3. Fog lights plus headlights
4. Lightforce with fog lights
5. Lightforce by themselves
6. Headlights plus Lightfoce
7. Headlights plus fog lights plus Lightforce.

Lets not forget the high beams, which adds another four combs to the mix.
 
Did the rear diff breather extention, pretty simple and straight forward took about 20 minutes of my time and $20 from my wallet for clamps, hose, union fitting and new breather. I'm just hoping I left enough hose for when the axle flexes.

Stock breather is in the middle.
IMG_0178.jpg~original


IMG_0179.jpg~original


IMG_0180.jpg~original


There's a little more hose slack up around the gas filler neck
IMG_0181.jpg~original


IMG_0182.jpg~original


Really couldn't fiqure out a better way to hide to the clamp but this will work. There is still enough clearance for the door to close.
IMG_0183.jpg~original


Not pictured is the Tacoma whip antenna install. A couple of trees and a car wash ended the life of the power antenna. I swear you have to be 'Gumby' to see where that bloody wire runs inside the cab.
 
Last edited:
Things to come in the near future in no particular order after #1

1. Paid off
2. Tundra brake upgrade
3. Lil' Skips Gas Tank Skid
4. Bud Built belly skid
5. Tires
6. Rear bumper (either CBI, Irbris or 4x4Labs)
7. Repaint the roof and rear hatch since the paint is flaking off the top of the rear hatch.
 
Last edited:
looks good dude... ya i still need to do the diff breather mod. The light-force lights look amazing especially with the blue bc it gets great distance.
 
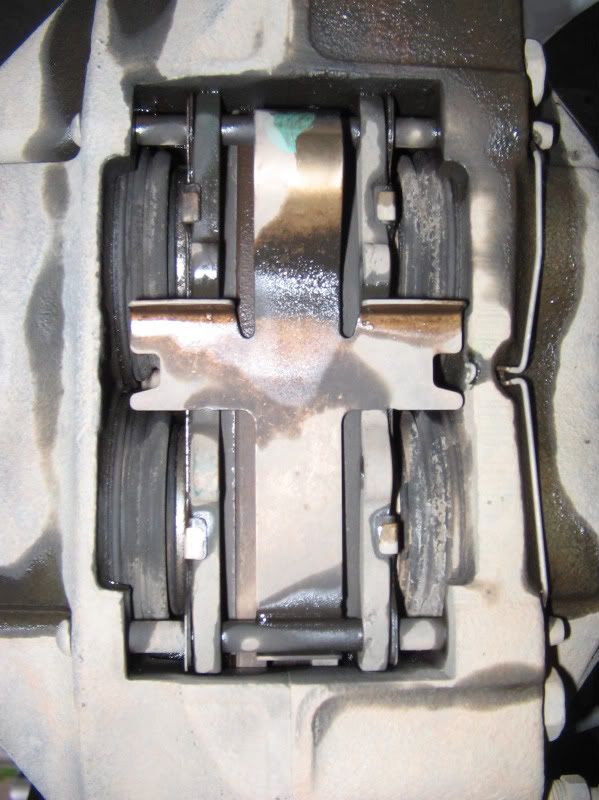
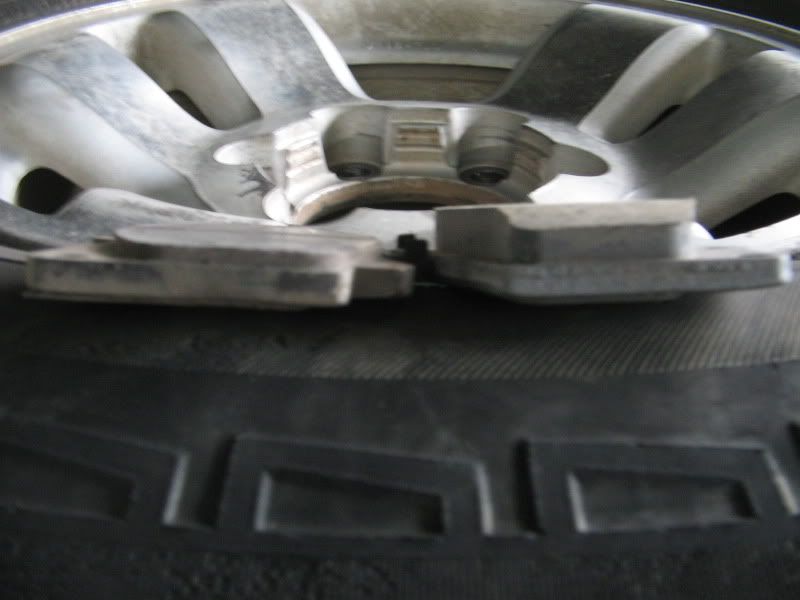
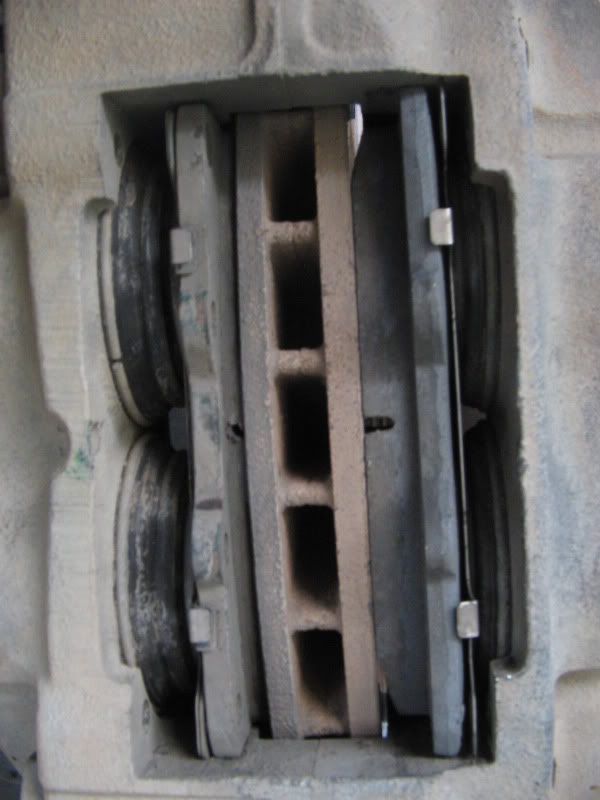
Not really a mod just some much needed mainteance and the first time doing brakes in 5 years.

All I got to say is thank you Toyota for making the pads on the 4runner so easy to change out. :victory:

IMG_0018.jpg~original


Um, should've changed these pads out a while ago

IMG_0021.jpg~original


IMG_0022-1.jpg~original


How the 4runner sits today, just not as dirty (in the coming months some other changes will be taking place :thumb3:).

100_4314.jpg~original
 
looks like you got some uneven wear from your caliper on that one.

if the next batch does the same thing you might want to consider the Tundra upgrade if only to upgrade the calipers.


basically, the uneven wear cost you a bit by having you do a pad change before you shoulda had to. that one pad on the right has a TON of wear left on it.
 
Guess I should've clarified the brake pad thing some.

Picture 1 - old pads in the caliper

Picture 2 - old pad vs. new pad

Picture 3 - old pad vs. new pad in the caliper
 
Not really a mod but I just want to say the 4runner is finally paid off!!!!! :bluejump::bluejump::guitar3::guitar3:
 
I like the integration of your CB under the head unit..it makes for a very clean install..Oh yeah congrats on your paid for rig too!
 
Very nice build! I really like the auxiliary lighting. You have also done a great job on your build thread. Thanks for taking the time.
 

Members online

Forum statistics

Threads
278,309
Messages
3,554,066
Members
248,016
Latest member
Advally Service

Trending content

Back
Top