ramonortiz55
New member
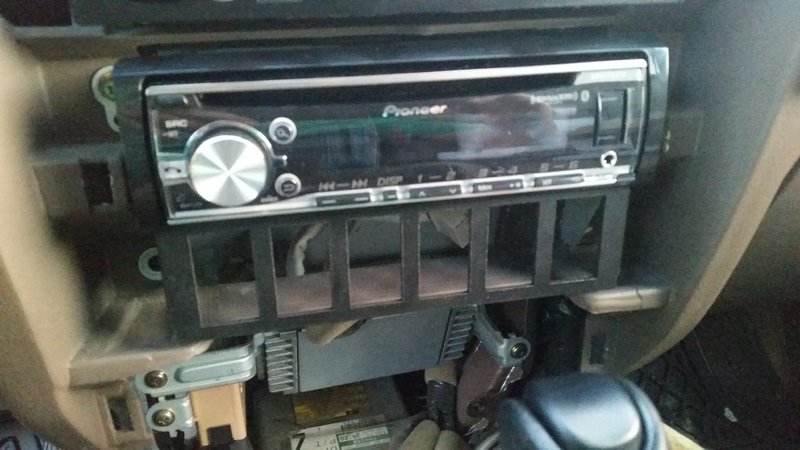
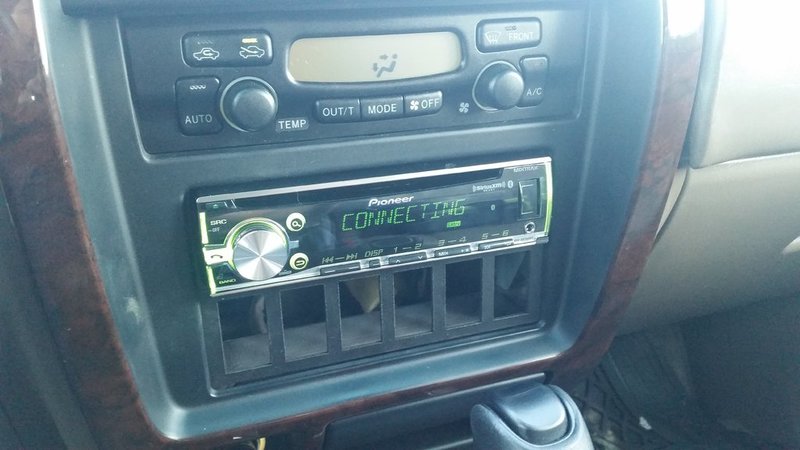
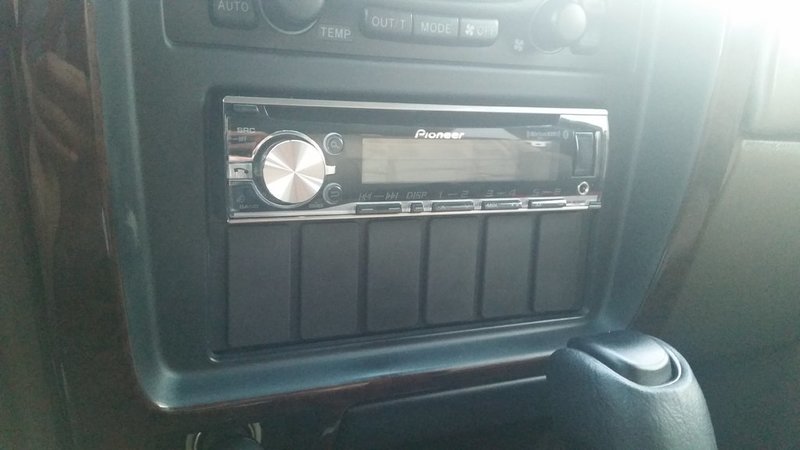
As I was doing my daily scroll of tacomaworld I stumbled upon @paranoid56 6 switch plate that goes under the radio:
https://www.tacomaworld.com/threads/6-switch-plate-under-radio-location.315089/
I figured this would be a great location to install some clean switches on the 4runner. I know I have a lot of goodies planned out for my build, so why not?
In order for this to work I had to get rid of the factory double din radio and purchase a single din aftermarket radio. I had never installed an aftermarket radio, but what the heck, I wanted that switch panel!
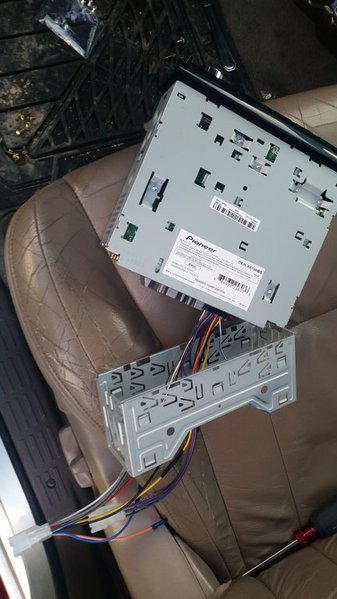
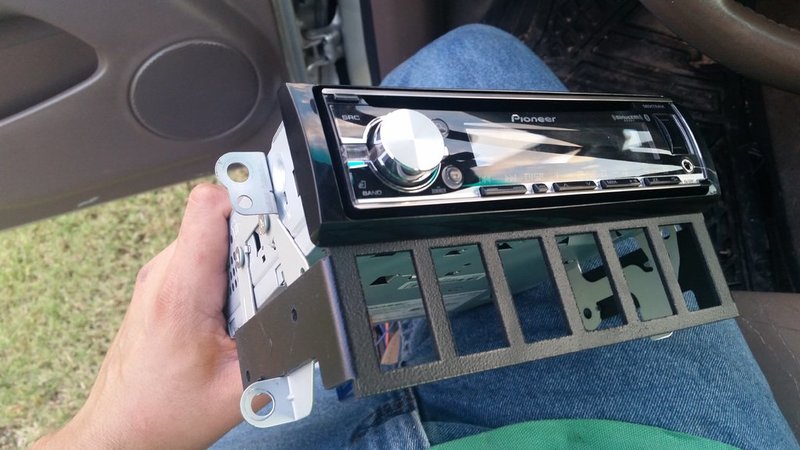
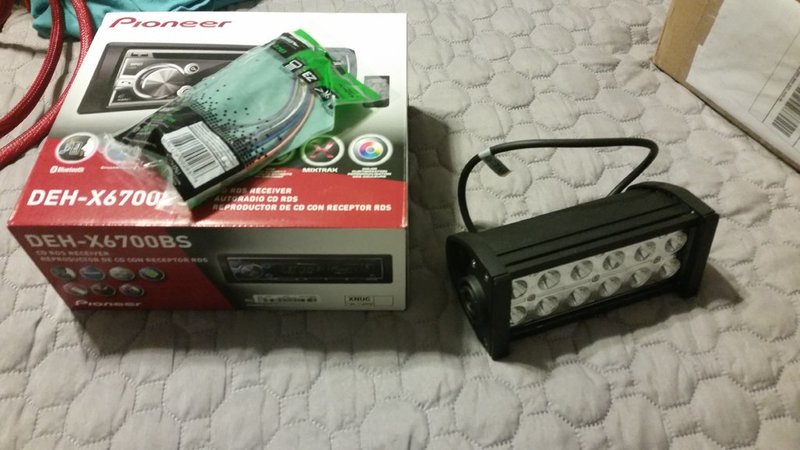
This past saturday I stopped by fry's and picked me up this Pioneer radio with bluetooth.
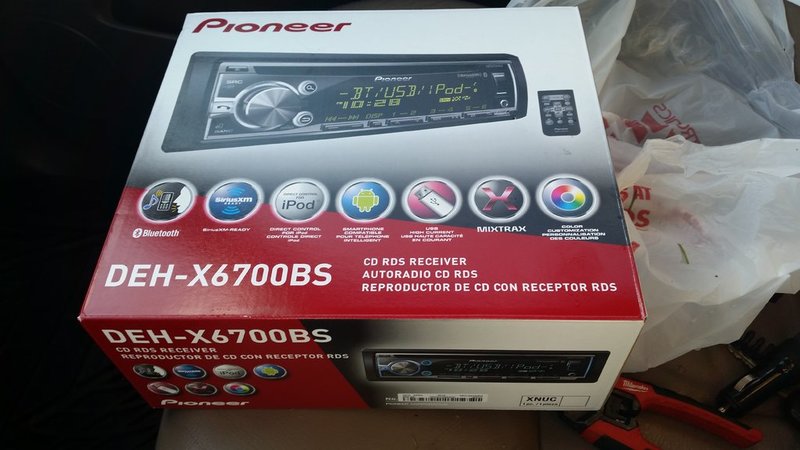
Ignore the LED bar, that's for a future mod
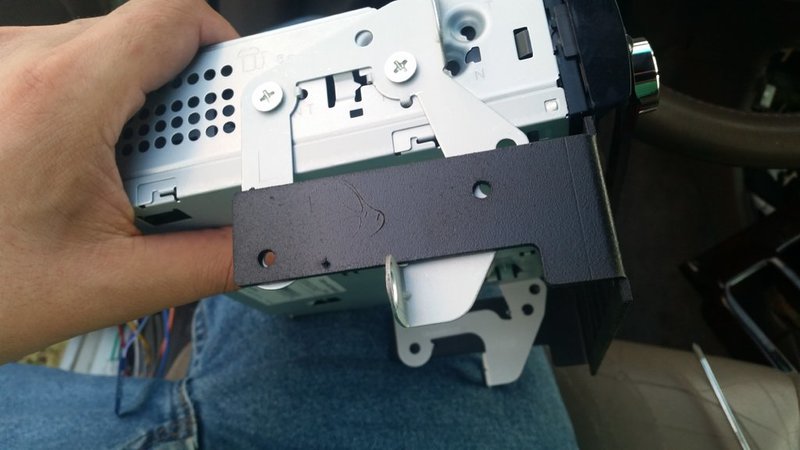
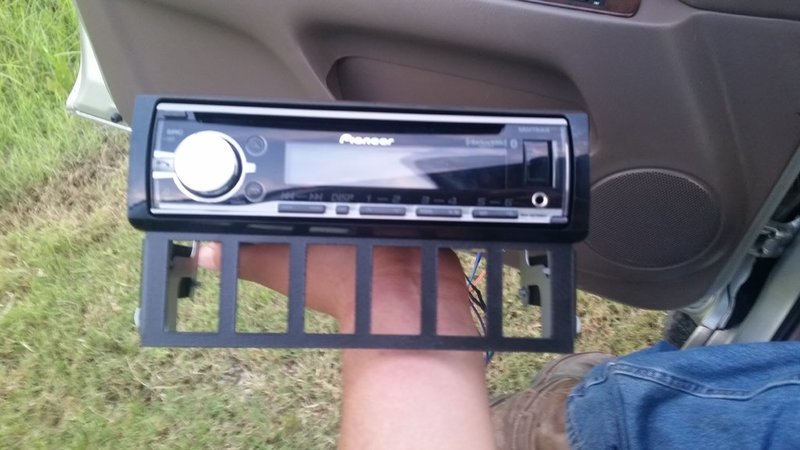
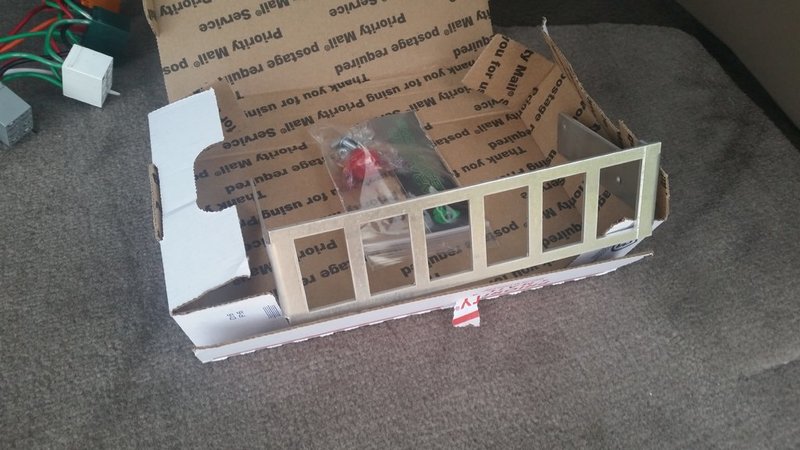
Aha! The switch panel came in. It's a nice sturdy aluminum plate, very well made.
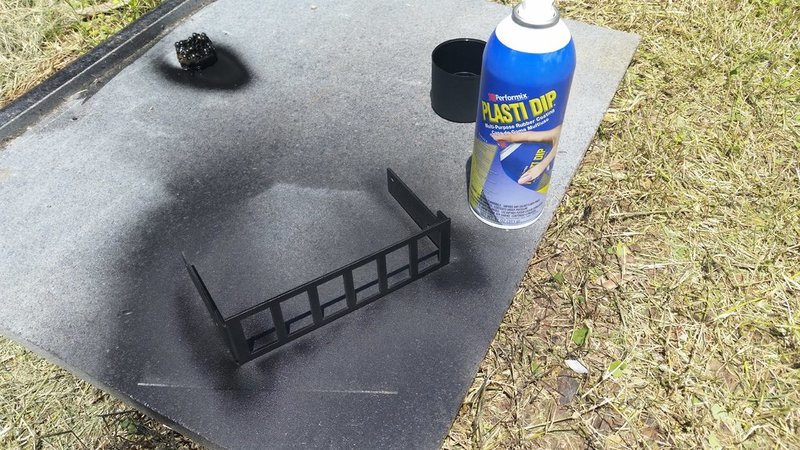
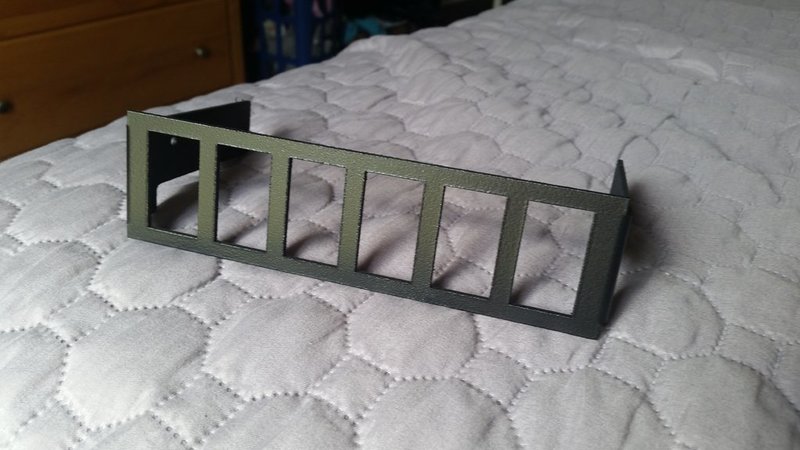
After plasti-derp:
Next step was to solder all the wiring in the radio harness and OEM adapter harness. This OEM adapter harness allows my radio to be plug and play to the existing OEM wiring the in 4runner. The adapter harness comes with the radio and is provided to me depending on the vehicle application.
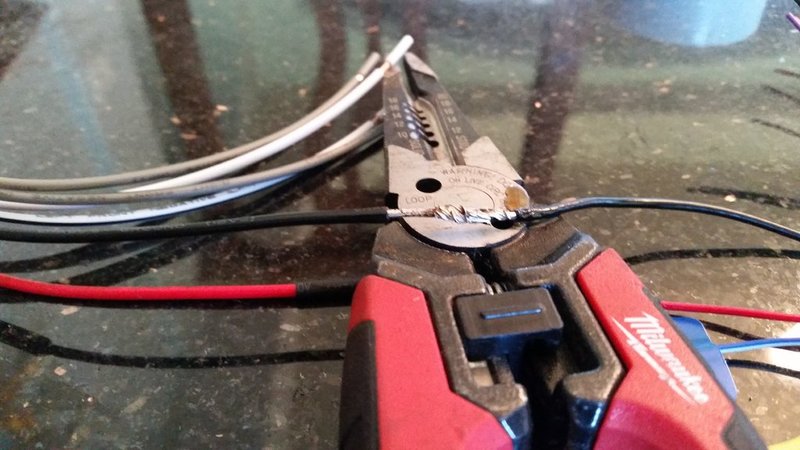
I solder all the wiring, making sure all colors match and use shrink wrap for a nice clean finish.
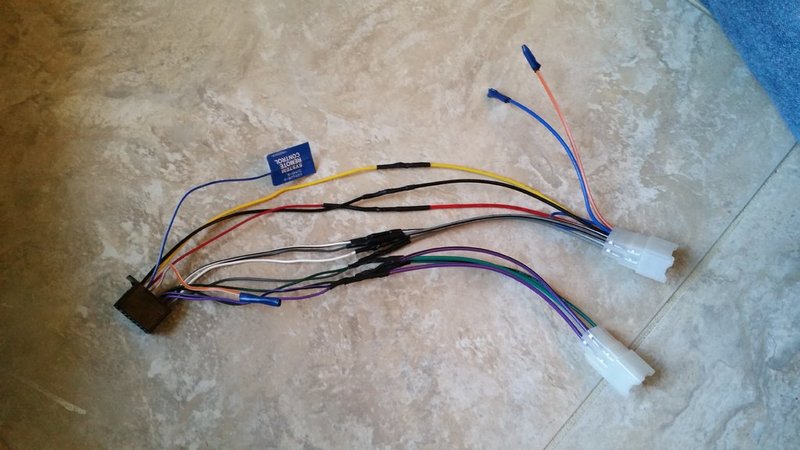
Any unused wires were plugged. The blue wire with the flag reads "for remote", I guess this is some sort of antenna for the radio remote.
The fry's representative told me NOT to connect the orange wires. These are for the dimmer. If I try to dim the radio using the factory dimmer, the radio will flicker. So I just sealed these off with shrink wrap and tape.
The other blue wire is for an automatic antenna, which I do not have.
Next comes the fun stuff!
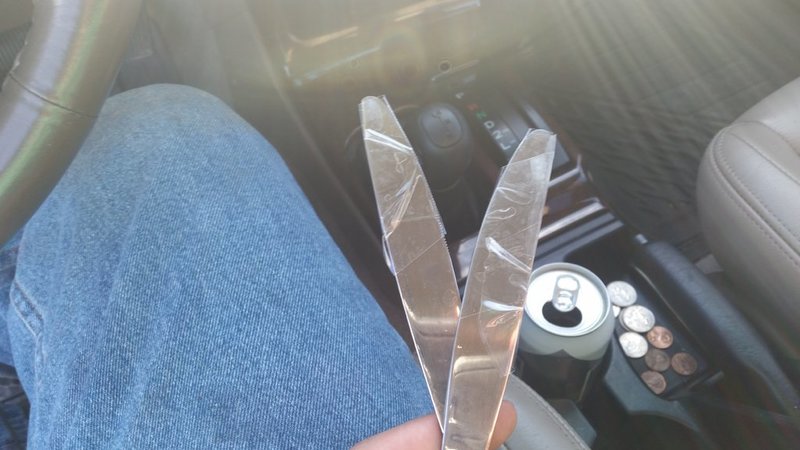
I grabbed some kitcken knives and wrapped them in tape to not scratch the 4runner's interior.
Pried on the center trim piece around the shifter:
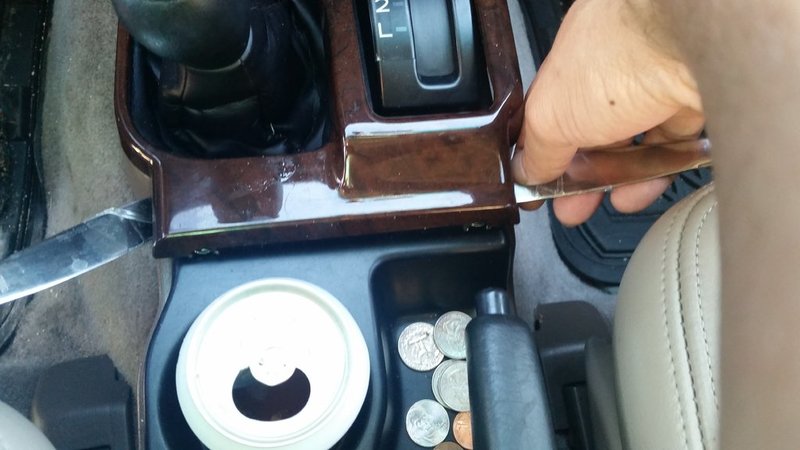
Remove and swivel away:
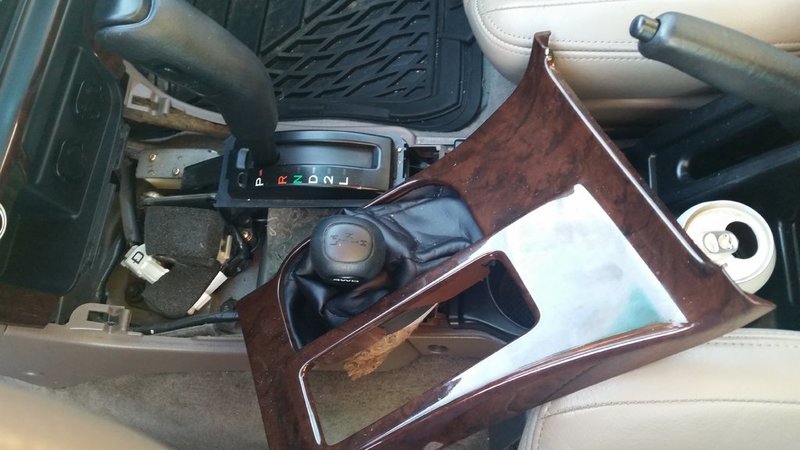
I did not remove the 4x4 shifter leather wrap. I didn't want to mess with it.
Next I carefully removed the radio trim. This is very brittle!
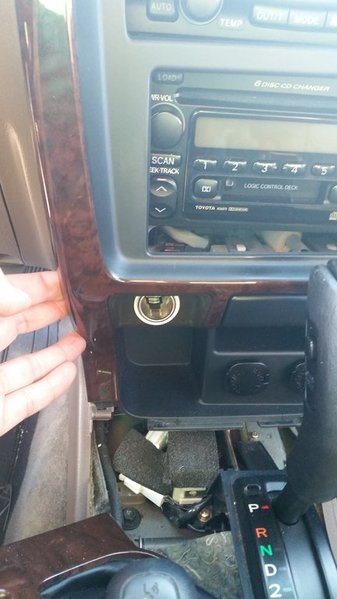
I was careful with the radio trim since there is a lot plugged into it.
1. three power points
2. hazard lights
3. defroster switch
4. clock
5. ECT button
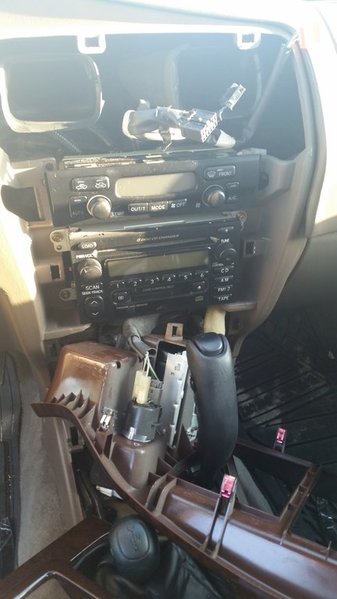
Now I can pull the radio out.
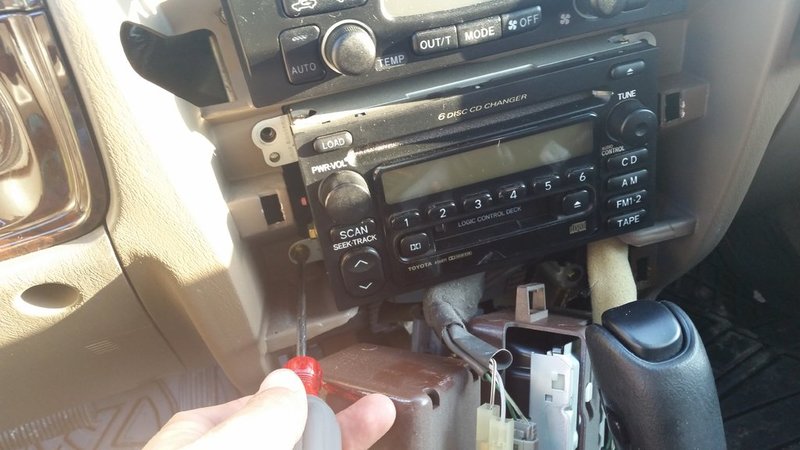
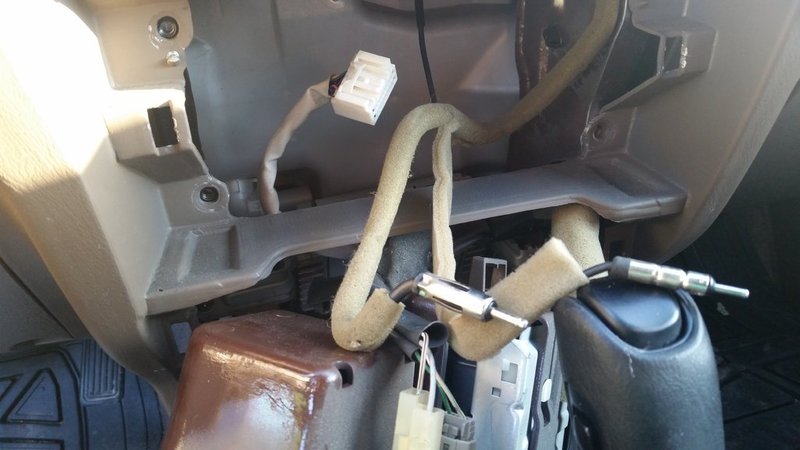
Notice there is TWO antenna cables. The bigger one is for the front antenna, the smaller one is for the rear antenna.
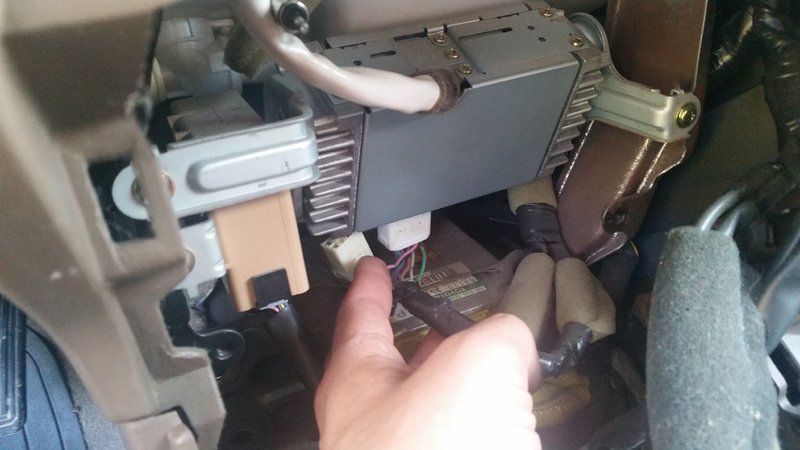
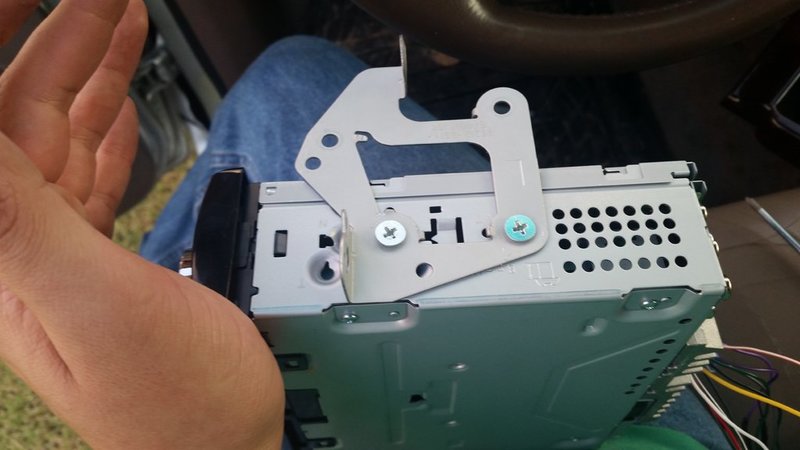
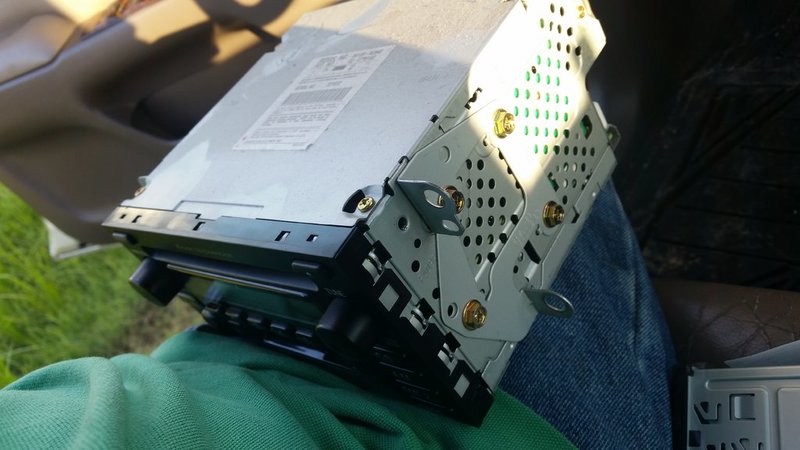
I then remove the brackets that hold the radio housing in place. I will need to install these to my Pioneer.
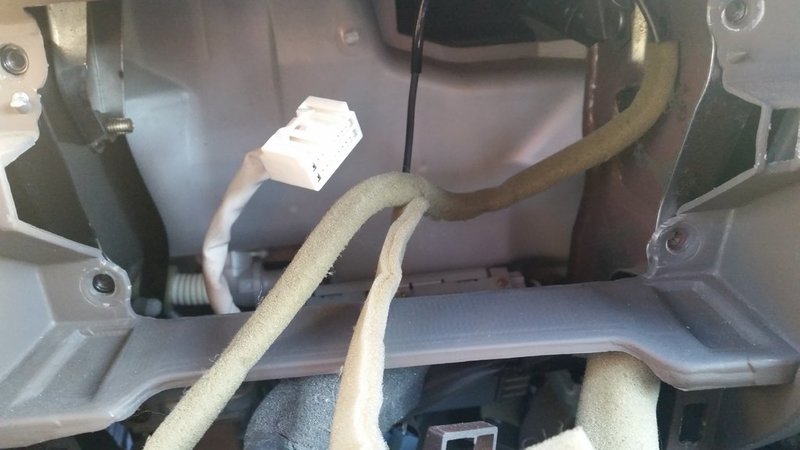
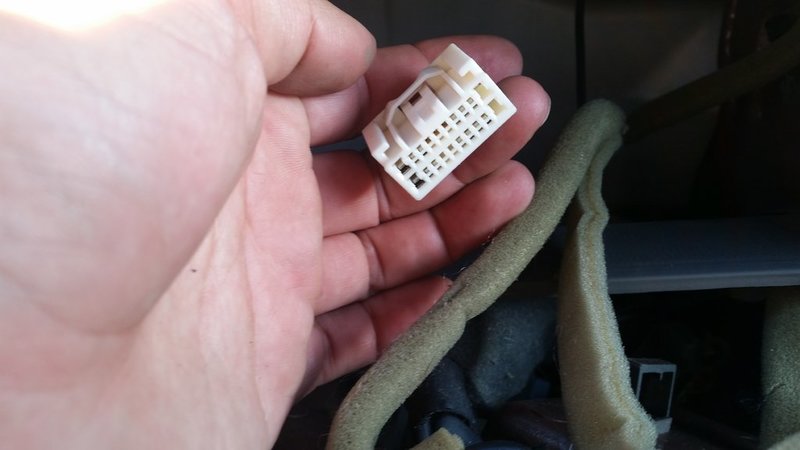
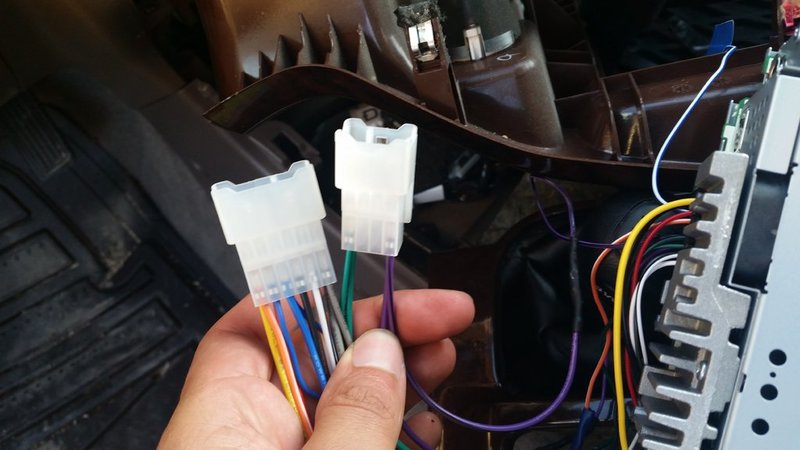
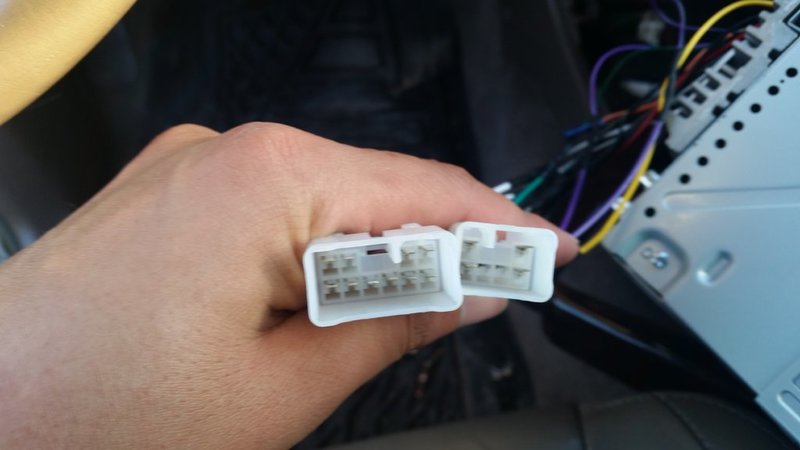
One thing I noticed was that my radio harness had TWO plugs.
https://www.tacomaworld.com/threads/6-switch-plate-under-radio-location.315089/
I figured this would be a great location to install some clean switches on the 4runner. I know I have a lot of goodies planned out for my build, so why not?
In order for this to work I had to get rid of the factory double din radio and purchase a single din aftermarket radio. I had never installed an aftermarket radio, but what the heck, I wanted that switch panel!
This past saturday I stopped by fry's and picked me up this Pioneer radio with bluetooth.
Ignore the LED bar, that's for a future mod
Aha! The switch panel came in. It's a nice sturdy aluminum plate, very well made.
After plasti-derp:
Next step was to solder all the wiring in the radio harness and OEM adapter harness. This OEM adapter harness allows my radio to be plug and play to the existing OEM wiring the in 4runner. The adapter harness comes with the radio and is provided to me depending on the vehicle application.
I solder all the wiring, making sure all colors match and use shrink wrap for a nice clean finish.
Any unused wires were plugged. The blue wire with the flag reads "for remote", I guess this is some sort of antenna for the radio remote.
The fry's representative told me NOT to connect the orange wires. These are for the dimmer. If I try to dim the radio using the factory dimmer, the radio will flicker. So I just sealed these off with shrink wrap and tape.
The other blue wire is for an automatic antenna, which I do not have.
Next comes the fun stuff!
I grabbed some kitcken knives and wrapped them in tape to not scratch the 4runner's interior.
Pried on the center trim piece around the shifter:
Remove and swivel away:
I did not remove the 4x4 shifter leather wrap. I didn't want to mess with it.
Next I carefully removed the radio trim. This is very brittle!
I was careful with the radio trim since there is a lot plugged into it.
1. three power points
2. hazard lights
3. defroster switch
4. clock
5. ECT button
Now I can pull the radio out.
Notice there is TWO antenna cables. The bigger one is for the front antenna, the smaller one is for the rear antenna.
I then remove the brackets that hold the radio housing in place. I will need to install these to my Pioneer.
One thing I noticed was that my radio harness had TWO plugs.