#T4rv3 1999 4runner Limited build

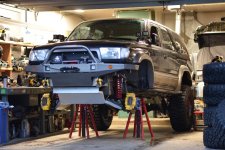
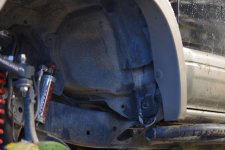
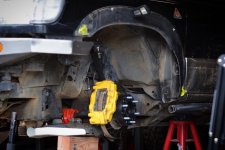
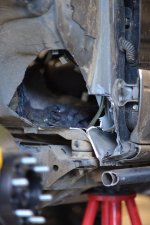
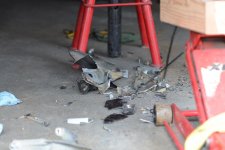
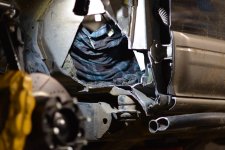
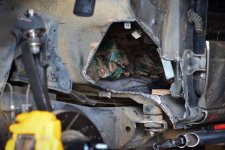
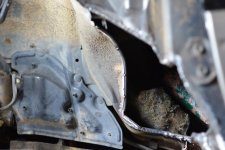
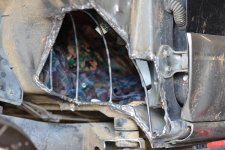
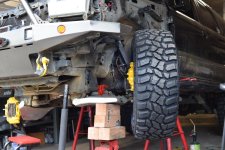
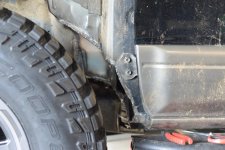
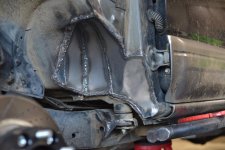
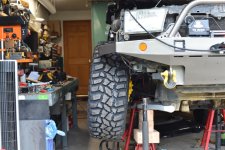
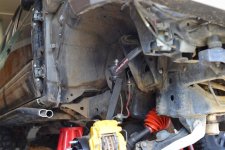
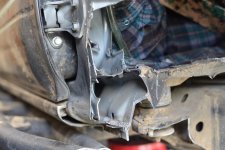
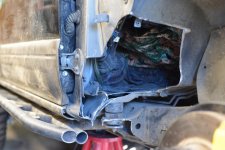
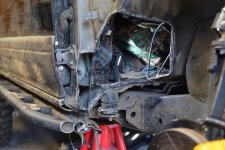
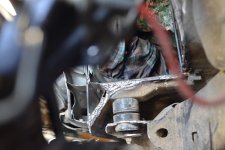
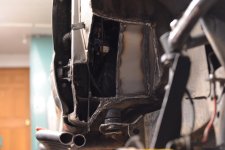
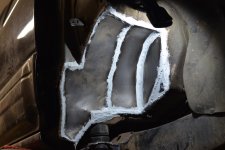
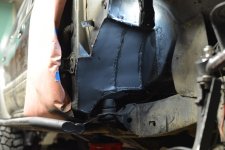
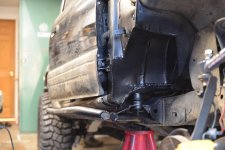
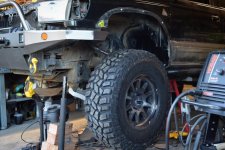
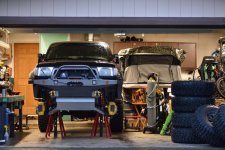
I knew I was going into some dangerous territory when I went with tires this big. Many people just use a BFH to get the firewall back. But I’d like to think I do things the right way, so that only meant one thing, tubbing the firewall. (Also bought some bigass jack stands to perform this task) 21” minimum height, and 47” max. Height
 

Attachments

  • E63FF02B-886D-46B6-B407-5CB48483609C.jpg
    E63FF02B-886D-46B6-B407-5CB48483609C.jpg
    134.7 KB · Views: 654
  • 86804160-757C-40CE-8AC1-2ABCB3FE777D.jpg
    86804160-757C-40CE-8AC1-2ABCB3FE777D.jpg
    137 KB · Views: 650
  • A1674C13-E421-416F-A2F5-21E5EAAF0941.jpg
    A1674C13-E421-416F-A2F5-21E5EAAF0941.jpg
    124.5 KB · Views: 696
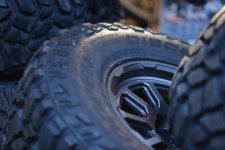
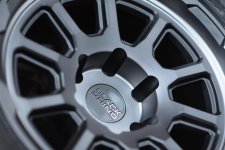
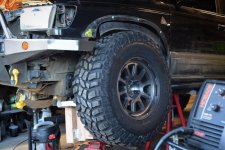
Black Rhino wheels killed it with the finish and design of this wheel. Specs are 17x9.5 -18
 

Attachments

  • 303AFC60-105C-4052-ACF4-8F5AE2C553A1.jpg
    303AFC60-105C-4052-ACF4-8F5AE2C553A1.jpg
    109.4 KB · Views: 669
  • 8F3139E3-9418-4422-94E6-8D88DEB7E896.jpg
    8F3139E3-9418-4422-94E6-8D88DEB7E896.jpg
    115.1 KB · Views: 655
Into the cut

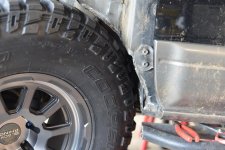
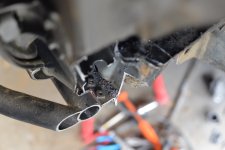
First day of tubbing for 35’s consisted of measuring and cutting a bunch of stuff including my rock sliders..

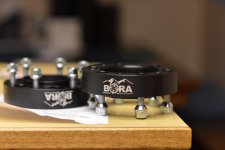
Also running BORA 1.5” wheel spacers to minimize frame rail rubbing
 

Attachments

  • B2D9B86D-E006-47EB-8179-B119C39F0524.jpeg
    B2D9B86D-E006-47EB-8179-B119C39F0524.jpeg
    120.5 KB · Views: 630
  • 397D9692-1B4D-4F46-A196-8CBBA3F91E9C.jpg
    397D9692-1B4D-4F46-A196-8CBBA3F91E9C.jpg
    90.7 KB · Views: 657
  • A5971571-3739-47F0-AF20-3302A22C4424.jpg
    A5971571-3739-47F0-AF20-3302A22C4424.jpg
    119.3 KB · Views: 665
  • 0AE5A8FF-4DE7-4560-A68A-EAB431C99442.jpg
    0AE5A8FF-4DE7-4560-A68A-EAB431C99442.jpg
    126.2 KB · Views: 657
  • BBB2947B-F857-43FA-8C63-772D682DF556.jpg
    BBB2947B-F857-43FA-8C63-772D682DF556.jpg
    121.2 KB · Views: 653
  • 22CEDB49-2165-41ED-A930-3C0D78C79F37.jpg
    22CEDB49-2165-41ED-A930-3C0D78C79F37.jpg
    126.9 KB · Views: 648
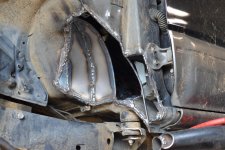
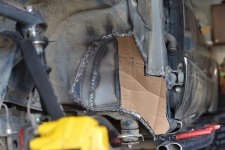
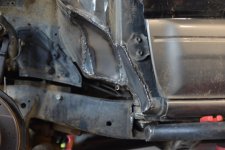
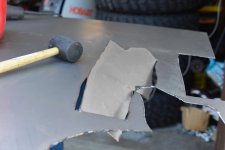
After cutting and reinstalling tire at full compression for one final check, it was time to add metal. I used quarter inch round rod to frame the complete cutout for structural support, then I ribbed the cutout to give the to-be-added sheet metal support
 

Attachments

  • C11618F5-9652-4FA6-8639-9AF44A883D3D.jpg
    C11618F5-9652-4FA6-8639-9AF44A883D3D.jpg
    96.2 KB · Views: 624
  • 6BCEE6DA-2143-4C80-9C39-8E7D2BA9B168.jpg
    6BCEE6DA-2143-4C80-9C39-8E7D2BA9B168.jpg
    125.5 KB · Views: 652
  • B73C0F7F-EC7C-44F1-9C7B-61225B70160B.jpg
    B73C0F7F-EC7C-44F1-9C7B-61225B70160B.jpg
    134 KB · Views: 656
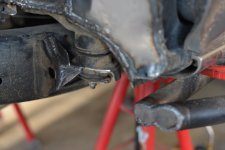
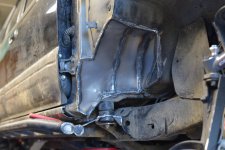
Probably some of the most challenging and tedious parts of this build was the whole tubbing procedure. Constantly mounting the tire to test clearance under full compression lock to lock. I’ve never worked with sheet metal prior, or ever cut into the body like that with any of my projects. Welds don’t look the cleanest but my main focus was to not have any water leaking into the cabin. Now for the passenger side....

PS: still need to get my duro bumps
 

Attachments

  • 836A1FDC-6A9E-48BA-A783-6C8B002CB369.jpg
    836A1FDC-6A9E-48BA-A783-6C8B002CB369.jpg
    135.3 KB · Views: 593
  • 50E62F65-AEF0-4920-9F1C-3C80B9A54005.jpg
    50E62F65-AEF0-4920-9F1C-3C80B9A54005.jpg
    131.4 KB · Views: 609
  • 5251B68D-1ECA-4656-8ADB-F635A0AD4AD8.jpg
    5251B68D-1ECA-4656-8ADB-F635A0AD4AD8.jpg
    138 KB · Views: 573
  • DDF6DFB6-FBAE-4137-9215-977CD4F4B8E6.jpg
    DDF6DFB6-FBAE-4137-9215-977CD4F4B8E6.jpg
    131.6 KB · Views: 600
  • 4F12D4F8-A777-49AA-87F6-91AB5F263A13.jpg
    4F12D4F8-A777-49AA-87F6-91AB5F263A13.jpg
    128.1 KB · Views: 616
  • A70952AA-AB34-49A1-80F6-39481EC03001.jpg
    A70952AA-AB34-49A1-80F6-39481EC03001.jpg
    111.7 KB · Views: 600
  • 33E4FFED-B48B-4E22-923E-15ED083423DB.jpg
    33E4FFED-B48B-4E22-923E-15ED083423DB.jpg
    120.3 KB · Views: 588
  • 6BE81666-9F56-401D-8D62-BE848774A2B0.jpg
    6BE81666-9F56-401D-8D62-BE848774A2B0.jpg
    130.3 KB · Views: 594
Start of passenger side tub
 

Attachments

  • 3B962024-2743-4C9F-AA78-859F735B3832.jpg
    3B962024-2743-4C9F-AA78-859F735B3832.jpg
    135.9 KB · Views: 555
  • 9E878AFB-B091-4652-BF7A-5CA3071EBD9C.jpg
    9E878AFB-B091-4652-BF7A-5CA3071EBD9C.jpg
    131.2 KB · Views: 581
  • 3FAB6485-F93E-41A4-9E67-18BC2CF709F4.jpg
    3FAB6485-F93E-41A4-9E67-18BC2CF709F4.jpg
    110.6 KB · Views: 560
  • 97C75A45-103B-487E-9156-CE362582B13C.jpg
    97C75A45-103B-487E-9156-CE362582B13C.jpg
    126.2 KB · Views: 569
  • A716A4B6-5260-41A4-8B06-BD7ABA3C4329.jpg
    A716A4B6-5260-41A4-8B06-BD7ABA3C4329.jpg
    126.8 KB · Views: 566
Great work and documentation here! I've been thinking about doing this on my runner. What are you going to do with the flares on the front?
 
Yeah, top notch work on everything. Definitely a good showcase of what can be done to 3rd Gen and how to do it.

Curious about having Mule do your gears. Have you gotten enough miles on them so far to feel confident in their work? I had them do my alignment after lifting, and they did get sort of right, the second time...
 
Great work and documentation here! I've been thinking about doing this on my runner. What are you going to do with the flares on the front?

I have not gotten to that point yet, I guess I’ll figure that out when I get there, but I will definitely update the thread then...haha
 
Yeah, top notch work on everything. Definitely a good showcase of what can be done to 3rd Gen and how to do it.

Curious about having Mule do your gears. Have you gotten enough miles on them so far to feel confident in their work? I had them do my alignment after lifting, and they did get sort of right, the second time...

I’ve already driven over 1100 miles since the regear and have been on 3 pretty heavily trafficked trails. Also used my front locker multiple times too. I would say I’m confident and have a pretty good relationship with them. I get my lifetime alignment at firestone but specifically the one in Seattle on MLK. They have pretty good techs
 
Buttoned up the passenger wheel well. Now for some sealing, por15, then some undercoating
 

Attachments

  • 9A8F2274-18E2-4BC5-8C8D-33C342D110D8.jpg
    9A8F2274-18E2-4BC5-8C8D-33C342D110D8.jpg
    131.9 KB · Views: 699
  • 389CB1CA-E1EC-4466-AA5C-388087AF245E.jpg
    389CB1CA-E1EC-4466-AA5C-388087AF245E.jpg
    124.2 KB · Views: 698
  • 866A0A0E-CDE2-48BA-AAF0-C0F0EF7D04FD.jpg
    866A0A0E-CDE2-48BA-AAF0-C0F0EF7D04FD.jpg
    112.9 KB · Views: 694
  • 6B40105B-8FF4-4298-9076-B3ADB94D11D4.jpg
    6B40105B-8FF4-4298-9076-B3ADB94D11D4.jpg
    89.2 KB · Views: 716
  • F9995010-7AB7-45C5-8542-6E06329DEAED.jpg
    F9995010-7AB7-45C5-8542-6E06329DEAED.jpg
    129.1 KB · Views: 689
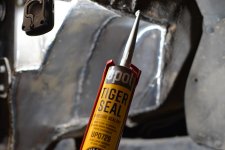
Sealing it all back up
1. Etch metal
2. POR15
3. Rubberized undercoating
4. Bed liner

Also started working on trimming the fenders and the OEM flares. So many choose to lose it because they can’t figure out how to remote the flare with the trimmed fender. I will figure out a way....hopefully
 

Attachments

  • 282AFC1F-1B97-415F-89EF-5EAF7E47482C.jpg
    282AFC1F-1B97-415F-89EF-5EAF7E47482C.jpg
    107 KB · Views: 656
  • 3082BD4C-C76C-4786-A44B-EAB760A16A5E.jpg
    3082BD4C-C76C-4786-A44B-EAB760A16A5E.jpg
    128.9 KB · Views: 635
  • C7B76273-CB72-497D-BE57-A66CB203BB98.jpg
    C7B76273-CB72-497D-BE57-A66CB203BB98.jpg
    121.9 KB · Views: 658
  • E037499D-3EA6-47ED-BF1D-655B14271D26.jpg
    E037499D-3EA6-47ED-BF1D-655B14271D26.jpg
    125.2 KB · Views: 630
  • 82E0E71C-3F94-46FD-857A-0701DAEB1EFE.jpg
    82E0E71C-3F94-46FD-857A-0701DAEB1EFE.jpg
    116.7 KB · Views: 1,038
  • EEA660CA-7682-40D5-A1F8-D80F499C4FE2.jpg
    EEA660CA-7682-40D5-A1F8-D80F499C4FE2.jpg
    115.6 KB · Views: 668

Members online

Forum statistics

Threads
278,316
Messages
3,554,111
Members
248,016
Latest member
Advally Service

Trending content

Back
Top