
You are using an out of date browser. It may not display this or other websites correctly.
You should upgrade or use an alternative browser.
You should upgrade or use an alternative browser.
#T4rv3 1999 4runner Limited build
- Thread starter tuanvuyeah
- Start date


tuanvuyeah
New member
great work very nicely done!
Thanks!
tuanvuyeah
New member
Great build! And love the abundance in pictures!
Can't wait to see this thing all buttoned up and out on the trail.
Trust me, I’m there with you!
tuanvuyeah
New member
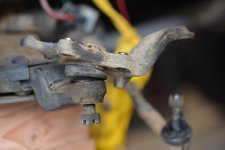
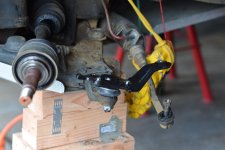
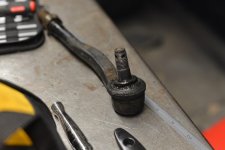
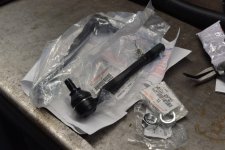
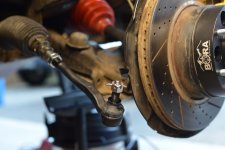
New Toyota OEM lower ball joints and outer tie rod ends to tighten up steering while I’m already working on the front end
Attachments
-
 4B896F0C-E164-4937-9E2E-41554D990A3B.jpg96.4 KB · Views: 608
 -
 802756B5-3ECA-497A-8091-7E9A52242551.jpg119 KB · Views: 609
 -
 2608A44B-E57E-4082-A865-DECB0396FBE0.jpg113.8 KB · Views: 614
 -
 72F390FA-BD07-4D6F-9F46-75CB97410FCC.jpg130.6 KB · Views: 573
 -
 8F19B336-CF43-4B8C-A607-458F6519DFAB.jpg120.4 KB · Views: 594
tuanvuyeah
New member
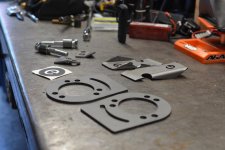
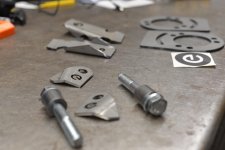
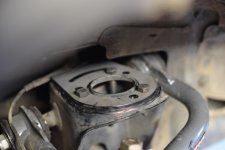
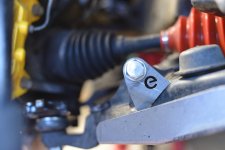
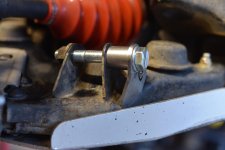
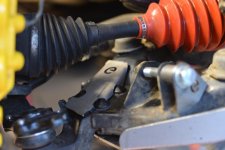
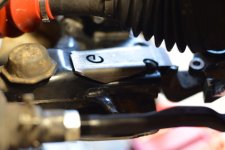
Reinforcing some components using Eimkeith’s kit and prototyping his front lower control arm gussets!
Attachments
-
 852D5BE2-C7BE-4D69-8F91-2913A914D892.jpg120.1 KB · Views: 587
 -
 11D75EBC-7576-4087-8FD2-213EAED305FB.jpg110.7 KB · Views: 607
 -
 45DB7F16-5E8D-4CEB-8FC1-25B70BC2DEBD.jpg97.5 KB · Views: 606
 -
 4FDF35C6-4D82-4B07-83E6-CEF68F243444.jpg103.7 KB · Views: 602
 -
 2D509AF9-1703-41EE-9856-1BD215662A06.jpg114.2 KB · Views: 604
 -
 2B02A12F-F608-4C64-860C-BD2E451F1D56.jpg118.4 KB · Views: 609
 -
 E73ED628-A09A-4221-9C9E-50D6BACEA120.jpg105.1 KB · Views: 606
Last edited:

weekendclimber
New member
I gotta get a MIG and learn to weld :wow:
tuanvuyeah
New member
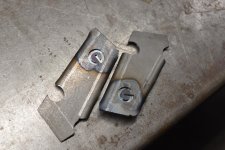
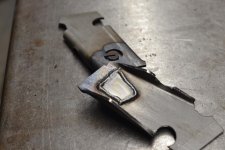
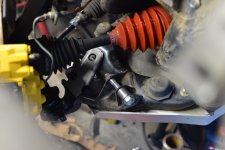
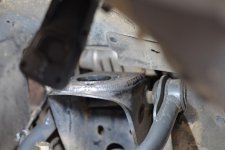
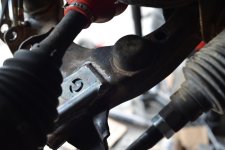
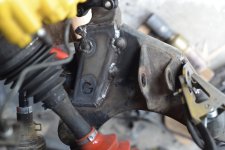
Capped off the lower control arm gussets where the “e” is to prevent rust forming from inside out
Attachments
-
 300AB1B7-D4BE-4B36-A775-3F7C0DB6D714.jpg136.3 KB · Views: 537
 -
 19716F97-A75D-4513-B609-D48E11C32160.jpg127.2 KB · Views: 567
 -
 9BA23D94-0155-4C08-B715-8EB9DC965FE3.jpg120.4 KB · Views: 557
 -
 83E72ECA-2107-4C6F-B760-19D2A023B6AE.jpg105.4 KB · Views: 596
 -
 492ADFDD-2A3B-44A6-84CC-CBD178A76AA7.jpg109.4 KB · Views: 560
 -
 CFB7610D-FE05-446B-B7F7-4FDA6CE03C06.jpg121.2 KB · Views: 561
tuanvuyeah
New member
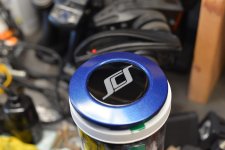
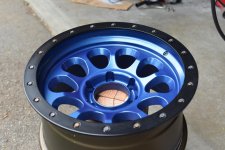
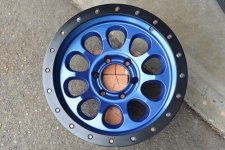
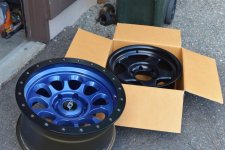
Since I removed my stock 33” tire to put a 35 on my spare, I thought I might as well redo the color since I thought the SCS bronze on the ray10 has always been a little dull. I thought the metallic blue turned out great. Had so many hits one of my buddies dropped off his brand new F5’s to get done in the same color
Attachments
-
 EF7FF020-710C-4C0B-BD07-E9BD9FBEB41A.jpg110.9 KB · Views: 530
 -
 6788859F-2541-4747-9CB4-D7131798D956.jpg124.8 KB · Views: 551
 -
 0A1D72F6-4770-4FB1-AC68-AE3ACDB6C8B3.jpg137.8 KB · Views: 508
 -
 AA3059D2-B5DA-4A8B-AB47-F8187E3877F3.jpg116.8 KB · Views: 540
 -
 9D6E2D5A-190F-42B8-BC8A-4C7CD3DB71E0.jpg131.7 KB · Views: 513
Last edited:

Dezert4Runner
Senior Member
The Ray 10 are a 1pc wheel, right? Meaning the outer rings aren’t removable? Do the powder coaters tape off the black outer faux bead lock ring when they powder coat them? Unique color on those, it really pops but I’d be worried about them getting trashed offroad and not being able to touch them up easily.
tuanvuyeah
New member
The Ray 10 are a 1pc wheel, right? Meaning the outer rings aren’t removable? Do the powder coaters tape off the black outer faux bead lock ring when they powder coat them? Unique color on those, it really pops but I’d be worried about them getting trashed offroad and not being able to touch them up easily.
I actually mixed the paint/metallic myself to give it the color I wanted. So I can touch it up anytime I want. If it does get used on the trail (hopefully I wont need to) it should be easy to touch up. To answer your question, yes they are faux rings and yes they would normally mask off the ring

4wheelspulling
New member
Picked up my Coastal Offroad front/rear bumper kit. Super stoked to build it and nervous at the same time. It’ll be my first time doing something like this. Starting on the front bumper first
You have a nice 99’ Runner! I have it’s twin! Do you by any chance have the tech. Information on the bumper? Dimensions and the like? I want to have a friend build me one that will also, work with my Warn Zeon 10s. Winch? Will be following your build! Vance.
tuanvuyeah
New member
You have a nice 99’ Runner! I have it’s twin! Do you by any chance have the tech. Information on the bumper? Dimensions and the like? I want to have a friend build me one that will also, work with my Warn Zeon 10s. Winch? Will be following your build! Vance.
Thanks for the words! I do not have the dimensions, it did fit my 9500 lb super winch in there. Had to trim an easy 1/4” off of the top plate of the bumper to clear the motor. If you email Brandon [MENTION=39123]coastal[/MENTION]offroad he will send you an exact dimension sheet and if it’ll clear.
tuanvuyeah
New member
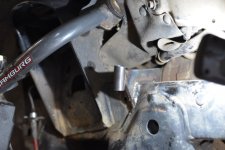
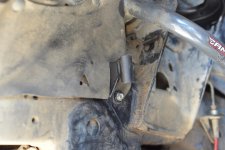
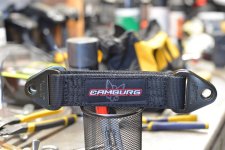
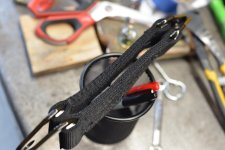
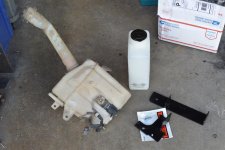
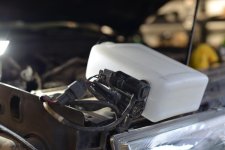
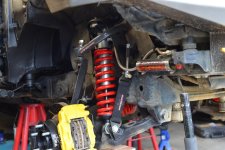
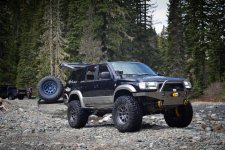
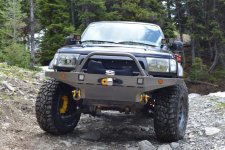
Finally back on the ground after a month on jack stands! Was waiting on parts the last week... installed my Sonoran steel washer reservoir relocation kit. finished up the limiting strap kit and it turned out great. Duro bumps are on the way and some final clearance trimming after I flex it out. Also looking at building my own custom rear extended sway bar end links.
Attachments
-
 A61782A7-C9D9-4333-AC50-2F4CF5FE0774.jpg120.9 KB · Views: 727
 -
 1C8EE2B2-6BEF-431B-BA56-5A01B4853589.jpg123.1 KB · Views: 674
 -
 123E0F05-6ED1-48E9-A2CB-8DA61AA491EC.jpg130.1 KB · Views: 651
 -
 A237BCB8-D8A2-4303-9709-3FE51B6F188A.jpg119.6 KB · Views: 660
 -
 96ED9CCD-9ADC-4A75-860B-FEDB8DC49C70.jpg133.5 KB · Views: 670
 -
 A17ED5C2-9481-4CB6-A722-8BA5FA2C6D4F.jpg107.6 KB · Views: 695
 -
 F81F3120-1BB4-49F2-9A5E-642D211891AF.jpg130.2 KB · Views: 642
tuanvuyeah
New member

montijo505
Senior Member
How did you paint the bolts on the ring of the ray10’s? I want to do mine black but I’m worried about them scratching when putting them back on.
Sent from my iPhone using Tapatalk
Sent from my iPhone using Tapatalk
tuanvuyeah
New member
How did you paint the bolts on the ring of the ray10’s? I want to do mine black but I’m worried about them scratching when putting them back on.
Sent from my iPhone using Tapatalk
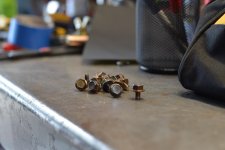
I actually heat treated the bolts with a blow torch to give it that "burnt" look. It'll be more scratch resistant than paint. If I were you I would remove them, rubberize coat the bolt heads, then reinstall with a 6 point socket to minimize abrasion when reinstalling the bolts. good luck!
tuanvuyeah
New member
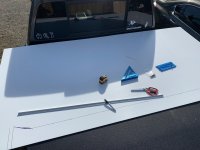
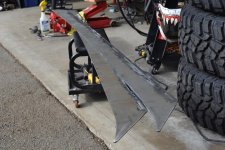
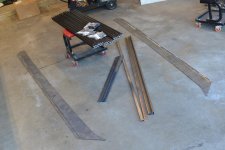
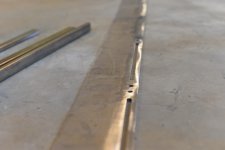
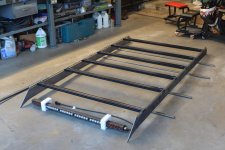
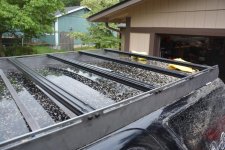
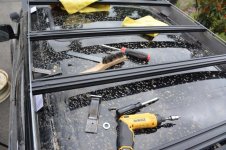
Now finally got around to finishing up my roof rack. Measured with sign board, then had it scanned and laser cut
Attachments
-
 42269AED-48E8-449E-BE78-8EDAB6CBAD9F.jpg134.9 KB · Views: 564
 -
 5D14F12C-B657-4A66-AD2D-501065E2F6AE.jpg135.9 KB · Views: 559
 -
 A5188758-0B36-4905-91E4-EA12E8F292DC.jpg118.8 KB · Views: 580
 -
 0B9B21CC-BE8E-47DB-959F-1C11C42B3DD6.jpg117.6 KB · Views: 599
 -
 BB820EDF-1C00-4AB8-9B34-528742854C75.jpg127.5 KB · Views: 581
 -
 2D6BA18A-E396-49D3-8964-D8FC87B57031.jpg79.4 KB · Views: 581
 -
 31ABF5C9-FED2-4519-AB43-243748F712CC.jpg131.2 KB · Views: 547
tuanvuyeah
New member
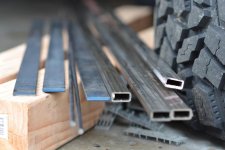
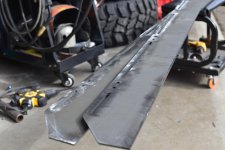
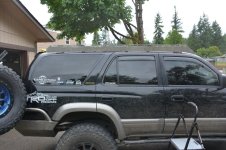
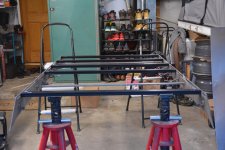
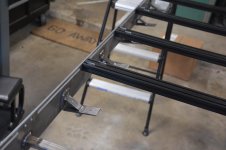
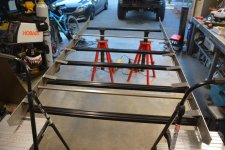
Making legs and mounting up to OEM locations
Attachments
-
 CCF0A5B9-46D0-4A0F-9D2E-4623E3574AAC.jpg135.3 KB · Views: 562
 -
 AEAD30BF-4C63-4523-A2FA-135997622550.jpg141.5 KB · Views: 562
 -
 4F1BA35D-9C01-493E-834B-193860DAD4FC.jpg141.8 KB · Views: 558
 -
 8415DC64-E8BF-4FF4-BE62-1AA31F3EF723.jpg127.8 KB · Views: 575
 -
 FC6AC709-C337-4119-BEFA-EA518DE40350.jpg131.9 KB · Views: 572
 -
 64EDCA68-A4E1-4AA1-9923-2676E3CE2535.jpg111.2 KB · Views: 584
 -
 70F5CE92-67CB-4A2F-B8A0-1ACE053998C8.jpg133.9 KB · Views: 577
tuanvuyeah
New member
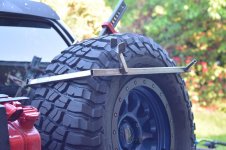
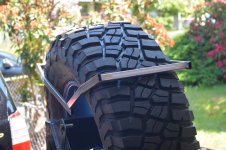
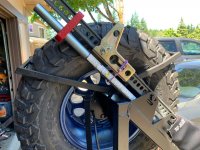
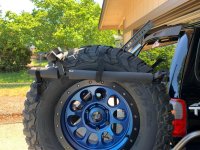
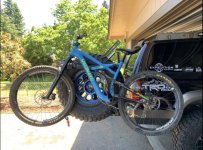
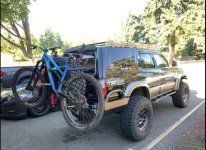
A quick bike rack build that mounts to a part of the fork, and under the top tube. Super light weight at about 8 lbs. takes about 40 seconds to strap it in, and about 20 seconds to remove it
Attachments
-
 AB3AA709-2D87-4F61-AC25-CC100B4E0908.jpg126 KB · Views: 529
 -
 FAC9344D-4A64-493A-8E79-0CE67AAF7808.jpg128.9 KB · Views: 518
 -
 1607F748-53BE-4897-A21A-3A6C78790DB9.jpg139 KB · Views: 513
 -
 8DAF95D3-4929-4B3D-B212-93F9174F2496.jpg140.3 KB · Views: 533
 -
 9BCB5E0E-DB1D-43F9-92AA-737C0E2C2089.jpg100 KB · Views: 544
 -
 85210DAF-2A60-4A3F-8AC2-442FC2E61A0F.jpg97.1 KB · Views: 529
Last edited:
Similar threads
- Replies
- 2
- Views
- 2K

- Replies
- 3
- Views
- 3K


