The Fourplayer Build

Daron-t4r

New member
Hey there, decided it would be fun to write about my on-going build of the 4runner, so here it is.

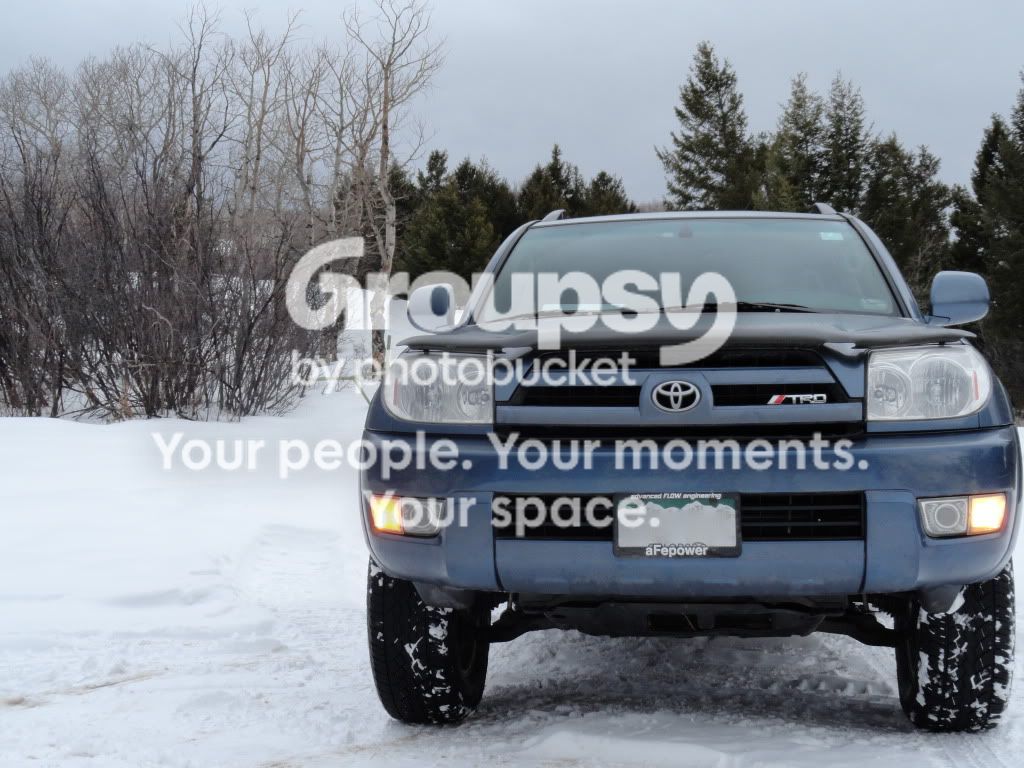
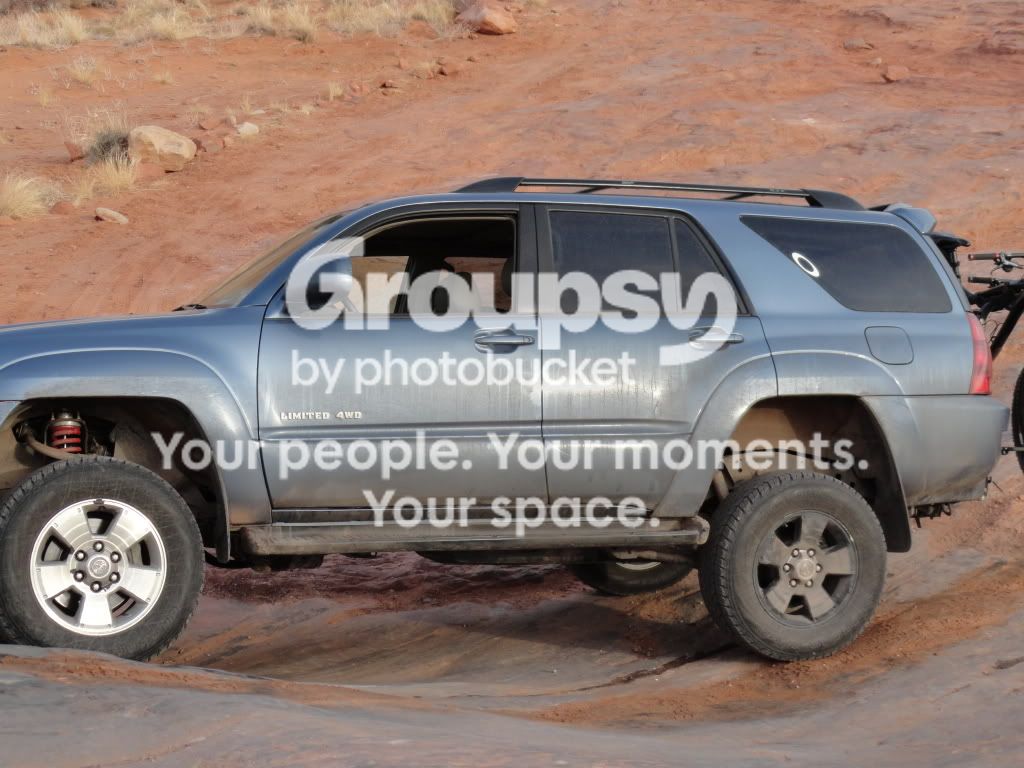
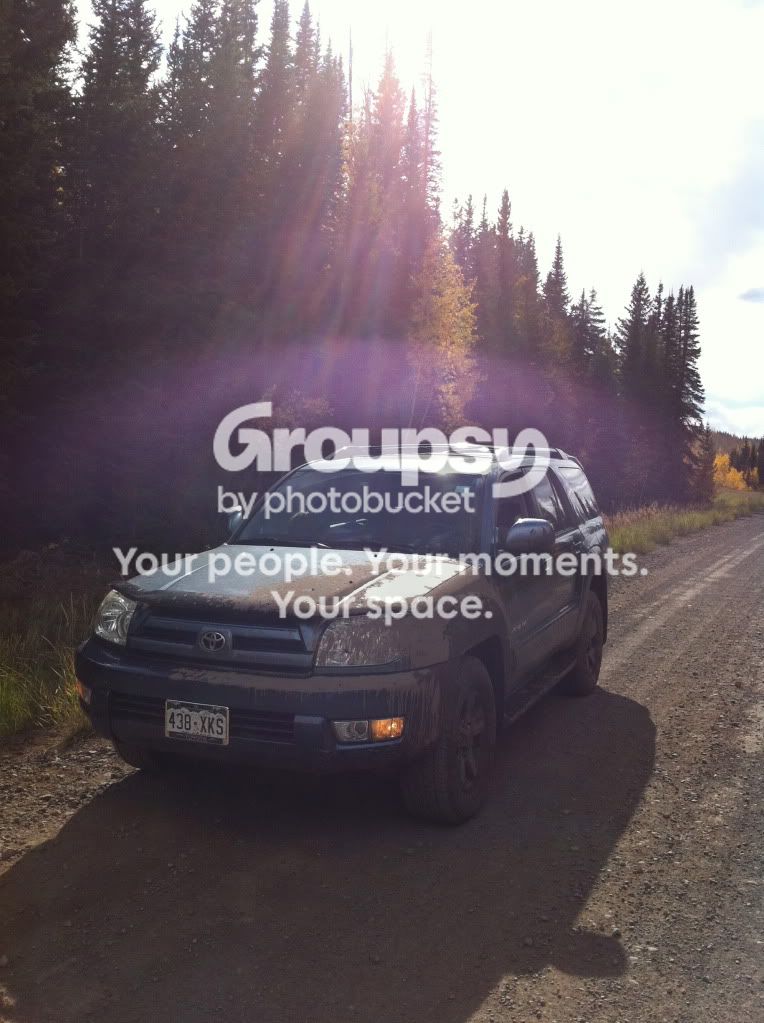
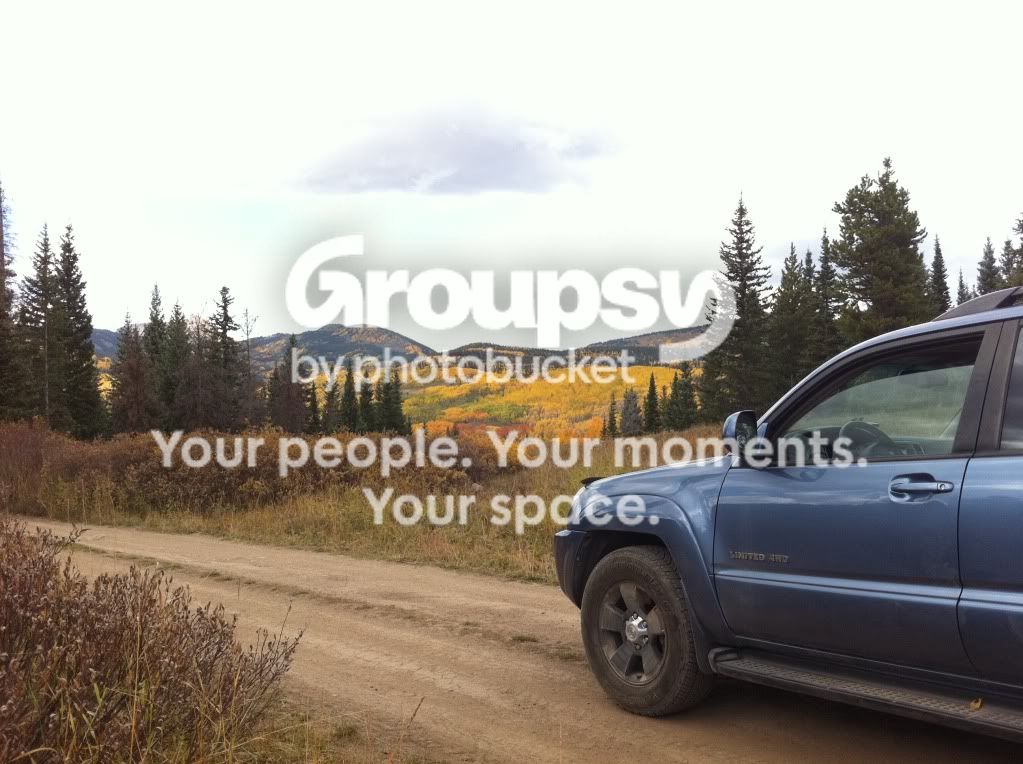
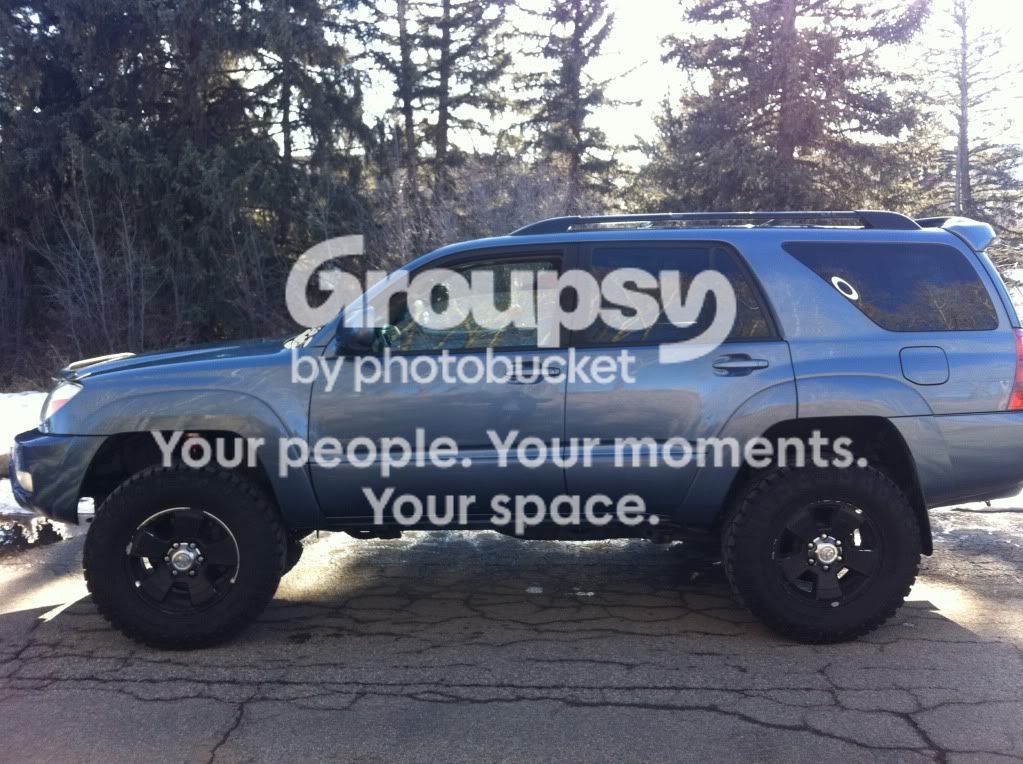
Right Now
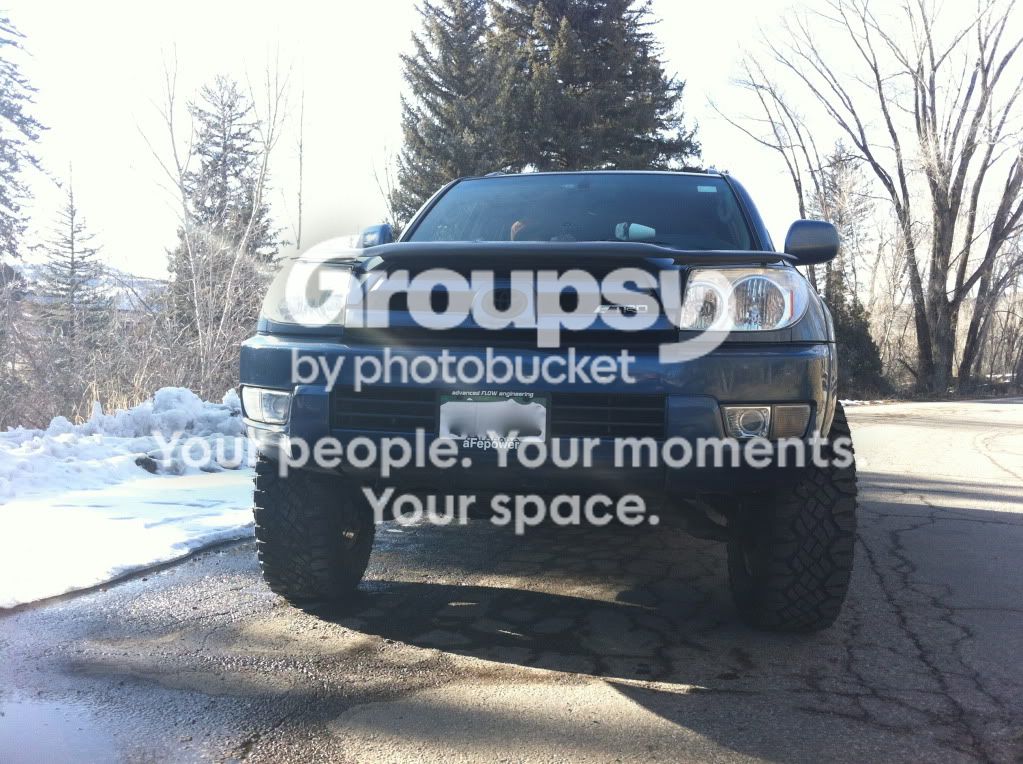
IMG_1109-1.jpg~original

DSC00120-1.jpg~original


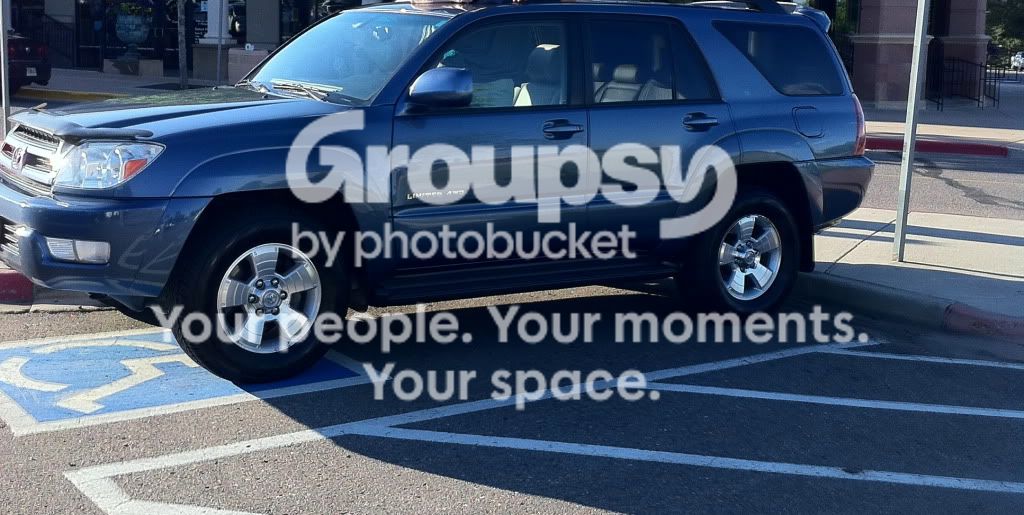
Day I bought it
IMG_0227.jpg~original


Mods

Suspension
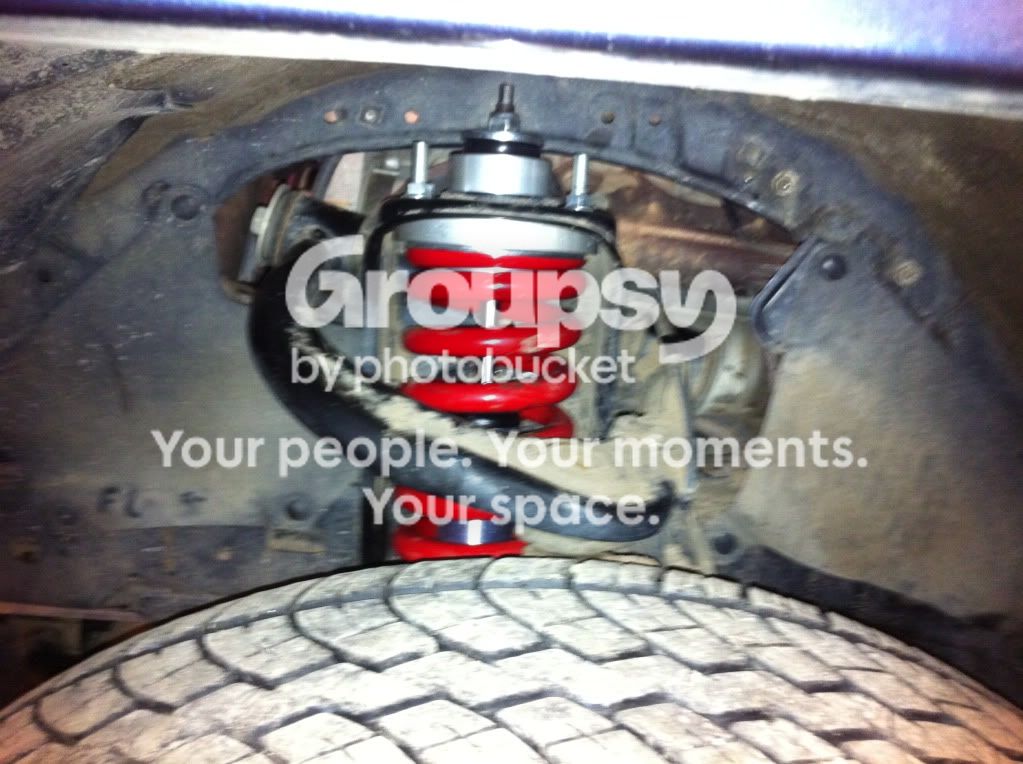
Front Toytec Adjustable Coilovers RED
Rear Bilstein 5100s
Rear Toytec Superflex


Tires/Wheels
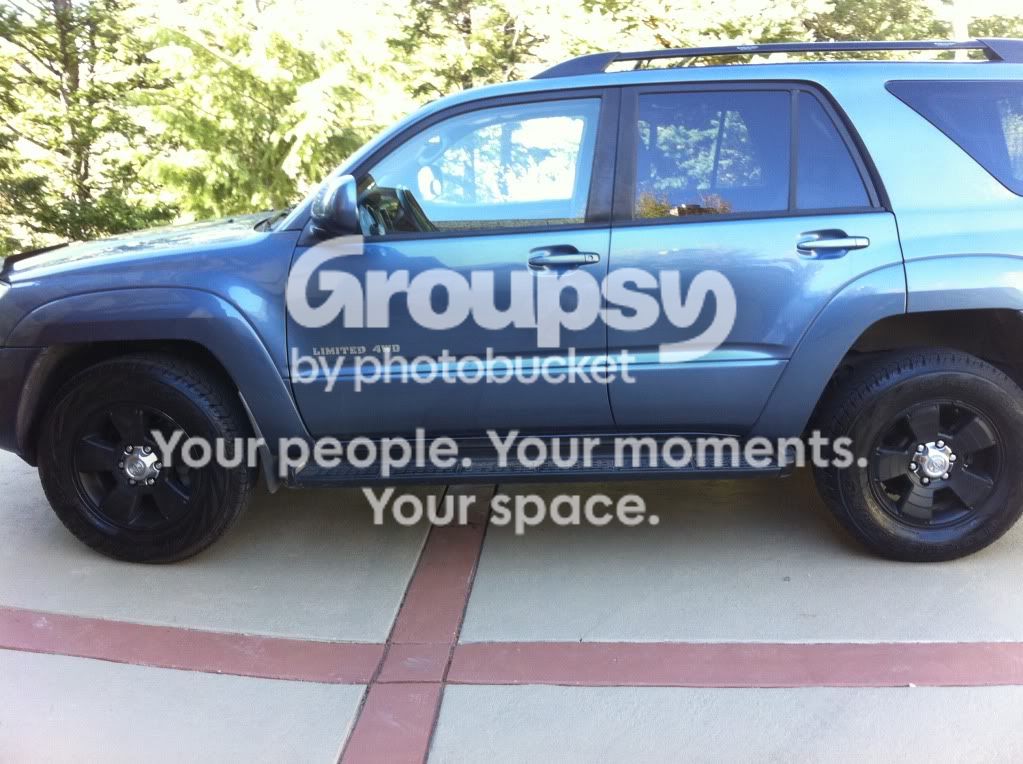
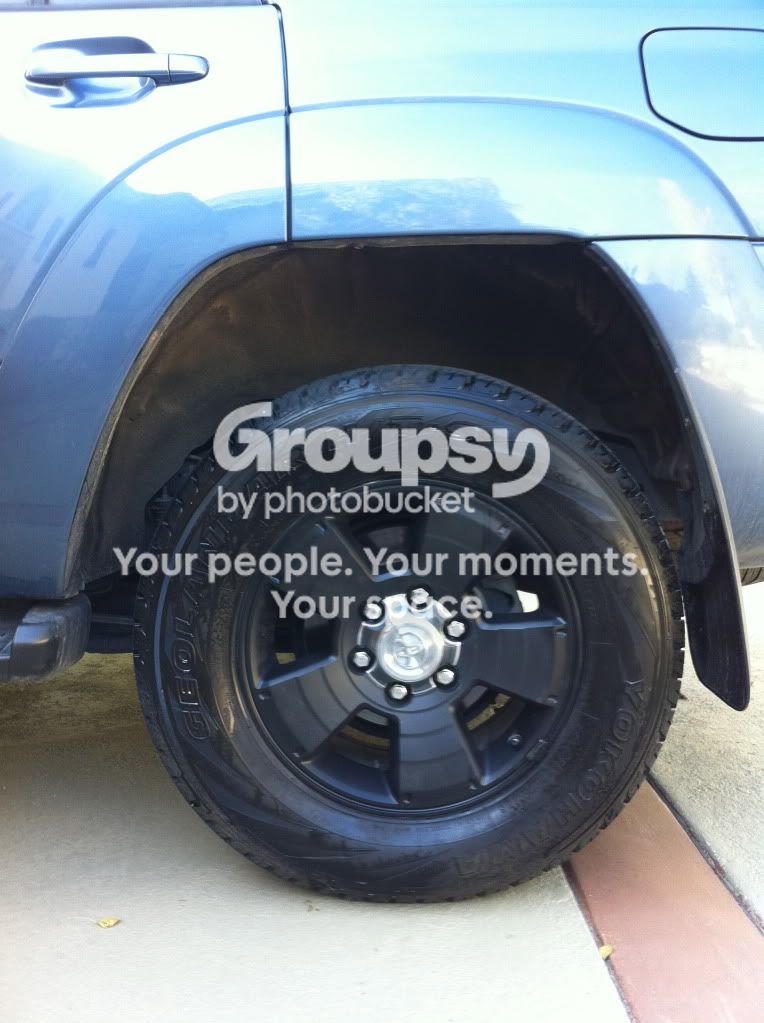
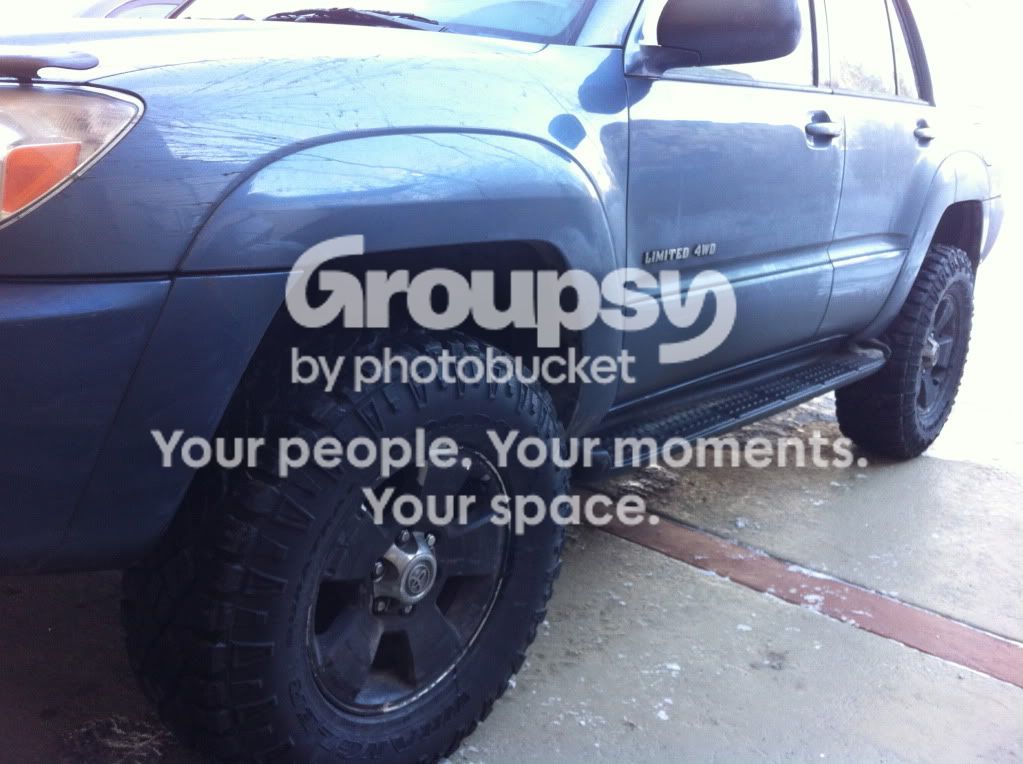
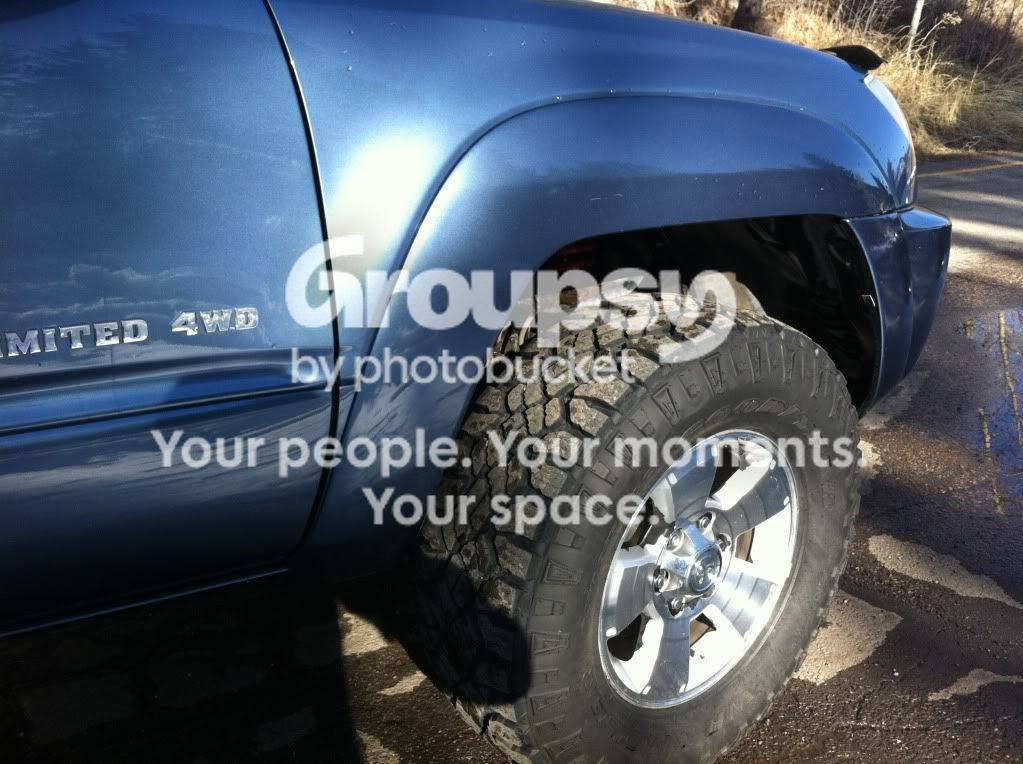
17" Black Plasti-Dip Limited Wheels with Silver Chrome hub caps
Goodyear Duratrac LT285/70/17
All-pro 1.5" spacers

Offroad
Custom Skid plates


Outfitting/Electronics
Uniden pro520XL CB radio and PA speaker -- 4' whip antenna
Underdog Racing Development MAF calibrator
aFe Stage II SI Cold Air Intake
Cutom VSC-off mod
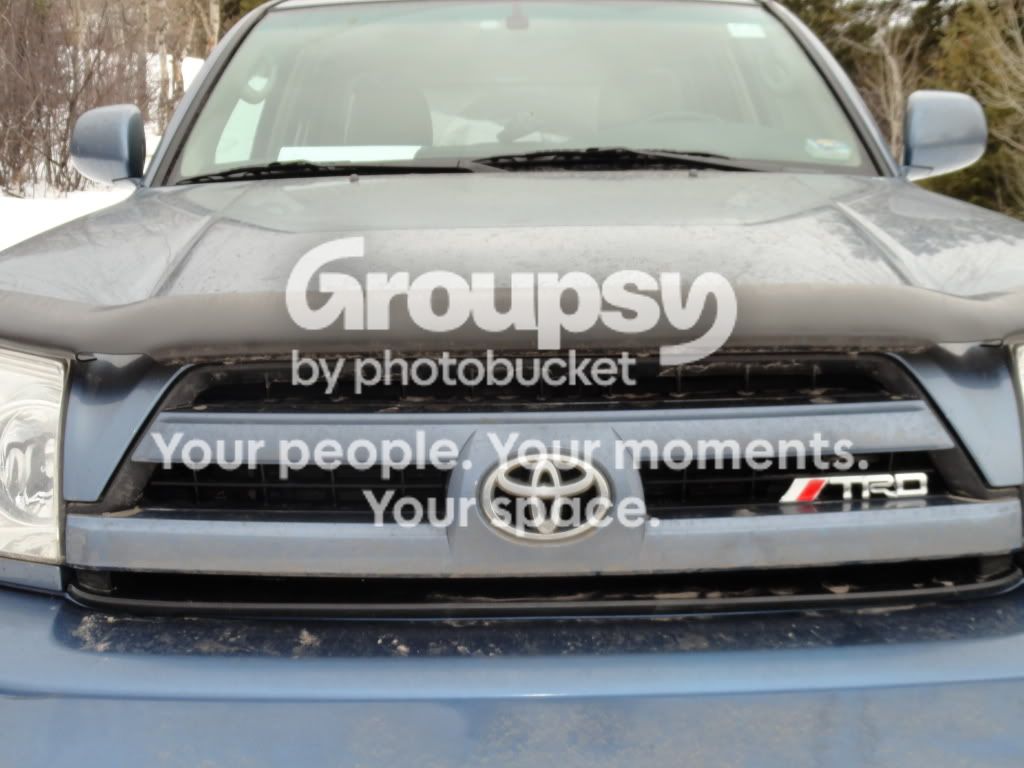
Weather-tech Hood Protector
Integrated Radar Detector
Husky All-Weather Floor mats
TRD-chrome grill badge
30 HP worth of stickers...

To come-In order
Uniden pro520XL CB radio and PA speaker -- 4' whip antenna
Aftermarket front bumper -Demello
Winch- t-maxx 9.5e
Sliders- Demello
Wheels- undecided
On-board air compressor- viair
ARB Rear air locker

More Pics
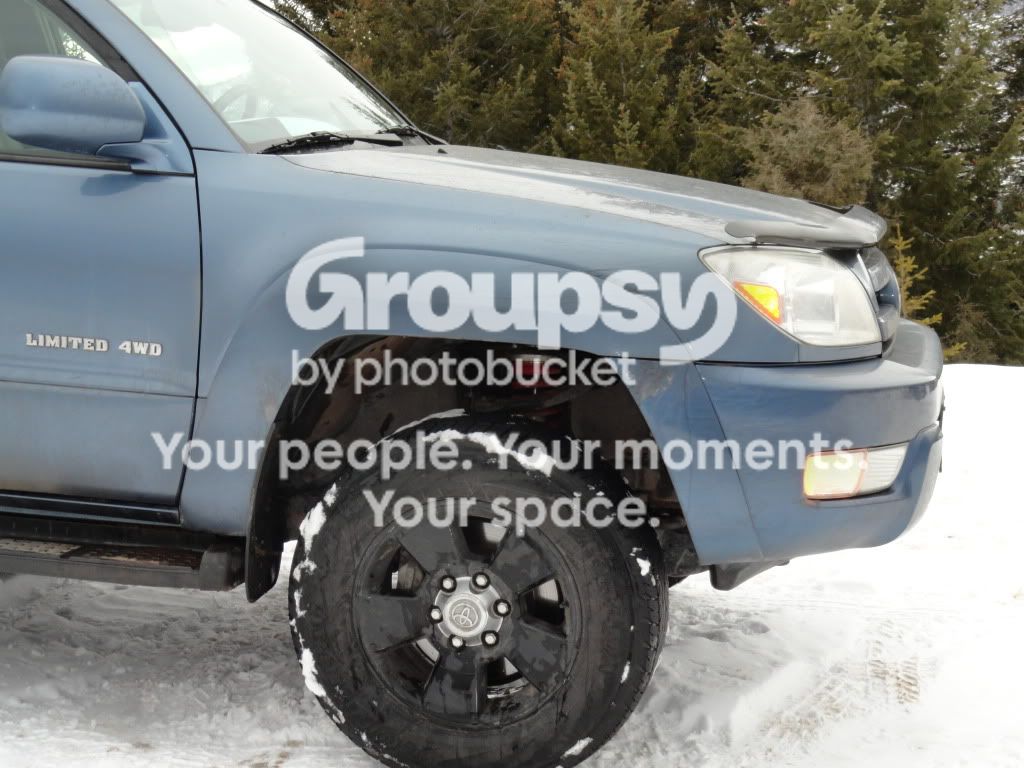
DSC00122.jpg~original

DSC00054.jpg~original

IMG_0708.jpg~original

DSC00123.jpg~original

DSC00062.jpg~original

IMG_0762.jpg
IMG_0730.jpg~original

img1055js.jpg~original
 
Last edited:
Register to hide this ad
Looks good!! any pics with the 285's and All-pro spacers installed?

Also curious about the custom skid plates you have listed.
 
Thanks Darkie! Your build is an inspiration for mine. Pics with the all pros and the 285s coming soon, Either tomorrow or the next day, I didn't get the right amount of extended lugs from all pro for some reason, whether it was my mistake or theirs, so depending on when I get those, I'll have the pics up as soon as possible!

Also, for the skids, my buddy works at a fab shop, and with some left over metal from another project of his, we fashioned a front, and middle skid. We're still ironing out the kinks in the skid, because we had a few problems the first time we put them on, so they arn't on at the present, but they are coming in the near future as well.
 
Last edited:
Just thought I'd add a few things I have done to get where I am. Still anxiously awaiting the 285 and spacer installation!!

First Plasti-Dip experience:

I practiced on the spare first, I used playing cards to line the edges of the wheel while I sprayed (not mandatory)
scaled.php

Next I did 4 coats. 1) think coat 2-4) medium spray over coats going from different directions. Heres the finished product. I didn't do the hub caps.
scaled.php

IMG_0707.jpg~original

Ended up using 2 cans, and I probably could have gone with another 1-2 coats, but it has held up mostly so far, and I'm pleased with the outcome. I also did a buddy's jeep for 100$, and I did 7 coats on that... it has had NO flaking or tearing as of yet.
 
URD Maf cal

Next thing of note that I did was the URD MAF cal install. With my mediocre knowledge of wire tapping/soldering, and the good diagram provided by gadget, it was a smooth install. Thanks go out to Gaterose aswell, who sold me the unit. (full build thread:http://www.toyota-4runner.org/4th-gen-t4rs/104217-urd-maf-cal.html)

First I took off the glove compartment, and found the 5 plugs on the far right which were the ones we needed to mess with, I labeled them A-F so as not to accidentally mess them up
img0985t.jpg

Then I stripped them back and and wound the correct wire from the URD PCU around the ECU wire.
img0991y.jpg

Then I soldered the wires together, and used liquid tape and wire caps
img0992nx.jpg

I found a place I could put the PCU, and stuck it there with industrial Velcro, after some serious offroading, its still seriously stuck in place.
img0993x.jpg
 
Last edited:
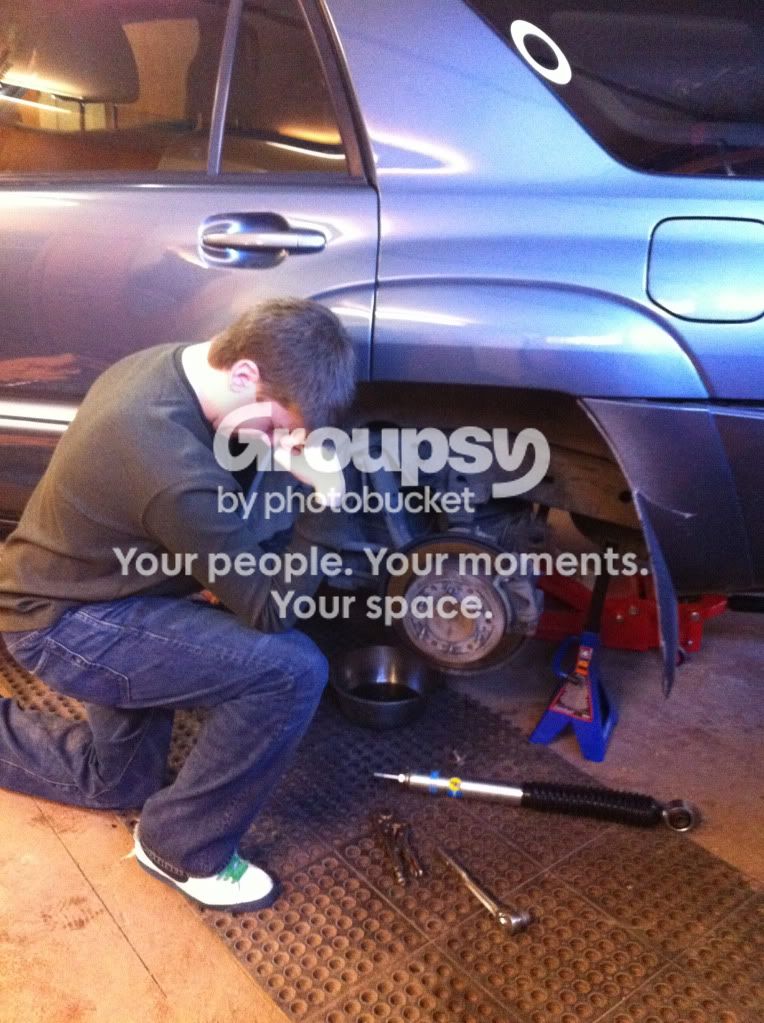
Next, the Toytec Ultimate LIFT! I set out doing this lift with little experience, but boy am I glad I did it myself, Its great to know everything about your car, and I'll tell you, I know a hell of alot about 4runner suspensions now. (also tip from experience, don't unscrew the bolt on the shocks that connect to the XREAS, just saying)

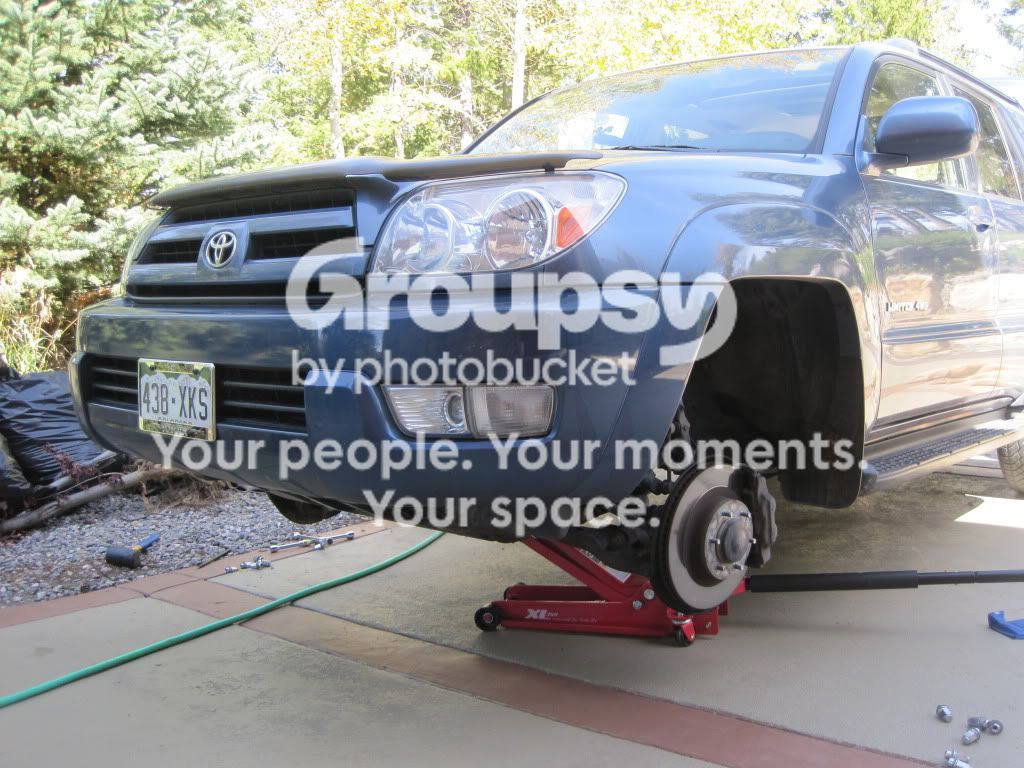
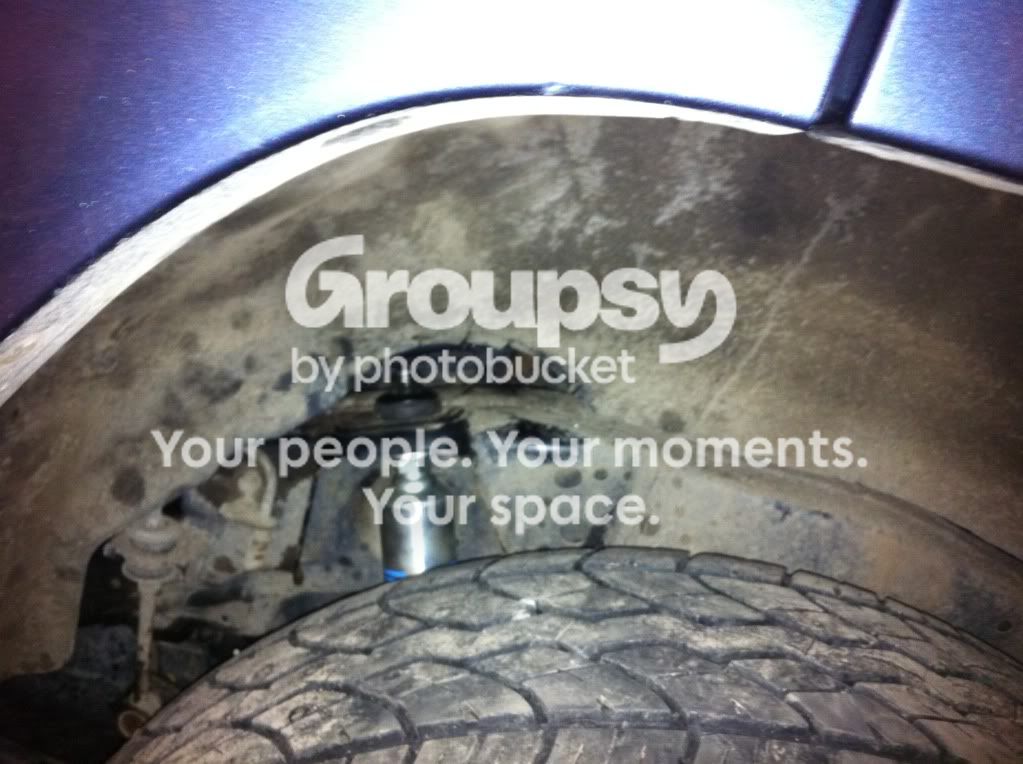
I started outside, with the front because it is the most time consuming, and jacked up the car, removed the wheels, and placed jackstands under the frame.
IMG_6410.jpg~original

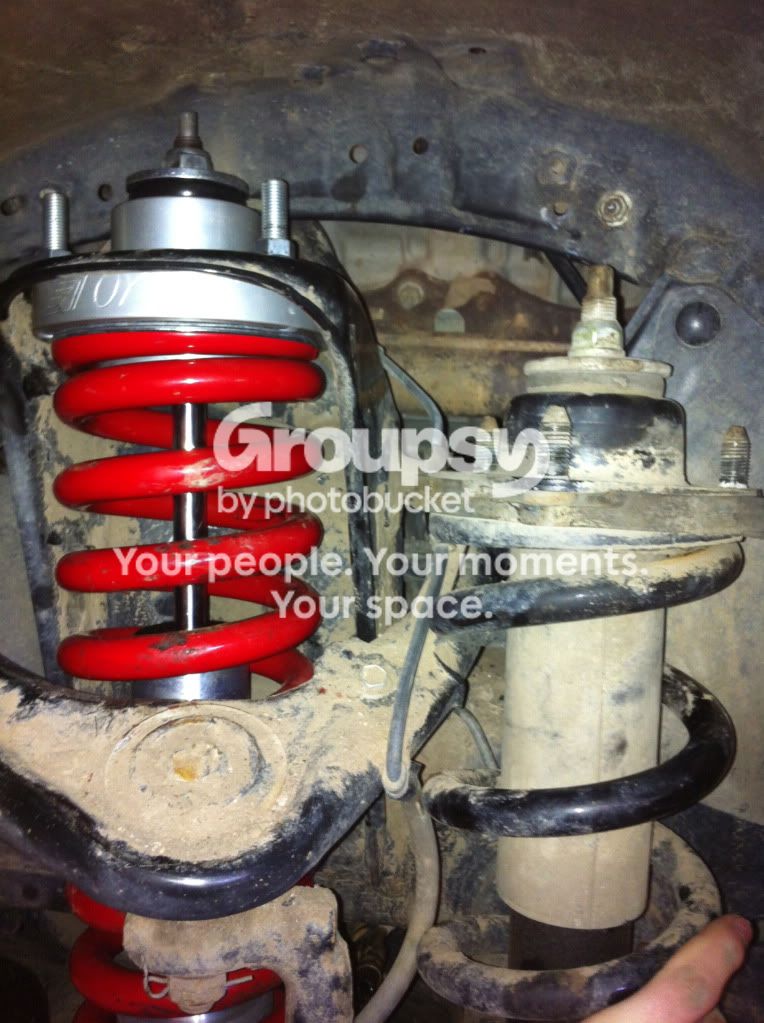
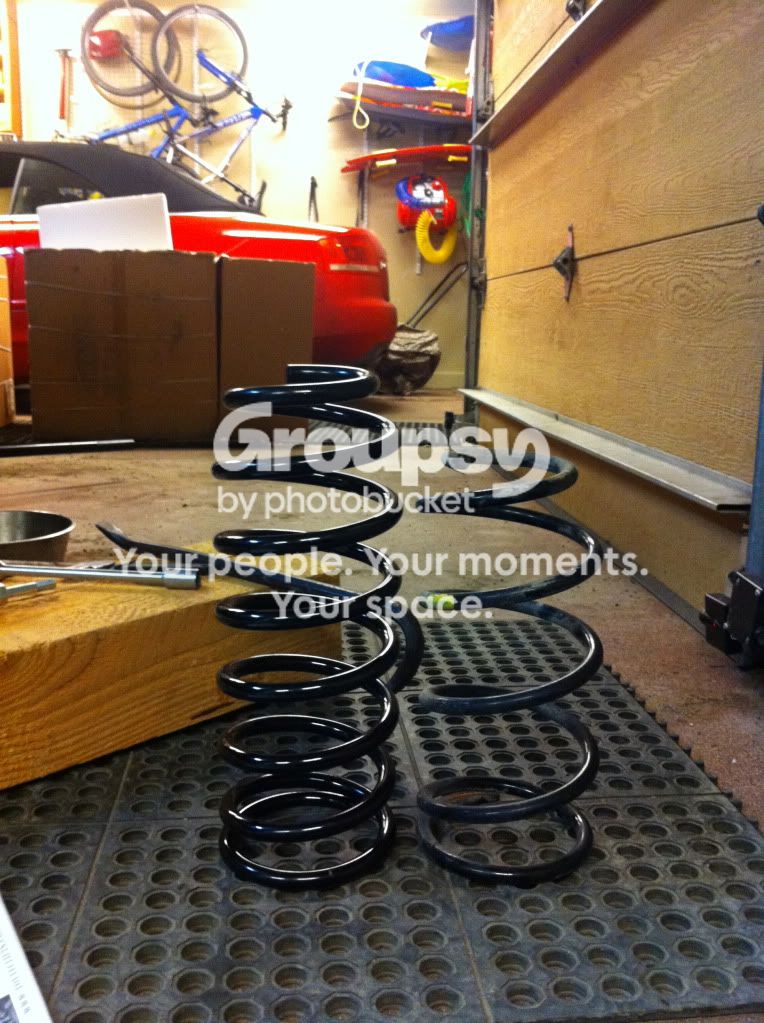
Comparison of the front coilover I removed, and the toytec one
IMG_1006.jpg~original

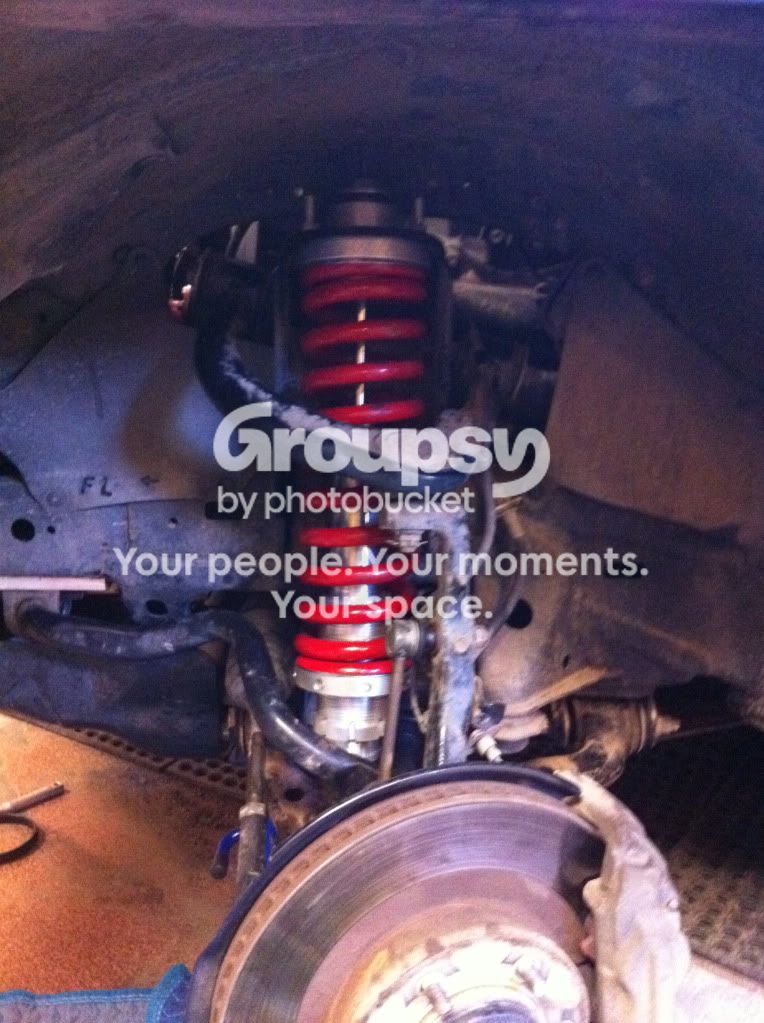
Coilover finally installed on both sides, after the impact wrench broke, and the torque wrench.
IMG_1005.jpg~original

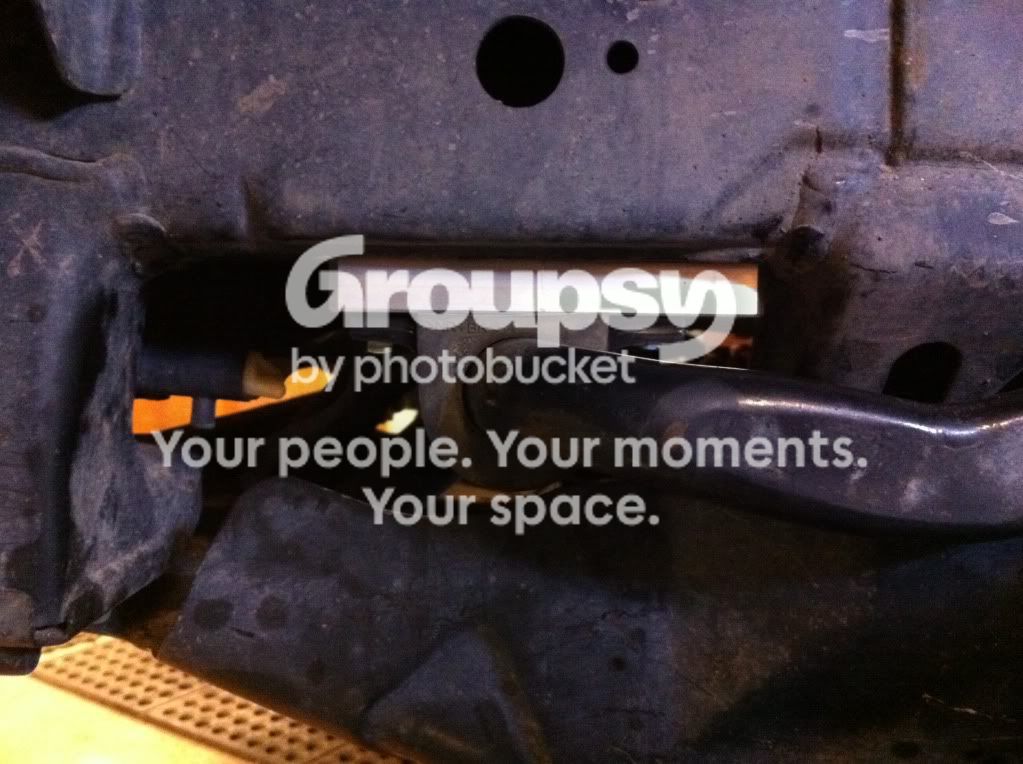
Sway bar relocate
IMG_1004.jpg~original

With tires back on
IMG_1013.jpg~original

Replacement rear coil (superflex)
IMG_1010.jpg~original

Had to do some banding to reach the nut on the top of the rear shock
IMG_1012.jpg~original

Tebowing after overtime win
IMG_1007.jpg~original

Now shes lifted
DSC00054.jpg~original
 
Last edited:
Totally forgot to update this thread when I put my new tires and spacers on. So here it is, I'll snap a few cleaner pics tomorrow as well.

IMG_1094.jpg~original

IMG_1110.jpg~original

IMG_1109-1.jpg~original

IMG_1107.jpg~original
 
Last edited:

Members online

Forum statistics

Threads
278,307
Messages
3,554,050
Members
248,016
Latest member
Advally Service

Trending content

Back
Top