The Tank ~ My Build

ADK Explorer

New member
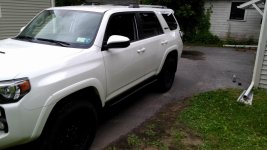
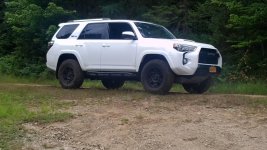
Hey, my name is Brian and I live in upstate NY. I bought my TRD Pro February 2016. This will be a straight forward budget build but It should interest anyone considering similar mods.
 

Attachments

  • 1554516_569407859814738_1508712922_n.jpg
    1554516_569407859814738_1508712922_n.jpg
    89.1 KB · Views: 3,431
Last edited:
Register to hide this ad
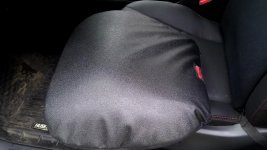
Conformax gel car cushion combo set

First things first. After 3 months of driving the truck I developed severe back pain. After eliminating other possible causes I realized it was the drivers seat messing with the nerves down there. Every time I drove it the pain returned. All possible seat positions were tried to no avail. So I bought these cushions and they solved the problem. They also are great shock absorbers for bouncing in the trails. I got them on Amazon for $115.
 

Attachments

  • IMG_20160522_160925.jpg
    IMG_20160522_160925.jpg
    127.7 KB · Views: 5,981
  • IMG_20160522_160957.jpg
    IMG_20160522_160957.jpg
    137.3 KB · Views: 5,957
  • IMG_20160522_161308.jpg
    IMG_20160522_161308.jpg
    137.6 KB · Views: 5,947
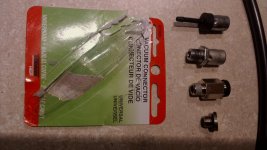
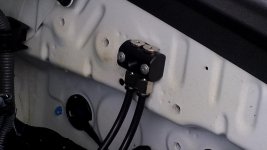
ARB DIfferential Axle Breather kit

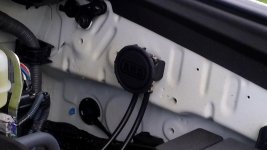
Upon reading other threads I found that if you drive through water above you rear axle you may get water in your differential so I added the ARB diff breather mod. I mounted the breather in the engine bay and ran the lines the same way Cymon did on his thread.

http://www.toyota-4runner.org/5th-gen-t4rs/215741-rear-differential-breather-mod-dummies.html

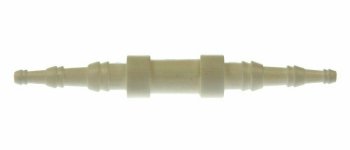
I did have enough line to run separate lines for both my diff and the e-locker. I ran the line from the engine bay to the diff leaving a loop for suspension travel. Then I measured (if I remeber correctly) 12.6 feet left over. I ran that to the e-locker and used the fitting to connect to the e-locker breather tube using gorrilla tape to secure the connections.
 

Attachments

  • IMG_20160508_093026.jpg
    IMG_20160508_093026.jpg
    132.7 KB · Views: 5,996
  • Pic_1.jpg
    Pic_1.jpg
    17.3 KB · Views: 5,905
  • IMG_20160508_101021.jpg
    IMG_20160508_101021.jpg
    112.4 KB · Views: 5,982
  • IMG_20160508_101211.jpg
    IMG_20160508_101211.jpg
    117.8 KB · Views: 6,036
Bestop 42922-01 HighRock 4X4 2" Receiver Recovery Hitch Insert with D-Ring Shackle

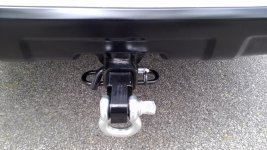
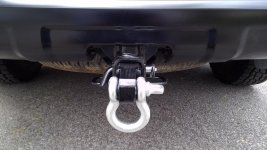
Next I added a Bestop 42922-01 HighRock 4X4 2" Receiver Recovery Hitch Insert with D-Ring Shackle along with a CURT 21510 Coated Hitch Pin and Clip (sold separately). I got these through Amazon as well. Hiitch - $35, Pin - $3. I haven't had the opportunity touse it yet but from the reviews it should do the job. Eventually I will buy a bubba rope and a gator jaw soft shackle.
 

Attachments

  • IMG_20160506_104809.jpg
    IMG_20160506_104809.jpg
    143.7 KB · Views: 6,116
  • IMG_20160506_104816.jpg
    IMG_20160506_104816.jpg
    136.9 KB · Views: 5,973
RCI Metalworks Rock Sliders

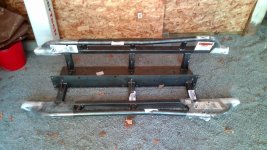
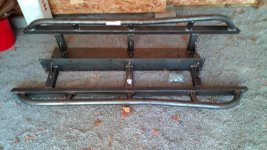
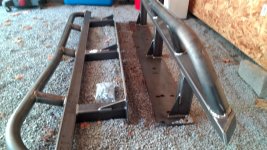
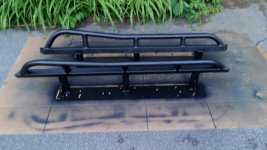
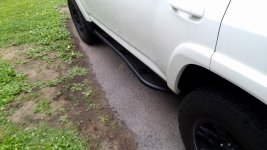
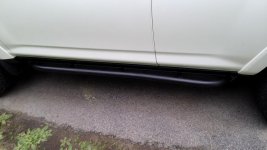
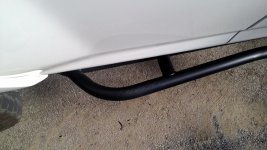
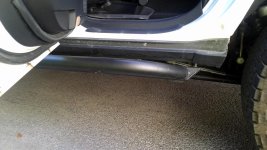
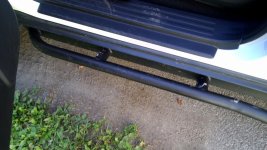
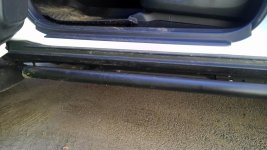
Now to armor up. I got a set of RCI Metalworks sliders in bare metal. Here in the northeast we have alot of mud with insidious boulders lurking within so I knew I would need these even before I bought the truck. It took about 3 and a half weeks to get them but it was worth the wait. These are no nonsense, get the job done, solid sliders.

 

Attachments

  • IMG_20160610_171126.jpg
    IMG_20160610_171126.jpg
    145.5 KB · Views: 6,010
  • IMG_20160610_172742.jpg
    IMG_20160610_172742.jpg
    143.5 KB · Views: 5,965
  • IMG_20160610_173027.jpg
    IMG_20160610_173027.jpg
    144.2 KB · Views: 5,942
Rustoleum Mat Black Spray Paint

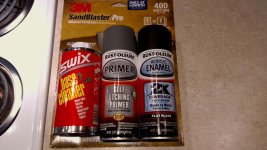
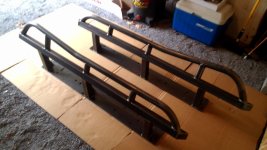
I cleaned and preped the sliders by scrubbing them with soap water and a scotch pad to get the sticker and tape glue off. Then I wiped them down with a grease and wax remover. Then wet sanded them with 400 sand paper. I did two coats of primer and 3 coats of mat black paint. The Rustoleum spray paint came out sporadically at times but it settled out fairly smoothly with minor runs. I like the look and smooth finish.
 

Attachments

  • IMG_20160610_085853.jpg
    IMG_20160610_085853.jpg
    134.9 KB · Views: 5,869
  • IMG_20160611_081644.jpg
    IMG_20160611_081644.jpg
    128.1 KB · Views: 5,911
  • IMG_20160611_202307.jpg
    IMG_20160611_202307.jpg
    129 KB · Views: 5,937
Last edited:
RCI Metalworks Sliders Install

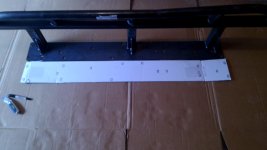
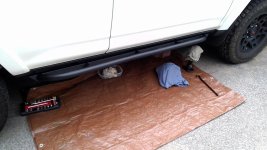
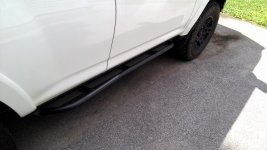
Install was a bit of a shoulder workout but fairly straight forward. I made a cardboard template of the plate with hole pattern and used it to check alignment and bolt pattern. The sliders came with 28 bolts and washers. (I will have to check the size, maybe 2 x 1/2"). I was able to use all 14 bolts on the drivers side but only ten holes lined up on the passenger side. I called RCI and the nice girl said this is normal and sufficient. I used the jack to hold up one end while I got the first bolt in on the other. (The sliders weigh 50lbs a piece). Once I got a bolt in on the other end it was just a matter of cranking the rest in. I did not have any trouble getting the ratchet in. I belive the bolts are 13mm. I replaced the stock bolt for the e-brake lines with the longer bolts and the clip fit back in place just fine.
 

Attachments

  • IMG_20160611_061843.jpg
    IMG_20160611_061843.jpg
    111.5 KB · Views: 5,872
  • IMG_20160612_094644.jpg
    IMG_20160612_094644.jpg
    136.5 KB · Views: 5,941
  • IMG_20160612_095724.jpg
    IMG_20160612_095724.jpg
    137.3 KB · Views: 5,881
  • IMG_20160612_112347.jpg
    IMG_20160612_112347.jpg
    137.5 KB · Views: 5,872
  • IMG_20160612_112401.jpg
    IMG_20160612_112401.jpg
    131.5 KB · Views: 5,926
  • IMG_20160612_112425.jpg
    IMG_20160612_112425.jpg
    133.3 KB · Views: 5,926
Last edited:
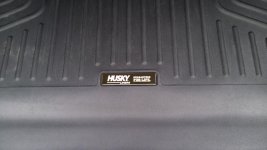
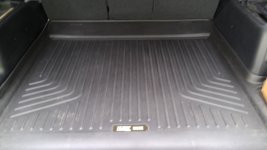
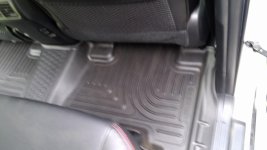
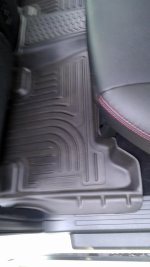
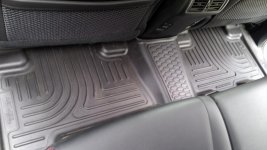
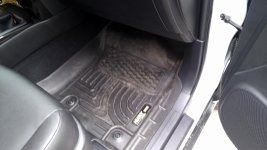
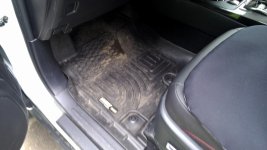
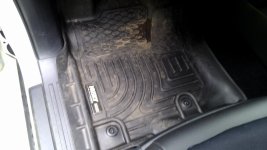
Husky Weatherbeater Floor and Cargo Liners

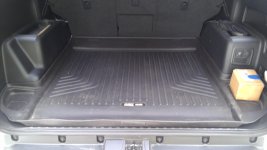
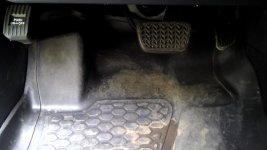
I almost forgot the first things I bought were Husky Weatherbeater Liners. The stock mats were lovely with their TRD logos but grossly insufficient for protecting the carpets from all the mud, snow and muck that gets dragged in. The Husky's fit great, are flexible enough to cover well and seem durable. Definitely a great investment.
 

Attachments

  • IMG_20160522_160632.jpg
    IMG_20160522_160632.jpg
    121.4 KB · Views: 5,885
  • IMG_20160522_160647.jpg
    IMG_20160522_160647.jpg
    133.3 KB · Views: 5,887
  • IMG_20160522_160653.jpg
    IMG_20160522_160653.jpg
    119 KB · Views: 5,847
  • IMG_20160522_160719.jpg
    IMG_20160522_160719.jpg
    125.9 KB · Views: 5,847
  • IMG_20160522_160731.jpg
    IMG_20160522_160731.jpg
    123.4 KB · Views: 5,863
  • IMG_20160522_160745.jpg
    IMG_20160522_160745.jpg
    132.4 KB · Views: 5,869
  • IMG_20160522_160812.jpg
    IMG_20160522_160812.jpg
    126.6 KB · Views: 5,866
Husky Weatherbeater Floor Liers

Drivers side. They go well up the sides, behind the peddles and cover the dead peddle.
 

Attachments

  • IMG_20160522_160833.jpg
    IMG_20160522_160833.jpg
    125.5 KB · Views: 5,846
  • IMG_20160522_160841.jpg
    IMG_20160522_160841.jpg
    123.9 KB · Views: 5,826
  • IMG_20160522_160851.jpg
    IMG_20160522_160851.jpg
    121.1 KB · Views: 5,840
Last edited:
C4 Fab Gas Tank Skid Plate

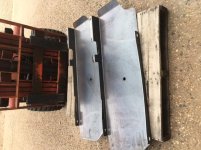
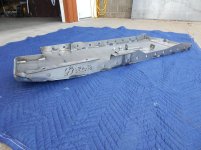
While installing the sliders I discovered a fat dent in the stock gas tank skid (which isn't much better than aluminum foil). So now I am considering either the RCI skid (left) or the C4 Fab skid (right). Despite the $145 difference in price, I am leaning towards the C4 for the side coverage.
 

Attachments

  • RCI Gas Skid 2.jpg
    RCI Gas Skid 2.jpg
    53.4 KB · Views: 5,781
  • C4 Gas Skid 5.jpg
    C4 Gas Skid 5.jpg
    136.6 KB · Views: 5,854
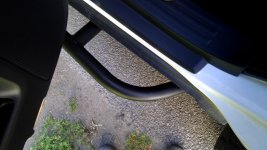
I was asked how far the RCI sliders extended out from the front passenger door step. I measured 3 " from the lip sticking out to the outer edge of the tube.
 

Attachments

  • IMG_20160618_101530.jpg
    IMG_20160618_101530.jpg
    137.7 KB · Views: 5,707
Don't know how I missed your thread. I think I was away when it was posted, love what you're doing with your truck!.
 
Don't know how I missed your thread. I think I was away when it was posted, love what you're doing with your truck!.

Thanks Chris. I don't have alot of money to put into it but slowly and surely I'll get it there. I will order the gas tank skid in a couple of weeks and save for a winch and hidden mount over the winter. I love the tank. Perfect all around vehicle.
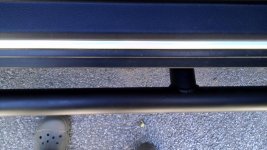
 
RCI Metalworks Rock Sliders

More RCI sliders pics and info as requested. The sliders are 19" high from ground to the top of the tube and 5" out from door frame to edge of tube at the bump out. I haven't had a chance to put them to the test yet because I'm waiting for my new gas tank skid to arrive, to replace the stock one which has a fat dent in it, before I risk any more damage. I will definitely be putting both to the test and will give a honest review of their performance.
 

Attachments

  • IMG_20160808_170350.jpg
    IMG_20160808_170350.jpg
    141.4 KB · Views: 2,132
  • IMG_20160808_170621.jpg
    IMG_20160808_170621.jpg
    138.5 KB · Views: 2,087
  • IMG_20160808_170633.jpg
    IMG_20160808_170633.jpg
    140.5 KB · Views: 2,221
  • IMG_20160808_170650.jpg
    IMG_20160808_170650.jpg
    136.6 KB · Views: 2,151
  • IMG_20160808_170659.jpg
    IMG_20160808_170659.jpg
    138.4 KB · Views: 2,155
Last edited:

Members online

No members online now.

Forum statistics

Threads
278,312
Messages
3,554,083
Members
248,016
Latest member
Advally Service

Trending content

Back
Top