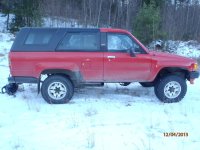
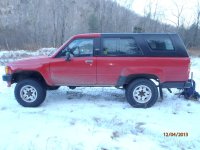
wally's 87 4runner upkeep thread

wallytoo

Member
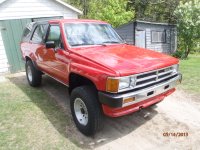
no build, as i bought one in pretty good condition, with low mileage - 97,097 when i purchased it in may 2013. previous owner had replaced both front fenders and rear quarters. it was a rear-seat delete runner, which i have converted to a normal 4-seat runner.

before putting it on the road, i finished por-15 painting the underside and frame, as well as repairing the rocker behind the driver's front wheel. this had rotted out i believe because of a leaking master cylinder, either the brake or clutch. both have been replaced, and don't leak.

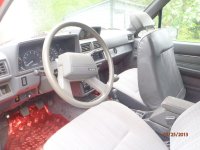
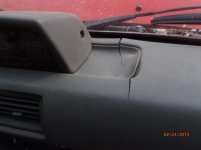
pics from the day after i brought it home, followed by other pics. interior was in pretty good shape, with a single small dash crack to the right of the inclinometer.

plans are not to deviate a whole lot from stock configuration. i bought this to be my work vehicle, replacing my 300K-mile '95 subaru wagon. i don't need it for wheeling, as i have a decently built '75 cj-5 for that, which is my toy.
 

Attachments

  • P5160001.jpg
    P5160001.jpg
    140.8 KB · Views: 3,110
  • P5250015.jpg
    P5250015.jpg
    130 KB · Views: 2,724
  • P5250016.jpg
    P5250016.jpg
    140.2 KB · Views: 2,643
Register to hide this ad
one of the first things i attacked, after the frame/underside, was the rear window. it worked via the console switch, but wouldn't open from the rear key switch (it would close, though). i eventually solved this, as there were multiple breaks in the wire for the "lower window" circuit in the tailgate. much thanks to RAD4r for his help on this, and many other, repairs.

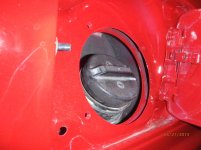
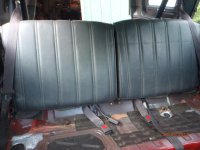
a local guy parts out 80s and 90s toyotas, and i've managed to pick up a bunch of stuff from him. the list includes the rear seats, radio antennae, spare tire, lug nuts for the stock wheels (4-spokes) which have brand new snows on them, a dash speaker, rear seatbelts (which i ended up not using), a clutch slave cylinder, the gas filler neck rubber gasket assembly, and a front skid plate.

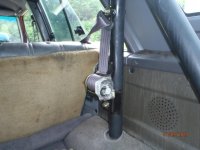
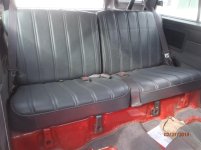
the rear seats were mixed. the bottoms were in tough shape, but the backs were in pretty good shape. i took the bottoms to a local auto upholsterer and he did a really great job matching the fabric from the backs. it did take a few months, though. meanwhile, after no luck finding factory rear shoulder belts, i tried, and installed, the rear belts from my retired '95 subaru wagon. they fit perfectly, using the stock 4runner mounting points, including the roll bar. http://www.toyota-4runner.org/classic-t4rs/118545-installing-seat-belts.html#post1425471
 

Attachments

  • P6210002.jpg
    P6210002.jpg
    132.7 KB · Views: 2,648
  • P7090003.jpg
    P7090003.jpg
    129.4 KB · Views: 2,841
  • P7090006.jpg
    P7090006.jpg
    127.9 KB · Views: 2,692
  • P2230010.jpg
    P2230010.jpg
    104.7 KB · Views: 2,472
Last edited:
i read quite a bit about RAD4r's build, and did some electrical upgrades based on that (again, many thanks to ray for his insight and expertise).

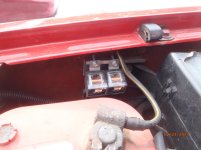
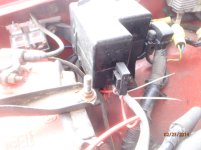
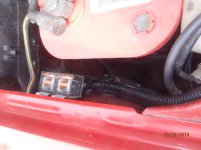
i fixed the factory mistake for the headlight wiring, which can lead to a burned out column switch, and installed a ceramic harness/relay next to the battery. i also addressed the poor factory wiring in the starting circuit, so that the majority of the current goes through the relay rather than the keyswitch contacts. although i wasn't having any issues with either the high beams, or starting, it seemed to be a really good way to avoid future known problems.

edit: i've added pics of the new headlight relay assembly that i installed. i mounted the relays next to the battery & fuse box, using some thin sheet metal and screws to attach to factory holes on the inner fender. the relays are visible mounted to the sheetmetal, while the new fuse is visible zip-tied next to the fuse box.

after driving around a bit, i could tell the gas tank had a leak. i purchased a replacement and took it up to my brother's shop in burlington, vt to install it. this went pretty well, and i even got to replace a few broken-off bolts in the skid plate assembly.

i also had a gas leak at the front of the fuel rail, which i quickly id'd as the fuel damper. it was leaking because the tiny screw had fallen out, and was gone. the new damper is solid, without the screw, and hasn't leaked since installation. the plug wires were original to the truck, with a 1987 date-stamp on them. i replaced those, and the plugs, with new. the coil resistence tested a bit out of spec, so i replaced it. the dizzy was fine, and i haven't touched it.

i had a starting issue that gradually got worse. (i did find a FSM on ebay, and purchased it). i went through the troubleshooting procedures a bunch of times to try to solve the issue. the truck clearly was over-rich on starting if it sat for any length of time beyond 30 seconds.

testing revealed that the CSI worked fine, and the injector did not leak at all. the start time switch also tested fine. i had fuel pressure within spec, and could hear the fuel pump kick on with the key in the start position using the clutch switch. residual fuel pressure was in spec even overnight, so the injectors don't leak a whole lot.

cleaned the inside of the intake manifold, with the normal "black goo", and cleaned all passages. i tested the various VSV/BSV etc, and every one worked at the correct temperatures or "conditions". still had difficult starting, so i rechecked my TPS, using an analog meter. that's how i found a dead spot about halfway through it's range, and replaced it. tested the new one, and set it to spec with feeler gauges. still had a difficult start, didn't matter if it was cold, warm, or hot. however, once it started, if i shut it off, and restarted it within about 30 to 60 seconds, it fired right up.

tested the AFM, and got some out of spec numbers. plus, the CEL kept throwing codes for the AFM, for a failed temp sensor, and position. i replaced the AFM with a rebuilt, and the codes went away (and haven't returned). still had hard starts. also got a repeated code for failed O2 sensor, and replaced it (no more codes, either).

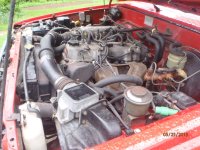
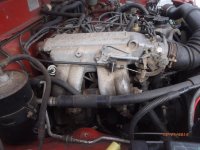
in bottom pic, you can just see the new AFM. the extra spring on the throttle assembly was added to deal with a sticky high idle issue. once the spring was added, the high idle at stops disappeared.

i couldn't get it. took it to a good friend's local shop, and he solved it in about 30 seconds. the fuel pressure regulator diaphragm leaked, allowing gas up into the vacuum line, directly into the manifold. thus, the overrich condition most times, unless the truck sat for 5 or more days. he replaced it, and the starting issues disappeared. the new regulator is visible to the far left in the bottom pic.

 

Attachments

  • P2230012.jpg
    P2230012.jpg
    116.1 KB · Views: 2,274
  • P2230013.jpg
    P2230013.jpg
    120.1 KB · Views: 2,121
  • P2230015.jpg
    P2230015.jpg
    119.6 KB · Views: 2,074
  • P2230019.jpg
    P2230019.jpg
    129.8 KB · Views: 2,248
Last edited:
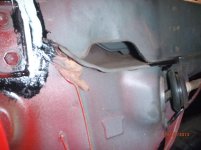
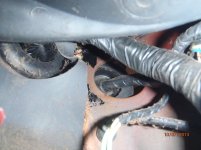
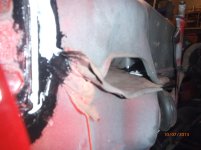
had a leak in the passenger side, below the windshield, up under the dash, which was getting the ECU damp. i eventually traced this to a leak on the inner fender, above the wiring grommet, at the weld behind the hood hinge area. this is a REALLY difficult place to reach.

i took off the front fender and the air inlet piece that runs below the windshield. with difficulty, i could clean out/scrape the rust behind the hinge, and painted it with por-15. after painting, i added silicone caulking, just for insurance, using a popsicle stick to reach in and apply it.
 

Attachments

  • PA070009.jpg
    PA070009.jpg
    114.8 KB · Views: 2,553
  • PA070017.jpg
    PA070017.jpg
    120.1 KB · Views: 2,648
  • PA070008.jpg
    PA070008.jpg
    104.7 KB · Views: 2,528
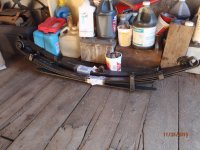
i've ordered some stock rear springs to replace the flattened ones that are 26 years old. the new ones have thicker steel individual leaves, but should provide stock height. they came with the spring anchor bushing, but no shackle bushings, which i orderd from toyota. (actually, i've had the springs in my garage for a while now, just need to take the runner back up to my brother's shop for the install, along with a 4 wheel alignment on his new rack.

a few weeks ago, prior to any snow, i sprayed the entire underside, including inside the body panels, with oil.

i'll get some pics soon of the new springs, and of the rear seats completely installed.
 
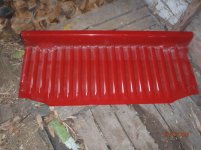
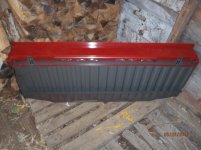
Wanna sell that rear seat delete panel?

absolutely. make me an offer, and if we can find a fair price, it's yours.

i've got the side hardware for it, too, which attaches the plate back at the seatbelt retractor hardpoints. the front attaches using the factory seat hinges (the outer two). there are absolutely no dents or any rust on this thing.

edit: i believe it's in such good condition because the rear carpeting extended all the way to the front. i'm still using the carpet, just rolled it up behind the rear seats, rather than slice it. i believe the runner was red originally, and was repainted in close to factory red. this delete panel may have been repainted, or it may be factory paint. i don't know. it isn't twisted or bent, either. minor paint wear is visible, and some scrathes. but no rust. no surface rust. no rust through. NO RUST.
 

Attachments

  • P5250012.jpg
    P5250012.jpg
    132.5 KB · Views: 2,522
  • P5250014.jpg
    P5250014.jpg
    129.2 KB · Views: 2,510
Last edited:
absolutely. make me an offer, and if we can find a fair price, it's yours.

I honestly don't know what it's worth, and shipping might suck. If you can get me the exact dimensions and the weight, I could work up a rough shipping estimate and we could go from there...
 
replacement springs that hopefully go in this weekend. these are replacements, not lift springs, so should more or less keep it stock height. also picked up new shackle bushings from toyota. once installed (springs), i'll also switch to the stock rims which are mounted with brand new snows, and get a 4wheel alignment.
 

Attachments

  • PB250070.jpg
    PB250070.jpg
    137.5 KB · Views: 2,382
springs successfully installed. brings the back up so it sits level, rather than sagging. smoother over bumps now, too, since the springs aren't flat and have some flex in them. switched over from the summer tires/aftermarket wheels to the stock 4-spoke wheels with snow tires, in the 30x9.5x15 variety. actually quieter than the generic tires that were on it when i purchased it.

also did most of the alignment, except for the camber adjustment on the driver's side (cam/bushing frozen). everything else in spec. i'll squirt the bushing/cam assembly liberally with lubricant over the next few months to see if that will free it up.

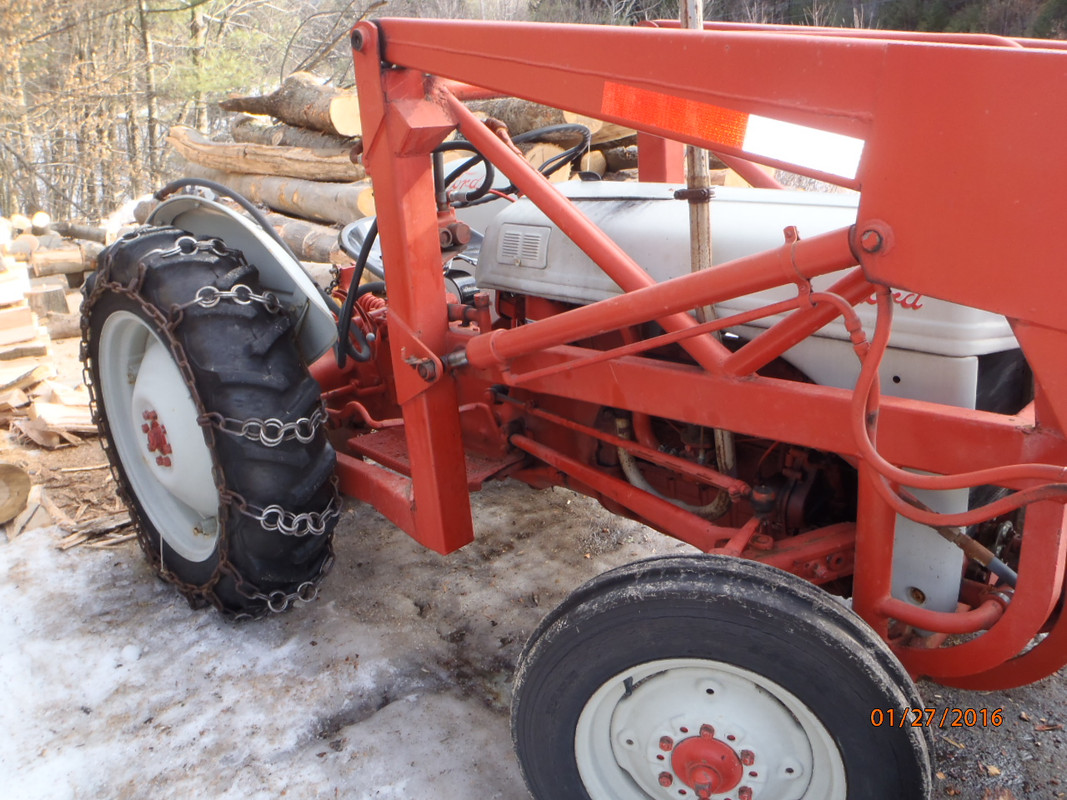
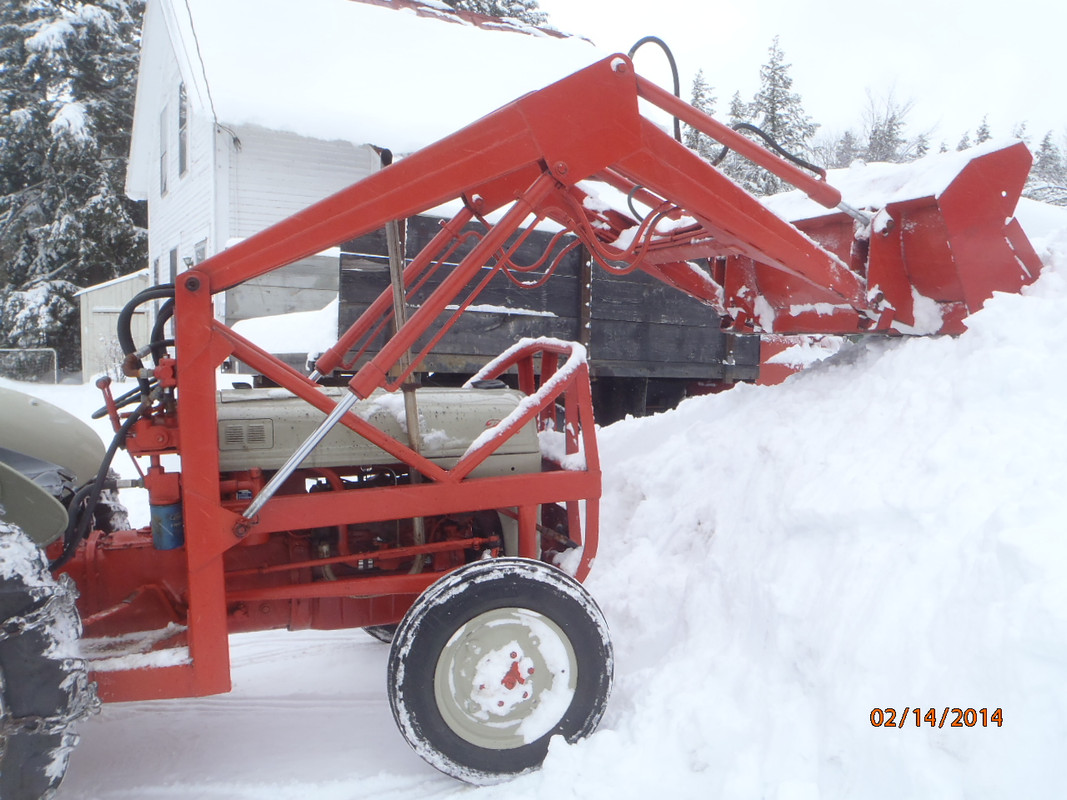
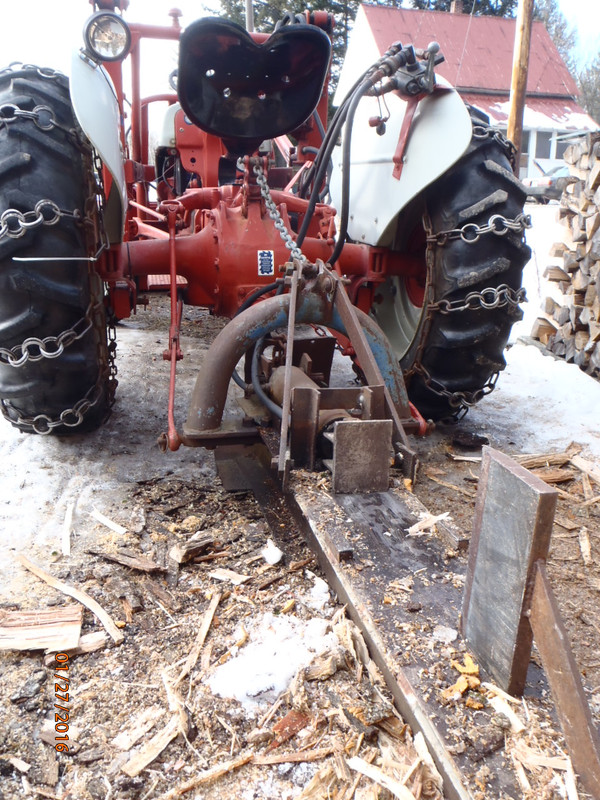
later, trailered my "new" 8n home, but not with the runner. the loader will be handy for snow removal and wood loading, while the splitter will be handy for sugar house cordwood. think i'll sell the cordwood belt saw; i'd rather use a chainsaw.

P1270004.jpg


P2140003.jpg


P1270001.jpg
 
Last edited:
Cool ride. Lets see a post install pic with the springs.


I gotta question about the contents of the white jug labed "Used Turd" in the pics of the leaf springs though. Whatcha got in there? :confused: :bounce:
 
i'll get some "after" spring pics soon.

although it looks like "turd" it really reads "turp" as in turpentine. :toilet:
 
pics with new stock rear leafs installed.
 

Attachments

  • PC040234.jpg
    PC040234.jpg
    132.9 KB · Views: 2,259
  • PC040235.jpg
    PC040235.jpg
    133.3 KB · Views: 2,340
i'd forgotten about the horn fix, which i completed back in november. using KidV's thread and pics http://www.toyota-4runner.org/classic-t4rs/112614-horn-contacts-repair-walkthrough.html, i pulled the wheel to get at the pin & contact circle. i cleaned the "circle", but rather than shim it, i added a 22 cal shell to the plunger/spring for more positive contact. this worked ok, but i still was having intermittent "no horn" - about 1/2 the time, rather than 90 percent of the time. i did clean the shell inside & out, and the top of the plunger, and applied dielectric grease to the ring and shell (in & out).

removed the wheel again, cleaned the grease off, and lined the inside of the shell with aluminum foil so that it fit very tightly over the pin/spring contact. horn works pretty reliably now, and has since mid-november.

much thanks to KidV for his writeup, and fourwd1 for his shell case idea.
 
Last edited:
one of the rear wheel cylinders failed last month, so i replaced it. (no pics - i'm pretty terrible about not taking pictures while working on stuff) it was also a good time to fix the parking brake bellcrank on the same wheel, which was corroded and no longer moved freely (it was stuck in the "applied" position - discovered this during the gas tank installation)

the wheel cylinder replacement was simple enough (i've done a bunch of these over the years on my various drum brake equipped vehicles) and was easy because i have some decent brake tools for the job, especially for removing/installing the shoe return springs and hold down springs.

once the replacement wheel cylinder was in place, i bled the cylinder by gravity - cracked the bleeder, and watched the master cylinder fluid level slowly drop. once it dropped sufficiently, i closed the bleeder, and replenished the master. didn't have to pump-bleed the brakes at all, and they function flawlessly - no squishy pedal, no second pump to get braking action.

the parking brake fix was a little slower. the bellcrank that passes through the backing plate was moveable with force, but wouldn't return to "off" with just the spring. i removed the parking brake mess (the two bellcranks and attaching rods/cables, and the shoe lever) and cleaned up the outer bellcrank assembly using PB'laster and a hammer. eventually got it nice and loose, where the spring would retract it easily when the parking brake handle was released. cleaned out the sand and rust from the rubber boot, too, and reinstalled everything. parking brakes now hold on steep hills, where before it only held on a slight incline.

one of the ways i've kept a functional parking brake in all my vehicles is to use them regularly, as in every time i park the vehicle. once it's a habit, you won't forget, and the frequent/daily use keeps them operable, which is important up in the salt belt.

while i was at it with brakes, i removed the front tires to get at the calipers to check the pads. the pad retaining bolts were frozen on both sides, top and bottom. removing them without snapping them took a solid 3 hours using a couple of hammers, a dremel cut-off wheel, several drifts and a chisel, but i got them out and replaced, and coated with anti-seize. pads checked out, so i didn't have to replace those at least.
 
Last edited:
the outer door weatherstrip seals are a little tired, and gaps can be seen. i ordered a set from autoparts warehouse.

i tried installing them earlier this week, but they do not fit at all. many of the clip locations on the weatherstrip do not match the hole locations on the door, and the length above the window is too narrow to fit the channel in the door itself, so it wouldn't stay in place. also, once i attempted to install, the new seal is too long, meaning it fits a larger door opening than what i have in my '87.

kind of a letdown. i'm sure apw won't accept a return of the seal that i attempted to install, since all of the fasteners had to be broken off to remove the ill-(non)fitting seal. i didn't bother to attempt the other door.
 
from one of my jobs earlier this month.
 

Attachments

  • P2030303.jpg
    P2030303.jpg
    139.3 KB · Views: 1,019
  • P2030304.jpg
    P2030304.jpg
    143.5 KB · Views: 1,053
  • P2130022.jpg
    P2130022.jpg
    142.7 KB · Views: 1,047
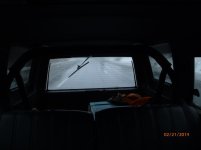
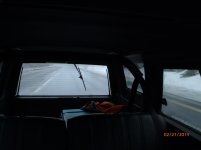
finally got around to making the rear wiper functional. it operated all along, it just wouldn't touch the glass - too much corrosion in the wiper pivot/spring mechanism/bushing.

so, i took the whole thing off, and sprayed it liberally w/WD40 while working the pivot up/down repeatedly (oh, and i removed the spring to make it easier to do this). eventually, it got loose. i then sprayed the bushing with a small amount of PB'laster and worked it in. reattached the spring, and and went back out to the 4runner, and put the wiper assembly back in place.

the moment of truth. put ignition switch to on, pressed the rear wiper button, and it worked, cleared some glass - and the washer works to boot. not perfect, but at least 75% of the wiper blade makes contact with the glass surface. much better than it waving in the air above the glass.

some "action" shots:
 

Attachments

  • P2210026.jpg
    P2210026.jpg
    43.3 KB · Views: 1,079
  • P2210027.jpg
    P2210027.jpg
    47.1 KB · Views: 1,022
Last edited:
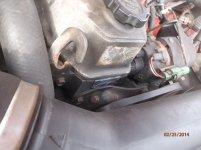
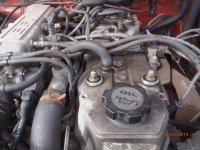
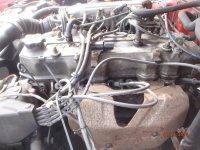
figured the valve clearances were due for checking/adjustment, as i've put 11K miles on since buying the runner, with no clear record of the last time they were adjusted/checked.

i must say, for all the glowing/fawning over the 22re, there are plenty of features that i find irritating. perhaps it's more the design of the engine bay than the engine. really shouldn't have to disconnect the coolant lines that feed the heater in order to easily remove the head cover (note, i didn't disconnect them, but it is a real PITA to get the cover off with them in the way). this is a potential mechanism to introduce dirt into the valvetrain, as whatever is still on the cover can be scraped off/dislodged while finagling the cover away from the heater hoses. stupid.

all the other hoses/connections were easy to remove or tuck out of the way. rotating the engine isn't particularly easy, either. the front skid is in the way, and prevents easy access to the crank pulley bolt for easy turning. instead, i used the power steering pulley bolt while pressing hard against the belt between the idler and crank pulley to get the engine to rotate to line up the timing marks.

once the marks were lined up, the adjustment itself is very simple and takes only a few minutes. then the laborious process of rotating the crank 360 to adjust the other four valve clearances.

at least the kit came with the head cover gasket, the four stud nut gaskets, and the two half-moons. visually inspected the timing chain and guides, which look to be in excellent condition.

i suppose the next time i'll be able to do it a little faster.

edit: added some pics of completed project. can see the new front half-moon, and the new gasket/bushings that go under the acorn nuts.
 

Attachments

  • P2230016.jpg
    P2230016.jpg
    120.9 KB · Views: 1,002
  • P2230017.jpg
    P2230017.jpg
    133 KB · Views: 1,013
  • P2230018.jpg
    P2230018.jpg
    134.2 KB · Views: 992
Last edited:
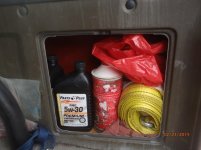
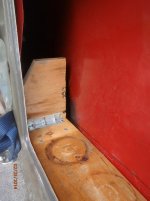
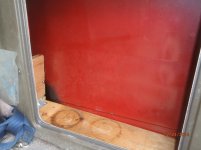
i didn't like the rear storage "box" on the passenger side. too deep, and stuff just sits at the bottom in any moisture that might get in the inner rear quarters. so i added a simple shelf to store some things that i prefer to keep dry or out of the way. it's a 1" thick pine board, trimmed to fit the space, with a brace and another trimmed piece of 1" wood at the forward end to prevent the stuff from disappearing inside the panel. the two screws in front of the hinge attach a "foot" to keep the shelf at the correct level. keeps the stuff clean and dry so far (about 5 months).

and, just because i noted it earlier in the thread, a pic of the dash crack. doesn't bother me for now.
 

Attachments

  • P2230005.jpg
    P2230005.jpg
    127.6 KB · Views: 1,076
  • P2230008.jpg
    P2230008.jpg
    117.6 KB · Views: 1,024
  • P2230006.jpg
    P2230006.jpg
    100.1 KB · Views: 1,006
  • P2230020.jpg
    P2230020.jpg
    89.9 KB · Views: 1,013
Last edited:

Members online

Forum statistics

Threads
278,308
Messages
3,554,059
Members
248,016
Latest member
Advally Service

Trending content

Back
Top