samsung
New member
This morning I installed my Icon rear lower links / trailing arms.
Oooooo shiney!
View attachment 125822
The arms came with install instructions where were ok. But missing some detailed info that would have been ice for generally novice wrenchers.
Here are some missing details:
Getting the old arms off. If your old arms are trashed they come off pretty easy, but mine were new and required some finesse.
Jacked the car up by the diff, then set it back down on jack stands on the frame just in front of the front link mounts. Then lowered the diff jack till the wheels were hanging on their own. They should be only barely touching the ground or floating.
Remove the parking brake cable guide from the link.
Next is to loosen the front bolt. Don't loosen the nut, it is self locking and will be harder to break loose. After breaking the bolt loose then take the nut off. Now try to turn the bolt with your fingers. If you can then you can pull it out and take the rear bolt off. If the bolt is still tight, slowly jack the diff back up, like one pump at a time till the front bolt is loose enough to pull out.
Once the old trailing arm is off, you need to adjust the new trailing arm to be the exact same length (assuming you are not changing your pinon angle). The instructions tell you to do this but don't say exactly how. I figured out that by placing the bolts through the old link you could use that to set the length of the new link easily like so:
View attachment 125821
So once they are the same length you just simply bolt in the new trailing arm. But there was one small problem on my setup. There is a tiny bolt on the rear link of the arm. (For oiling?) Unfortunately it does not completely clear the link mount. Fully stuffing the wheel could shear the nut right off. I used a square jawed pipe wrench and gently bent the lip of the mount out of the way just enough for it to clear. Before on left, after on right.
View attachment 125819View attachment 125820
one more little detail was that trying to bolt the parking break cable back on didn't go as smooth as it should have. I had to bend the anti-rotation tab in towards the bolt hole in order to get both of them to line up to get the bolt into the new arm.
Finally, torque all bolts to specification. The trailing arm adjustment bolts are explained in the instructions from icon, and for my 2014, the main mounting bots were to 96lbs. And again, torque on the bold heads, not the nuts.
All in all a relatively easy upgrade, though it was more exercise than I've had in months and still wore me out
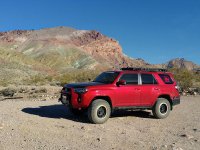
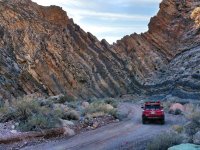
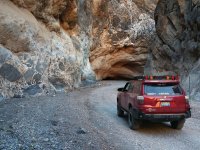
Some installed pictures. I tried to find some good pictures of them installed before I bought them and was generally disappointed in the quantity and quality of such pics. So including the top image, here are some nice ones for everyone from now on.
View attachment 125824
View attachment 125825
View attachment 125826
Oh, one last thing. I bought a set of Total Chaos rear link mount skids. They would have fit fine with the old links but they don't fit at all with the new one. The picture above shows why, the ball joint knuckle is HUGE and extends well below the frame of the mount which the skids covered up. So I can either plasma cut the bottom of the skid so that the knuckle passes through it, or I'll just need to make my own.
Since I think I DO want to protect the knuckle itself, I'll probably just weld up my own skids...

I just read this post and i was turning the nut on the trailing arms and they wouldn't budge. now I know you're suppose to turn the bolt. do you happen to know the torque spec for those rear trailing arms?