weeeee's build thread

Nice ride brother. Simple and very clean.

Thanks bro

Nice ride and pics. Wish I knew when you were going through, we are in So. Or. right off the 5. Could of had a beer and shot the shit lol

Went right by me too. I only live about 20 mins from Multnomah Falls. Looks like fun!

I flew by so many nice spots while in Oregon/lower Washington I know I'll visit again at some point. I'll be sure to hit you guys up when I do!

Close but you'll pay about $100 more per year according to fueleconomy.gov.
$2,250 for the Z and $2,350 for the Pro.

Yeah, even with the mods I had on the Z, the gas mileage on the stock Pro doesn't even come close. Definitely paying more for gas on the 4Runner.
 
Antman Flashlight Mod

So it's been a while since I last updated this thread, and I realized that there's a bunch of photos I just never took the time to upload, so here goes.

Took a page from [MENTION=65614]Antman[/MENTION]'s book and mounted my Surefire in the little shelf below the driver's side handle. I used the same clips in Antman's thread (1" clips from Beckson Marine). Total install time was about 5 minutes.

In case anyone is interested in the flashlight, you can find the same one here:
SureFire P3X Fury Tactical Compact LED Flashlight

It's a single output, 1000 lumen flashlight. Since it's so bright, I normally only use it as an emergency spotlight, as it will wipe out your night vision when turned on.

23953384695_a141c2ec40_z.jpg


23845125832_6d42027a00_z.jpg
 
Last edited:
Full Size CB Install

I had this from my other 4Runner and never really got around to figuring out how to install it. Unfortunately there just aren't very many spots where you can mount a full sized CB in the 5th gen. After looking into several options and coming up empty, I decided to mount it inside the center console.

The unit is a Uniden Bearcat 980SSB. I chose it mainly for the SSB features, and because it looks cool :)

Started out by removing the center console from the car (trust me, you dont want to do all the test fitting when crammed inside of the car). Dremeled the hell out of the center console and tried to make it as clean as possible. I was originally going to build a bracket to hold the CB inside, but ended up only friction fitting it- it's pretty snug in there.

23585774949_ea19f649a3_z.jpg


Now it was time to run the mount and cabling. I'm using the Diamond K400 mount. The new mount comes with a 13.5' coax cable pre-installed, which eliminates the need to run additional cables. It's also extremely thin, making it really easy to run through the interior.

23953634355_a3197be18e_z.jpg


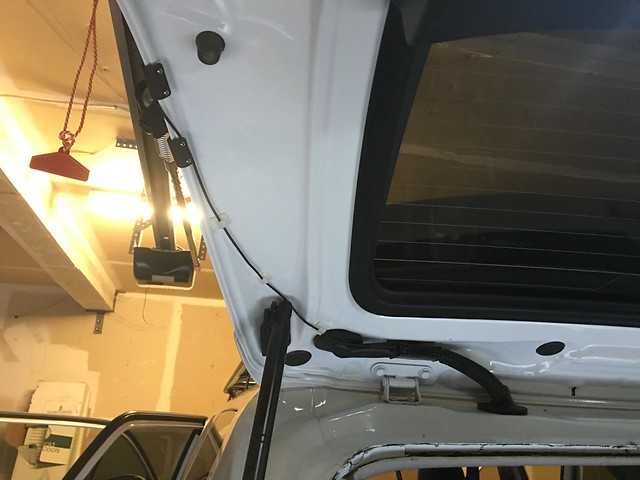
Ran the coax cable into the interior using the factory wiper harness. If you're patient, you can take apart the plastic harness cover, make a slit, and run the coax right through the rubber grommet. This makes for a clean install without having to worry about any leaks.

23953634305_9fe6265594_z.jpg


23845377442_39f72257f6_z.jpg


23585781589_2d4b5d6099_z.jpg


Running it through the headliner

23845376452_879547d241_z.jpg


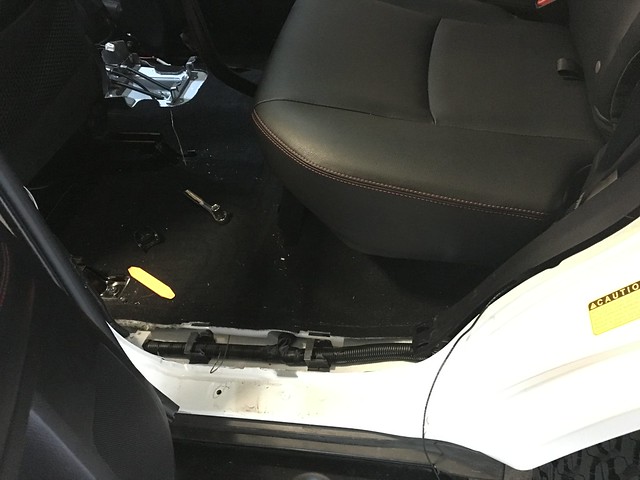
Down to the passenger side kick plate

23585780609_c4b4abc13b_z.jpg


Use a wire hanger to pull the coax through the carpeting

23657981390_fd108ef420_z.jpg


And finally to the center console again

23953629875_db3f971b51_z.jpg


Put it back together and testing everything. Make sure that your SWR is within limits before operating to not damage any of your equipment. I managed a 1.05 SWR right out of the box- I'm not sure if I can get any better.

23586086109_8e7a8beab4_z.jpg
 
Last edited:
Full Size CB Install (cont.)


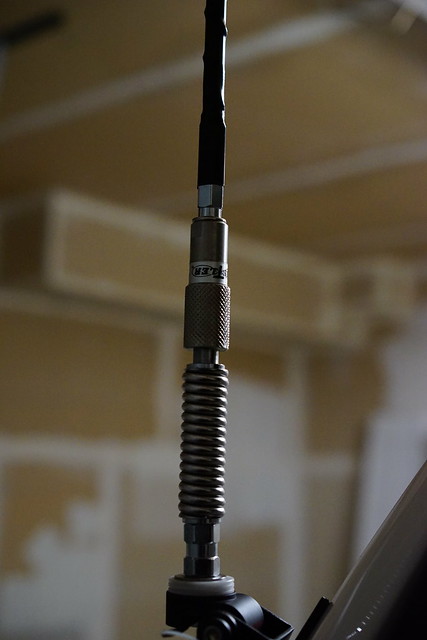
After experimenting with some different spring setups (both medium and heavy), I still felt like the CB antenna was too stiff. I also kept hitting the top of my garage every time I pulled in, which started to bend the mount and antenna.

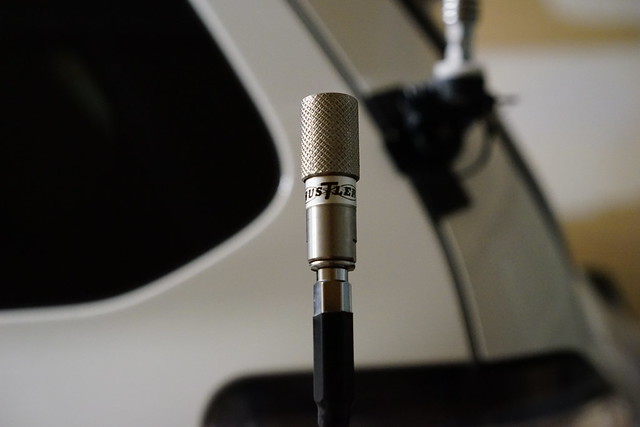
I decided to add a Huster QD2 quick release to the setup. It installs between the K400 stud and the Firestik antenna. I just push down, and turn it about a quarter turn to remove or release it. I mounted this upside down so that water/debris wouldn't get stuck inside of the quick release when not in use.

23953398595_7ffba12925_z.jpg

23845145192_849dcb600b_z.jpg

23326630623_f18aaafa2b_z.jpg
 
Last edited:
BAMF Rock Sliders

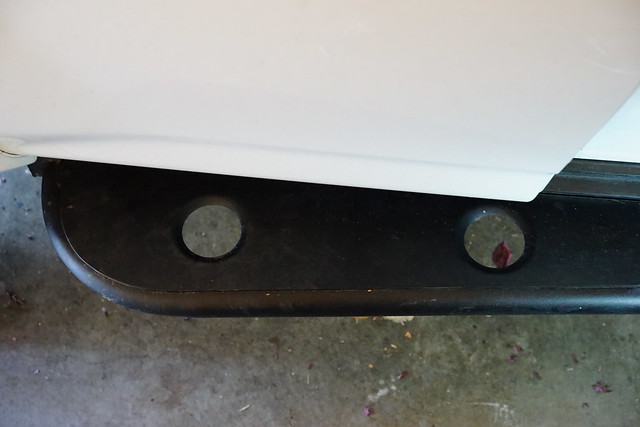
I ordered a set of BAMF sliders from Jerry when he first started making the bolt-on sliders available. I had it ordered with full length plating, bump-outs, and also had him customize the angle to be flatter so my wife could use them as steps- final angle was 15 degrees if I recall correctly.

23326603963_f6b84ac8ef_z.jpg


23585521799_4e88884693_z.jpg


23326600383_afc50a00e8_z.jpg
 
Last edited:
Nice, I'm currently looking to get a CB setup as well. Not sure which route to go, thinking about the portable midland 75-822 along with k400 and firestick.
 
ARB 2000mm Awning + Fourtreks Mounts


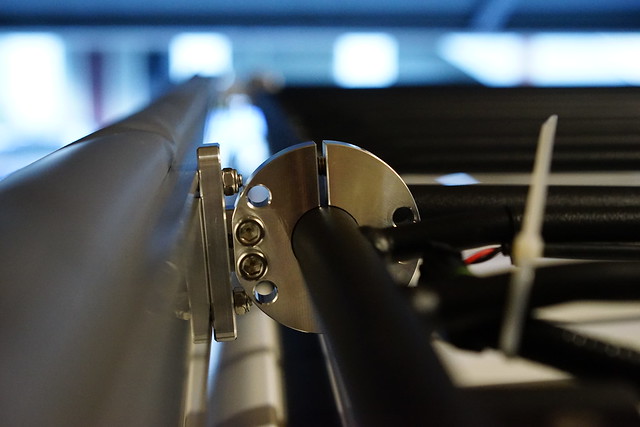
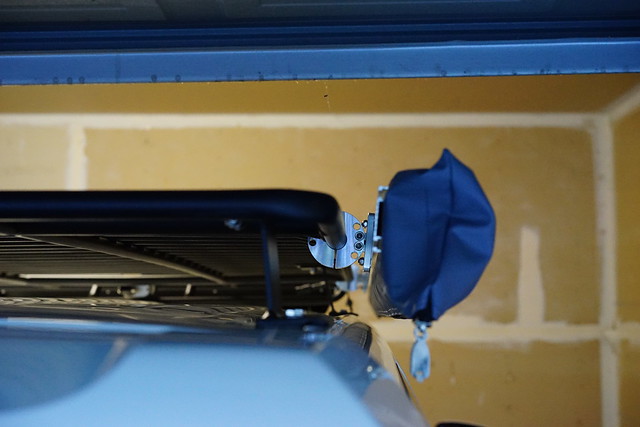
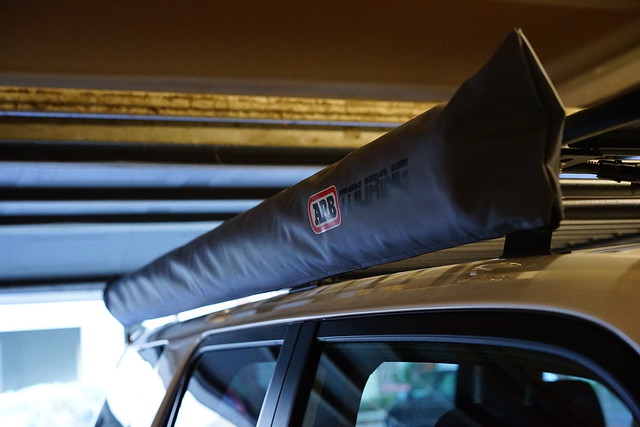
My wife ended up getting me an ARB awning as a Christmas gift, and I just needed a way to mount it to the Bajarack. I opted to use the beefier Fourtreks mounts vs. using the Bajarack awning mounts. These are awesome mounts and made right here in the USA.

23325227874_3d1ca41187_z.jpg


23325195444_06942a7ac0_z.jpg


23927335926_2429a1554d_z.jpg


23585562349_65ce986711_z.jpg
 
Last edited:
Ram Mount for iPhone

I wasn't too exited about drilling into my dash to get a RAM mount to work, and wanted the phone nearby to use for GPS.

I ended up purchasing a Proclip interior vent clip and using a AMPS ball adapter plate to attach to the RAM mount. The Proclip clips into the air vent plastics vs. the air vents themselves for added stability. It's proven to be pretty rock solid, and I don't have to worry about losing my phone while offroading or hitting trails.

Parts used:
Proclip Air Vent Clip- http://www.proclipusa.com/dashboard-mounts/vehicle/toyota/4runner/2010.cmsv
AMPS ball mount adapter- https://www.amazon.com/gp/product/B0059EN7L6/ref=oh_aui_search_detailpage?ie=UTF8&psc=1
RAM Mount- https://www.amazon.com/gp/product/B00C7B2NV4/ref=oh_aui_search_detailpage?ie=UTF8&psc=1


23381180993_eabb7662d5_z.jpg


23326623243_7b60dfbd62_z.jpg
 
Last edited:
Hardwired Dash Camera

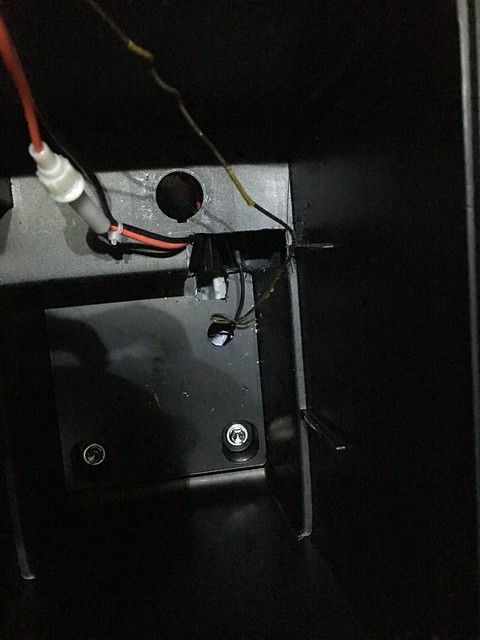
I didn't want to run the bulky 12V cigarette lighter plug with my dash cam, so I ended up hardwiring a 12V to micro USB plug directly to the fuse box.

I used this 12V Micro USB plug:
https://www.amazon.com/gp/product/B00U2DGJOQ/ref=oh_aui_search_detailpage?ie=UTF8&psc=1

And a few Bussman Add-a-Circuits:
http://www.amazon.com/Bussmann-BP-H...249594&sr=1-1&keywords=bussmann+add+a+circuit
^^These are kind of pricey on Amazon, but you can find them cheaper at your local auto parts store.

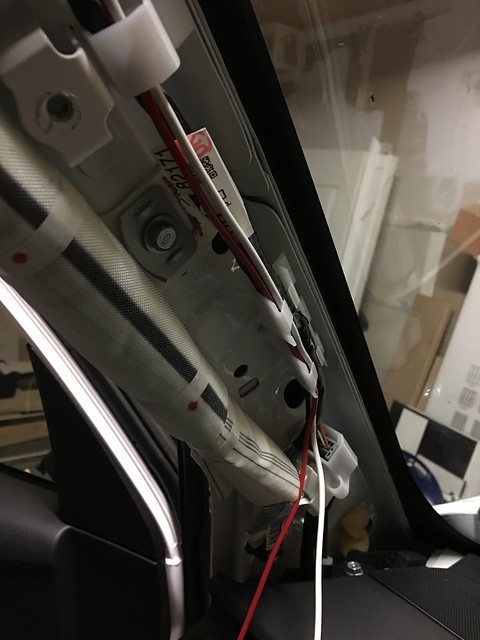
I tucked the dash cam right behind the mirror, and ran the wiring through the headliner, down the A-pillar, which dropped me right behind the dash to the fusebox. If you do this make sure you route the wires into the existing harness clips to avoid interfering with the airbag.

23325131414_fd802ff816_z.jpg


23640260659_a31dd36521_z.jpg


23982041566_e1c4c0b416_z.jpg
 
Last edited:
Great build thread! Looking at doing the CB install at some point and appreciate the info.

Very clean looking install on the dash cam! Did you happen to take any pics of the tie in to the fuse box? I'm using the lame cigarette lighter deal right now...
 
Great build thread! Looking at doing the CB install at some point and appreciate the info.

Very clean looking install on the dash cam! Did you happen to take any pics of the tie in to the fuse box? I'm using the lame cigarette lighter deal right now...

It's a power and ground, the power I hooked up into an Add-a-Fuse. I can snap a couple later this week.
 

Members online

Forum statistics

Threads
278,305
Messages
3,554,044
Members
248,016
Latest member
Advally Service

Trending content

Back
Top