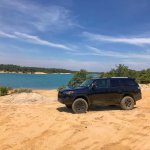
What did you do to/in your 5th Gen today?!

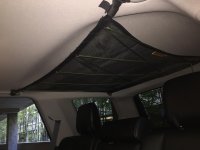
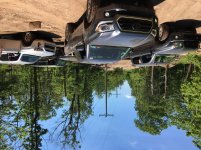
Installed the 4runner attic by Blue Ridge Overland Gear! Very durable and great quality. Made in the USA. Slapped that sticker on too.
 

Attachments

  • IMG_5333.jpg
    IMG_5333.jpg
    126.5 KB · Views: 991
  • IMG_5330.jpg
    IMG_5330.jpg
    132 KB · Views: 969
Last edited:
Installed the 4runner attic by Blue Ridge Overland Gear! Very durable and great quality. Made in the USA. Slapped that sticker on too.


Hey - can you take a couple pictures for me? From the front and rear of it? I installed it too but it's kind of flipped up towards the back.


Sent from my iPhone using Tapatalk
 
Hey - can you take a couple pictures for me? From the front and rear of it? I installed it too but it's kind of flipped up towards the back.


Sent from my iPhone using Tapatalk

Ya mine is too. If you tighten it up so that's it not hanging down as much then the netting bunches. Fine with me until I put stuff on it then it sags a bit more and isn't bunched.
 
Put some more stickers on too.
 

Attachments

  • IMG_5328.jpg
    IMG_5328.jpg
    121.7 KB · Views: 958
  • IMG_5329.jpg
    IMG_5329.jpg
    128.7 KB · Views: 953
  • IMG_5331.jpg
    IMG_5331.jpg
    132.4 KB · Views: 948
Last edited:
Loving them! I've had the rack etc for2 years now and very impressed with the quality. It's built like a tank but lightweight.

Agree, have the 2.2m for little over a year and have used the hell out of it..I plan to re-powdercoat sometime in the near future
 
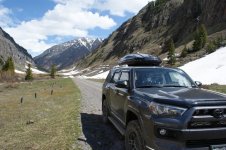
went to Silverton, colorado. trying to go to clear lake but still too much snow.
 

Attachments

  • DSC05201.jpg
    DSC05201.jpg
    139.6 KB · Views: 825
Last edited:
Ceramic coat!

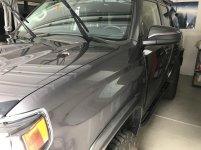
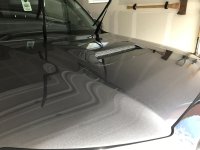
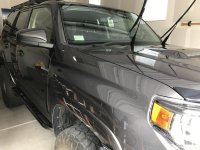
Spent part of the weekend detailing and applying a full ceramic coating to paint and windows. I used CarPro's Fly By Forte for all glass, and a 9H Ceramic coat by Color N Drive. Steps for glass: wash, polish, Car Pro Eraser, apply coating, hand buff. My steps for paint: Wash (Griot's wash), Paint Prep while still wet (Griot, wax remover), clay bar, rinse, polished with a compound, wiped down with CarPro Eraser, and then the ceramic application process dictated by the manufacturer: pre-treatment spray, 9H ceramic coat applied w/ applicator, spread with damp cloth, buff with hand cloth.

It was fairly easy, but it did take a good 10ish hrs over two days. I had clay bar-ed before winter, so I didn't have much buildup. Like most things, its all in the prep!! Tip: don't let the ceramic dry...I was a little slow on a couple panels to buff and the ceramic had dried in a couple small edges. Its just a couple high spots, so I'm not worried about it. Definitely looks great! We'll see how long it lasts. Total cost: maybe $125 for all the supplies...had a lot of the prep stuff already.
 

Attachments

  • IMG_5443.jpg
    IMG_5443.jpg
    130.4 KB · Views: 734
  • IMG_5444.jpg
    IMG_5444.jpg
    127.4 KB · Views: 733
  • IMG_5446.jpg
    IMG_5446.jpg
    132.4 KB · Views: 724
Fluid film the entire frame. I'm in salt on the road country so any protection I can use. It took 5 cans of fluid film, almost 3 cans inside the frame and two outside. While I had my skids off I lubricated all shafts at the same time.
Did you notice that doesn't matter how you park, all greasing zerks are always at inaccessible position?
 
Last edited:
went to Silverton, colorado. trying to go to clear lake but still too much snow.

I was just there on Wednesday. Bushducks didn't mention anything about the clear lake trail being closed. I drove all the way up it till I was less than half a mile from the lake and the road had not been finished being plowed. I was pissed after driving that far up that rough ass road.
 
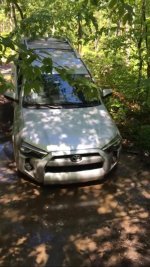
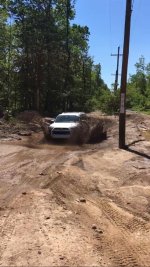
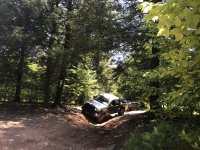
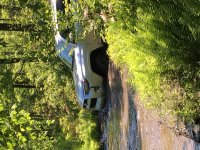
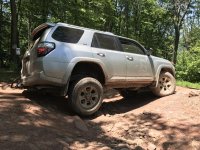
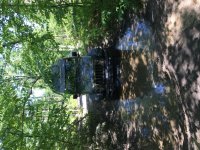
First adventure out off-roading with the 4Runner, and first time out in 15+ years. Rausch Creek lived up to expectations and looking forward to heading back soon!

The 4Runner (still haven't thought of a name for her) kicked ass. Couple scuff marks on the RCI skid from underwater rocks while leading, but otherwise not a problem at all.
 

Attachments

  • IMG_0976.jpg
    IMG_0976.jpg
    111.2 KB · Views: 1,205
  • IMG_0977.jpg
    IMG_0977.jpg
    124.8 KB · Views: 1,214
  • IMG_0964.jpg
    IMG_0964.jpg
    138.4 KB · Views: 1,249
  • IMG_0968.jpg
    IMG_0968.jpg
    141.2 KB · Views: 1,202
  • IMG_0972.jpg
    IMG_0972.jpg
    152.4 KB · Views: 1,222
  • IMG_0959.jpg
    IMG_0959.jpg
    139.7 KB · Views: 1,224
  • IMG_3455.jpg
    IMG_3455.jpg
    145.3 KB · Views: 1,235
  • IMG_3469.jpg
    IMG_3469.jpg
    139.1 KB · Views: 1,203
Picked up my N-Fab nerf steps. Removed my rockers and will cut them down and reinstall to fit the trail steps I got. One month in, and this forum is costing me money! :D
 
Got my 14 trail on Wednesday. The dealer put pinstripes on it. I peeled them and the dealer badge on the back.


Mine had the dealer sticker, a license plate frame, and trailer hitch plug–a little overboard if you ask me! I removed it all. Pro tip: a norwex cloth will easily and completely remove the residue from those stickers in just a wipe or two.
 
Last edited:
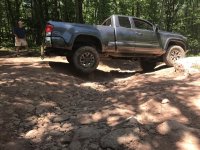
Finally got my icon stage 2 with method NVs and BFG KO2 275/70-17 installed. Here's how she sits so far.
7616429673fe666b4908d9d920abfd22.jpg
c1c8a72dd12015fc9c679e418e23a5f3.jpg
b349fdf8b4f331288b6e24febd2e2cfa.jpg


Sent from my iPhone using Tapatalk
 

Members online

Forum statistics

Threads
278,317
Messages
3,554,128
Members
248,016
Latest member
Advally Service

Trending content

Back
Top