What did you do to/in your 5th Gen today?!

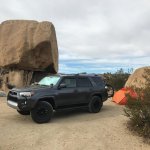
Found fish and mud

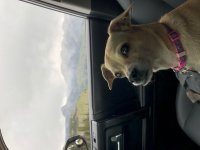
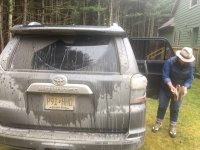
Took it trout fishing and allowed it to romp in the mud. 4s Looks great with a little earth make up ... don't they?
 

Attachments

  • IMG_2475.jpeg
    IMG_2475.jpeg
    111.1 KB · Views: 879
Nice! If you don't mind my asking, what camera body and iso settings are you using for the night sky photos?

Thanks! I used a Canon Rebel EOS T7i, with a Rokinon F2.8 10mm lens. ISO was at 6400. Exposure times varied depending on the image, from 15 to 20 seconds.
 
i did a thing


Part 1 of my dual battery setup.

I modified a powertray to fit a single ARB compressor, and a CTEK dual battery charger/isolator/thingieabob/voodoo/rocket science thing. I hid all the wiring for my lights underneath the power tray. Part 2 will be tomorrow, and that will be using a shrockworks dual battery relocation kit. Part 3 will be wiring all that crap up, but no ETA on that.

Getting the ARB compressor was a beeach, because it wouldn't clear the hood or the engine cover to the left in the OEM configuration, and getting to the mounting holes on the powertray requires midget hands. So basically you have to disassemble the compressor mounts, turn the compressor around, and keep test fitting until everything clears.

In between installing that crap. I installed my ejector seat and fire extinguisher...just kidding. Its a wits end bracket w/ a quick release.

 
That was a fire waiting to happen. Factory warmers fail, aftermarket are even worse. Good call not using them.

They were a real pain. They never worked right from the day I bought the car. I screwed with them trying to get them to work correctly. I'm not sure what I was more annoyed with; them working randomly in the summer or not working when I turned them on in the winter. When I have some time, I will completely remove them from the seats. Right now I'm happy w/ them being disconnected.
 
I completely disconnected the aftermarket seat heaters. I was having trouble w/ the DS turning on and off intermittently. I disconnected it from the switch, but to no avail. Once I disconnect it from the passengers side and from all possible power sources, I'm golden. No more seat heater turning on when it's 90 degrees outside.

Katzkin heaters?
 
Went offroading with some friends yesterday up near Empire, Co.

Still some snow up high and finally got a chance to use my winch to get me up a snowy uphill section.

rlZmADY.jpg


iGw4IdF.jpg


BaBzhz2.jpg


W0bqA9P.jpg
 
Last edited:
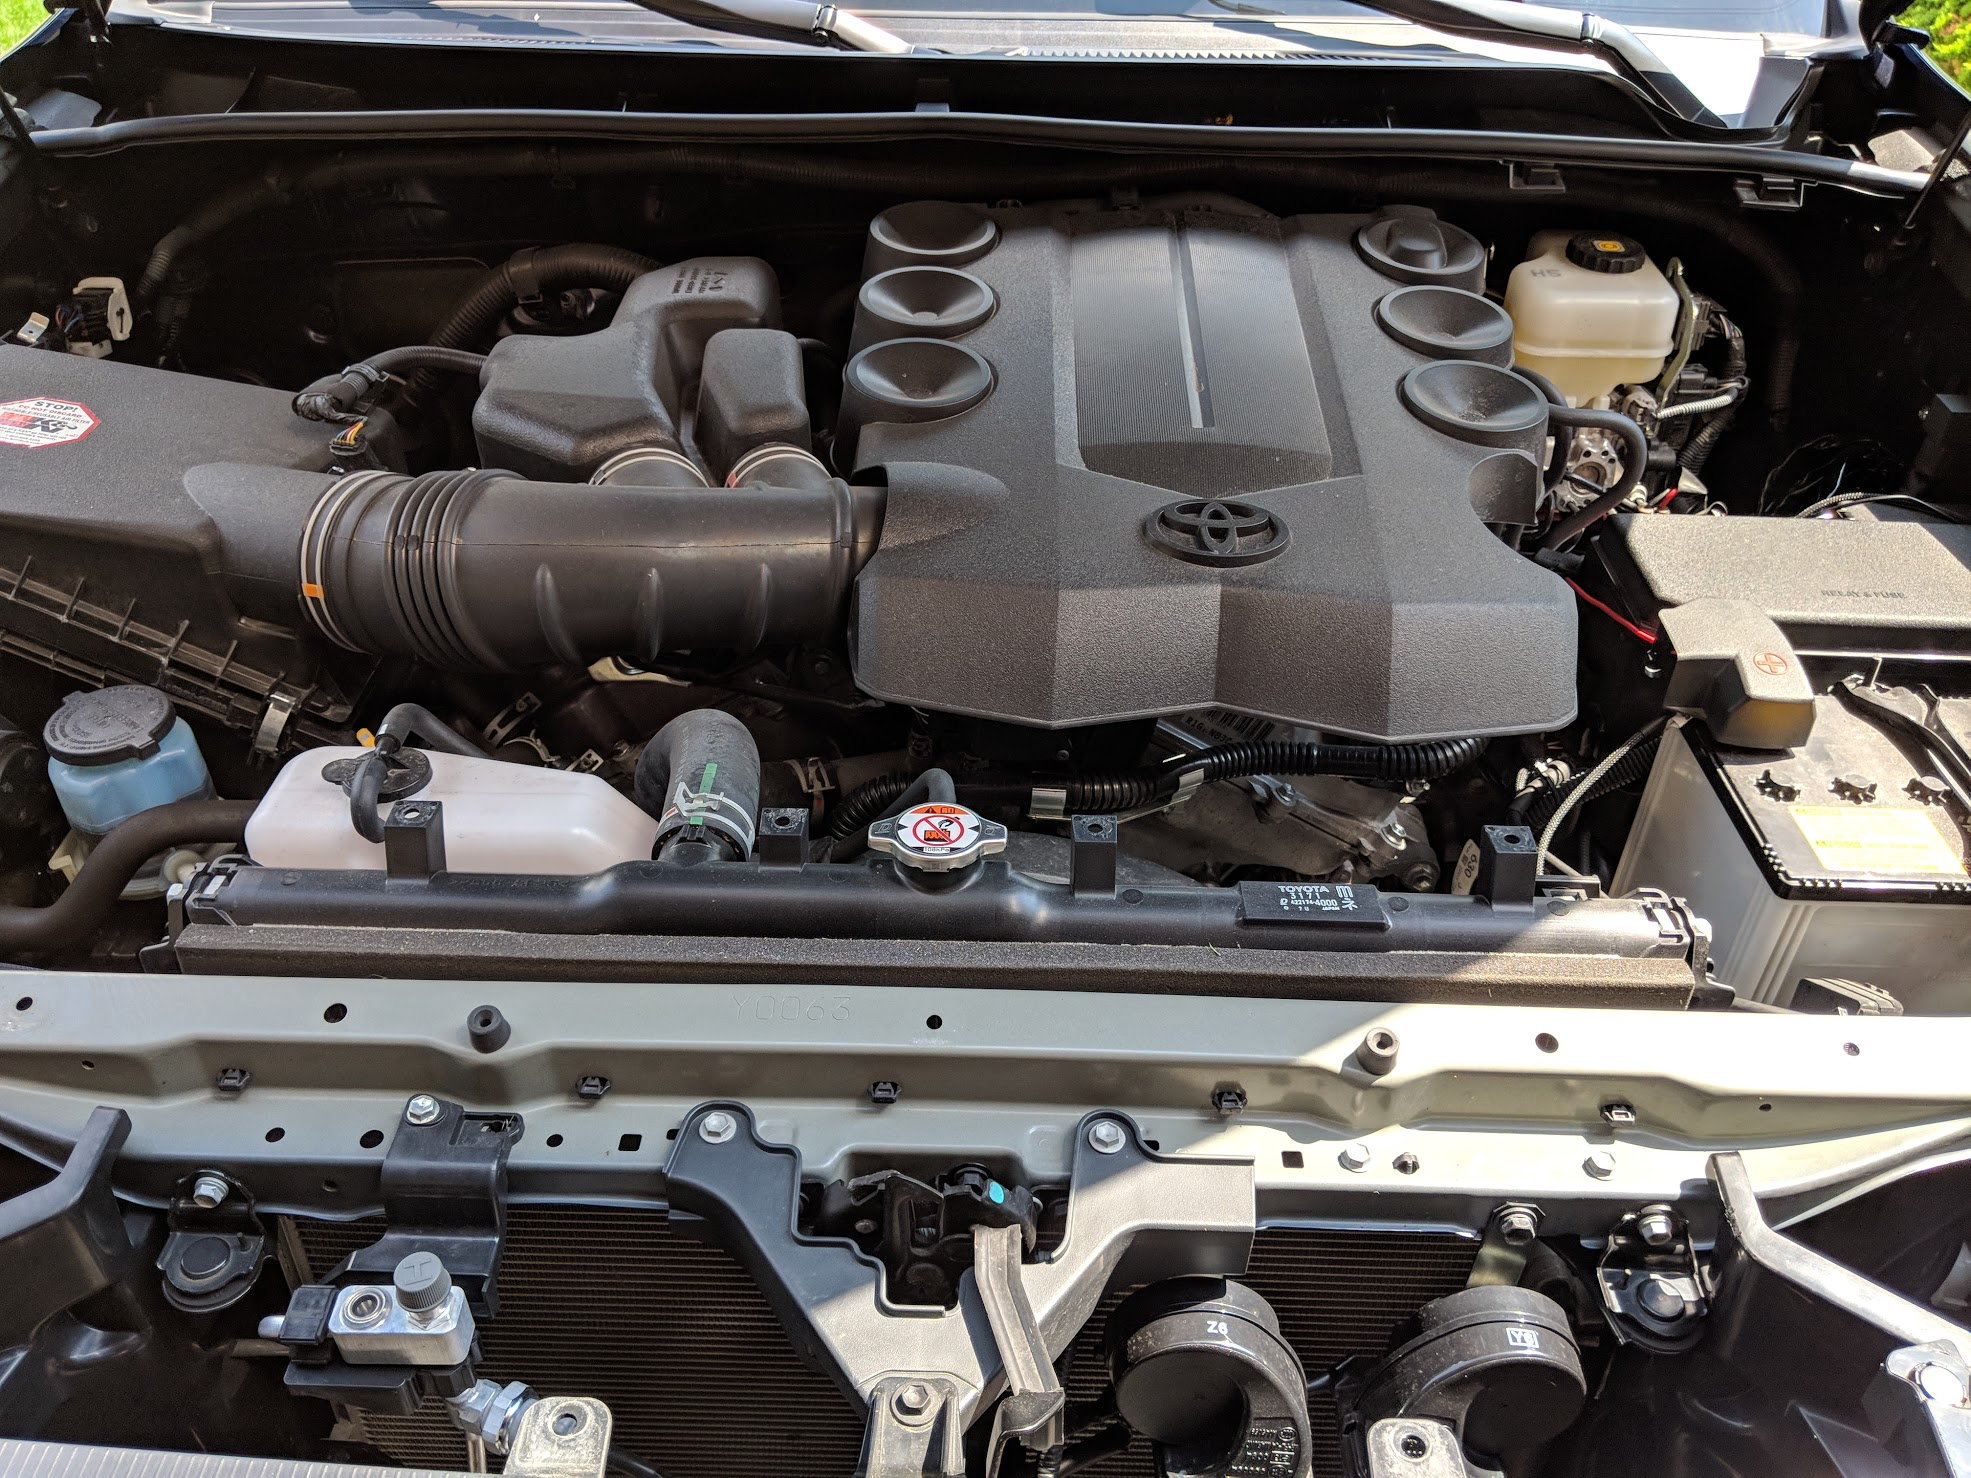
So, busy day yesterday. Got a number of small projects checked off the list all at once. I had some wiring that I wanted to clean up, a new battery to install, and some LED markers for the Raptor mod that I wanted to add, as well as a TRD Intake piece. So here's a quick run down of some of the work I did. The engine bay was dirty and had some salt residue from the winter so I wanted to detail that too while I was in there. Here's a before

mvimg_20180517_151835_40b4c4b97b7cf8e090199251e67241f914d7e659.jpg


First mod was the TRD airflow accelerator piece from the TRD intake, I didn't really want to spend the 3-400 bucks especially since I already dropped some coin on the K&N Drop in filter which isn't compatible with the TRD (go figure). So I picked up this piece for like $10, this is one of the main components of the TRD intake and threw it on

img_20180517_184319_bb597b2d758043c1aa3ca9d20159decc9261afa6.jpg


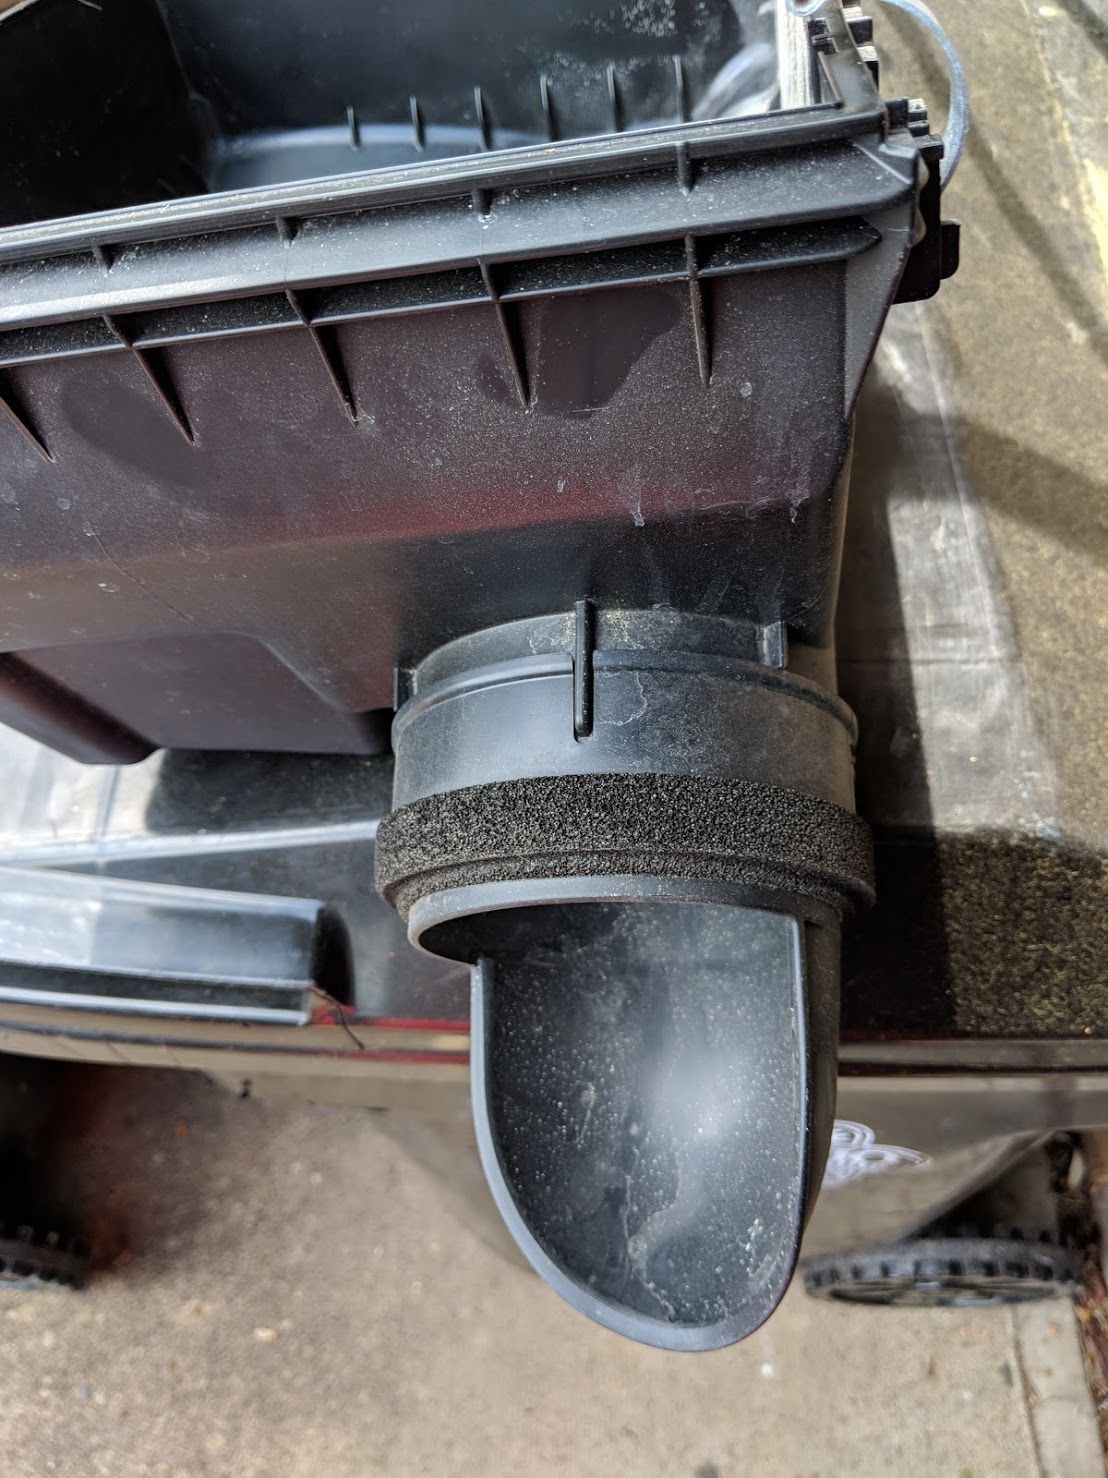
A before of the stock intake piece

img_20180517_155630_3d355a964a3af108627f4631f62e10f9e46f0811.jpg


So for $10 I figured I'd throw this piece on which is designed to go into that inlet and force more air in from the fenderwell and not the engine bay, notice it even has the TRD stamp on it

img_20180517_155702_5aa8dd95293f02a0c16531aa08240d0d2cc5bb69.jpg


So I mounted this sucker up, here you can see the difference in the air flow.

img_20180517_161008_b8f235d71b0c77d75ab171ce0a7d7e72bd34a68c.jpg


The notches don't line up between the stock air box and the TRD piece (go figure) so I threw on a hose clamp to seal it and keep it in place. This hose clamp was actually from my old dryer vent lol

mvimg_20180517_161006_c6e08bd514e622a94b422f7838e395fb41b0538f.jpg


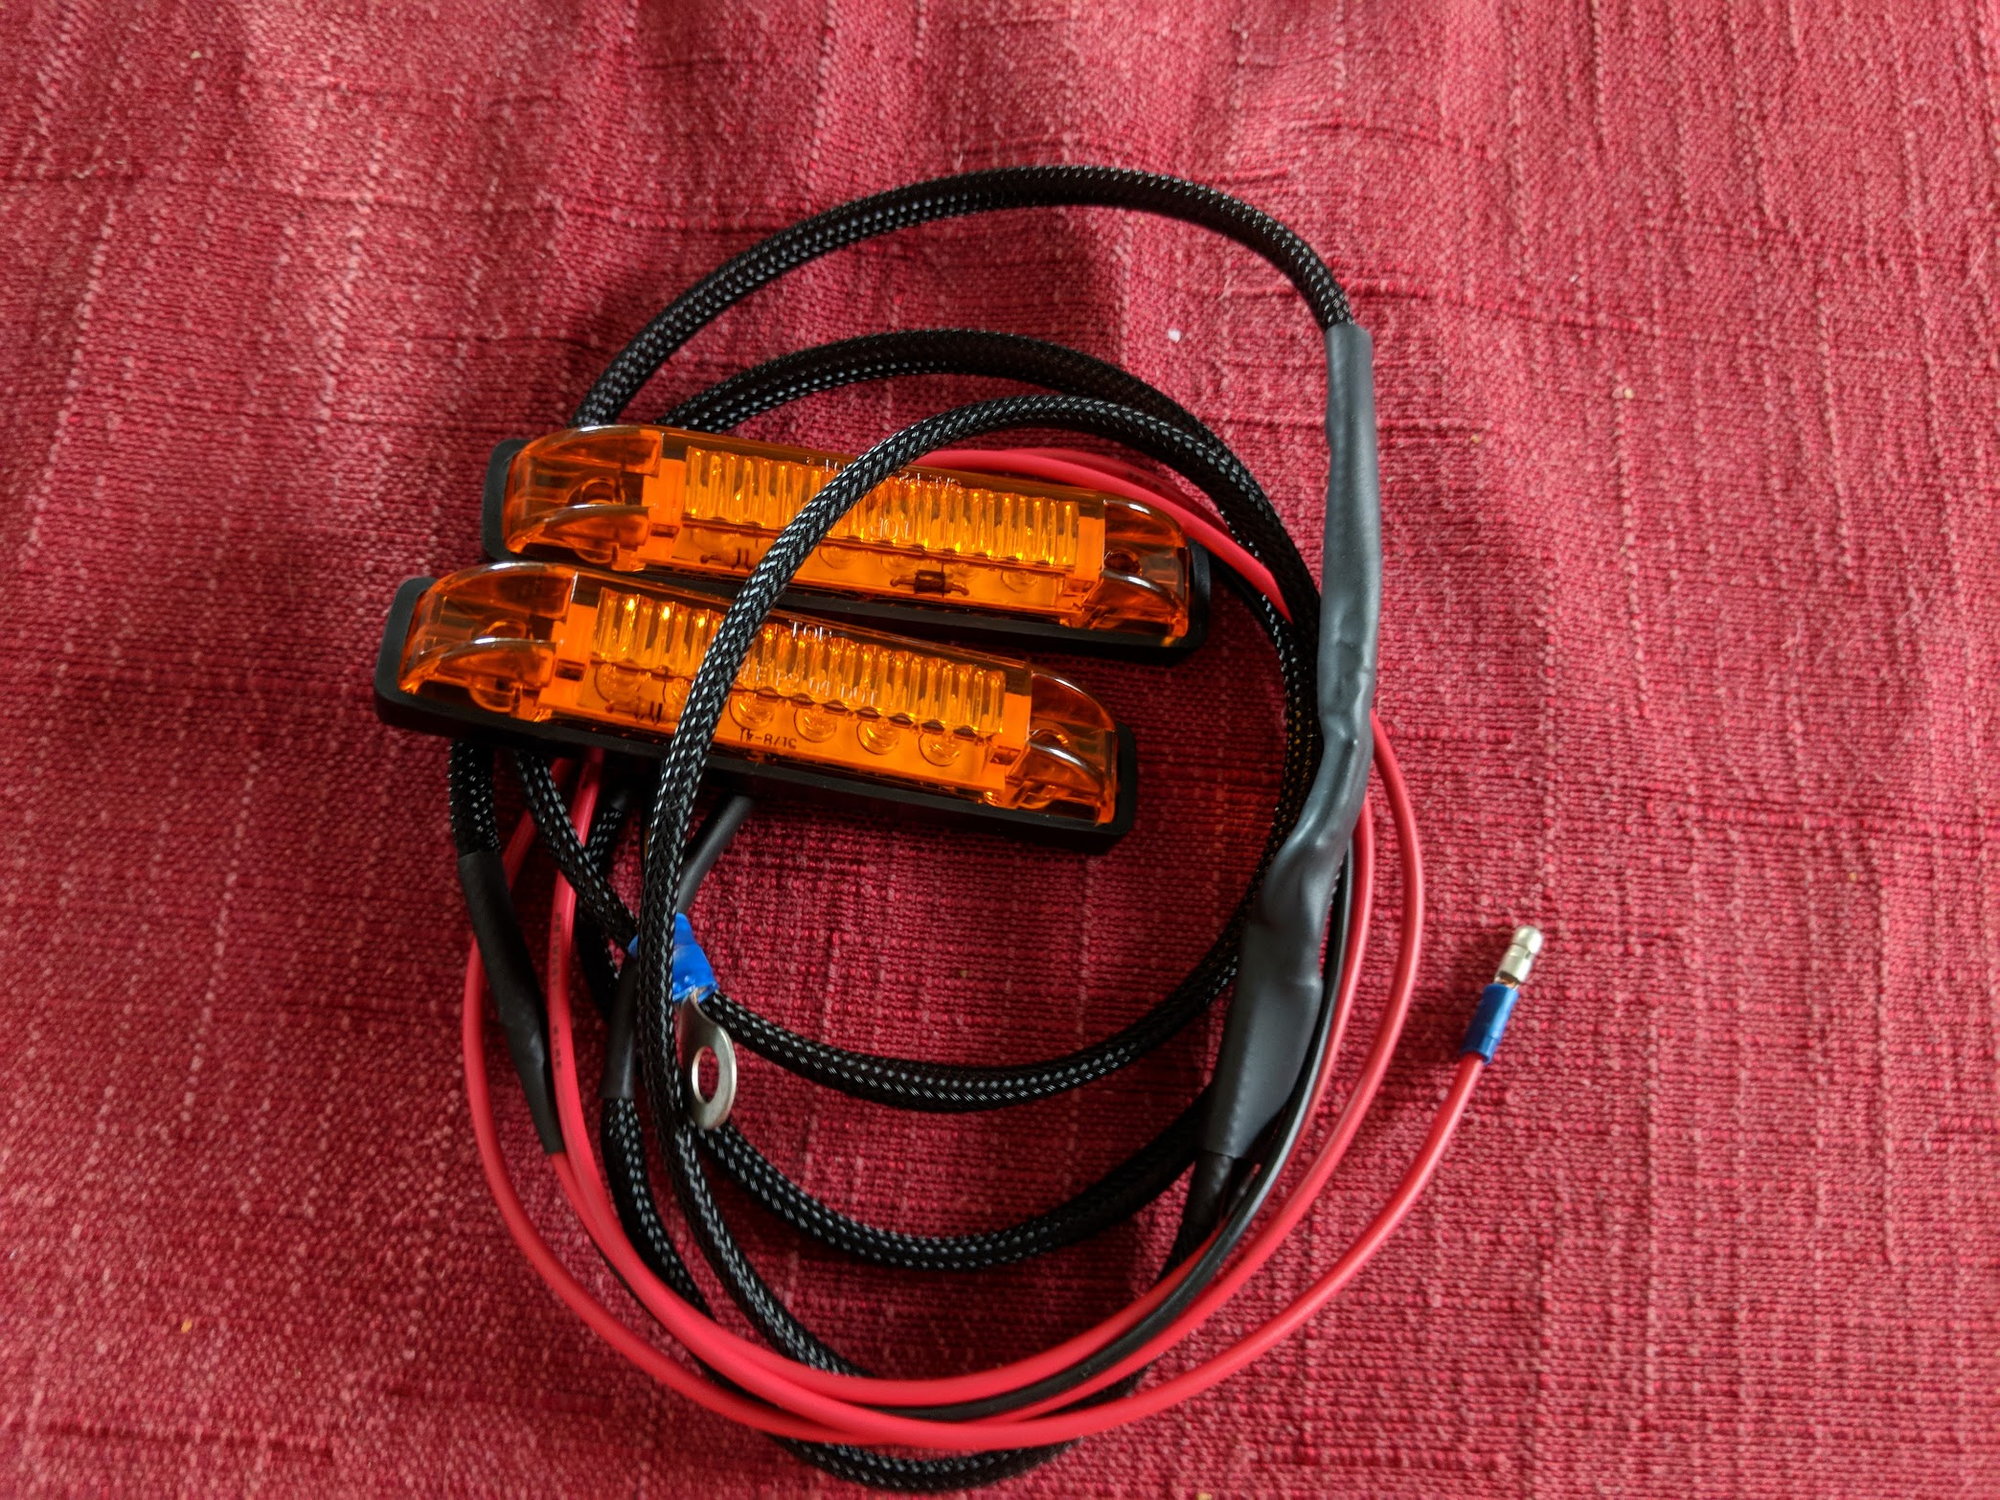
After I got the intake all reassembled and cleaned up I moved on to the next project on the list, the raptor mod. I got these from another member on here and they were brand new, so I got a good deal on them and they came prewired and ready to install.

img_20180515_171912_83147e7cdc4e2269f1a1c938197b7cf6b829cb72.jpg


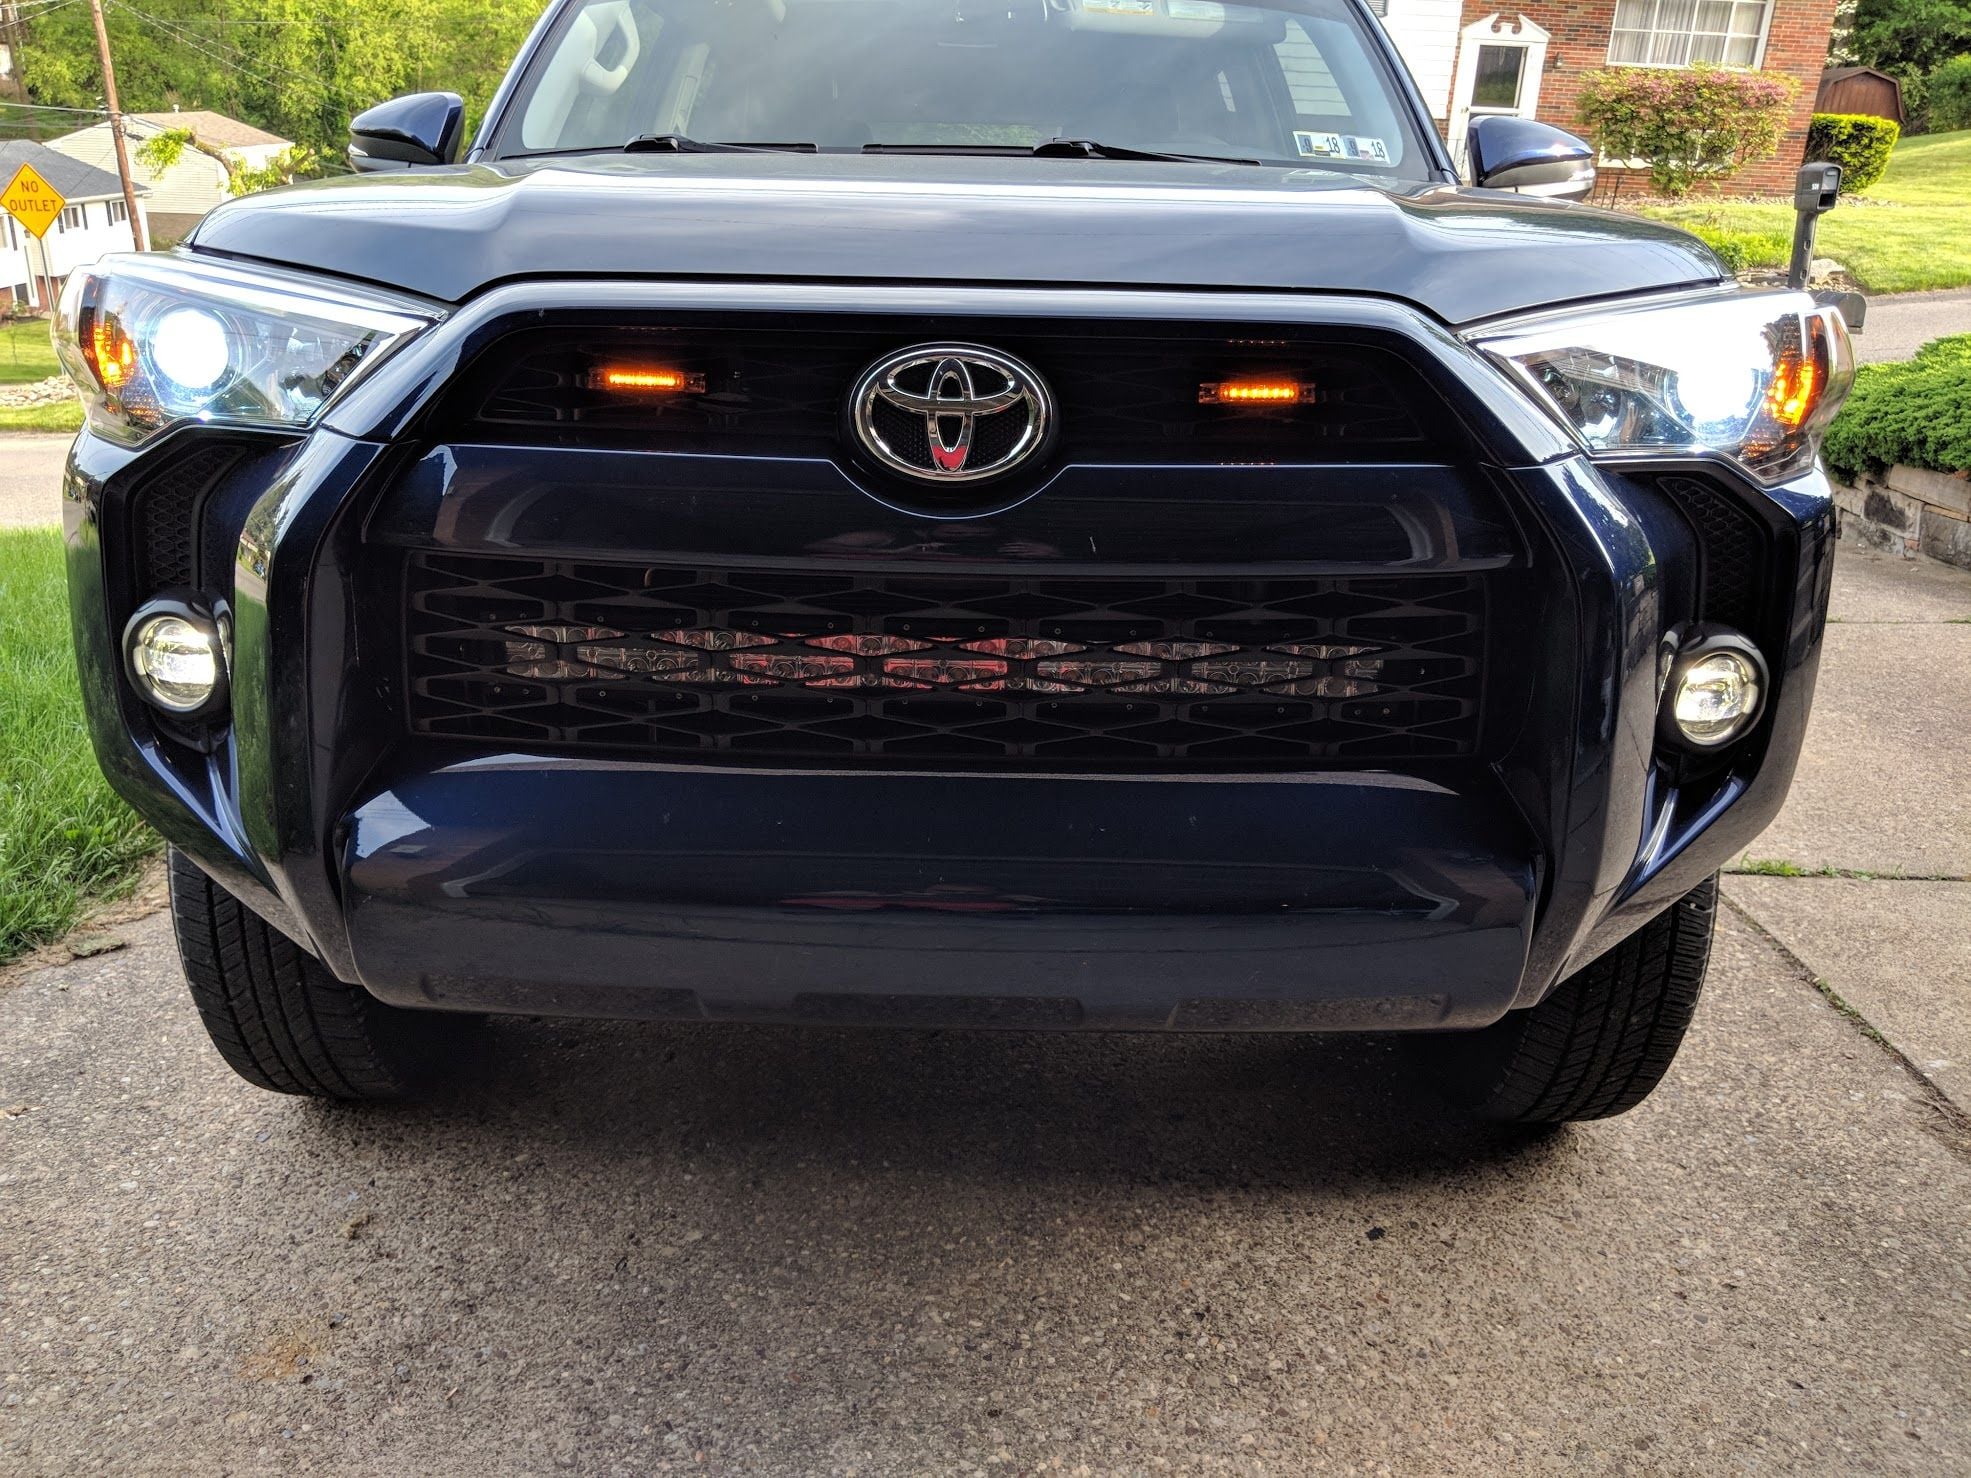
Install was pretty straight forward, just zip ties, I'm debating if I want to modify these at some point to go behind the grille to match the stealthier look of the light bar or if it's even worth the effort

img_20180517_164644_16f95e51611bf3cd9594d3260a9b663deeb3b590.jpg


Unfortunately for me the fuse box changed at some point so I had to buy a different fuse tap, but big deal I still saved a bunch on this kit and didn't have to make my own so I grabbed one on Amazon

img_20180515_171928_4e232386c1b30e78343115954b0024ddb0a88846.jpg


Testing out the lights
mvimg_20180517_183136_29c573e91e50c52b60d711c15e3e3eee181da780.jpg


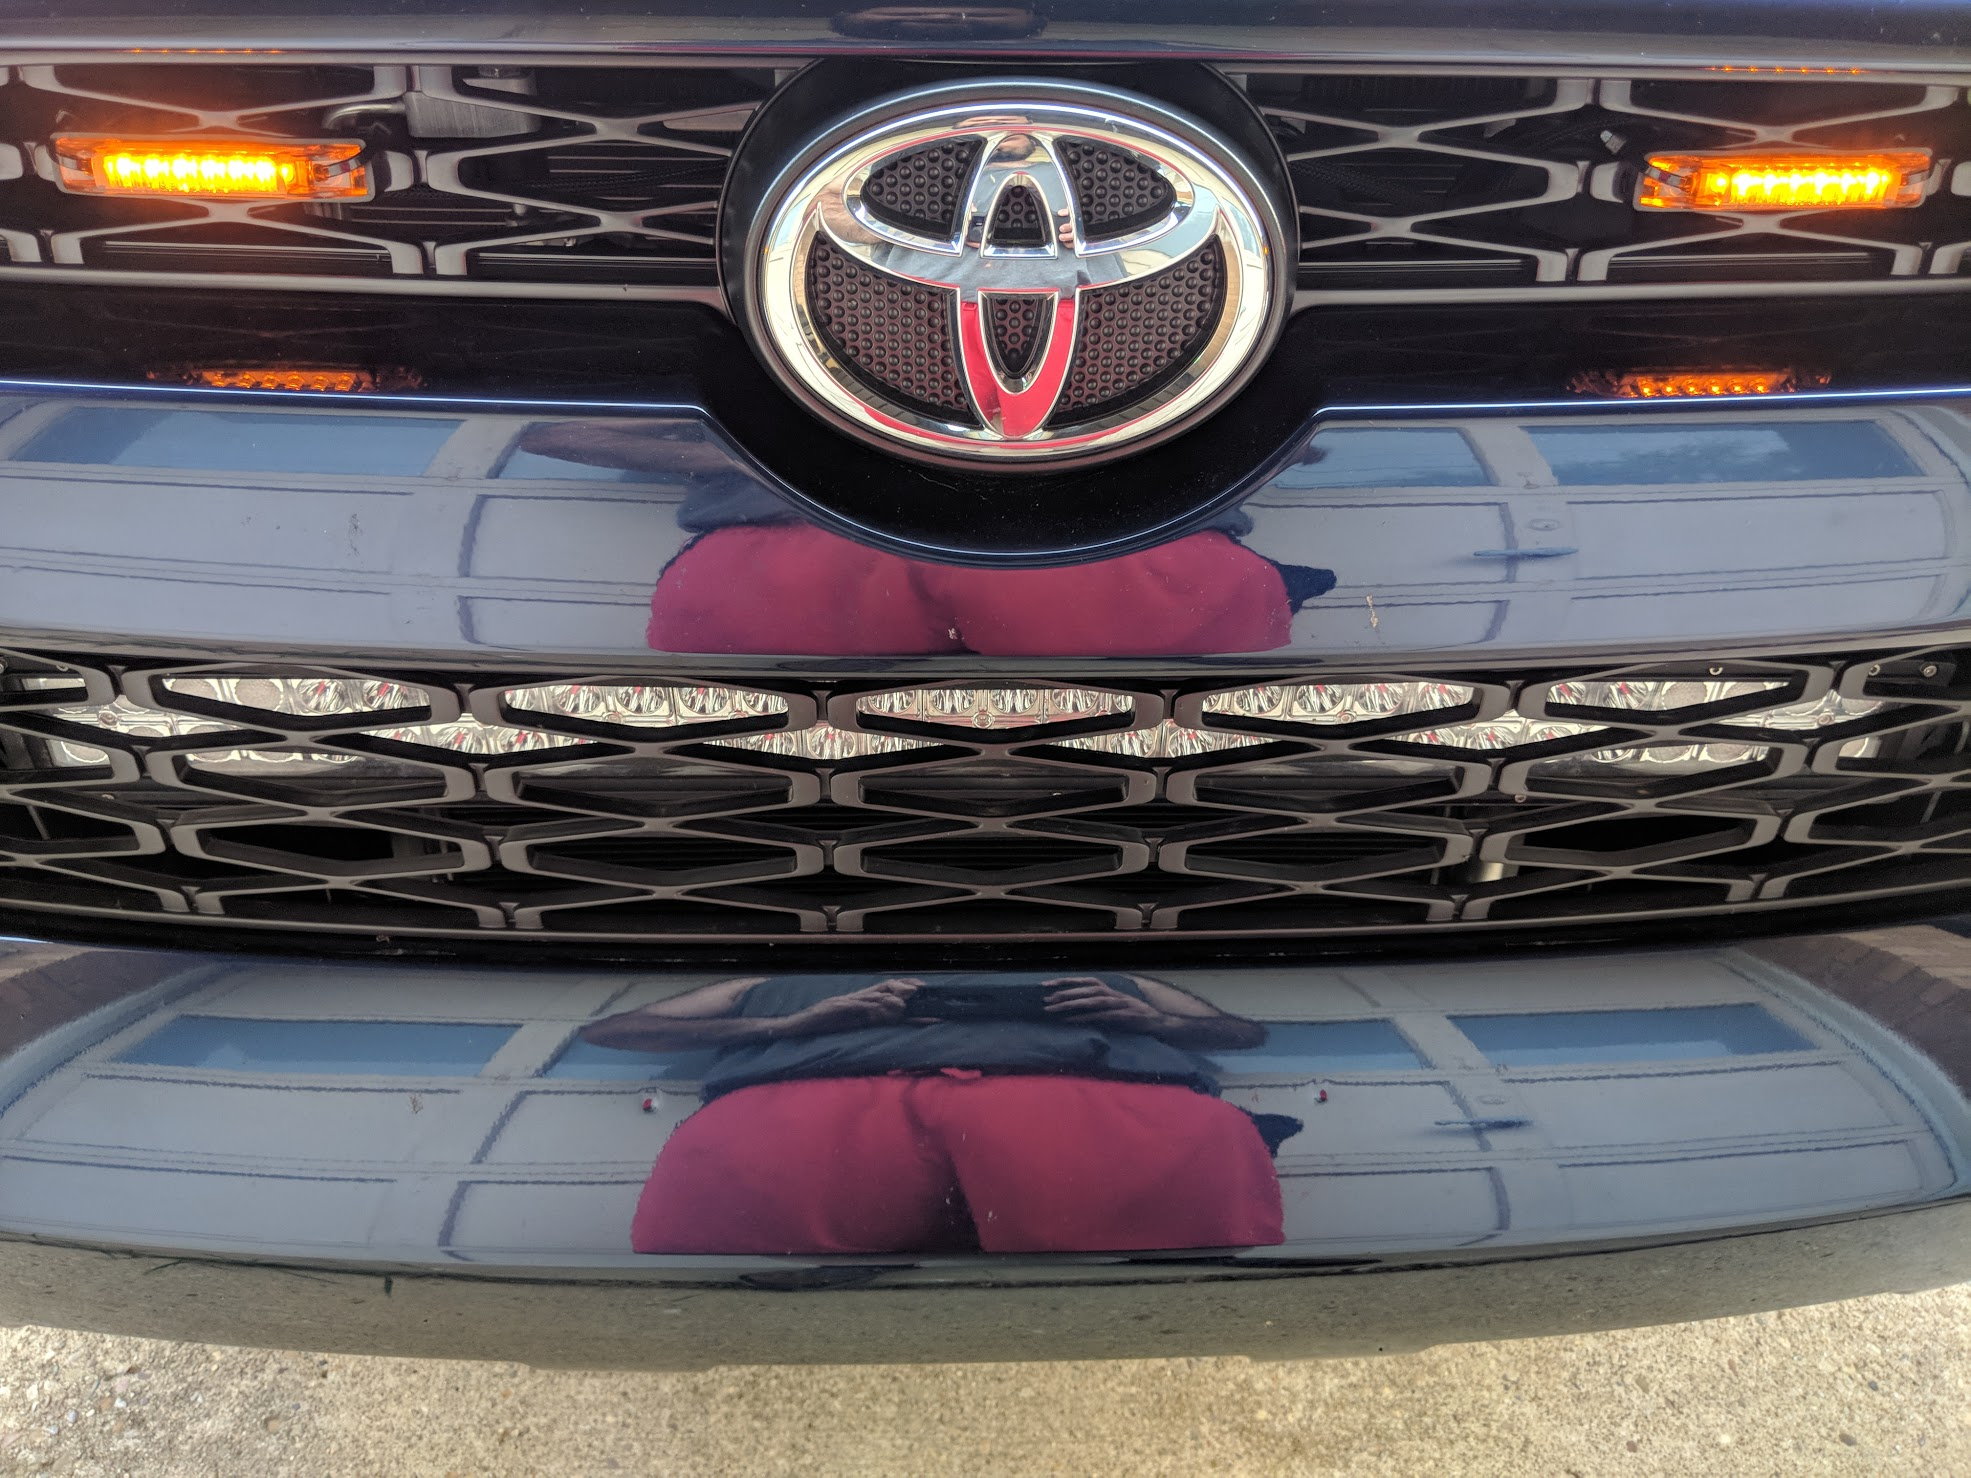
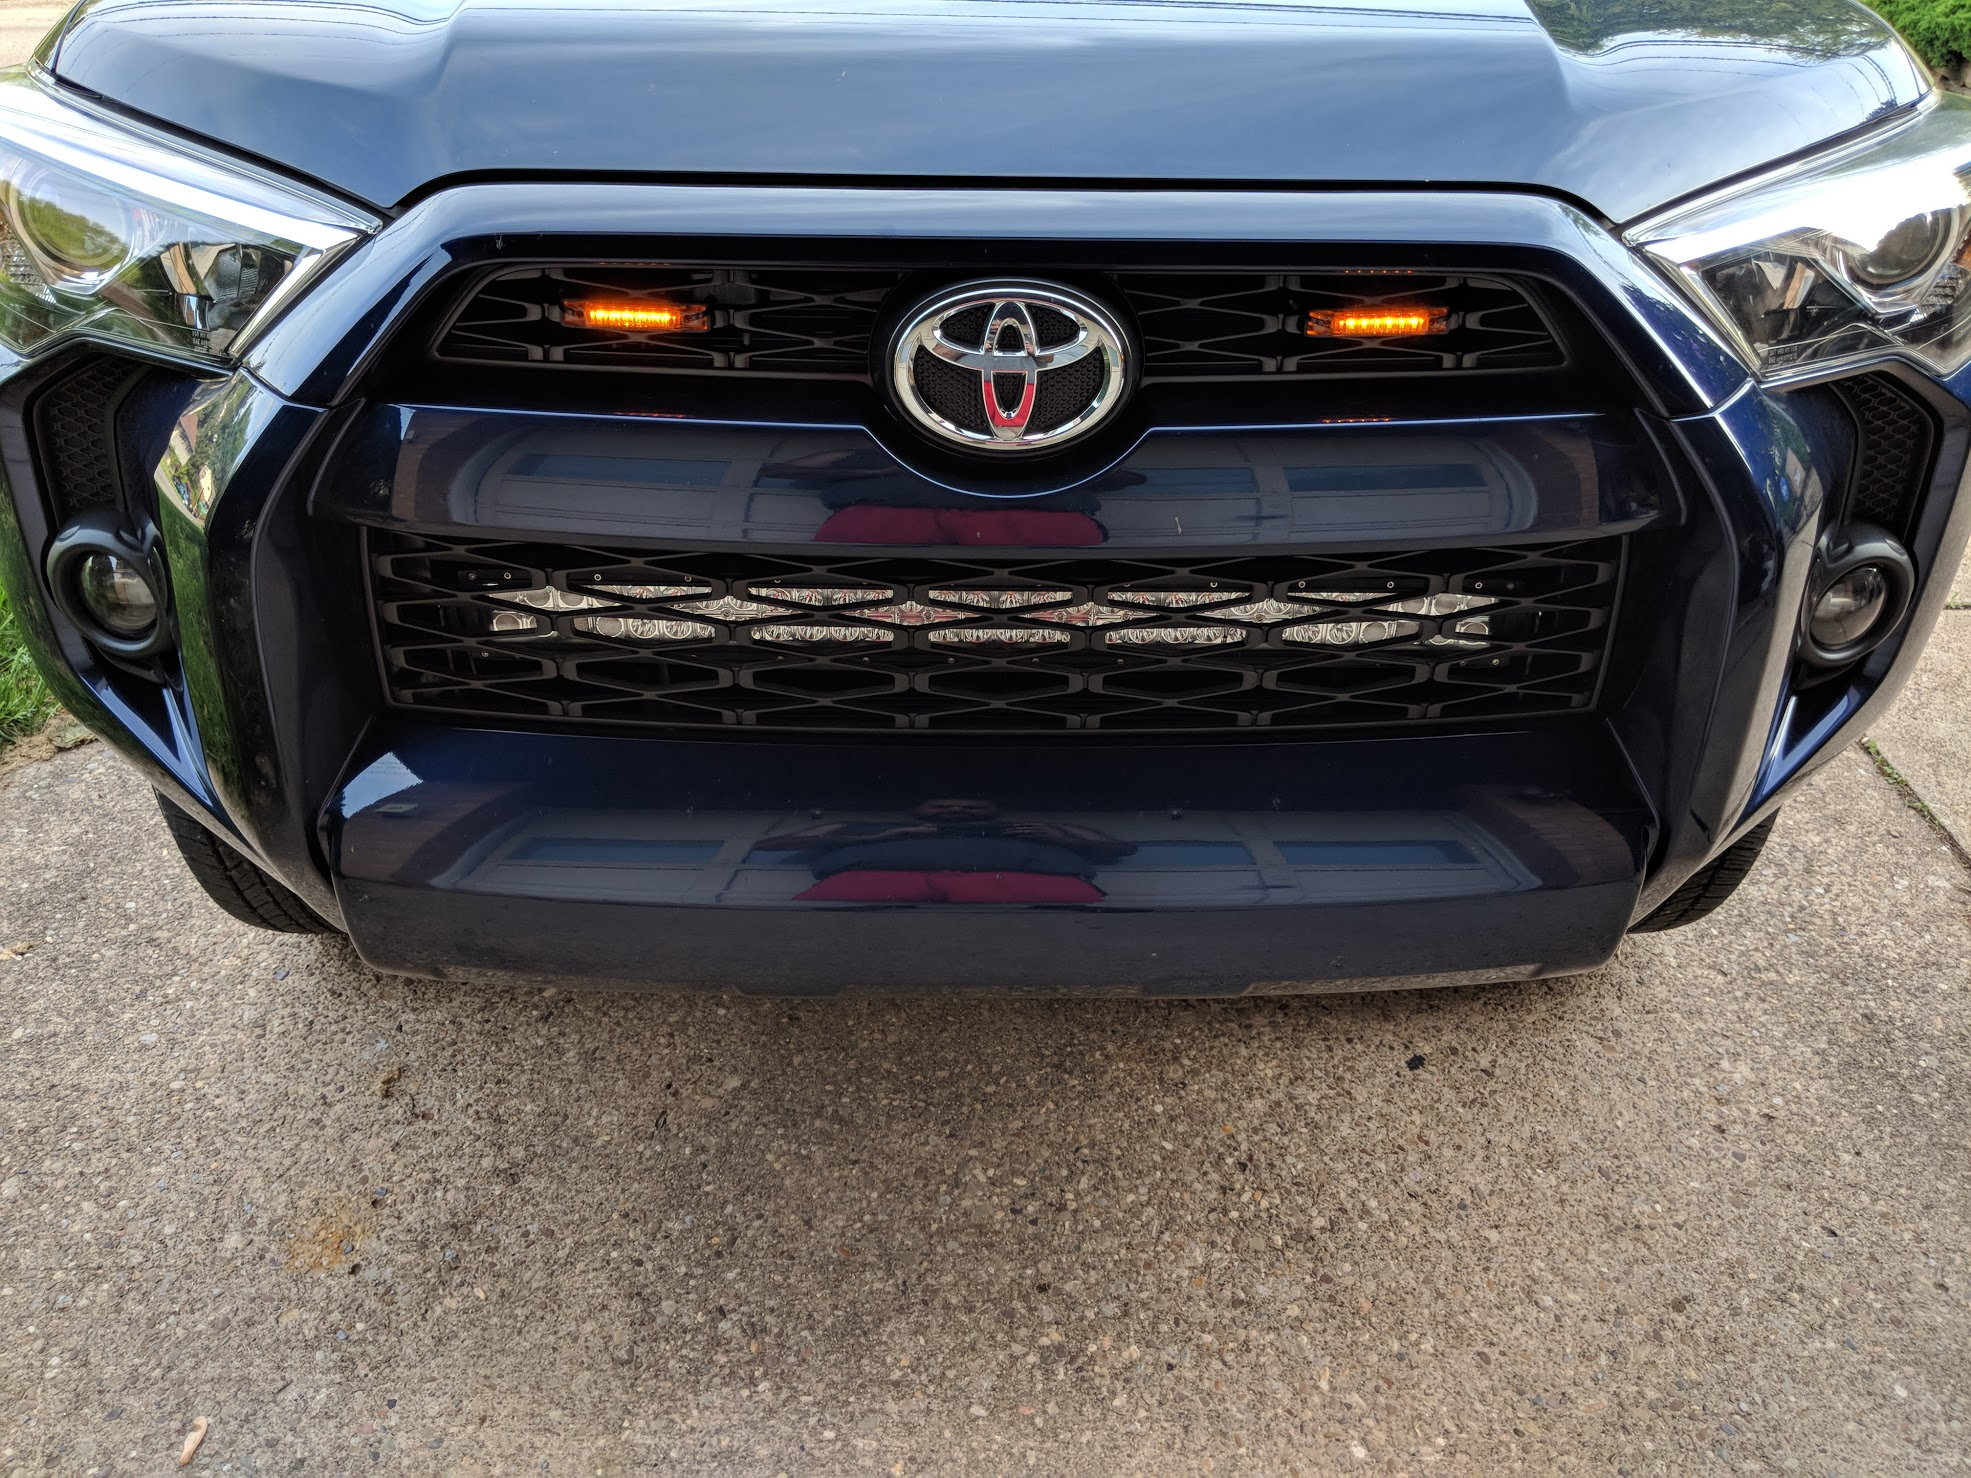
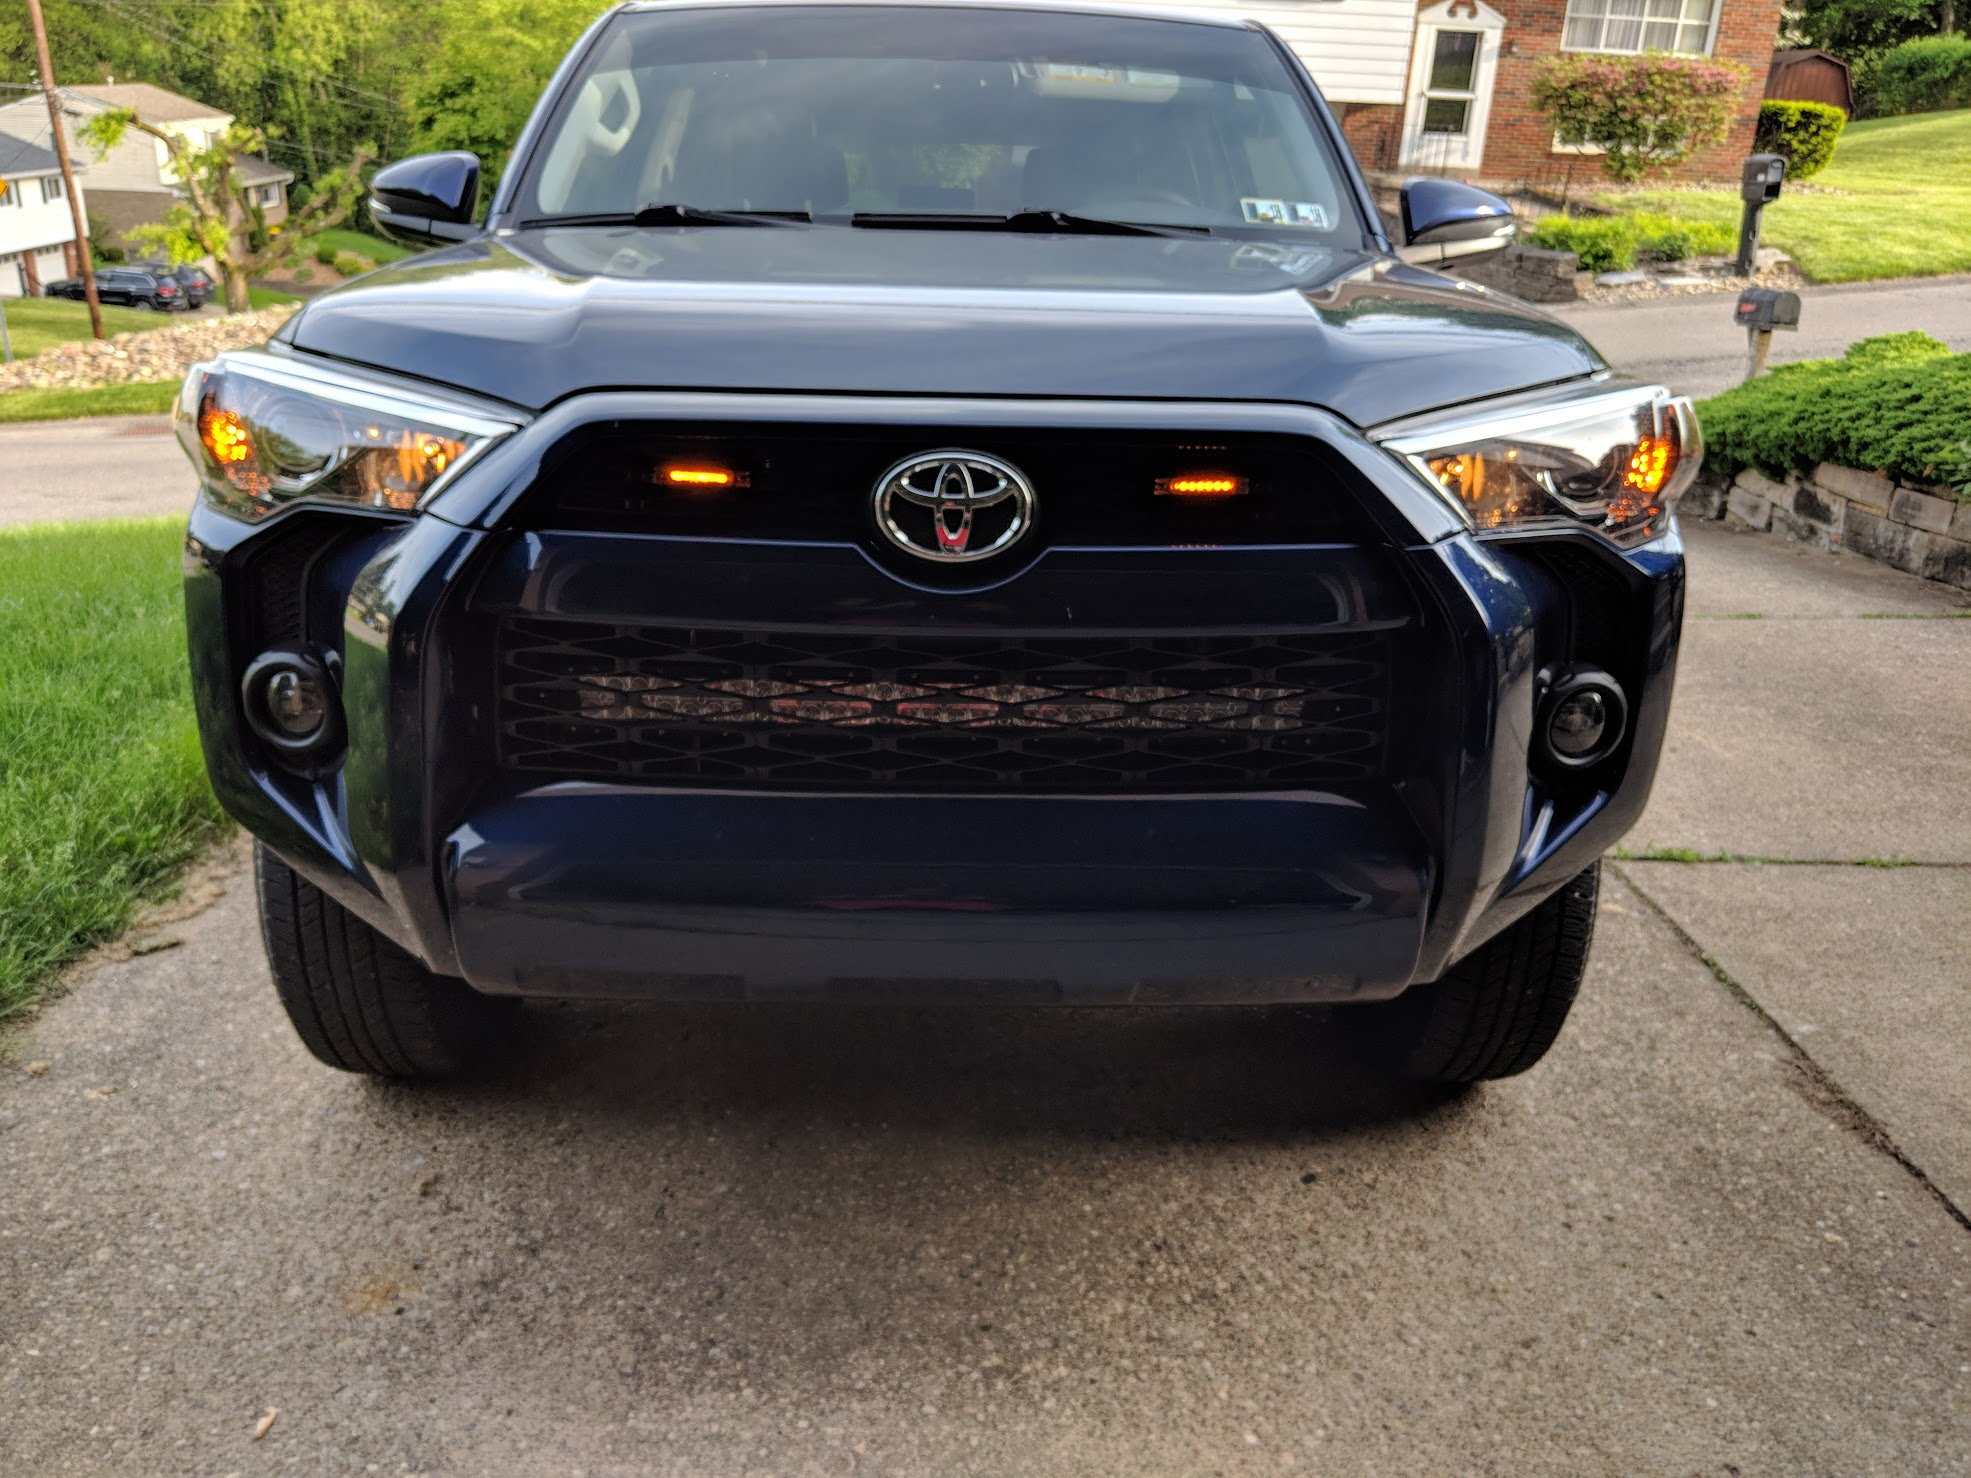
And here they are all installed, I tapped a spare fuse so that they only come on when the key is in the ignition or the vehicle is running so they act as day time running lights, mainly because my 08 had amber corner DRL's and the 4Runner's DRL's are the highbeams, so the amber is a nice touch

img_20180517_183210_2f6464e99bc52c9f6ca1decba2577c34ba99312c.jpg


My original thought was to tap the amber corners so that they came on as driving lights like others have done on here, but the fuse tap was super simple

mvimg_20180517_183301_d3195db04e36dc7303920fca3478d070da188312.jpg


And now time for the new battery! It had been sitting on the landing by my front door for a couple months, so I'm sure the gf was happy to see the box gone, she commented on it as soon as she got home lol, and I was happy to see it go where it belongs!

img_20180517_174326_510eed8a56a151866d1eceb9aab6c3ddeb586bae.jpg


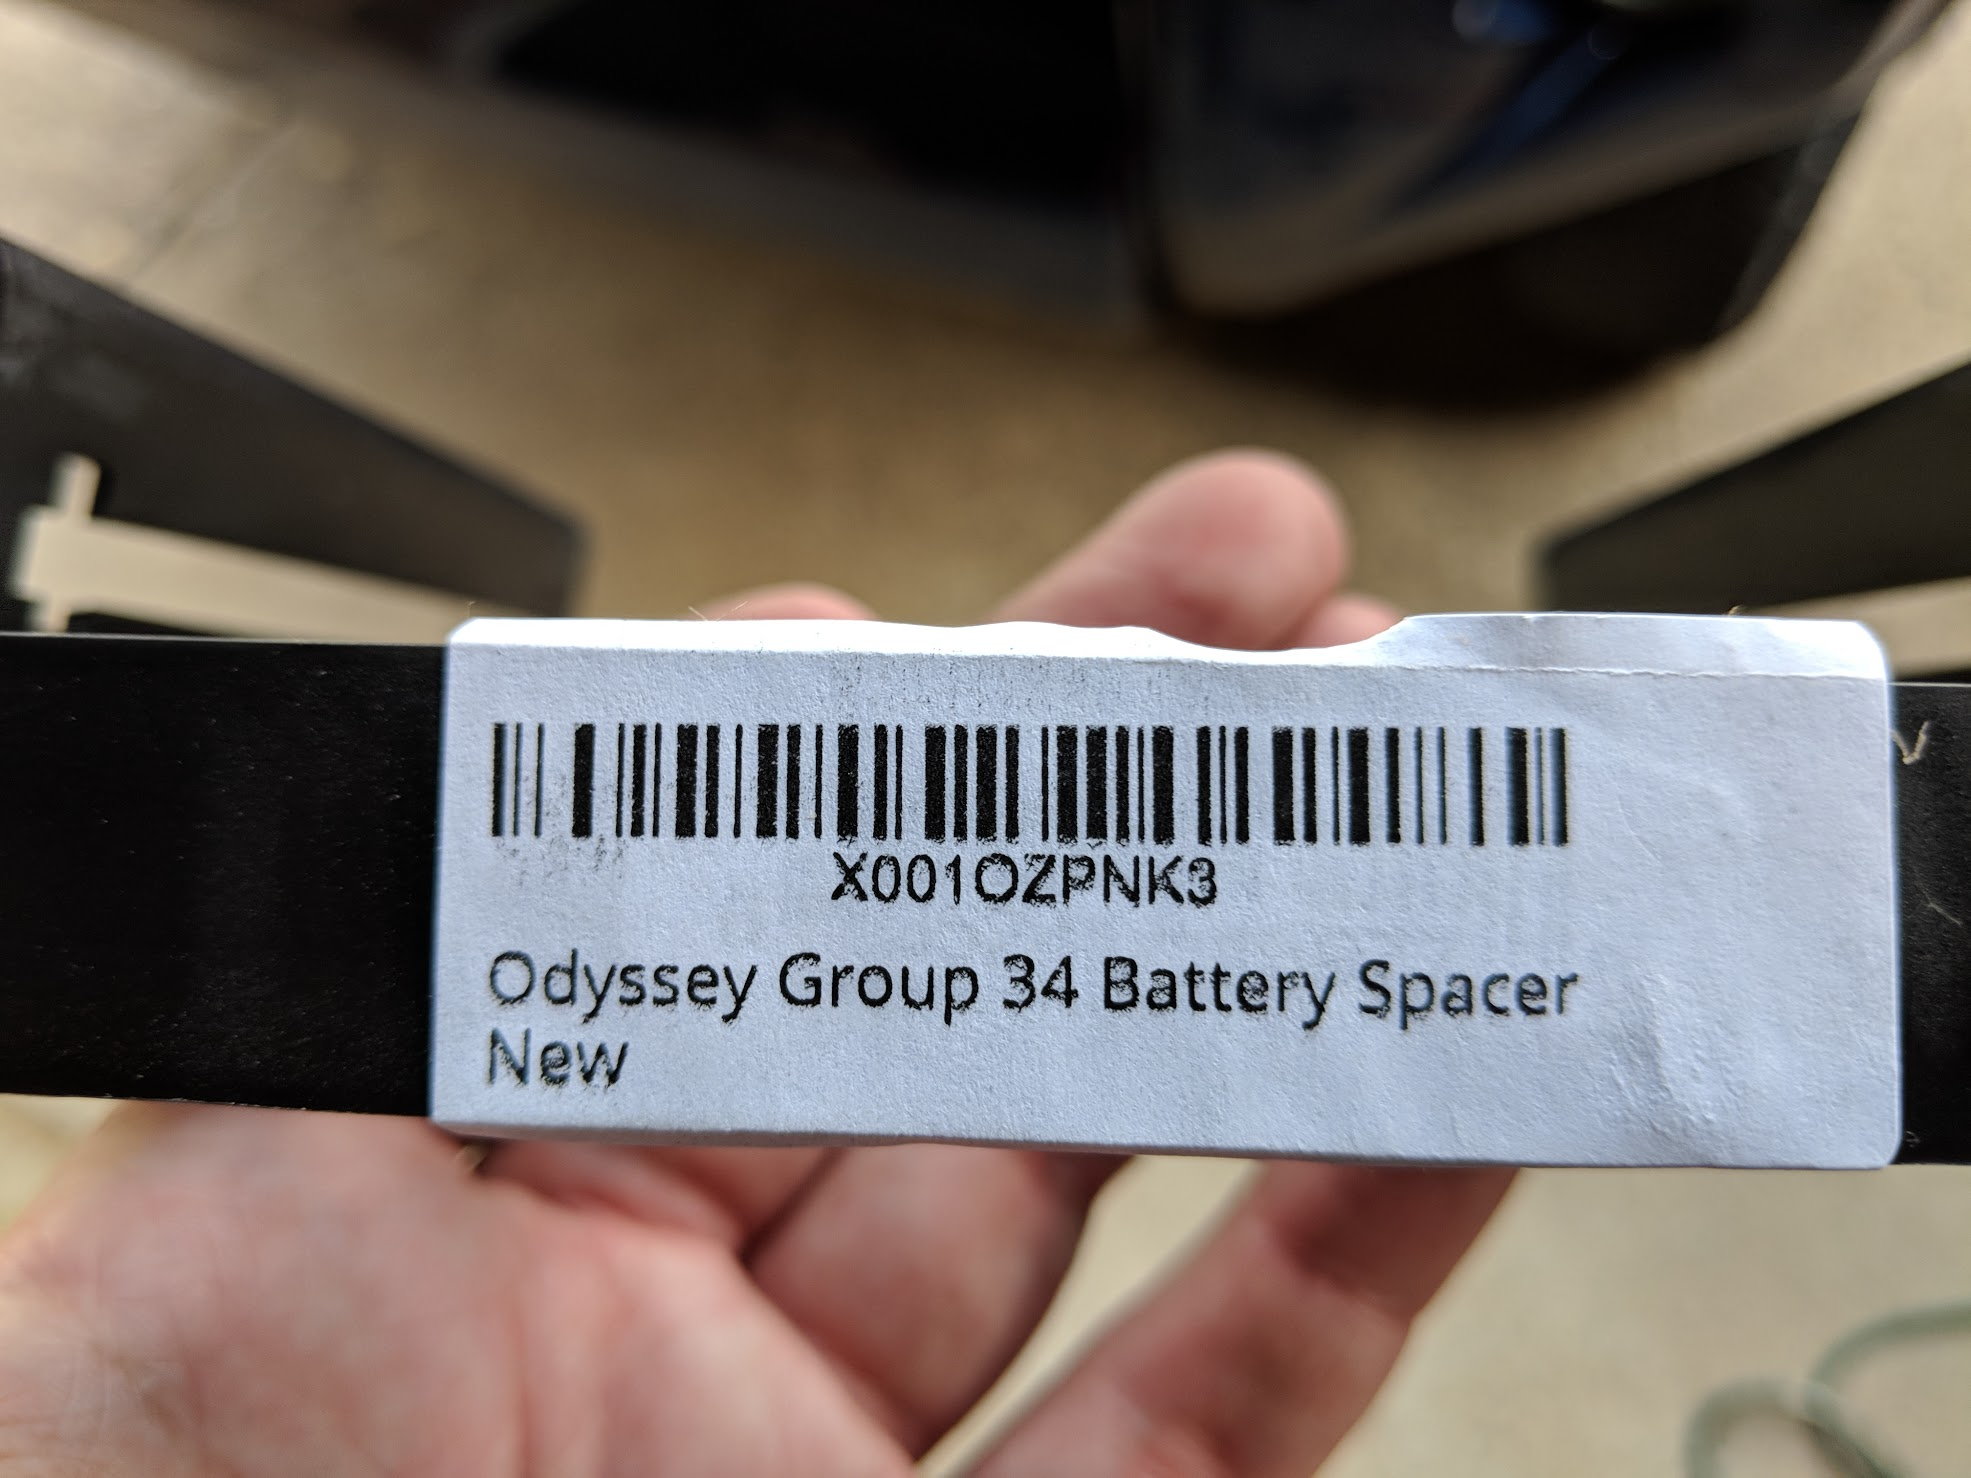
Since this is a smaller form factor I also grabbed the spacer to ensure proper height, I've dealt with this on Optimas in the past, but never had to actually buy a separate spacer... But it was only 5 bucks so whatever

img_20180517_175245_b54e1fa21e95d9228f5abbd6a954f4d4c5bdf5a4.jpg


And here's the battery all completed and mounted like it belongs there

img_20180517_181541_739bba8ec81e3fc31cc850c260cd90ccf085460f.jpg


And here's the money shot! After I got everything all bolted up and put back together. I could have sworn that I took an after engine bay shot all cleaned up and detailed with the new battery but apparently I didn't. I was too happy to get everything back together and get the truck moved before the gf got home.

img_20180517_183327_0715c64b4b7ef89932bb0f16364fc482ed4586d7.jpg


I'm loving this truck more and more each day!

 
VIAIR 400p Air Hose MOD

Completed my Viair 400p Mod today.
https://www.youtube.com/watch?v=Do3dre73r3w

Allows me to get an accurate reading while leaving the compressor on. Used to have to run back and fourth to turn on and off the compressor. I'll still have to add some type hose protection so the hose doesn't snap or anything where it's newly connected.
LYmdzoPh.jpg

nnEaaJ1h.jpg
 
Last edited:
Finally got my lift installed yesterday. Been waiting on my 6 ton jackstands to come in.

I ended up going with Bilstein 5100 all around, and OME springs. 2883 Front and 2895E rear. gave me 2" exactly all around. Not ac noticeably higher as I was hoping, but it drives a lot better.
 
Moved my fender liners today. Need to trim the excess off now.
 

Attachments

  • 32960570_10160637761495107_8165700743525826560_n.jpg
    32960570_10160637761495107_8165700743525826560_n.jpg
    82.2 KB · Views: 845
  • 32890535_10160637762300107_4845993436660105216_n.jpg
    32890535_10160637762300107_4845993436660105216_n.jpg
    85.7 KB · Views: 804
End of the road

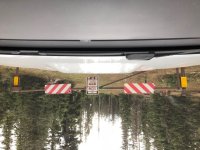
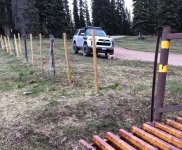
Took a drive to the end of Elbert Creek road (north of Durango, CO)
 

Attachments

  • FB29EC49-16BC-45E1-BF88-1ECB59E1CC6C.jpeg
    FB29EC49-16BC-45E1-BF88-1ECB59E1CC6C.jpeg
    100.7 KB · Views: 809
  • 7D7C3EF7-6BDE-472B-A28C-57CA1D605C64.jpeg
    7D7C3EF7-6BDE-472B-A28C-57CA1D605C64.jpeg
    60.9 KB · Views: 828
  • 054E0C7E-1594-40A9-9EA6-56F37636DBF3.jpeg
    054E0C7E-1594-40A9-9EA6-56F37636DBF3.jpeg
    102.6 KB · Views: 804
  • ACC1CEEE-9607-4790-828D-A2827F278684.jpg
    ACC1CEEE-9607-4790-828D-A2827F278684.jpg
    91.6 KB · Views: 802
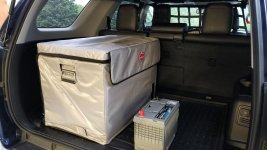
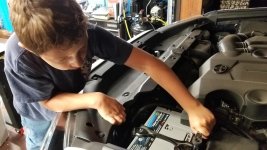
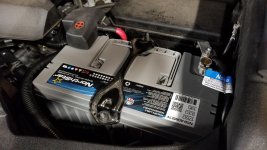
Look what showed up in time for summertime! Unboxed, and ready to start tomorrow's projects. Dual zone 66liter Snomaster. Toyota # 74431-0C020 Battery Tray, Northstar 27F battery and 15 mins of time if I hadn't dropped the notorious 10 mm socket to never be found again. No ground hitting sound, groan....
Thanks Levi for the helping (extra dexterity never hurts!) Hands!
 

Attachments

  • 20180518_194417.jpg
    20180518_194417.jpg
    135.2 KB · Views: 795
  • 20180518_203916.jpg
    20180518_203916.jpg
    136.5 KB · Views: 761
  • 20180518_203953.jpg
    20180518_203953.jpg
    138 KB · Views: 748
Last edited:
So, busy day yesterday. Got a number of small projects checked off the list all at once. I had some wiring that I wanted to clean up, a new battery to install, and some LED markers for the Raptor mod that I wanted to add, as well as a TRD Intake piece. So here's a quick run down of some of the work I did. The engine bay was dirty and had some salt residue from the winter so I wanted to detail that too while I was in there. Here's a before

mvimg_20180517_151835_40b4c4b97b7cf8e090199251e67241f914d7e659.jpg


First mod was the TRD airflow accelerator piece from the TRD intake, I didn't really want to spend the 3-400 bucks especially since I already dropped some coin on the K&N Drop in filter which isn't compatible with the TRD (go figure). So I picked up this piece for like $10, this is one of the main components of the TRD intake and threw it on

img_20180517_184319_bb597b2d758043c1aa3ca9d20159decc9261afa6.jpg


A before of the stock intake piece

img_20180517_155630_3d355a964a3af108627f4631f62e10f9e46f0811.jpg


So for $10 I figured I'd throw this piece on which is designed to go into that inlet and force more air in from the fenderwell and not the engine bay, notice it even has the TRD stamp on it

img_20180517_155702_5aa8dd95293f02a0c16531aa08240d0d2cc5bb69.jpg


So I mounted this sucker up, here you can see the difference in the air flow.

img_20180517_161008_b8f235d71b0c77d75ab171ce0a7d7e72bd34a68c.jpg


The notches don't line up between the stock air box and the TRD piece (go figure) so I threw on a hose clamp to seal it and keep it in place. This hose clamp was actually from my old dryer vent lol

mvimg_20180517_161006_c6e08bd514e622a94b422f7838e395fb41b0538f.jpg


After I got the intake all reassembled and cleaned up I moved on to the next project on the list, the raptor mod. I got these from another member on here and they were brand new, so I got a good deal on them and they came prewired and ready to install.

img_20180515_171912_83147e7cdc4e2269f1a1c938197b7cf6b829cb72.jpg


Install was pretty straight forward, just zip ties, I'm debating if I want to modify these at some point to go behind the grille to match the stealthier look of the light bar or if it's even worth the effort

img_20180517_164644_16f95e51611bf3cd9594d3260a9b663deeb3b590.jpg


Unfortunately for me the fuse box changed at some point so I had to buy a different fuse tap, but big deal I still saved a bunch on this kit and didn't have to make my own so I grabbed one on Amazon

img_20180515_171928_4e232386c1b30e78343115954b0024ddb0a88846.jpg


Testing out the lights
mvimg_20180517_183136_29c573e91e50c52b60d711c15e3e3eee181da780.jpg


And here they are all installed, I tapped a spare fuse so that they only come on when the key is in the ignition or the vehicle is running so they act as day time running lights, mainly because my 08 had amber corner DRL's and the 4Runner's DRL's are the highbeams, so the amber is a nice touch

img_20180517_183210_2f6464e99bc52c9f6ca1decba2577c34ba99312c.jpg


My original thought was to tap the amber corners so that they came on as driving lights like others have done on here, but the fuse tap was super simple

mvimg_20180517_183301_d3195db04e36dc7303920fca3478d070da188312.jpg


And now time for the new battery! It had been sitting on the landing by my front door for a couple months, so I'm sure the gf was happy to see the box gone, she commented on it as soon as she got home lol, and I was happy to see it go where it belongs!

img_20180517_174326_510eed8a56a151866d1eceb9aab6c3ddeb586bae.jpg


Since this is a smaller form factor I also grabbed the spacer to ensure proper height, I've dealt with this on Optimas in the past, but never had to actually buy a separate spacer... But it was only 5 bucks so whatever

img_20180517_175245_b54e1fa21e95d9228f5abbd6a954f4d4c5bdf5a4.jpg


And here's the battery all completed and mounted like it belongs there

img_20180517_181541_739bba8ec81e3fc31cc850c260cd90ccf085460f.jpg


And here's the money shot! After I got everything all bolted up and put back together. I could have sworn that I took an after engine bay shot all cleaned up and detailed with the new battery but apparently I didn't. I was too happy to get everything back together and get the truck moved before the gf got home.

img_20180517_183327_0715c64b4b7ef89932bb0f16364fc482ed4586d7.jpg


I'm loving this truck more and more each day!
That air flow accelerator make any kind of difference?
 

Members online

No members online now.

Forum statistics

Threads
278,317
Messages
3,554,129
Members
248,016
Latest member
Advally Service

Trending content

Back
Top