What did you do to/in your 5th Gen today?!

also posted in what did you do in your 4runner today in 4th gen section...

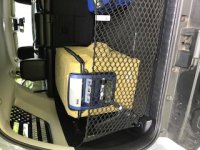
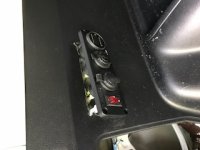
ran constant 12 volt to the back, replaced one of the plugs with the arb plug for the fridge. hole cut very easy with Dremel and the little grinder wheel. once done and cleaned up looked like it was done professionally. mind you I was crapping my pants the entire time, but I took my time and only went a little deeper with each pass. once I got deep enough I could just go all the way down. I choose this spot for easy usb charging and the fact there are too many support beams in there too. if anyone likes this cover (on the fridge) make me an offer, its basically brand new and the Velcro has never been attached. I would much prefer the blue one. also if anyone is interested, the place I got the 50 qt from sells it a lot of time for 800. it was 800 a couple weeks ago, now its not
 

Attachments

  • IMG_0810.jpg
    IMG_0810.jpg
    24.8 KB · Views: 931
  • IMG_0811.JPG
    IMG_0811.JPG
    38.3 KB · Views: 947
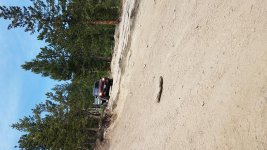
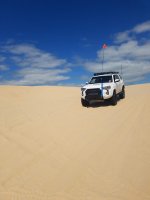
Got a little wheeling in

Got some off road action in with a buddy who just bought a jeep. He was really impressed with what a stock 4runner can handle.
Beautiful day in the rocky mountains!
20180603_110331.jpg

One of these days I'll figure out portrait picture attachments. I'll search out a thread for some instructions..
 

Attachments

  • 20180603_110331.jpg
    20180603_110331.jpg
    129.1 KB · Views: 908
Last edited:
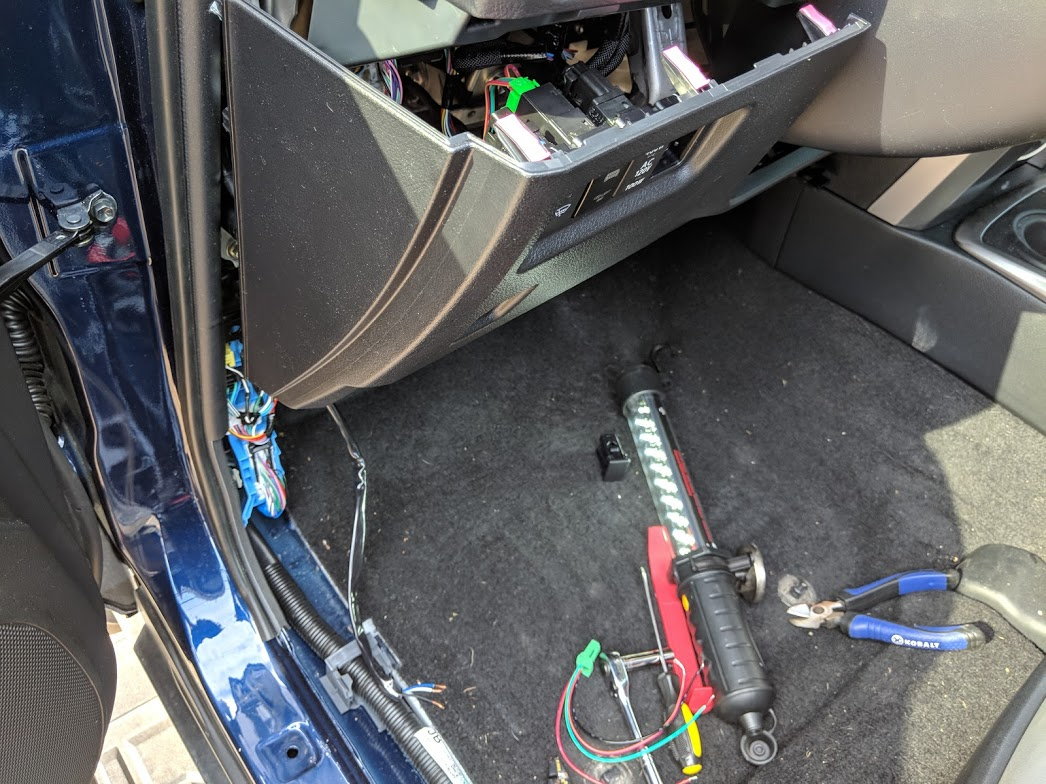
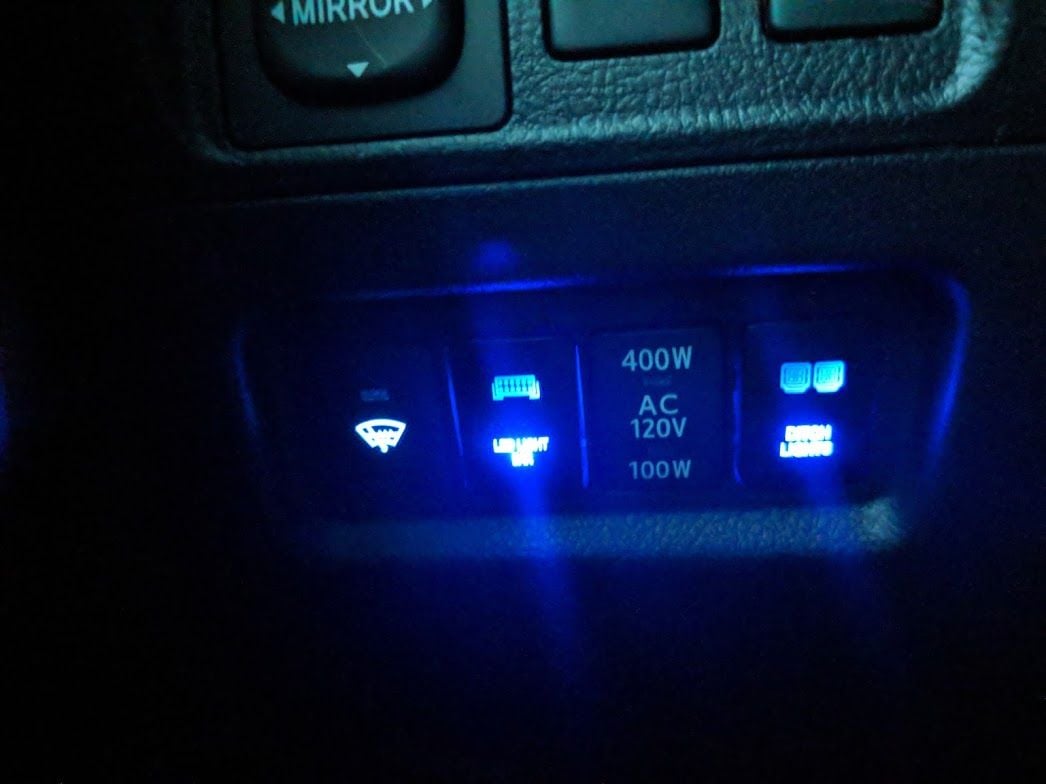
Well, Friday I was able to get the switch wired up and all the loose ends tied up with the ditch lights. I shortened the wire so that it would tuck more easily behind the dash, then soldered the wires to the wiring harness.

mvimg_20180601_173113_84bf2ce030bfa3a8ce4bf74fcaec113a363d194d.jpg


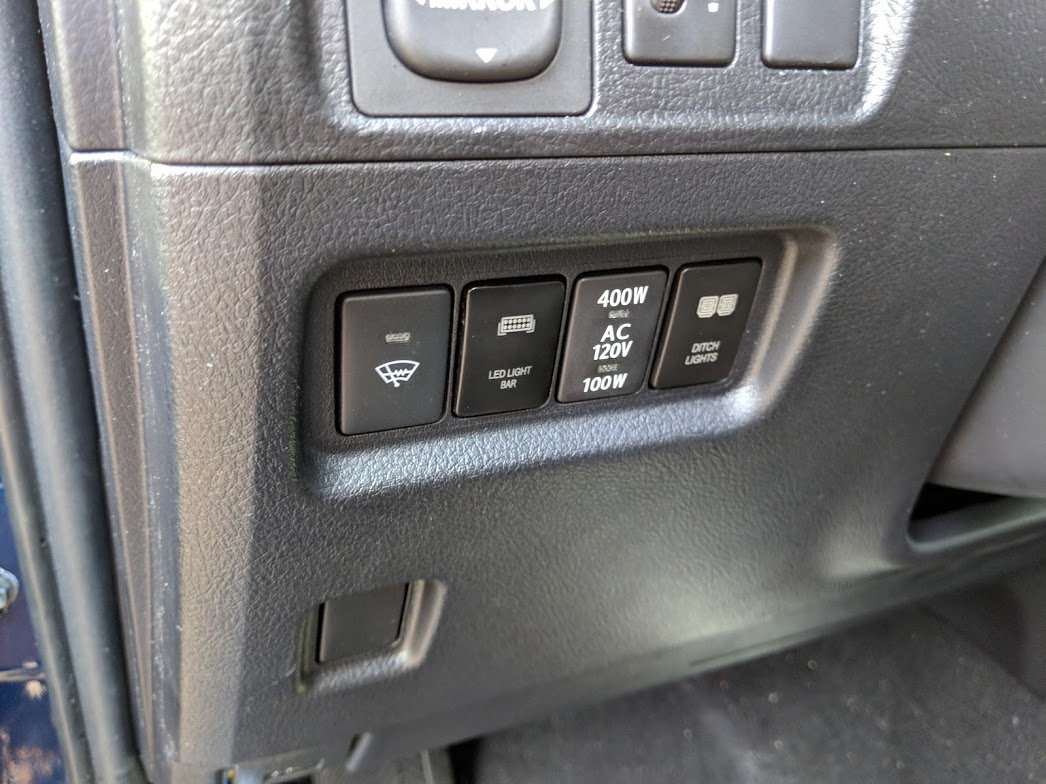
And filled in the rest of the switch bank. I tried moving the wiper heater and outlet buttons over, but they would need to be trimmed and modified to fit which I wasn't a big fan of doing so I'm going with this look for now.

img_20180601_180237_3bb20179e8d2f6e6316e32c61ac20ea4a3c8232f.jpg


All wired up and working! These things are insanely bright!

img_20180601_180741_753c878cb6dc7afe822e975894fd048a332f4752.jpg


I also wire tapped the illumination wire of the wiper heaters button and wired up both switches to illuminate. The top parts light up when the buttons are pushed. (not shown)

mvimg_20180601_203824_e654c09b8f8ee1dff778d4103bb6ede09ce84e71.jpg


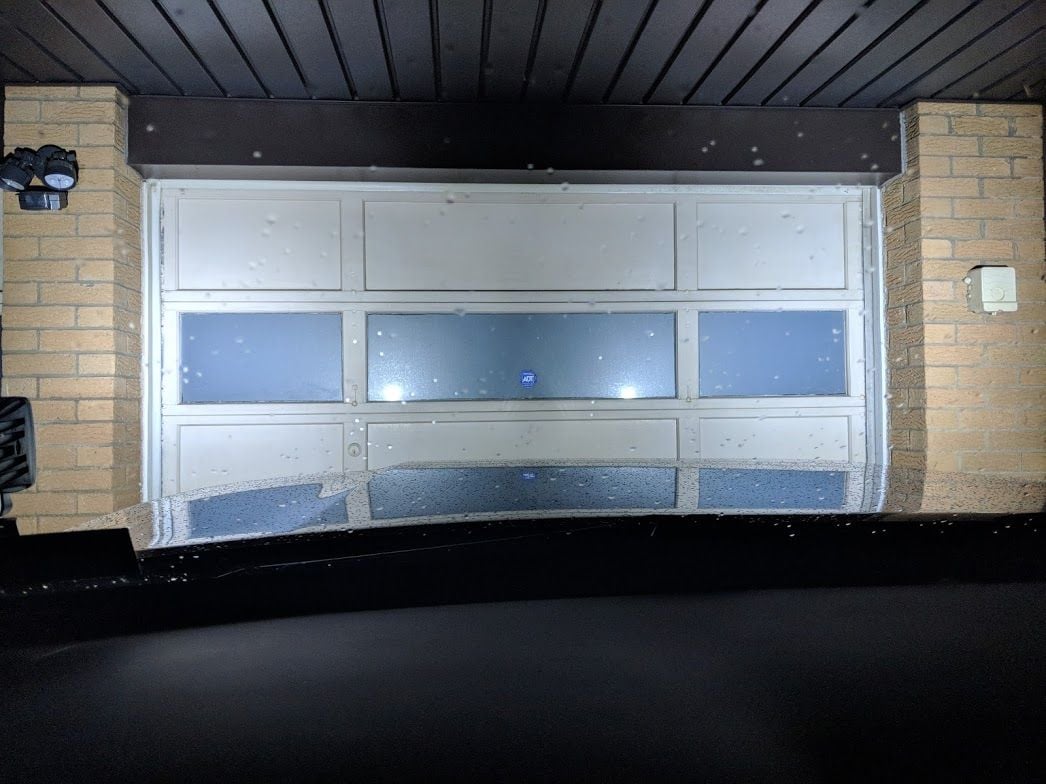
Once it got dark I snuck out and snapped a quick pic of the lights. This is just the 2 x 6 LED pods lighting up the garage door. These things are impressively bright and I defintely had some fun on dark roads over the weekend.

img_20180602_000059_339a5492ae488f5b412ea24e8ef84e1468d414a4.jpg


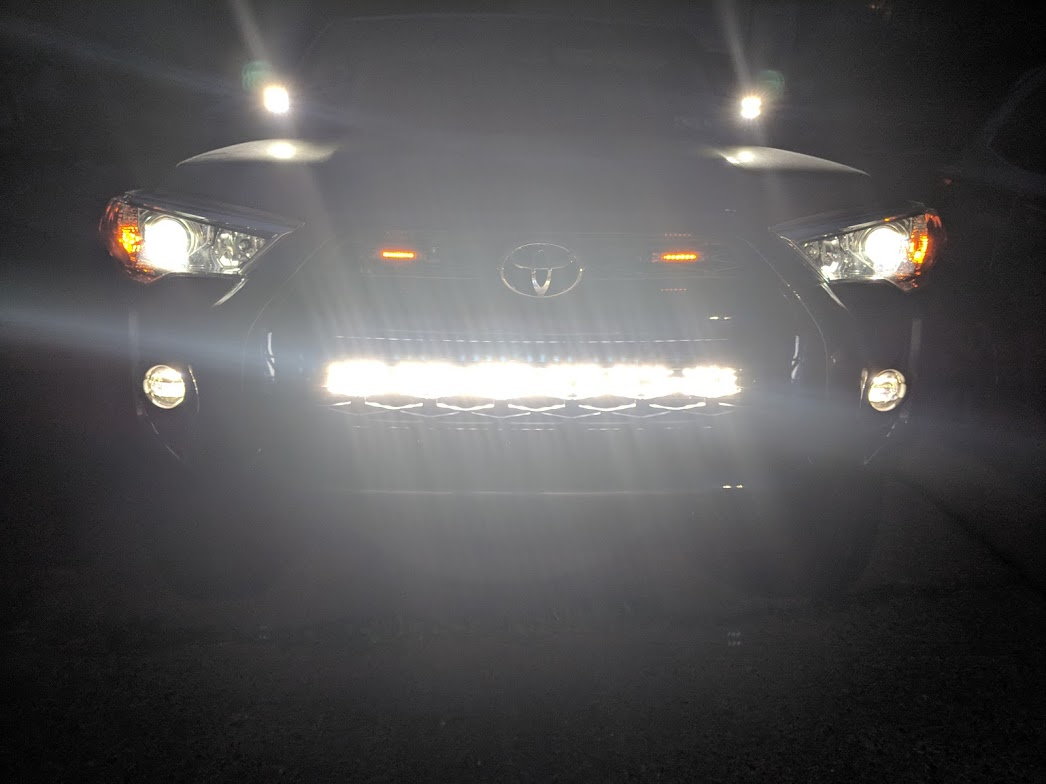
And I had to blind myself and snap a pic of all the lights, sucker is looking mean!

img_20180601_205745_d5574e09ea5543147da72a1fd5dbc7ac88d549a5.jpg
 
Installed TRD intake. A little louder under the hood. Who knows if it will make any HP gains at wide open throttle and redline, where I rarely spend any time.

I had a post-lift alignment done. Slight changes needed in alignment after 2" lift front, 1" lift rear.
 
Got my Takata airbag replaced for free

It was a 11 days ago:
Yes, it was after Toyota USA told me to drive across Atlantic Ocean for this recall job my local Toyota dealer in Poland told me "no problem, we will do it". If someone is curious how they do it in Poland and want to compare to USA here is the work order summary:
Materials:
A04007-1U135-B0 (A-pillar cover) - 1 each
A04007-58135 (airbag module) - 1 each
Total materials: $184.14 (including tax)

Labor:
BGG23K1 (airbag module replacement) - 1 each
Total Labor: $64.63 (including tax)

Total: $248.77 (including tax)

Of course I did not pay a dime and got my truck washed for free too :first:

After returning from the service I did not drive 4-runner for 11 days (I use my Tacoma for running errands) and today I found my battery almost dead. Stupid me, I forgot to turn off the dome light after packing my truck when I returned from service. Even LED dome bulb was enough to drain the factory (6 years old) battery. For the first time in 15 years I had to use jumper cables powered from my Tacoma parked next to Bismarck. Short drive to the store and back was enough to charge it back.
 
Wired this thing into the mix to show my battery some love.

Not really needed right now, but this thing will keep my battery strong and happy in the dead of the Alaskan winter.

AUTOXEL Car Battery Charger Battery Maintainer 12V 6V 3.8A 8 Modes Charger Maintainer for Vehicles with CC/CV Control for LiFePO4 & Lead Acid Battery of Wet, MF, VRLA, AGM & GEL https://www.amazon.com/dp/B076Q6SGJK/ref=cm_sw_r_cp_apa_i_-43eBbW1MAKBN
c5a0b0f05d50feb2a3bb74491a75eb28.jpg
dd7a306ee56690afd9bc91c24a453429.jpg


Sent from my SM-G892A using Tapatalk


Is this like a plug in Battery Tender that is hardwired to the truck? Thanks
 
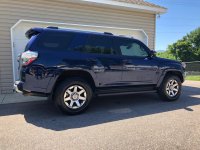
Windows tinted on Friday.

Paint correction and 8 month sealer applied today.
 

Attachments

  • 4F33AF0B-61AE-4FC0-81C8-340C8902B91C.jpg
    4F33AF0B-61AE-4FC0-81C8-340C8902B91C.jpg
    138.1 KB · Views: 801
Oh just did some 4Runner things this past weekend... Tracked it and all...
70ae609fa6b2fcf8f8421b274e8e1f0f.jpg
0b1ef8f67b0bda976694bf54e4a1b882.jpg
6e68da3e33870bebe326f8cf828bd161.jpg
86e81fc76326f68568e22473e3ce73e3.jpg
db05cbf88876fb9fc074f028224ea560.jpg
62c65dcaceb1a51fbd557bef7cf7d728.jpg
ddc163e9cc8574d7200fd059a098ba7d.jpg


Sent from my LG-H918 using Tapatalk
 
Last edited:
...That looks Great!....how didja mount it to the stock rails?...:noidea:

I ordered the universal mounts from ARB and pulled out one of the two star-bit screws on the OEM crossbars (the one closest to the outside) and put a longer bolt to mount the ARB mounts to those holes. Then grabbed a very large u-bolt to put around each crossbar and mount and tightened it down.

Drove with it like that to Montana and back without issue, however, it was just temporary as my Gobi should be arriving in the next month or so which will make mounting much more trivial.
 
No way :crybaby:

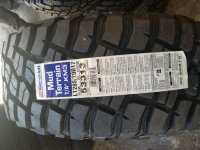
Post install pictures and measure the height of the tire

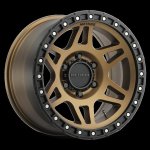
will do going to be another week or so now going to go with a new set of wheels to just waiting for them to get shipped in from method taking off my fuels and going with these say I should see them Monday or Tuesday and I get some info on sizing
 

Attachments

  • Method_Race_Wheels_MR312_Bronze_Matte_Black_Lip.jpg
    Method_Race_Wheels_MR312_Bronze_Matte_Black_Lip.jpg
    95 KB · Views: 969
will do going to be another week or so now going to go with a new set of wheels to just waiting for them to get shipped in from method taking off my fuels and going with these say I should see them Monday or Tuesday and I get some info on sizing

Ohhh yeah
 

Attachments

  • 6372A219-4829-4BEA-BDE9-2A7BD574B032.jpeg
    6372A219-4829-4BEA-BDE9-2A7BD574B032.jpeg
    35.6 KB · Views: 872
I ordered the universal mounts from ARB and pulled out one of the two star-bit screws on the OEM crossbars (the one closest to the outside) and put a longer bolt to mount the ARB mounts to those holes. Then grabbed a very large u-bolt to put around each crossbar and mount and tightened it down.

Drove with it like that to Montana and back without issue, however, it was just temporary as my Gobi should be arriving in the next month or so which will make mounting much more trivial.

...I think I get what you did....but would it be possible to snap a pic or two for me if I asked real nice and said...Please?...

...I'm stickin with the OEM rails and have added the ruggedized cross-bars onto mine, ya see.....and Thanks for the reply!....:thanks:
 
Took a leisurely weekend cruise on the Kettle Moraine Scenic Trail. Went from Delafield to Long Lake, where I camped out with the dogs for a night. Looped around Rustic Road 33 since it was along the way.
48ce77597fbfa16412e05ac2479f3f41.jpg
83ab6813336c52690a09a32b0cb5edfd.jpg
397e40df5ddf832421e8ea64fa722251.jpg
0e770c4efb6790417efd8752c468e379.jpg


Sent from my SM-G950U using Tapatalk
 
Added some LED's to the Tail Gate.. Used an Under Hood LED kit minus the switch. LED set only illuminates when the Hatch is open, there is no manual control installed yet. Tapped into the Red and Blue wires from the Hatch lights. There are 4 24" strips in total.

20180601_093921.jpg


20180601_093731.jpg


20180601_231220.jpg


20180601_203610.jpg


Light output is impressive, it could serve as campsite lighting in a pinch.
 

Members online

Forum statistics

Threads
278,317
Messages
3,554,129
Members
248,016
Latest member
Advally Service

Trending content

Back
Top