What did you do to/in your 5th Gen today?!

Did you do any prep work before hand?
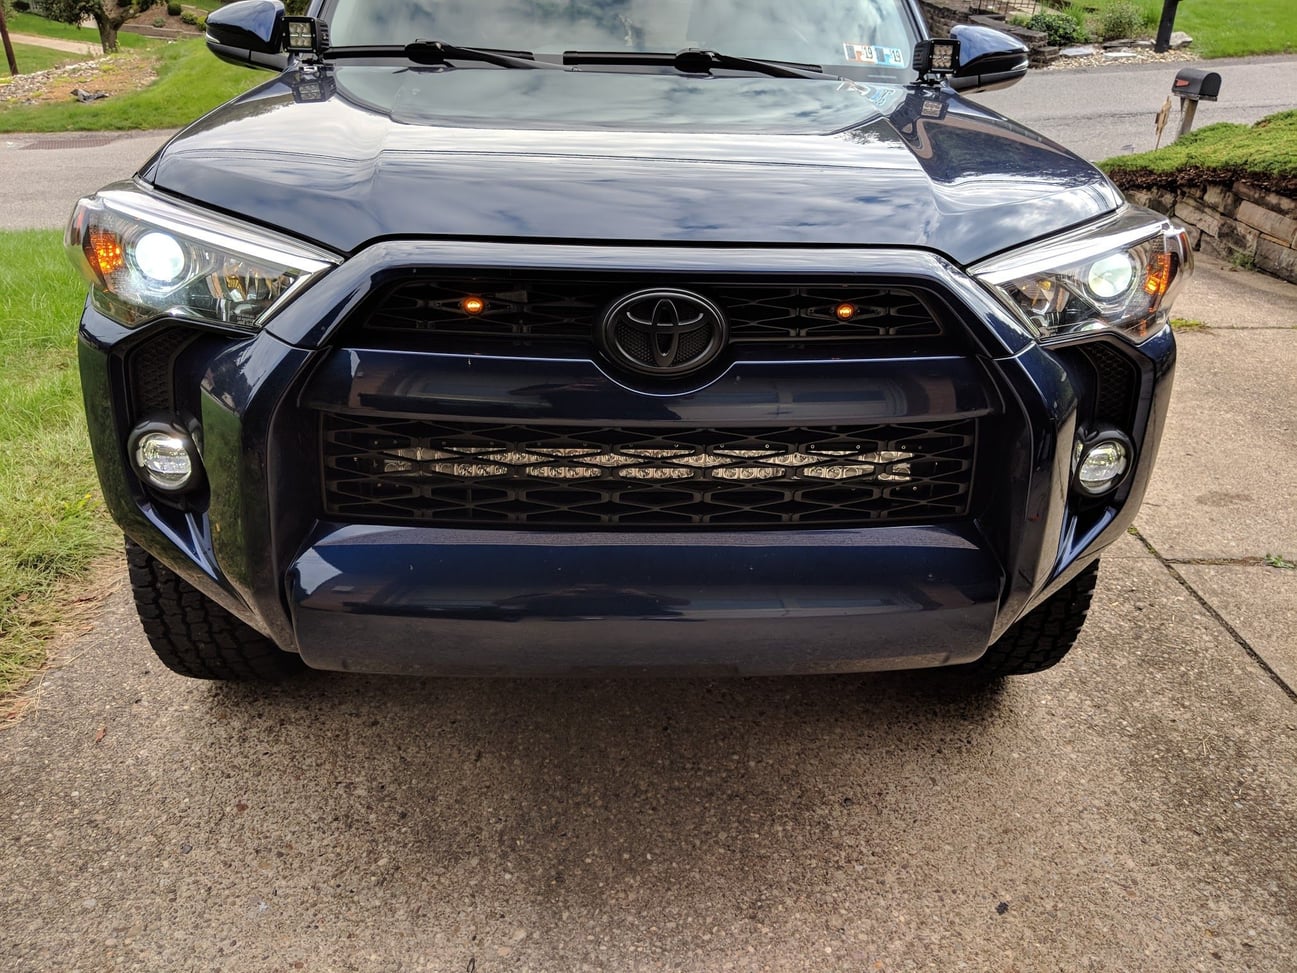
Sanded with a fine grit wet/dry paper just to scruff it a bit then wiped it down with denatured alcohol. Masked around the edges with paper then taped painters plastic to that and covered the front of the truck up to the top of the windshield.

15 minutes between about 5 coats. Krylon Fusion black satin.
 
Sanded with a fine grit wet/dry paper just to scruff it a bit then wiped it down with denatured alcohol. Masked around the edges with paper then taped painters plastic to that and covered the front of the truck up to the top of the windshield.

15 minutes between about 5 coats. Krylon Fusion black satin.

I didn’t catch why you painted it. Was it damaged or was it for a color change?
It looks great BTW.
 
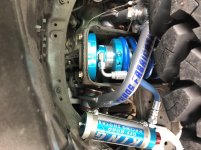
285 KO2 mounted today and Total Chaos UCAs (big thanks to John @ORW)

CmRFBZR.jpg


dnjmG5T.jpg


older mods - pedal commander (awesome), black lugs and Garmin dash cam

Lookin' good!

Thanks for sharing some pics of your Upper Control Arms and T4R :)

TOTAL CHAOS
TOTAL CHAOS FABRICATION
 
Got the front sets to a comfortable level with 35’s
 

Attachments

  • F50CC426-A47B-4FB4-A8F1-C4D61BD99F06.jpg
    F50CC426-A47B-4FB4-A8F1-C4D61BD99F06.jpg
    131.8 KB · Views: 1,064
or you could get these to cover them, they also have them in metal
https://www.ebay.com/itm/StreetRays...ash=item46867cc111:g:f48AAOSwi4lahIvP&vxp=mtr

A little large. I'd probably put the front plate on before that. I picked up a couple small black body plugs from ACE today and put them in. They work although not as flush as I'd like since the holes that were drilled deformed the plastic a bit.

Also shot the rear valance today and it came out every bit as good as the front. Pretty happy for a $15 investment.
 
I went to work today, but from what I read on the forum lately :( some folks here on the Forum got Frucked over by some Bumper Company that I will not name :/

That makes me sad and want to punch something, like a big tree so no one can get hurt.... I feel for some of you guys, really.

But thread is closed and we have to move on they say.

Good luck guys, good things will come and you will forget about this whacka$$ $hit that's happening.

Peace !
 
Picked it up from the shop after a re-gear and new wheels and tires. Went from Cooper AT3 275/70 on Level 8 MK6 to BFG KM3 in 33x12.5 on Fuel Vectors.


KM3-01.png


The AT3 looks a little bigger in this shot, but it's just the perspective.

KM3-AT3-01.png
 
d7b69cdb53fe692881e50f1199c38aa7.jpg


Rear done. Came out great. Anyone hesitant to do this I say go for it. Krylon Fusion worked awesome. Take your time and prep it right. I did 5 coats.
 
I found some Orangeboxx PSD racks.. I know the backstory on these guys, but the price was cheap, and being in Canada, I saved even more without having to ship them etc.
 
Not a T4R, but I found the d-ring to beat all d-rings! Please note the size of the exhaust can as well...

6ba8c3852879928e8b95e5c794fe9ac0.jpg


Sent from my iPhone using Tapatalk
 
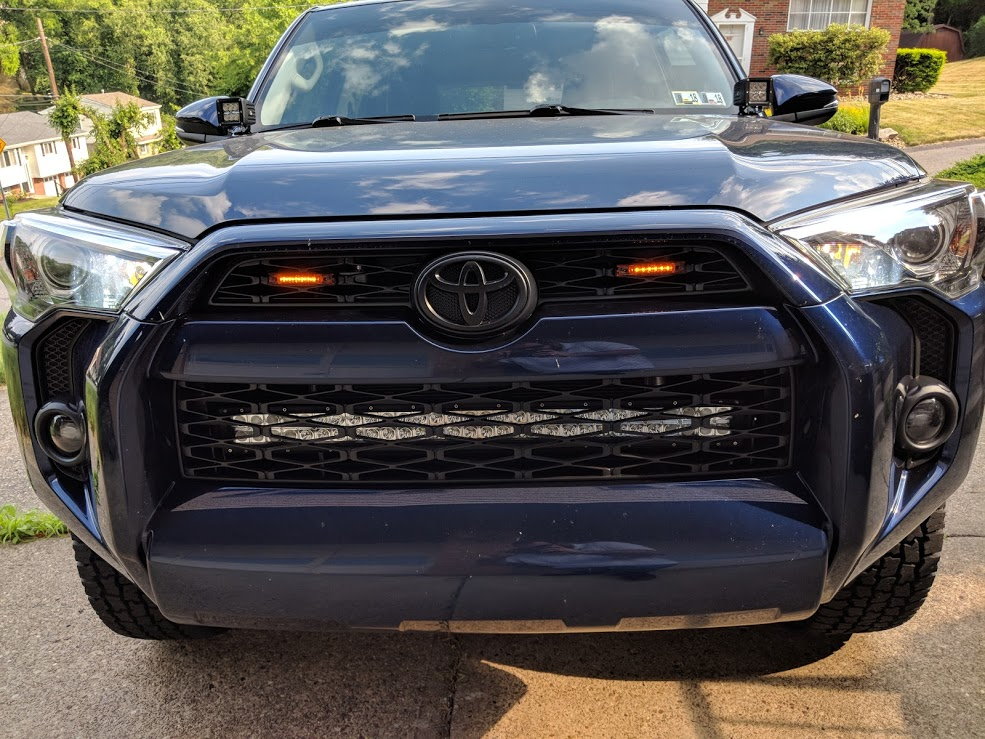
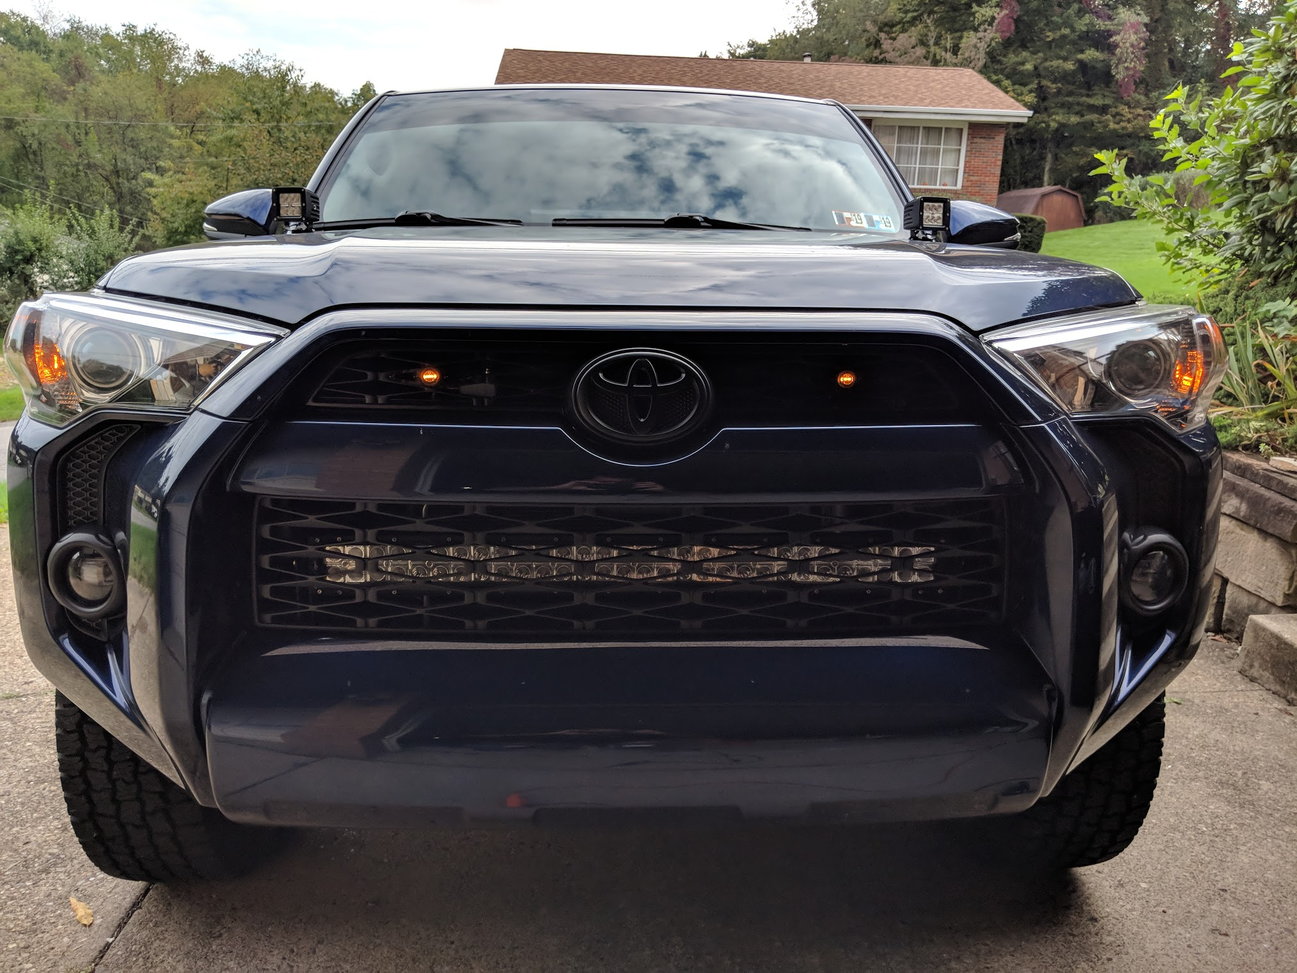
Removed my 6 LED Amber lenses and installed my Gunn's 3D printed smoked LED's in the grille.

Here's what I had and removed

img_20180618_173020_24694c9f7ef9402fd42c8675b0ed0e735c95d3bc.jpg


Removed the zipties and the 6 LED amber lights that sat on the grille

img_20181005_134317_5398db29d5154a35d522ac17fa5723daaed4ed15.jpg


New ones installed

img_20181005_140848_989edd01672b2a041af937b830459efe4565bf70.jpg


Wired up

img_20181005_142302_1759cf9b79c89897b2ffefb75df82d549e0302b3.jpg


With the amber corners

img_20181005_152909_28ac78e2fed0033ca055424b134e9c21b0723be0.jpg


And the finished product.

img_20181005_154407_167a4a75b593a975d6c7e4813b61b59cc7932687.jpg


Definitely happy with these, they're 3 SMD LED's instead of the less bright 6 LED lenses. I didn't really want the round "Raptor" look lights, but I just love the stealthier smoked lense and 3D printed pieces to tuck them into the grille and not stand out as much. Overall I'm super happy with these and the change.
 
I've had a busy week! Sunday night I went out to the desert with the intention of doing some night photography, then flying my drone in the morning. I camped out at a spot somewhere between Ocotillo and Dos Cabesas.

IMG_6635cx.jpg


IMG_6624cc.jpg


When I planned the trip it was supposed to be cloudy along the coast and clear in the desert, but then Tropical Storm Rosa took a turn inland over Baja. As a result, I had cloudy skies and occasional sprinkles at my campsite. No chance to get any time-lapse of the stars, so I tried it with the clouds. These actually turned out to be pretty interesting, with different layers of clouds moving in different directions. I haven't finished putting together the video yet, but I'll post it as soon as I can.

IMG_1191cc.jpg


IMG_3610cc.jpg


In the morning on Monday, it was still mostly overcast, but I could see sun up in the mountains. So I decided to go there to fly my drone. Found a nice area with a dead-end road going up a canyon, plenty of sun with scattered clouds.

IMG_6899cc.jpg


IMG_6898cc.jpg


IMG_6676cc.jpg


I flew the drone through the canyon, and above the trees, then took it down low and flew between the trees. Unfortunately a strong gust of wind came up just as I was passing close by a large oak, and I didn't react quick enough to keep it from blowing the drone into the tree. It was about 30 feet up from the nearest place I could get underneath it. The arrows in the next two photos show the location of the drone in the tree:

IMG_1196.jpg


IMG_1195.jpg


At first I tried tying a rock to the end of a nylon rope, twirling it, and releasing it up towards the tree. A few times I was able to snag a lower branch and shake it, but I could never get the rock/rope high enough. I spent a couple hours doing this until I ended up with an open blister:

IMG_1200cc.jpg


IMG_1210.jpg


So then I drove to the nearest small town and bought some PVC conduit. I thought could use this to create a pole tall enough to knock down the drone. Unfortunately the PVC wasn't stiff enough to do the job, so I had to give up and go home.

I ordered a 24-foot, aluminum extension pole online, and it arrived on Wednesday. I drove back out there Wednesday evening for Round Two. The pole alone wasn't long enough, so I opened up a coat hanger and taped it to the end of the pole, leaving the hook at the top end. But I couldn't maneuver the pole through the lower branches without bending back the wire hanger. By then it was starting to get dark anyway, so I went home again. On the way, I encountered a couple deer which suddenly ran across the road as I came around a bend:

Screenshot_Deer1.jpg


On Friday I returned for Round Three. This time I was armed with a 1/4" fiberglass rod, which I taped to the end of the extension pole. A wire hook was taped to the end of the rod. After just a few tries, I was finally able to get it hooked onto the branch where the drone was, and shook it loose. The lower branches slowed the drone's fall, and a thick layer of dead leaves helped to cushion its impact. No damage at all! Just a little dusty:

IMG_1213cc.jpg


IMG_1215cc.jpg


.
 
I thought these brake controllers need to be level, if not they are out of wack. According to the manual

Might depend on the type. The most common Tekonsha P3 installation instructions are "The P3 can be mounted from 0 degrees to 360 degrees
vertically in the direction of travel." This just means that it must be parallel to the direction of travel and not skewed.
 
Last edited:
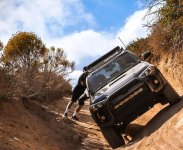
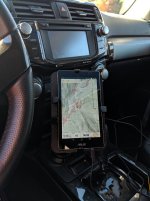
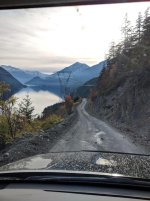
Figured out my navigation setup and found a cool road.
 

Attachments

  • IMG_20181006_105625.jpg
    IMG_20181006_105625.jpg
    126.1 KB · Views: 837
  • IMG_20181006_164753.jpg
    IMG_20181006_164753.jpg
    136.9 KB · Views: 831

Members online

Forum statistics

Threads
278,317
Messages
3,554,128
Members
248,016
Latest member
Advally Service

Trending content

Back
Top