What did you do to/in your 5th Gen today?!

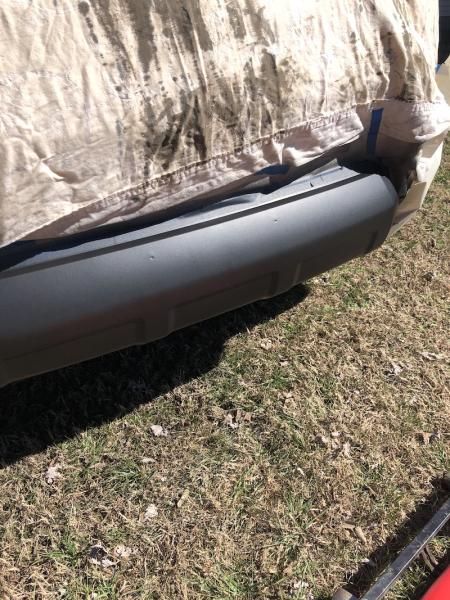
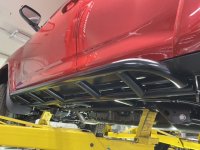
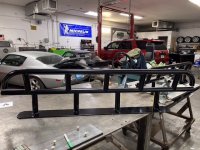
Rock sliders

I picked up my rock sliders from the powder coater. He did a great job!
 

Attachments

  • AEC1F34F-6333-4192-A7F8-BFA50908D75D.jpeg
    AEC1F34F-6333-4192-A7F8-BFA50908D75D.jpeg
    132.1 KB · Views: 916
Exact OEM illumination of garage door opener button

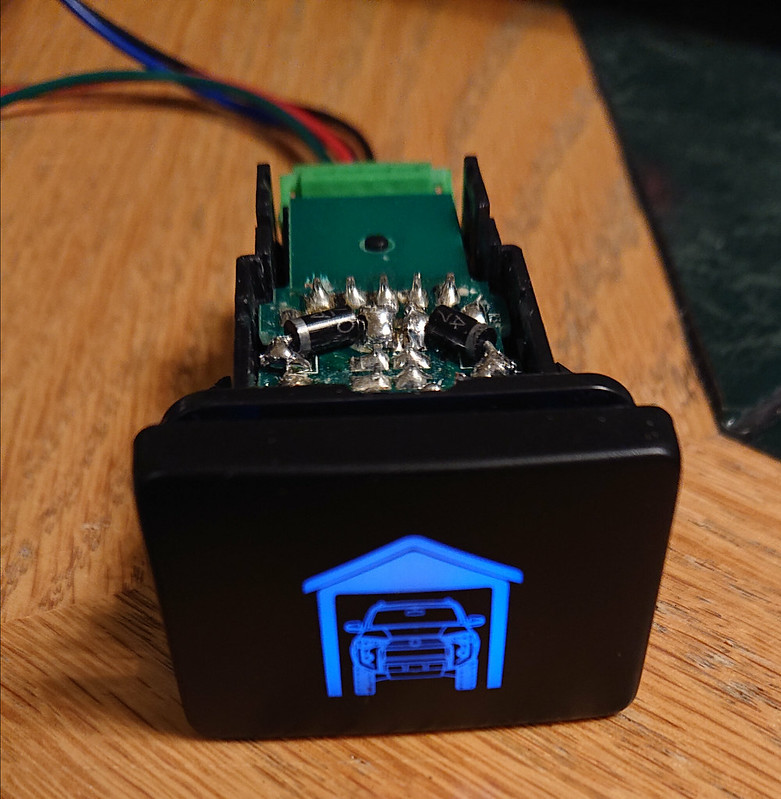
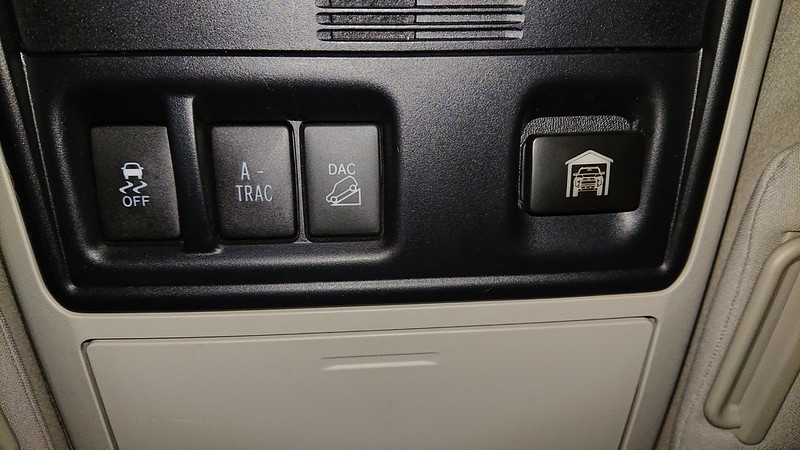
Unsatisfied with the fact that my new CruiserHeads buttons' illuminiation didn't match the OEM color, I modified my custom garage door opener button with OEM LEDS harvested from other 4Runner buttons that I bought on eBay. Since I "was in there", I also modified it to double the brightness when pressed.

Here's the before picture. It's hard to tell, but the garage door opener button's blue backlight is deeper and brighter blue than the 3 OEM buttons next to it:

49446903198_b27989658e_c.jpg


I first took it apart and changed the circuitry to support the "double the brightness when pressed" feature:

49563467771_23593907fd_c.jpg


49563467726_765f71ef0c_c.jpg


And here you can see where the harvested surface-mount LEDs have been mounted in place of the conventional through-hole LEDs that came in the button:

49563467811_2ae6500e4c_c.jpg


These 2 pictures show the new illumination, first with just the parking lights on, and second being pressed. The camera does not do the color justice...trust me, the unpressed color matches OEM exactly. The pressed color is double the brightness:

49563467871_54c3053c24_c.jpg


49562966583_65f6e59a71_c.jpg


A quick video showing the effect (click on the picture to see the video):


And in the truck at night (click on the picture to see the video):


Showing the color match (although the camera makes the light blue look almost white):

49563692602_7f0cd322f4_c.jpg


And a daytime shot for good measure:
49563692432_31f43d514b_c.jpg
 
About to buy the dobinson’s lift kit with UCA’s

That being said, since i originally didn’t plan on buying UCA’s is there anyone in the middle Tennessee area that can help me/install for cheap since I’m spending more than I originally planned lol
 
About to buy the dobinson’s lift kit with UCA’s

That being said, since i originally didn’t plan on buying UCA’s is there anyone in the middle Tennessee area that can help me/install for cheap since I’m spending more than I originally planned lol

its all super easy. You can do it man!
 
while I feel Mutant's pain with his issue, it is very much a 'one-off' with Dobinsons.


I have purchased from them several times and everything they have given me has been exactly what it should have been and done what they said it would.


Everyone will have an issue at one point but Dobinson's has FAR more good than bad.


You'll enjoy their suspension. its good stuff
d1283897c2a3c657547232086da77351.jpg
 
Just cleaned watery vomit out of my shift boot, cup holder, and between the console and passenger seat when my dog decided to spontaneously puke all over everything while I was driving this morning.


No pics, sorry hah
 
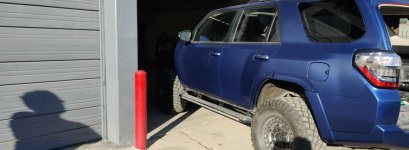
Another angle

Windows, door handles, rear view mirrors on. Should be finished Mon/Tues. Here is another angle of the Matte paint.
 

Attachments

  • 8D973FF2-C37D-440E-A3FA-CA396B6BAFDD.jpg
    8D973FF2-C37D-440E-A3FA-CA396B6BAFDD.jpg
    86.7 KB · Views: 840
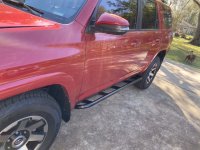
Finished install of rock sliders

It turned very nice.
 

Attachments

  • C21D988B-A484-41EA-9FB5-410FC1E399F6.jpeg
    C21D988B-A484-41EA-9FB5-410FC1E399F6.jpeg
    98.1 KB · Views: 881
  • D2F45680-868D-4398-B290-1AFF771E8FDE.jpeg
    D2F45680-868D-4398-B290-1AFF771E8FDE.jpeg
    122.1 KB · Views: 850
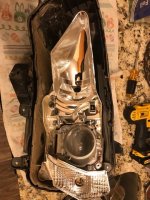
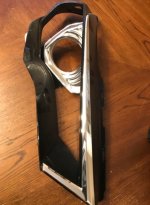
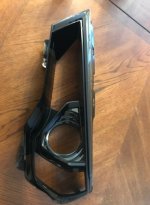
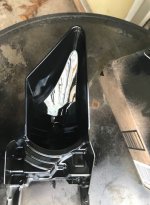
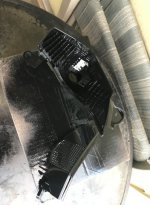
Working on a little project. Should be done in a couple weeks. Stripped all chrome with bleach, cleaned, dried, painted black. Ordered clear lenses to replace the amber lenses for the side markers.
 

Attachments

  • Headlight 1.jpg
    Headlight 1.jpg
    71.1 KB · Views: 838
  • Bezel before stripping .jpg
    Bezel before stripping .jpg
    51.5 KB · Views: 839
  • Stripped 2.jpg
    Stripped 2.jpg
    51.3 KB · Views: 868
  • Stripped 1.jpg
    Stripped 1.jpg
    108.5 KB · Views: 865
  • Stripped bezel .jpg
    Stripped bezel .jpg
    48.1 KB · Views: 844
  • Painted 1.jpg
    Painted 1.jpg
    54.3 KB · Views: 833
  • Painted 2.jpg
    Painted 2.jpg
    57.4 KB · Views: 844
Rigid SR-40” light-bar install (failing)

Just received my 40” light-bar and am failing miserably installing it and hope someone can help...

I have a 6sw SPOD that I’m connecting this to and when it’s not in the mix the light works. When it’s in the mix it’s a no Go!

The wiring came with a relay (connected to light-bar), neg and pos (coming from relay) wiring for battery, and 3 wires to the switch (coming from relay). I left all that as is and connect the pos and neg terminals to the battery. Then took the wires to the switch and connected the black (ground) and red (positive) wires to SW2 on the SPOD.

Should I take the relay + inline fuse (on battery positive connection) out of the equation and take the pos and neg straight from the light to SW2 on the SPOD? I feel like a dope as I thought the SPOD was supposed to simplify things and I still can’t get it right. HELP!!!
 
Just received my 40” light-bar and am failing miserably installing it and hope someone can help...

I have a 6sw SPOD that I’m connecting this to and when it’s not in the mix the light works. When it’s in the mix it’s a no Go!

The wiring came with a relay (connected to light-bar), neg and pos (coming from relay) wiring for battery, and 3 wires to the switch (coming from relay). I left all that as is and connect the pos and neg terminals to the battery. Then took the wires to the switch and connected the black (ground) and red (positive) wires to SW2 on the SPOD.

Should I take the relay + inline fuse (on battery positive connection) out of the equation and take the pos and neg straight from the light to SW2 on the SPOD? I feel like a dope as I thought the SPOD was supposed to simplify things and I still can’t get it right. HELP!!!

I’m not clear on your situation because I don’t understand the abbreviations/acronyms. But what you are encountering seems very much like my dilemma in 2006 when I wired in a set of Hella off road lights on my 2002 Tacoma TRD. I purchased them through an off road company, who supplied their own installation instructions, along with Hella’s instructions. It also was my first accessory wiring job using a relay.

I don’t recall all the details, but basically the problem was at the switch. I hard wired them direct to the battery, along with the supplied relay; following one or the other’s instructions. The lamps did not light. Hook the lamps direct to the battery without the relay or switch, we had light.

There appeared to be conflicts between Hella’s instructions and the supplier’s. I had a mechanical engineer friend help me, he was stumped for a considerable time. After an hour or so studying both and making his own notes, we did a wiring job using the relay, power supply battery direct, but wiring the switch differently.

Basically, we originally were supplying power to the switch but not power back out to the lights. I don’t recall how we did it exactly, but it was a simple problem and solution.

When I replaced the Tacoma with my 4Runner last year, I gave the truck to a family member. The Hellas still work just fine.
 
Last edited:
After having a RAM mount in my 3rd gen for many years this was the first thing I did to my 5th gen. I could roll the truck and I'm pretty sure the phone would stay put. It truly is one handed operation as the phone does not budge when tapping in commands. Most importantly for me having the screen within my line of sight, no taking my eyes off the road.

Install was very easy. That vid link is great. I added larger
rubber washers and metal washers. I was being extra cautious about brittle dash plastic as it gets below 0 where I am.

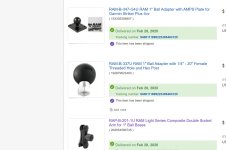
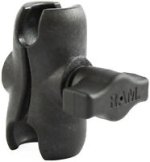
I bought a set of 3 RAM pieces to configure my set up but no matter how tight I make it, they still kinda move around, it's not "locked" in place, curious if the length of the Ram pieces & weight of the phone & cradle are the cause. I've take it apart a cple time but cant seem to make it solid. Only difference in my set up is the dble arm, I went with a round crank vs the one listed in the Trail 4r post. so it's not so bulky. Are yours solid, no movement? Any advice? Thinking of buyng the exact dble arm to see if makes a diff.
 

Attachments

  • 2020-02-22 (2).jpg
    2020-02-22 (2).jpg
    119.3 KB · Views: 1,102
  • s-l200.jpg
    s-l200.jpg
    5.5 KB · Views: 1,036

Members online

Forum statistics

Threads
278,317
Messages
3,554,128
Members
248,016
Latest member
Advally Service

Trending content

Back
Top