What Did You Do To Your 3rd Gen Today?

Status
Not open for further replies.
T4_R11_OCT.jpg


@ Snowy Range, Medicine Bow, WY.
 
:D
Eff WD40. Crap. Use PB Blaster. spray bolt, whack head with hammer 5-6 times. wait 5 minutes. spray, whack, wait. etc. Whack jars the bolt, moves it the tiniest slightest little bit. When it moves the PBB is able to breach the perimeter and start working its way into the threads. Patience is the key. May take 15 minutes, or 1 hour or 3 days. Leverage is your friend, use a cheater bar and pipe, but if you force a rusted bolt you will twist off the head and then need to drill it out.
I alternate between tightening and loosening, counter clockwise then clockwise. When you get the bolt to budge, stop. Soak with PBB. Whack, whack. tighten/loosen. You need to work it loose. Just bc you're getting some movement doesnt mean it is ready to come out. The rust may be several threads deep. After the PBB breaches the perimeter it is just a matter of time. Lots of lube and patience, an approach which greatly increases the odds of success in all screwing and unscrewing endeavors.
Lots of lube and patience, an approach which greatly increases the odds of success in all screwing and unscrewing endeavors. Had to giggle at your last sentence, but I agree.
 
soak from underneath if not done so yet and work them back and forth. take the correct size socket with an extension, put over bolt and give it a manly smack with a nice size beater. the impact will shock the rust and break them loose.

Thanks for your input.

Eff WD40. Crap. Use PB Blaster. spray bolt, whack head with hammer 5-6 times. wait 5 minutes. spray, whack, wait. etc. Whack jars the bolt, moves it the tiniest slightest little bit. When it moves the PBB is able to breach the perimeter and start working its way into the threads. Patience is the key. May take 15 minutes, or 1 hour or 3 days. Leverage is your friend, use a cheater bar and pipe, but if you force a rusted bolt you will twist off the head and then need to drill it out.
I alternate between tightening and loosening, counter clockwise then clockwise. When you get the bolt to budge, stop. Soak with PBB. Whack, whack. tighten/loosen. You need to work it loose. Just bc you're getting some movement doesnt mean it is ready to come out. The rust may be several threads deep. After the PBB breaches the perimeter it is just a matter of time. Lots of lube and patience, an approach which greatly increases the odds of success in all screwing and unscrewing endeavors.

Thanks for detail input. Will try to do that on coming weekend. Thanks Again.
 
Posted this in my build thread, but thought I would add it here too.

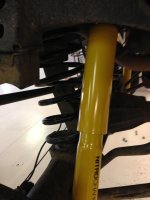
Got the ORI's in this weekend. I thought the job was going to be a lot easier than it turn out being.

The struts are wider with the misalignment spacers they use than coilovers and the operating lengths are different as well, so I had to make new tabs for the axle end and new hoops for the frame side.


I need to play around with the pressures and get it dialed in. Right now I have 90psi bottom and 400psi top It sits a little high,(26" frame height) but it drives awesome! I'm pretty happy so far.
 
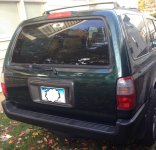
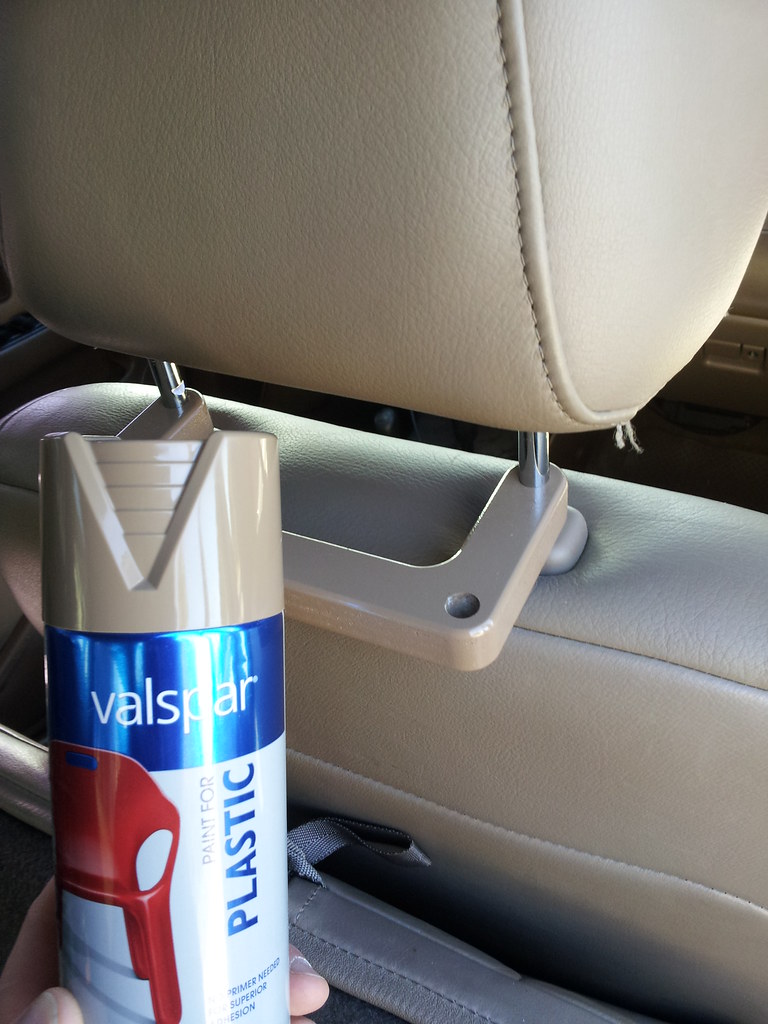
I finally found a good solution to headrest storage when folding the seats down on early 3rd gens. In my opinion it is an even better solution than the 99+ storage location! :)

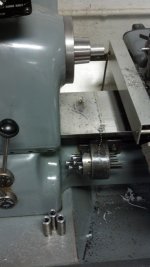
I CNC machined out of high-density polyethylene a bracket to hold the headrests up behind the front seat headrests. This keeps the headrests up away from shifting cargo that could cause damage to the headrests and even allows for easier access to the cargo area compared to the 99+ “bottom of seat” storage location. The 99+ storage location doesn’t allow for easy access to the cargo area as the headrests fill in the opening between the driver and passenger seats. Another cool thing about these brackets is they can double as a light duty handle for smaller kids that have trouble getting into a 4Runner.

I am considering making a few more sets of these brackets. I am unsure of prices but if you are interested please PM me with what you would be willing to pay for a set. I will be able to figure out a price once I get an idea of quantity demanded. I don’t plan on getting rich on these things I just thought it would be cool to help out fellow 4Runner owners.

Edit: I am now selling these brackets for $27/set shipped. PM me for details.

<a href="http://www.flickr.com/photos/34007886@N03/10813907433/" title="Untitled by xcmtb83, on Flickr"><img src="http://farm3.staticflickr.com/2858/10813907433_b645522d56_b.jpg" width="1024" height="768" alt="Untitled"></a>

<a href="http://www.flickr.com/photos/34007886@N03/10813639455/" title="Untitled by xcmtb83, on Flickr"><img src="http://farm8.staticflickr.com/7460/10813639455_75e9278871_b.jpg" width="1024" height="768" alt="Untitled"></a>

<a href="http://www.flickr.com/photos/34007886@N03/10813769074/" title="Untitled by xcmtb83, on Flickr"><img src="http://farm6.staticflickr.com/5527/10813769074_a55fefbb6a_b.jpg" width="1024" height="768" alt="Untitled"></a>

<a href="http://www.flickr.com/photos/34007886@N03/10813633876/" title="Untitled by xcmtb83, on Flickr"><img src="http://farm6.staticflickr.com/5482/10813633876_863d90a06c_b.jpg" width="1024" height="768" alt="Untitled"></a>

<a href="http://www.flickr.com/photos/34007886@N03/10813626455/" title="Untitled by xcmtb83, on Flickr"><img src="http://farm6.staticflickr.com/5529/10813626455_6a90110f0b_b.jpg" width="1024" height="768" alt="Untitled"></a>
 
Last edited:
Got the ARB Bumper and Winch on there yesterday, and picked up my Whitson Rack. Rack came off immediately after the photo for painting.

IMG_20131111_171130_zpsbdc9a3fe.jpg~original
 
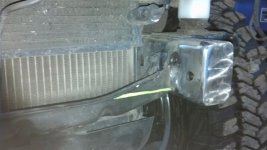
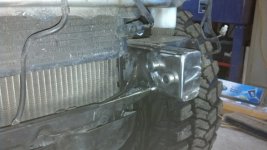
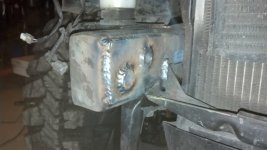
I made some frame brackets for my ODL bumper
 

Attachments

  • IMG_20131106_145654_432.jpg
    IMG_20131106_145654_432.jpg
    43.9 KB · Views: 1,316
  • IMG_20131109_143258_483.jpg
    IMG_20131109_143258_483.jpg
    40.4 KB · Views: 1,328
  • IMG_20131109_155429_570.jpg
    IMG_20131109_155429_570.jpg
    45.3 KB · Views: 1,327
  • IMG_20131109_170652_506.jpg
    IMG_20131109_170652_506.jpg
    40.3 KB · Views: 1,327
Headed over to Jack Junkies in Plano, TX and installed OME 891s that I got from the classifieds here with brand new OME 60028s. I rented a lift bay and some air tools, pry bars, etc and went to work. Rides much better than my previous spacer lift.
 

Attachments

  • OME rear lift.jpg
    OME rear lift.jpg
    118.4 KB · Views: 1,214
Status
Not open for further replies.

Members online

No members online now.

Forum statistics

Threads
278,316
Messages
3,554,120
Members
248,016
Latest member
Advally Service

Trending content

Back
Top