What did you do with your 4runner today?

Goal for the day: take out 135K XREAS, install Taco TRD Offroad take-offs & rear FJ springs

Started around 10am, declared defeat around 5pm since the space had to be cleared for the next day.

- took me like an hour to raise all 4 wheels in the air, of course now that I figured the proper order of things it would take me 10 minutes.
- disconnecting XREAS properly took forever, no space to turn the 22mm wrench. Whoever decided on the locations of the disconnects had a sick sense of humor.
- everything took way longer than necessary because I tried to take shortcuts...
- found that both rear swaybar links have torn boots; also feel like the front links are too loose, no play but I think they should be changed too
- long story short at 5pm I had both front struts in but I had to disconnect the UCA balljoints to get them in and did not have the right tool to hold the balljoints so I can tighten the castle nuts, so they are loose; and the rear only has the XREAS lines disconnected but no time to do anything else there; I kinda expected the shocks to explode when I lowered the vehicle back on them but they didn't. Of course the vehicle was not driveable like this so I just moved it a few feet to parking spot and left it there (I do all work like this at my workplace, there's a machine shop and a spare vehicle if I fail like I did today).

So what's left
- get the tool for the balljoints (will check with the machinist tomorrow, maybe he has it, I'd rather save the cash)
- finish up the front by reinstalling the swaybar and skid plate
- figure out how to remove the rear shocks, the top nuts seem impossible to loosen, I tried holding the shaft with a 2nd wrench
- once that's figured out install the FJ springs as well

Now one last thing, I seem to have gained full 3 inches of lift from just the Taco TRD offroad struts (complete with the springs) + 1/4" (so 1/2" lift) spacers. Everybody said the Taco struts give 1.5in max lift so I added spacers to bring it to a total of 2", but I got way more? Are they going to settle down? I don't really want 3" of lift and all the alignment and cv joint problems that come with it.

 
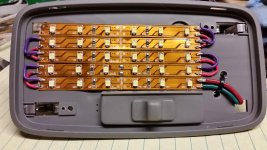
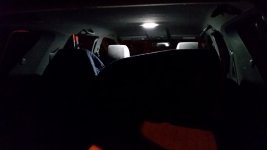
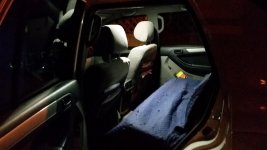
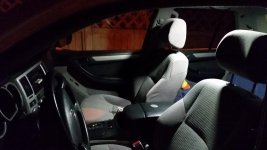
Put together a couple led lights using some "left-over" strip lights from a kitchen under cabinet lighting setup I did to make the wife happy this weekend.

uploadfromtaptalk1447033646276.jpg

uploadfromtaptalk1447033690503.jpg

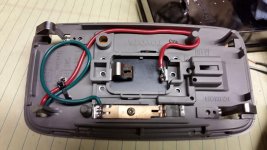
Pretty easy to do. The strips just stick right to the light housing. I did add a small thin piece of lexan where the original light opening was to smooth out the surface...you can see the black lexan in the opening on the backside photo.
I had some leftover 20ga wire from an alarm and remote start setup I recently installed so I made a bunch of jumpers and soldered it all together. It's hard to find 20/2 stranded wire on a Sunday around here.
The negative lead was soldered directly to the switch because the material that the light mount is made of did not want to take the solder.
Probably not as cheap to buy the stuff and make this yourself vs buying the premade 48 Led light panels but if you have the tools and are doing a bunch of other led lighting around the house it's pretty simple to make. I did a rush job and did it in about 30 min after I was setup and hot with the solder gun.
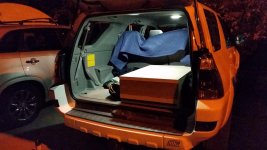
It's hella bright compared to the standard lights. Going to wait a few weeks to check longevity of the lights before I start modifying the door lights.

There is a street corner light making the orange glow.
uploadfromtaptalk1447034215605.jpg
uploadfromtaptalk1447034300734.jpg
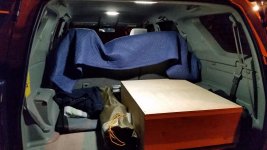
Cargo light turned off.
uploadfromtaptalk1447034404600.jpg
Moving blanket for the dog.
uploadfromtaptalk1447034342843.jpg
uploadfromtaptalk1447034387387.jpg
 

Attachments

  • uploadfromtaptalk1447033646276.jpg
    uploadfromtaptalk1447033646276.jpg
    136.6 KB · Views: 804
  • uploadfromtaptalk1447033690503.jpg
    uploadfromtaptalk1447033690503.jpg
    127 KB · Views: 834
  • uploadfromtaptalk1447034215605.jpg
    uploadfromtaptalk1447034215605.jpg
    135 KB · Views: 797
  • uploadfromtaptalk1447034300734.jpg
    uploadfromtaptalk1447034300734.jpg
    130.8 KB · Views: 791
  • uploadfromtaptalk1447034342843.jpg
    uploadfromtaptalk1447034342843.jpg
    120.1 KB · Views: 803
  • uploadfromtaptalk1447034387387.jpg
    uploadfromtaptalk1447034387387.jpg
    124.8 KB · Views: 792
  • uploadfromtaptalk1447034404600.jpg
    uploadfromtaptalk1447034404600.jpg
    115.9 KB · Views: 870
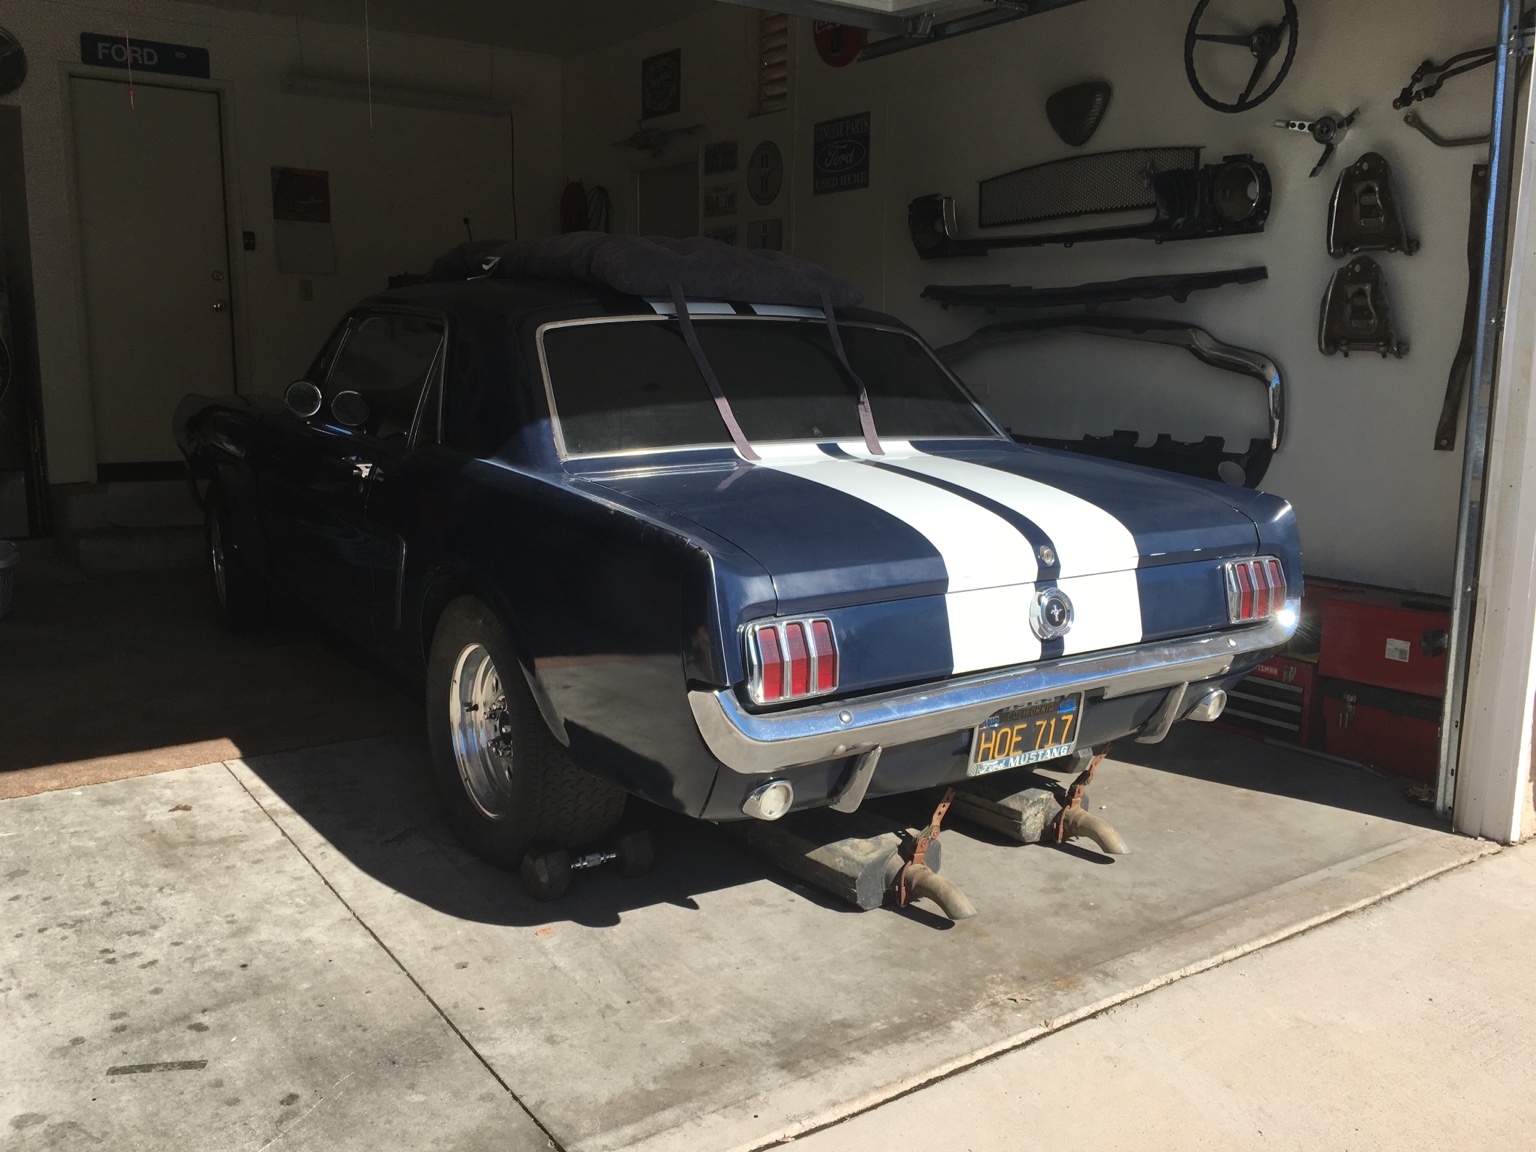
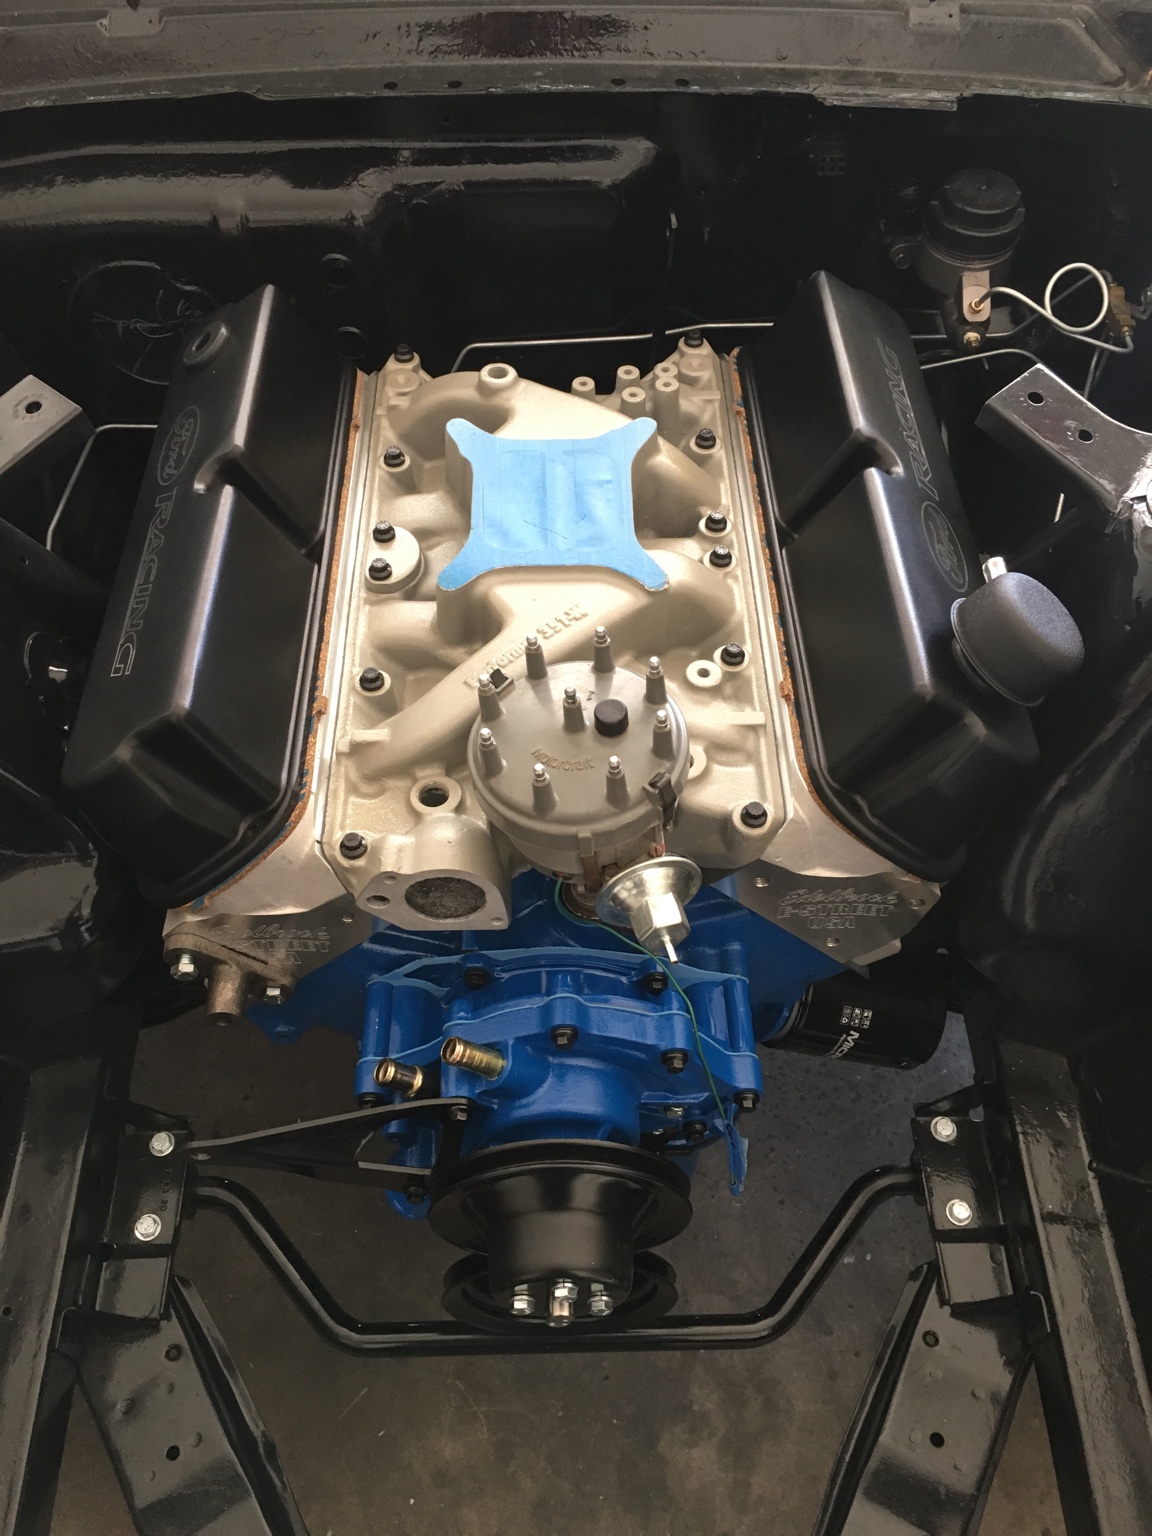
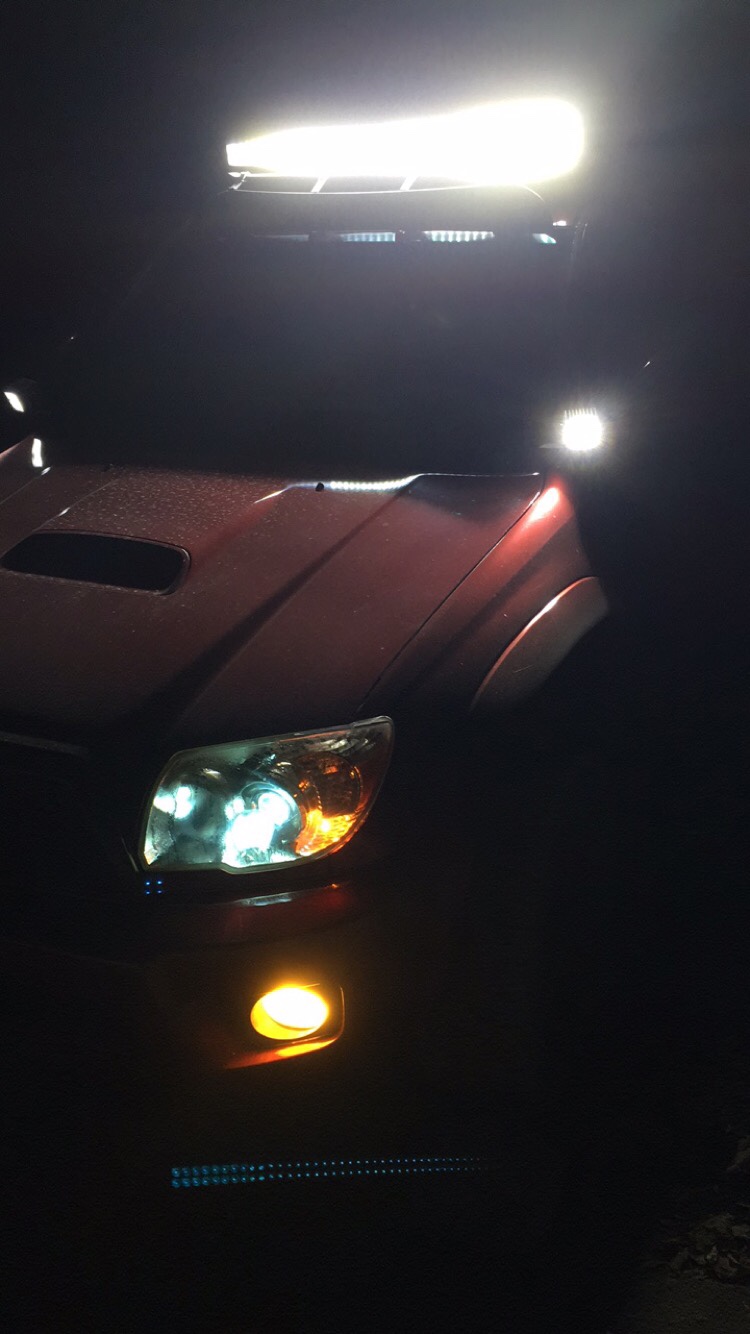
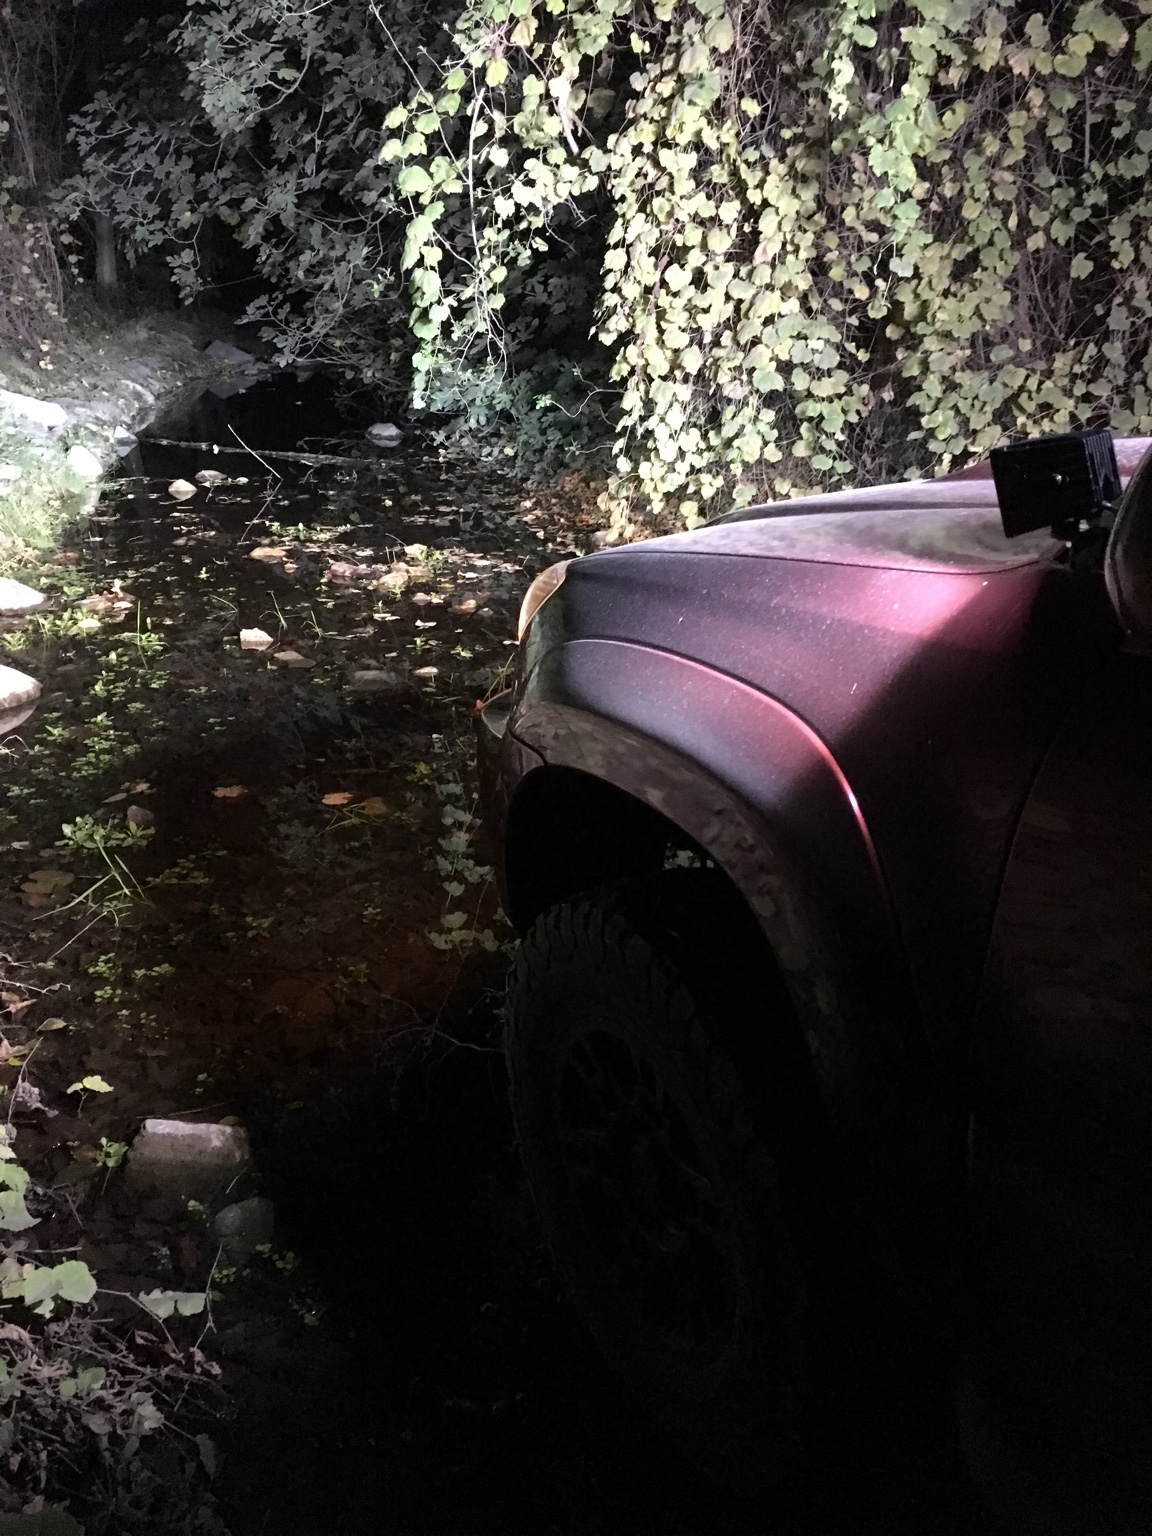
I brought some tools to my friends house to help him work on his 65 Mustang. Afterwards I decided to hit the trails for a night run.
3d19ed649472883f3975b48abce7883b.jpg

f4ceafc1664597fef4eba605bbb615aa.jpg

f99d8a9756361b5651fff175cc62f2c1.jpg

3ec403e2f8ec486f89ee046f68bd25ea.jpg
 
We headed up off of I90, took the fire training academy exit, found a turnoff of the main road there, then just followed whatever path we'd find that looked to climb higher. It tends to be difficult to accomplish with all the gates up everywhere all the time it seems like though.
Also in the seattle area and looking for wheeling partners. Just moved here in August and would prefer to not go out by myself all the time. Still running stock but looking at upgrading suspension and lift it soon. I've been up on the fire roads and forest service roads by Rachel lake off 90 which were nice.
 
Also in the seattle area and looking for wheeling partners. Just moved here in August and would prefer to not go out by myself all the time. Still running stock but looking at upgrading suspension and lift it soon. I've been up on the fire roads and forest service roads by Rachel lake off 90 which were nice.

Welcome to Seattle =)

Maybe we need to set something up

Switched last year from a sedan to the 4Runner last summer and really want to take it off road now
 
Installed Daystar 3/2 lift-leveling kit. Halfway through I was reconsidering my ability to do it solo in the driveway, but 2.5 hours later and it all worked out.

Next up plastidip the wheels and start shopping for tires.

I'd recommend getting the new tires mounted upo before plastidipping the wheels. I dipped mine before the new tires and now have to redo the spots where all the old weights came off. Not a huge deal, but I would have rather only done everything once.
 
A dremel and a couple hours later and the rub is nearly gone (those dremels are magic)... For some reason I still have a tiny bit of rub on the liner on the left side only -- despite having backed the liner up 1/2 inch or so, and trimmed some the lower corner of the bumper. Not a big deal -- certainly worth the hassle -- but weird. How and why would the right side of the bumper be different to give it more clearance?...

Added 5th gen wheels and Nitto TerraGrapplers. Now I've got a good rub to deal with tomorrow... A good problem.
 
I'd recommend getting the new tires mounted upo before plastidipping the wheels. I dipped mine before the new tires and now have to redo the spots where all the old weights came off. Not a huge deal, but I would have rather only done everything once.

I won't be getting tires until at least Feb. These still have a lot of tread on them and I'm gonna run the crap out of them before I get anything else.

Oddly enough there are no weights on the outside of my rims. Might be the sticky kind along the inside, but I didn't look.
 
Parked her at work and pissed off the receptionist who couldn't get her F350 backed in the space next to me. :laugh:
 
Last edited:
That's one sexy looking Previa.

QUOTE=gshadow325;2178340]she posed with her sibling while she was showing off her new bumper

[/QUOTE]
 
Goal for the day: take out 135K XREAS, install Taco TRD Offroad take-offs & rear FJ springs

Started around 10am, declared defeat around 5pm since the space had to be cleared for the next day.

- took me like an hour to raise all 4 wheels in the air, of course now that I figured the proper order of things it would take me 10 minutes.
- disconnecting XREAS properly took forever, no space to turn the 22mm wrench. Whoever decided on the locations of the disconnects had a sick sense of humor.
- everything took way longer than necessary because I tried to take shortcuts...
- found that both rear swaybar links have torn boots; also feel like the front links are too loose, no play but I think they should be changed too
- long story short at 5pm I had both front struts in but I had to disconnect the UCA balljoints to get them in and did not have the right tool to hold the balljoints so I can tighten the castle nuts, so they are loose; and the rear only has the XREAS lines disconnected but no time to do anything else there; I kinda expected the shocks to explode when I lowered the vehicle back on them but they didn't. Of course the vehicle was not driveable like this so I just moved it a few feet to parking spot and left it there (I do all work like this at my workplace, there's a machine shop and a spare vehicle if I fail like I did today).

So what's left
- get the tool for the balljoints (will check with the machinist tomorrow, maybe he has it, I'd rather save the cash)
- finish up the front by reinstalling the swaybar and skid plate
- figure out how to remove the rear shocks, the top nuts seem impossible to loosen, I tried holding the shaft with a 2nd wrench
- once that's figured out install the FJ springs as well

Now one last thing, I seem to have gained full 3 inches of lift from just the Taco TRD offroad struts (complete with the springs) + 1/4" (so 1/2" lift) spacers. Everybody said the Taco struts give 1.5in max lift so I added spacers to bring it to a total of 2", but I got way more? Are they going to settle down? I don't really want 3" of lift and all the alignment and cv joint problems that come with it.

Finished the front tonight. Front lift has settled down to about 1.75" driver side and 2.25" passenger side. I'll give it a little more time before I decide to pull the pass. side spacer to level it. Only drove around the block as I still need to do the rear but already loving the difference.
Bad news though, both inner CV boots are weeping. How can I fix that before there's any CV joint damage?
 
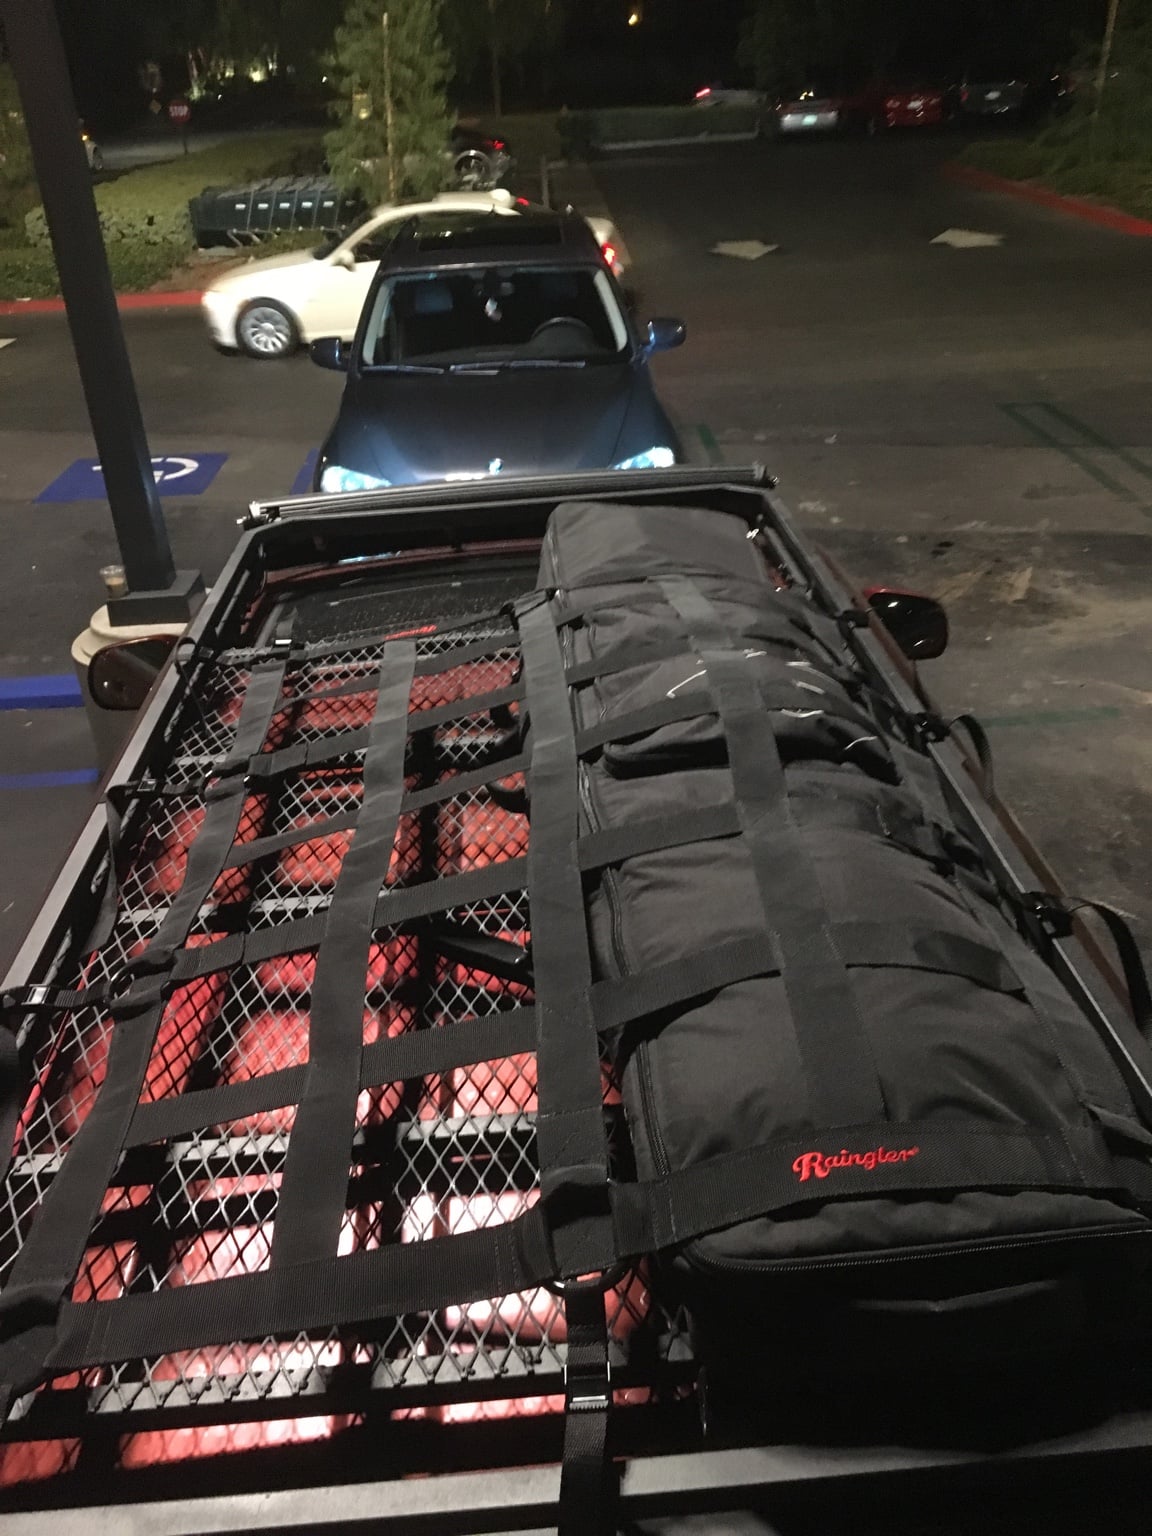
I installed a raingler roof rack netting and it looks great. The quality is amazing and it holds my snowboard bag really tight. They didn't have a 4th gen roof rack netting option so I ordered the 5th gen and it fits greats.
3a45f9bb32b4c09c7b6ed4124e7ff72e.jpg
 

Members online

Forum statistics

Threads
278,316
Messages
3,554,107
Members
248,016
Latest member
Advally Service

Trending content

Back
Top