What did you do with your 4runner today?

Built and installed the drawers below my load deck. They're about 2" deep so they can't hold a ton of stuff. I'm planning on setting one of them up as a tool drawer and then I'll figure out what to put in the other drawer.

XqZhWm.jpg


2SEEdZ.jpg
 
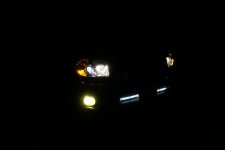
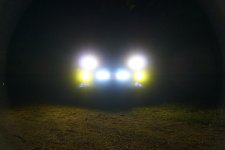
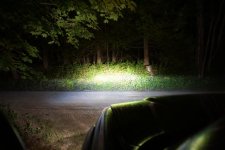
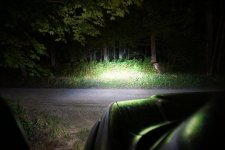
Today I installed an led light bar with the caliraised lower grill mounts. I have attached some pictures of all my lights on and output. First output shot is without the light bar second is with. I haven't moved my license plate so it is blocking some output. Also, I think I need to aim it a little hire for better results since it is more directional and not a spot light.

I have wired the bar to come on with the high beams.

I'm happy. In person it's bright! Especially with lows, highs, bar and fogs I think I'll be able to see on the country roads.
 

Attachments

  • 150E98BD-10B6-4EAB-A805-83820B408EAA.JPG
    150E98BD-10B6-4EAB-A805-83820B408EAA.JPG
    97.2 KB · Views: 261
  • DCDA7576-D891-478B-8D6C-2FFB3A461F56.jpg
    DCDA7576-D891-478B-8D6C-2FFB3A461F56.jpg
    104.4 KB · Views: 259
  • 6619795C-ABE2-4B8A-B963-7683A2BCDA37.jpg
    6619795C-ABE2-4B8A-B963-7683A2BCDA37.jpg
    131.7 KB · Views: 283
  • E1FEE2AB-E6D9-4A25-A002-4B44247B21CF.jpg
    E1FEE2AB-E6D9-4A25-A002-4B44247B21CF.jpg
    131.5 KB · Views: 267
  • 0B1F3FED-4DB1-4F35-9863-2704AA5586CC.jpg
    0B1F3FED-4DB1-4F35-9863-2704AA5586CC.jpg
    67.7 KB · Views: 264
Last edited:
waxed, buffed and paint protection applied

also replaced both differential fluids and also Transfer case fluid

<a href="http://imgur.com/GGu1Rg1"><img src="http://i.imgur.com/GGu1Rg1.jpg" title="source: imgur.com" /></a>
<a href="http://imgur.com/dufXCAT"><img src="http://i.imgur.com/dufXCAT.jpg" title="source: imgur.com" /></a>

how did you do the T case fluid?
 
how did you do the T case fluid?

really simple.... there is a drain bolt and a fill bolt.

you drain it out from the drain bolt, then you tighten that back down. Then remove the fill bolt and fill fluid through there until fluid starts pouring out of it. then tighten the fill bolt down and you are done! :thumb:
 
Took a trip to the mountain bike capital of the Midwest, Marquette, Mi, with my lady earlier this week.

Then we went to the mountain bike capital of Wisconsin, Cable/Heyward.

We had an absolute blast. The trails are incredible.

We rode 49 miles from Mon - Fri.

This morning while packing up the house, we saw a couple of deer in the front yard.

You know it's a good trip when you are reluctant to leave but ready to get back home.

Happy Labor Day!!
 

Attachments

  • IMG_3053.jpg
    IMG_3053.jpg
    141.2 KB · Views: 270
4th Gen 4runner v6 coolant flush drain plug access

I did a full coolant flush on my 2005 V6 4X4. I a lot of guys have posted on this forum that they've had trouble reaching the driver's side drain plug - requires lots of extensions and a U-joint. I've got pretty slim arms, so I was able to get at it from the top. The whole thing only took about 20 minutes. I shot a 44sec video showing how I got to that DS plug. The quality is really bad, but I'm posting it here in hopes that it will help someone else.

https://youtu.be/5j5F_lHY8wo
 
Last edited:
really simple.... there is a drain bolt and a fill bolt.


you drain it out from the drain bolt, then you tighten that back down. Then remove the fill bolt and fill fluid through there until fluid starts pouring out of it. then tighten the fill bolt down and you are done! :thumb:


Always always ALWAYS make sure you remove the fill port before even loosening the drain bolt. Don't wanna drain your fluid and realize you can't open it back up to fill it


Sent from my iPhone using Tapatalk
 
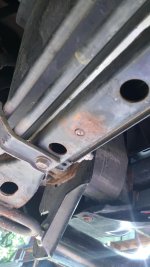
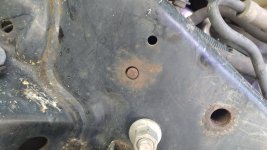
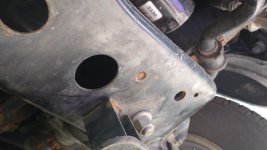
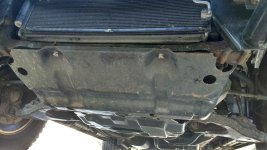
Someone previously cut off the bolts holding my skidplate on, then tied the plate back on with zipties, or so the mechanic said...

Drilled the old bolts out and tapped 10mm threads in place. Two went just fine and two didn't go so great, but the plate stays on now.
 

Attachments

  • IMG_20170903_101824848.jpg
    IMG_20170903_101824848.jpg
    126.8 KB · Views: 296
  • IMG_20170903_101818622.jpg
    IMG_20170903_101818622.jpg
    137.3 KB · Views: 296
  • IMG_20170903_101814954.jpg
    IMG_20170903_101814954.jpg
    125.8 KB · Views: 309
  • IMG_20170903_132101097_HDR.jpg
    IMG_20170903_132101097_HDR.jpg
    138.6 KB · Views: 300
Replaced the parking brake shoes today...NOT FUN! The pedal was going all the way to the floor and figured the pads were getting thin. I was surprised, however, that they were in pretty good shape given they've been on the truck for almost 10 years. If I knew that beforehand, I probably would have just adjusted them a bit to pull some of the slack out of the pedal.

A word to the wise. I saw a few posts out here of guys using twine to contract the shoe spring...excellent advice. ;)
 
Replaced the parking brake shoes today...NOT FUN! The pedal was going all the way to the floor and figured the pads were getting thin. I was surprised, however, that they were in pretty good shape given they've been on the truck for almost 10 years. If I knew that beforehand, I probably would have just adjusted them a bit to pull some of the slack out of the pedal.

A word to the wise. I saw a few posts out here of guys using twine to contract the shoe spring...excellent advice. ;)

The parking brake shoes will rarely need to be replaced since they aren't used when driving, unless you need to use them due to complete regular brake failure.
 
new shoesies

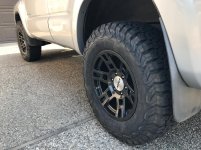
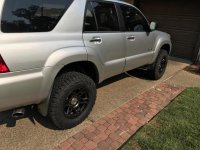
Threw some new wheels and tires on the rig. FN FxPro wheels in Gloss gunmetal grey, and BFGoodrich all-terrain T/A KO2's in a LT265/70R17 Load Range C. Totally love it thus far. I did have to push my wheel well liners out since I rubbed in Reverse. I have Camburg 1.25in. uniball upper control arms so that's likely the culprit. Now no rubbing, and it's great!
 

Attachments

  • IMG_2564.jpg
    IMG_2564.jpg
    138.6 KB · Views: 279
  • IMG_2567.jpg
    IMG_2567.jpg
    143.5 KB · Views: 279
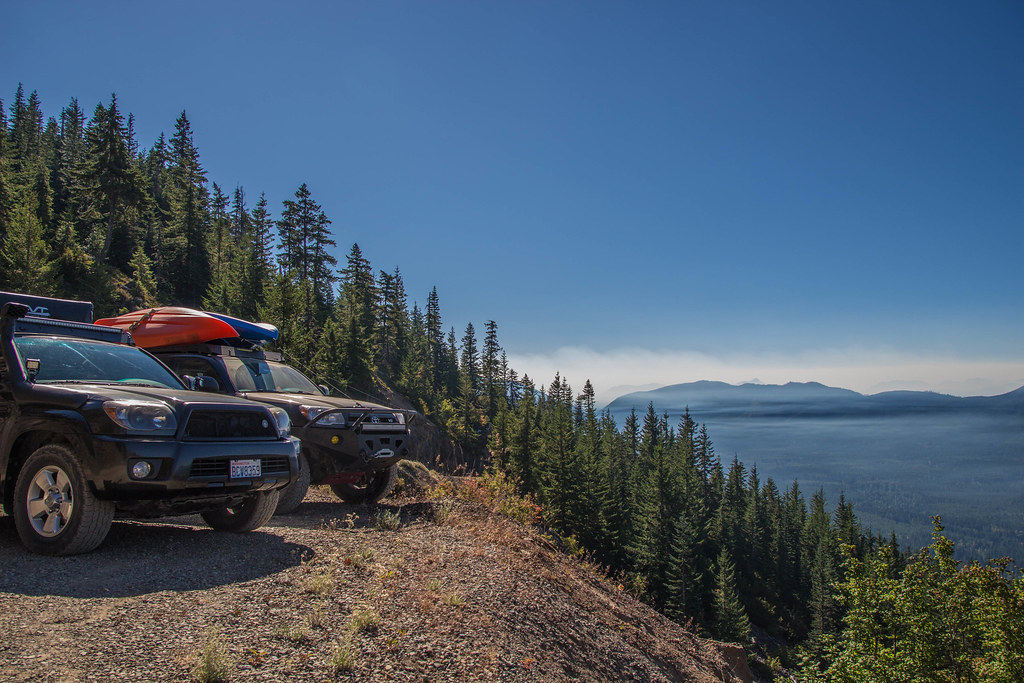
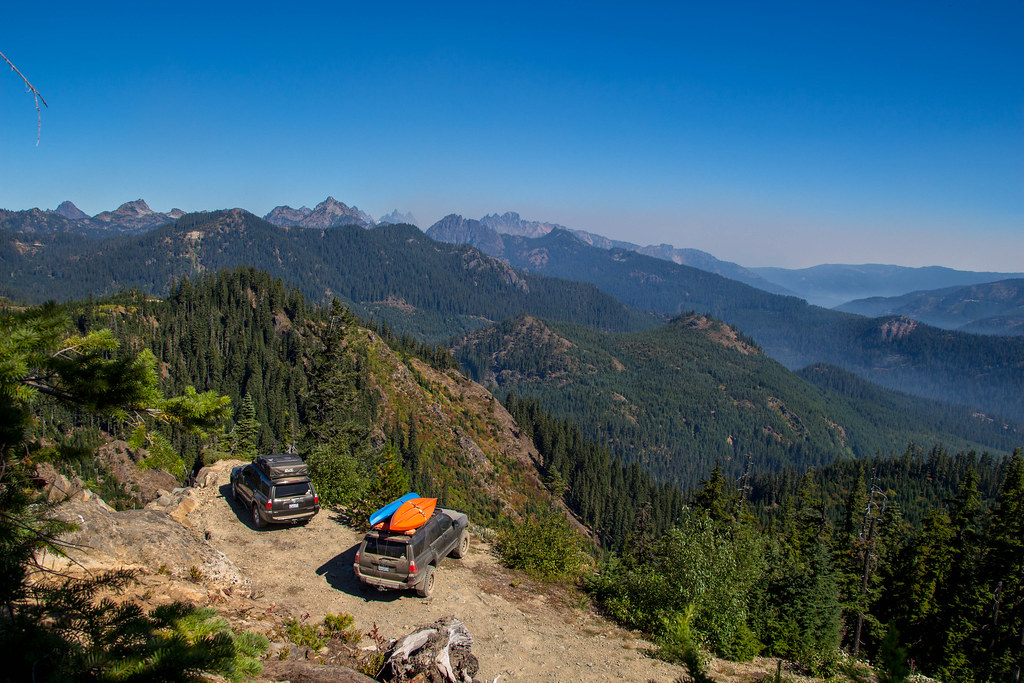
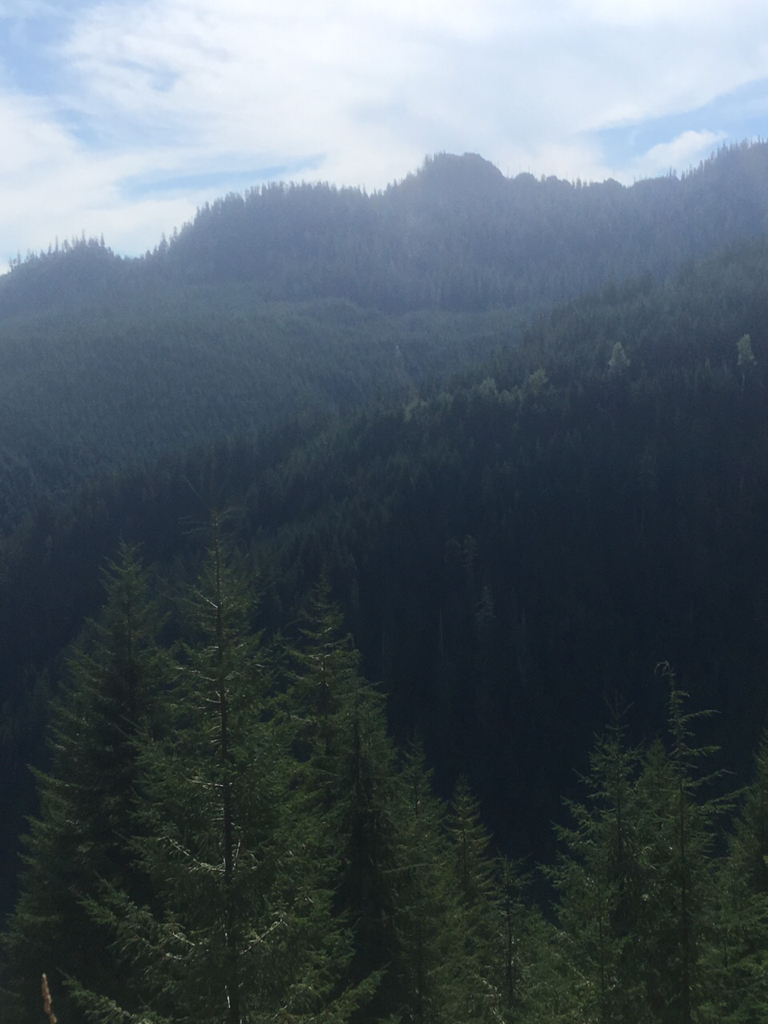
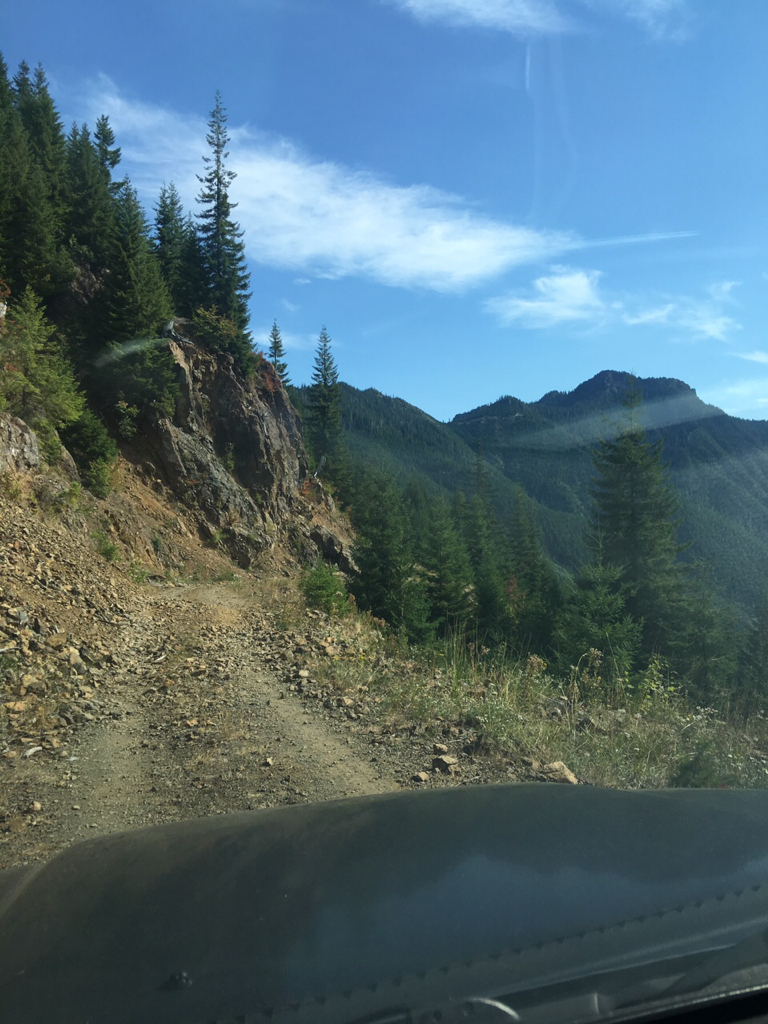
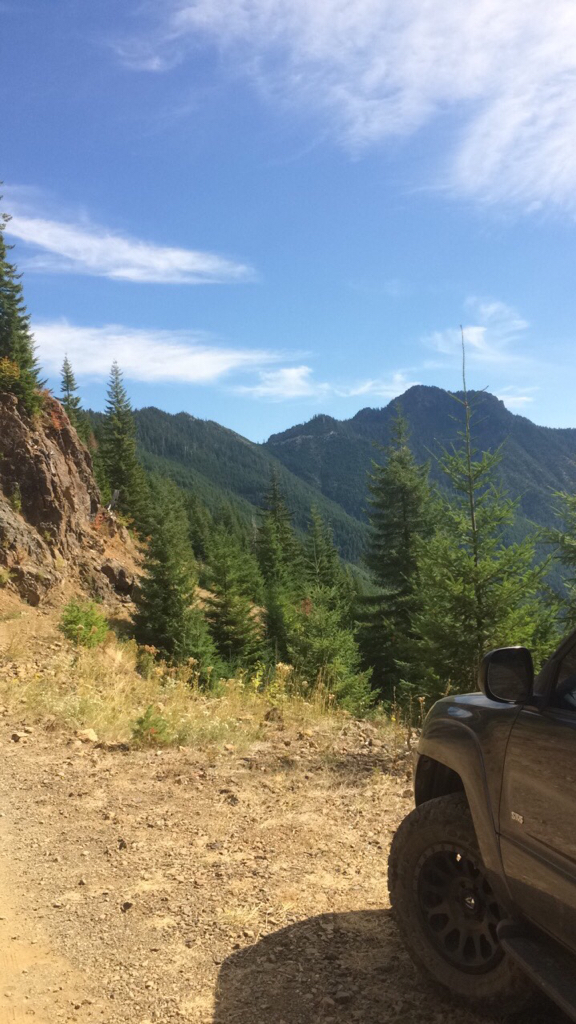
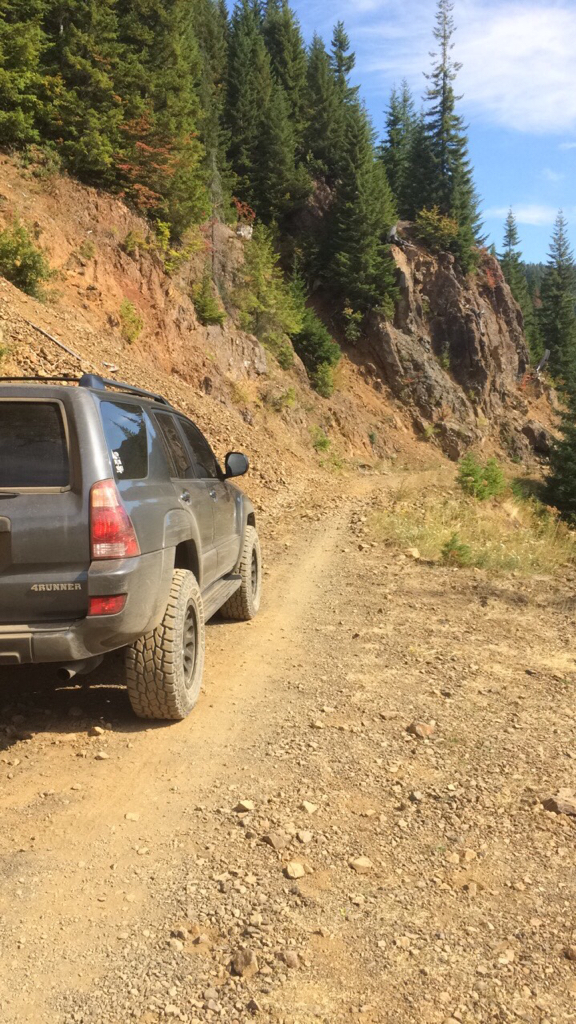
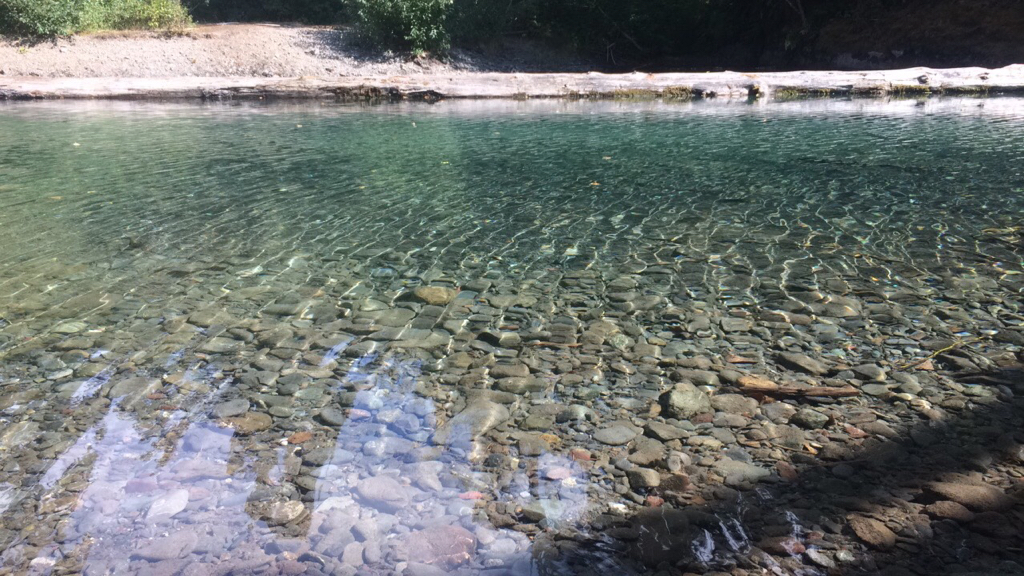
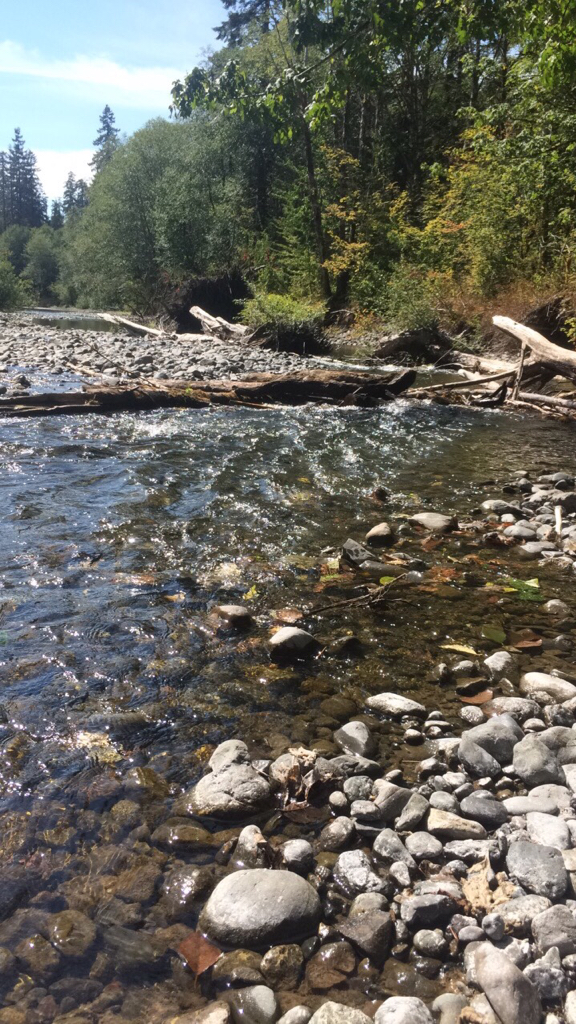
Went to find Discovery Lake today, the road was washed out in a few spots towards the very top of the mountain and started losing traction on one of the washouts next to a cliff so we decided to turn around, had our 3 year old with us. Was still a very fun day though with gorgeous views!

af98146612334b7f12b99f33f259ed89.jpg

3dd638300d21cc6411d8e9bfadedddf3.jpg

6e18f4b22a3ae8912d5b64bf65240bb9.jpg

c48f57d35c12618845ddbb8f8fb8029e.jpg

3e2118197b089c0cb25102b6a553654d.jpg


Ended the day here [emoji41]
6826efa766df9dbf6a19daa52aa7b3c7.jpg

c58258f6924b58fc884951196d60c730.jpg
 
Last edited:
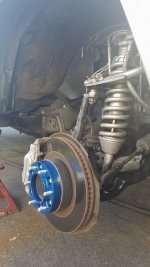
Installed 4 new spider trax 1.25" wheel spacers
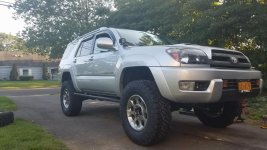
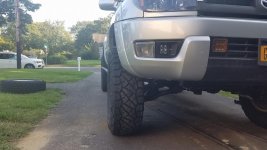
Test fit all 4 new wheels and tires..
Did even more body mount trimming, fender trimming, bumper trimming, and now that pinch weld is staring at me because it knows its about to get beat.
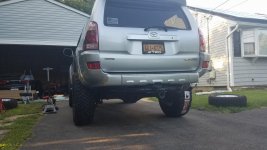
The rear fits perfect, no trimming required.
I am ready for the alignment now, and then ill be doing more trimming!
 

Attachments

  • 21442117_10210028617617088_747956116_n.jpg
    21442117_10210028617617088_747956116_n.jpg
    54 KB · Views: 305
  • 21363493_10210028617657089_1952410642_o.jpg
    21363493_10210028617657089_1952410642_o.jpg
    139.8 KB · Views: 314
  • 21439227_10210028617577087_1962869156_o.jpg
    21439227_10210028617577087_1962869156_o.jpg
    138.6 KB · Views: 272
  • 21390543_10210028617537086_539745322_o.jpg
    21390543_10210028617537086_539745322_o.jpg
    138.2 KB · Views: 292
I finally got around to doing the map light mod on mine. I ended up feeding the wire through the headliner and tapping in to the middle wire that plugs in to the dome light. I also painted some of the emblems black.
 
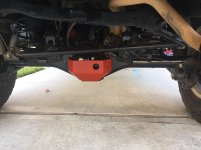
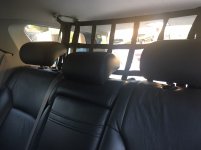
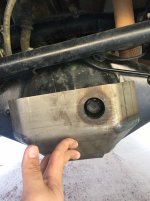
Welded on a rear diff guard and a cargo net courtesy of a uh-60l.IMG_4095.JPG52496697984__2DA168EC-980A-45EF-B20A-968588184956.JPGIMG_4058.JPG


Sent from my iPhone using Tapatalk
 

Attachments

  • IMG_4095.JPG
    IMG_4095.JPG
    119.9 KB · Views: 385
  • 52496697984__2DA168EC-980A-45EF-B20A-968588184956.JPG
    52496697984__2DA168EC-980A-45EF-B20A-968588184956.JPG
    134 KB · Views: 348
  • IMG_4058.JPG
    IMG_4058.JPG
    122.8 KB · Views: 365

Members online

Forum statistics

Threads
278,316
Messages
3,554,113
Members
248,016
Latest member
Advally Service

Trending content

Back
Top