What did you do with your 4runner today?

Finally got tired enough of the black to do dip my wheels again, PD Copper Metalizer. Only did 2 coats (after 5 black) and really liked the color (dark bronze) but wanted a little more pop and went too far. Oh well. Can always hit it with another coat of black and metalizer again before peeling.

b38051e1837b3df9d01dca9eab9737d3.jpg
 
Last edited:
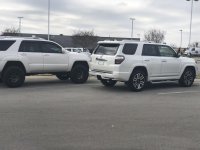
Trading in wife’s Santa Fe tomorrow!! Will have the 04 and a 2014 white 4runners! Limited has the redwood interior, saw it and had to have it!
 

Attachments

  • 43AF3353-92F6-41EC-BB9D-4D4246688CDF.jpg
    43AF3353-92F6-41EC-BB9D-4D4246688CDF.jpg
    135.6 KB · Views: 435
Got a nice surprise yesterday. Pulled the rear hatch weatherstripping to fix what I thought were some rust spots on that ridge it sits on. Turned out it was just smudges of red Georgia dirt that had worked its way under. Wiped it off, reinstalled the weatherstripping, cleaned and conditioned it. Done.
 
Finally got my TRD Pro rims installed today. I got Falken Wildpeak AT3s in 265-70-17 at Discount Tire. I do have a slight rub. I will research on how to deal with the rubbing (removing front mudflaps etc). I am not ready to spend more on a lift quite yet.
ace18b63f23bea7a7493197ccb8f1eb9.jpg
8178041c47b1bda4ce6c8980b2f527ec.jpg
c3e4e522fa31955abccb623ca247ae98.jpg


Sent from my Pixel XL using Tapatalk
 
Finally got my TRD Pro rims installed today. I got Falken Wildpeak AT3s in 265-70-17 at Discount Tire. I do have a slight rub. I will research on how to deal with the rubbing (removing front mudflaps etc). I am not ready to spend more on a lift quite yet.

Mine were rubbing on the little "bumps" that stick down from the front of the wheelwell liner (the thing circled in red in the picture below). All I had to do was loosen the bolts holding them in place, push them forward as hard as I could, and then tighten the bolts. No more rubbing!

4j6EwG.jpg
 
Interested in how you did this. It looks awesome. Could you provide details or a link to the instructions you follow


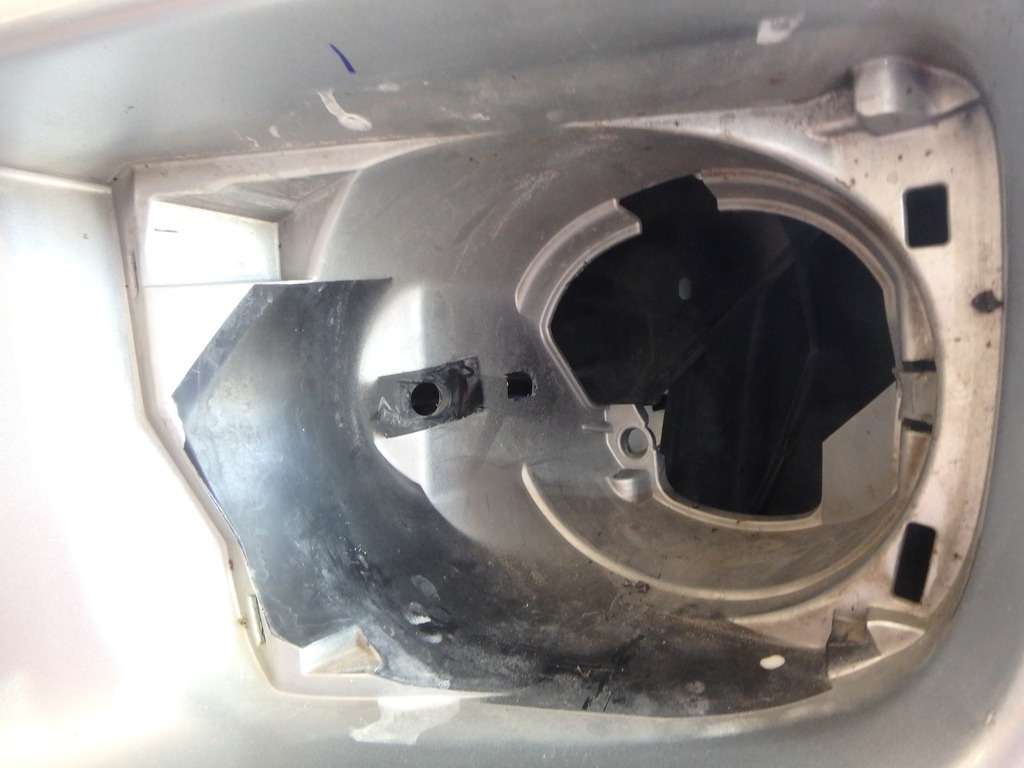
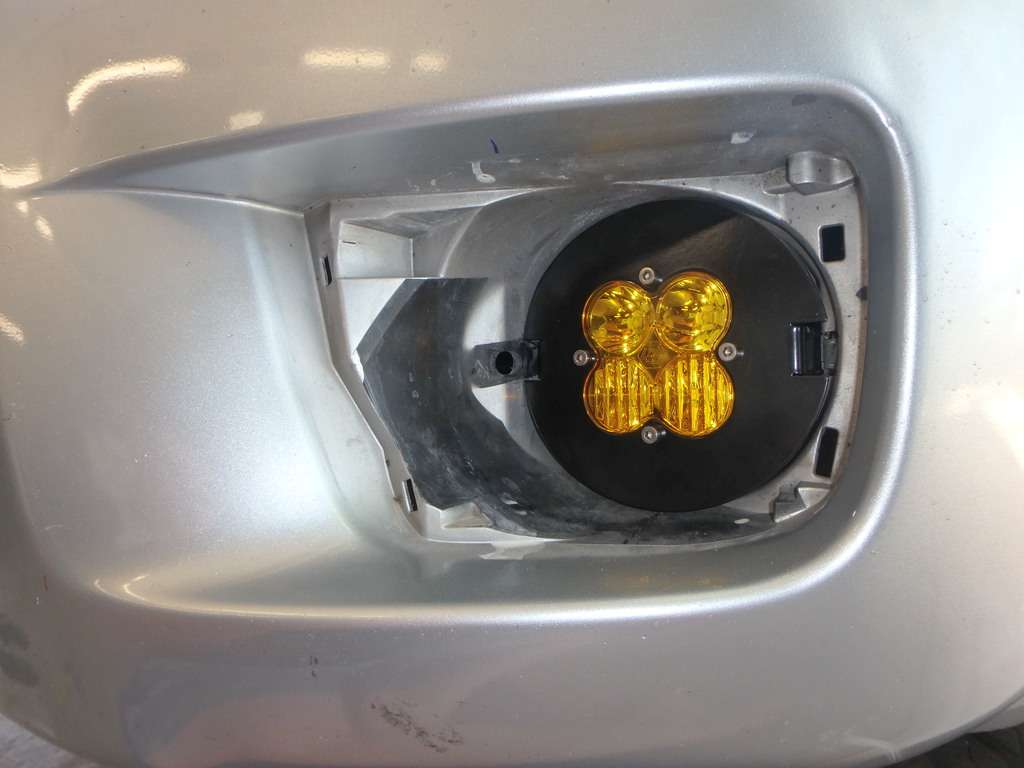
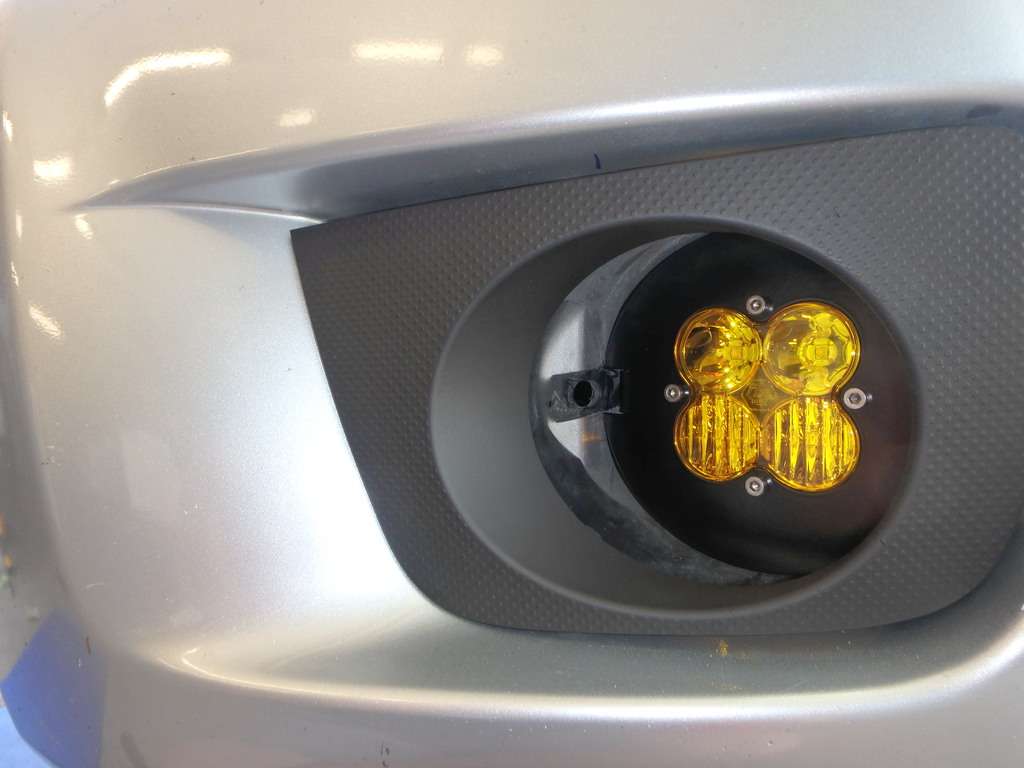
I was in a time crunch so I didn’t get to take pictures of the install. It is pretty easy though. You just need a flat trim panel remover and pop the black bezel off the bumper. Unbolting the fender liner from the bumper will give you room to unplug the wiring harness and there is a black piece that you will need to pinch with some pliers to unhook from the bumper right where the bulb socket is. Then you just need two flat screw drivers and insert them at 3 and 9 o clock on the fog light housing and it will pop right out. I then placed one of the new mounting plates in the opening and popped the bezel back in place and figured out how I wanted the light to be positioned. I’ve seen other people bend tabs forward and drill new holes. I did neither, instead I placed the light as close to the factory bezel as possible.

I bought the tundra/Tacoma install kit and removed the factory screws and placed the new mounting plate over the Baja setup with the original plate still in place and used the longer screws included with the new kit. It will probably be more secure with even longer screws for more thread engagement. The install kit comes with a pnp harness, but you will need to undo the Baja light side of the harness and I used a 3mm Allen wrench to pop the metal pins out and reverse the polarity of the wiring for the lights to work with the factory light stalk switch. Cj pony has the install kit for around $40 shipped, which is way cheaper than msrp and they ship super quick.
 
I was in a time crunch so I didn’t get to take pictures of the install. It is pretty easy though. You just need a flat trim panel remover and pop the black bezel off the bumper. Unbolting the fender liner from the bumper will give you room to unplug the wiring harness and there is a black piece that you will need to pinch with some pliers to unhook from the bumper right where the bulb socket is. Then you just need two flat screw drivers and insert them at 3 and 9 o clock on the fog light housing and it will pop right out. I then placed one of the new mounting plates in the opening and popped the bezel back in place and figured out how I wanted the light to be positioned. I’ve seen other people bend tabs forward and drill new holes. I did neither, instead I placed the light as close to the factory bezel as possible.

I bought the tundra/Tacoma install kit and removed the factory screws and placed the new mounting plate over the Baja setup with the original plate still in place and used the longer screws included with the new kit. It will probably be more secure with even longer screws for more thread engagement. The install kit comes with a pnp harness, but you will need to undo the Baja light side of the harness and I used a 3mm Allen wrench to pop the metal pins out and reverse the polarity of the wiring for the lights to work with the factory light stalk switch. Cj pony has the install kit for around $40 shipped, which is way cheaper than msrp and they ship super quick.

I did this too with the same kit. I had to switch the wires in the plug too, weird.

Not sure how you got the lights pointed the correct direction without drilling a new hole on the inboard side. If I had installed it using both of the original holes, my lights would be pointed way out to the side.

In this picture, you can see the stock hole and then the new one I drilled about an inch behind it.

uGDoTm.jpg


When I installed the lights, they were pointed straight ahead.

4lVDa7.jpg


Then I just touched up the paint in the pocket . . .

ThMyEN.jpg


And perfect!!

AyJOmw.jpg


aI1h9j.jpg
 
I did this too with the same kit. I had to switch the wires in the plug too, weird.


Not sure how you got the lights pointed the correct direction without drilling a new hole on the inboard side. If I had installed it using both of the original holes, my lights would be pointed way out to the side.


I have the light bezel fairly flush with the lateral side of the foglight opening trim pice and the medial side in set back a half inch or so. I still have some room to play with the positioning since I haven’t had time off to properly aim the lights. I was thinking of making some sort of round spacer to sit in between the light and the fog light trim piece for a more oem look.
 
I did this too with the same kit. I had to switch the wires in the plug too, weird.

Not sure how you got the lights pointed the correct direction without drilling a new hole on the inboard side. If I had installed it using both of the original holes, my lights would be pointed way out to the side.

In this picture, you can see the stock hole and then the new one I drilled about an inch behind it.

uGDoTm.jpg


When I installed the lights, they were pointed straight ahead.

4lVDa7.jpg


Then I just touched up the paint in the pocket . . .

ThMyEN.jpg


And perfect!!

AyJOmw.jpg


aI1h9j.jpg

I wish they made an adapter for 03-05 bumpers. I wanna do this so bad.
 
I changed out the plugs to the NGK Iridiums, put in a new air filter, sucked out the PS rez, did a engine oil flush (1/2 quart ATF), changed oil and filter (Mobil 1 '209' ~$6). Checked all the fluids and tire pressure.

Feels like new. Sold off a couple of 04 tires and rims for 60 bucks.
 
38BG364.jpg


Received more parts for my rear bumper auxiliary brake/turn signal project,neopixel RGB LEDS. I'm going to need a magnifying glass to solder those tiny things together,
 
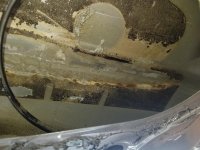
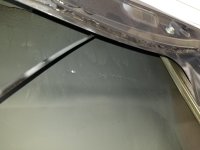
There has been a super small rust spot on my rear hatch, today decided to see the root cause, if it's just under the paint from a chip or worse.

This is a west coast car, in Portland, OR, no salted roads, waxed monthly and never in a wreck. I found the sound deading has been holding water and has caused it to rust out from the inside out. I sanded everything down to bare metal and painted with rust converting paint. I had a quote to fix it when we thought it was just a paint chip for $800. Scared to see what the quote to fix it since there is rusted through all the way now :-(
 

Attachments

  • 20180303_115206.jpg
    20180303_115206.jpg
    136 KB · Views: 395
  • 20180303_132040.jpg
    20180303_132040.jpg
    123.5 KB · Views: 393
Well I got 50+ more HP today.

LMAO just kidding,, got the oil changed, new air filter and new plugs, will do the cabin filter later but will get them from either Home Depot or Lowes..
:thumb3:
 
I did this too with the same kit. I had to switch the wires in the plug too, weird.

Not sure how you got the lights pointed the correct direction without drilling a new hole on the inboard side. If I had installed it using both of the original holes, my lights would be pointed way out to the side.

In this picture, you can see the stock hole and then the new one I drilled about an inch behind it.

uGDoTm.jpg


When I installed the lights, they were pointed straight ahead.

4lVDa7.jpg


Then I just touched up the paint in the pocket . . .

ThMyEN.jpg


And perfect!!

AyJOmw.jpg


aI1h9j.jpg

Does that black plastic piece around the light just pop or snap off and on?
 
Changed out my rear differential and transfer case fluids. One of the bolts on my front skid plate wouldn’t come loose or I would have done the front differential too.


Sent from my iPhone using Tapatalk
 
Installed the 3" Dobinsons Lift kit with new 06 headlights yesterday!! Love the way it looks!
4027bcf80852b419c985653d0c9a6f8a.jpg
44cf7ba17c4c1ca0faafe9a383ed0a81.jpg
673b17bacad1ae48a9088c357e256647.jpg
e8494ee3f23767a2829dc07827ad3289.jpg


Sent from my LG-H910 using Tapatalk
 

Members online

Forum statistics

Threads
278,316
Messages
3,554,113
Members
248,016
Latest member
Advally Service

Trending content

Back
Top