What did you do with your 4runner today?

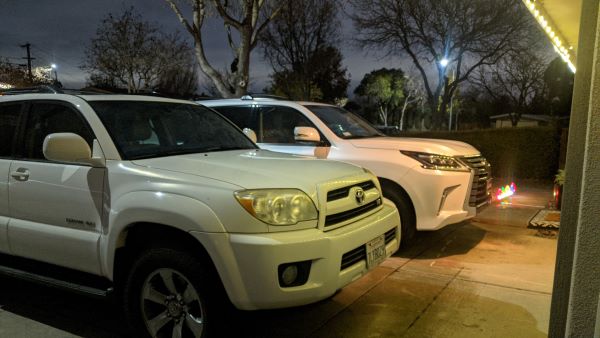
Got the wife a little something.. which will share a driveway with the 4runner, that counts right?
seanwn86-albums-lx-picture59747-pxl-night-600-a.jpg

As long as you get to drive it too. :D
 
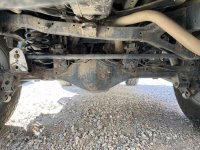
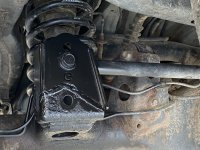
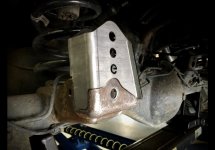
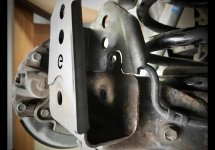
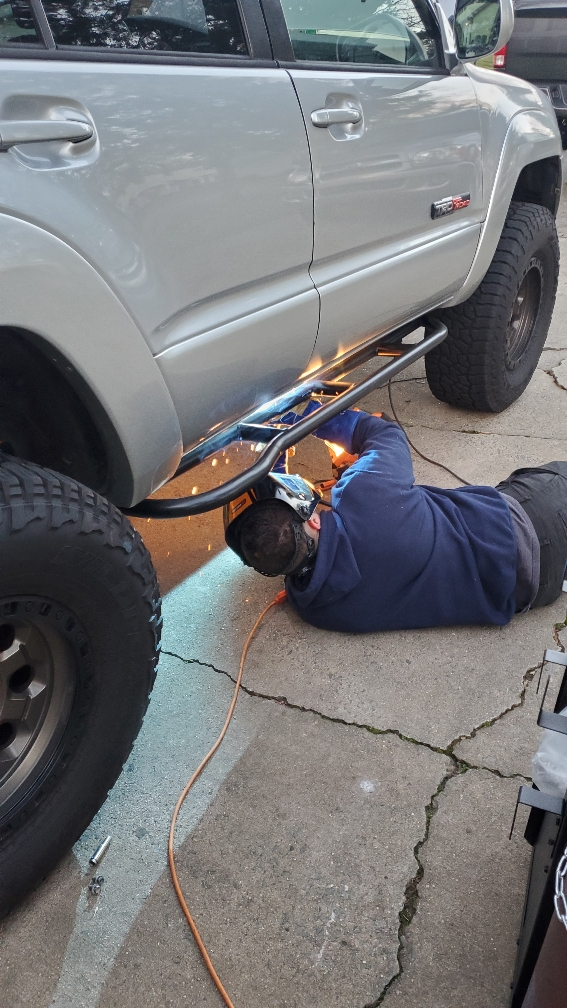
Pan hard correction kit extension welded on today

Had this for probably at least 6 mos. Finally found a buddy that had a 220v welder. Didn’t get any before pics but definitely very close to level now for the pan hard bar. Had a pretty bad angle previously. 4Runner handles better on bumps, and bounces more vertical at higher speeds instead of wagging like it did. Feels more stable in higher speed turns as well.

I need to get under there with a wire wheel and clean the whole underside up and then paint.
 

Attachments

  • 3ADE1955-2A04-4710-B3CB-D8A9EB62F6B0.jpg
    3ADE1955-2A04-4710-B3CB-D8A9EB62F6B0.jpg
    142.1 KB · Views: 430
  • A5405C23-A2BD-434A-B1B0-5CEA3D4199A3.jpg
    A5405C23-A2BD-434A-B1B0-5CEA3D4199A3.jpg
    137.4 KB · Views: 457
Last edited:
I had the leaking transfer case fixed while the ARB air locker was installed! No more leaks, and getting closer to having an off road capable 4Runner!
 
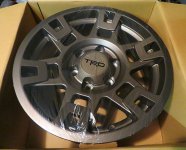
Opened one of four boxes UPS dropped off minutes ago...


They'll never look this good again!
:bounce:
 

Attachments

  • 1-12-21 Matte Bronze TRD Pros Arrived.jpg
    1-12-21 Matte Bronze TRD Pros Arrived.jpg
    118.5 KB · Views: 393
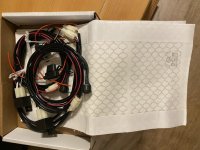
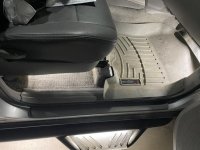
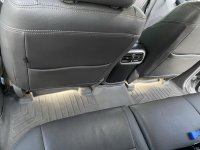
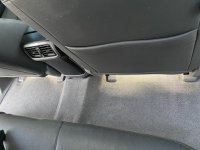
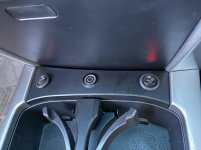
Heated seats install and finished floor lighting under seats

Installed my heated seats kit from Clazzio. Definitely make a huge difference as the leather Clazzio covers sure are cold in the morning! Went ahead and drilled a spot for my future “armed” power button for my push LED buttons in center console for when the dogs step on them and we’re not aware.

Also finally installed LED strips under my seats for the rear foot illumination since I already had the seats out, figured I’d complete the interior LED illumination. The Weathertech matts block a lot of the light int the rear though. Still happy, LOTS of light, love it! :D
 

Attachments

  • E22D54A5-6BFF-4F5C-A421-4B573FF06530.jpg
    E22D54A5-6BFF-4F5C-A421-4B573FF06530.jpg
    130.7 KB · Views: 398
  • 2C9103BC-B53B-4791-8F3B-56C17391D171.jpg
    2C9103BC-B53B-4791-8F3B-56C17391D171.jpg
    133.7 KB · Views: 395
  • AA3BFB71-A8C2-4A76-9CEE-41E22C312AA7.jpg
    AA3BFB71-A8C2-4A76-9CEE-41E22C312AA7.jpg
    133.8 KB · Views: 389
  • C8D69B3C-8D04-4FF3-B1F8-489BD9DBA046.jpg
    C8D69B3C-8D04-4FF3-B1F8-489BD9DBA046.jpg
    135.8 KB · Views: 392
  • D8AC1827-DCEA-44CC-AAB1-EC35AA537A4B.jpg
    D8AC1827-DCEA-44CC-AAB1-EC35AA537A4B.jpg
    105.3 KB · Views: 386
Last edited:
Had this for probably at least 6 mos. Finally found a buddy that had a 220v welder. Didn’t get any before pics but definitely very close to level now for the pan hard bar. Had a pretty bad angle previously. 4Runner handles better on bumps, and bounces more vertical at higher speeds instead of wagging like it did. Feels more stable in higher speed turns as well.

I need to get under there with a wire wheel and clean the whole underside up and then paint.

Still need to do mine. Just trying to brush up on my welding before I jump in.
 
Still need to do mine. Just trying to brush up on my welding before I jump in.

Just a heads up, it’s a pretty good fit on the front and side but the back has a pretty big gap and hard to access from both sides. Just an fyi to plan for that. Taking the rear driver tire helps a lot.
 

Attachments

  • D93BE729-C773-4CC3-9500-E17835DD99B7.jpg
    D93BE729-C773-4CC3-9500-E17835DD99B7.jpg
    89.8 KB · Views: 315
  • D53D9A28-A78C-4022-A5ED-1AA2C379F382.jpg
    D53D9A28-A78C-4022-A5ED-1AA2C379F382.jpg
    117.5 KB · Views: 324
Just a heads up, it’s a pretty good fit on the front and side but the back has a pretty big gap and hard to access from both sides. Just an fyi to plan for that. Taking the rear driver tire helps a lot.

Thanks for that. Ill be removing the wheel and spring when I do mine. The more space the better. Did you weld the inside too, or just the outsides?
 
Thanks for that. Ill be removing the wheel and spring when I do mine. The more space the better. Did you weld the inside too, or just the outsides?

Removing the spring to get as much room in there would help. I actually used my spring to ziptie the speed sensor cable out of the way and brake line as also. We did as much as we could on both the inside and outside. I would have liked to have it been 100% welded on both but wasn’t able to achieve that.
 
While waitin' on bolt extraction sockets to arrive for the rear bump stops and spacers job, today the Krylon-painted aftermarket grille and OEM bug deflector somehow hopped up on the rig. Rusted acorn nuts and grille bolts gone!
 

Attachments

  • IMG_0973.jpg
    IMG_0973.jpg
    84 KB · Views: 308
  • IMG_0974.jpg
    IMG_0974.jpg
    89.6 KB · Views: 306
  • IMG_0979.jpg
    IMG_0979.jpg
    98.9 KB · Views: 304
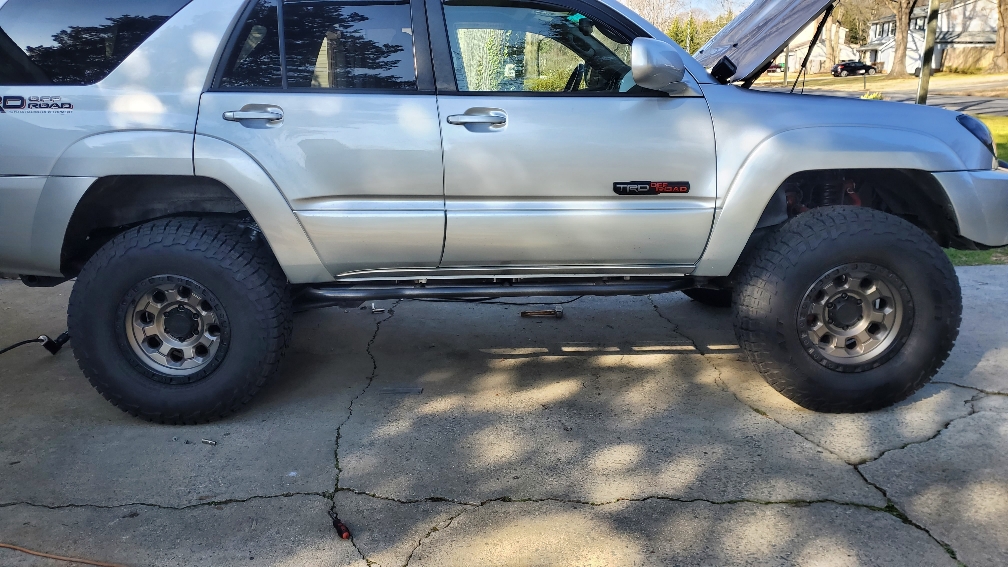
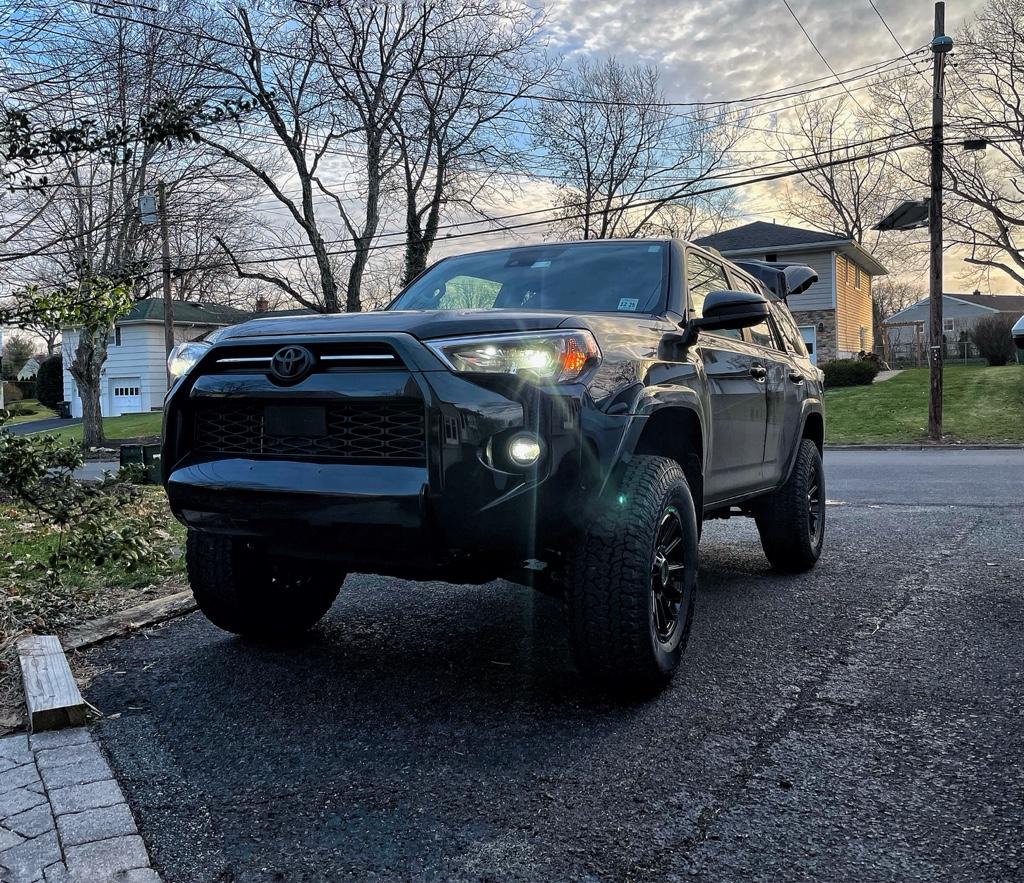
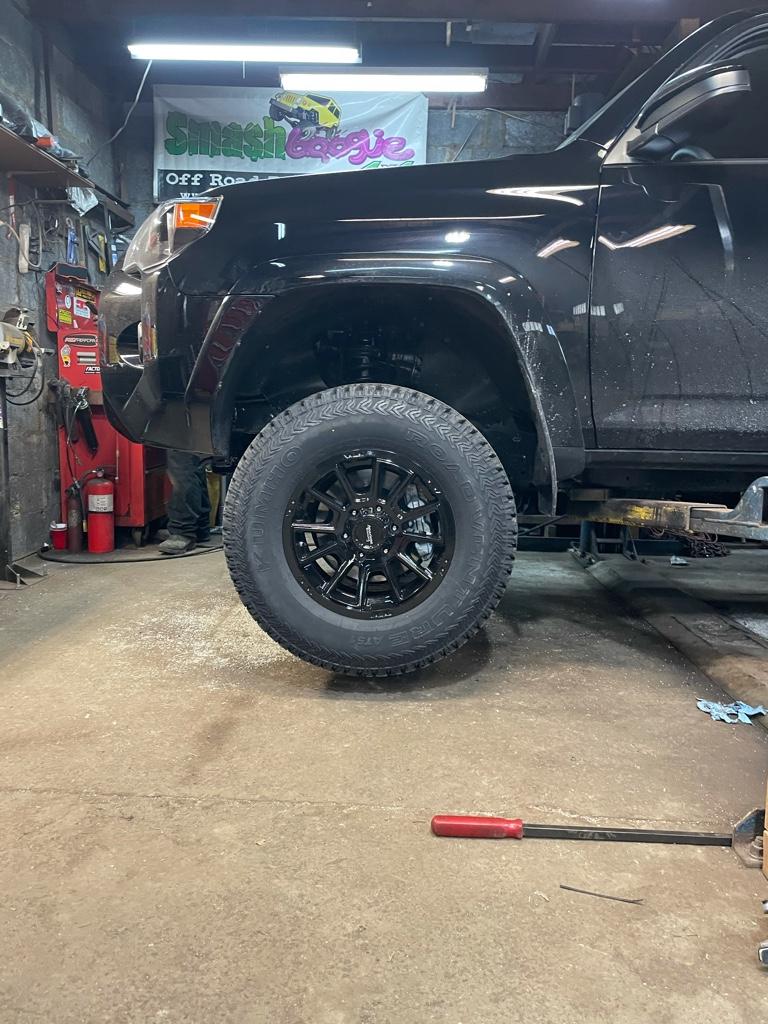
Threw the RC 3” spacer lift on and some 285/70 AT’s on AR wheels. Looks great, rides like a pile of garbage lol. Couldn’t leave it stock so this will hold me over until I have the money for the 3” Pure performance kit.
31ceea47b66b66efb1c51cc4657c422d.jpg

7e16188f2162a8129998642ae3f37e97.jpg


Sent from my iPhone using Tapatalk
 
Threw the RC 3” spacer lift on and some 285/70 AT’s on AR wheels. Looks great, rides like a pile of garbage lol. Couldn’t leave it stock so this will hold me over until I have the money for the 3” Pure performance kit.
31ceea47b66b66efb1c51cc4657c422d.jpg

7e16188f2162a8129998642ae3f37e97.jpg


Sent from my iPhone using Tapatalk
Yep, I have a Daystar 2.5/1.5 on mine and it just doesn't feel solid on the highway. Once I get back to my dad's garage, I'll bust off the lower frozen strut bolts and get the lift outta there. Was fun for 40k miles, but I prefer control
 
Today?

Well, hell, I managed to make 4R life a little more interesting. :doh:

For some reason, the title of the movie "The Good, The Bad and The Ugly" popped into my head, along with a few tasty expletives.

But I sure like my new small pipe wrench! :jump:

Is it beer-thirty yet?
:rolleyes:
 

Attachments

  • 1-16-21 Broken Front Bump Stop Bolt.jpg
    1-16-21 Broken Front Bump Stop Bolt.jpg
    105.2 KB · Views: 889
Installed my new fridge (ARB Zero 63) and drawers I built . Still need to make my wings and filler pieces for the drawers, but almost there!

gzu9OA2.jpg


03Pq4Eo.jpg


mscIbPh.jpg
 
Just buy those 35's already momo lol, I see you doing the research on all the associated threads.

Sent from my SM-G986U using Tapatalk

HAHAHA.....tread is still good on these but they are looking small these days.

Installed my new fridge (ARB Zero 63) and drawers I built . Still need to make my wings and filler pieces for the drawers, but almost there!

gzu9OA2.jpg


03Pq4Eo.jpg


mscIbPh.jpg

That looks really good!
 

Members online

Forum statistics

Threads
278,316
Messages
3,554,111
Members
248,016
Latest member
Advally Service

Trending content

Back
Top