What did you do to/in your 5th Gen today?!

Debadged

Debadged both side "TRD Off Road" plastic badges. Came off easy with a plastic prying tool lifting straight up. The tape/glue whatever came up easy as well by rolling it up on itself.

Truck is still new, so no after-image/discoloration is visible between regular paint and the freshly uncovered paint.
 
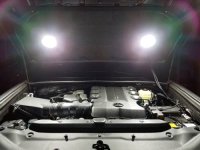
KC Hilites - under hood install

Cheating as I did this a couple of days ago...

Installed KC Hilites under the hood. These are a lot brighter than I thought they'd be - as much or more light as the dense LED light strip I did on my 3rd gen a month or so ago.

The kit was expensive ($80 @ Amazon), but everything comes with the kit for the complete job - 2 lights, metal screws, wiring that is plenty long, loom, switch and switch mount. Warranty is either 23 years or lifetime - can't recall what I read.

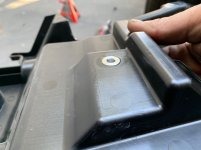
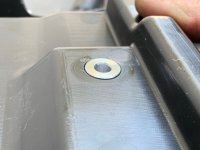
I ended up not using the packaged metal screws to mount the lights. I almost welded nuts into place on the underside hood metal support pieces to bolt into, but the truck was just too new to start welding on it... So I ended up tying some string to a bolt and pulled the bolt up the inside of the hood pieces to get it sticking through the hole into the pyramid shaped forms in the underside insulation (see pic below). Then attached the corresponding bolt in the doughnut hole of the light to hold the light in place.

Total install took about 1 hour of screwing around with the insulation removal (only broke 1) before learning how to remove the plastic posts correctly, 45 minutes of thinking through how to get the cleanest look and about 2 hours of actual install.

I'm not done routing the cabling in its final path - going to think about that for a few days while I also think about other power distribution under the hood.

I'm happy with the KC product. Everything it came with looked to be high quality and the various tube shrink and connectors we well done. In a few weeks after I've forgotten that I spent $80 instead of $15 (cheaper strip light), I'll like it even more.
 

Attachments

  • KC Under Hood Lights Install.jpg
    KC Under Hood Lights Install.jpg
    24.7 KB · Views: 839
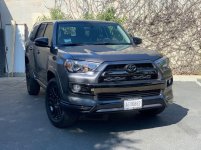
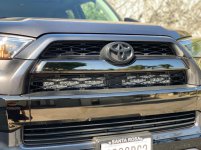
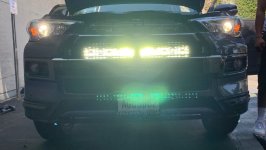
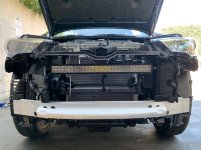
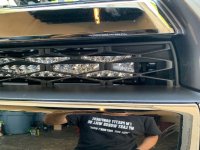
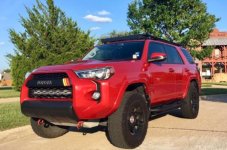
Got my Rigid 30" light bar installed today. I ordered the Rago Fab mounts thinking the only mod I'd have to do is to make an extension to raise the light bar for the Limited bumper.

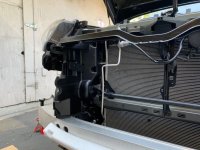
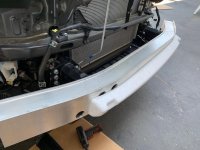
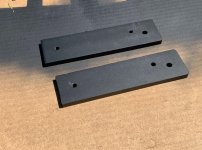
Sadly, the Limited front end is even more different than I expected and doesn't have the same bumper support the other models do and there's no bolts so there was literally no place to mount the brackets without drilling into metal. OK. That sucks, but I don't give up that easily. So I measured everything up and found a fairly straightforward solution. I made it all out of some materials I had around the shop: brackets from 1/4" steel plate and standoffs from 3/4" aluminum bar.

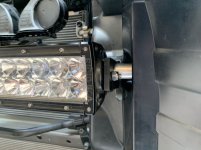
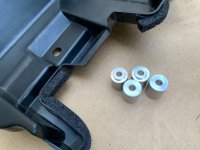
Because I was going to be using the holes the plastic deflectors normally mount to with the plastic rivets to mount the brackets, I put shoulders on the front standoffs to anchor them and the wind deflectors to the upper grille supports and opened up the mounting holes in the deflectors to give me some extra surface contact. Mounted it all up and I'm pretty happy.

Sorry I didn't take more detail pictures as I was working. This is my first how-to/whatever.

End result: Perfect fit, super rigid, crazy simple setup, maybe three or four bucks in materials.

More pics in reply
 

Attachments

  • front 1.jpg
    front 1.jpg
    139.2 KB · Views: 900
  • front 5.jpg
    front 5.jpg
    133.9 KB · Views: 889
  • front 2.JPG
    front 2.JPG
    64.5 KB · Views: 910
  • front 4.jpg
    front 4.jpg
    133.9 KB · Views: 899
  • closeup.JPG
    closeup.JPG
    135.9 KB · Views: 859
  • close 1.jpg
    close 1.jpg
    131.6 KB · Views: 854
  • front 3.jpg
    front 3.jpg
    134.9 KB · Views: 896
  • crossbar 1.jpg
    crossbar 1.jpg
    130 KB · Views: 897
Last edited:
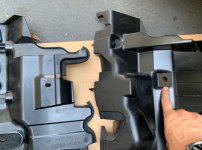
And the brackets/spacers and how they fit into the deflectors. The first shows the stock rivet slot compared to the one opened with a step drill. Then some pics of the standoffs, and lastly the side plates.
I didn't take pics of the slots I cut in the wind deflector plates for the brackets to pass through, but you can see it in the second to last pic in the first post and they help keep everything as stock as possible.
 

Attachments

  • deflectors.jpg
    deflectors.jpg
    133.9 KB · Views: 979
  • spacers 1.jpg
    spacers 1.jpg
    119.9 KB · Views: 918
  • spacers 2.JPG
    spacers 2.JPG
    125.1 KB · Views: 929
  • spacers 3.JPG
    spacers 3.JPG
    126.3 KB · Views: 914
  • brackets.jpg
    brackets.jpg
    137.7 KB · Views: 895
Last edited:
Got my set of Xenon Depot Morimoto XB headlights installed. First set in the states. These are the same ones they have been using for testing on an employees rig. I’ll be at FJ summit next week if anyone wants to check them out.

94b3a69961f77413a7223441fe4b0852.jpg


3b62ee050ea6bc65fa2f890f4bedcf4d.jpg


b22d9a56a7d10e30af63c2731112ea06.jpg


ba7dd5f0a4418d714b9270f727091ee0.jpg


a78d2e3b0f8d3abf2bd3779d815d9dab.jpg


Sent from my iPhone using Tapatalk
 
Got my set of Xenon Depot Morimoto XB headlights installed. First set in the states. These are the same ones they have been using for testing on an employees rig. I’ll be at FJ summit next week if anyone wants to check them out.

They look great! Any fit or quality issues? How's the light output?
 
This morning at 4am I learned why you don't let the batteries die in your remote start fob......unless you hate your neighbors. My 4runner just honked and honked and honked and wouldn't stop until I disconnected the battery.

I also learned how to disconnect a battery - which, yes, I should already know how to do but I blame my dad for not teaching me these things.

Pretty funny sight having a tiny Fiat jump my lifted rig this morning.

#lessonlearned
 
Got my set of Xenon Depot Morimoto XB headlights installed. First set in the states. These are the same ones they have been using for testing on an employees rig. I’ll be at FJ summit next week if anyone wants to check them out.

Sent from my iPhone using Tapatalk

Wow! Any chance that you can shoot a pic of the light output on a wall or street?
 
They look great! Any fit or quality issues? How's the light output?

Thanks, fitment is perfect. No issues outside of previous bumper issues even with OEM bumper due to the fact its cut in half. Took off the OEM ones and installed these and fits exactly the same.

Wow! Any chance that you can shoot a pic of the light output on a wall or street?

I plan on getting some tonight, since I just got these installed today. Check out my IG story today for videos on them in action.

IG: dot_tom
 
Ive had an mf1050 for a few years and it works great. Decided to install in under the hood to save some space.

Mine came with a standard fitting but the threads were still metric. I needed a 90° and had to retap the top piece to a 1/4 thread Also rotated it to fit the female connector better. Also removed all the switch wiring and its just wired strait into the circuit breaker that im using as a fuse/switch.
ec92563a3179aa0b02873b0a1a93cb2a.jpg
337d8d274350b98041ae8153c3d36b5c.jpg


Sent from my SM-G973U using Tapatalk
 
Got my Rigid 30" light bar installed today. I ordered the Rago Fab mounts thinking the only mod I'd have to do is to make an extension to raise the light bar for the Limited bumper.

Sadly, the Limited front end is even more different than I expected and doesn't have the same bumper support the other models do and there's no bolts so there was literally no place to mount the brackets. OK. That sucks, but I don't give up that easily. So I measured everything up and found a fairly straightforward solution. I made it all out of some materials I had around the shop: brackets from 1/4" steel plate and standoffs from 3/4" aluminum bar.

Because I was going to be mounting the brackets to the holes the plastic deflectors normally mount to with the plastic rivets, I put shoulders on the front standoffs to anchor them and opened up the holes in the deflectors to give me some extra surface contact. Mounted it all up and I'm pretty happy.

Sorry I didn't take more detail pictures as I was working. This is my first how-to/whatever.

End result: Perfect fit, super rigid, crazy simple setup, maybe three or four bucks in materials.

More pics in reply

Is it just me or would the nightshade look better if the Toyota sombrero was smoked chrome too? The same goes for the one on the hatch and the 4Runner letters. Probably just me...
 
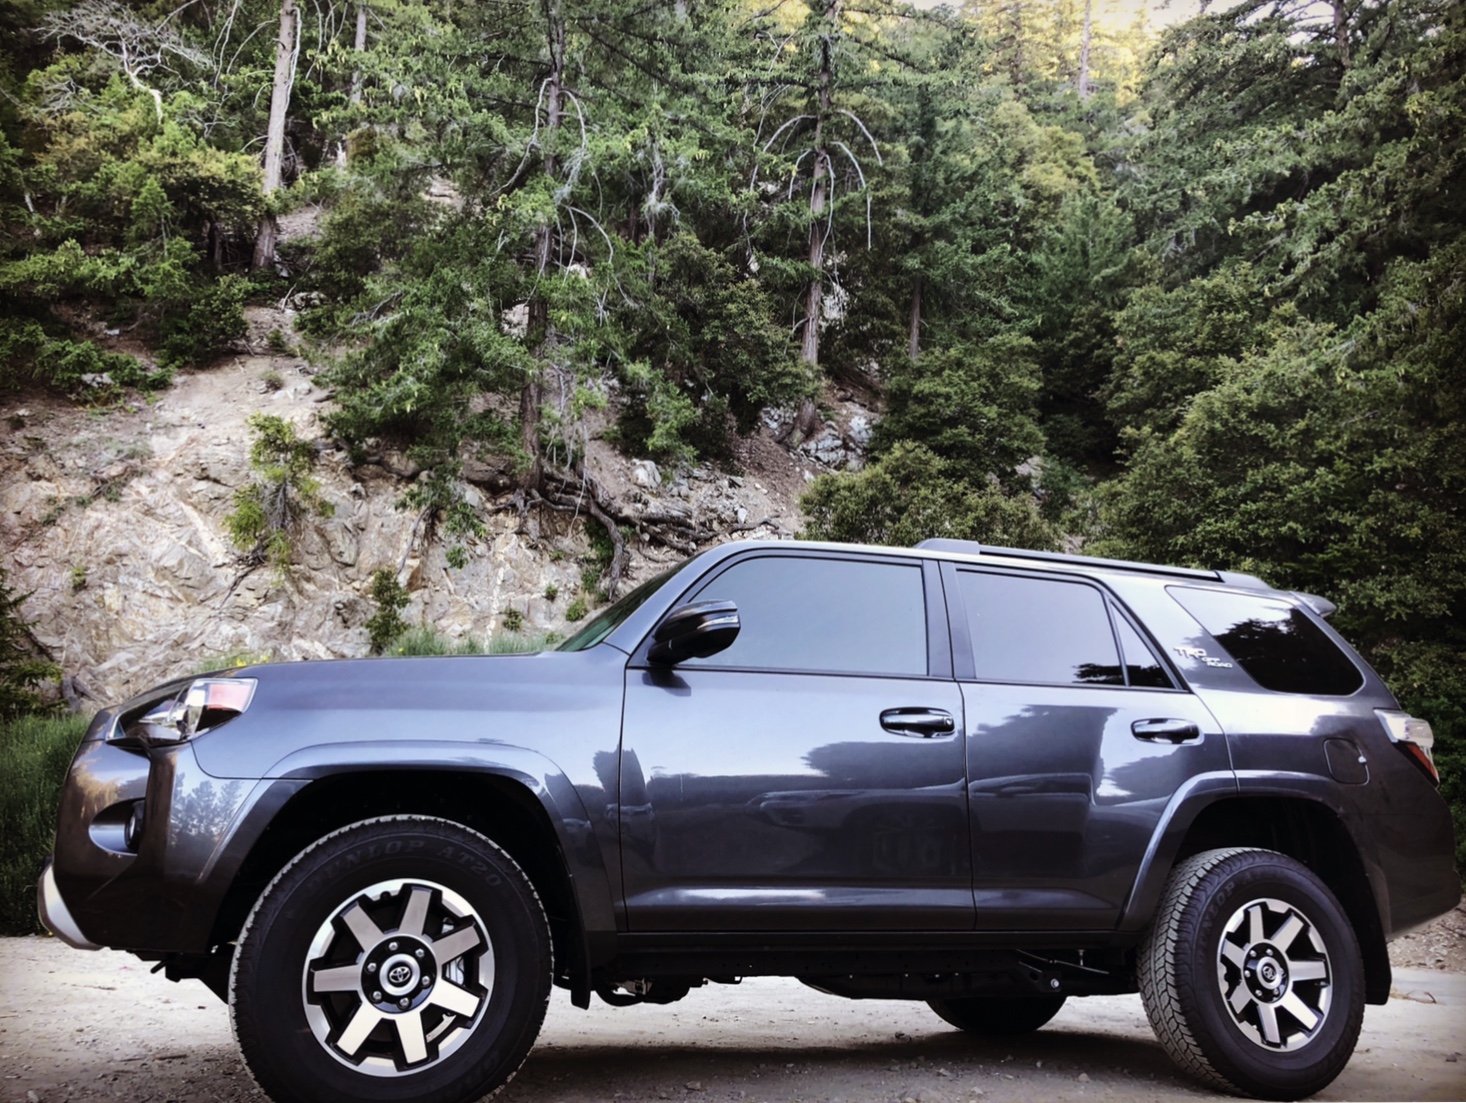
Managed to give the tires a light coat of dust up in the Angeles Crest Mountains
angeles-crest.png
 
Last edited:
Got my set of Xenon Depot Morimoto XB headlights installed. First set in the states. These are the same ones they have been using for testing on an employees rig. I’ll be at FJ summit next week if anyone wants to check them out.

Nice. Even if they're expensive, it's nice to finally have options for a true retrofit set of projectors instead of jamming LED bulbs in halogen projectors (like I have). Are these all LED or do they have HID lows?
 
Got my Rigid 30" light bar installed today. I ordered the Rago Fab mounts thinking the only mod I'd have to do is to make an extension to raise the light bar for the Limited bumper.

Sadly, the Limited front end is even more different than I expected and doesn't have the same bumper support the other models do and there's no bolts so there was literally no place to mount the brackets. OK. That sucks, but I don't give up that easily. So I measured everything up and found a fairly straightforward solution. I made it all out of some materials I had around the shop: brackets from 1/4" steel plate and standoffs from 3/4" aluminum bar.

Because I was going to be mounting the brackets to the holes the plastic deflectors normally mount to with the plastic rivets, I put shoulders on the front standoffs to anchor them and opened up the holes in the deflectors to give me some extra surface contact. Mounted it all up and I'm pretty happy.

Sorry I didn't take more detail pictures as I was working. This is my first how-to/whatever.

End result: Perfect fit, super rigid, crazy simple setup, maybe three or four bucks in materials.

More pics in reply

Kudos to you for putting together a proper solution instead of jury-rigging it! I see a lot of drywall screws and Simpsons brackets on these pages too often... :doh:
 

Members online

Forum statistics

Threads
278,316
Messages
3,554,114
Members
248,016
Latest member
Advally Service

Trending content

Back
Top