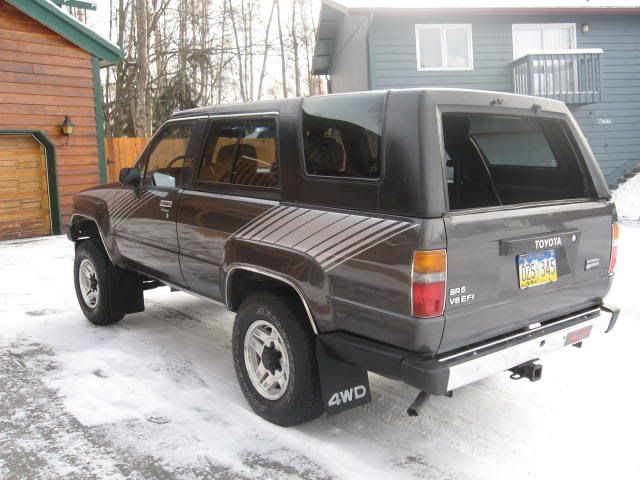
1988 Restoration project all done...with photos!

AKcharger

New member
Hi Guys

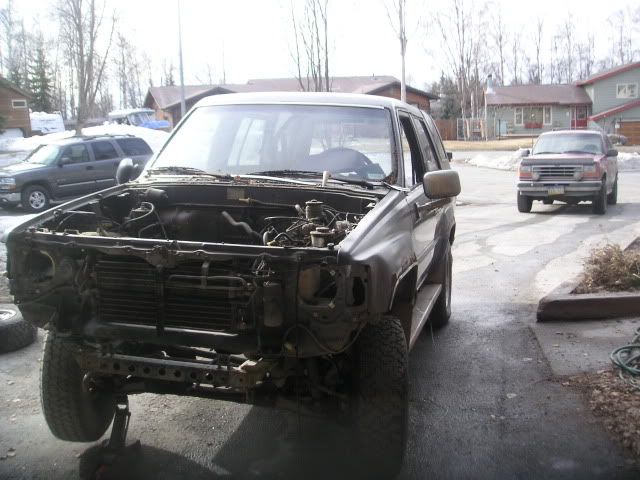
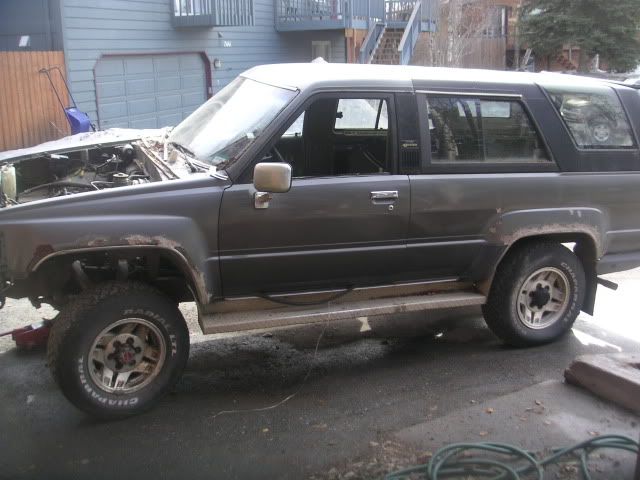
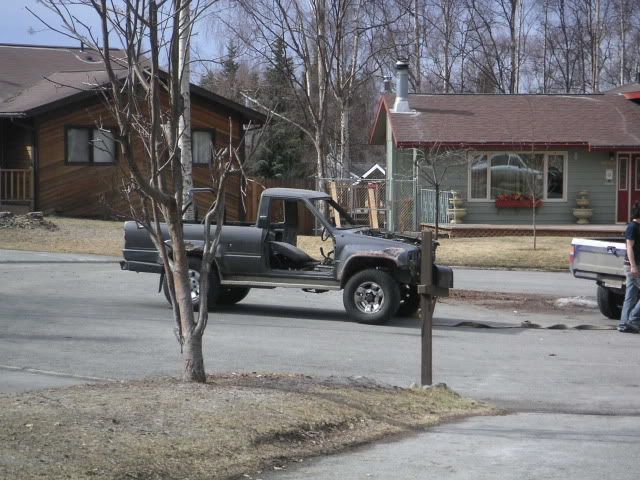
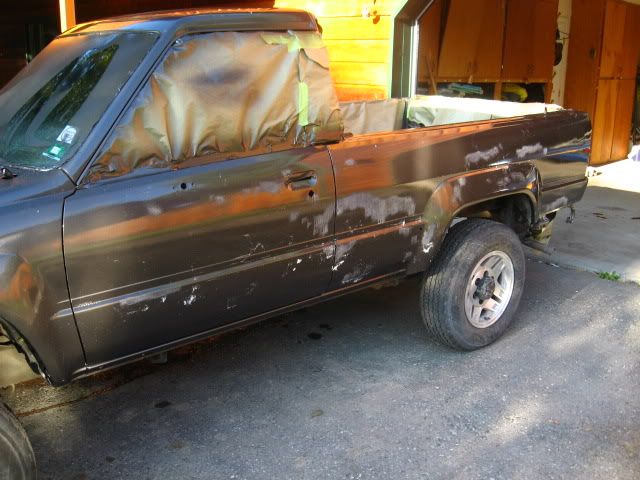
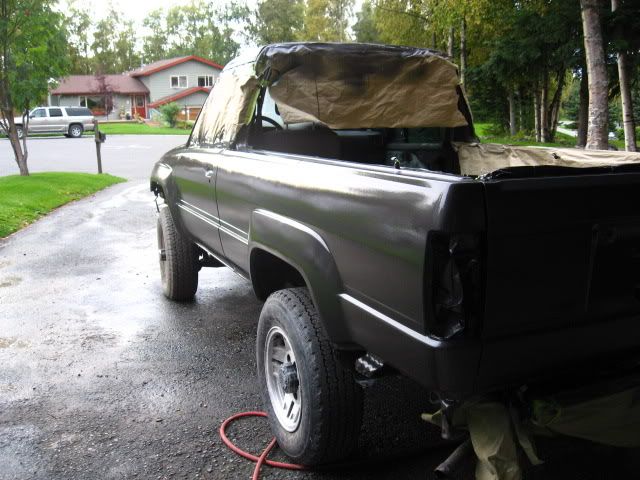
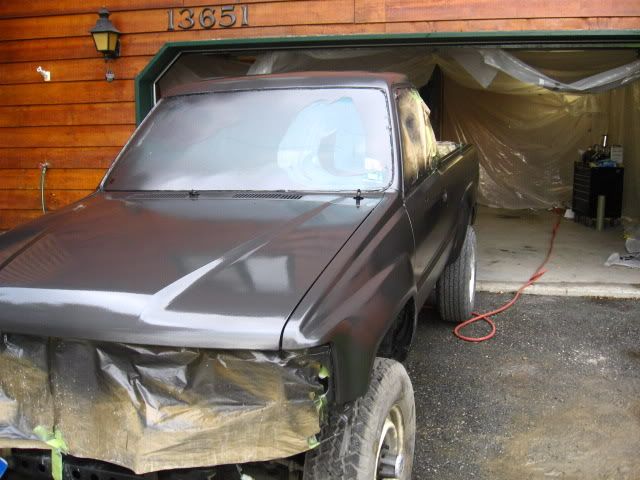
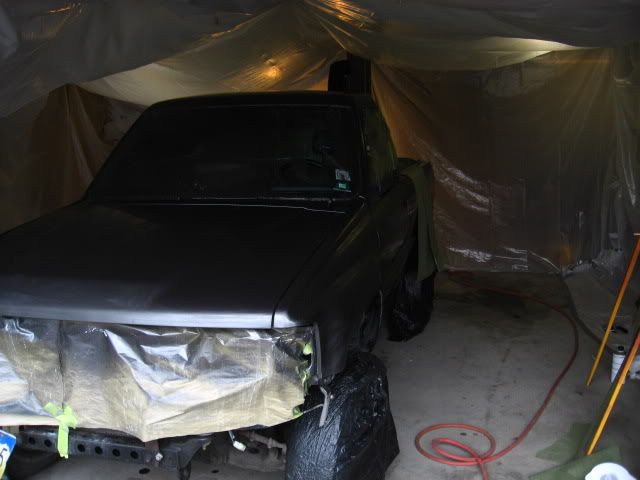
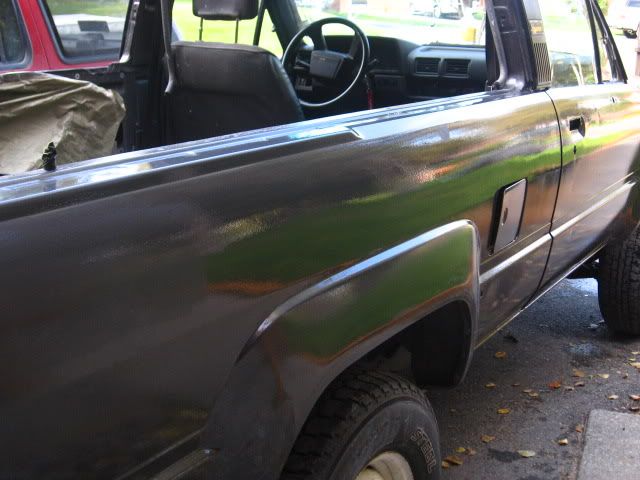
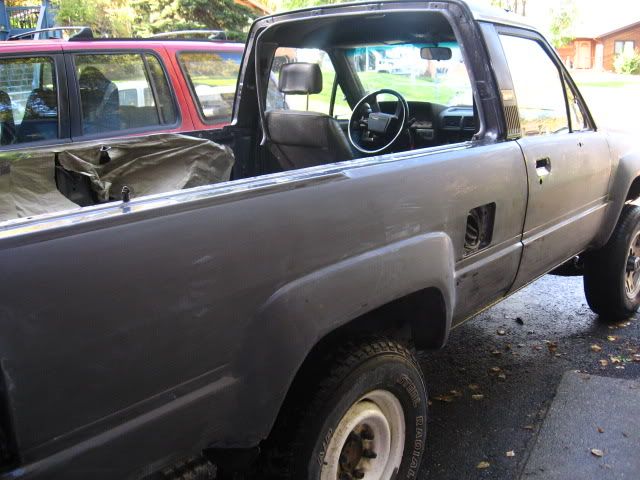
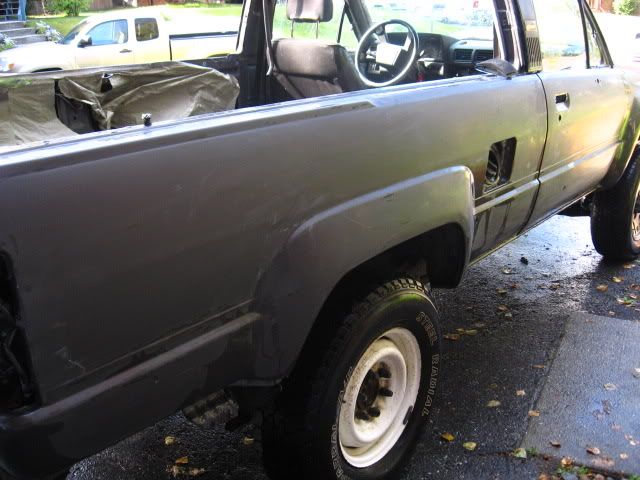
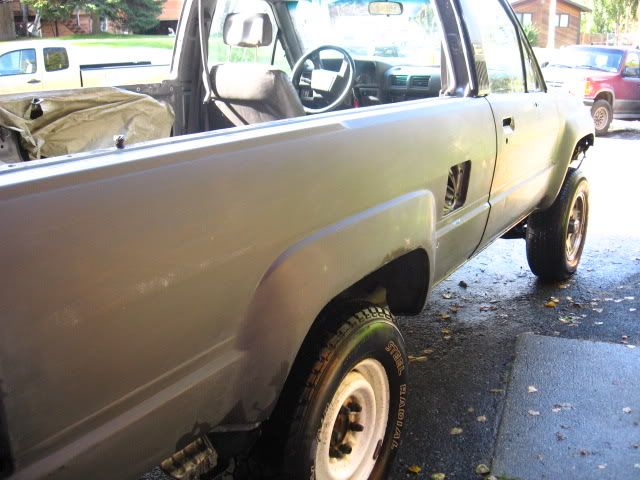
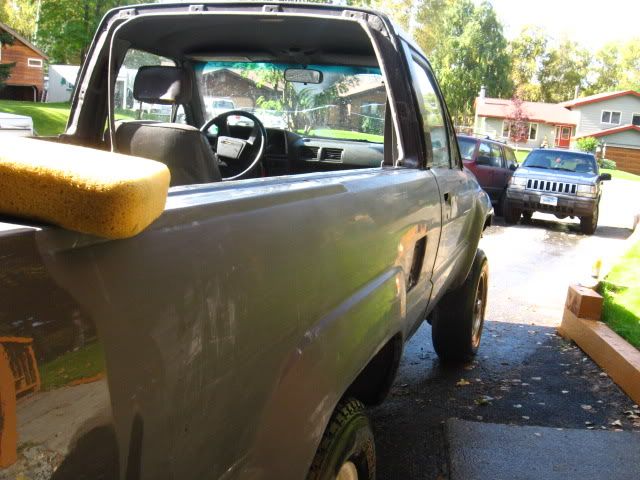
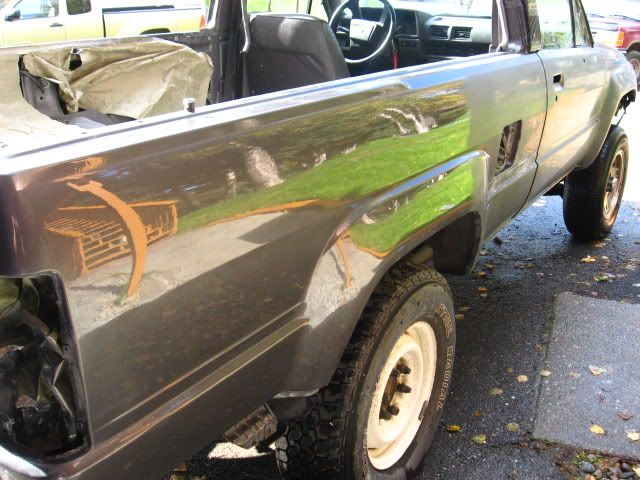
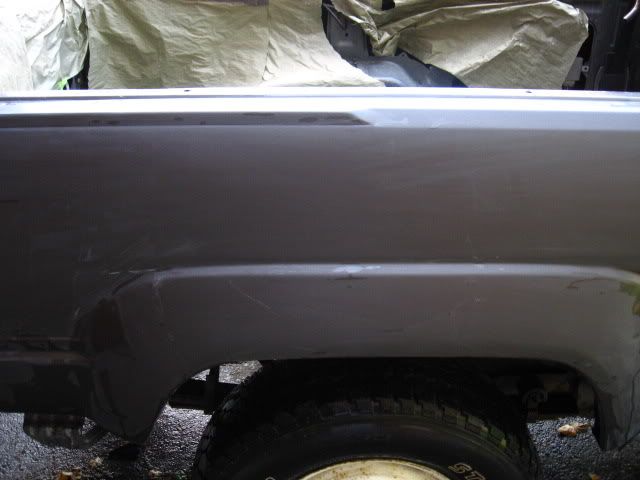
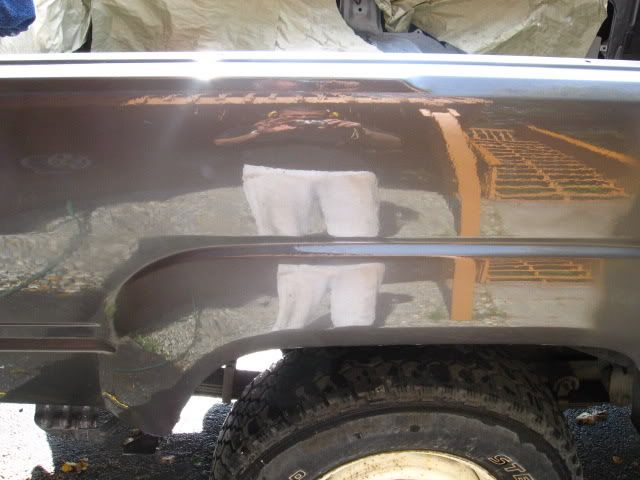
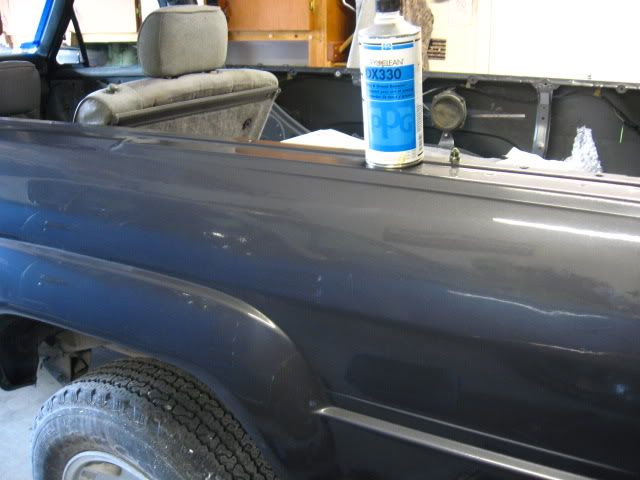
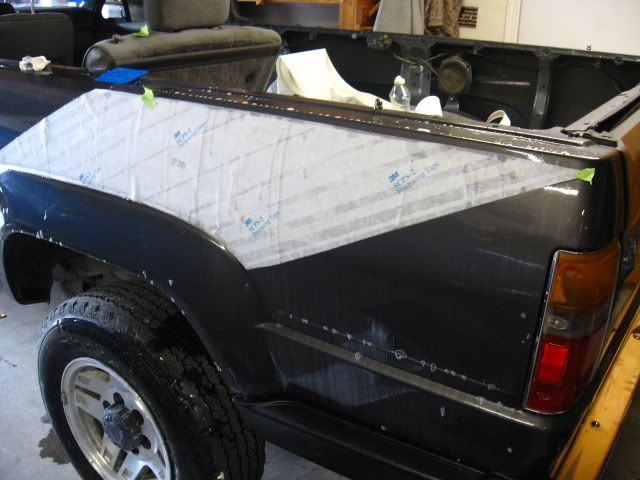
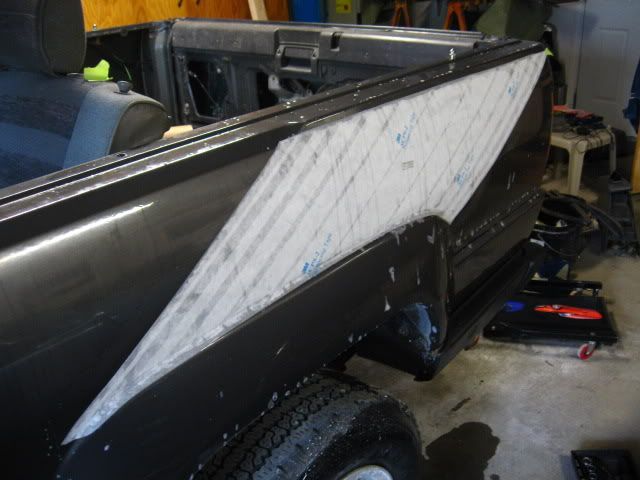
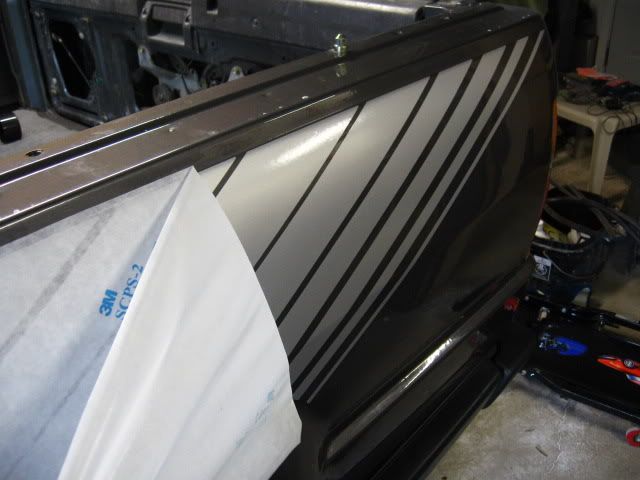
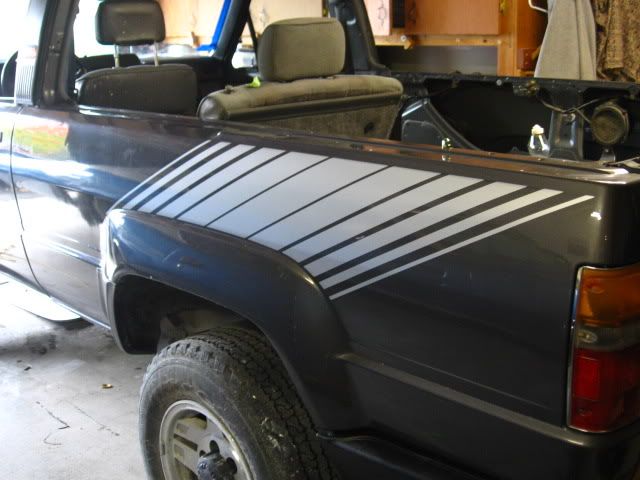
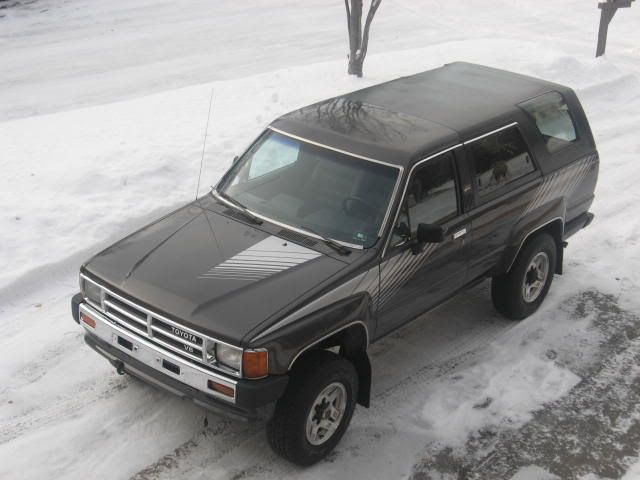
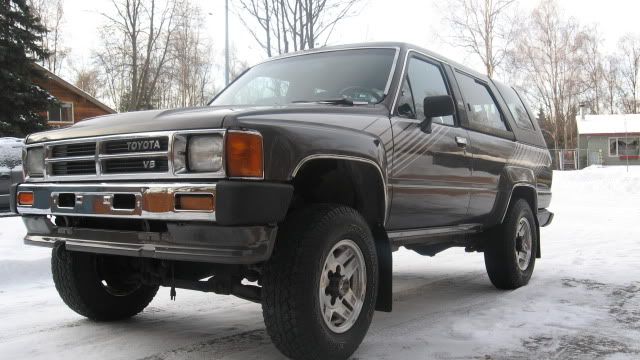
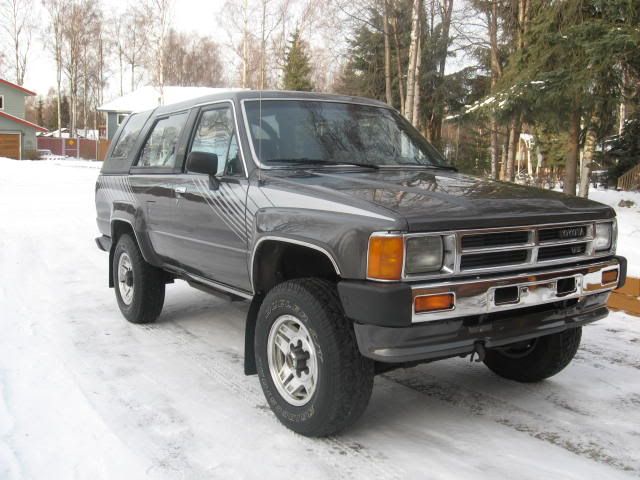
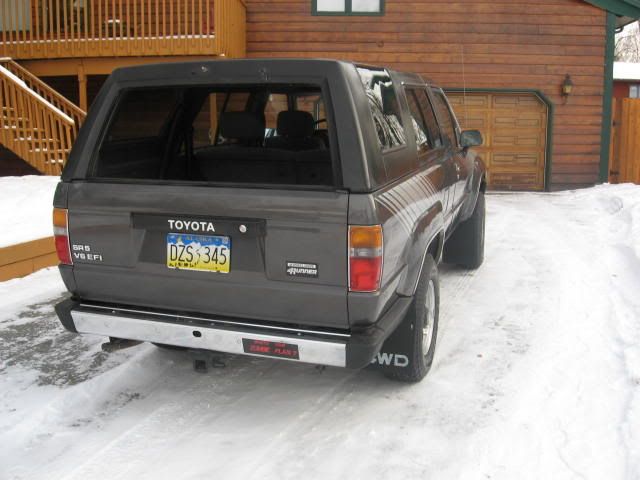
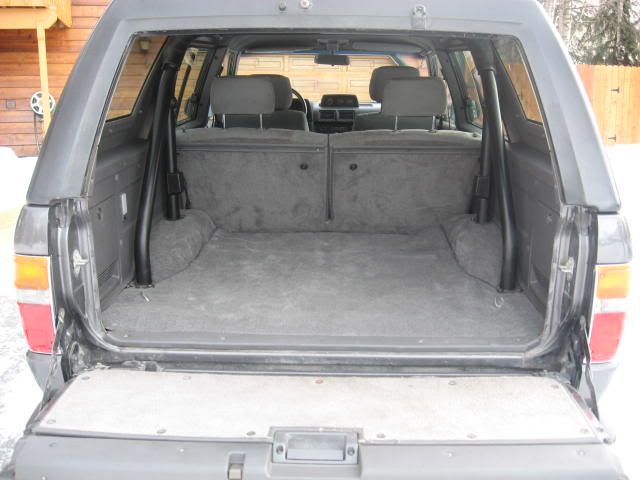
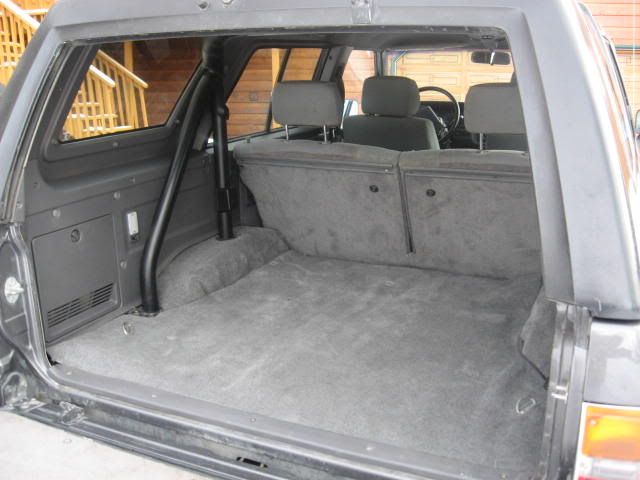
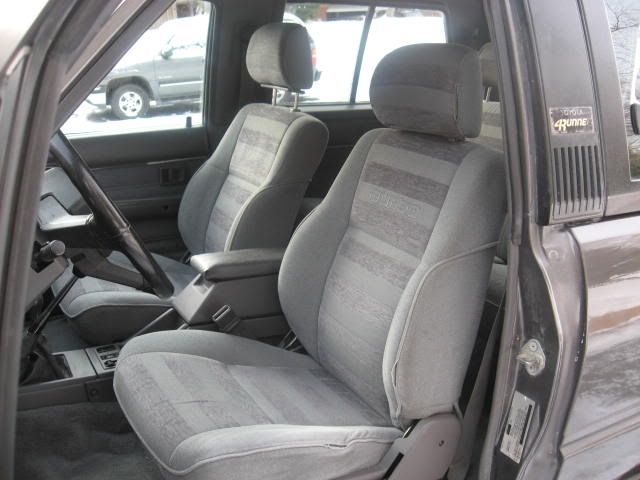
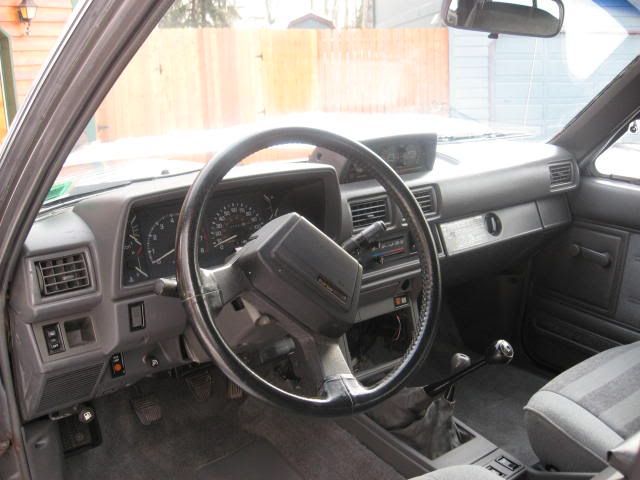
Just finished my '88 'runner. I've done some old Dodge Chargers before but this is my 1st toyota restoration project. I made the same mistake as on the old Dodges...not enough "before" pics. Anyway purchased last year for $800 up here in Alaska. Body was solid with standard dings. Interior poor and wasn't running good. With an air box adjustment runs great and paint and body is complete. This was my 1st full paint and learned a lot, I think it came out ok...let me know what ya' think
Before:
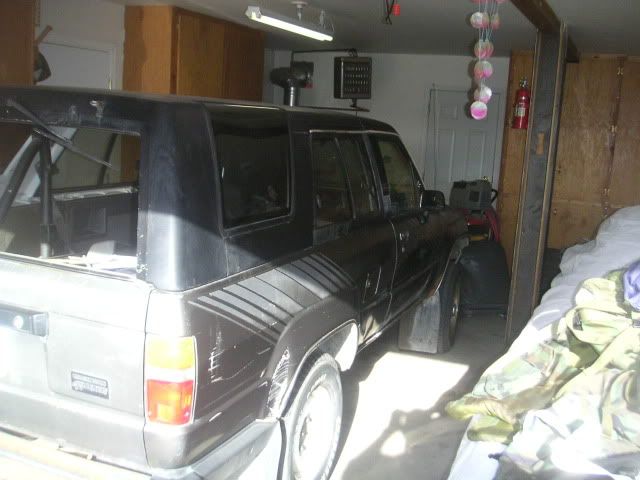
PICT0419.jpg~original
 
Register to hide this ad
Cannibilization vehicle, an '86 SR5 Turbo, bought for $150, sold for $100 (still had trans/axels/xfercase)
PICT0406.jpg~original

PICT0407.jpg~original

Farewell lil' truck!
PICT0414.jpg~original
 
Is that the Alt/tilt gauge on the dash? I have one too I have to install. I just have to figure out how to remove the dashpad:shrug:

There's two bolts underneath the dash, one by in a corner by the glove box, and another as I remember near the main heater vents. There are also a few screws. This is the one part in the 4Runners that's really a ***** to get out, as one bolt is hard to get a socket into.

Where did you get the interior parts from? That all looks brand new...
 
Hi Guys

Sorry for the delay, my password just stopped working and even the reset passwords wouldn't work...wierd-o-rama. Anyway:

- 94Beast4Runner - Thanks! stripes came from "James Dean Creations" was $250 for the set, here's the site: http://www.jamesdeancreations.com/1987-88.htm

- Dingman - All parts came from an '86 donor runner. Seats were pretty good but very dirty. I sent the seats out to be steam cleaned at a carpet cleaning place. They said it was a lot of work but came out nice. All the plastic was repainted. I went to the local paint shop and had them match the color (they were spot on) then made a few repairs here and there and sprayed 'em...don't forget the plastic adhesion promotor or the paint will just flake off!

-s2kpuddydad - If I can expand on Ding's instructions. There are 3ea. 10mm nuts and about 7 phillips screws holding the dash on, here's what ya' do:
1) Remove speedo/instrument cluster cover (4-5 ea phillips screws) you'll
then see one of the nuts...remove nut.
2) Remove glove compartment door and remove the plastic A/C and Heat
duct directly above glove compartment (best way to access is remove
passanger seat and lie on your back) once duct is removed you'll see the
other 10mm nut...remove nut
3) Last nut is a pain! Remove passanger side A/C and Heat vent assembly
(thing with vents).The outter duct is held in by 4ea spring loaded
retainers so pop out the vent grills and CAREFULLY pry the corners down
and wiggle the duct out, take care not to crack the dash pad! Once that
vent duct is out you can see the 10mm nut...remove nut
4) Remove 7 ea. phillips screws from bottom lip of pad (you can see 'em
when laying on the floor) and pull out pad. You'll find the holes for
the "avionics" package are predrilled in the metal, you'll just have to poke
through the vinal/foam to install the bracket
-- Hope that helps, I removed WAY too much stuff when I pulled my pad
 
Last edited:

Members online

Forum statistics

Threads
278,316
Messages
3,554,120
Members
248,016
Latest member
Advally Service

Trending content

Back
Top