28's build thread

28.

New member
My official build thread.. Pretty short so far but hope to add to it as time and money allow.. Thnx for all the help to everyone who've contributed to this forum wether with pics or detailed how-to'... It all came in very handy.. Anyways eventually want to make this truck more long trip worthy, comfortable, and to where I can carry all my fishing and camping gear. I'm not much of a hunter so need to modify to carry plenty of fishing rods and all my gear with room for my Kayak as well..

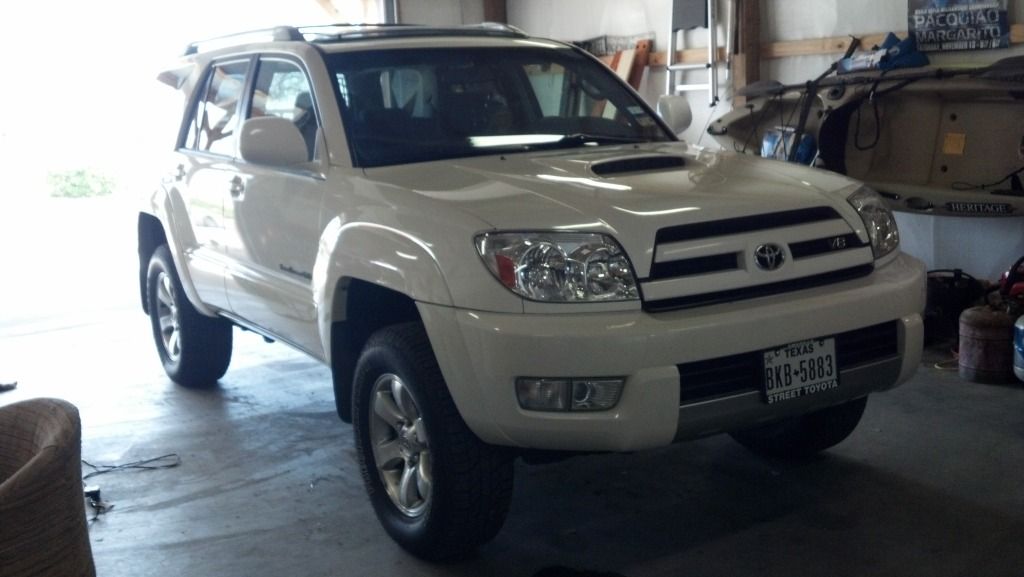
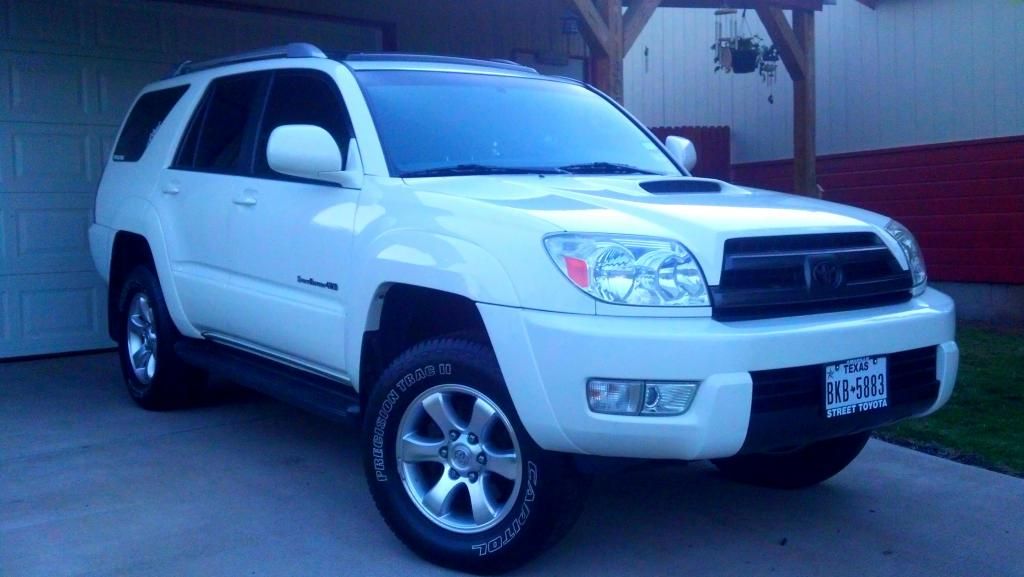
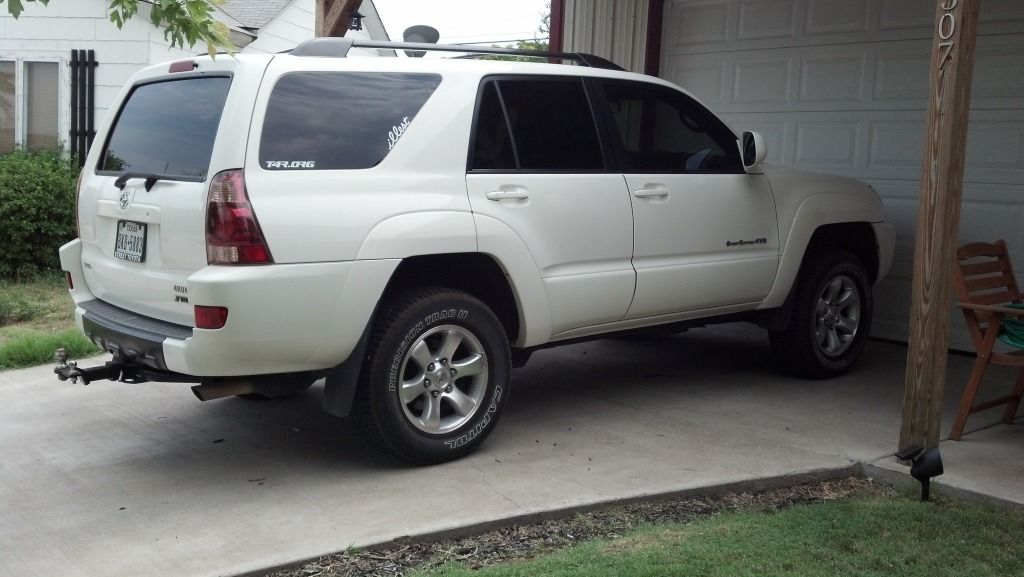
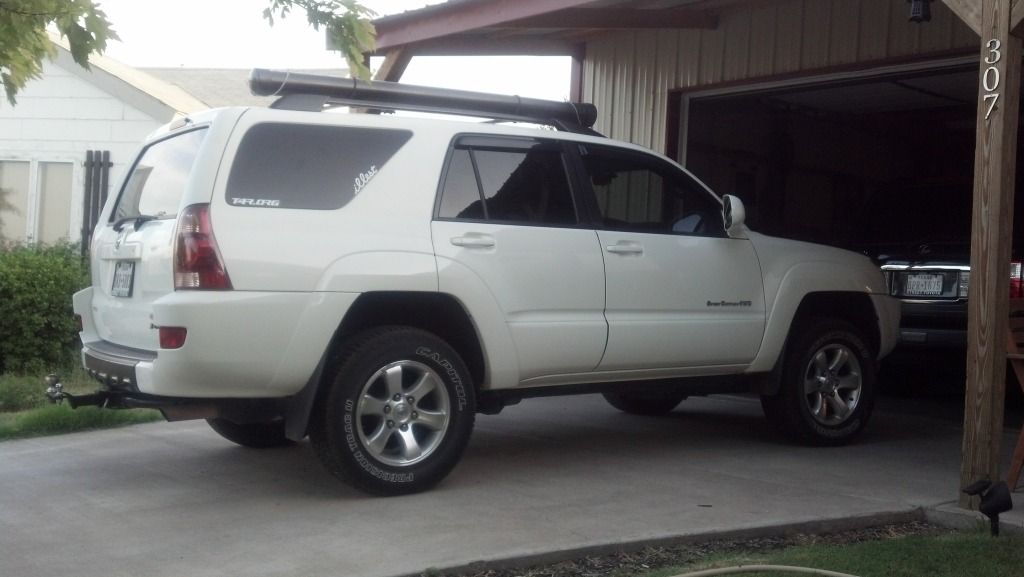
04 Sport Edition 4WD V8

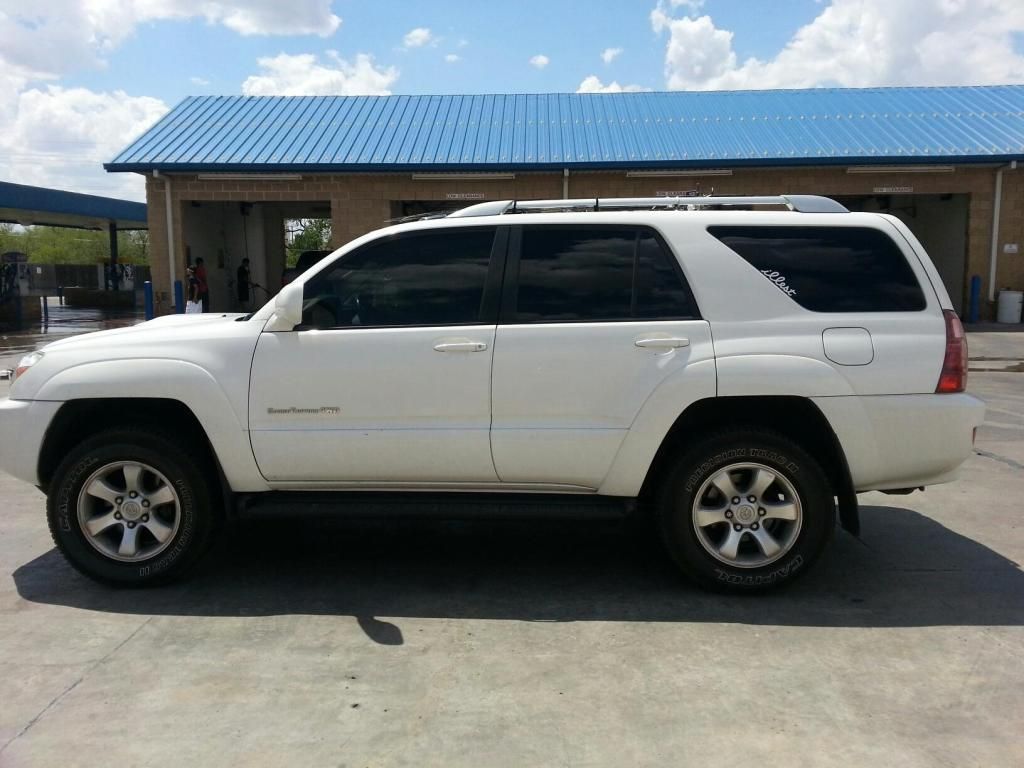
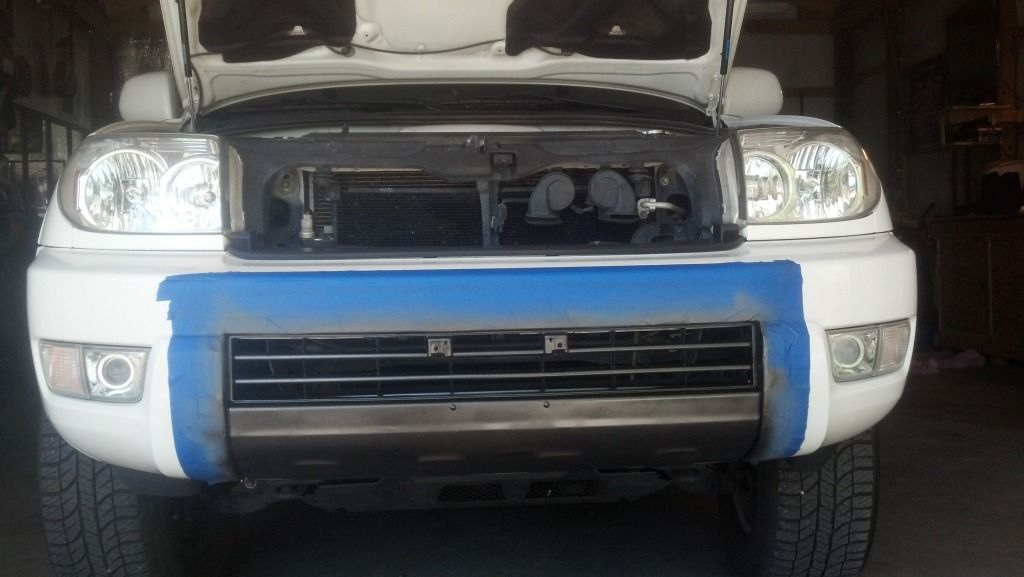
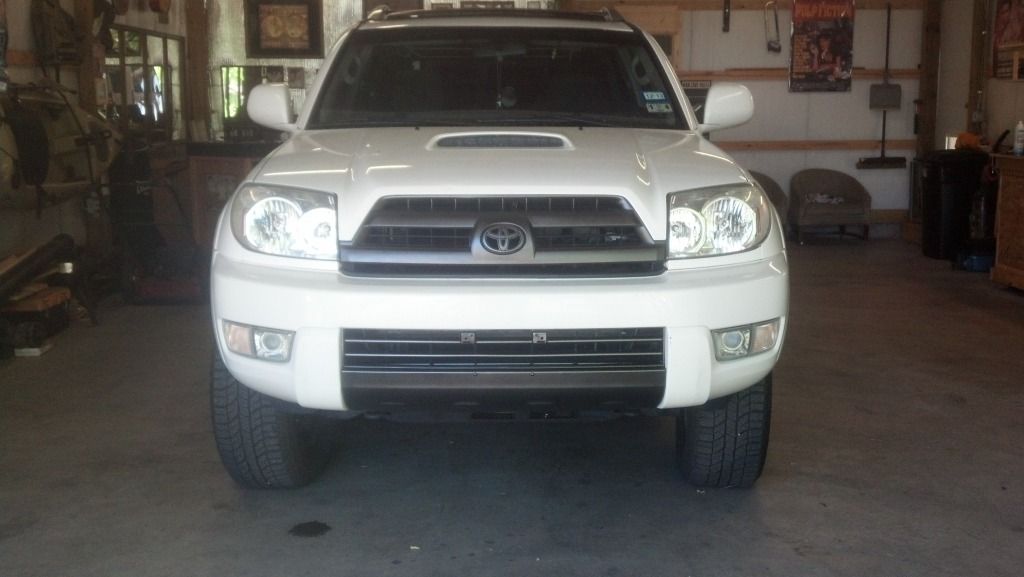
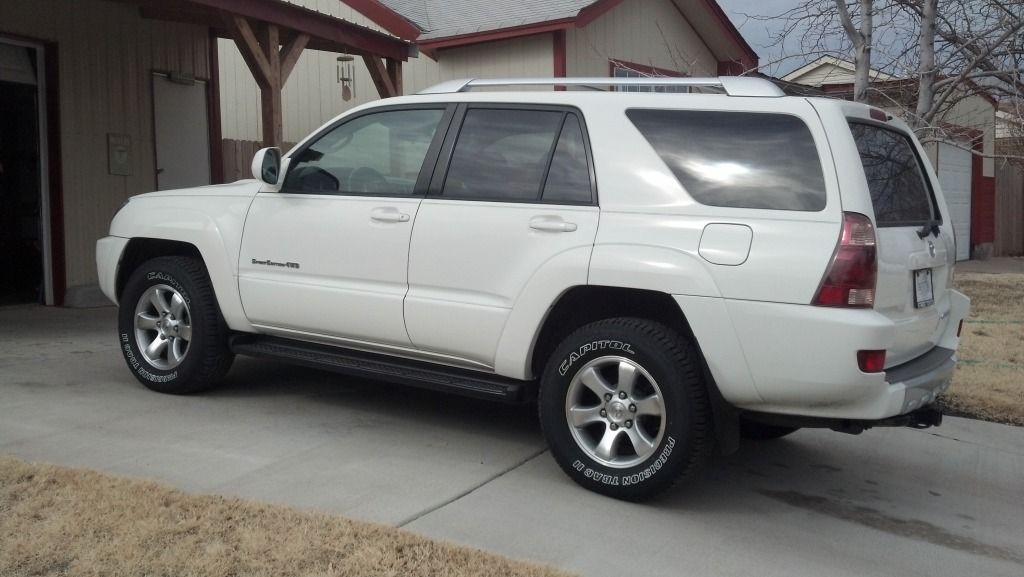
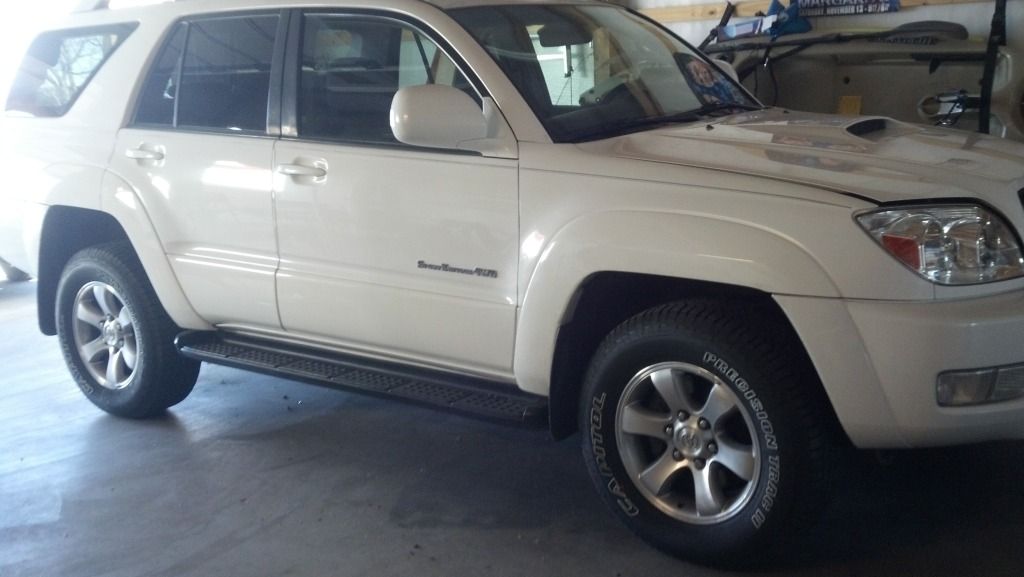
Anyways how she looked when I got her.. Sittin outside my shop day after hosin her down..
2013-01-26_13-20-41_205.jpg~original


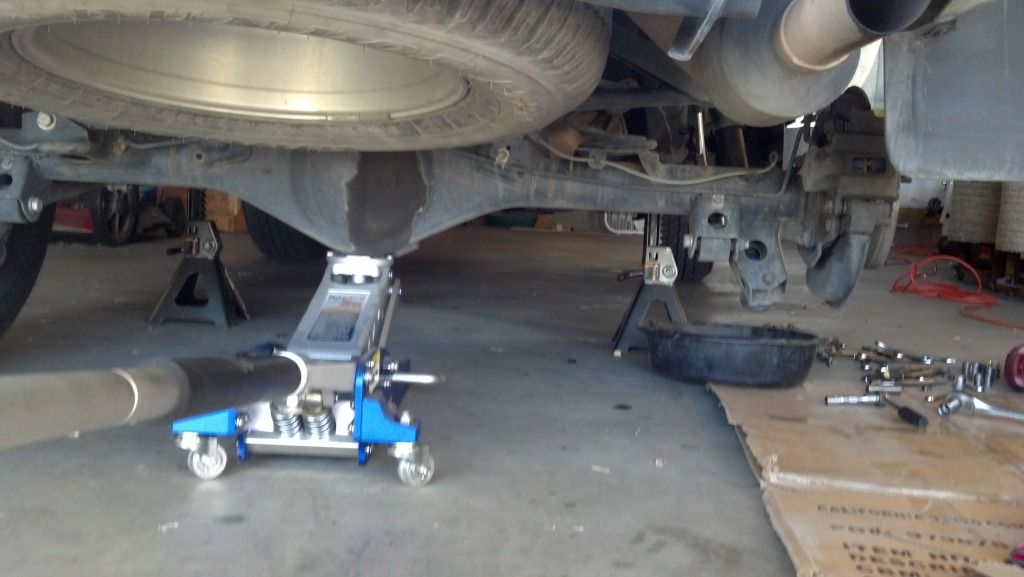
Shock replacement begins inside my shop..
2013-02-10_13-47-41_448.jpg~original


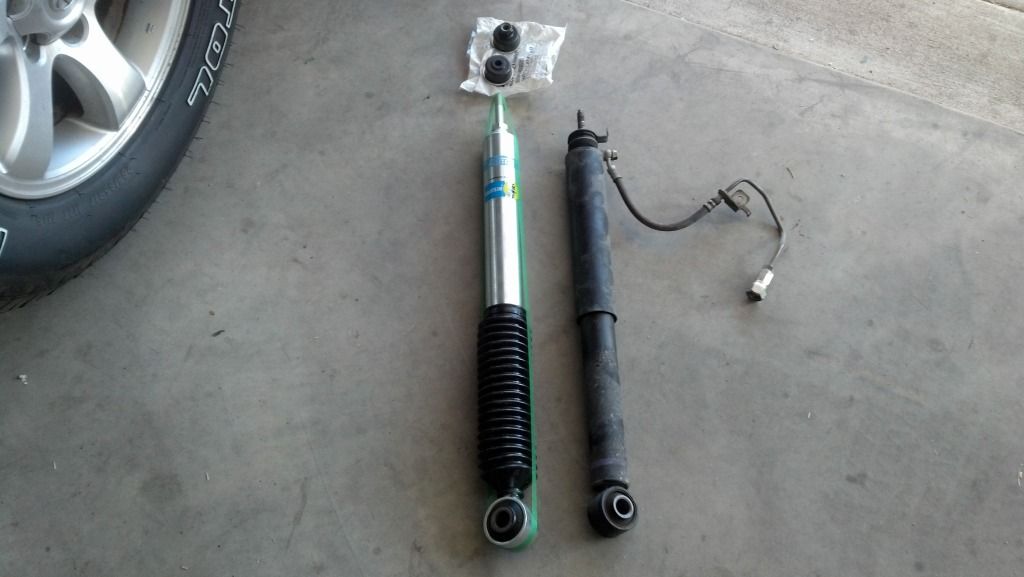
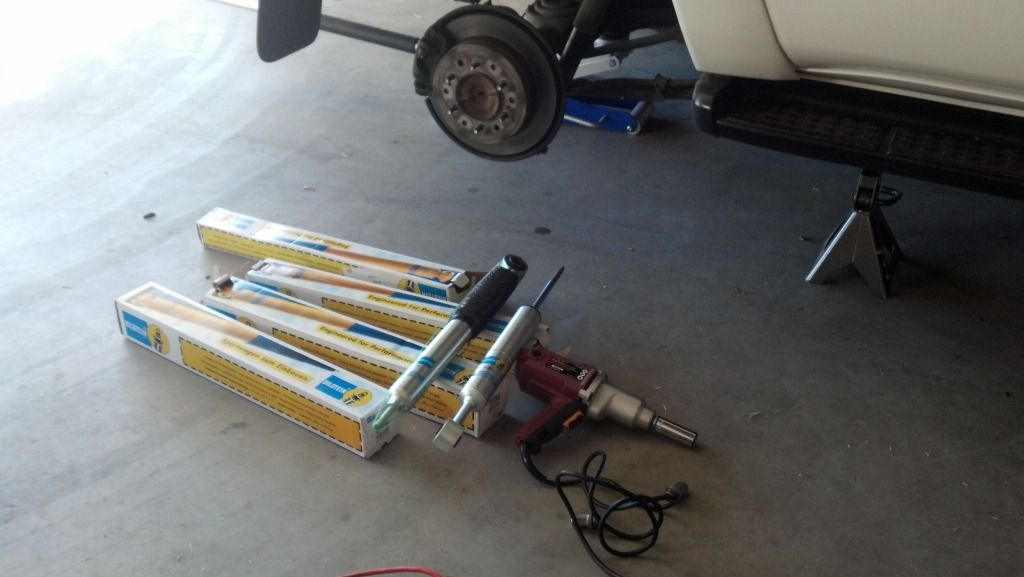
The goodies I used with FJ coils also..
2013-02-10_11-02-13_810.jpg~original


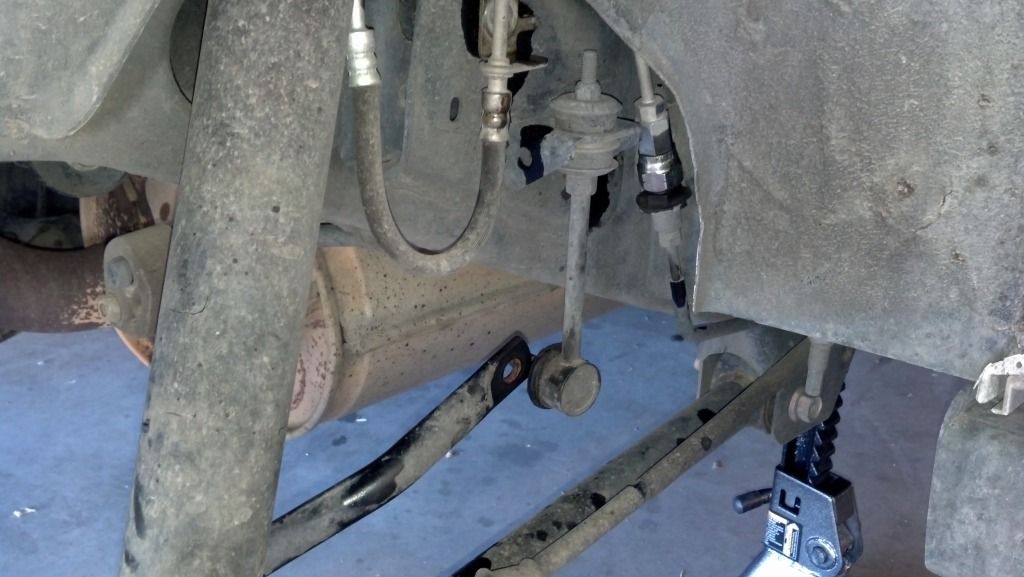
Pic showing sway bar disconnected..
2013-02-10_11-48-45_613.jpg~original


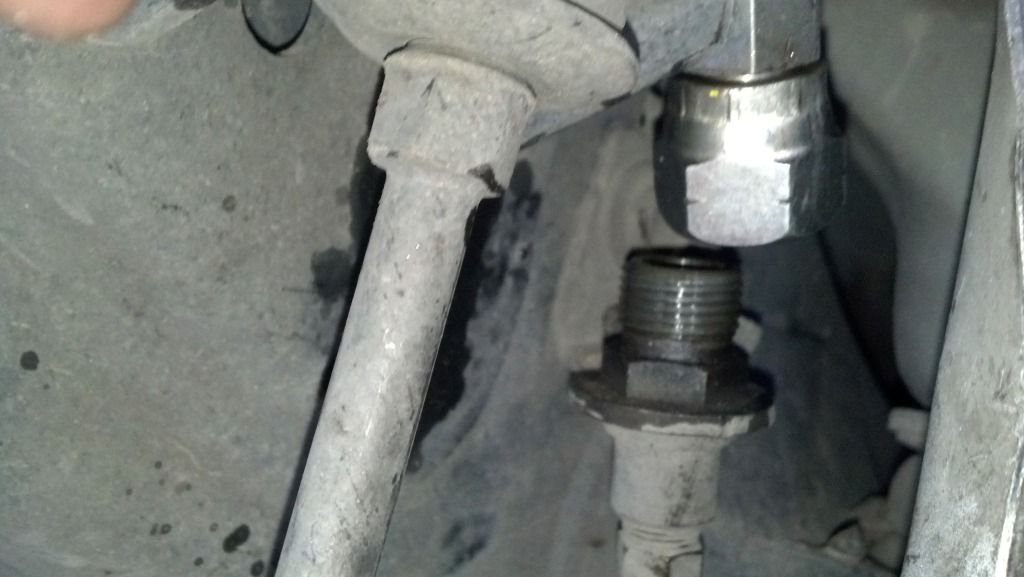
Closer pic of where X-REAS line was disconnected
2013-02-10_11-52-21_372.jpg~original


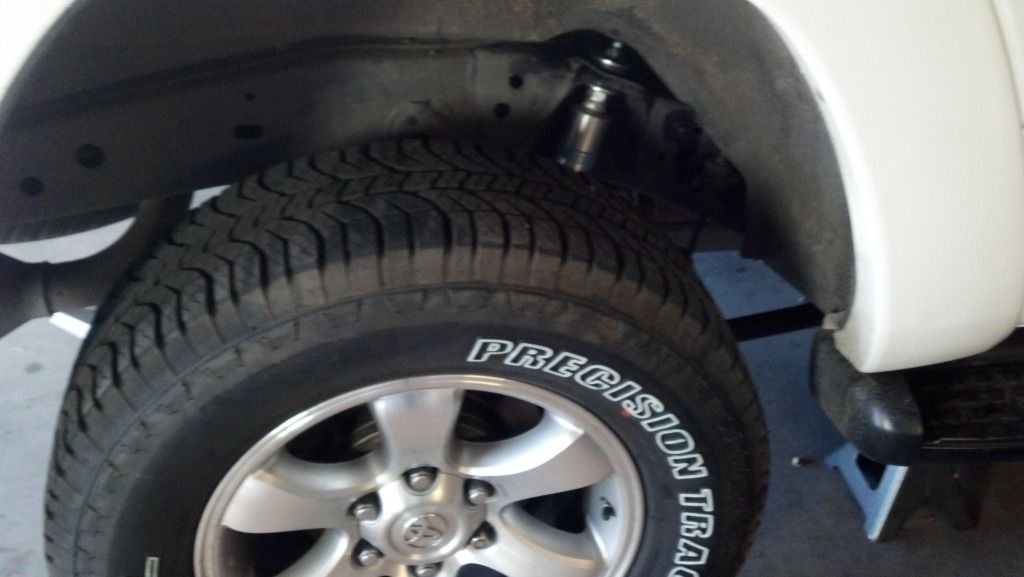
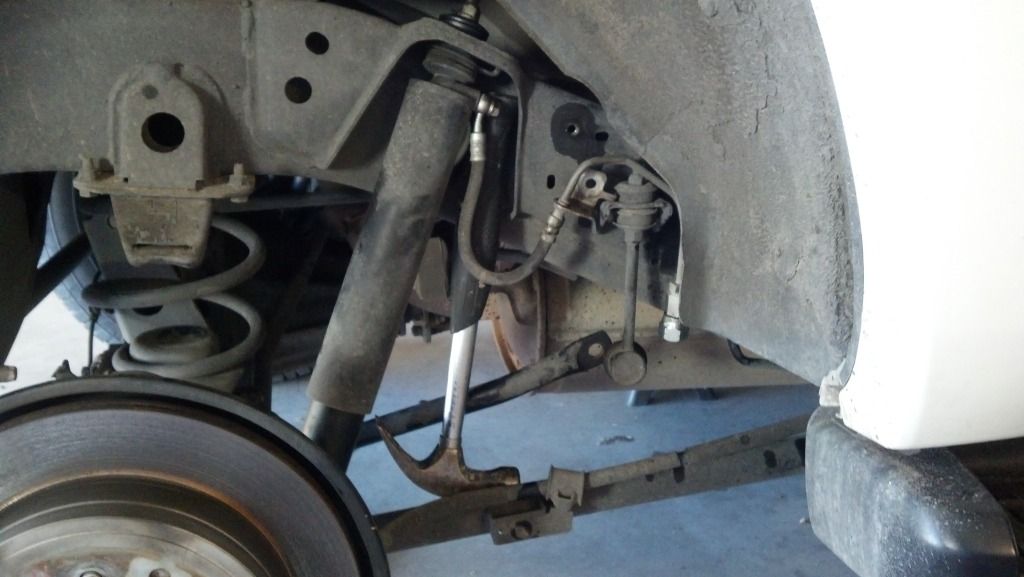
Used hammer to keep shock from turning while I undid top nut..
2013-02-10_11-56-43_265.jpg~original


View from back..
2013-02-10_12-03-14_930.jpg~original


FJ coils going in. Big difference...
2013-02-10_12-15-58_158.jpg~original


Pic for comparison..
2013-02-10_12-11-28_582.jpg~original


Rear back together..
2013-02-10_12-37-18_479.jpg~original


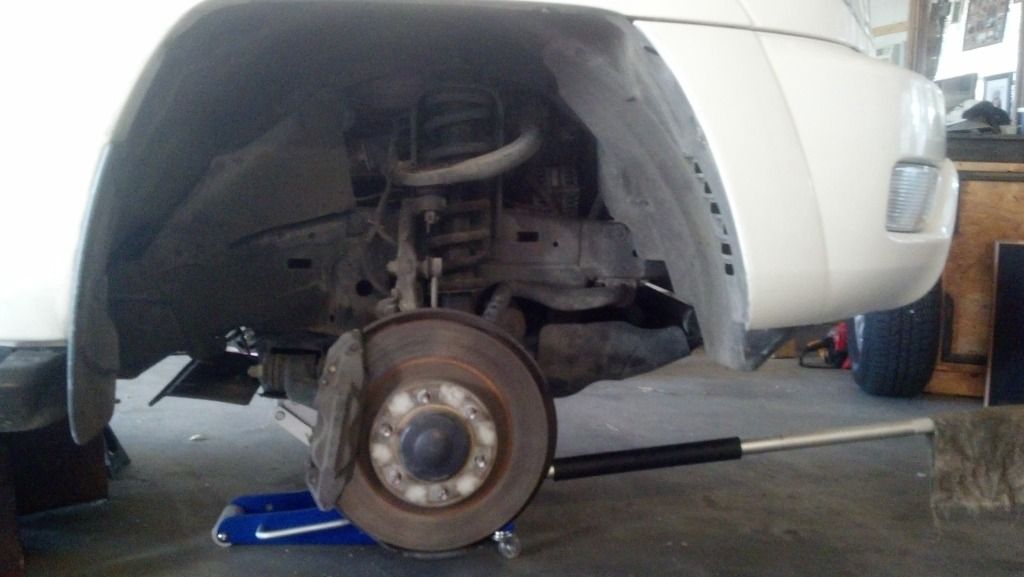
Fronts..
2013-02-17_11-16-19_246.jpg~original


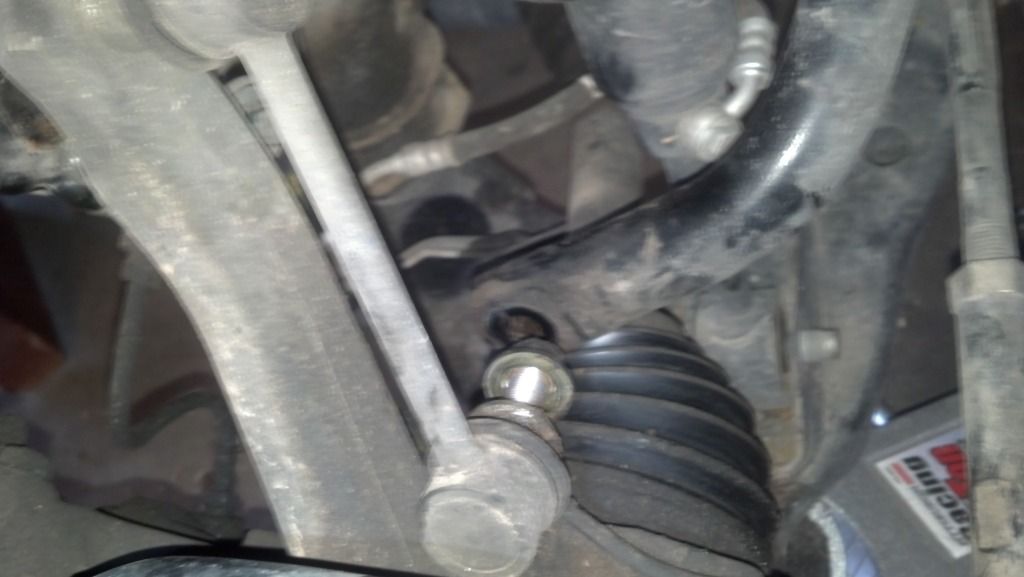
Sways and X-REAS disconnected
2013-02-17_13-08-24_340.jpg~original


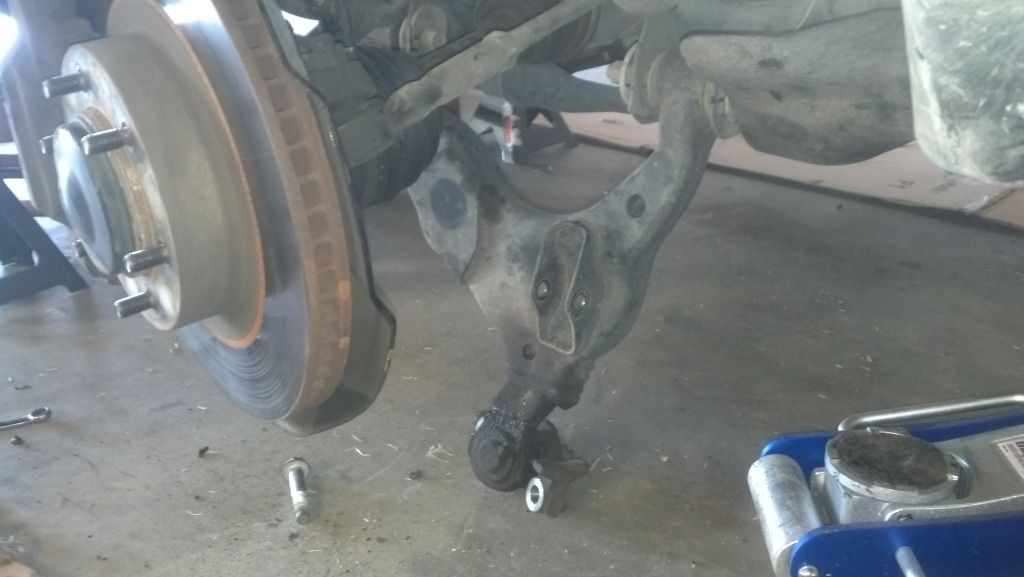
Ball joint unbolted.. This method I think has to be the safest pending done properly..
2013-02-17_13-40-23_560.jpg~original


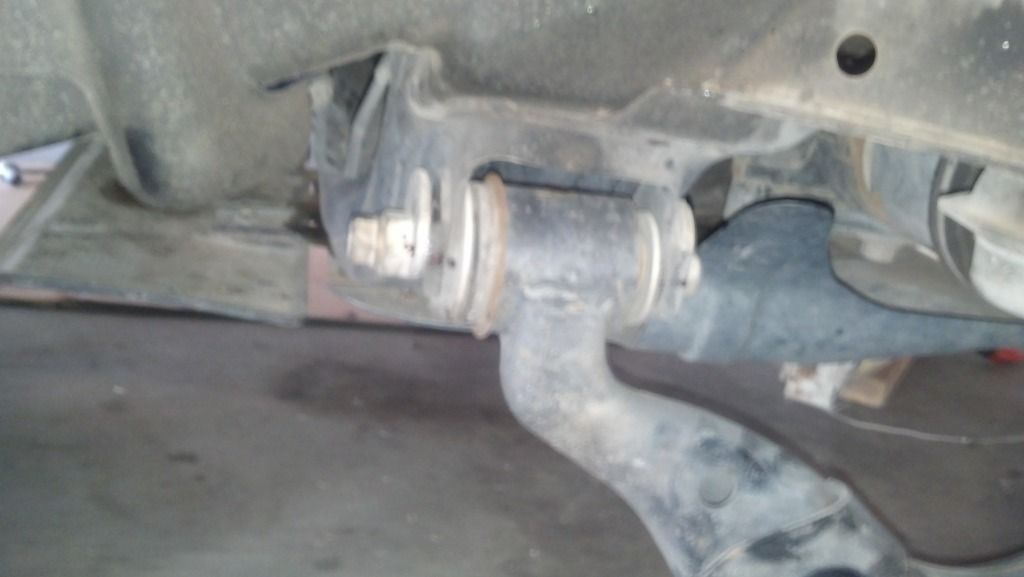
Dont forget to mark your alingment cams before losening them.. 1500s wont go in without doing so.. At least not this way..
2013-02-17_13-40-33_63.jpg~original


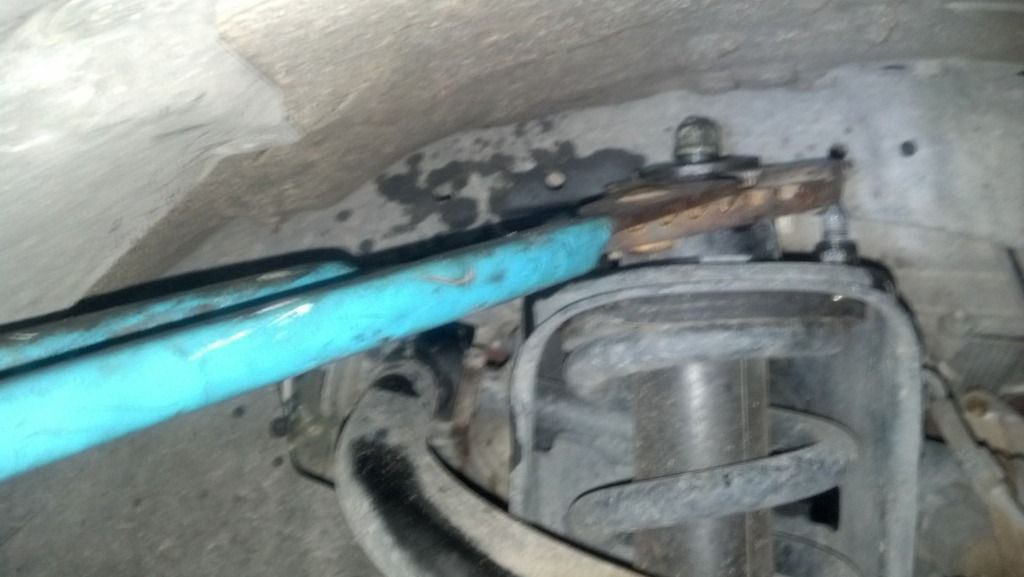
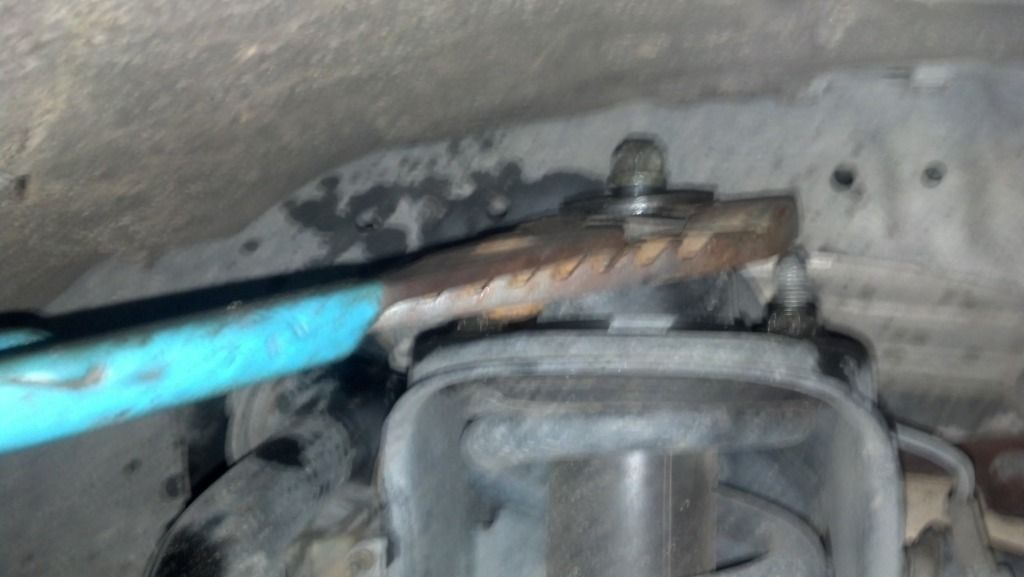
Used channel locks to hold shock while loosening top nut.
2013-02-17_14-55-04_694.jpg~original

2013-02-17_14-55-19_719.jpg~original


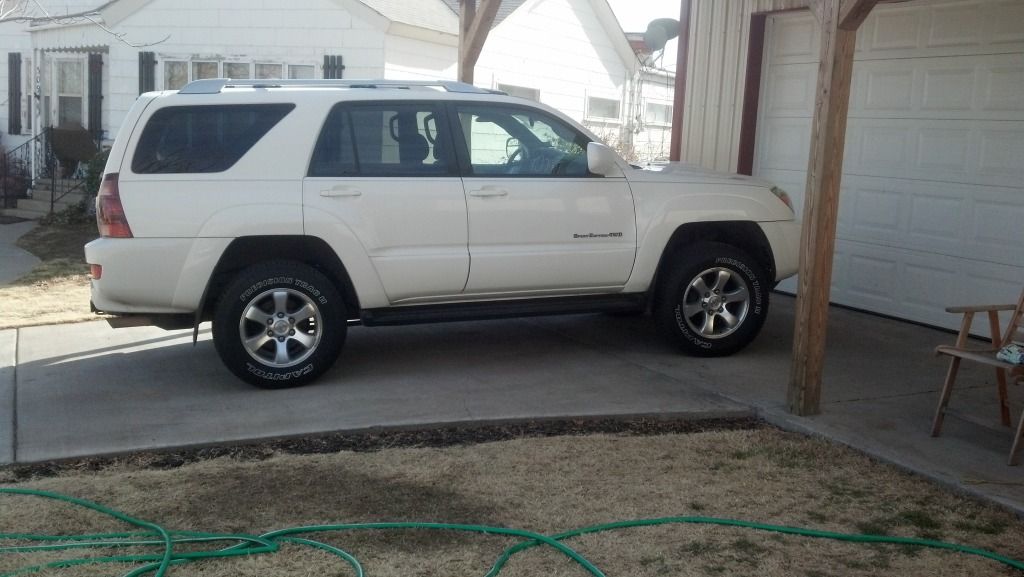
Finished..
2013-02-19_15-30-05_452.jpg~original
 
Last edited:
Register to hide this ad
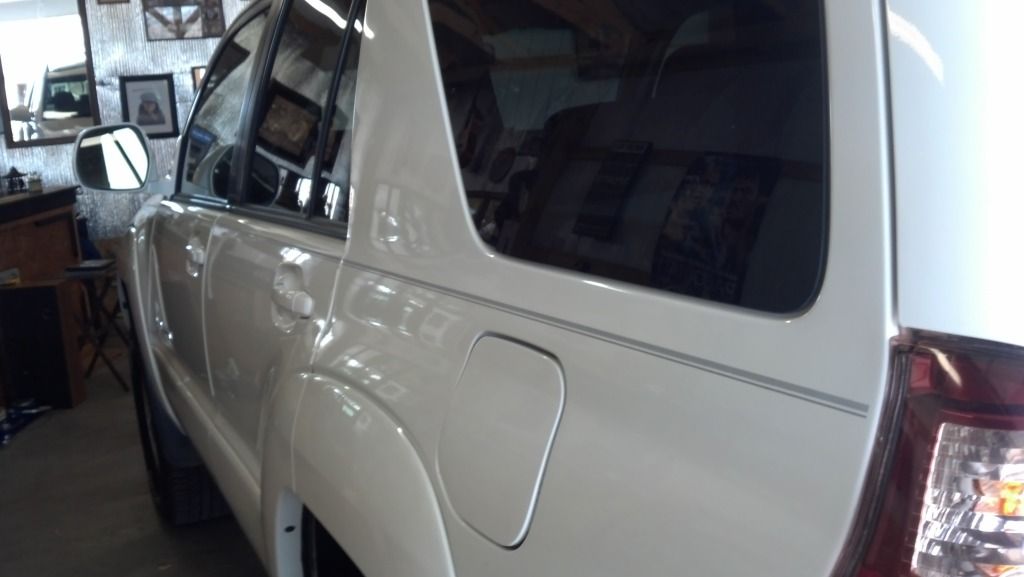
Removed pinstripes last weekend.. Talk about a PITA!!:laser:
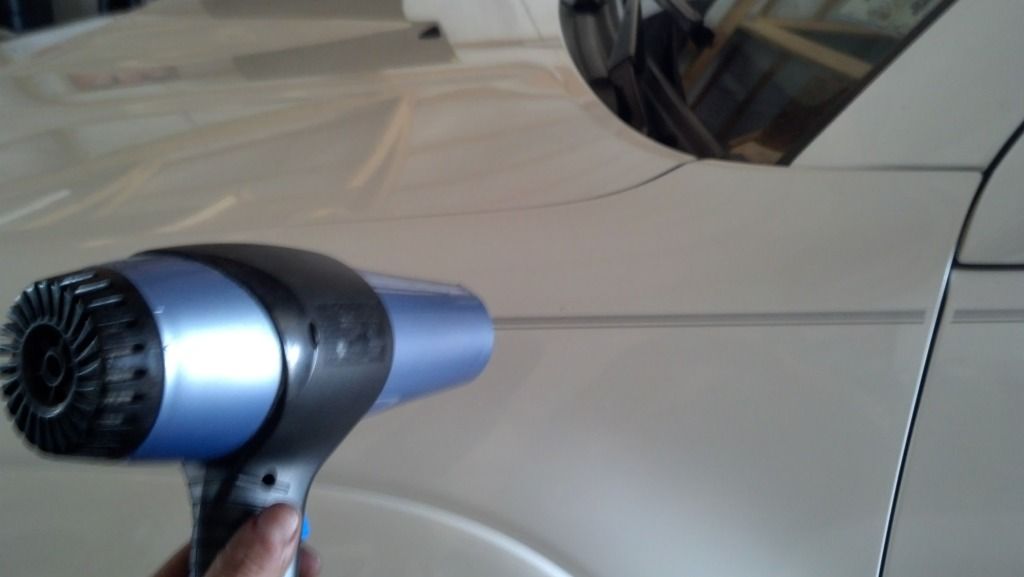
Anyways used the blow dryer method which I'm sure most here know about already.. Some pics of process...

Starting out... And folks you have to commit once you start and it really does suck.. Especially on a vehicle thats had them for almost 10 years lol..

IMG_20130315_142001_503.jpg~original


Removal.. Blow dryer and pocket knife.. tried an exacto knife but oddly enough my pocket knife worked much better..

IMG_20130315_143215_394.jpg~original


Before..
IMG_20130315_142001_503.jpg~original


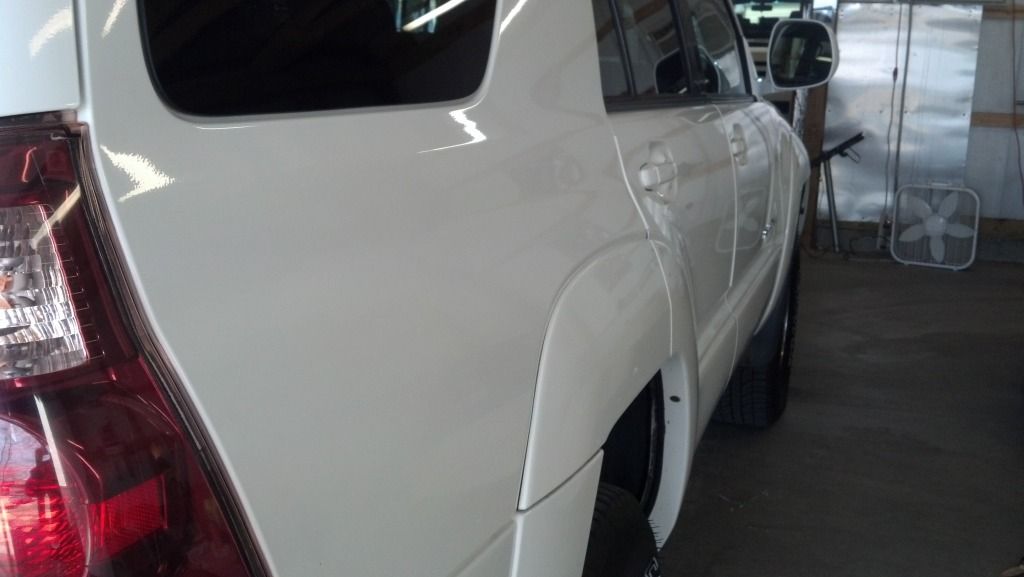
After..
IMG_20130315_142013_530.jpg~original


Finished..I don't know if you'll can see them but all those little pieces on the floor that look like tin foil are the bits of pinstripe from where the stripe was just so old it would break almost istantly..


IMG_20130315_142042_371.jpg~original


Also got my running boards off..

:high5:
 
Thanks folks really appreciate the nice words. Kris I live about 30 minutes North of Amarillo.. And Terri hoping mine looks as nice as yours some day. Your Runner looks exceptional..
 
I don't know if it was the pin stripes or the running boards but that last change made a big difference. Looks great.
 
Tint..
2013051195150501.jpg~original


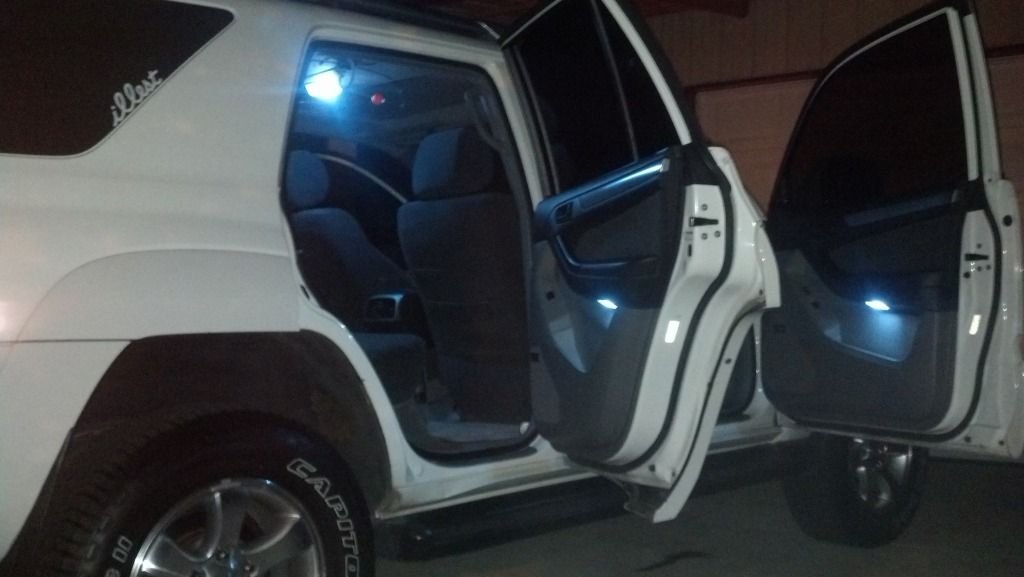
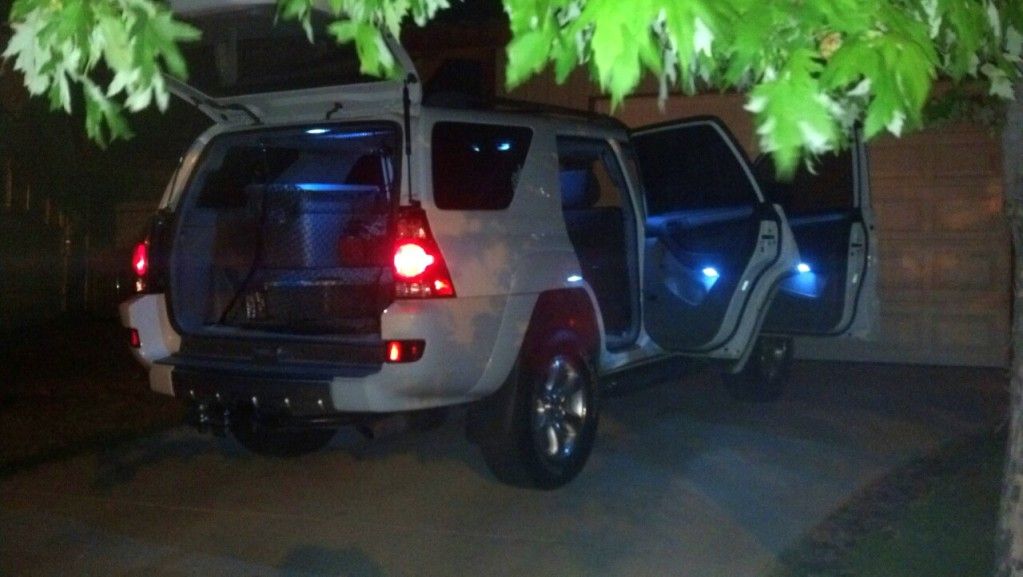
And LEDs.. Sorry for crap cell phone pic but its like 4 in the morning..
IMG_20130518_042330_076.jpg~original

IMG_20130530_171845.jpg~original
 
Last edited:
Put the running boards back on til I get some nerf bars or sliders cause my wife is only 4'10 and was having hell getting in and out lol..
 
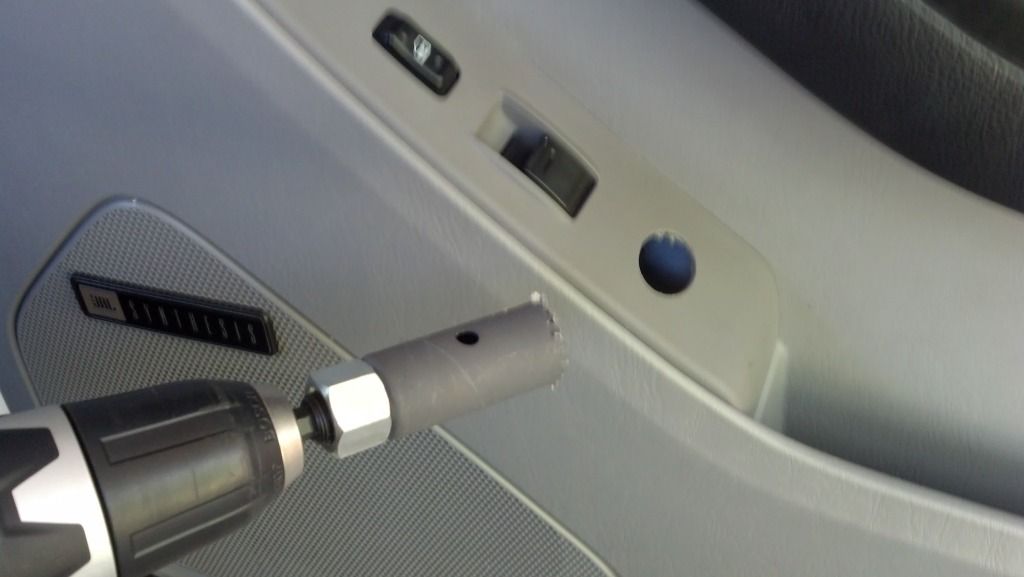
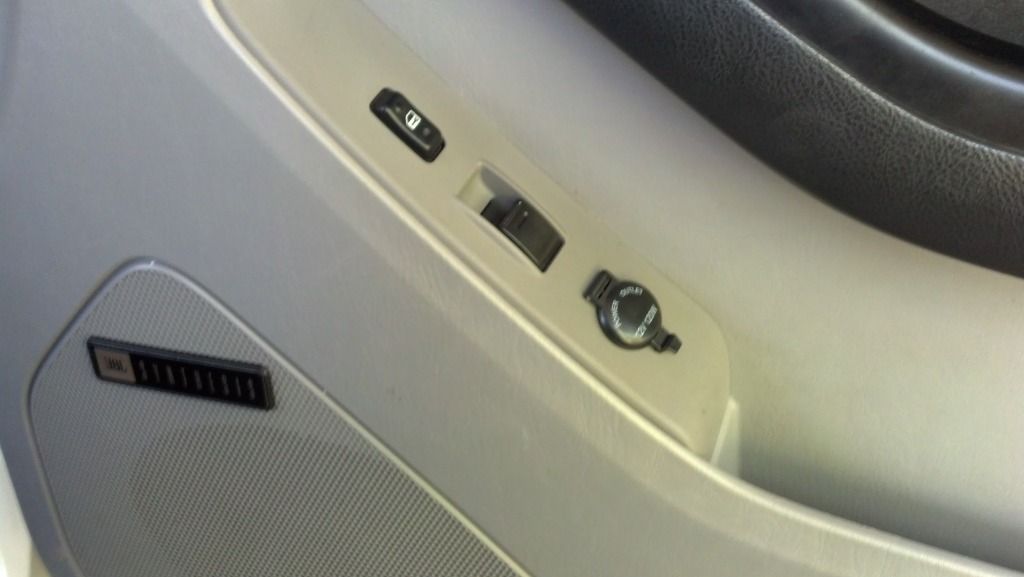
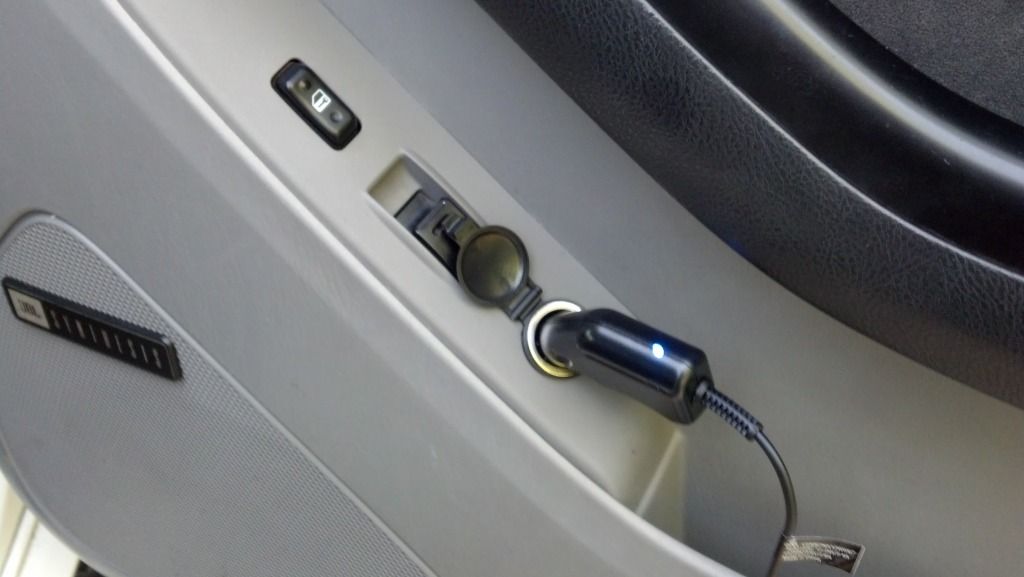
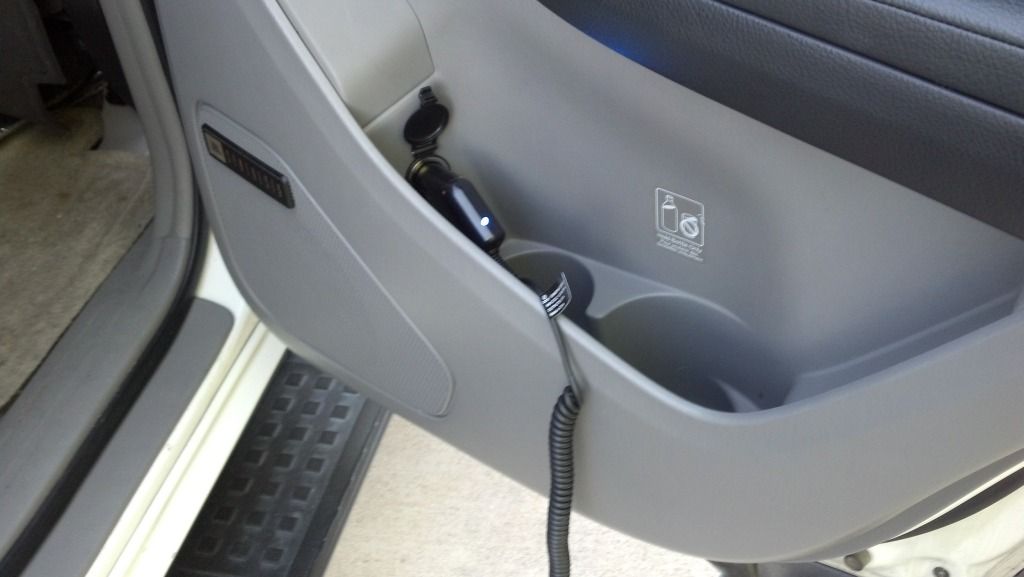
Did the 12v charger inlets on my passenger front and back door. Only did these 2 since its just me, my wife, and our daughter. Got the idea from this thread and it worked great...

http://www.toyota-4runner.org/4th-gen-t4rs/140810-diy-12volt-socket-outlet-your-door-panels.html

Pics..:)

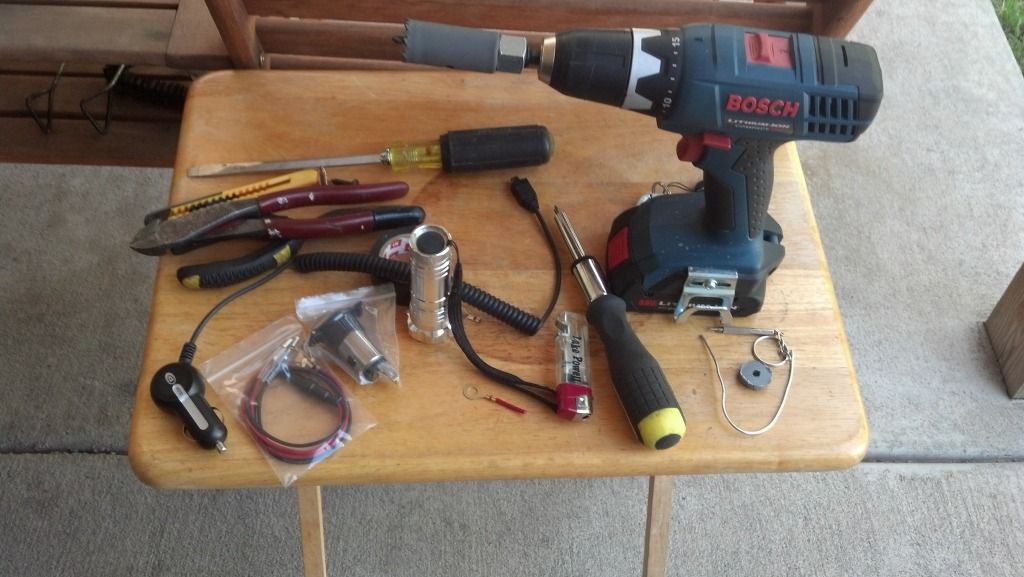
Basic stuff I used...
IMG_20130613_173033_571.jpg~original


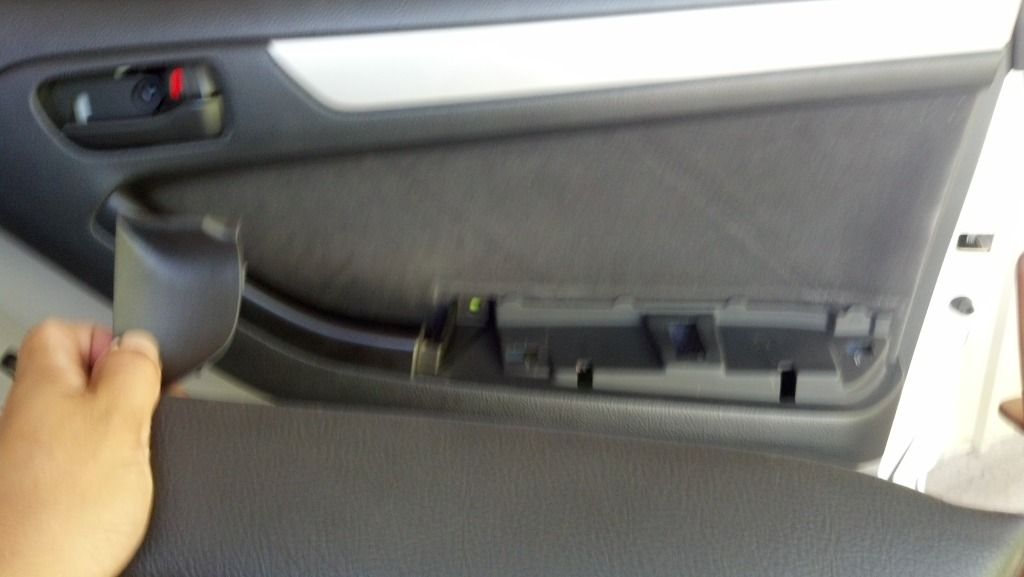
2 bolts holding door in place. One is behind the door handle and the other behind the door latch..
IMG_20130613_170245_896.jpg~original


Drilled hole.. Be careful as to not let the drill ride on you when you start..
IMG_20130613_170321_010.jpg~original


Installed.. front passenger :)
IMG_20130613_175202_992.jpg~original


and working..
IMG_20130613_194331_387.jpg~original


rear passenger working..
IMG_20130613_194317_723.jpg~original


They sell various types of 12v inlets. I got these because I absolutely need them with a lid.. These are actually meant to be used on motorcycles. Got them on EBAY..
 
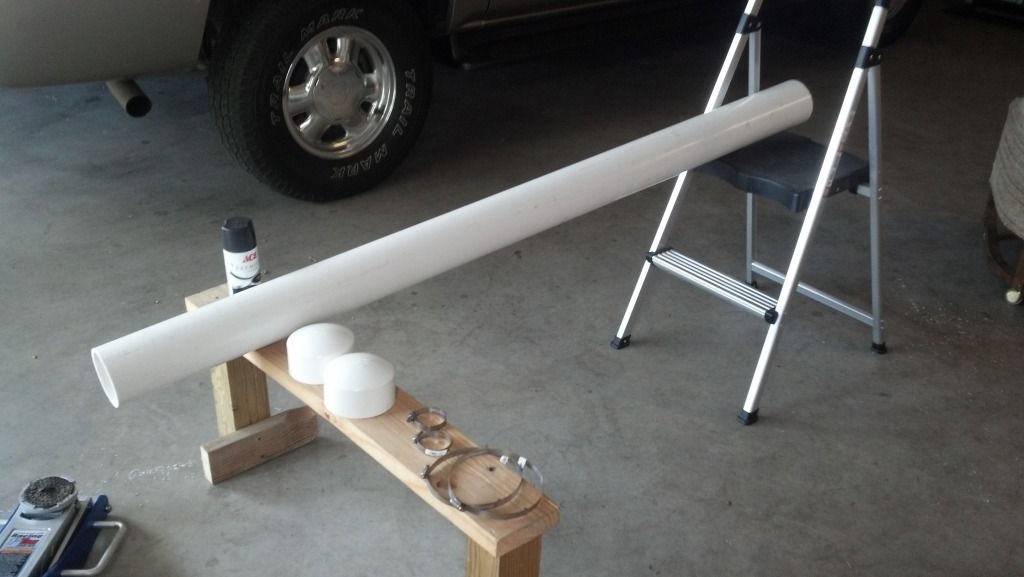
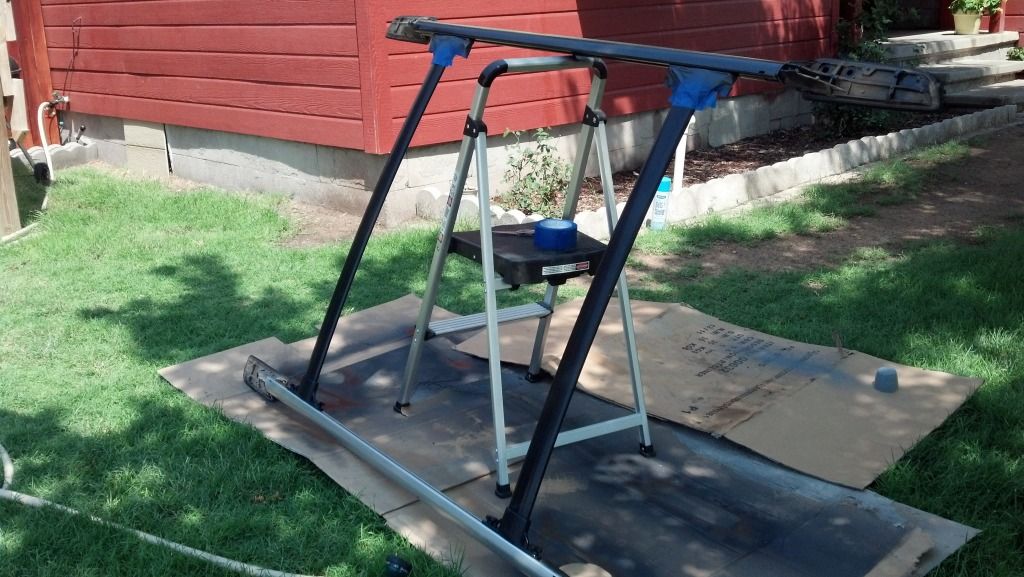
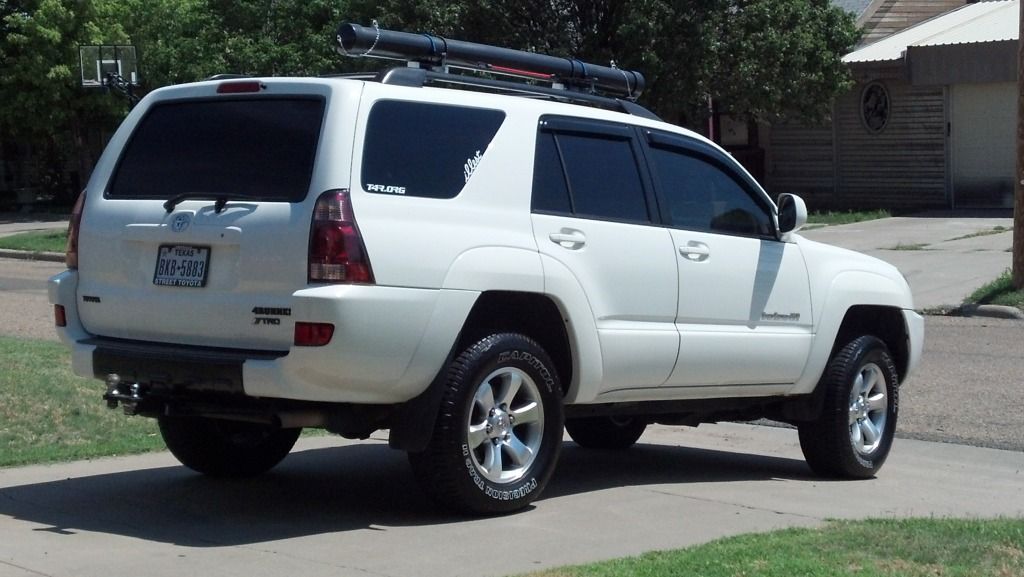
Painted my roof rack and made my rod holders for inside and outside. Tube mainly used for tarp though..
2012-07-24_14-00-56_744.jpg~original

IMG_20130620_114601_980.jpg~original

IMG_20130620_150354_062.jpg~original


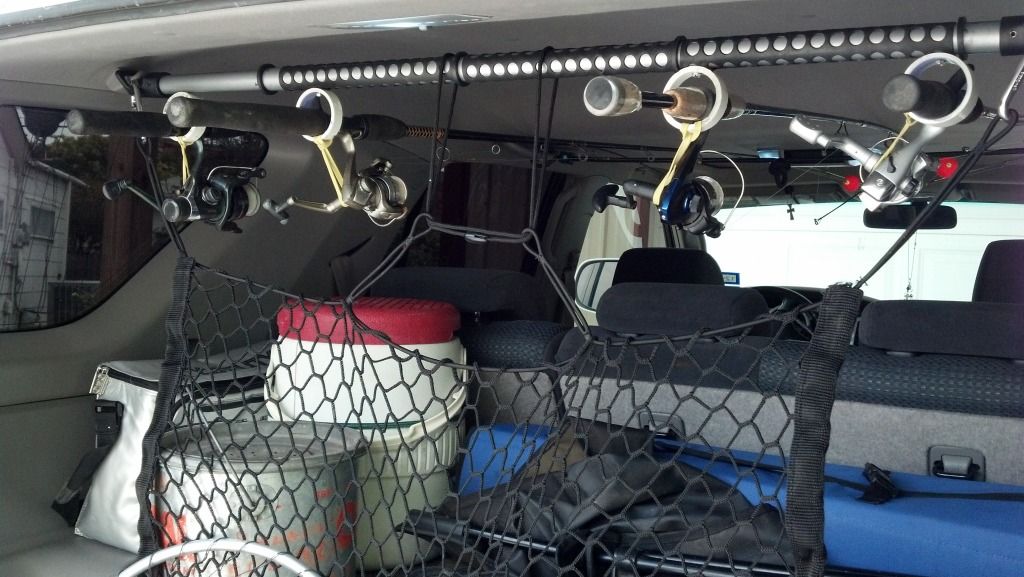
Made my own homemade fishing rod holder with 1&1/2 inch PVC and an aluminum clothes hanger rod from walmart..
IMG_20130620_150315_481.jpg~original


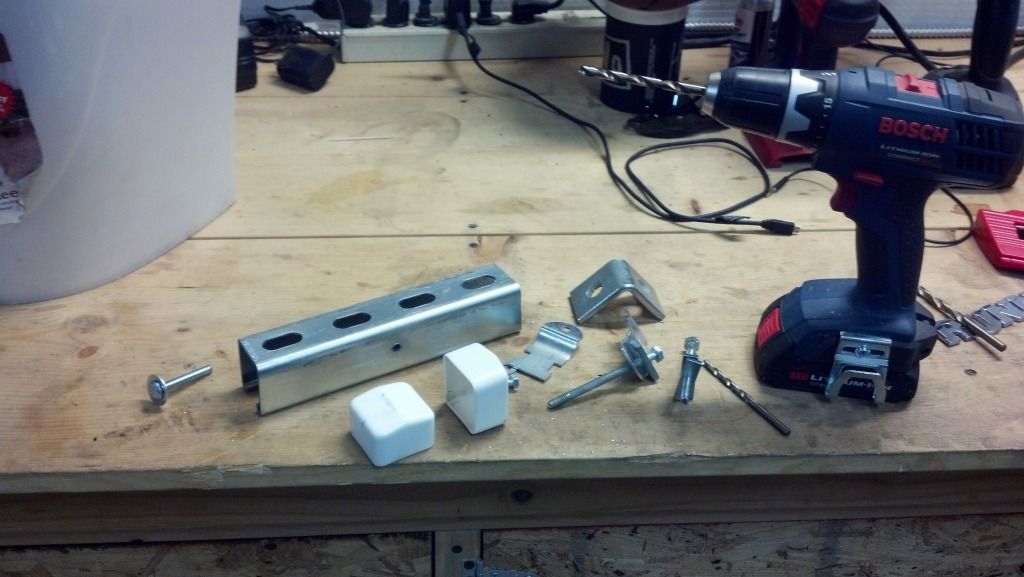
Also trying to come up with some brackets to place my PVC rod holder on my roof rack to eventually have it to where I can use it then take it off easily..
IMG_20130621_201004_664.jpg~original


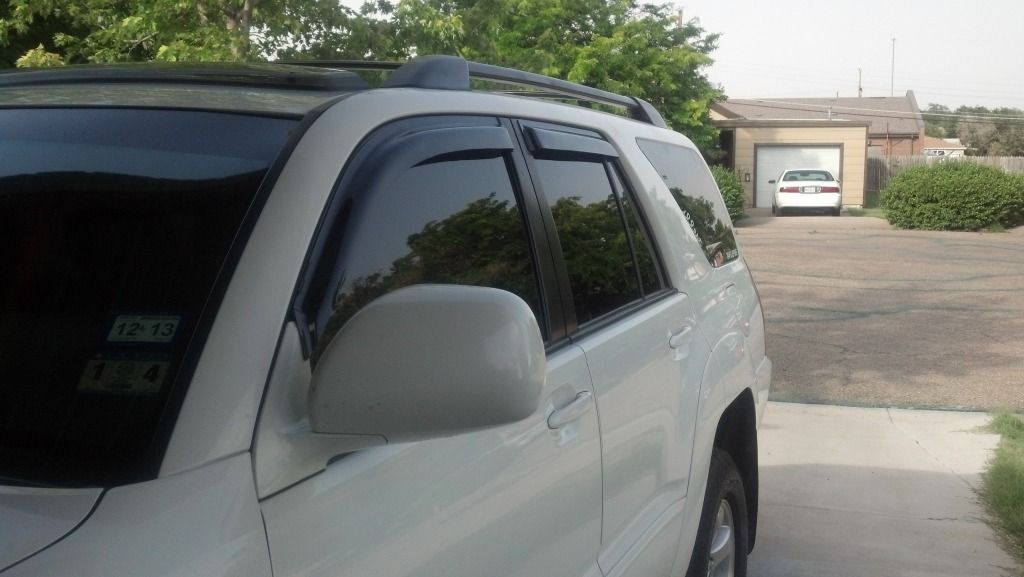
Also got my window vent visors on.. I use the 3m type. I know they aren't the popular ones to use but they're less of a hassle for me.. Any other ideas are welcome and appreciated.. Next I think is more lights.. I need some reverse LEDs and some under carriage lighting to work with the doors..:)
IMG_20130621_181601_881.jpg~original
 
Last edited:
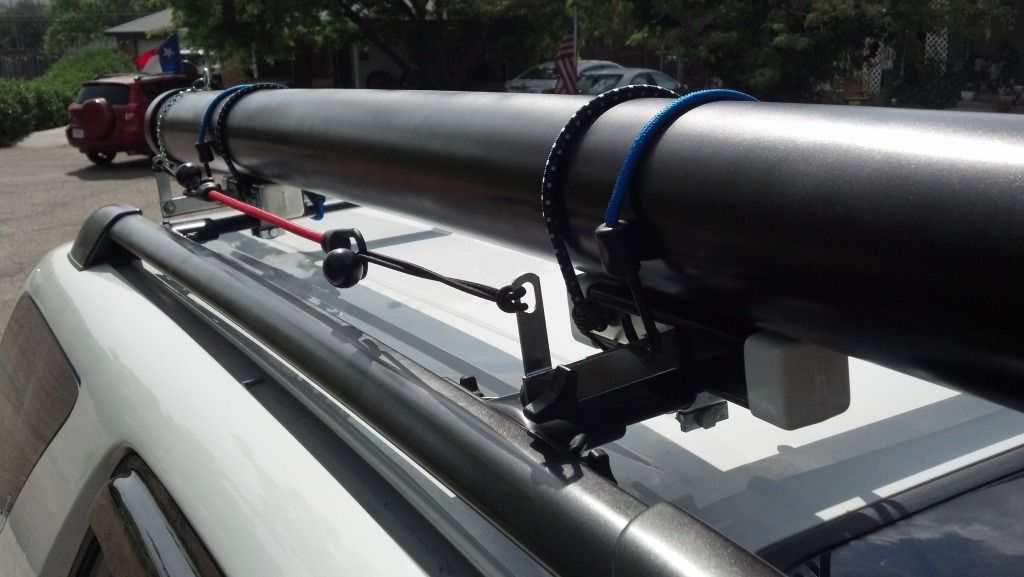
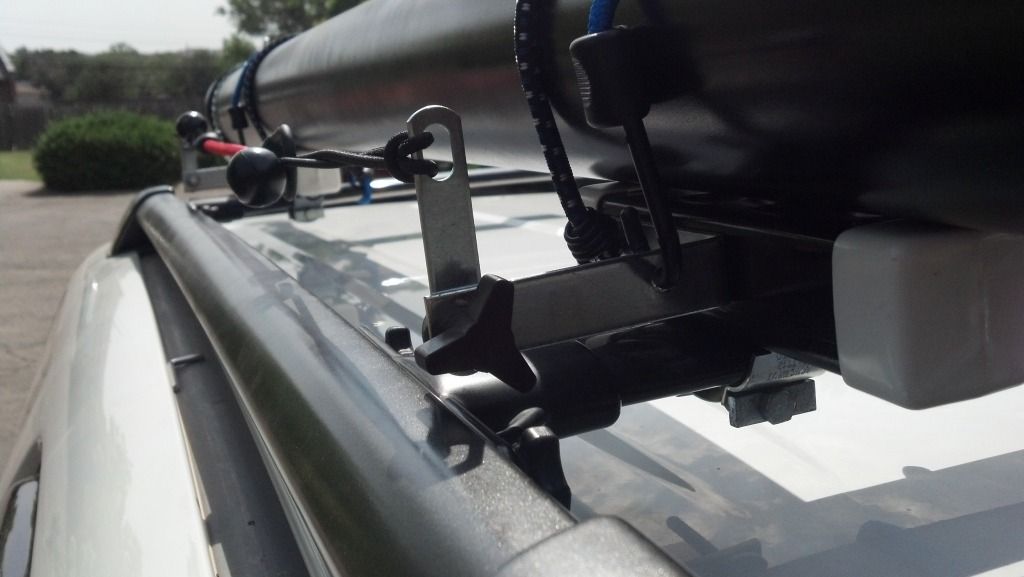
Came up with an idea to use electrical conduit and bungee cords to mount my storage tube..
IMG_20130624_073340_986.jpg~original


Worked great :)
IMG_20130624_102115_042-1.jpg~original

IMG_20130624_102125_455.jpg~original

IMG_20130625_114901_837.jpg~original
 
Last edited:
Those lights come in handy for when hooking this up in the later hours..
IMG_20130806_203810_946.jpg~original


When we go out here :)
IMG_20130706_191340_575.jpg~original
 
Fishing rod

Can you post some more pics of that fishing rod holder? How do you keep em up in the front? I need to do this
 
Can you post some more pics of that fishing rod holder? How do you keep em up in the front? I need to do this

I looked at a thousand ideas and most were good, but this one used the least amount of space.. Just cut a piece of 1 1/2 inch PVC tubing into 2 inch rings and used a drill to drill holes both on hanger and on rings.. Then got some rubber bands to hold rods in place.. not the fanciest but i like it so far.. it's worked out so good I ended up using my tube on top for a tarp:becky:
They sell those hangers at walmart for cheap..

IMG_20130620_150315_481.jpg~original
 

Members online

Forum statistics

Threads
278,304
Messages
3,554,041
Members
248,016
Latest member
Advally Service

Trending content

Back
Top