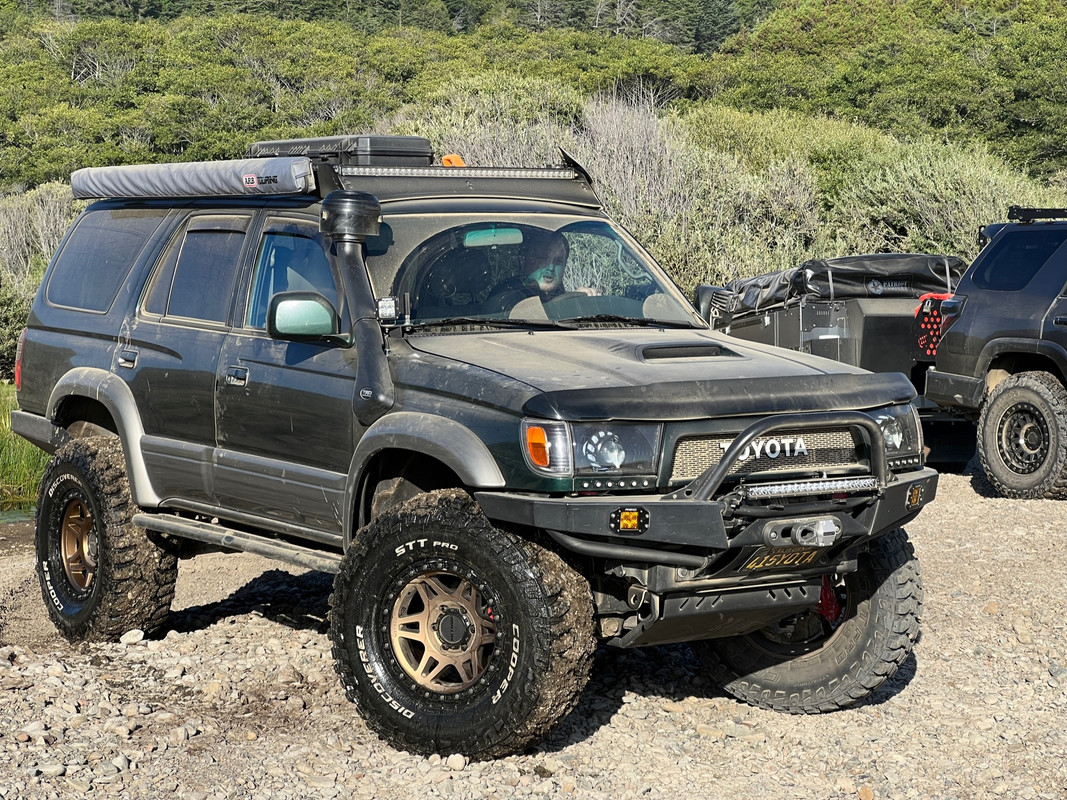
415Yota’s Build

I love all of the well thought out mods and upgrades. Makes me wish I was 3D print capable! (Well, at home anyways)
 
Updates for days

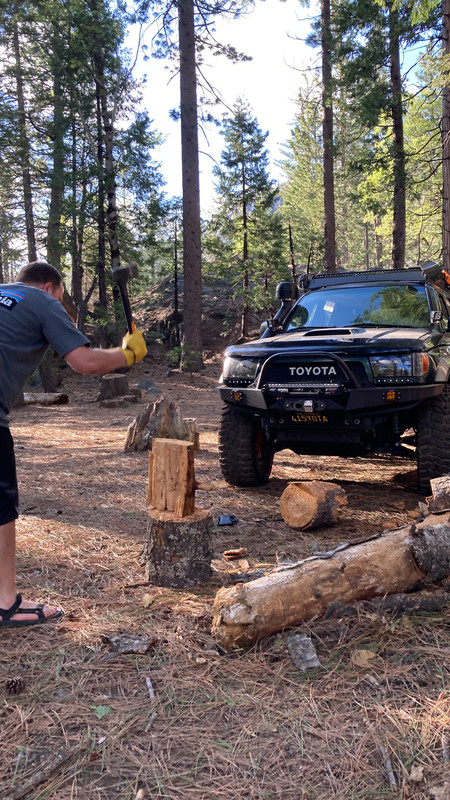
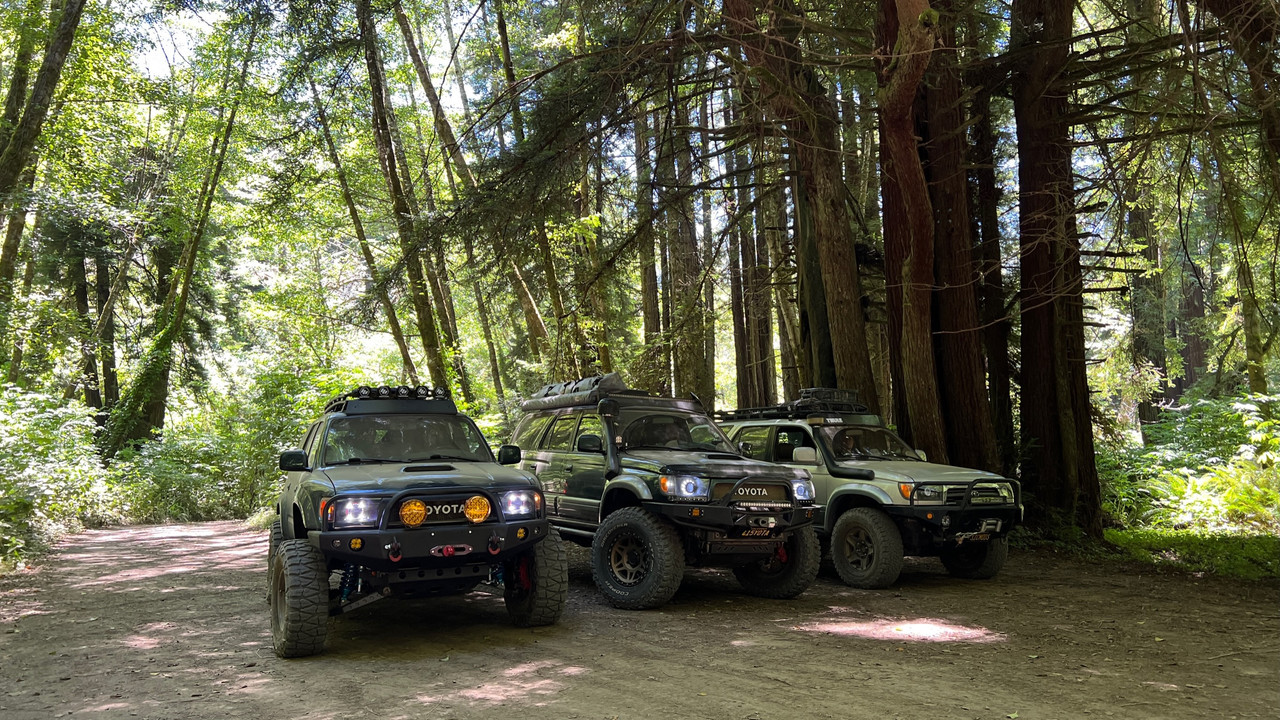
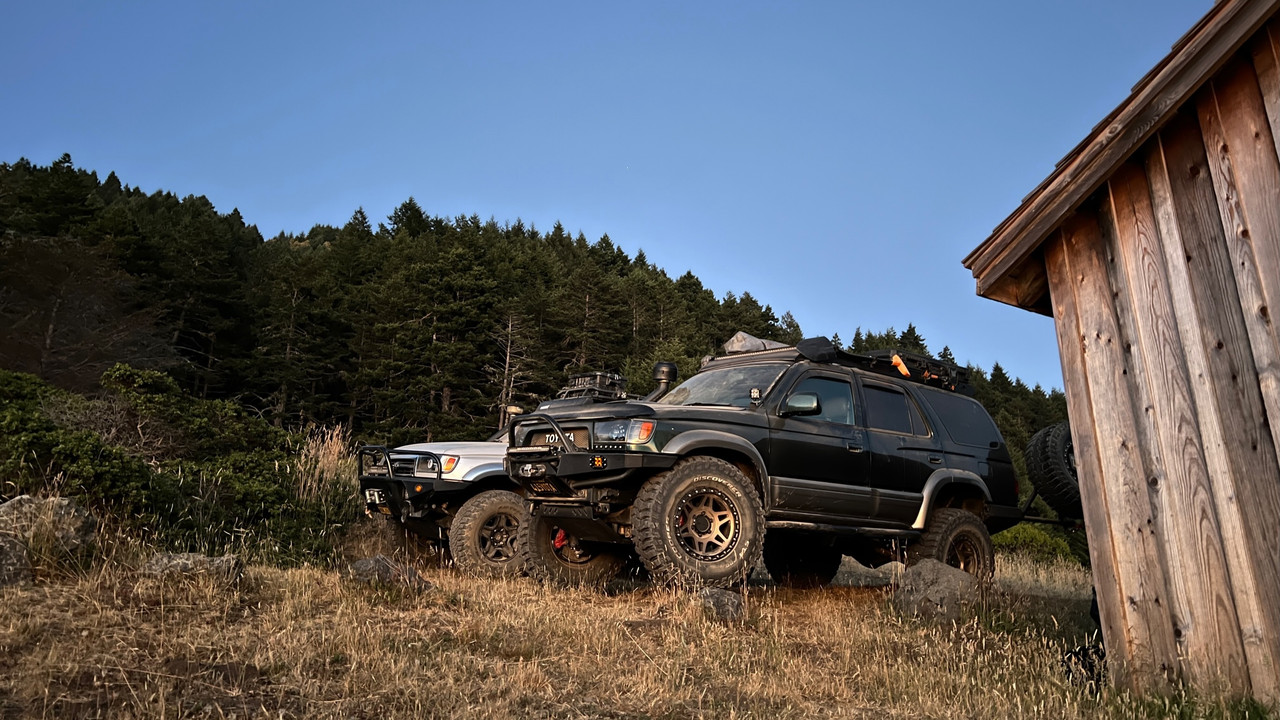
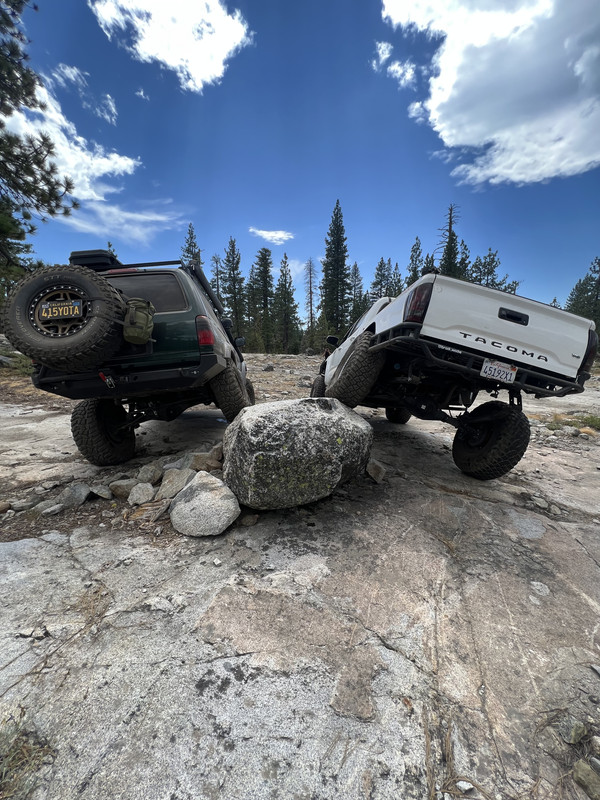
Have gone on a bunch of trips this year so far and hopefully more to come.

5-FD74838-060-B-4538-ABB9-A02-CF18-A7998.jpg


IMG-0352.jpg


IMG-0567.jpg


IMG-1611.jpg


IMG-6851.jpg


Got the supercharger installed, this thing works great going up hills, can definitely tell it needs fuel mods to make it happy though. 7th injector setup coming soon?

70563985987-80-FE9-A91-E8-C0-4-A2-D-9-A49-D541-ACD036-E7.jpg


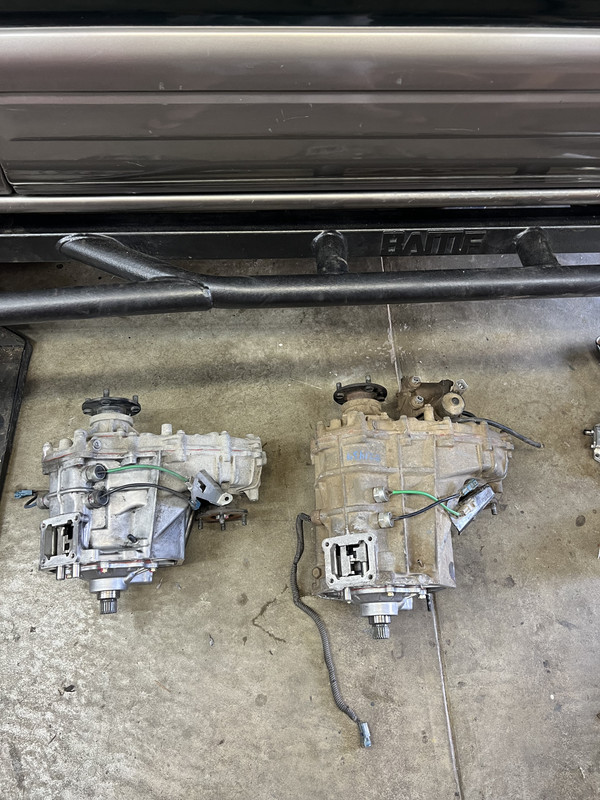
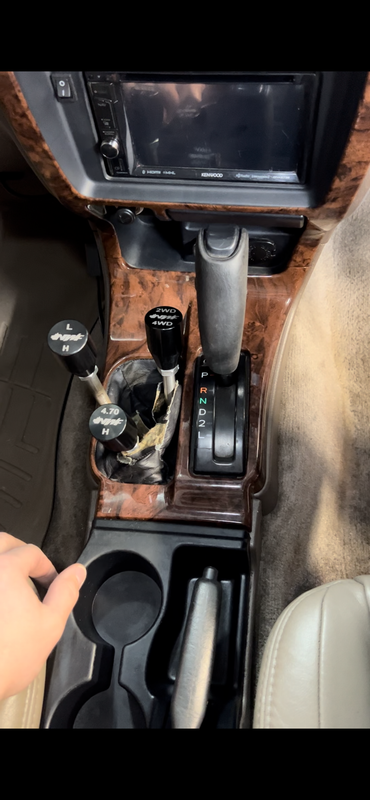
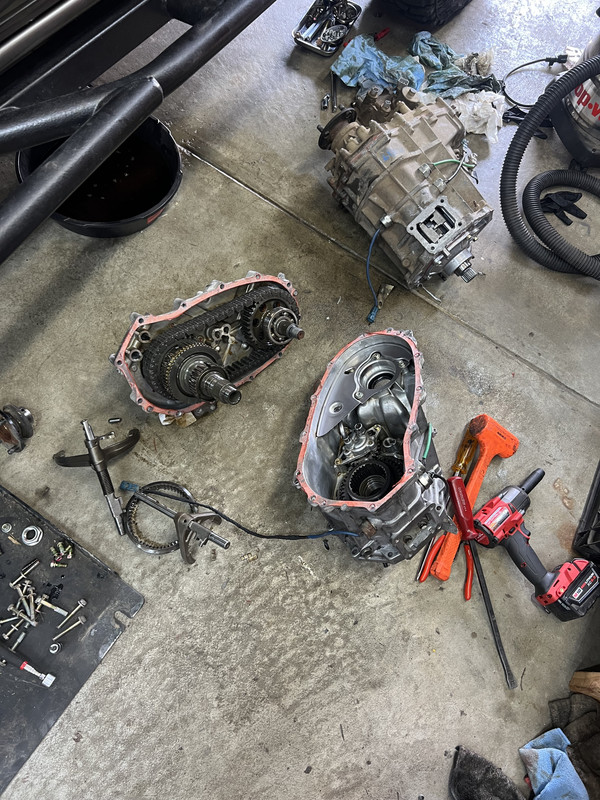
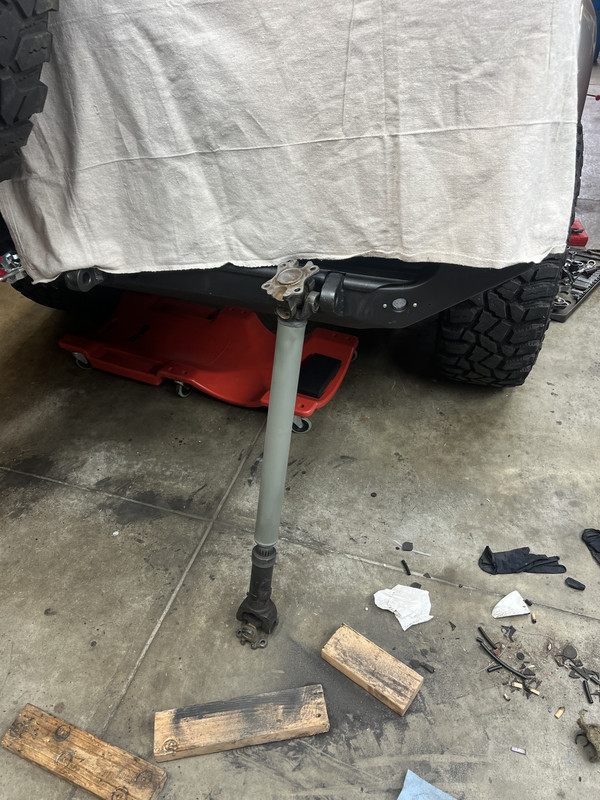
Got the Jshift tcase installed in place of the multimode and installed the triple shifters as well. Had to shorten my front driveshaft by roughly 3”, found out that a 1.75” OD steel tube fits perfect inside the driveshaft tube (Tom woods, not oem) and so I was able to use that to keep the driveshaft straight when cutting/rewelding together.

IMG-6406.jpg


IMG-6884.png


If you want to be able to do 2lo with the triple shifter you must take the tcase apart and remove/modify a couple things.

IMG-6408.jpg


After it was shortened

IMG-6484.jpg


Forgot to bring a cigarette charger on a week long trip and decided it was time to replace them with usb-c/usb chargers. Had to file out the holes just a tiny bit but they fit almost perfect.

71262557861-B5-C84-A3-E-F156-4-A61-A313-8276-BD8-D7696.jpg


Got one of these dohickys

70622826740-6-EBFB172-15-A5-4941-99-D8-E961593-A3-F33.jpg


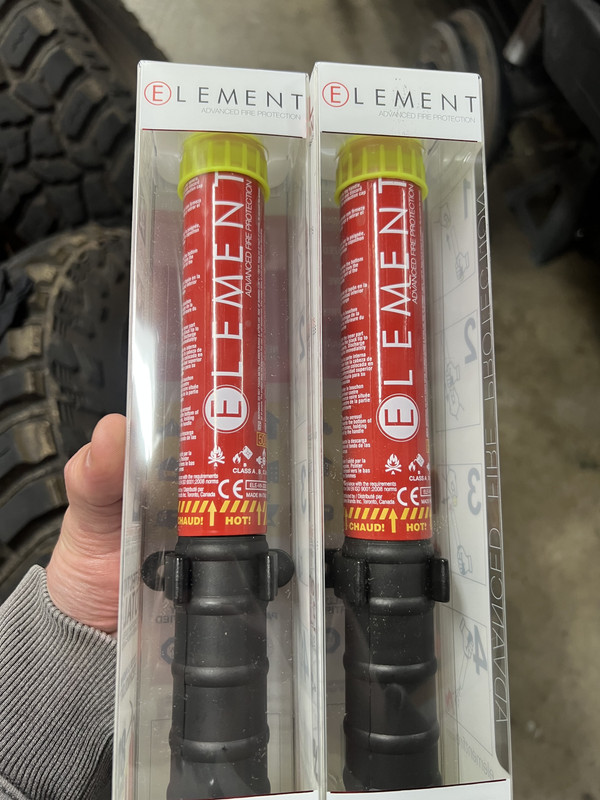
These fire extinguishers are sweet, super compact and supposedly work better than a standard extinguisher. They don’t expire either. Hopefully I’ll never need them but feels good having them. They fit perfect in the front door lower pockets.

IMG-6279.jpg


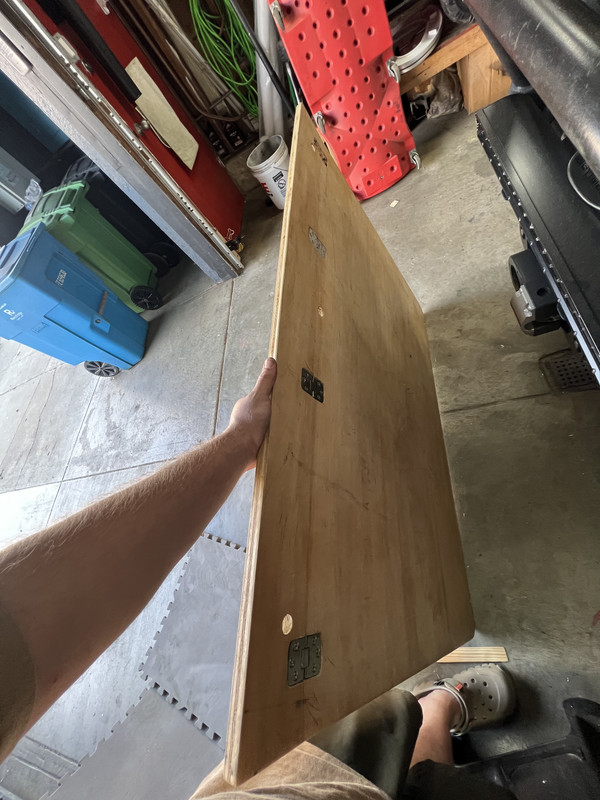
Installed some flush mount marine type hinges on my sleeping platform, this way it’s still a flat piece of plywood but now I can fold up that little flap and it makes it so I can scoot my front seats back all the way without fully tearing down my sleeping setup. This makes a huge difference in being able to go wheeling for the day or finding the next campsite.

IMG-6677.jpg


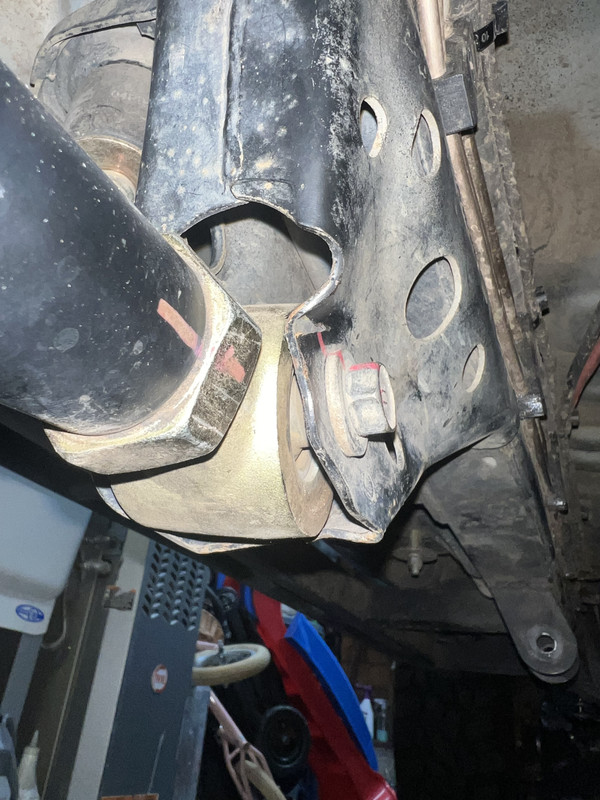
Bent the crap out of my rear lower control arm frame mount, had locust skids installed but they didn’t do a whole lot. Ended up unbending the mount and installing eimkeith skids. Not the prettiest welds but it’ll do.

IMG-6481.jpg


71141769378-318-AF6-C0-21-D6-4322-9-A61-C25887-E4-EAD9.jpg


Found out I got water in my starter and this is what happened when I let it sit. Got a new oem starter installed.

71020393788-E90-E6-D8-E-52-FF-45-B3-91-F9-4-A5375-C57666.jpg


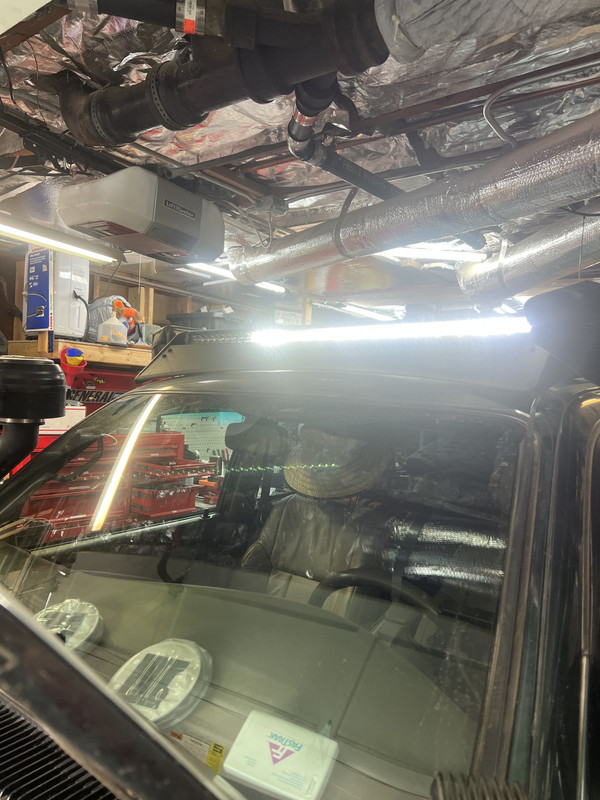
Welp that rigid light bar I got a good deal on had 6 of the leds burn up before I even got to use it, curious what rigid is going to say. I requested a refund directly to rigid on Amazon Friday night. I got it like 3 months ago so it’s not covered by Amazons A-Z warranty anymore. Bummer.


IMG-6881.jpg
 
You've been busy, nice mods. Those eimeith things look much better than the Lotus skids, better coverage and a lot more stout.
 
I’ve been collecting parts for the past few months. Last couple weeks things have been getting pretty serious with my suspension order. Going 1 tons & 40’s. Been a while since I’ve posted here, but here’s some pictures.

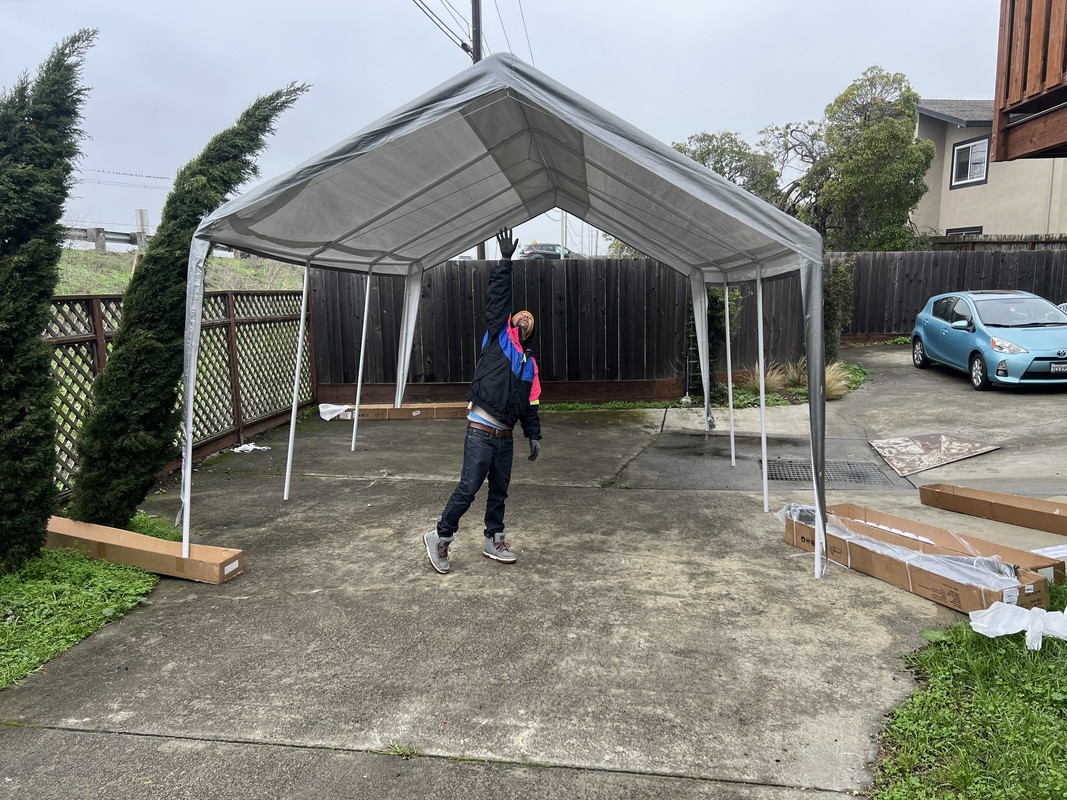
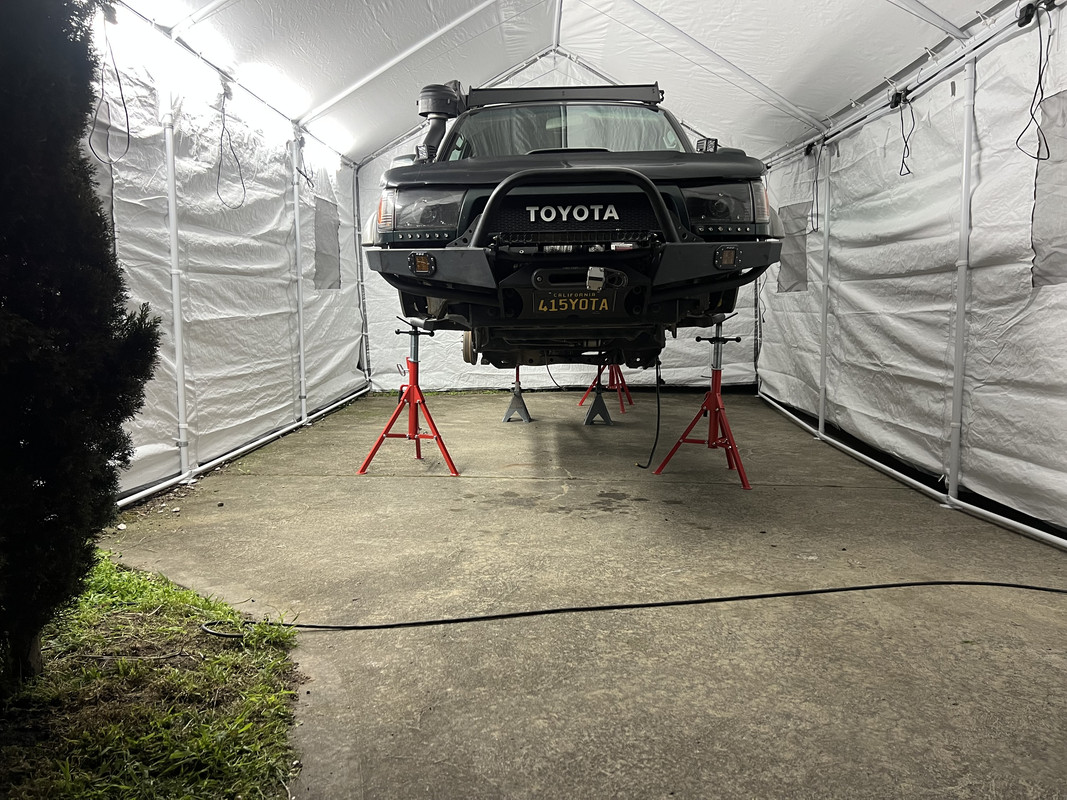
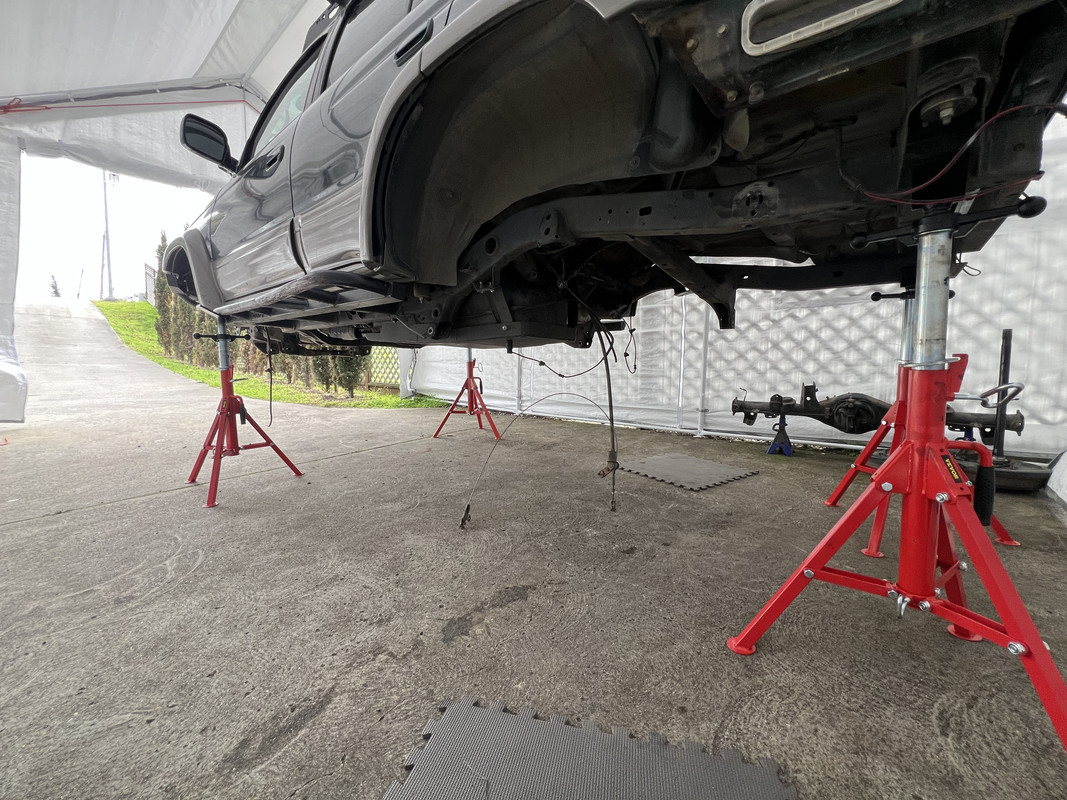
Here’s the carport I’m doing the project in
IMG-0166.jpg


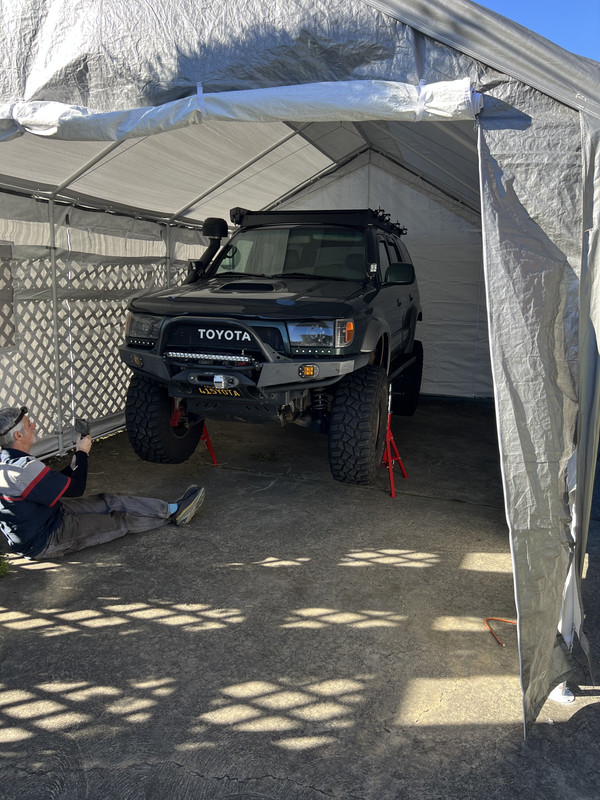
Here’s Tim getting some shots, yes this project will be fully documented on the Timmy the Toolman youtube channel.
IMG-0265.jpg


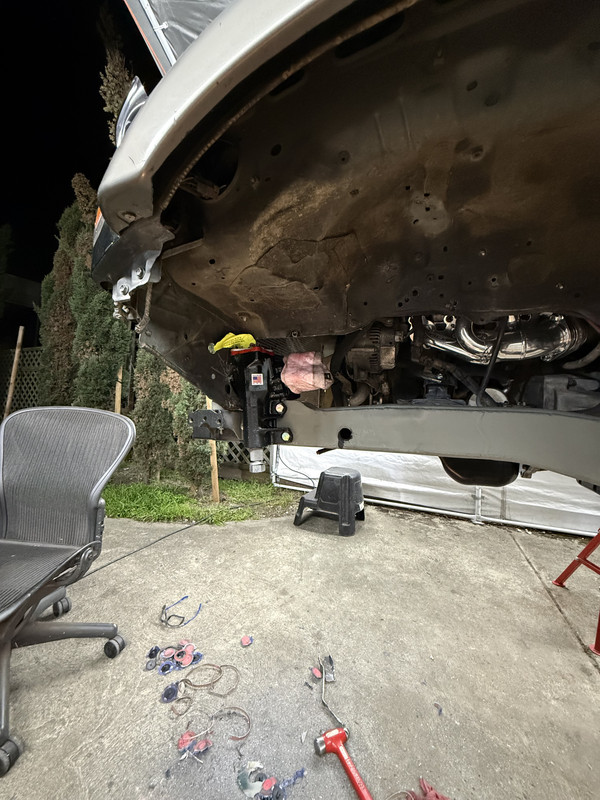
Front suspension removed
IMG-0272.jpg


Rear suspension removed
IMG-0317.jpg


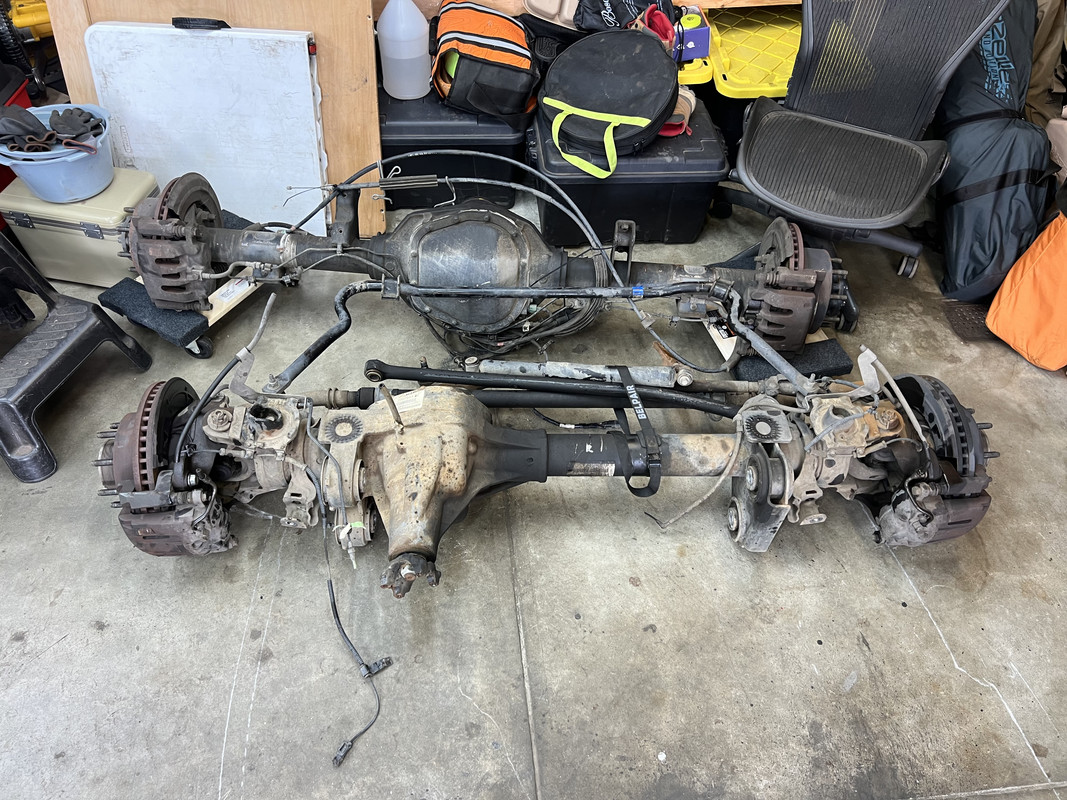
The axles I’ll be using out a 2011 f350 superduty
IMG-9258.jpg


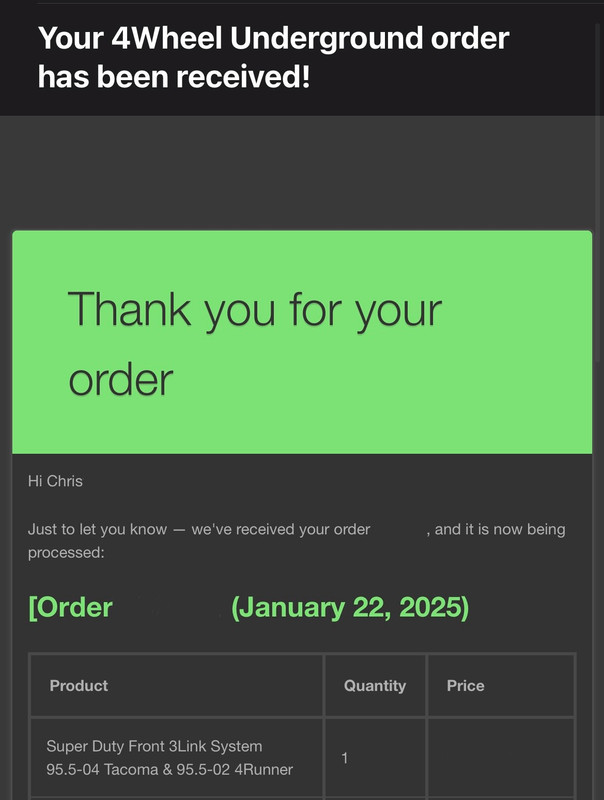
And the grande finale (there’s a lot more in the order aside from the front kit, just going to have to wait and see ;) )
IMG-0377.jpg
 
Ok finally making some progress on this, it’s been quite a while.

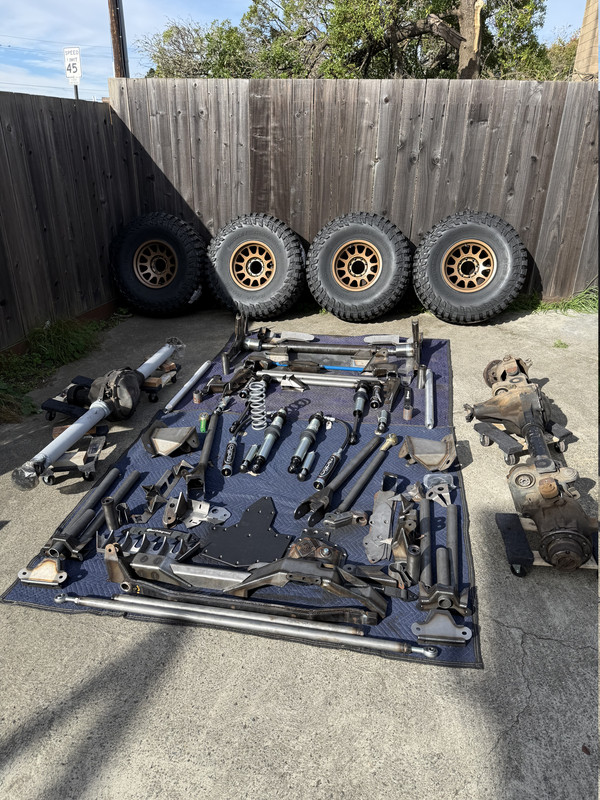
Got all the 4wheelunderground parts laid out
IMG_3678.jpg


Frame plates and steering box installed, wasn’t easy getting enough clearance in the core support lots of trimming involved.
IMG_3771.jpg


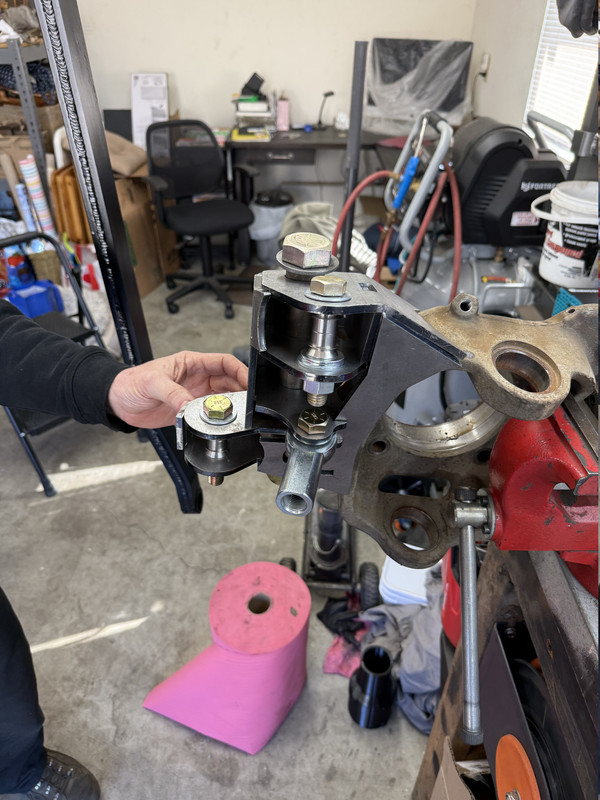
Got the superduty knuckle kit all welded up
IMG_3792.jpg


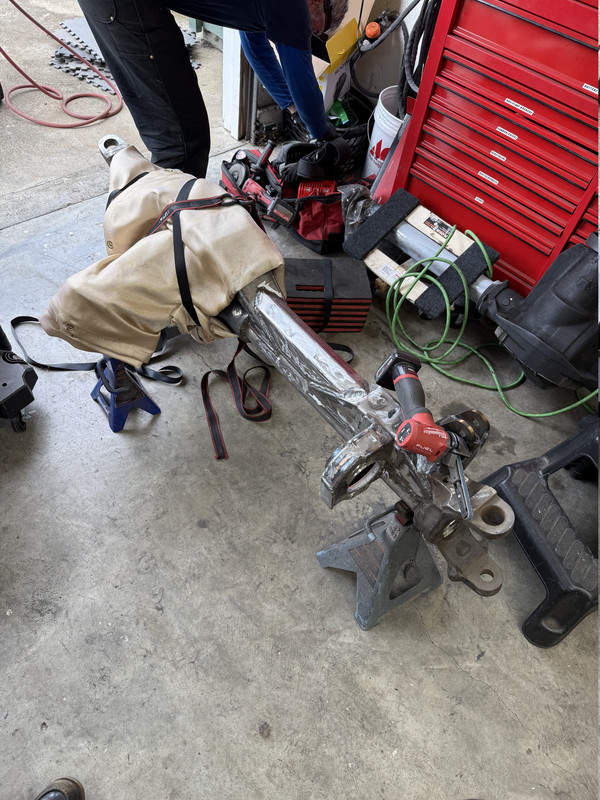
Letting the center section cool slowly after welding the tubes to the cast section
IMG_3808.jpg


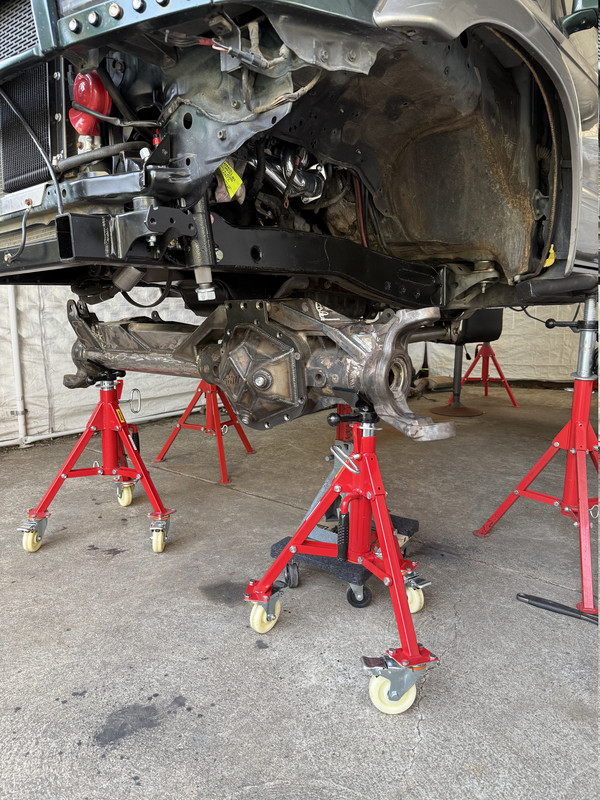
First pic of axle under the truck with lowers hooked up
IMG_3933.jpg


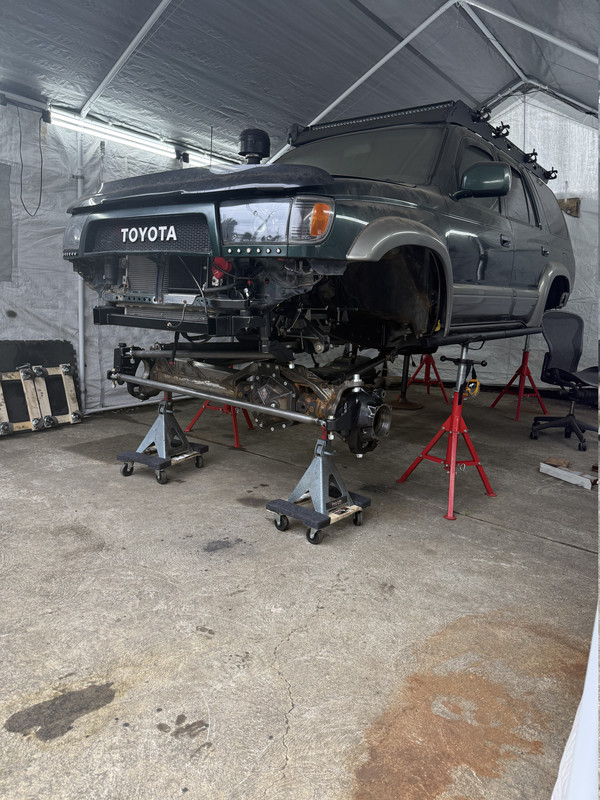
Steering/links/knuckles all mocked up under the truck
IMG_3950.jpg


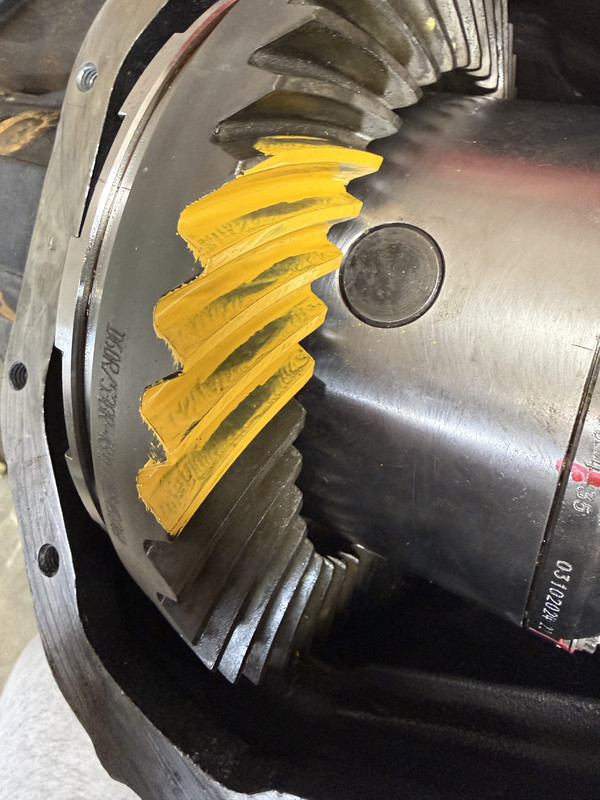
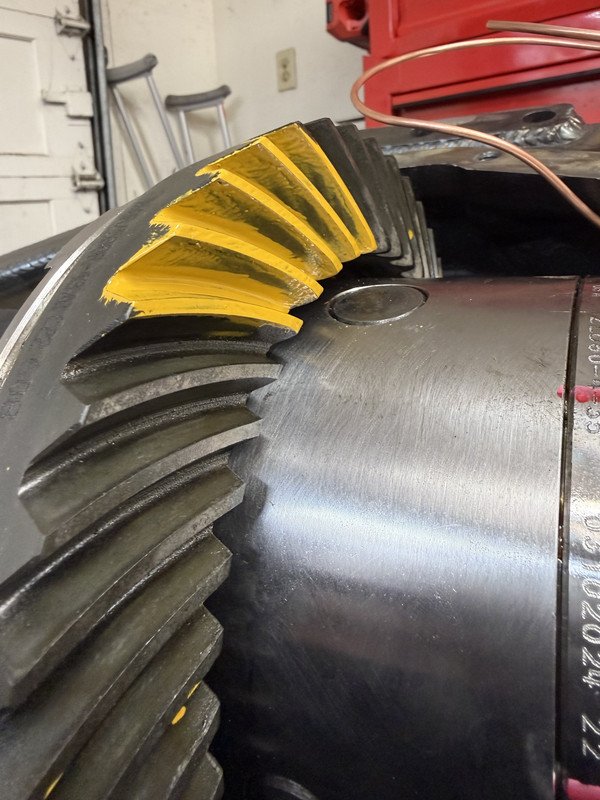
Gear pattern on the front axle came out pretty good I think on the first try
IMG_3987.jpg

IMG_3988.jpg


Next step is getting the front coilovers mocked up and once those are dialed in with the bumpstops I can finish weld everything and paint. Then front will be just about complete.
 

Members online

Forum statistics

Threads
278,312
Messages
3,554,089
Members
248,016
Latest member
Advally Service

Trending content

Back
Top