415Yota’s Build

I love all of the well thought out mods and upgrades. Makes me wish I was 3D print capable! (Well, at home anyways)
 
Updates for days

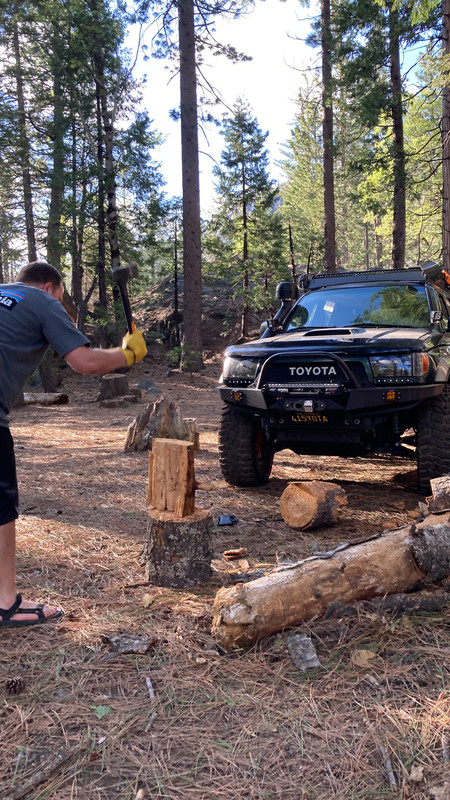
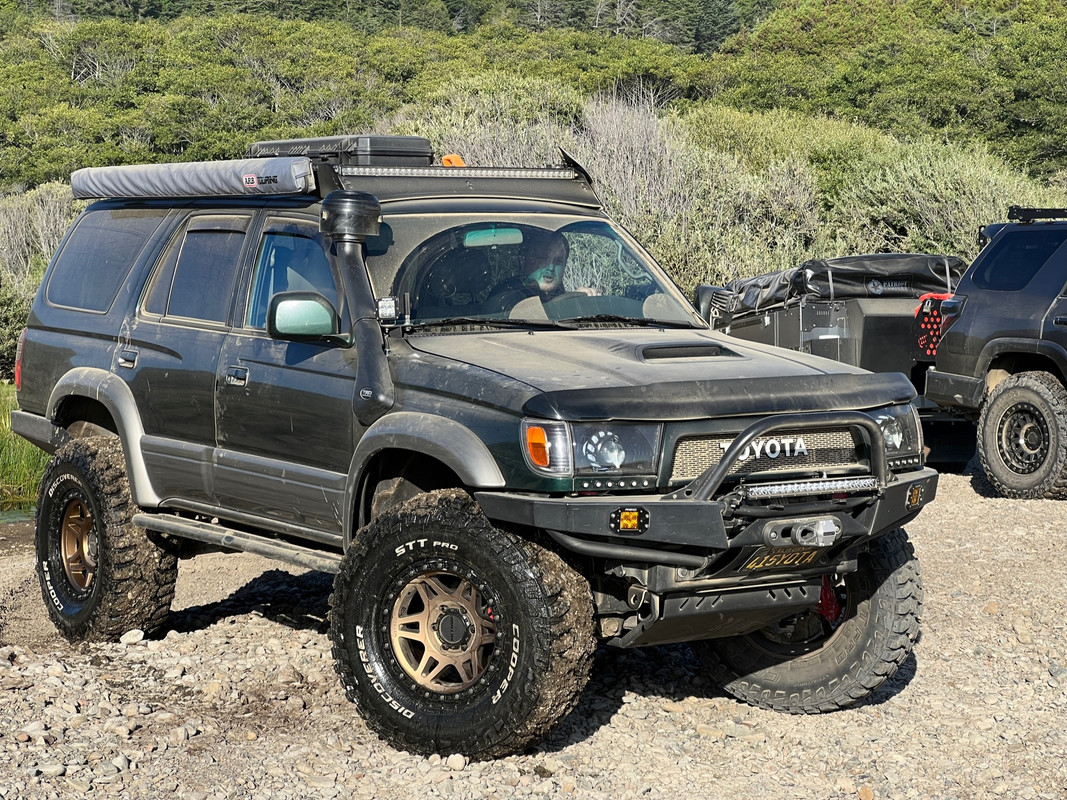
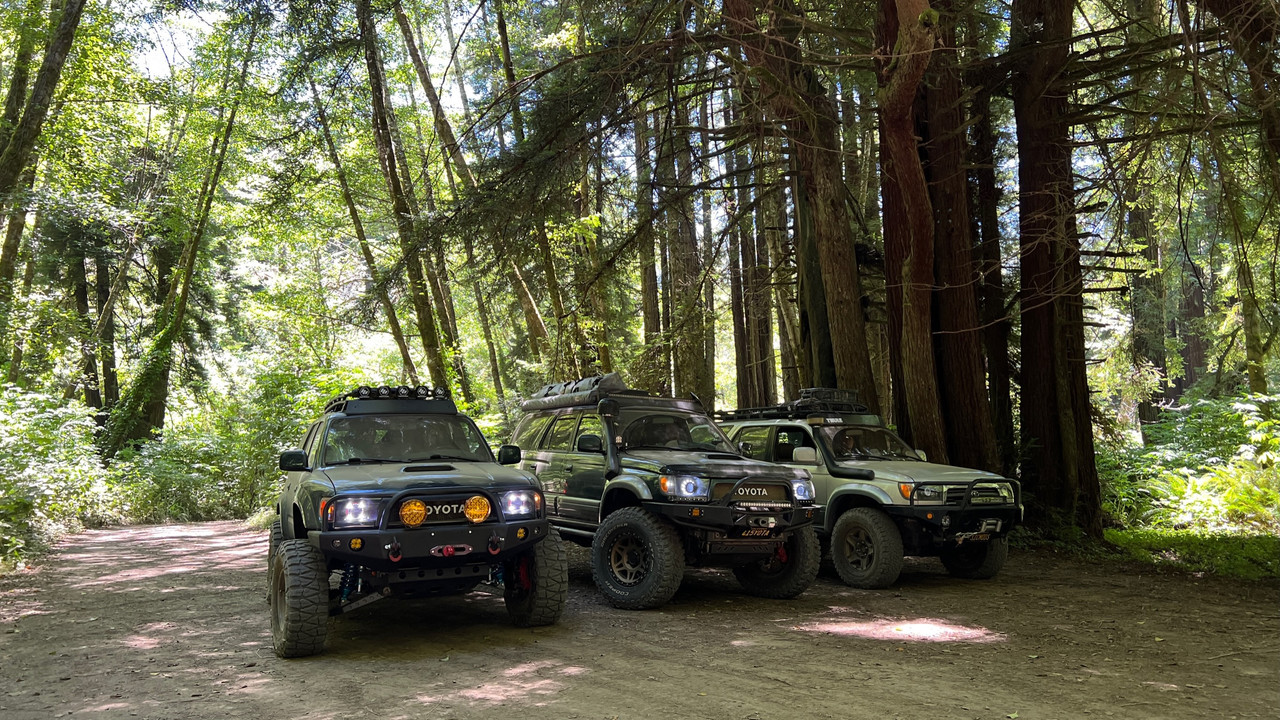
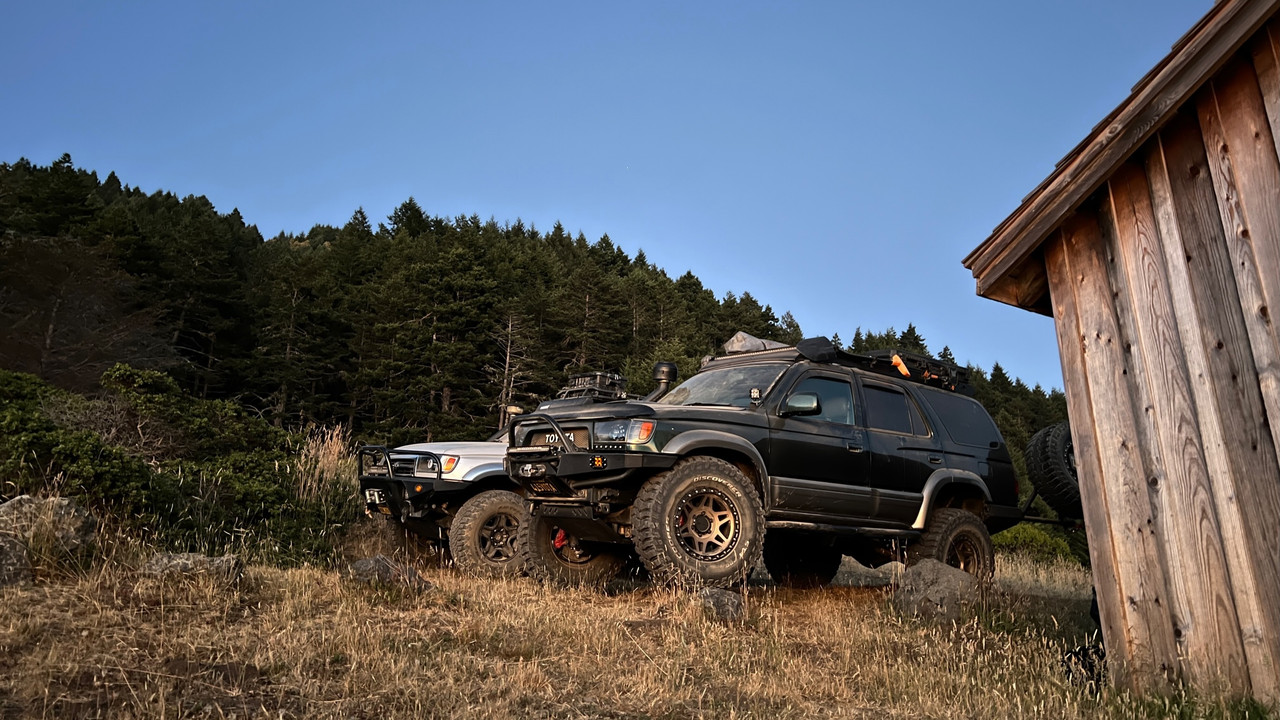
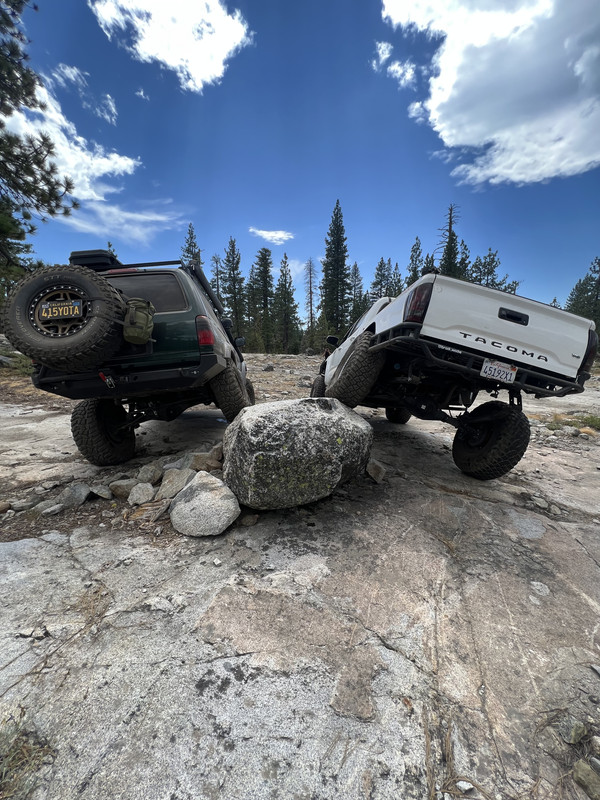
Have gone on a bunch of trips this year so far and hopefully more to come.

5-FD74838-060-B-4538-ABB9-A02-CF18-A7998.jpg


IMG-0352.jpg


IMG-0567.jpg


IMG-1611.jpg


IMG-6851.jpg


Got the supercharger installed, this thing works great going up hills, can definitely tell it needs fuel mods to make it happy though. 7th injector setup coming soon?

70563985987-80-FE9-A91-E8-C0-4-A2-D-9-A49-D541-ACD036-E7.jpg


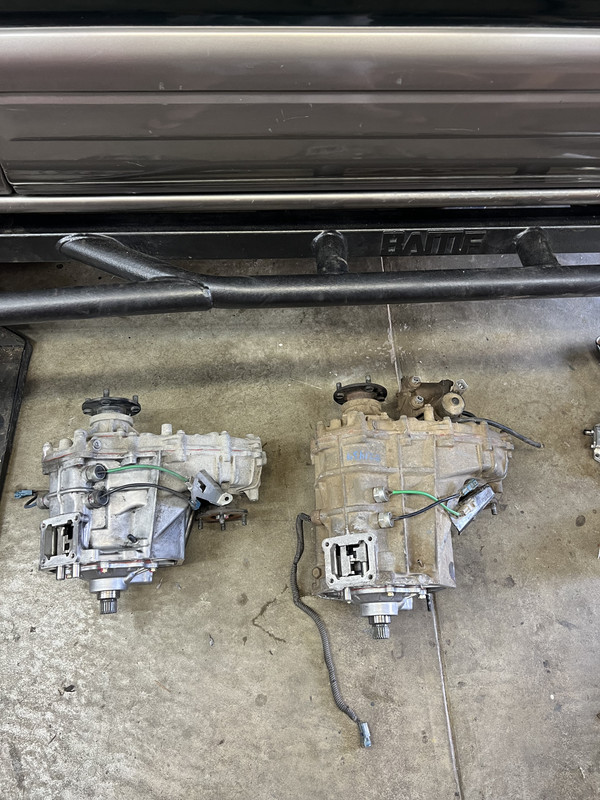
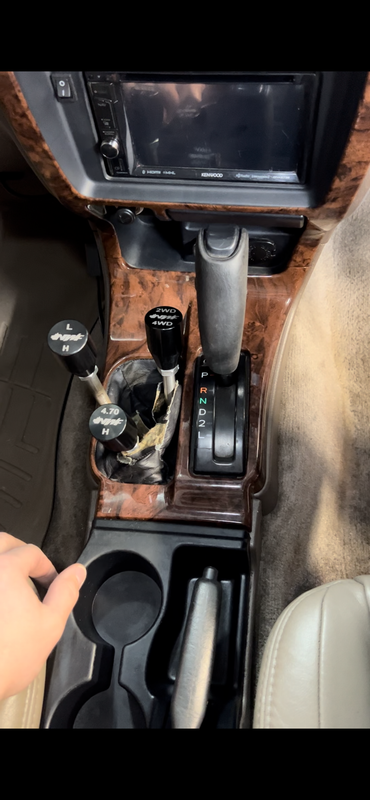
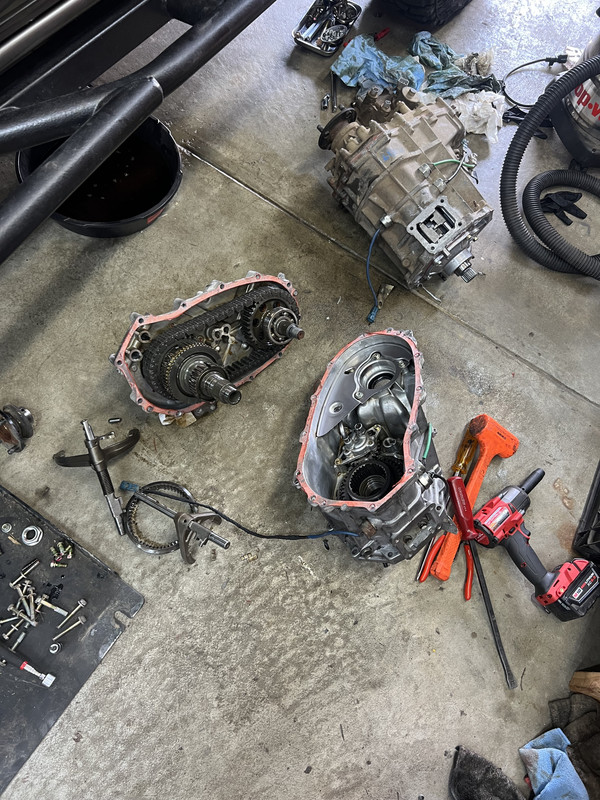
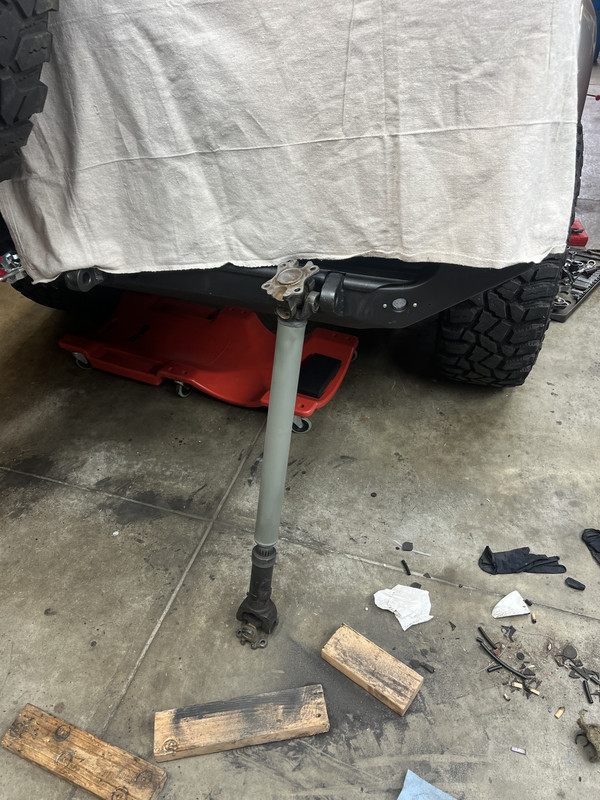
Got the Jshift tcase installed in place of the multimode and installed the triple shifters as well. Had to shorten my front driveshaft by roughly 3”, found out that a 1.75” OD steel tube fits perfect inside the driveshaft tube (Tom woods, not oem) and so I was able to use that to keep the driveshaft straight when cutting/rewelding together.

IMG-6406.jpg


IMG-6884.png


If you want to be able to do 2lo with the triple shifter you must take the tcase apart and remove/modify a couple things.

IMG-6408.jpg


After it was shortened

IMG-6484.jpg


Forgot to bring a cigarette charger on a week long trip and decided it was time to replace them with usb-c/usb chargers. Had to file out the holes just a tiny bit but they fit almost perfect.

71262557861-B5-C84-A3-E-F156-4-A61-A313-8276-BD8-D7696.jpg


Got one of these dohickys

70622826740-6-EBFB172-15-A5-4941-99-D8-E961593-A3-F33.jpg


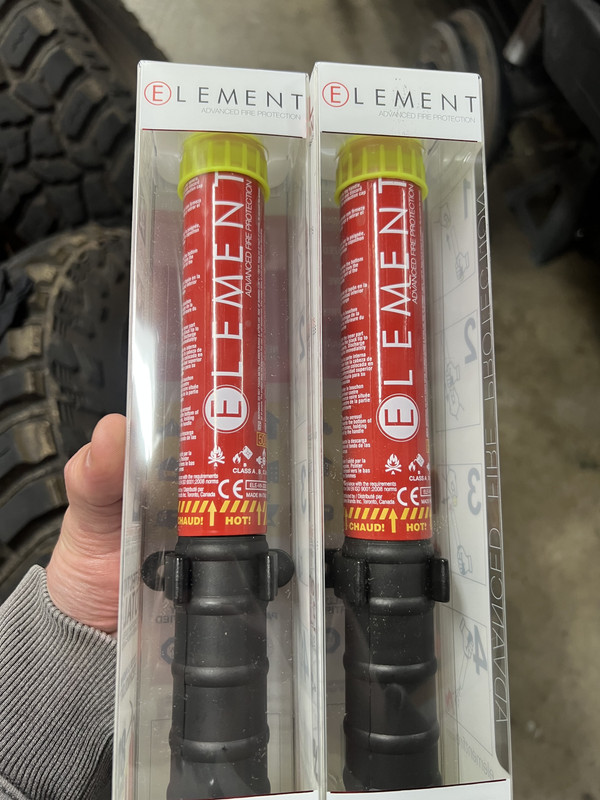
These fire extinguishers are sweet, super compact and supposedly work better than a standard extinguisher. They don’t expire either. Hopefully I’ll never need them but feels good having them. They fit perfect in the front door lower pockets.

IMG-6279.jpg


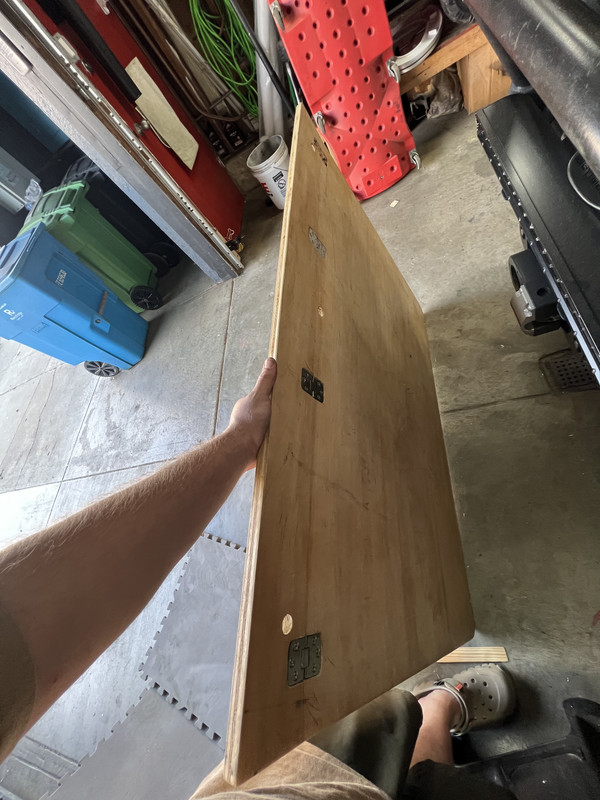
Installed some flush mount marine type hinges on my sleeping platform, this way it’s still a flat piece of plywood but now I can fold up that little flap and it makes it so I can scoot my front seats back all the way without fully tearing down my sleeping setup. This makes a huge difference in being able to go wheeling for the day or finding the next campsite.

IMG-6677.jpg


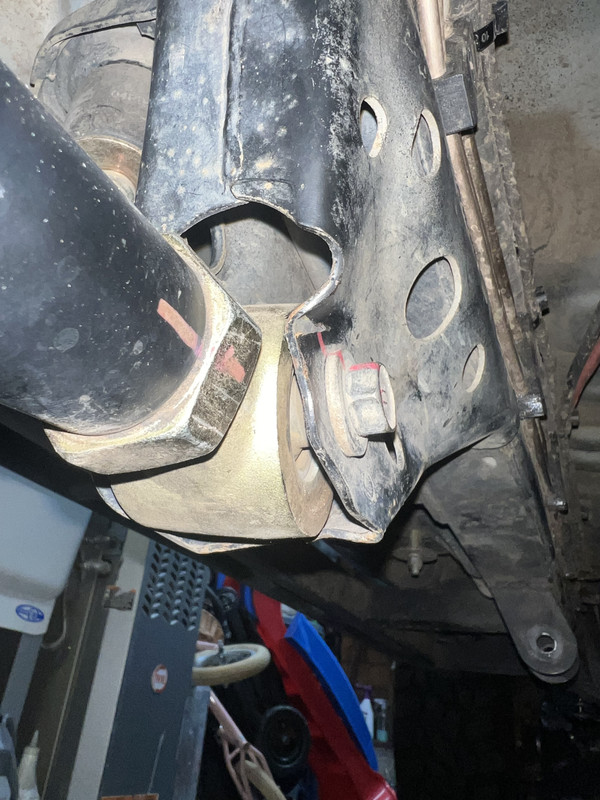
Bent the crap out of my rear lower control arm frame mount, had locust skids installed but they didn’t do a whole lot. Ended up unbending the mount and installing eimkeith skids. Not the prettiest welds but it’ll do.

IMG-6481.jpg


71141769378-318-AF6-C0-21-D6-4322-9-A61-C25887-E4-EAD9.jpg


Found out I got water in my starter and this is what happened when I let it sit. Got a new oem starter installed.

71020393788-E90-E6-D8-E-52-FF-45-B3-91-F9-4-A5375-C57666.jpg


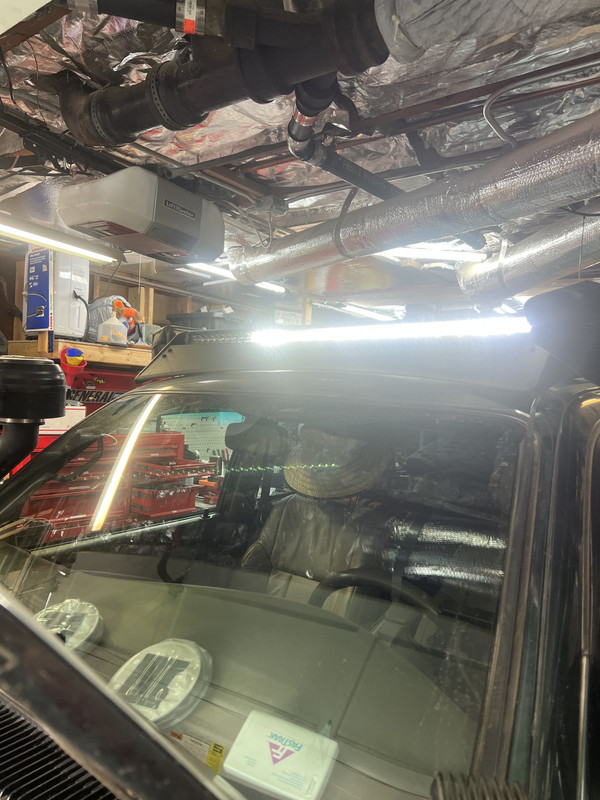
Welp that rigid light bar I got a good deal on had 6 of the leds burn up before I even got to use it, curious what rigid is going to say. I requested a refund directly to rigid on Amazon Friday night. I got it like 3 months ago so it’s not covered by Amazons A-Z warranty anymore. Bummer.


IMG-6881.jpg
 
You've been busy, nice mods. Those eimeith things look much better than the Lotus skids, better coverage and a lot more stout.
 
I’ve been collecting parts for the past few months. Last couple weeks things have been getting pretty serious with my suspension order. Going 1 tons & 40’s. Been a while since I’ve posted here, but here’s some pictures.

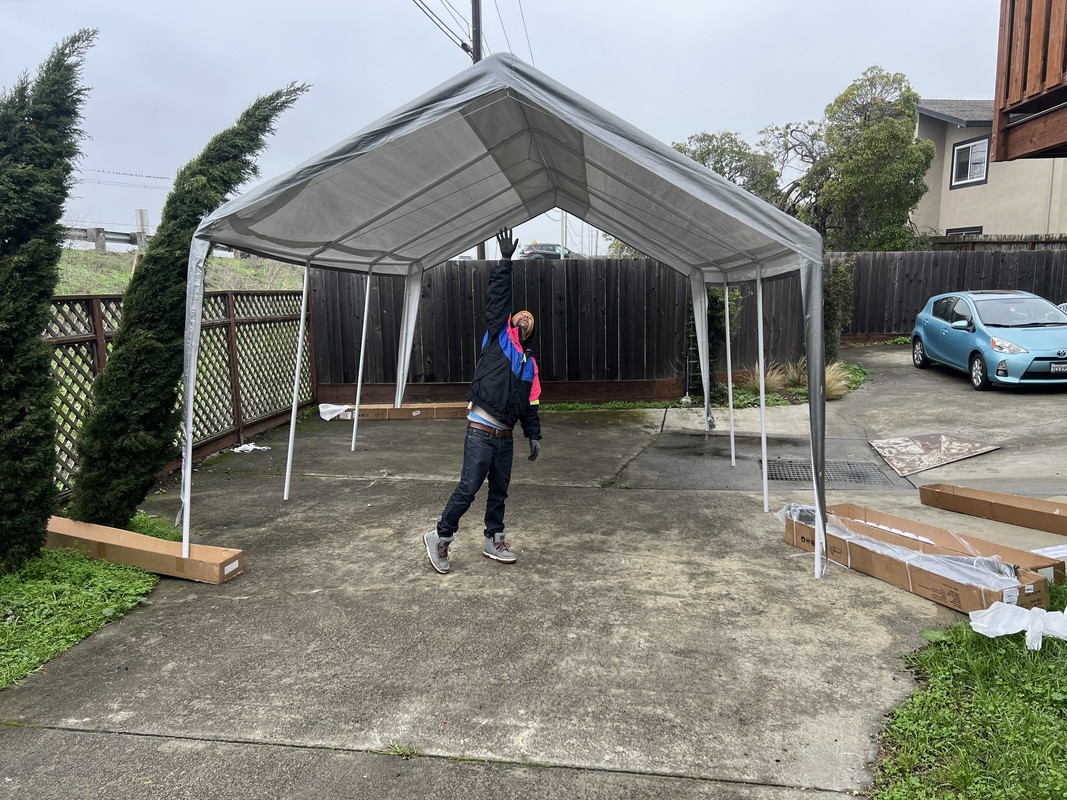
Here’s the carport I’m doing the project in
IMG-0166.jpg


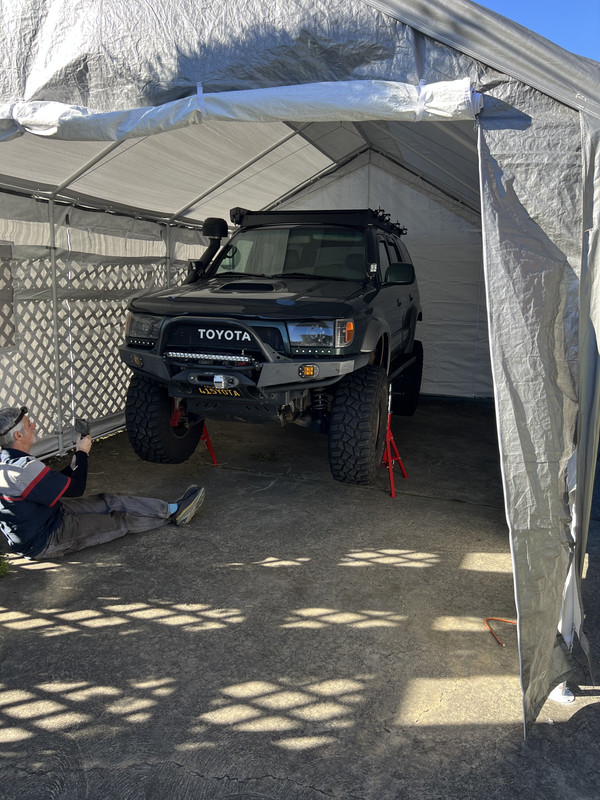
Here’s Tim getting some shots, yes this project will be fully documented on the Timmy the Toolman youtube channel.
IMG-0265.jpg


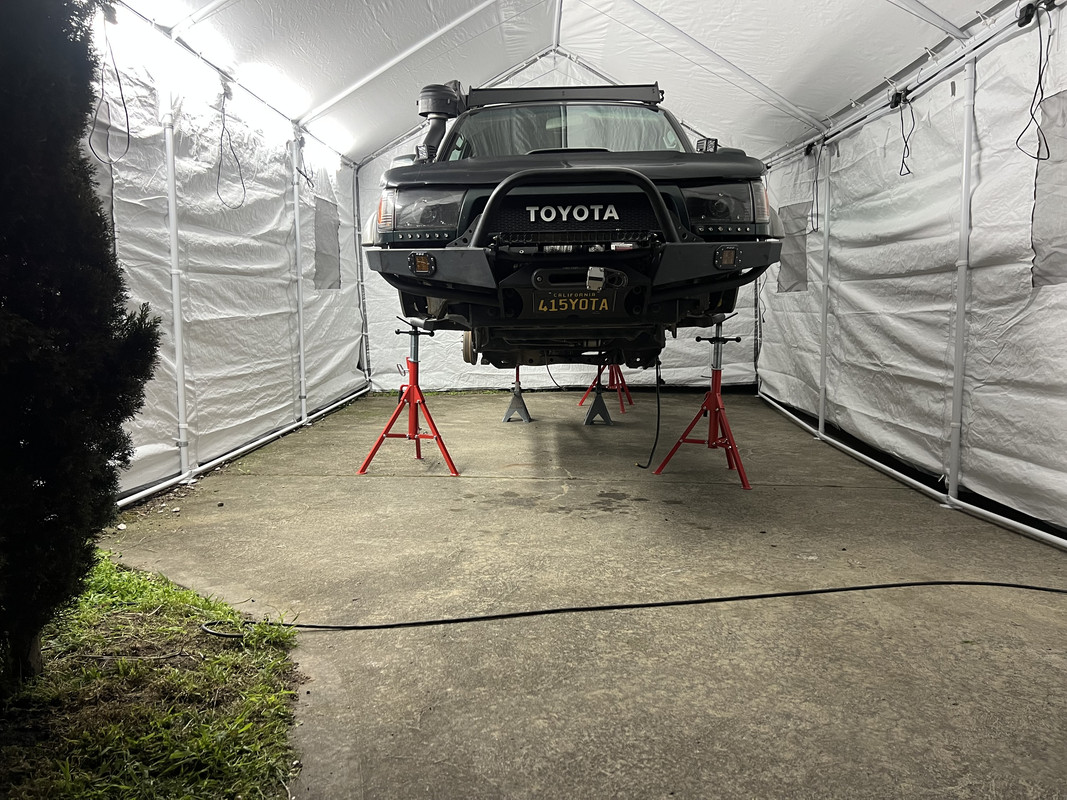
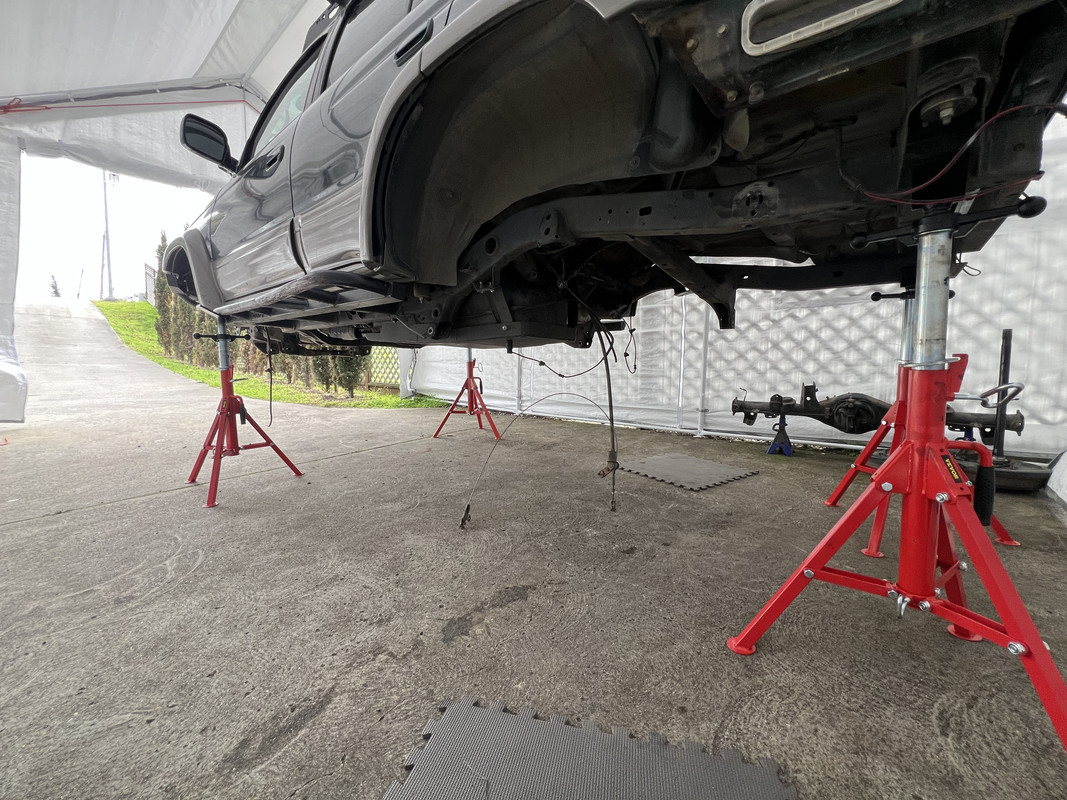
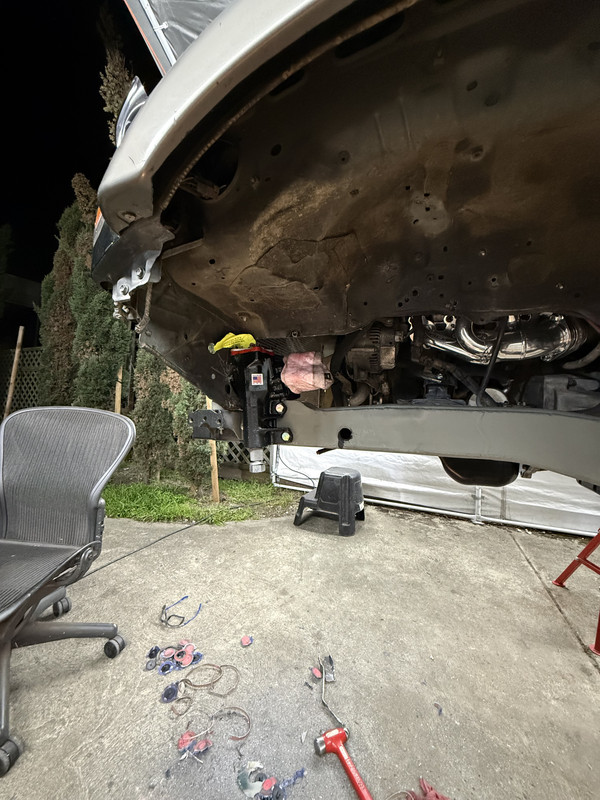
Front suspension removed
IMG-0272.jpg


Rear suspension removed
IMG-0317.jpg


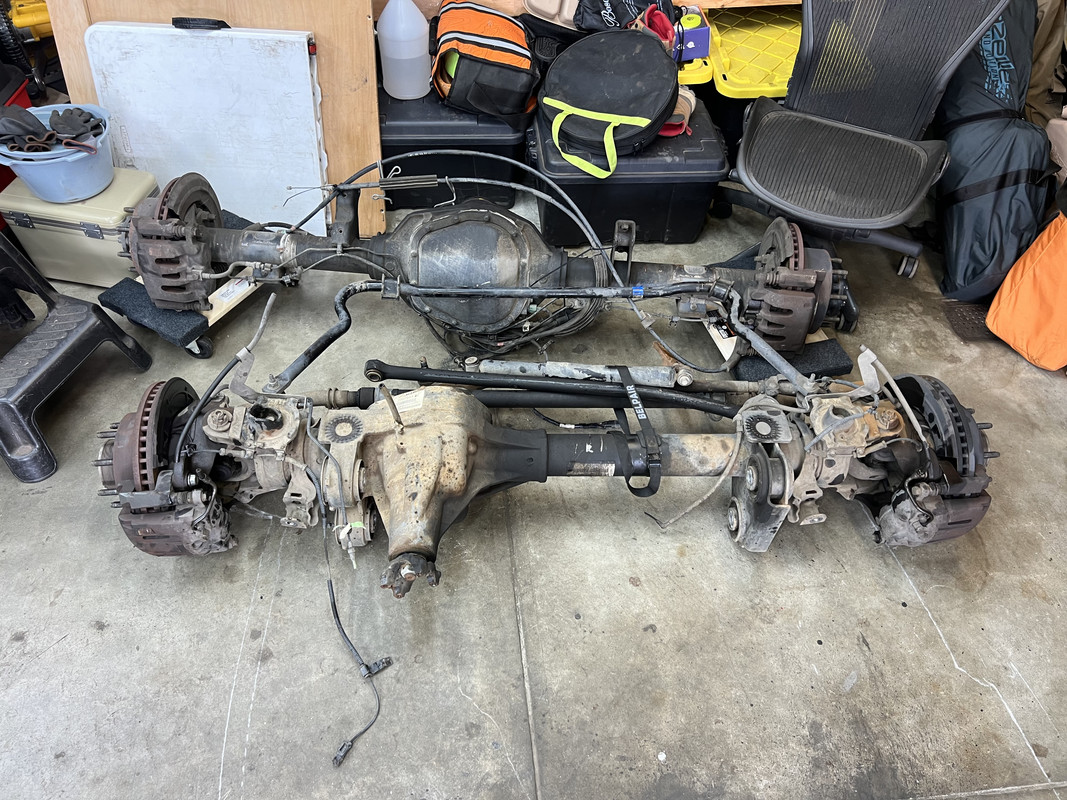
The axles I’ll be using out a 2011 f350 superduty
IMG-9258.jpg


And the grande finale (there’s a lot more in the order aside from the front kit, just going to have to wait and see ;) )
IMG-0377.jpg
 
Ok finally making some progress on this, it’s been quite a while.

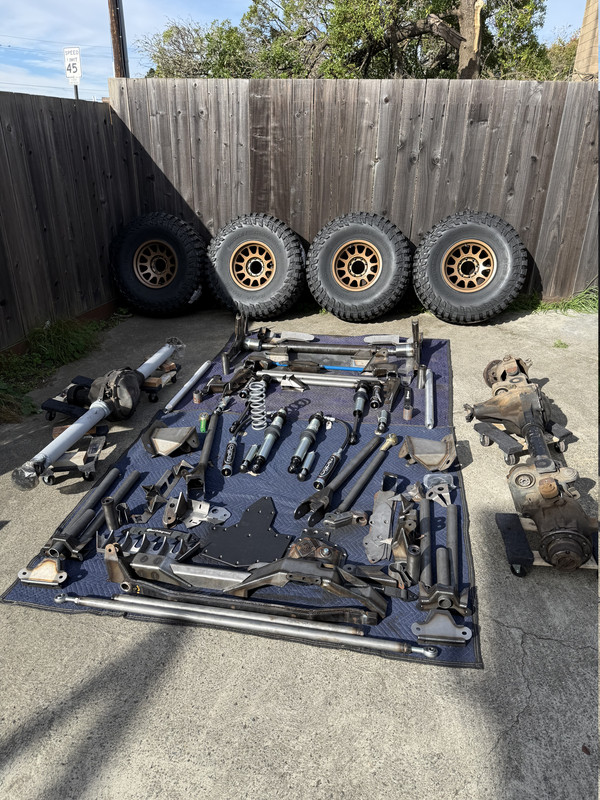
Got all the 4wheelunderground parts laid out
IMG_3678.jpg


Frame plates and steering box installed, wasn’t easy getting enough clearance in the core support lots of trimming involved.
IMG_3771.jpg


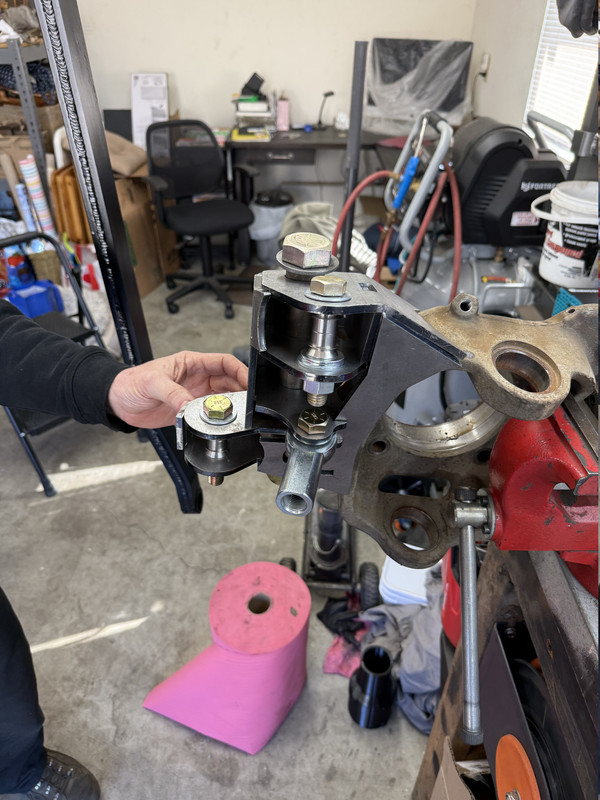
Got the superduty knuckle kit all welded up
IMG_3792.jpg


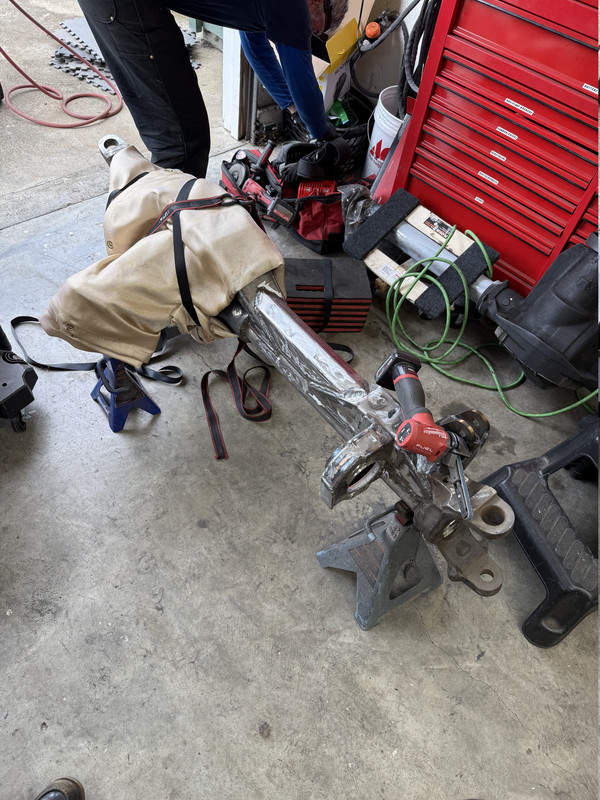
Letting the center section cool slowly after welding the tubes to the cast section
IMG_3808.jpg


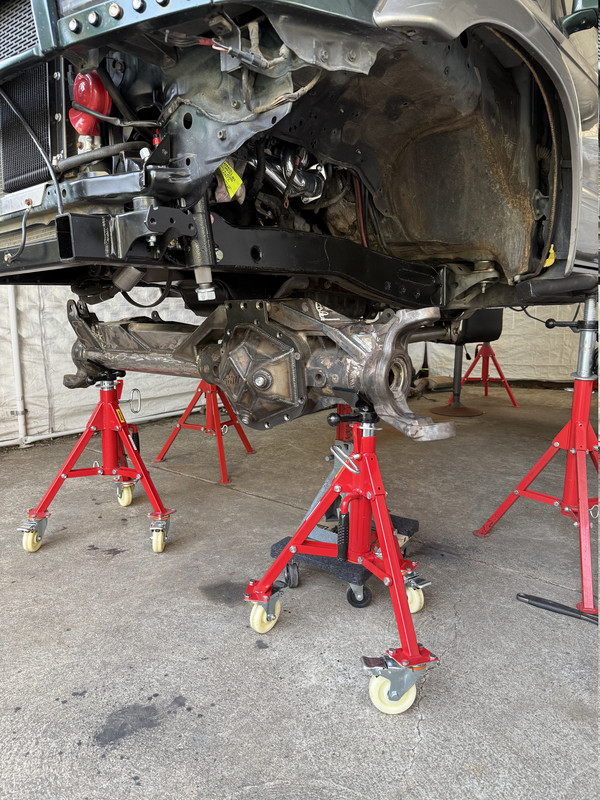
First pic of axle under the truck with lowers hooked up
IMG_3933.jpg


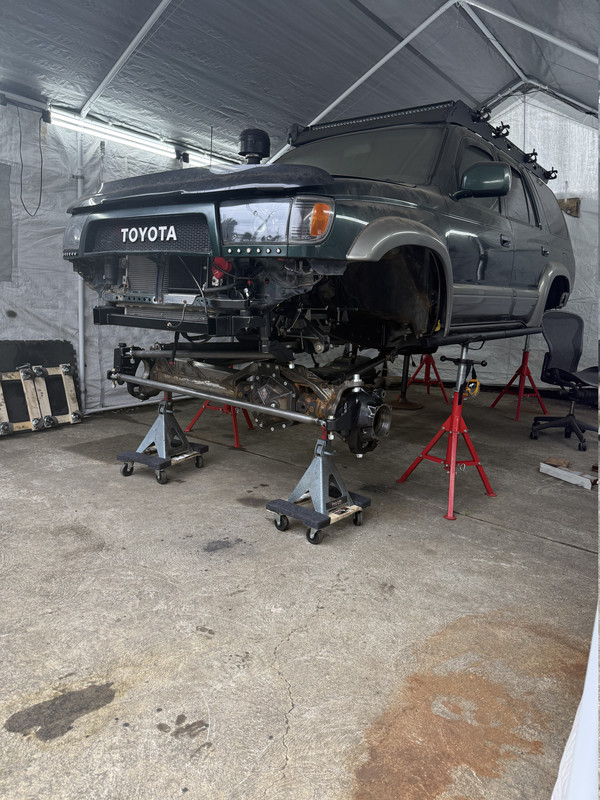
Steering/links/knuckles all mocked up under the truck
IMG_3950.jpg


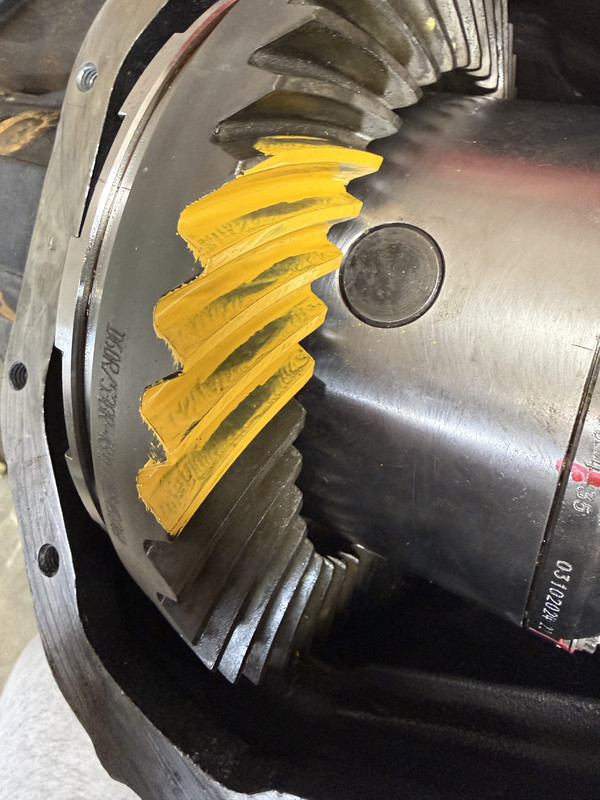
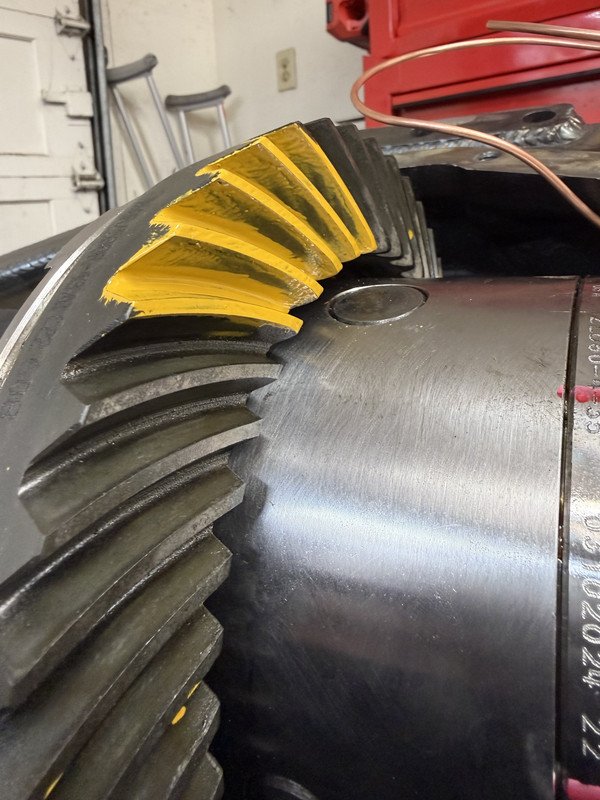
Gear pattern on the front axle came out pretty good I think on the first try
IMG_3987.jpg

IMG_3988.jpg


Next step is getting the front coilovers mocked up and once those are dialed in with the bumpstops I can finish weld everything and paint. Then front will be just about complete.
 

Members online

Forum statistics

Threads
278,388
Messages
3,554,617
Members
248,084
Latest member
MaximussK

Trending content

Back
Top