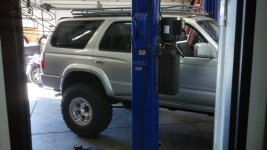
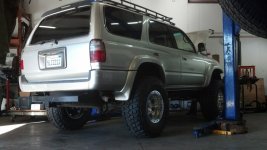
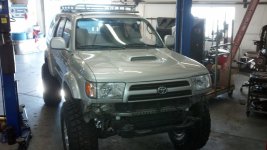
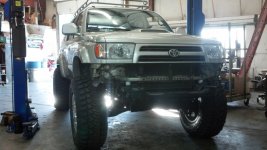
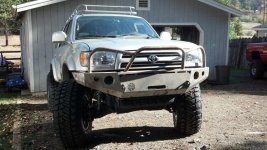
42s 2000 Sport build

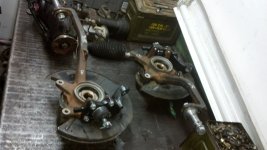
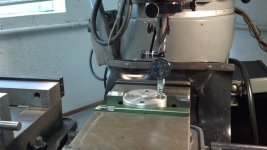
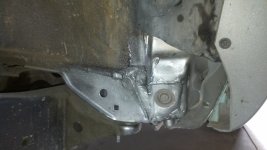
Assembling the steering arms
 

Attachments

  • 240.jpg
    240.jpg
    76.5 KB · Views: 1,502
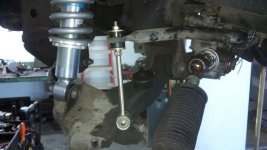
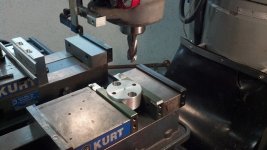
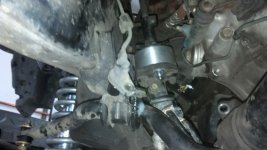
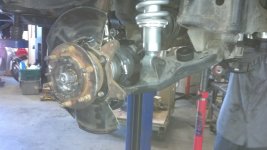
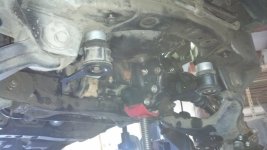
After some modification to the steering extension got it installed
 

Attachments

  • IMG_20131015_113423_067.jpg
    IMG_20131015_113423_067.jpg
    83.2 KB · Views: 1,510
  • 246.jpg
    246.jpg
    74.9 KB · Views: 1,507
  • IMG_20131015_113856_058.jpg
    IMG_20131015_113856_058.jpg
    77 KB · Views: 1,476
Last edited:
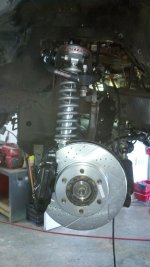
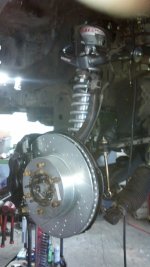
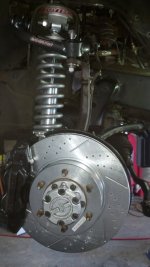
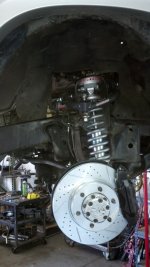
Tundra calipers with drilled and slotted rotors
 

Attachments

  • 251.jpg
    251.jpg
    78.4 KB · Views: 1,506
  • 253.jpg
    253.jpg
    74.6 KB · Views: 1,473
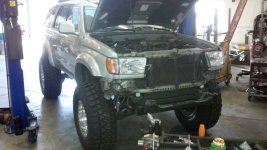
Here she is on the ground.
 

Attachments

  • 266.jpg
    266.jpg
    89.9 KB · Views: 1,518
  • 267.jpg
    267.jpg
    78.8 KB · Views: 1,497
  • 268.jpg
    268.jpg
    87.8 KB · Views: 1,502
  • 269.jpg
    269.jpg
    87.7 KB · Views: 1,511
  • 271.jpg
    271.jpg
    90.7 KB · Views: 1,512
Lots left to do, need to get an alignment today. Then take it home fab up some mounts for the front bumper and modify my shifter hole in the tranny tunnel. The 5 speed and 4x shifters hit and won't stay in gear.
 
Gotta figure out how to make the shifters work... with the body lift it won't go into first gear.

Also having problems bleeding brakes, any tips on bleeding the ABS system?
 
What's the procedure on that?

Just take a wrench to each of the hoses coming from the top of your ABS unit (one at a time) until you start to see brake fluid, then tighten. It should help get all the air out of the lines. You might have a friend lightly press on the brake pedal when you do this to try and push the air through. Then bleed your brakes as usual.
 
Still working on the brake bleeding problem.

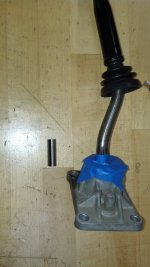
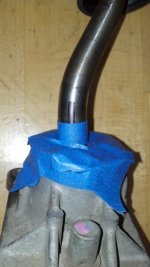
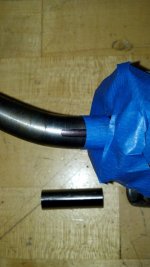
But I did get the shifter problem resolved. I cut the shifter at the base where its the straightest after marking it with a pen so I could clock it back to the stock position. I also taped the base so I wouldn't get stuff down in the base, plus I wrapper a piece of tape around where I wanted to cut so I could make a strait cut. Then I welded an 1.5" piece back in. I also marked it down the middle so I could line up all the lines before welding.

Now it shifts like it did stock
 

Attachments

  • IMG_20131028_130134_499.jpg
    IMG_20131028_130134_499.jpg
    72 KB · Views: 1,538
  • IMG_20131028_130148_574.jpg
    IMG_20131028_130148_574.jpg
    67.1 KB · Views: 1,527
  • IMG_20131028_130201_092.jpg
    IMG_20131028_130201_092.jpg
    60.4 KB · Views: 1,534
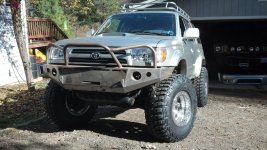
Started on the front bumper project, I need to build some mounting brackets and widen it to fit with the sport flares. But it here's what it looks like.
 

Attachments

  • IMG_20131102_105131_658.jpg
    IMG_20131102_105131_658.jpg
    128.2 KB · Views: 1,466
  • IMG_20131102_105144_058.jpg
    IMG_20131102_105144_058.jpg
    121.8 KB · Views: 1,482
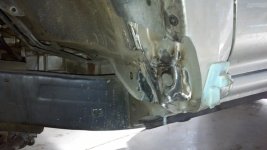
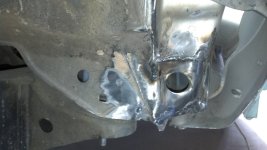
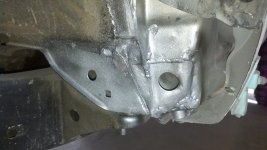
Spent Saturday doing the first round of fender trimming. I'm going to have to do more but I wanted to do it in stages, not real fond of cutting huge holes in the firewall for no reason. So here's what I did so far.

Sorry for the crappy cell pics
 

Attachments

  • IMG_20131102_143349_297.jpg
    IMG_20131102_143349_297.jpg
    61 KB · Views: 1,427
  • IMG_20131102_143402_279.jpg
    IMG_20131102_143402_279.jpg
    63.3 KB · Views: 1,441
  • IMG_20131102_143620_538.jpg
    IMG_20131102_143620_538.jpg
    82.4 KB · Views: 1,414
  • IMG_20131102_144850_221.jpg
    IMG_20131102_144850_221.jpg
    66.1 KB · Views: 1,423

Members online

No members online now.

Forum statistics

Threads
278,315
Messages
3,554,104
Members
248,016
Latest member
Advally Service

Trending content

Back
Top