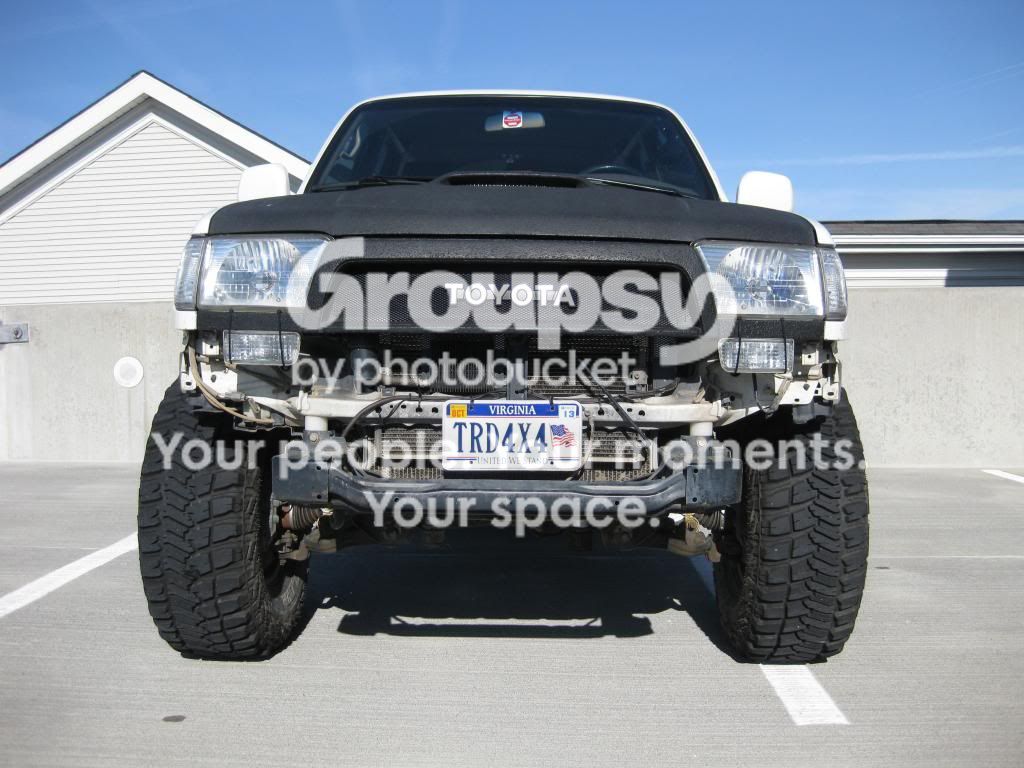
4ever4running's 2002 4Runner Build

Looks awesome man!! You've got some great wiring skills, everything looks so clean!

I'm eagerly awaiting the arrival of your SW, the transition from a factory bumper to a nice, clean, and strong bumper is amazing!

Thanks, I appreicate the positive feedback! Wiring up all the accessories has taken a lot more time that I though it would (mainly because I had to completely redo some of it), but I am definitely happy with the result.

That definitely makes two of us, I have been waiting for the SW since October so I'm definitely ready for the waiting to be over!
 
This weekend the weather was perfect so I spent most of it outside working on the T4R.

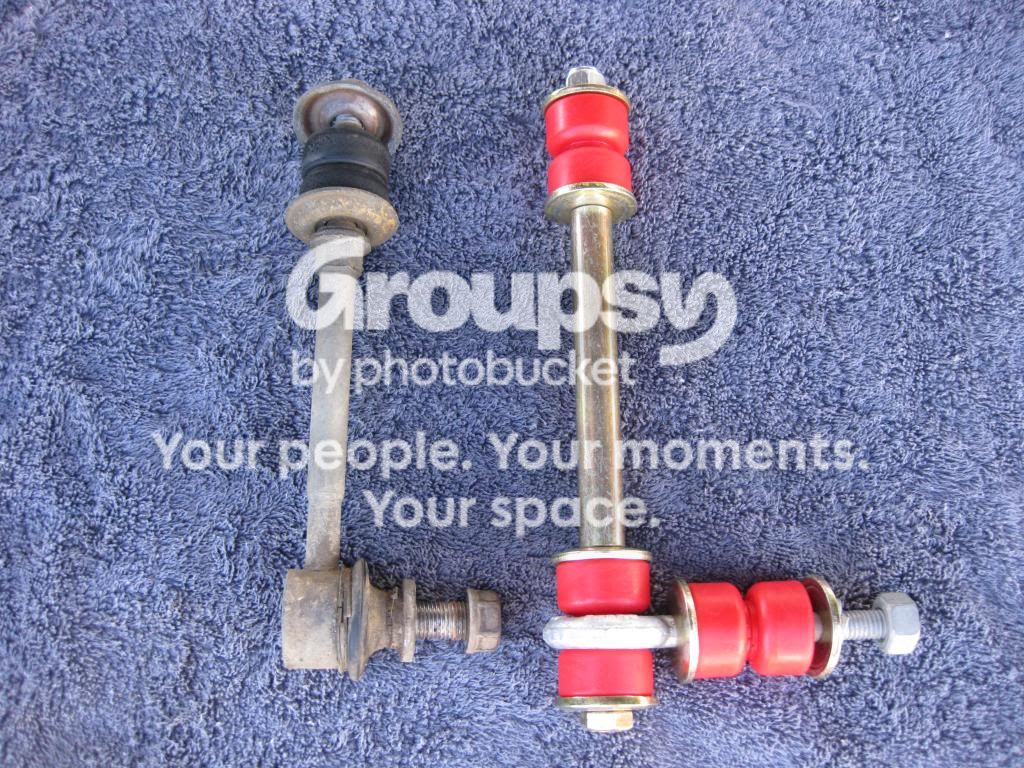
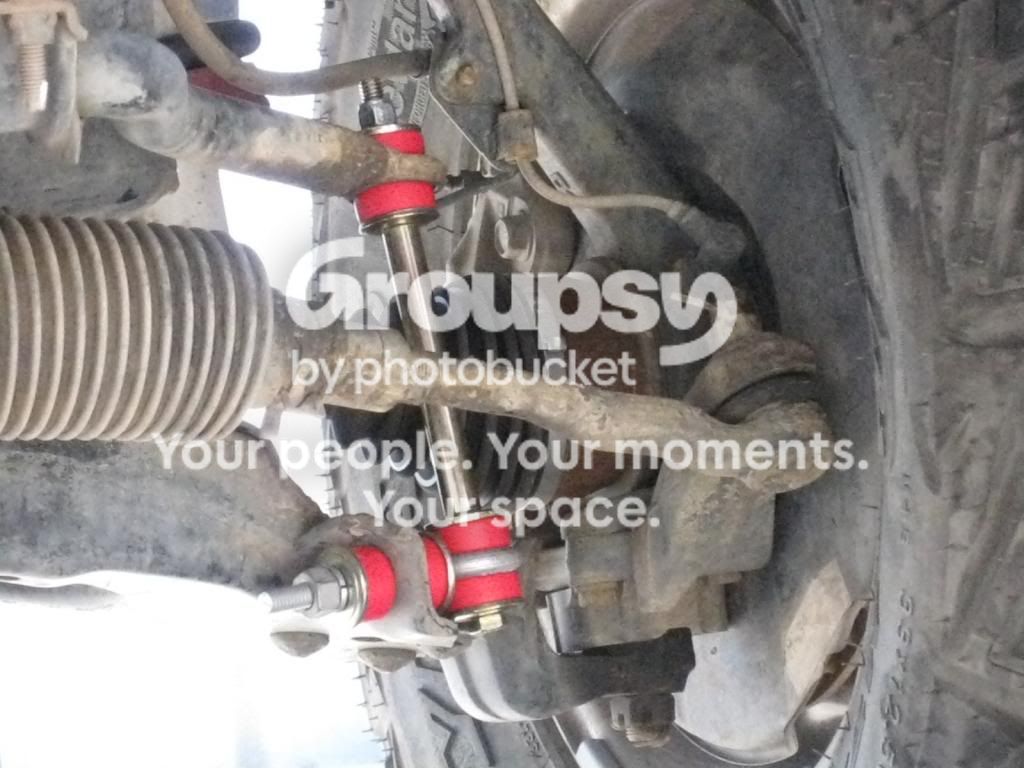
First, I finally installed the new front swaybar end links. I did the rear end links a while ago when I installed my 8.5 wrap coils and shocks, but I never got around to the fronts.
Old vs. new
IMG_0681_zpsec5129a5.jpg~original


Installed
IMG_0687_zps30666bcb.jpg~original


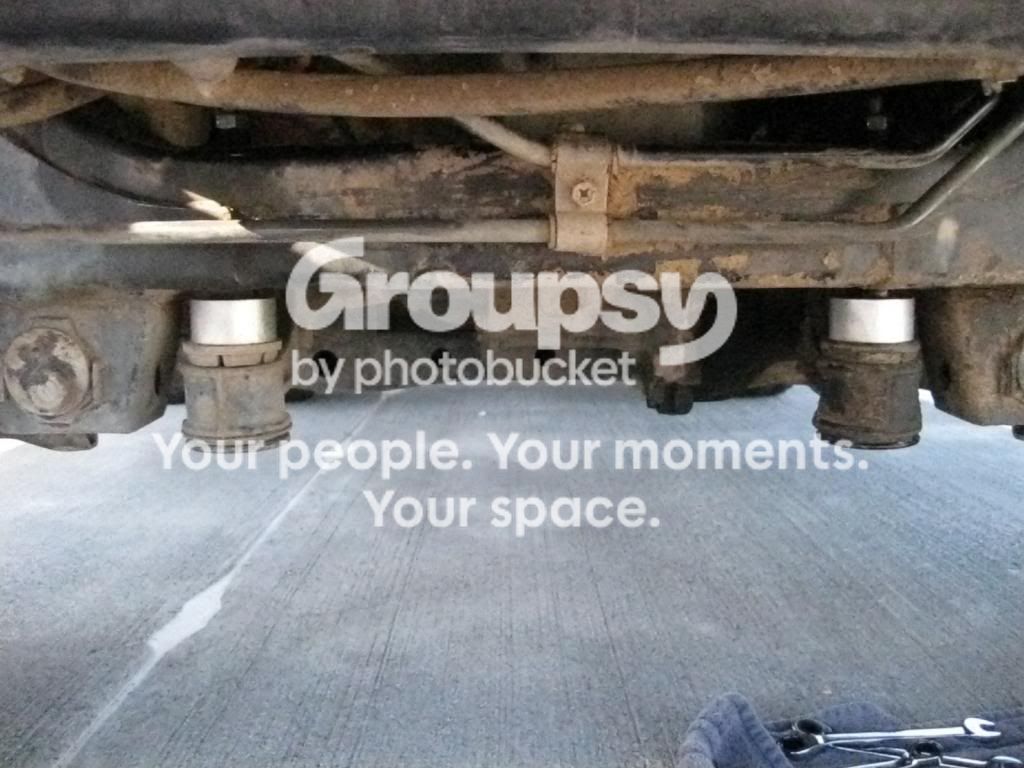
Then, I Installed my Toytec 1" differential drop
IMG_0688_zps63aa9b3f.jpg~original


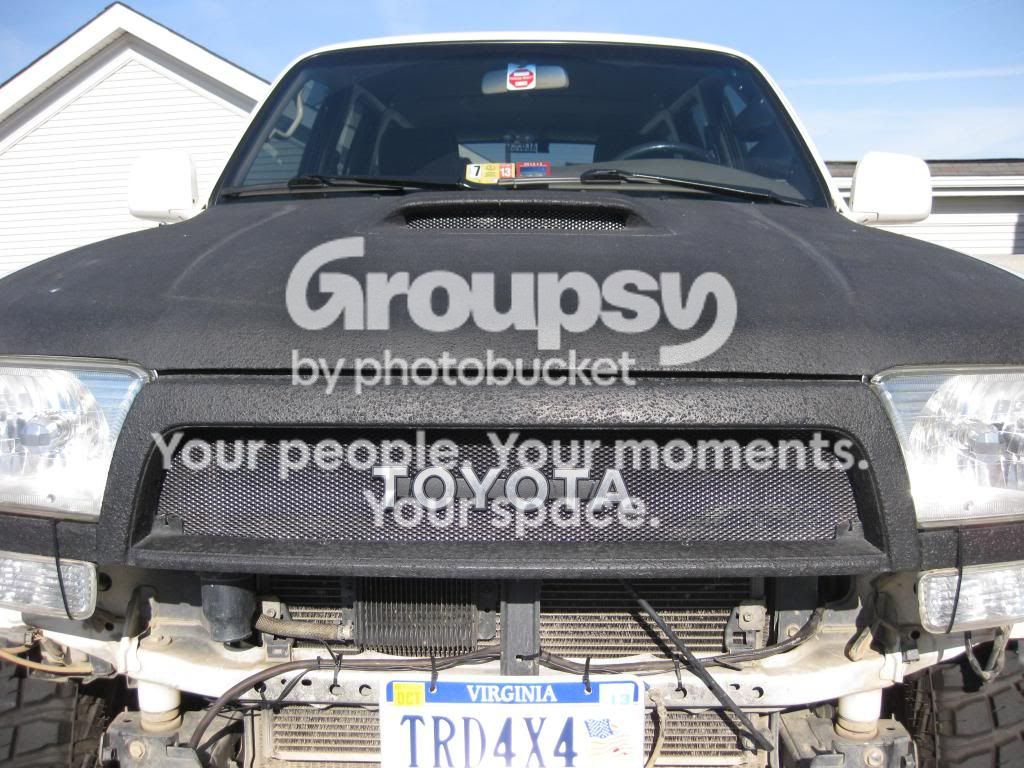
Next, I swapped the TRD emblem on my Satoshi for something a little cooler. I also removed the TRD emblem from my sport hood gille.
IMG_0692_zps83b424e8.jpg~original

IMG_0691_zps2b4f9afd.jpg~original


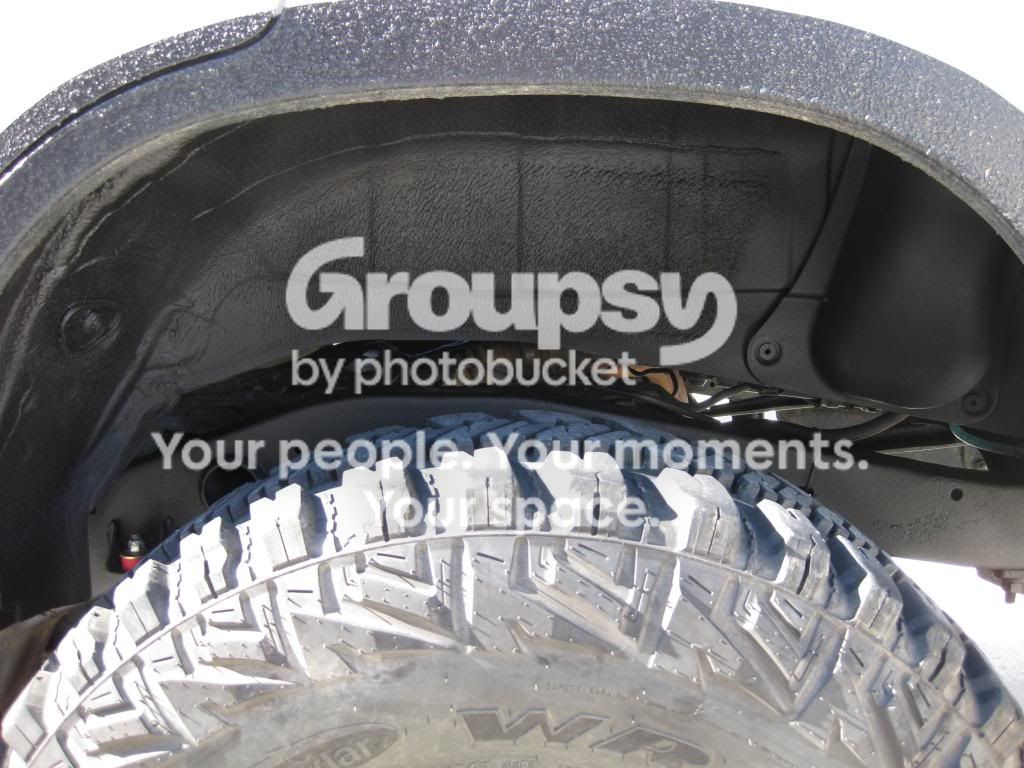
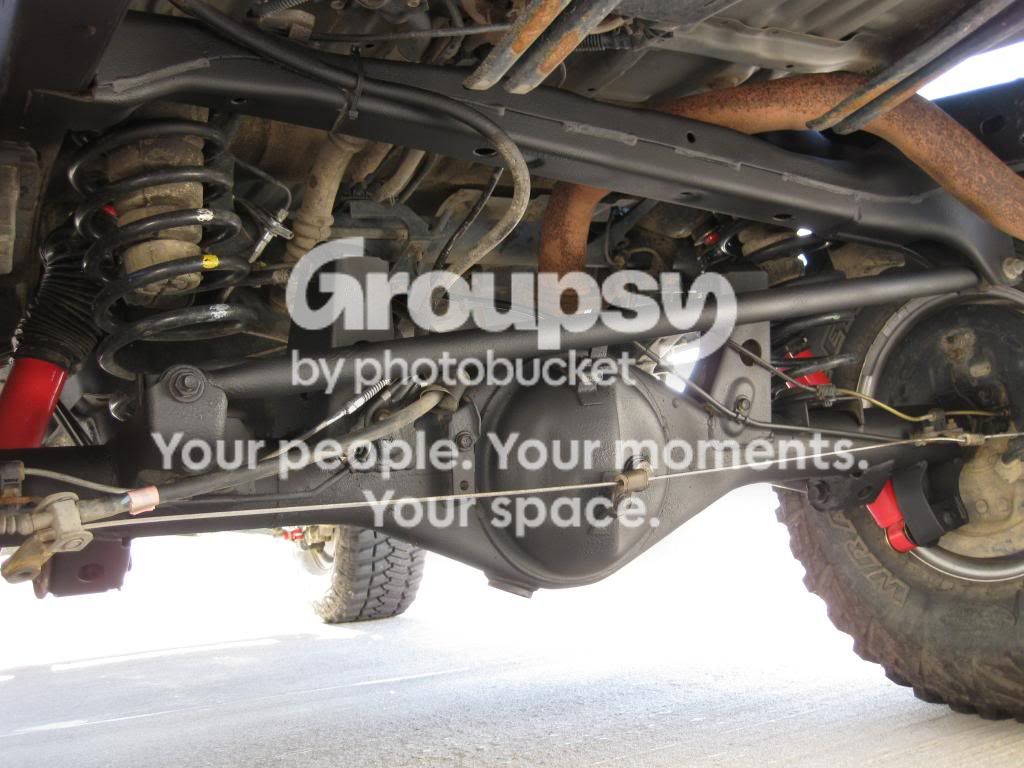
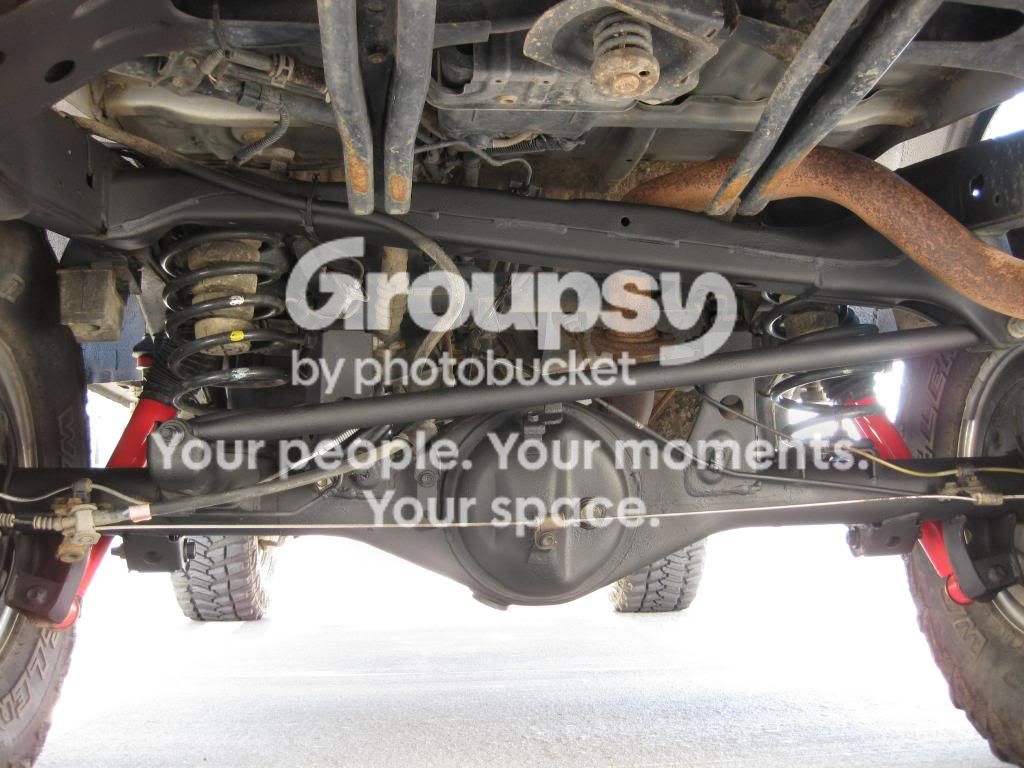
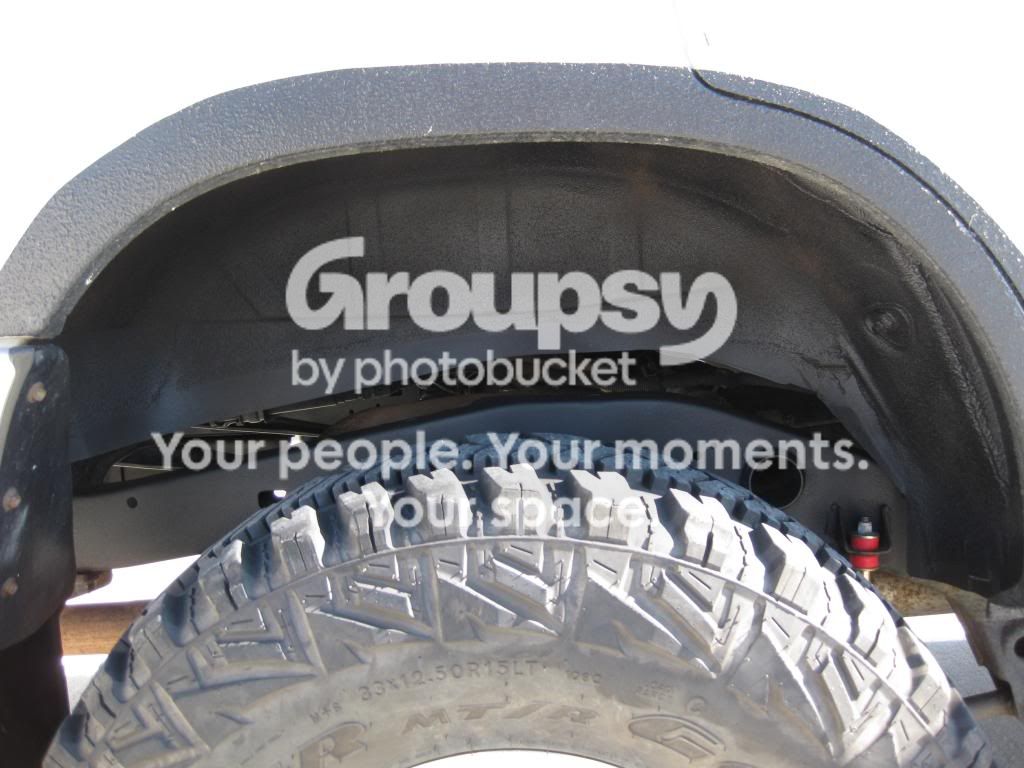
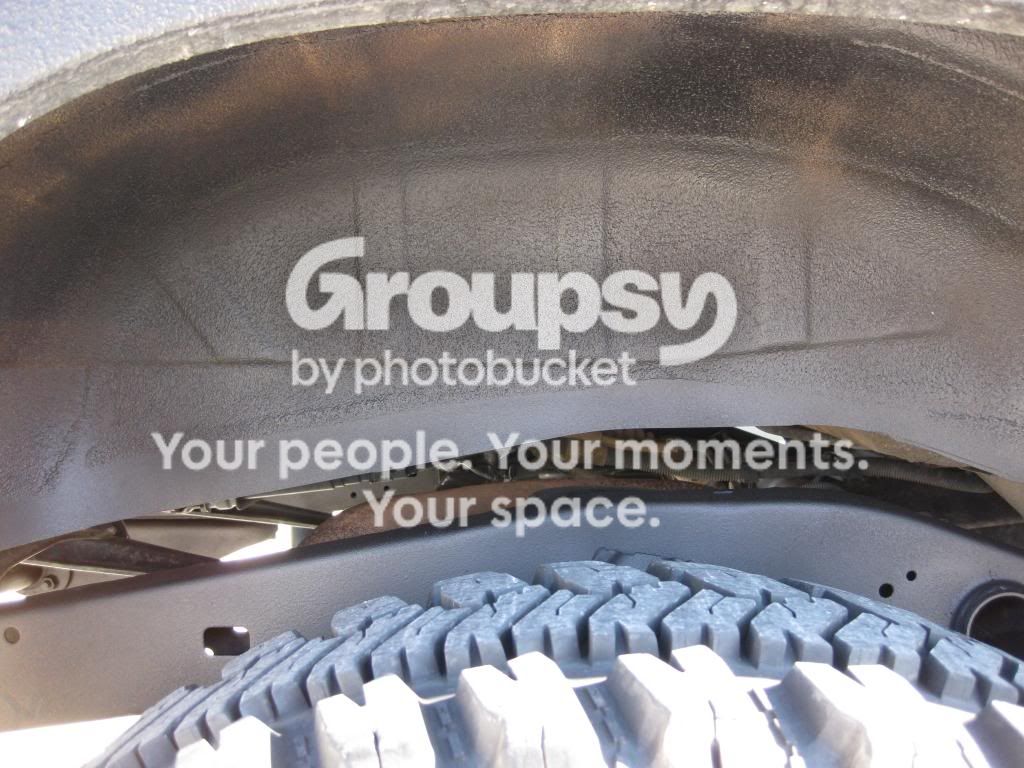
And finally, while I was working under my truck installing the differential drop and swaybar end links, I noticed how dirty, rusty and gross everything looked underneath. So I decided to do something about it...I went to my local auto parts store and pickup up a wire brush, a can of acetone, a couple rolls of shop towels, and 2 cans of 3M Professional Grade Rubberized Undercoating. After a couple hours of work here is what I have now..
Driver side wheel well
IMG_0695_zps8e2a57b6.jpg~original


Underside
IMG_0696_zps67440619.jpg~original

IMG_0697_zpsa7777ace.jpg~original


Passenger side wheel well
IMG_0693_zpsde3b33c3.jpg~original


As you can probably tell, I ran out of undercoat before I could finish...
IMG_0694_zps79ff00f5.jpg~original


My process was as follows:
1) Used the wire brush to clean as much rust and heavy dirt off as I could
2) Used the acetone to clean everything and prep the surface for the undercoating
3) Used the shop towels and some masking tape to cover parts and components I didn't want to spray (coils, shocks, parking brake cable, brake lines, etc.)
4) Sprayed everything with the undercoating

The prep work is really tedious and the undercoating is kind of expensive ($10 per can) so this is a project that I will probably be working on for a while until I am satisfied. I figure 1-2 cans at a time is a decent pace.

 
Last edited:
Hell yeah man. Giving the underbelly some TLC? It will pay off when everyone around you is rusting and your frame is solid as hell. Looks good boss.
 
Hell yeah man. Giving the underbelly some TLC? It will pay off when everyone around you is rusting and your frame is solid as hell. Looks good boss.

That's definitely the idea. Thanks man!

That's as good as it gets there, I take it you just hand painted the undercarriage with lots of patience?lol

Thanks! I like to think I am a pretty patient person, but hand painting everything would definitely be pushing it haha. I took the "easy" way out and used spray cans: Buy 3M Professional Grade Rubberized Undercoating (16 oz.) 03584 at Advance Auto Parts.
 
Undercarriage looks great! I think this is something many people overlook but if you want your T4R to last for a long time, this is a necessity. Yours came out sooo clean! Good job.

Did you build those front sway bar end links yourself? Or where did you purchase them? I've been contemplating getting a set for the front and throwing my front sway bar on, then just un-ding the bolts when I go offroad and zip-tying it out of the way...
 
That's so funny... I just got in the door from picking up some rust converter and undercoating. Gonna get at it this weekend too!
 
Undercarriage looks great! I think this is something many people overlook but if you want your T4R to last for a long time, this is a necessity. Yours came out sooo clean! Good job.

Did you build those front sway bar end links yourself? Or where did you purchase them? I've been contemplating getting a set for the front and throwing my front sway bar on, then just un-ding the bolts when I go offroad and zip-tying it out of the way...

Thanks a lot man! I was honestly one of those people who overlooked it and really didn't give it much thought until I got under there are really took a good look at it. I wish I would have taken some before pictures, because it really is a night and day difference.

That's so funny... I just got in the door from picking up some rust converter and undercoating. Gonna get at it this weekend too!

Haha great minds think alike. The rust converter is a good call. I would have done something similar but I didn't have a huge rust problem, just some surface rust, so I didn't want to add another step to the already time consuming process.
 
Thanks a lot man! I was honestly one of those people who overlooked it and really didn't give it much thought until I got under there are really took a good look at it. I wish I would have taken some before pictures, because it really is a night and day difference.

Yah, definitely worth it. I'm constantly re-doing the undercoating. Every summer you can clearly see where all of my gravel/offroad excursions wear on the rubberized coating and wear it thin, so constantly re-applying is something I'm getting used to.

Sorry if I missed it, but can I get some more deets on those front endlinks?

Cheers
 
Yah, definitely worth it. I'm constantly re-doing the undercoating. Every summer you can clearly see where all of my gravel/offroad excursions wear on the rubberized coating and wear it thin, so constantly re-applying is something I'm getting used to.

Sorry if I missed it, but can I get some more deets on those front endlinks?

Cheers

Sorry about that, I guess I got distracted and didn't completely answer your question. I didn't want to spend over $100 on new end links so I built them myself using the guidance I found in this thread: http://www.toyota-4runner.org/3rd-gen-t4rs/97769-built-new-swaybar-endlinks-my-runner.html.
 
[MENTION=80692]02running[/MENTION] [MENTION=46329]blcktpgsr[/MENTION]: I used a combination of shop towels, panters tape, and scrap cardboard. I used the cardboard to block off the larger parts and I used the shop towels and painters tape to cover some of the smaller parts as best as I could. With something like this there is bound to be overspray, but the best part about the rubberized undercoating it that it is really easy to wipe off when it's wet (the first few minutes after you spray it). So, I just worked in small areas at a time and made sure to clean off any overspray on the parts I wanted to keep clean.
 
I got an email from Mark at Shrockworks...My bumper just came back from the powder coater and should be shipping either today or tomorrow! :biggrin2:
 
Quick Question:

In anticipation of adding a ton of weight to the front with the bumper and winch, I picked up a set of OME 882s and Nitrocharger shocks from another member. My goal is to install the new coils/shocks this weekend and get everything aligned so everything is ready to go when I get my bumper (hopefully next week!).

My question is: Will I mess anything up by installing the OME 882s and Nitrocharger shocks without the additional weight on the front? I know it will ride like crap but I won't be driving it much (no more than 30 miles or so) so I just want to know if I run the risk of doing any damage).
 

Members online

Forum statistics

Threads
278,310
Messages
3,554,080
Members
248,016
Latest member
Advally Service

Trending content

Back
Top