4Running Daily's Build Thread

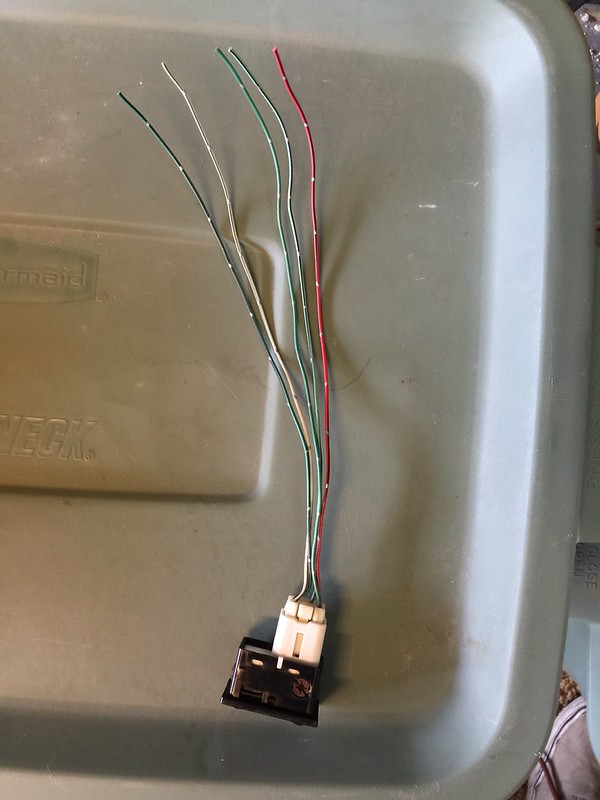
First I bought a switch with a foot of harness attached for $10 off craigslist.
IMG_3976 by 4Running Daily, on Flickr

Turns out, you only need 3 of the wires off the harness to wire into the harness on the car. The red and black wire, the Mint Green and Black Wire, and the dark green and black wire.

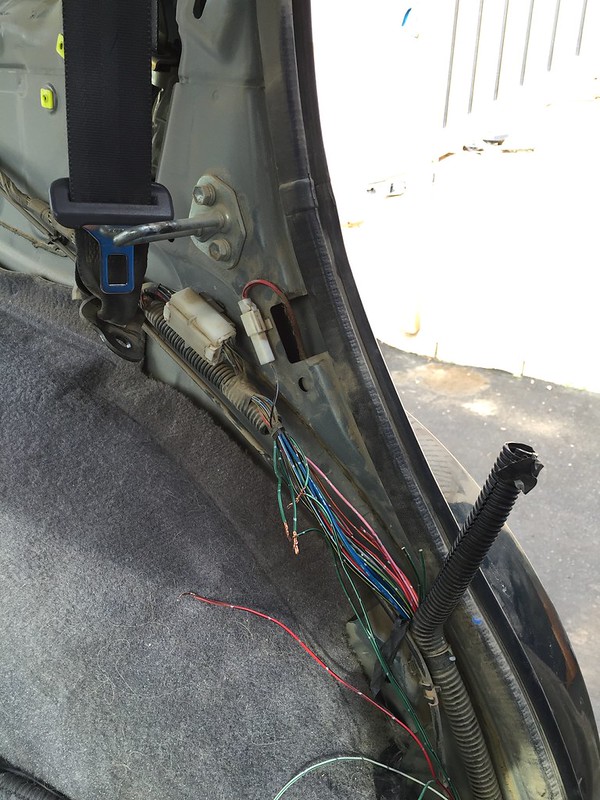
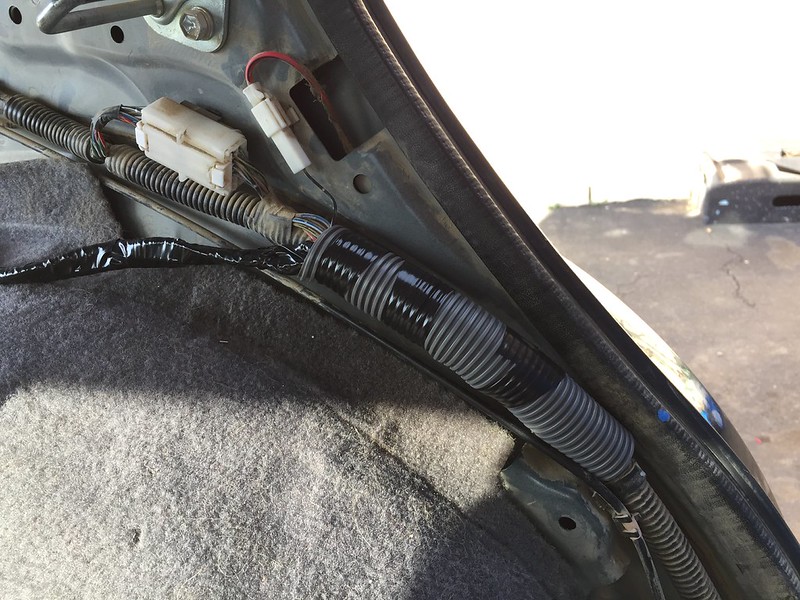
Slicing the wiring harness, drivers side.
IMG_3977 by 4Running Daily, on Flickr

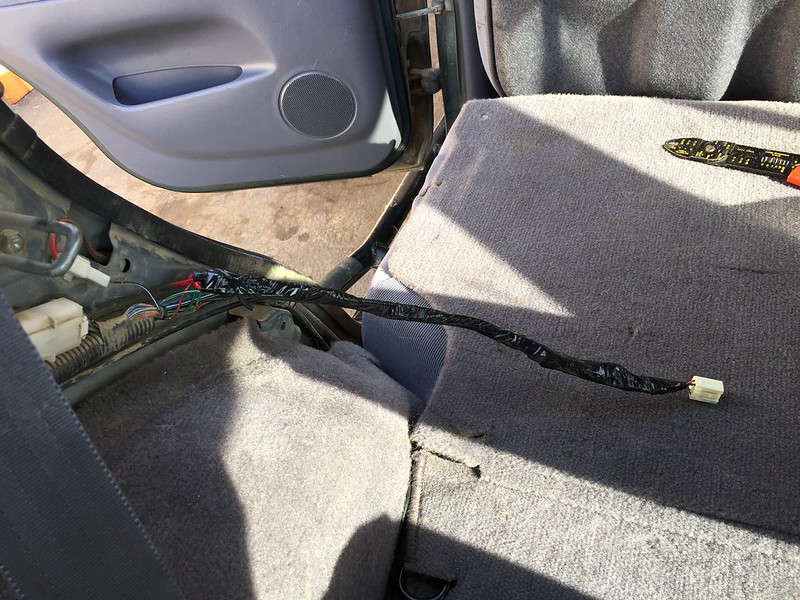
Extend the wires and wrap in electrical tape
IMG_3980 by 4Running Daily, on Flickr

Put some plastic over it so it looks kind of OEM.
IMG_3981 by 4Running Daily, on Flickr

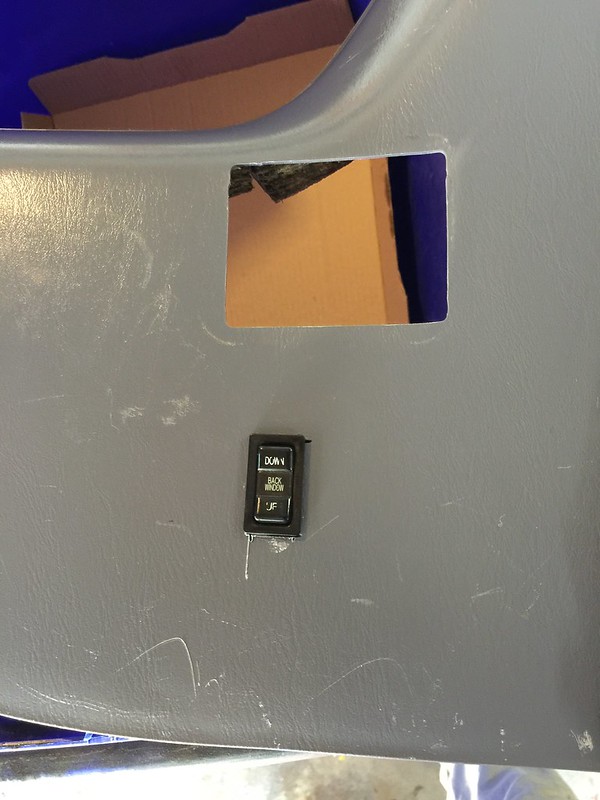
Cut a hole in the plastic:
IMG_3978 by 4Running Daily, on Flickr

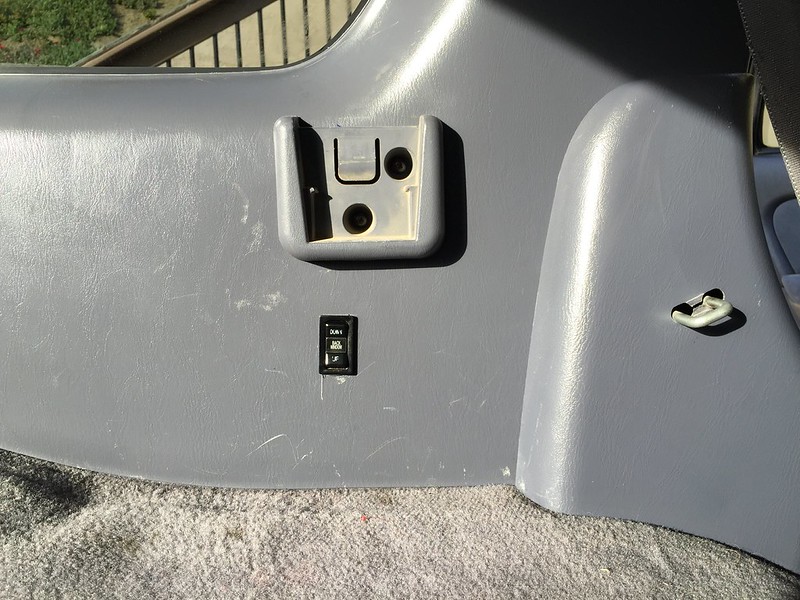
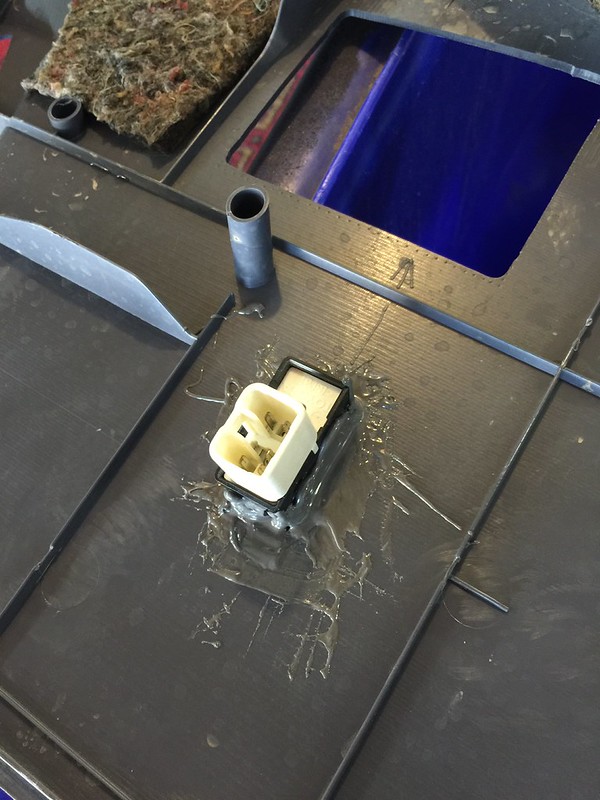
JB Weld the switch in
IMG_3979 by 4Running Daily, on Flickr

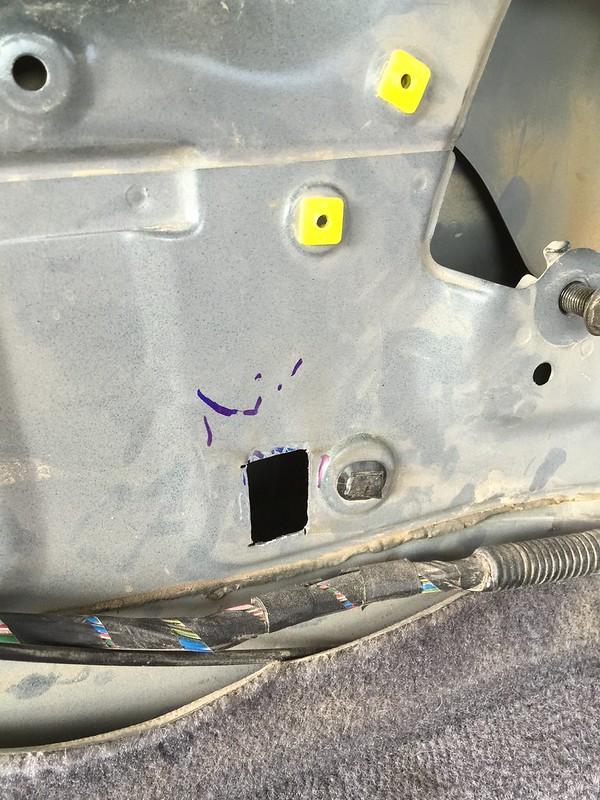
Cut a hole in the metal behind the switch. Stick your make shift wiring harness behind the metal and wire it through the hole you cut and connect it to your switch.
IMG_3982 by 4Running Daily, on Flickr
 
So here are the technical specifications on the long travel that will occur eventually.

Front: (Build by Dirt King Fab. or LSK Fab.)
2" over LT with a Horizontal Uniball to allow for more travel. Most likely custom CV's too.
8" King Coilover with Resis alongside an 8" King Bypass Shock with Resis.

Back:
Triangulated 4-Link with F150 gas tank relocation.
18" King Coilovers with internal bypass and compression adjustable resis's.

That'll be sick :D

Why go 2" over, then you can't run Tundra CVs? And are either of those places coming out with kits that fit on a 3rd gen or are you gonna send them designs? And then how are you gonna run the rear, trailing arms and the shocks to a cage? Why not run an external bypass so you can adjust it easily and then a coilover, internal bypasses are pretty spendy I thought.

I know it's a long ways off but figured I would ask :) Not to mention since I'll be running a similar setup in the rear next summer (hopefully)
 
That'll be sick :D

Why go 2" over, then you can't run Tundra CVs? And are either of those places coming out with kits that fit on a 3rd gen or are you gonna send them designs? And then how are you gonna run the rear, trailing arms and the shocks to a cage? Why not run an external bypass so you can adjust it easily and then a coilover, internal bypasses are pretty spendy I thought.

I know it's a long ways off but figured I would ask :) Not to mention since I'll be running a similar setup in the rear next summer (hopefully)

I don't want 3.5" over, too wide. My plans are half crawler, half dune buggy. Dirt King Fab would come out with a kit after I dropped off my 4runner. No idea on LSK. Yes to trailing arms and a cage. Internal Bypasses aren't terribly expensive. If I run external bypasses that would be an even bugger hole in my floor board haha.
 
Bought a Spot Trace since the 4Runner will be parked pretty far away from my dorm. It sends me a text message if it detects movement. It's hidden in a secret location.

I have been considering a Spot Trace myself, but I am wondering where to mount it so it can see the sky without being obvious yet remaining accessible for battery changes. Any advice?

Thanks in advance,
Cheers,
G.
 
I have been considering a Spot Trace myself, but I am wondering where to mount it so it can see the sky without being obvious yet remaining accessible for battery changes. Any advice?

Thanks in advance,
Cheers,
G.

Mounted mine on top of the fuses under the hood. Yes it is covered by the hood, but it's never given me a problem.
 
Made some progress on the headlights today

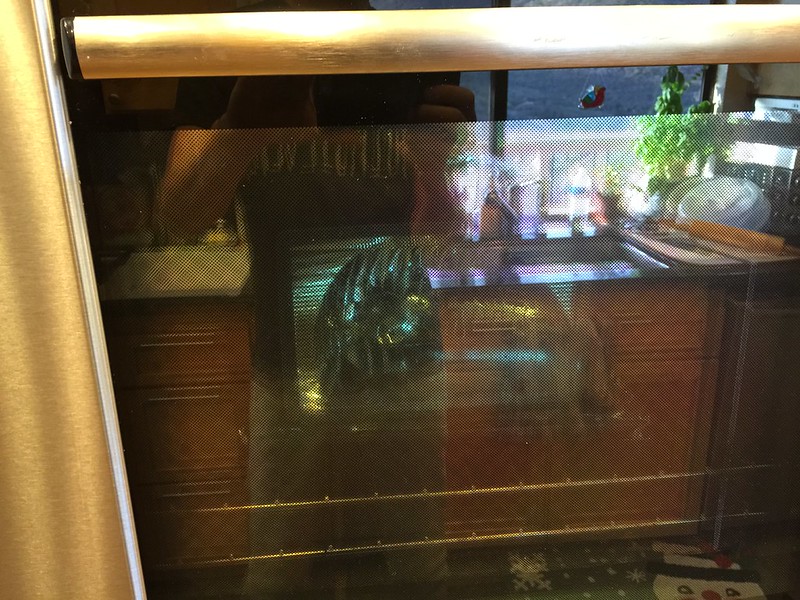
Baking the headlights in the oven. 350 degrees for 8 minutes
Untitled by 4Running Daily, on Flickr

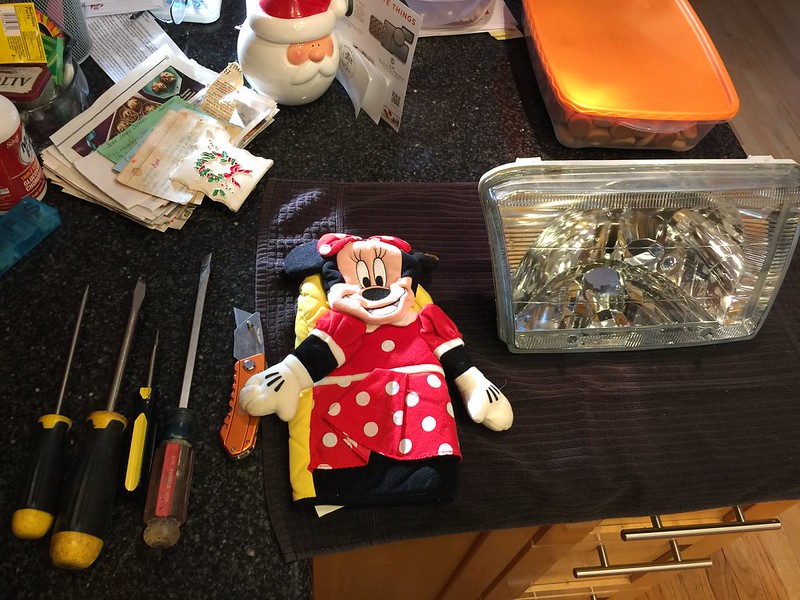
A man is only as good as his tools ;)
Untitled by 4Running Daily, on Flickr

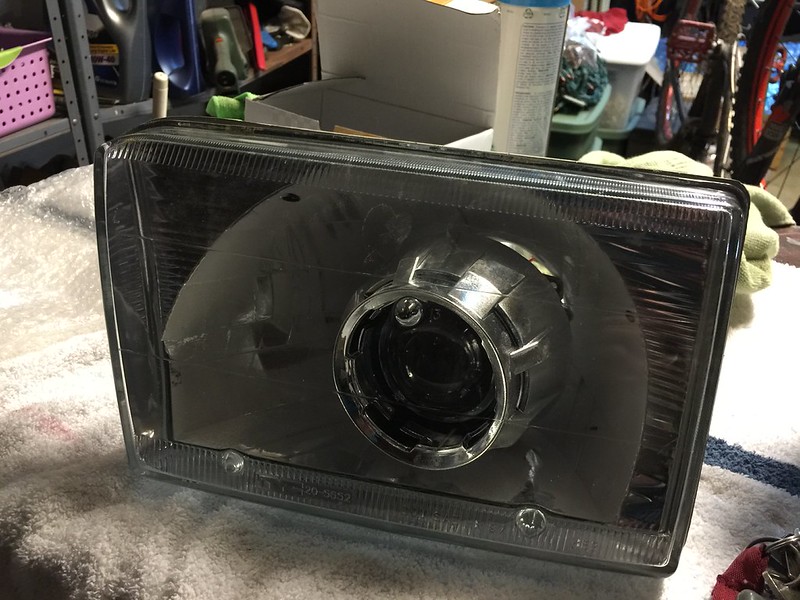
Dremeled a large hole in the back to see what it would look like all together
Untitled by 4Running Daily, on Flickr

Tomorrow I'll hopefully drill the hole in the back of the other headlight, drill some holes for the mounts, and maybe start the wiring. I'll be pretty happy if these are done by Friday and I can drive up to the meet and great with them.
 
Looks good but be careful baking the housing like that. If it's too hot or in too long you can melt the housing. That would suck.
 
The back housing on the stock headlights is made of a thermoset. Its not going to melt, it will just burn, but at temperatures way higher than 350. 350 wont even burn paper. The corner markers on the other hand are made of pp and acrylic, getting them apart without warping and melting them is hard. Putting them back together is nearly impossible.
 
Last edited:
Did this today. Now I can roll down the rear window without moving while camping in the back. It turned into an all day project. But it looks clean and it works.

I do this with my key fob when I sleep in the back, but I know not everyone has that option on their fob. Can you disable the switch? My worry would be cargo hitting the button and rolling it down when you least want it to.
 
I do this with my key fob when I sleep in the back, but I know not everyone has that option on their fob. Can you disable the switch? My worry would be cargo hitting the button and rolling it down when you least want it to.
There is no way to disable it, it is pretty out of the way though. But I understand your point.
I thought you were painting them? Or the CRT screen here at work blows.

I spot some cookies though.....

I wil be painting them. Everything is just sitting inside the headlight in that picture. Nothing is mounted quite yet. I have some more dremel work to do.
 
There is no way to disable it

You should be able to setup a basic $3 relay with the trigger voltage connected to a parallel split off the ACC 12V ignican wire. The one that goes into your aftermarket stereo and tells it to power on but does not provide the power. The run the power wire off that new relay all the way back to the window.

That's a lot of work and probably not needed. I wouldn't do it but if I had to that is how it would probably go. Assuming I didn't miss something.

I think what you did is a pretty cool and original mod. The chances of camping gear opening the window are pretty small.
 
Last edited:
You should be able to setup a basic $3 relay with the trigger voltage connected to a parallel split off the ACC 12V ignican wire. The one that goes into your aftermarket stereo and tells it to power on but does not provide the power. The run the power wire off that new relay all the way back to the window.

That's a lot of work and probably not needed. I wouldn't do it but if I had to that is how it would probably go. Assuming I didn't miss something.

I think what you did is a pretty cool and original mod. The chances of camping gear opening the window are pretty small.

It's actually already set up so that it only works with the key in the on position.
 

Members online

Forum statistics

Threads
278,310
Messages
3,554,079
Members
248,016
Latest member
Advally Service

Trending content

Back
Top