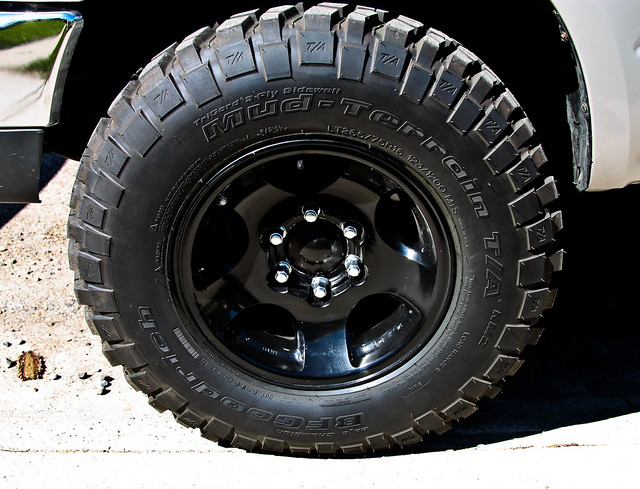
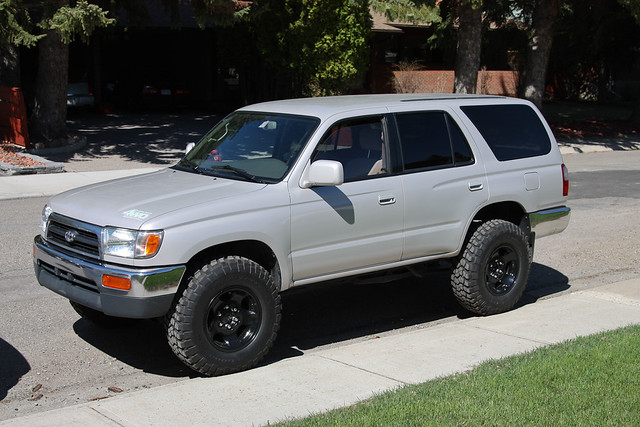
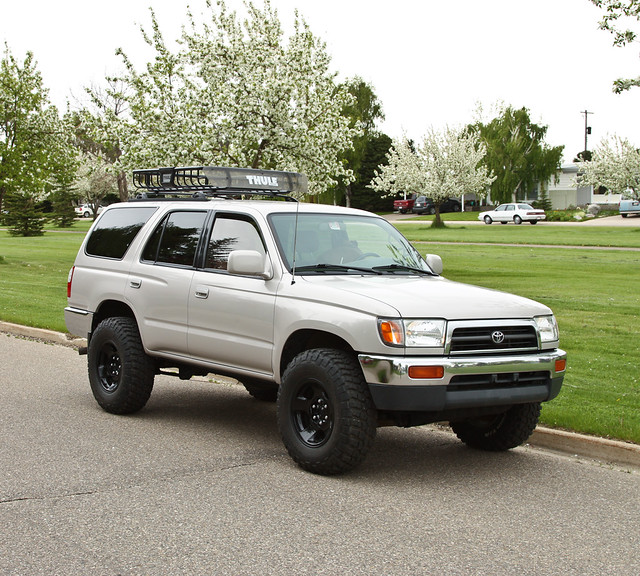
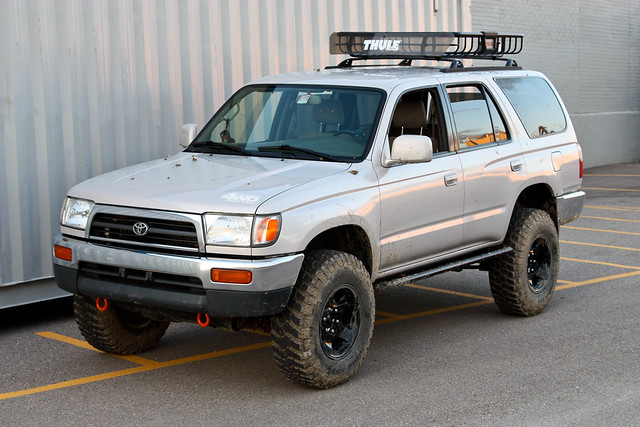
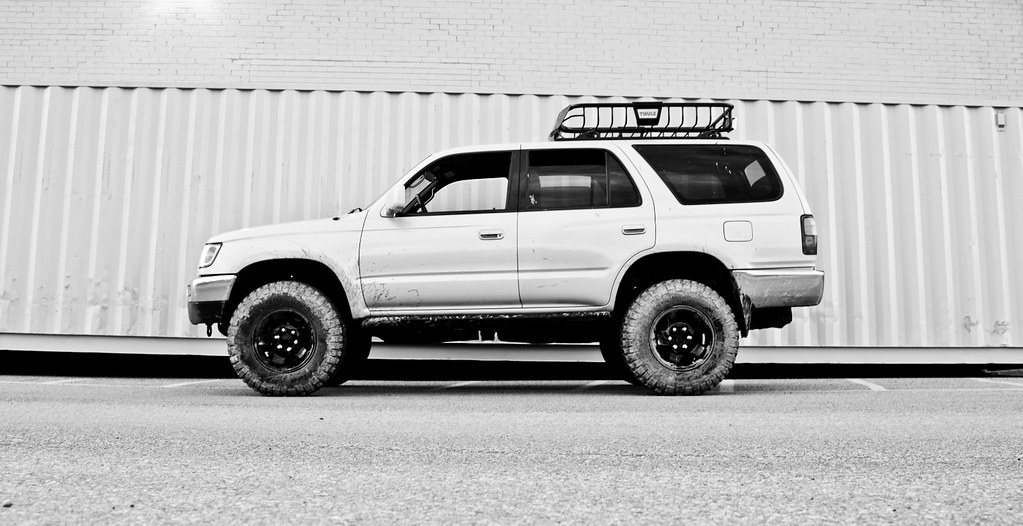
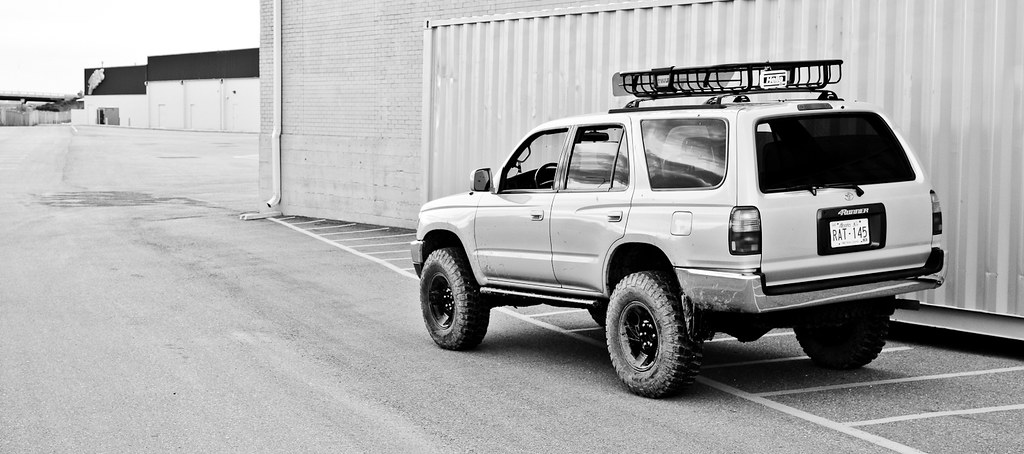
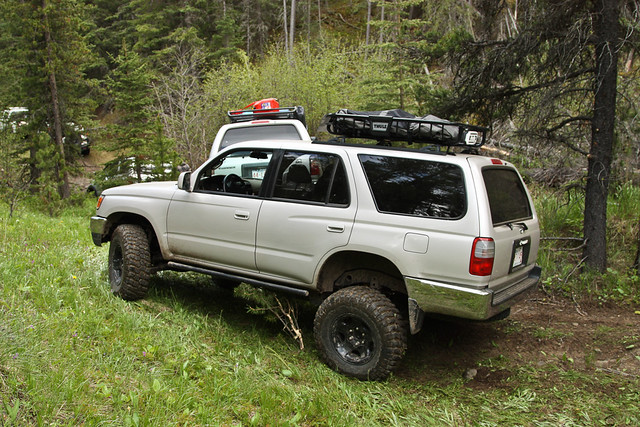
98 SR5 - The "Dirt Duster" build

Just for you Hepar.....

5713811168_8e76b12045_z.jpg


5713810290_738500ec61_z.jpg
 
Last edited:
VERY nice. Any thoughts of going for black lugs?

And I even like it despite you being a Canon guy. :jk:
 
VERY nice. Any thoughts of going for black lugs?

And I even like it despite you being a Canon guy. :jk:

hahah oh here we go! jks.

Black lugs would be nice but they are hard to get up here.... i would expect to pay double what you guys pay south of the border for the black lugs. However, I plan on keeping a little chrome on my rig. I like the "factory" look so I wont stray into full "murdered out" territory. I actually almost painted the wheels silver. I need to get the rest of my lift pieced together, get my sliders on, and get my E-locker swapped in before I do anything else aesthetical. (I have a crazy projector retrofit planned too...:guitar3:) SO MUCH TO DO!!! hahah

One day Hepar I am gunna drive out your way and we should go wheeling! Im about ~12 hour drive from Vancouver BC(done it quite a few times in one day) and I would love to see some trails in your area.

 
hahah oh here we go! jks.

Black lugs would be nice but they are hard to get up here.... i would expect to pay double what you guys pay south of the border for the black lugs. However, I plan on keeping a little chrome on my rig. I like the "factory" look so I wont stray into full "murdered out" territory. I actually almost painted the wheels silver. I need to get the rest of my lift pieced together, get my sliders on, and get my E-locker swapped in before I do anything else aesthetical. (I have a crazy projector retrofit planned too...:guitar3:) SO MUCH TO DO!!! hahah

One day Hepar I am gunna drive out your way and we should go wheeling! Im about ~12 hour drive from Vancouver BC(done it quite a few times in one day) and I would love to see some trails in your area.

That would be awesome. I'm wanting to now check out some of the trails behind the Britannia mine up by Squamish. Let's get a group going sometime for sure.
 
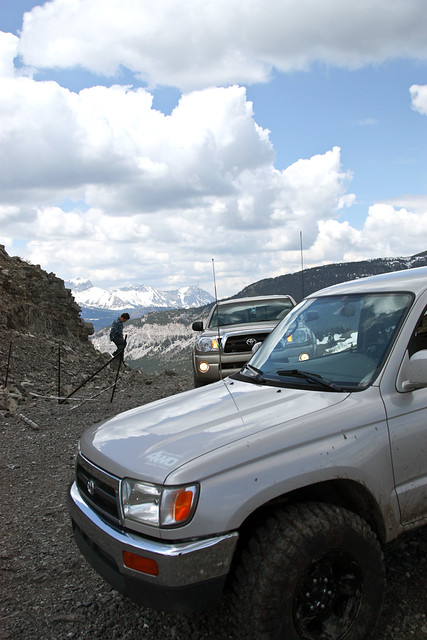
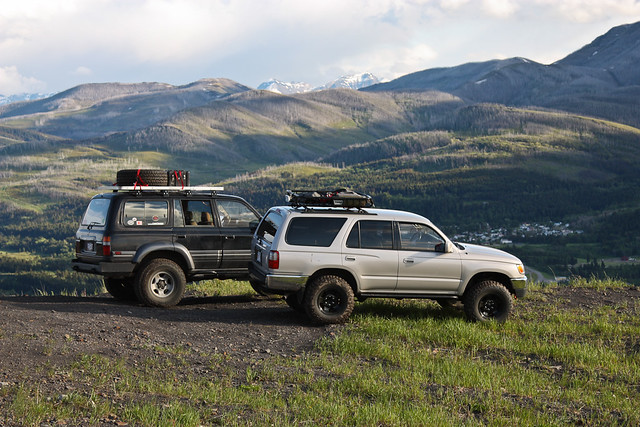
The following photo is from my Crowsnest Pass, AB Trail Run. The rest of the photos can be viewed here: http://www.toyota-4runner.org/off-roading-home-monst4rs/90144-crowsnest-pass-canada-may-2011-trip-report.html

5748233764_6a962041e5_z.jpg


Newest Updates - June 1, 2011

Despite the lack of updates in this thread lately, I have been pretty busy working on the truck.... and some other projects!

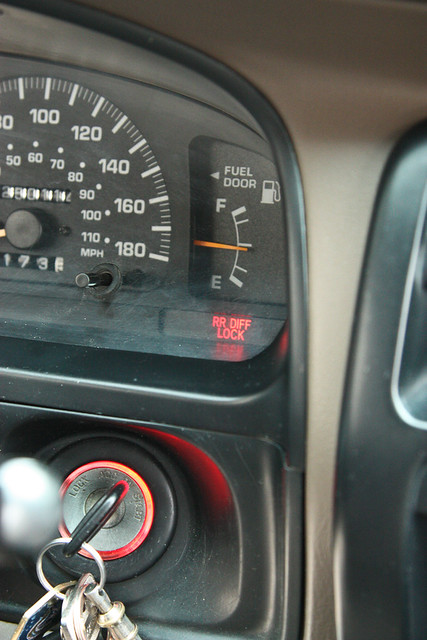
I finally have something to show for my locker. It is completely wired up using the factory computer, switch, and dash light indicator. The wiring is ran to the ass-end and is just waiting for me to swap in the E-Locker axle. PS - Thanks for the wiring help from the members on here!

5786860891_7b823891df_z.jpg


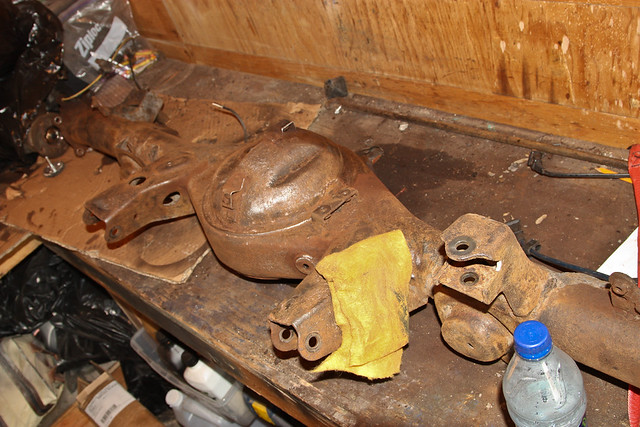
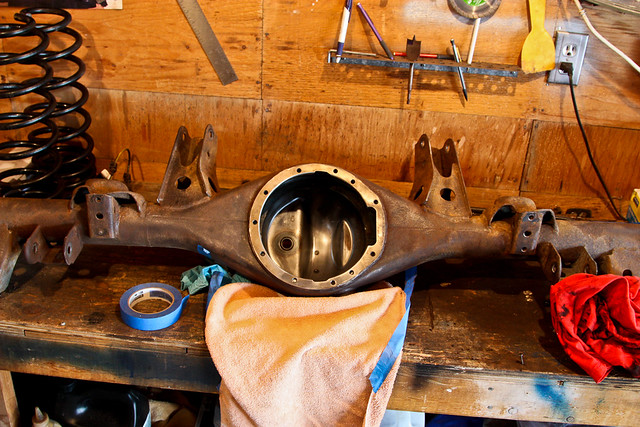
The axle I got has some rust on it so I have been slowly but surely, getting it cleaned up before I do the swap. I have pulled it apart and will be re-painting it and replacing the axle seals etc. before I re-assemble and make the swap. HOPEFULLY, it will be done before the Crowsnest Official run in 3 weeks...

5786858231_2223d6d4fb_z.jpg


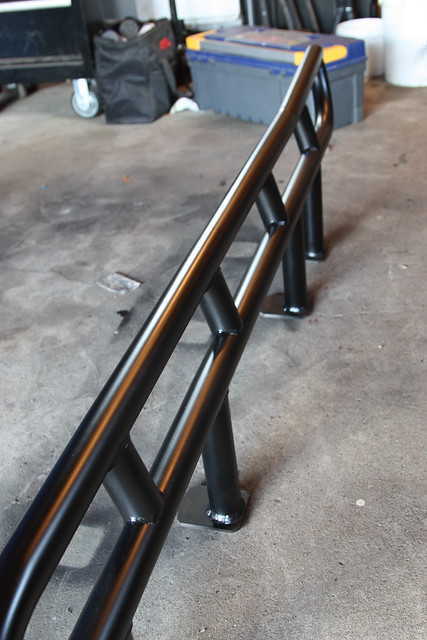
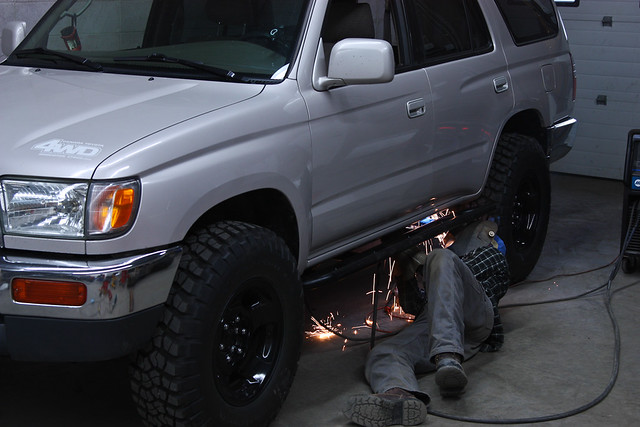
On another note, I got my Stubbs sliders painted up yesterday! I first used some degreaser and wiped them down. Then I got some soap and hot water and washed them, before wiping them dry. I then did three light coats of Dupli-color self etching primer followed by 3 coats of VHT Roll Bar and Chassis Paint. They turned out awesome but I will have to see how they hold up after some abuse!

5786859335_91a7e0a9bf_z.jpg


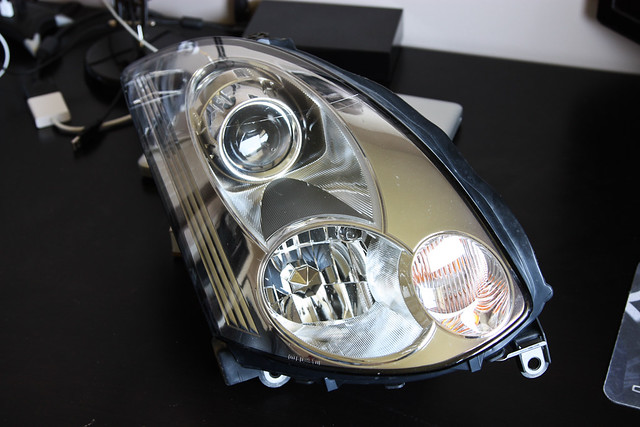
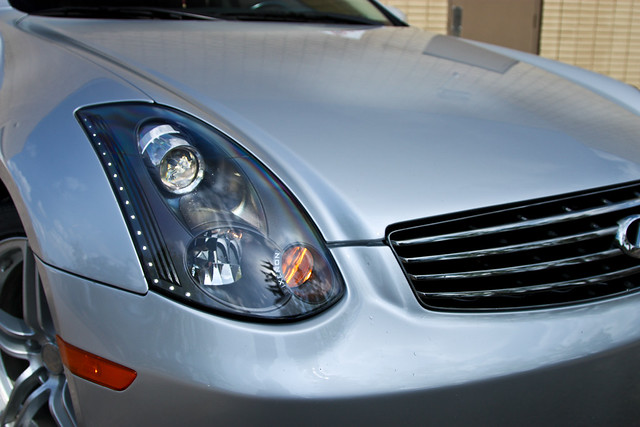
I retrofit and customize headlights in my spare time as a small "side business." So, here is something completely unrelated to my build but I thought I would show em' off: These have been taking up most of my time recently. But alas, they are finally done!

BEFORE:

20110515-IMG_8518 by Headlight Hookup, on Flickr

AFTER:

20110531-IMG_8719 by Headlight Hookup, on Flickr
 
Update: Jun. 15, 2011

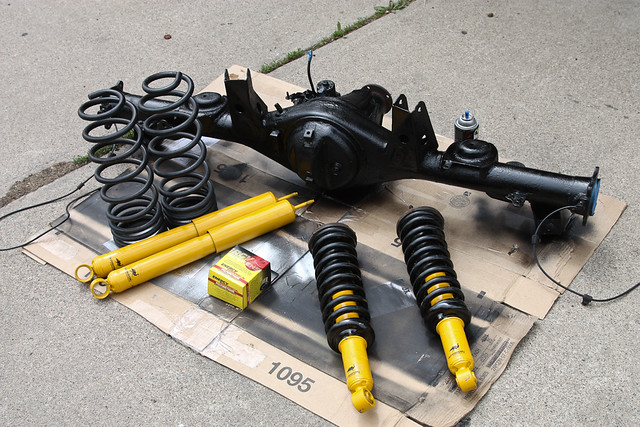
Finally got my E-locker axle cleaned up and replaced the axle seals.

5843585862_a183111486_z.jpg


The Dirt Duster is going to have a busy weekend! I've got a lot of things to get done before Crowsnest!

5843591288_bd06c1d0cb_z.jpg
 
Anxious to see it all put back together man! Nice work so far! :artist2:

x2 on that. Looks like a fun weekend ahead of you!

BTW where are you located? I saw a truck that looked just like yours today.

Edit: Nevermind, I looked back a few posts. Nowhere near me, haha.
 
Last edited:
Anxious to see it all put back together man! Nice work so far! :artist2:

Thanks! It's half done lol.... started at like 10am this morning and worked on the truck till 7pm. Got the E-locker axle swapped in, panhard drop welded in, and the rear lift is in. Tomorrow: Diff drop, front lift, bleed brakes. Pics to come!

x2 on that. Looks like a fun weekend ahead of you!

BTW where are you located? I saw a truck that looked just like yours today.

Edit: Nevermind, I looked back a few posts. Nowhere near me, haha.

Damn! I was hoping no one would ever say that! haha not too many 4Runners around here that are modified. Kinda sucks though cause it would be nice to see more 4runners about... especially ones that want to go wheeling.
 
It is the bracket that the rear track bar bolts on to. It helps center the axle. I am sure someone will come up with a picture.
 
Update: Jun. 21, 2011


Just want to thank everyone for their help this weekend especially Matt! Roughly 12 hours of labour, a few Pilsner, and a weekend and we got the following installed:

Front: OME 881 coils and N91C shocks (no top plate spacer)
Rear: OME 890 coils and 60028 shocks (thanks Vic!), and complete E-Locker axle swap
Misc: Toytec diff. drop, Toytec panhard bar drop (welded on)

5857233124_f8079da67c_z.jpg


5857233872_cae56d5711_b.jpg


5857230602_e917dac4ae_b.jpg


My first impressions: The new suspension is definitely WAY stiffer, more so in the rear than up front. Also, I am prety sure my truck was on it's originally suspension so it was nearly shot before I did the OME install. The truck has a little more rake than I was hoping for but I would rather it this way so it sits level when it gets loaded up. I still may remove the rear cones to lower the a$$ end half an inch. We will see after the Crowsnest run this weekend!
 
I just got back from a wheeling trip this weekend. I posted some photos in the "Offroad section" but it seems not a lot of people look over there so I will post the link here:

http://www.toyota-4runner.org/off-roading-home-monst4rs/92592-ct4wd-trail-run-june-2011-a.html


20110625-IMG_9255 by RickaShay24, on Flickr


20110624-IMG_9107 by RickaShay24, on Flickr


20110626-IMG_9496 by RickaShay24, on Flickr

It was a great trip and I definitely had to push my own limits a little bit. (sorry there are no photos of the technical stuff cause I was too worried about driving vs. snapping pics.) I welcome the challenge of harder terrain because it makes things interesting and helps me become a better driver. Luckily, the only damage taken to the 4Runner on the trip was a pinched tail-pipe and the exhaust has bent up and is now resting on the body underneath (makes weird vibration sounds!!), but that should be fixed today.

As per my new OME suspension, I couldnt be happier. I had the truck loaded with approx. 300-350lbs in gear and it held the weight well and the rear sagged just enough to make the truck sit level under load. Perfect! I took some ground-to-fender measurements with no load except spare tire and I'm at:
Front - 37"
Rear - 38.5"
To me, this is a perfect amount of rake considering I know it will be loaded up when I head to the mountains.
 
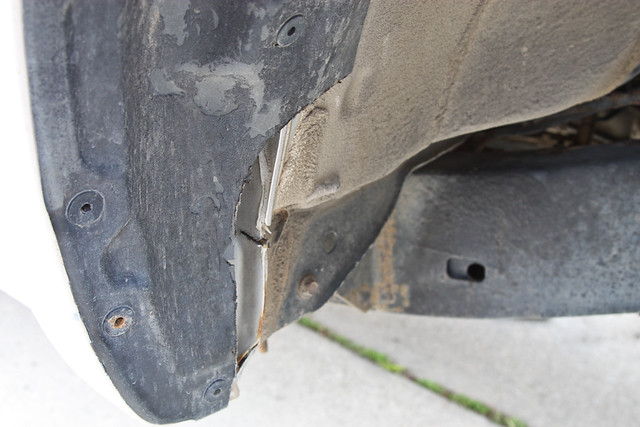
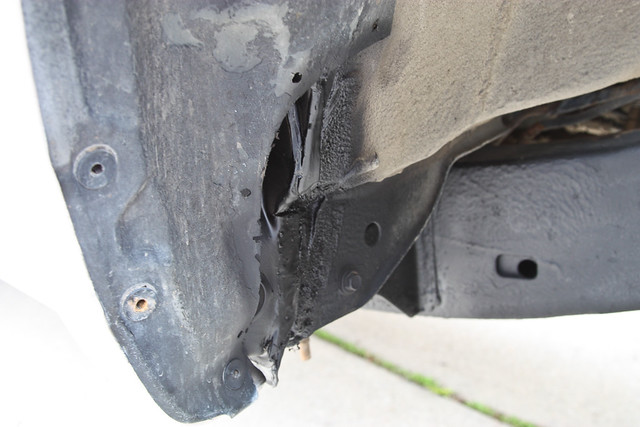
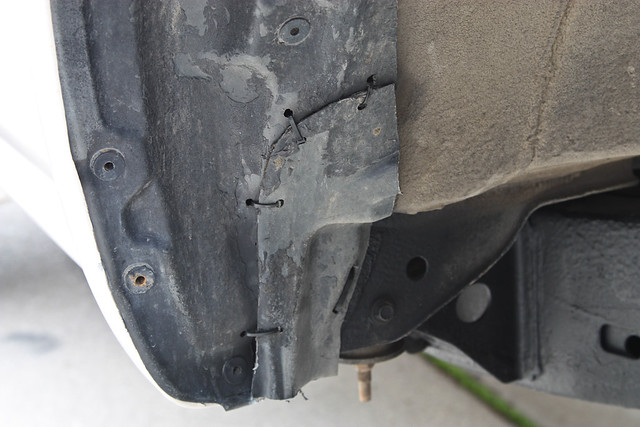
I had no rub with the 32's but decided to do the "pinch weld mod" anyways. I think it turned out pretty good, as I gained about .75" of clearance towards the rear of the front wheel wells, and you can barely tell I did any cutting. Check out the photos below:

- Fender liner trimmed (about 8-10" in vertical length, doesnt look like i cut that much in the pics...)
- Cut a fold line in the pinch weld with a cutting disk
5895441106_ceb6413bf5_z.jpg


- Folded pinch weld over with plyers and hammered flat with a BFH
- primed and painted
5895441762_427be73236_z.jpg


- Trimmed peice of fender liner I had previously cut out to lay "flatter" on the newly modified pinch weld
- stitched the trimmed liner piece back in place to keep mud/debris out of the fender
5895442578_f9057960f7_z.jpg
 
Last edited:

Members online

Forum statistics

Threads
278,313
Messages
3,554,091
Members
248,016
Latest member
Advally Service

Trending content

Back
Top