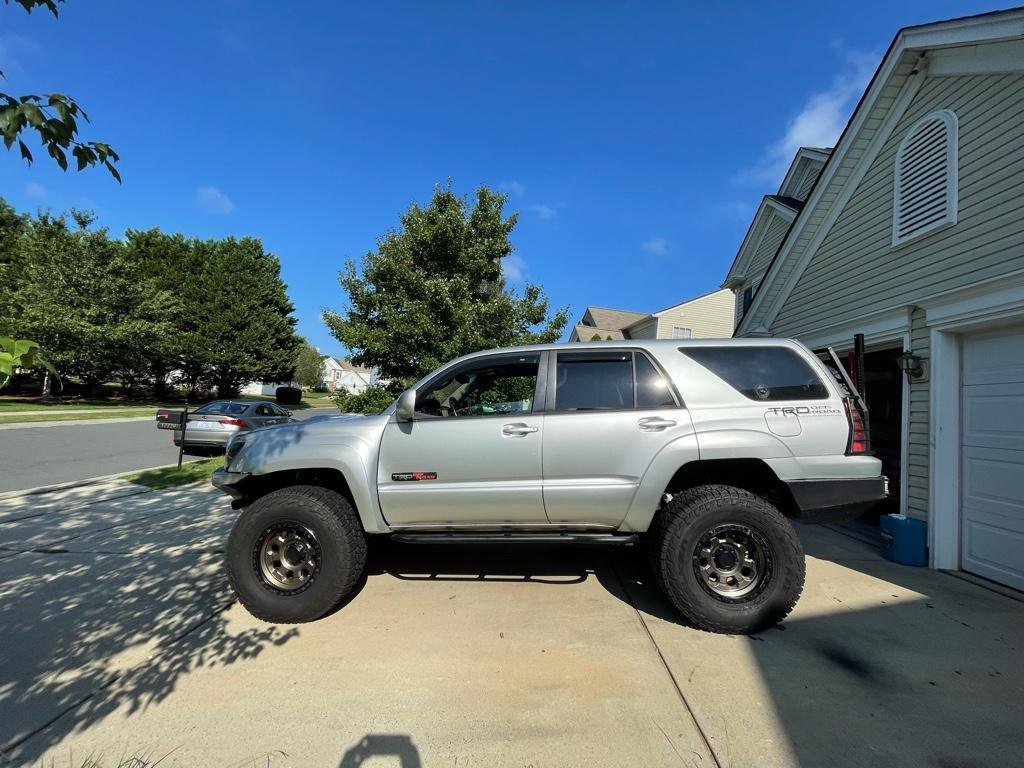
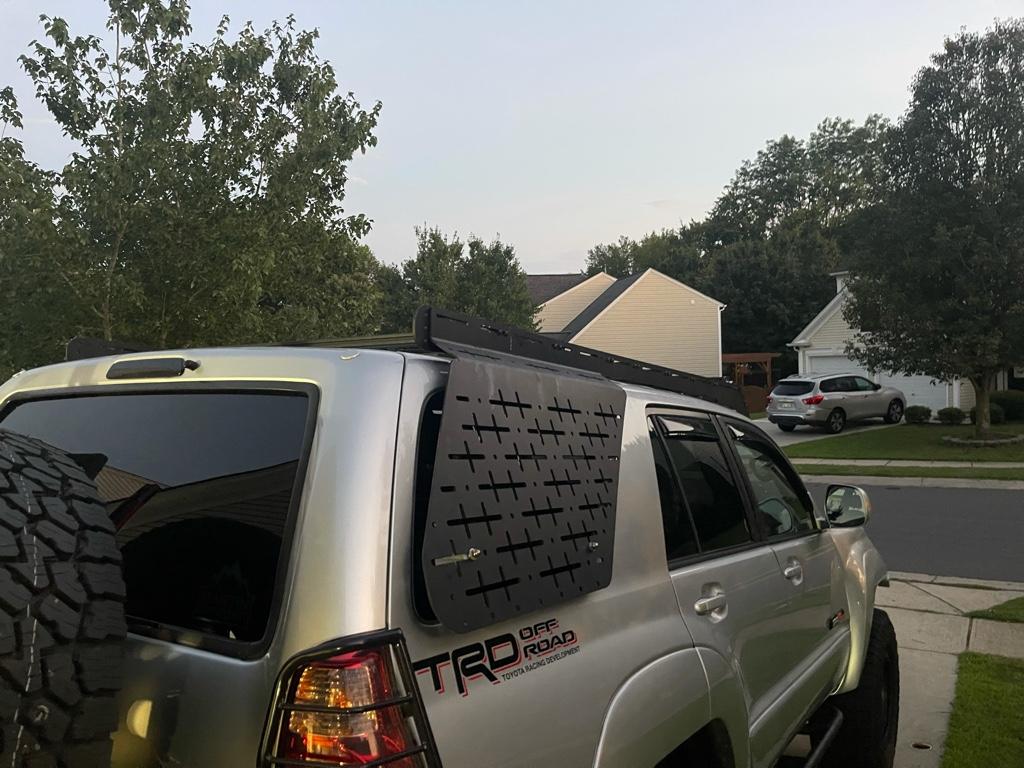
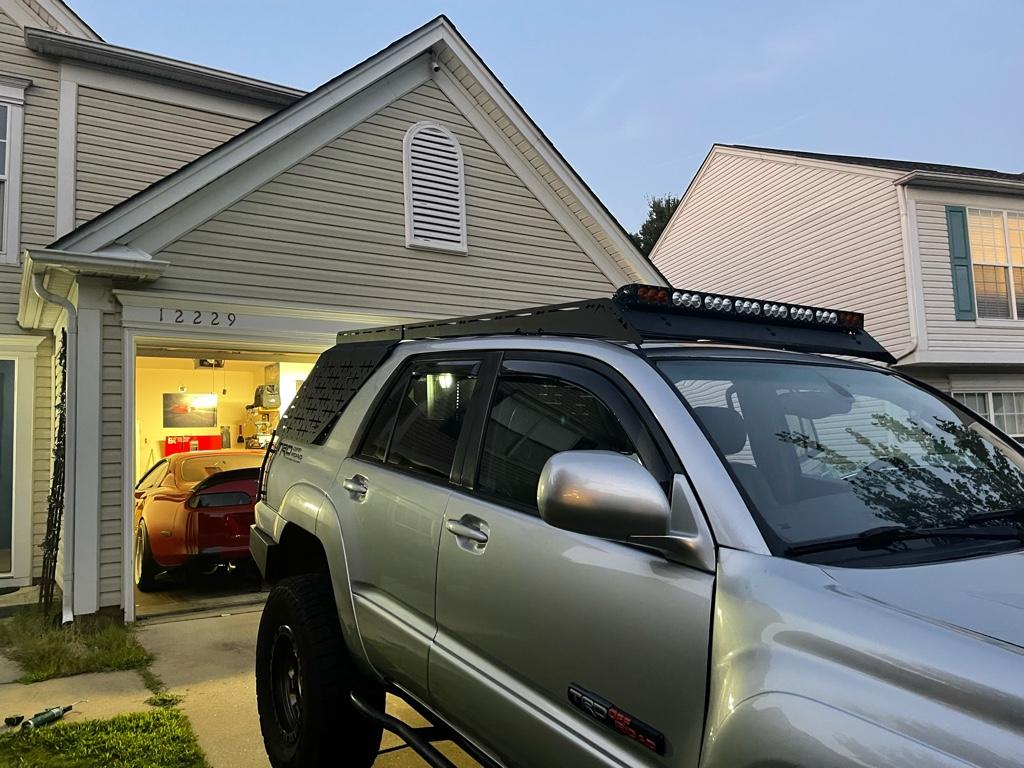
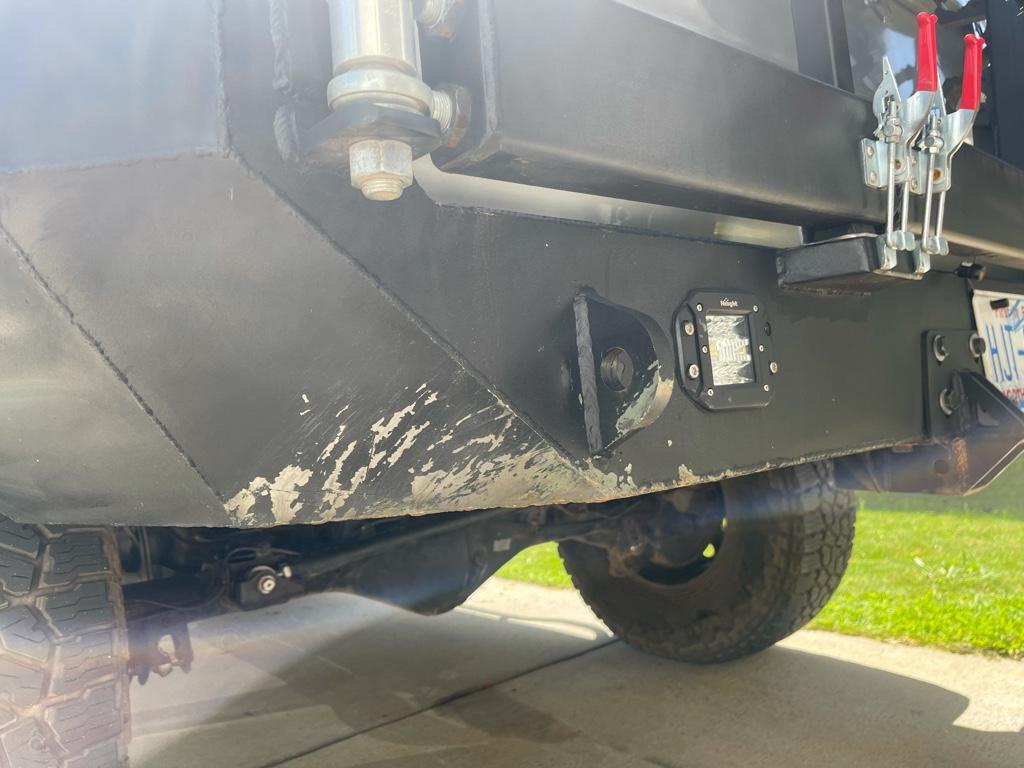
aemravan's build thread - project TacoRunner

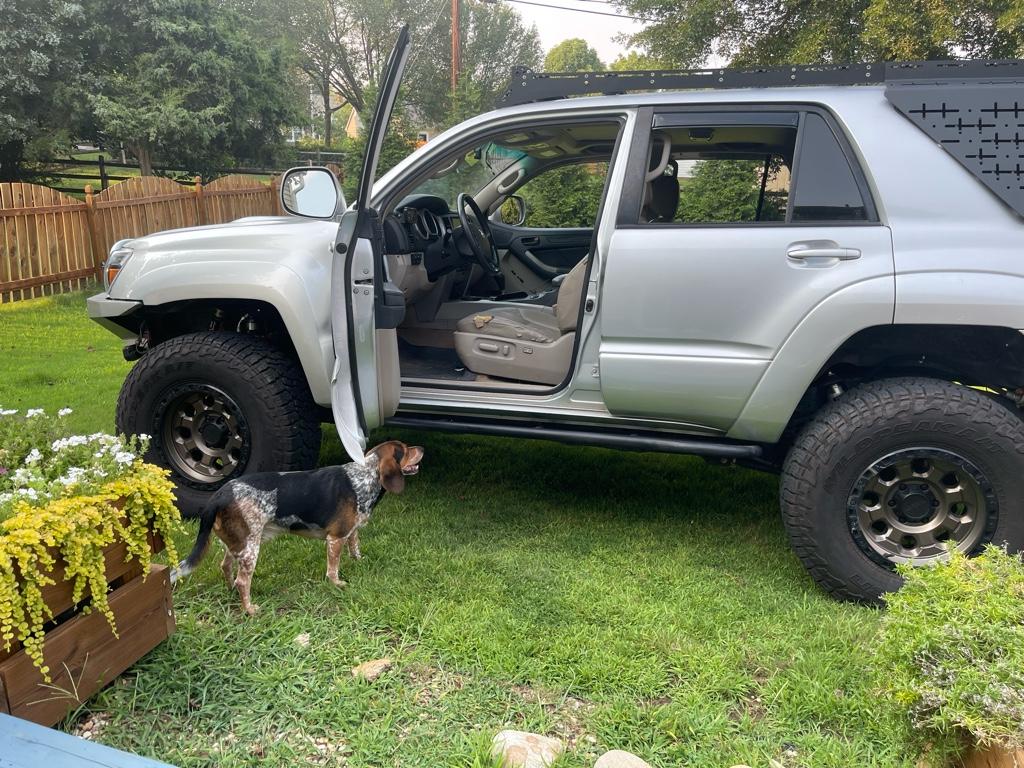
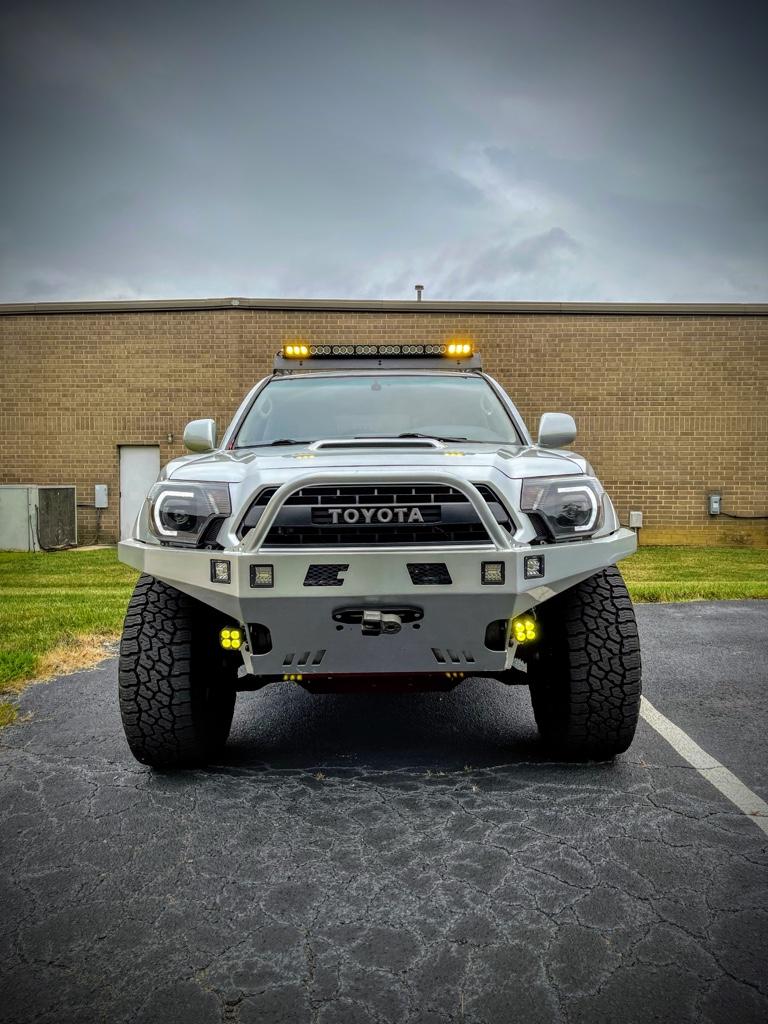
Yours is probably the cleanest taco swap I’ve seen. All the others seem to not have tried as hard and once you take a long look the panels don’t quite line up as clean as yours. Also like how well the 4R coastal bumper worked out with the taco front end!


Sent from my iPhone using Tapatalk
 
Yours is probably the cleanest taco swap I’ve seen. All the others seem to not have tried as hard and once you take a long look the panels don’t quite line up as clean as yours. Also like how well the 4R coastal bumper worked out with the taco front end!


Sent from my iPhone using Tapatalk


Thanks man, much appreciated. When I decided to do it I decided to do it the right way. Took quite a bit longer but certainly paid off in the end. I absolutely love the coastal bumper with the updated front end as well.


Sent from my iPhone using Tapatalk
 
A quick update on the car:
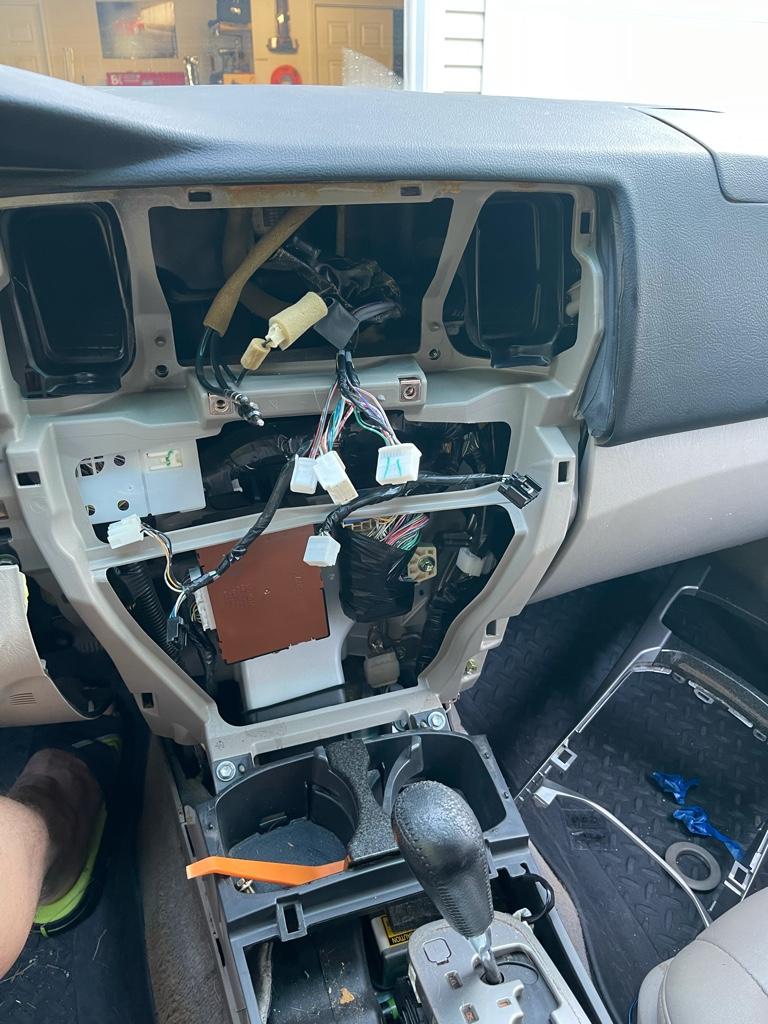
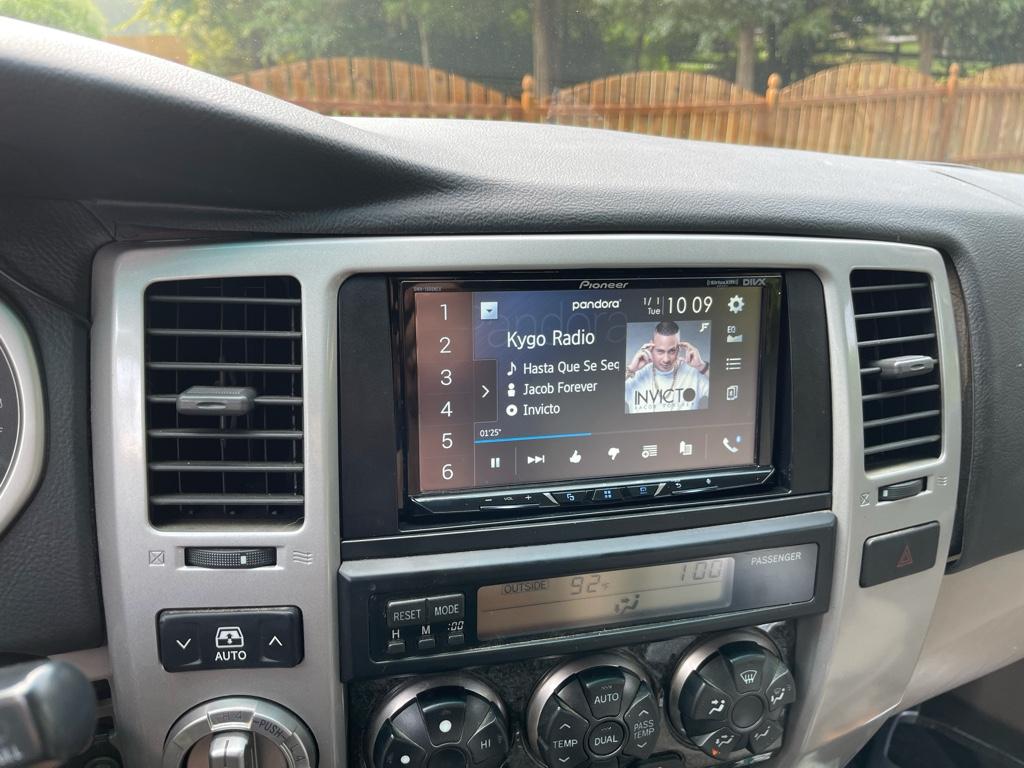
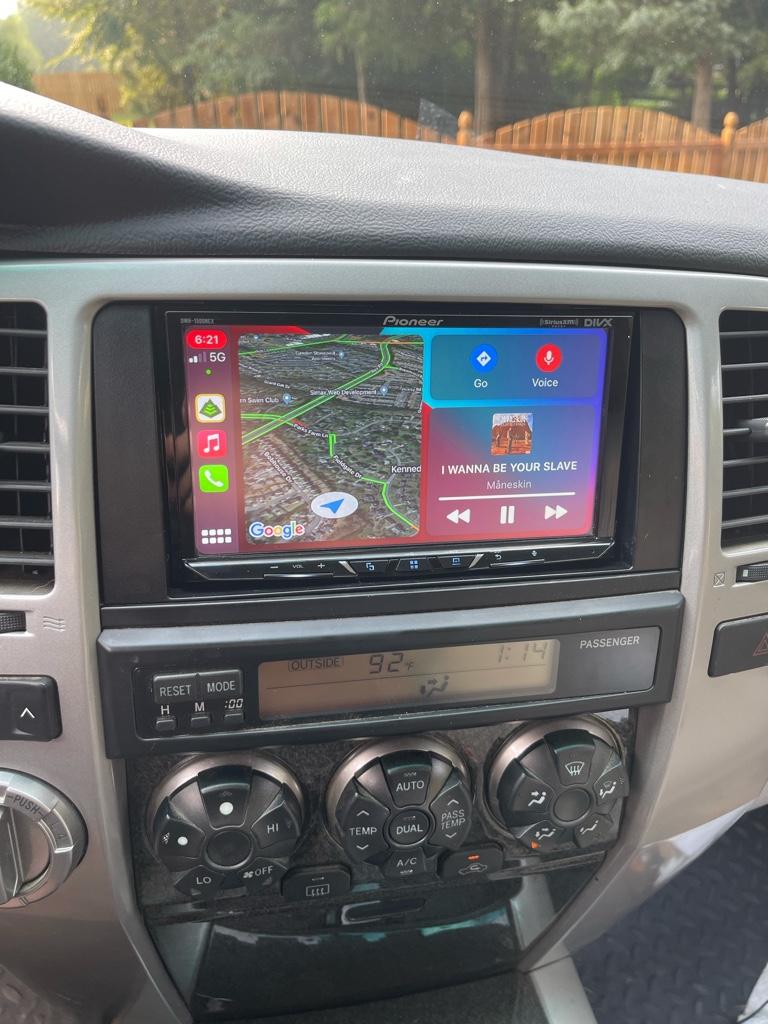
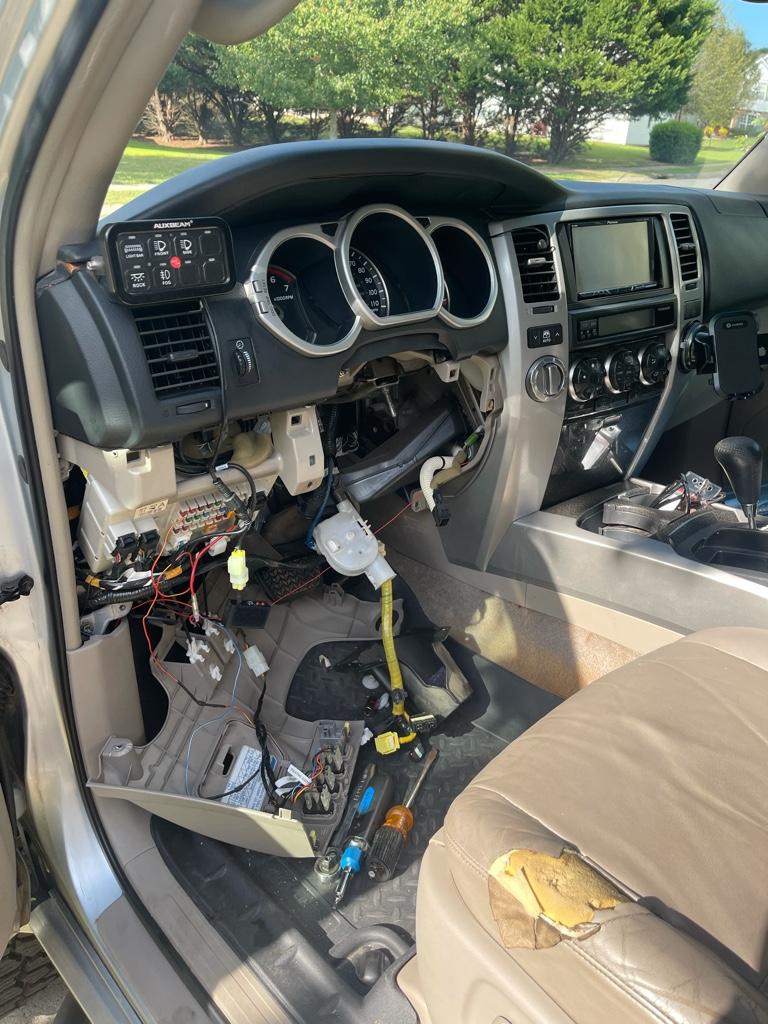
Went though the tedious process of wiring in a head unit I got from my buddy. Took a few more connectors and adapters but ended up working out great. I now have awesome sound, smart phone compatibility and cameras that I’m working on wiring in.

The goal is to have a front and rear camera,as well as 2 under the car in the case I don’t have a spotter.
1275dc407234973614e9a81e44f492eb.jpg

2b88aa32137c9ff98f3780f6a5417a1e.jpg

e336554072527f221762dc7fa9dd76f6.jpg


Sent from my iPhone using Tapatalk
 
Well, after hours of wiring and testing on the car I scrapped the idea of multiple cameras/undercar cameras, etc and just wired in 1 standard back up camera that I can call up on demand, not just in reverse. Too much wiring for the others for something I'll realistically probably never use.

After I put in the new head unit I quickly found out how old and tired my factory JBL speakers were. The sub was blown, but the speakers were still hanging on a bit, however I decided that if I'm going to change one thing I may as well do it all. Well, $400 bucks later via Crutchfield and I have all 8 speakers/tweeters and the rear sub replaced. I elected to disconnect and scrap the dashboard speaker since my dash cover I got did not have provision for the speaker anyway.

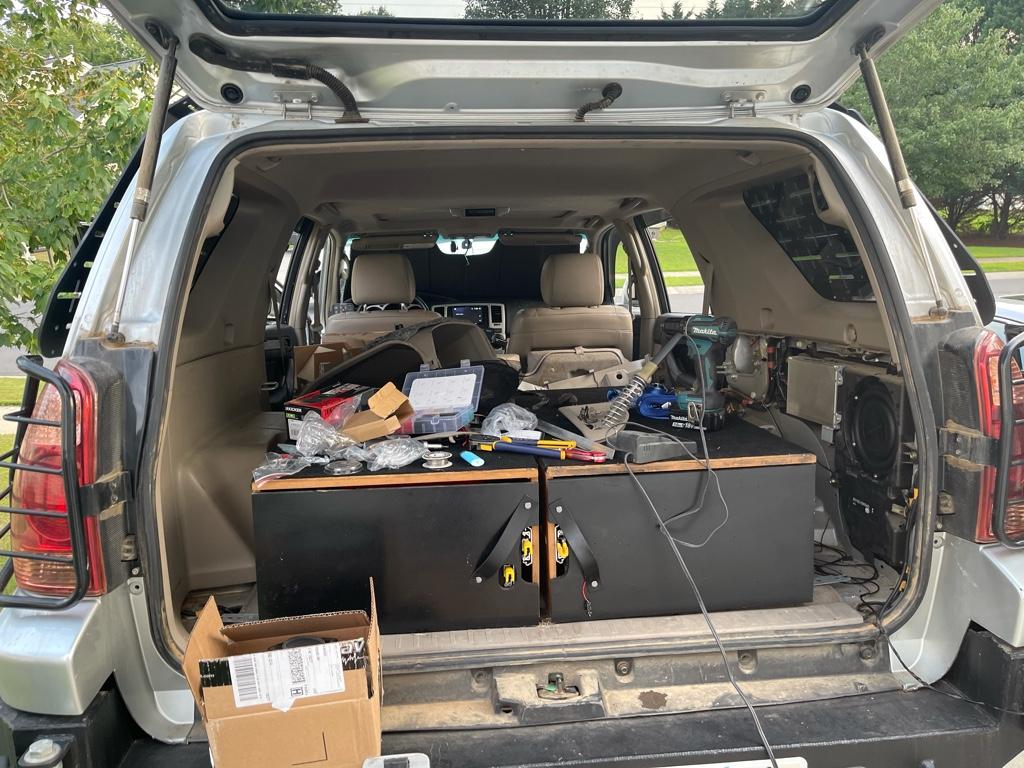
The front and rear door speakers were an absolute breeze, the tweeters took a bit of clipping and soldering but were also quick. The rear sub was a bit of a pain with my drawer system needing to be unbolted so that I can pull the rear trim to access the sub. All in all, for about $700 bucks, my rig is now modernized with some amazing sound, apple car play and back up camera. Now.... what can I manage to dump some more money into next???

872f698238198b839892eceb4ff378bf.jpg

73d40f4b7f667aca55ac7de13e1f8c8f.jpg


-head unit : Pinoeer DMH-1500NEX
-Maestro SW steering wheel control adapter (its programmable to add more functions to the factory 5 buttons the wheel)
-parking brake emulator/bypass (this unit you can't just ground the parking brake signal, it is looking for a pulse so you have to install a small emulator to bypass it and give you full control even when moving/without park brake engaged)
- Amazon.com: HerMia Car Radio Stereo AM & FM Antenna Connector SMB Splitter Y Adaptor Cable, 1 Male to 2 Female Plug for Automobile Car Antenna Aerial : Electronics (on amazon, this merges the 2 different antenna plugs into one input)
- Amazon.com: Scosche MDAB Compatible with 1988-05 GM Micro/Delco Antenna Adapter; Tip only (antenna plug converter - there are 2 different sizes and this lets you plugs both in)
- Amazon.com: Metra TYTO-01 JBL Amplifier Interface Harness : Electronics (this is the most important thing you'll need to get it working with the JBL system. The wiring is straight forward, literally follow instructions on the sheet)
- Amazon.com: Metra 95-8210 Double DIN Installation Kit for 2003-2009 Toyota 4Runner Limited : Automotive (trim surround for my unit)-
- my speakers and sub that I got were a straight forward recommendation from Crutchfield.com for my model and year. I sourced some on amazon due to price, here is what all i got, you don't have to get the same exact obviously, crutchfield does a great job providing insturctions and suggestions for what fits.
- Amazon.com: PIONEER 8" Slim 700W 2 OHM SUBWOOFER : Electronics (subwoofer)
- https://www.amazon.com/gp/product/B084HLGN94/ref=ppx_yo_dt_b_asin_title_o00_s00?ie=UTF8&psc=1 (more speakers that were cheaper on amazon)
1x 0000530079 instructions (came with the speakers, sent via email)
1x 151OE692T
1x 575R165X3
1x 120828148
1x 120HWP0001
1x 120SPHKC
1x 120728104


that should be all you need really... I fought it for a while before realizing i needed that conversion module for the JBL system. If you start with it on hand and just follow the instructions it's pretty straightforward. I didn't document exact wiring I did, but like I mentioned, once I found out I need that little black box to go in between the factory plugs and the new headunit everything powered right on and plays awesome. The Maestro also just follow instructions, you plug it into a laptop/pc and download the necessary firmware for the specific car, it then lets you configure the button controls to pass to the radio. I started thinking I didn't need it, but it has been super convenient to use the steering control with the new unit.

The sub was the hardest to replace just because I have a drawer system I didnt want to take out and you ahve to pull apart half of the back trim to get to it. The wiring that came with the kits from crutchfield pretty much plugged right into factory, took me like 2 hours to do all the speakers. There were 2 or 4 smaller speaker (in the way aback and the 2 dfront door ones I believe) that I had to solder a component onto that came with it, but it literally looks like the factory speaker you pull out so it's supper easy. A lot of this wont make sense now since I don't have pictures, but I promise once you start going its a very straightforward process if you've done any sort of wiring prior. The sound (for an almost 20 year old car) is phenomenal. I mean its not a lexus or a new bmw or anything, but its super crisp and plenty loud. If you are using android Auto or Apple Carplay, make sure you get an extended USB cable to run out from the back of the radio into a useful spot since all of the current car play and android auto is over a hard connection and not bluetooth. I'll say that playing sound over the cable via carplay is significantly nicer, more clear and loud than bluetooth, but both are good.

 
Last edited:
Missed taco Tuesday by a bit…, but the lighting at work this morning was awesome so here we are… no new updates that are major on the rig, so far so good, just needs to see more off-road time !
92aacbb4fea55442757279693917a0eb.jpg


Sent from my iPhone using Tapatalk
 
I hate it when I see threads die off over time, so I’m going to try and not do the same with mine !

The TacoRunner has been doing awesome, had a few trips out to URE for some wheeling, last time out really kicked my ass. More trail damage in one trip then I managed all the other times combined lol. Nothing serious, but damage nonetheless.

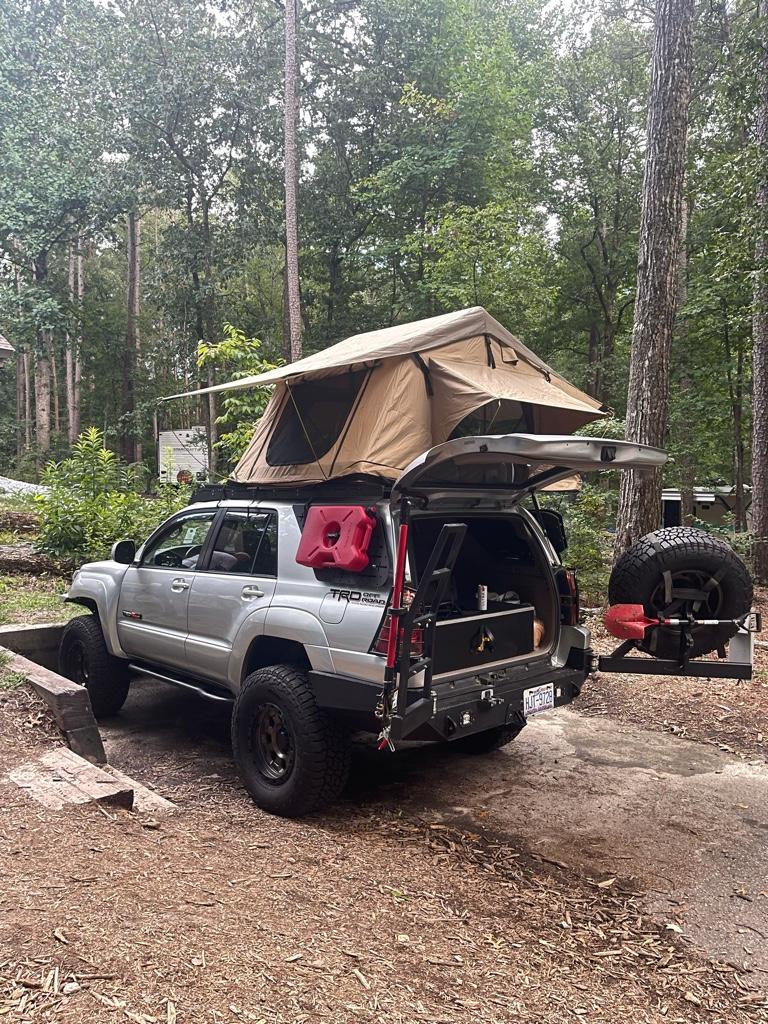
Found out that my genius idea of storing recovery gear in the pull out drawer system has a bit of a flaw… when you’re stuck facing 45degrees up and need to open the lift gate and then slide open the drawer it is less than ideal… so I am now evaluating my options lol. For overlanding it is probably more than OK since I don’t plan on being in a situation where I’d be stuck that way.. but for off-road trips it will probably be best to take out the bags of necessary gear and just leave on the floorboard in the rear for easier access..

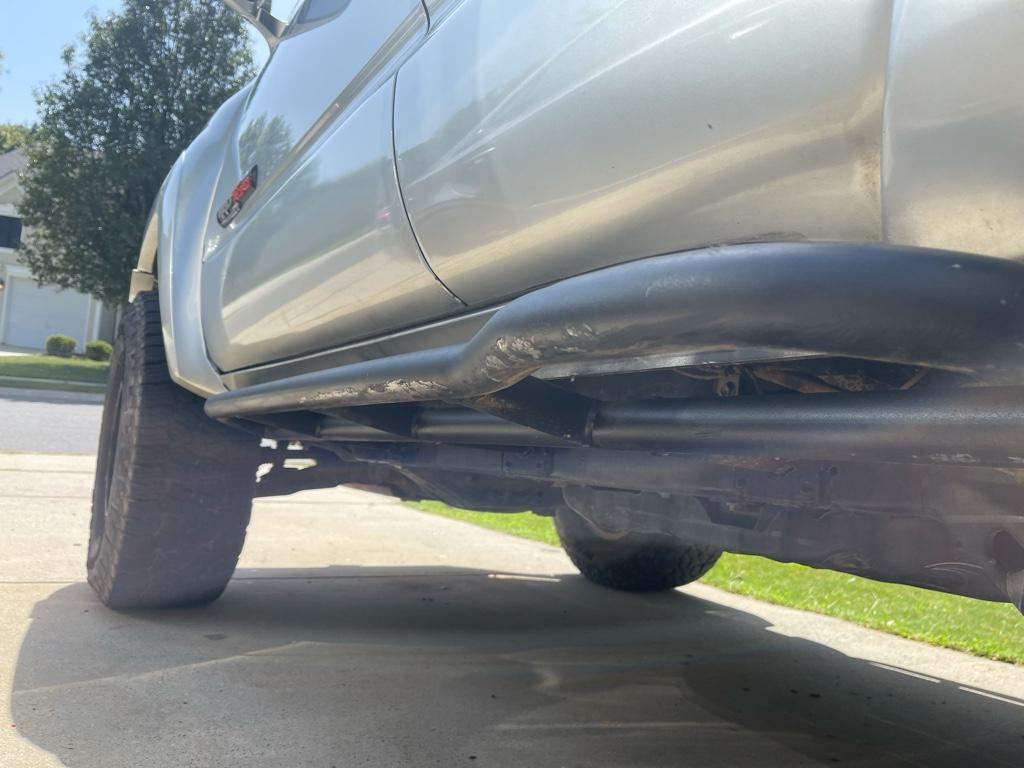
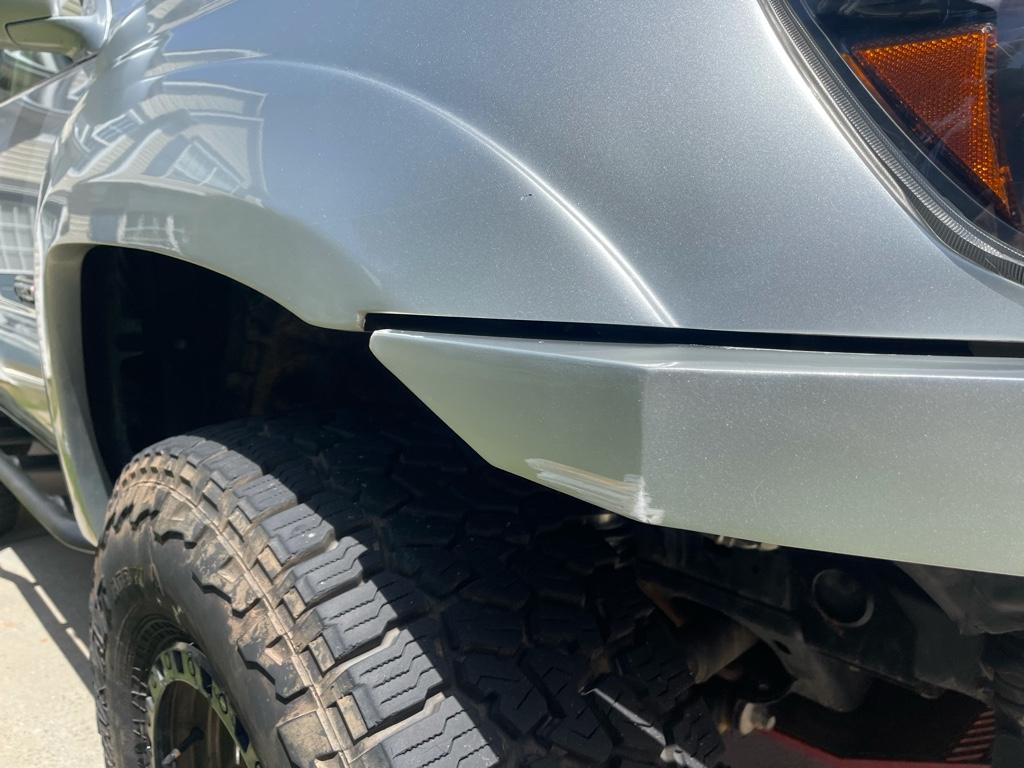
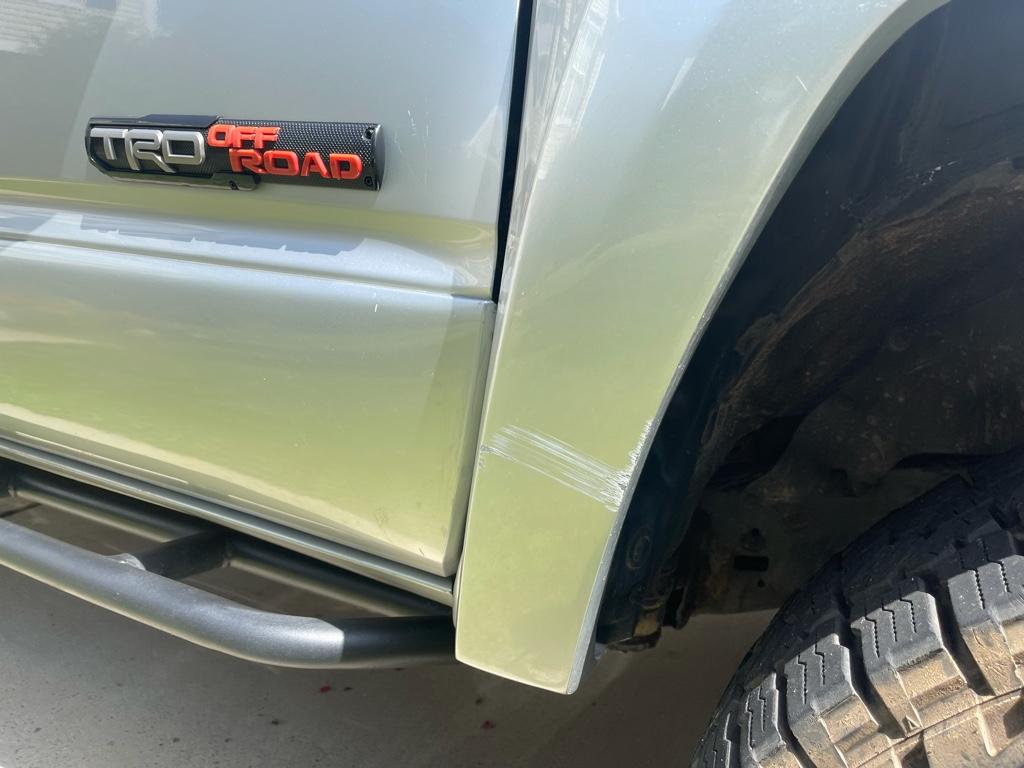
Got wedged on the rear bumper going up the ledge in Daniel, bounced the rock slider on the outer most point and bent it up to where my rear door would hit it, scuffed up both fenders (luckily no cracks lol) and my front bumper, took chunks out of my wheels, etc, but overall nothing that some spray paint didn’t take care of :)

I also somehow popped a fuse during my bouncing that killed the gear shift indicator.. which meant I was stuck in 4 lo since it didn’t know when I was in neutral to disengage… took a while to get sorted out… one more reason I can’t wait to go FJ transfer case later on after this season..

I also ditched my personal roof rack design I was working on (started a new job and don’t have time to keep tinkering with design changes) so I picked up a local Marlin roof rack side rails and used my cross bars and fairing, much sturdier than mine, I love it.

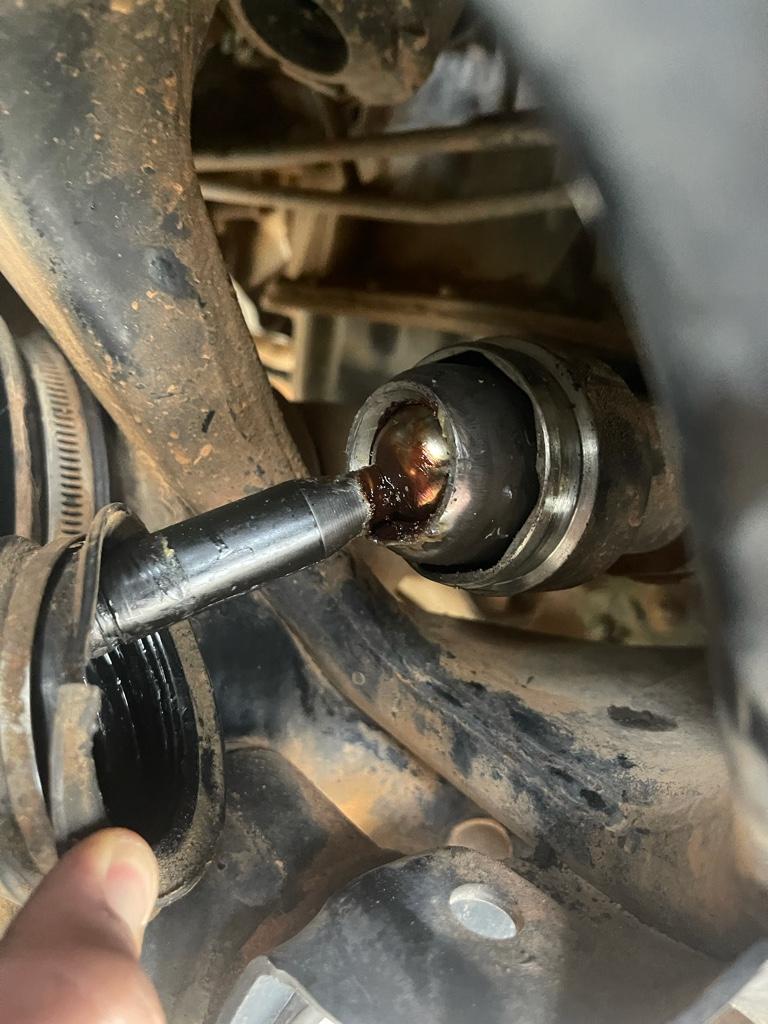
This week I ordered the cam tab gusset kit as well as the body mount relocation that I’m hoping to tackle in the next month or two. Also on the to do list are the inner tie rods.. they are shot and have some wiggle in them which results in some wheel wobble when I go to brake (I’m guessing that’s what it’s from )..

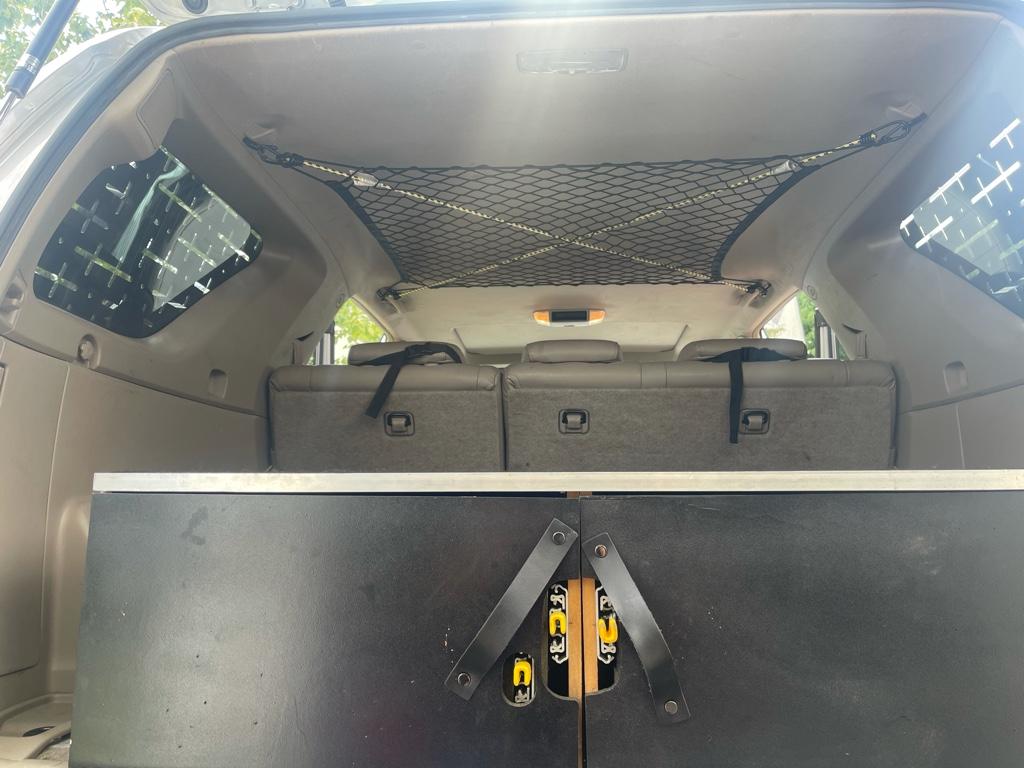
Also delivering today is a cargo net I’ll be working with to make some “attic storage” in the rear. Couldn’t get myself to spend 300-600 bucks on a kit so I’m going the diy route again lol.
2d2875b3993a584d4221a0f7db4ebf28.jpg

8713eb2a6fb73a8a08c23767836ebf70.jpg

07a0bfad6c1a14b934b0caecdf31377b.jpg

b0ff7f9cc206fa25fa26f2a6ffc8c6c4.jpg

8e4bfffa7cf2b27a67f225865705853a.jpg

6b0cc2aa8c38151eca86d3c7e8b9599f.jpg

4f823c9ca23db345c731a0ff791b963f.jpg

1c4ec96c02304fcba19bbb675a5b579c.jpg

79259fe7cf5666022c70c05df99887b5.jpg


Sent from my iPhone using Tapatalk
 
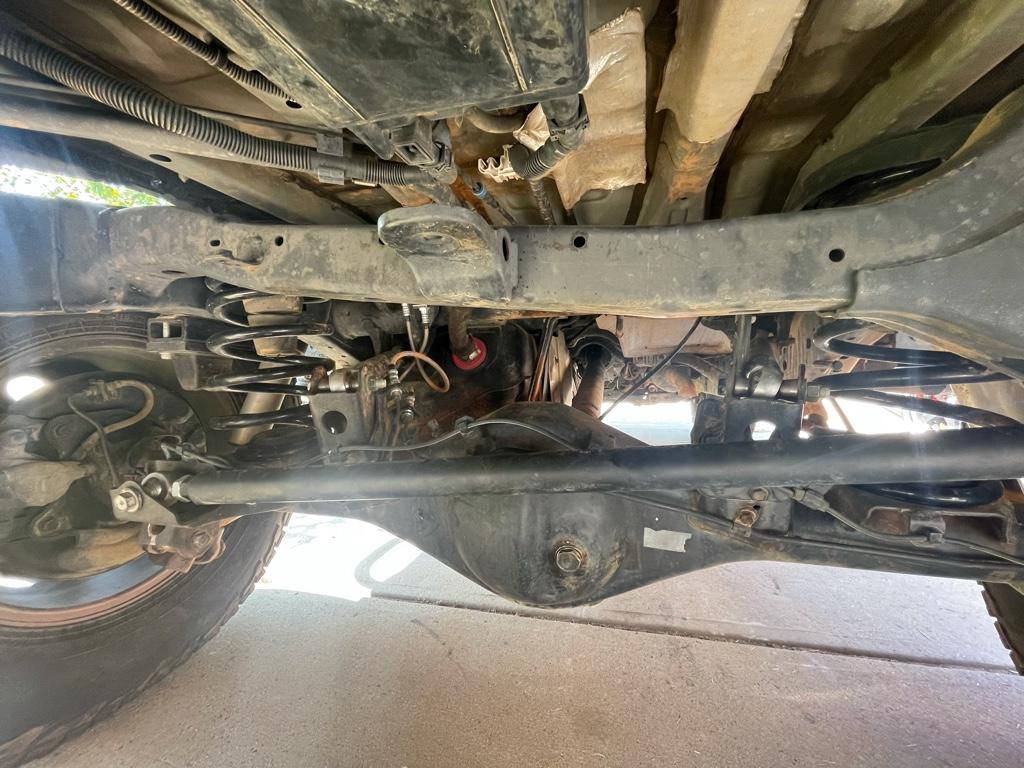
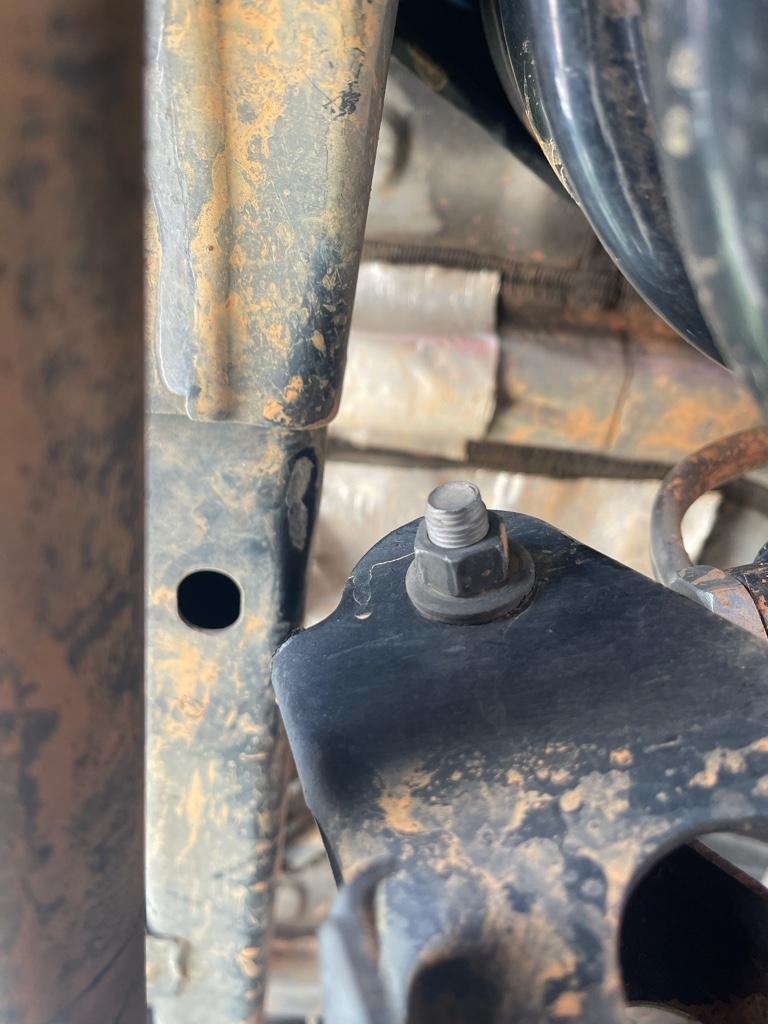
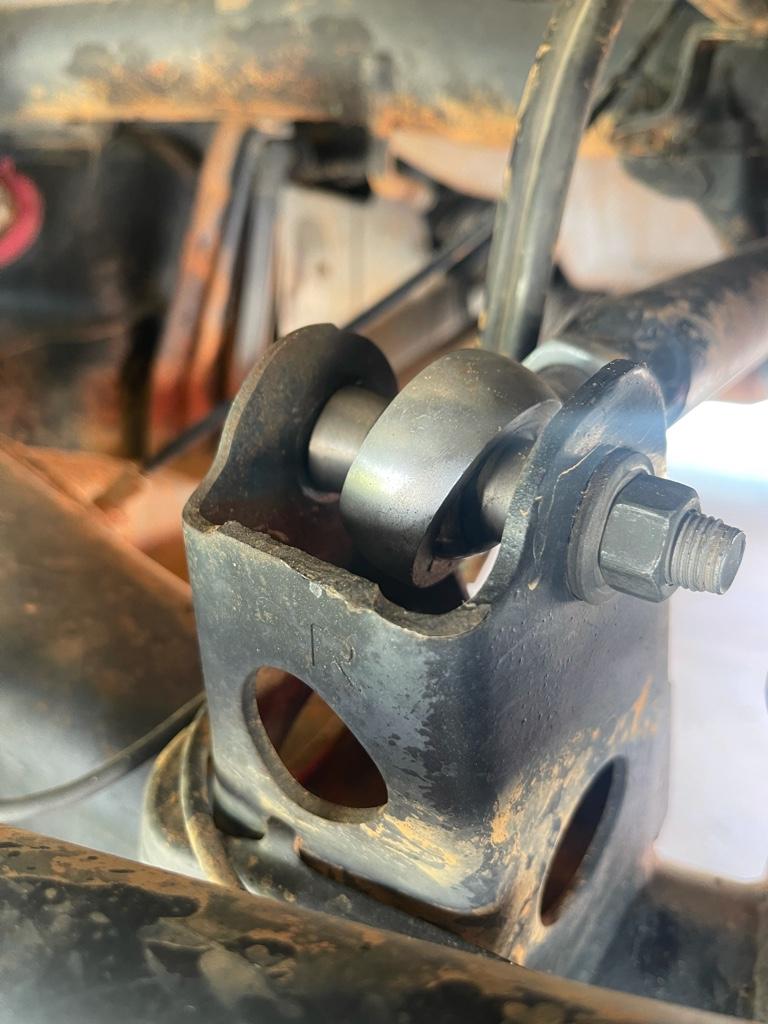
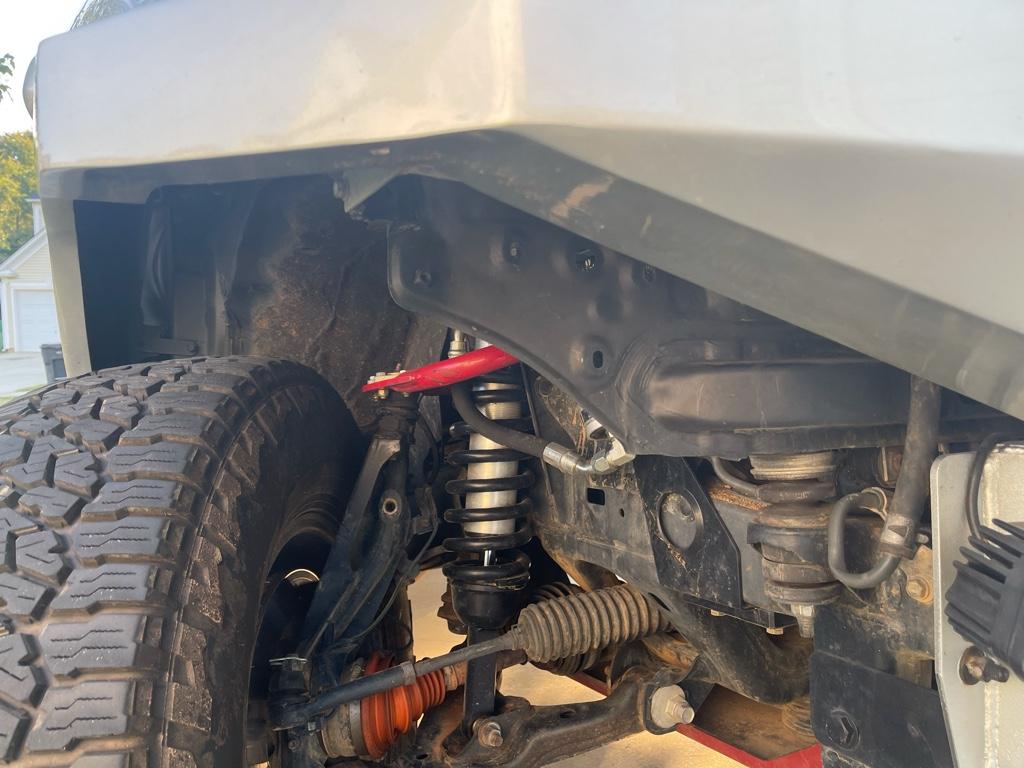
Found the source of my bottoming out thud when going over large drops/bumps.. the passenger side upper link pick up is hitting the cross member above that holds the pan hard tie in .. strange .. this member is asymmetric and lower in the passenger side so the other side rims fine.. now that I know what’s going on I feel good, but may end up notching the member to make clearance later.. any other 4th gen guys seeing this ?? I feel like I had this same sound when I was almost stock with minor lift and factory links..

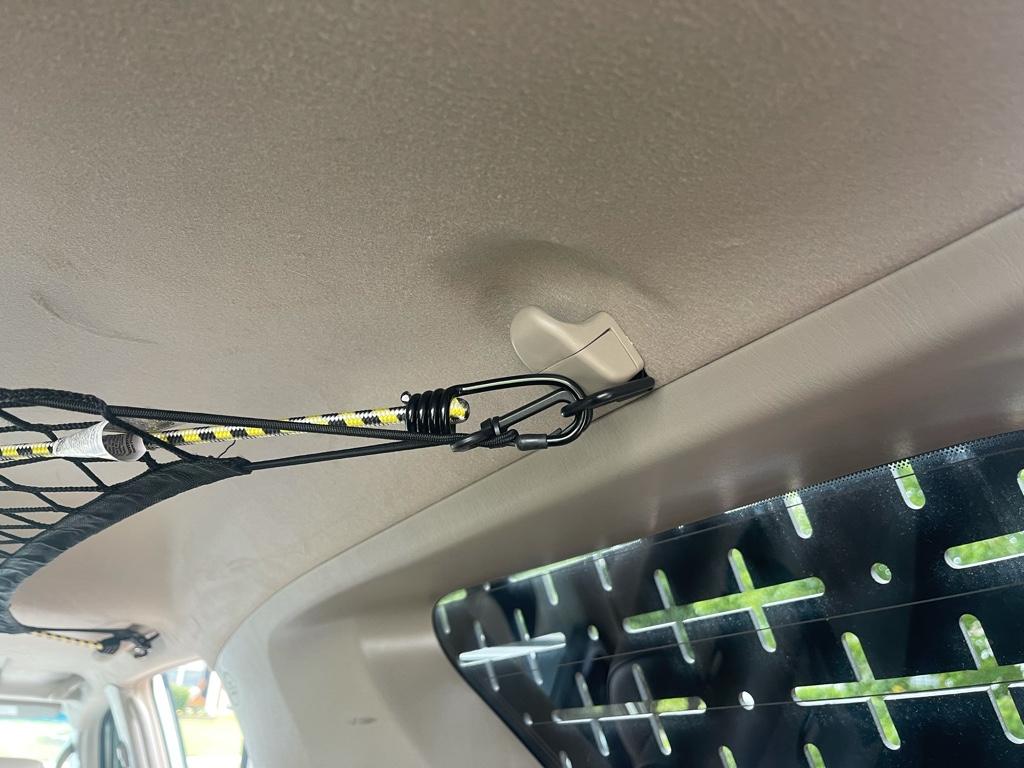
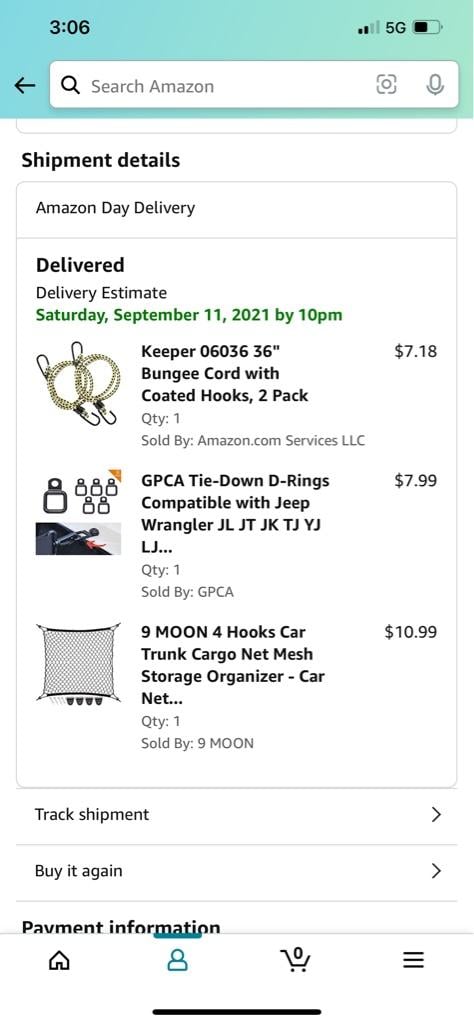
Also installed an attic cargo storage I pieced together from Amazon. Net, 4 upgraded D rings and 2 36 inch bungee cords for added weight capacity, 10 minute install, mounted right behind the handles and rear storage hooks with factory bolts and all. Should make some good storage space up top for soft thing like blankets, covers, pillows , etc. not bad for 28 bucks and 10 minutes of work.

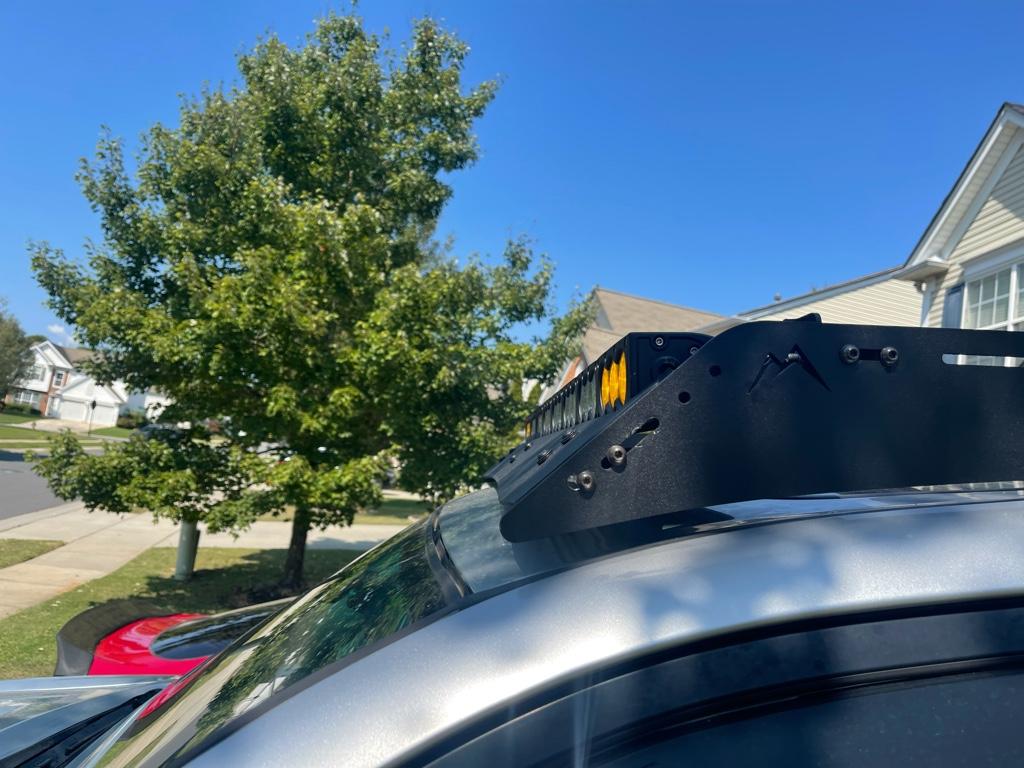
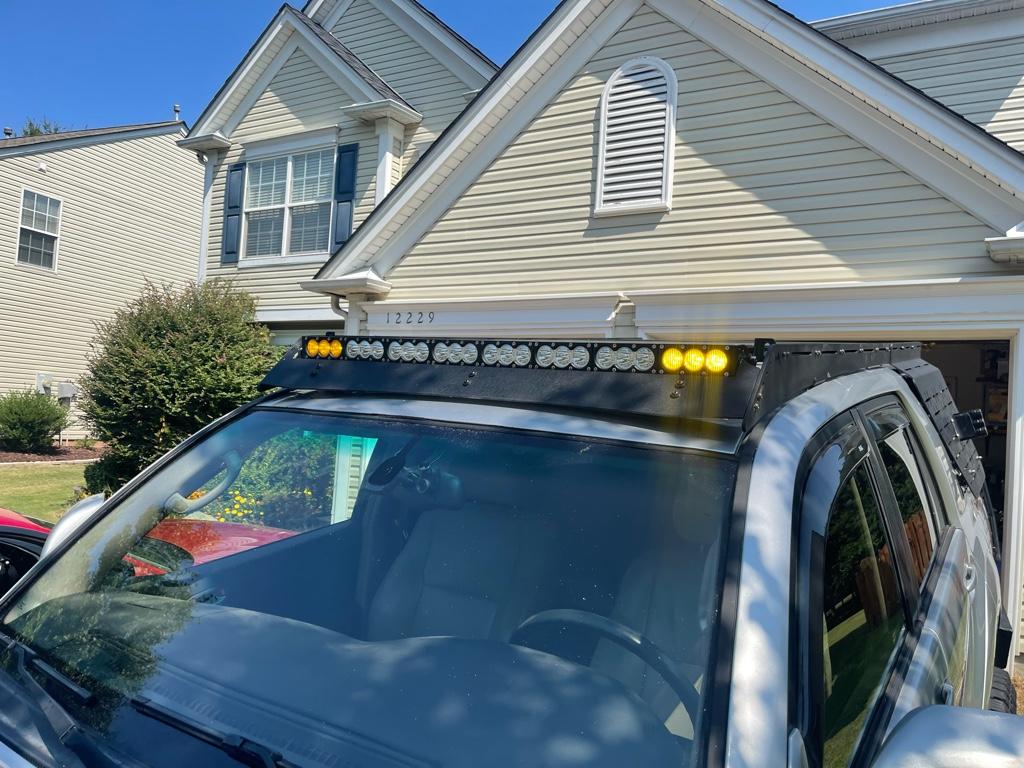
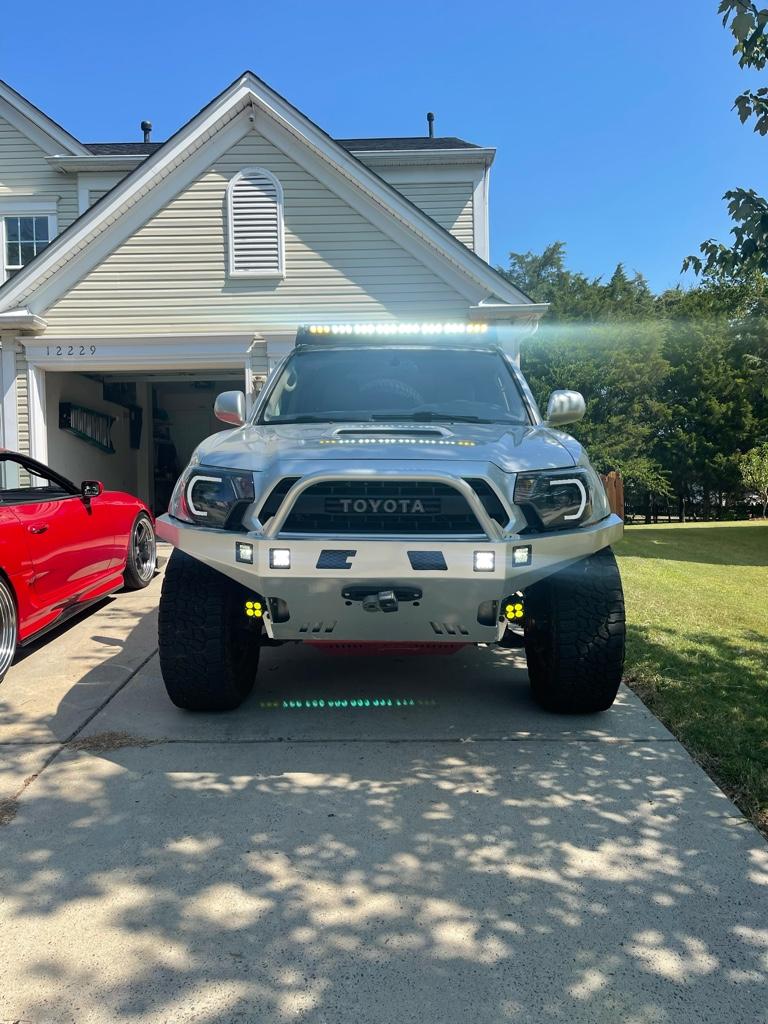
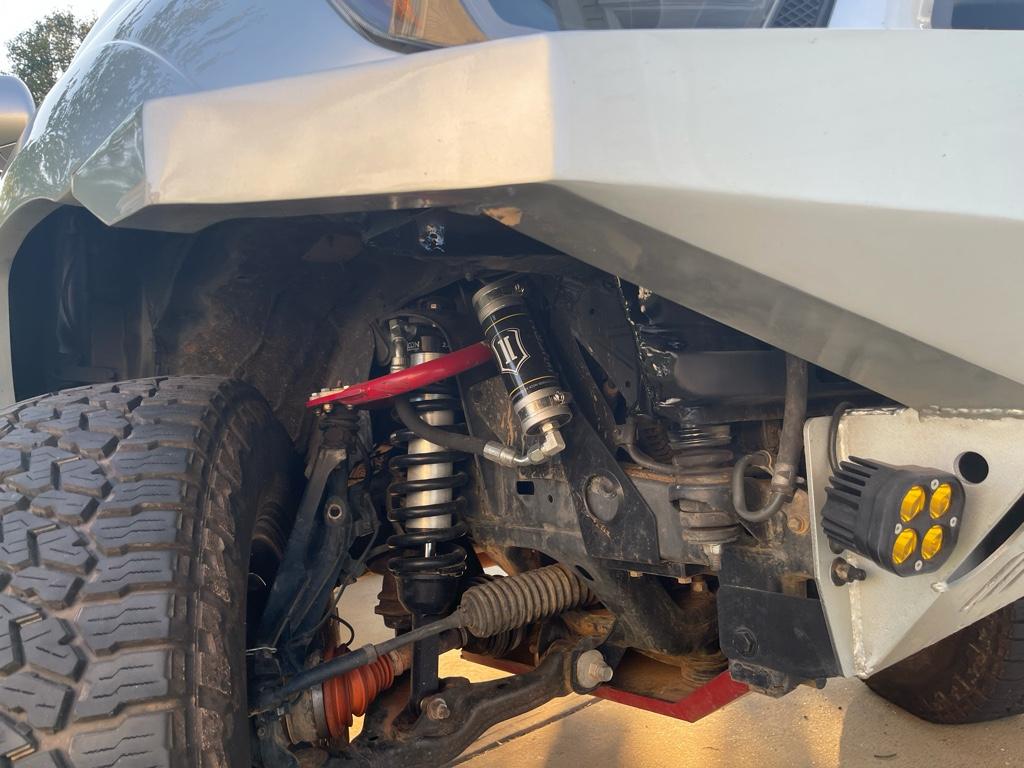
Also lowered the front fairing a bit and dropped the light bar to be more flush, love how it all fitted together.
ec2b9247f8791846befef59aa409d369.jpg

86d561f30f6db97eefc30d510f38064a.jpg

4eb86c6543167bdbe9608211c8250349.jpg

ef2da61109c4dd3d31215603f85d6ccd.jpg

e5f801d4d0289e7c94b514093733e9b8.jpg

fe55fd55a11f73dc14dd7b5e368dbf7f.jpg

ce8f29b980e5a45dcf9cb7fb2cbb6d0a.jpg

04d05c07ed40f3fe54eeea5e32d025f8.jpg

90c4a183e720685261c0913e7453da12.jpg


Sent from my iPhone using Tapatalk
 
Seems like I got the rear interference issue sorted out, i think I had the upper links adjusted way too far out. Reduced it some and hit a few large speed bump without any contact yet, the next trail ride will be the real test.

Over the last 2 days i have been REALLY throwing around the idea of fitting 37's on the car (mainly because I get bored very quickly, but also because I believe with a bit of modification I shouldn't have any issues) but after long searching of various routes (including going with a larger FJ 6" lift, going through various long travel options, etc I decided all my parts are still too new and not even close to used to justify diving into a change that big.. I don't want to run 37's just to run them if they are going to limit up-travel, turning radius, etc... if I ever run them, it would more than likely need to be accompanied by some variation of a long travel set up, both front and rear... so I guess 37's it is for now..

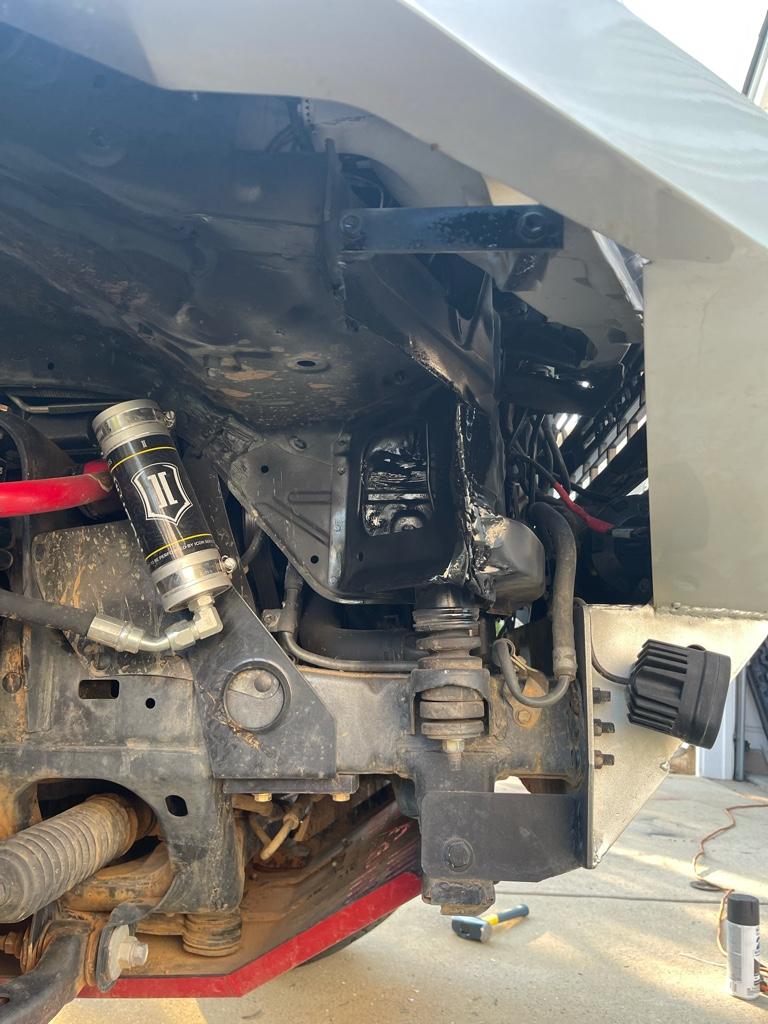
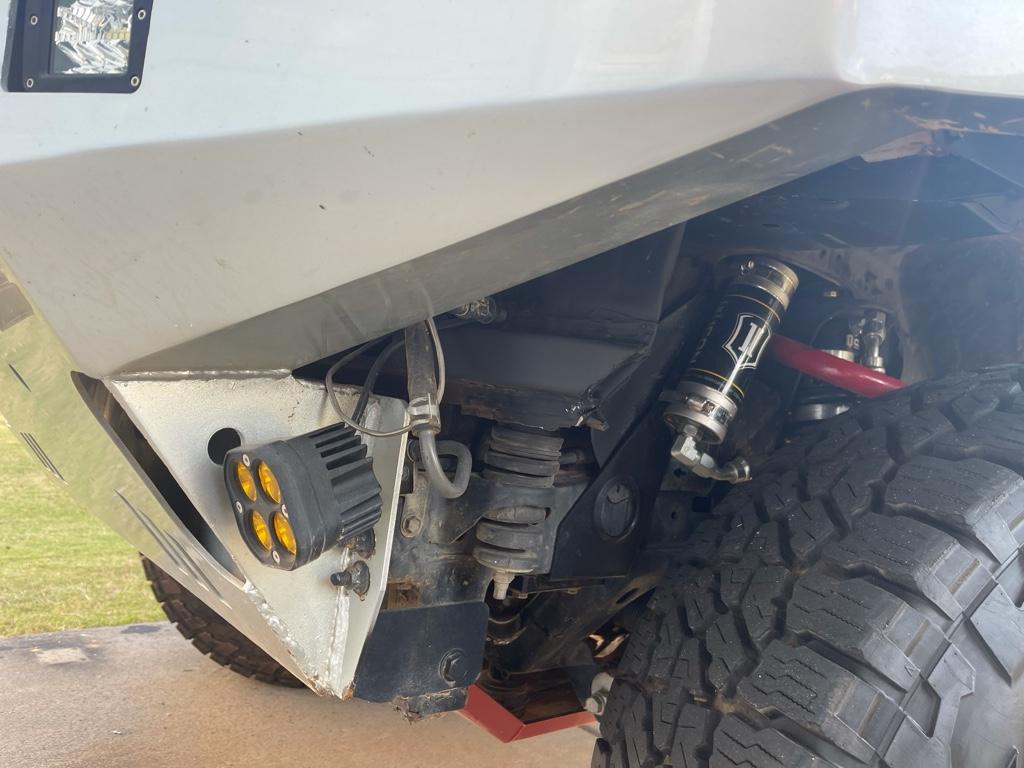
With that said, I found areas of interference that I've been hearing on trails.. looks like my very bottom corner of the pinch weld was still making contact at 50% turn so I took out my handy grinder and hammer and went to town making more clearance on the inner fenders. I broke the hammer... so i'll have to finish up tomorrow lol. After I'm done with it, I believe that there will be 0 point of contact from the tire at any angle or height, time will tell.

I also believe that me installing the 1" spacer somehow got rid of the tire rubbing the frame rail issue.. I don't see any paint-rub off at all anymore from the last time I coated it.. I'll have to do some more flex testing and verifying next time I'm out on the trails.


Since I won't be doing any tire upgrading, I decided the next best thing would be to go ahead and tackle the FJ cruiser T-case swap. I have contacted the local junkyard which shows a 2011 FJ tcase with 70k miles for only $156 that I really want to pick up sometime in the next 2 weeks. After some delibirating I also decided not to worry about modified driveshafts just yet.. the front seems to be still possible to install with some work without having it shortened, and the rear I decided I'm just going to buy a 1" spacer for (only 70 bucks and my driveshafts are still in great shape, on down the road I would just have 2 new driveshafts built so I don't waste money on just labor to shorten the partially worn out factory shafts.

I am pretty confident it is a swap that I can do in a matter of a short weekend day.. Other than cutting out a hole in the tunnel and then cutting and rewelding the shifter to make work everything else is pretty much a direct bolt-on process... I'm sure I'm wrong on that, but thats what I'm planning on so far :)

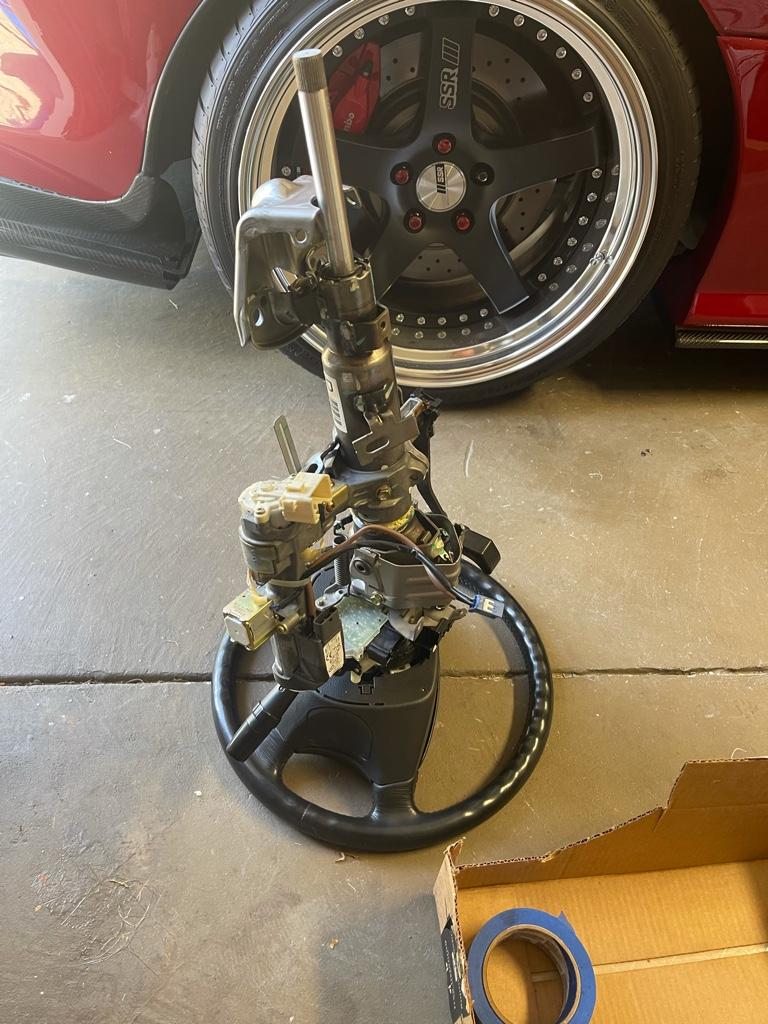
I am also planning on fixing my steering rack rattle/clunk I have this week.. after doing a bit of searching I believe I found the source of my noise I've been hearing from the steering column.. looks like the first slip joint gets worn out and has a bit of wiggle in it, need to take it all apart and tack weld it together. hopefully that is the issue. Once that is done I'll be working on replacing the inner and outer tie rods since those are pretty much completely shot at this point..
 
Last edited:
I had a member ask about the sound upgrade stuff and I'm not sure why I never listed the info in the thread.. could be handy to some in the future, so I am updating the list of parts I used for it in case anyone else is interested, see below:


-head unit : Pinoeer DMH-1500NEX
-Maestro SW steering wheel control adapter (its programmable to add more functions to the factory 5 buttons the wheel)
-parking brake emulator/bypass (this unit you can't just ground the parking brake signal, it is looking for a pulse so you have to install a small emulator to bypass it and give you full control even when moving/without park brake engaged)
- Amazon.com: HerMia Car Radio Stereo AM & FM Antenna Connector SMB Splitter Y Adaptor Cable, 1 Male to 2 Female Plug for Automobile Car Antenna Aerial : Electronics (on amazon, this merges the 2 different antenna plugs into one input)
- Amazon.com: Scosche MDAB Compatible with 1988-05 GM Micro/Delco Antenna Adapter; Tip only (antenna plug converter - there are 2 different sizes and this lets you plugs both in)
- Amazon.com: Metra TYTO-01 JBL Amplifier Interface Harness : Electronics (this is the most important thing you'll need to get it working with the JBL system. The wiring is straight forward, literally follow instructions on the sheet)
- Amazon.com: Metra 95-8210 Double DIN Installation Kit for 2003-2009 Toyota 4Runner Limited : Automotive (trim surround for my unit)-
- my speakers and sub that I got were a straight forward recommendation from Crutchfield.com for my model and year. I sourced some on amazon due to price, here is what all i got, you don't have to get the same exact obviously, crutchfield does a great job providing insturctions and suggestions for what fits.
- Amazon.com: PIONEER 8" Slim 700W 2 OHM SUBWOOFER : Electronics (subwoofer)
- https://www.amazon.com/gp/product/B084HLGN94/ref=ppx_yo_dt_b_asin_title_o00_s00?ie=UTF8&psc=1 (more speakers that were cheaper on amazon)
1x 0000530079 instructions (came with the speakers, sent via email)
1x 151OE692T
1x 575R165X3
1x 120828148
1x 120HWP0001
1x 120SPHKC
1x 120728104


that should be all you need really... I fought it for a while before realizing i needed that conversion module for the JBL system. If you start with it on hand and just follow the instructions it's pretty straightforward. I didn't document exact wiring I did, but like I mentioned, once I found out I need that little black box to go in between the factory plugs and the new headunit everything powered right on and plays awesome. The Maestro also just follow instructions, you plug it into a laptop/pc and download the necessary firmware for the specific car, it then lets you configure the button controls to pass to the radio. I started thinking I didn't need it, but it has been super convenient to use the steering control with the new unit.

The sub was the hardest to replace just because I have a drawer system I didnt want to take out and you ahve to pull apart half of the back trim to get to it. The wiring that came with the kits from crutchfield pretty much plugged right into factory, took me like 2 hours to do all the speakers. There were 2 or 4 smaller speaker (in the way aback and the 2 dfront door ones I believe) that I had to solder a component onto that came with it, but it literally looks like the factory speaker you pull out so it's supper easy. A lot of this wont make sense now since I don't have pictures, but I promise once you start going its a very straightforward process if you've done any sort of wiring prior. The sound (for an almost 20 year old car) is phenomenal. I mean its not a lexus or a new bmw or anything, but its super crisp and plenty loud. If you are using android Auto or Apple Carplay, make sure you get an extended USB cable to run out from the back of the radio into a useful spot since all of the current car play and android auto is over a hard connection and not bluetooth. I'll say that playing sound over the cable via carplay is significantly nicer, more clear and loud than bluetooth, but both are good.
 
Last edited:
Well, finally bit the bullet and ordered a manual t case. The junk yard is showing a 2015 5th gen 4runner as a compatible t case for the FJ so I hope I’m not wrong lol. It only has 88k miles on it and I paid 214 bucks for it thus far, the guy said he’ll try to throw in the shifter but worst case it’ll be another 100 bucks. I should have it by the weekend and start getting ready for the swap. Can’t wait.


Sent from my iPhone using Tapatalk
 
Glad you found your rear/upper control arm interference problem. I was going to ask if you had adjusted them out. Those are to adjust the rear dif pinion angle when you do a lift (when you have adjustable ones). Not sure what the pinion angle specs are but you may want to find out and then check yours.
Want both sides to be the same I would guess.
 
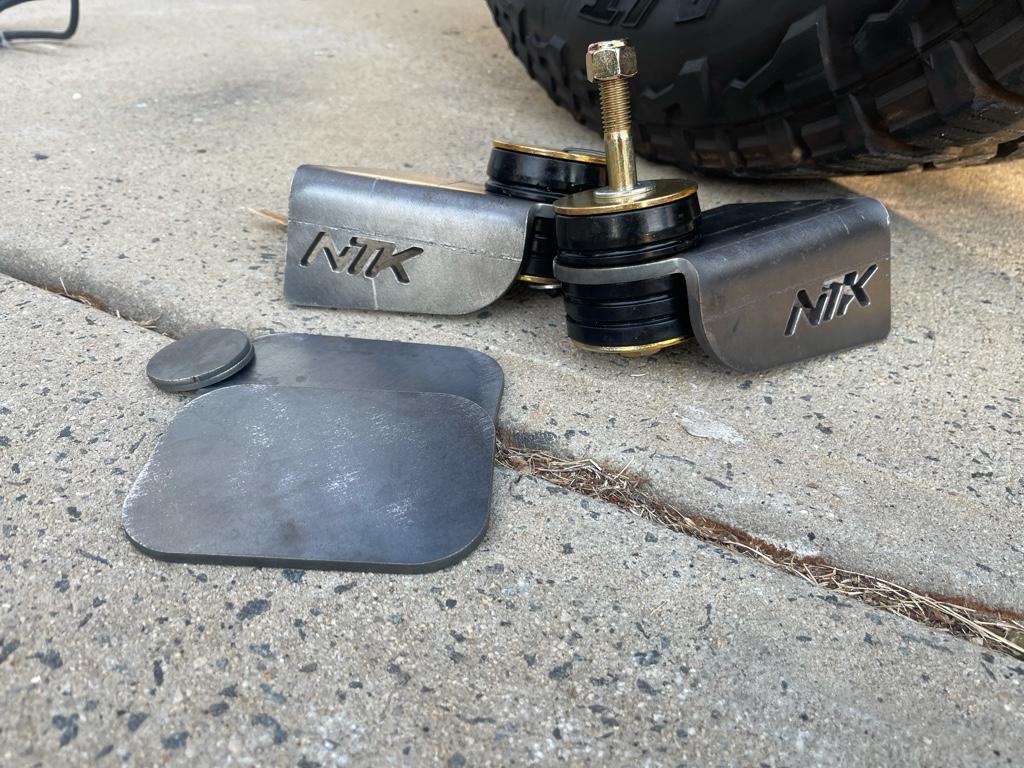
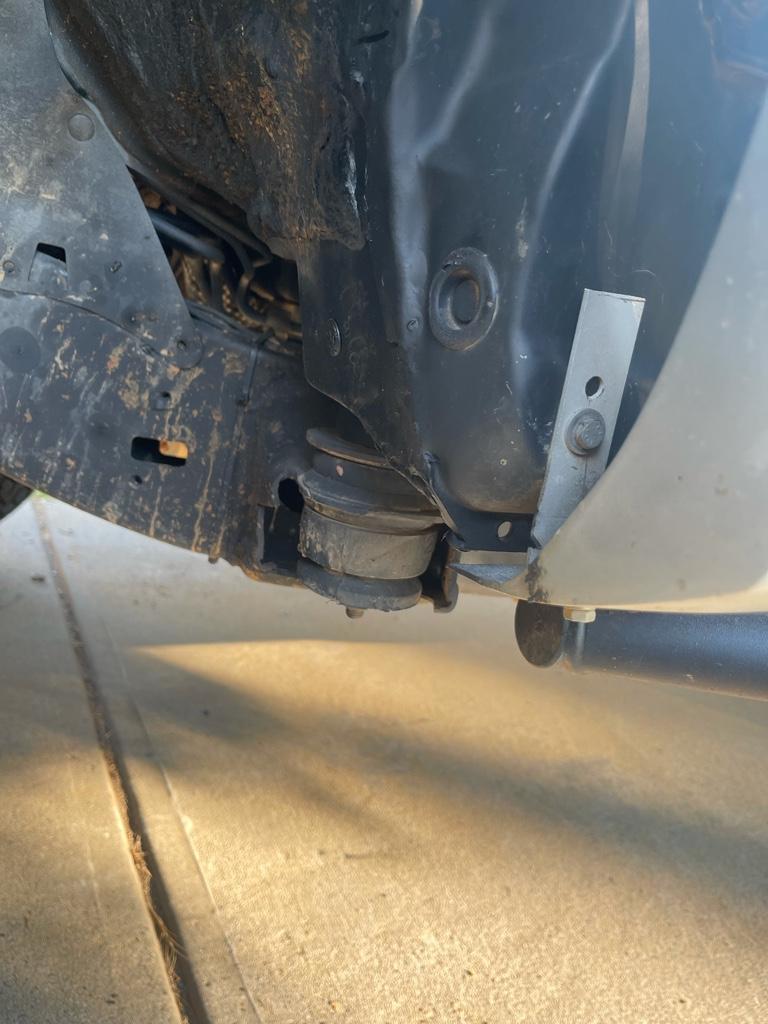
Got my NTK body mount relocation kit in the mail today! Not looking forward to cutting off the old one but can’t wait to have this don’t and extra clearance made.

Spent some time hammering some more on the wheel well pinch weld where it still rubber way at the bottom. I am fairly confident I can fit 37s with a bit of sledge hammer work up front and clear everything.. but the rear is rubbing both the door and bumper so I’m order to fit them there is need to cut the bumper back an inch, weld it shut again, and slide the axle back back some.. when it’s time for a tire change I’ll definitely revisit the idea… however the thought of daily driving on 37 and having to change out wheel bearing almost yearly bc of it doesn’t sound too fun.. lol. If I ever go long travel I’m definitely going to be rocking 37s no questions asked.. but the rig is so capable now(and all new lol) that it’s impossible to justify the cost and time to do it.. would look good though..

I also spent some time cutting down and beating flat on the remainder of the radiator support that you could see sticking out from behind the bumper, much better.

Can’t wait to pick up and swap out the Transfer Case.. I’ve been itching for a project and this one is looking like it may be VERY minimal total cost for what I’m gonna end up with .. may only end up running me 200 bucks out of pocket
59a010ccc2ba7cc33feb186c87ecb7b6.jpg

1792ff21a49d554c6c229014b65273c9.jpg

65f238173478a71519ad993ec7095a23.jpg

eed67d4e5209c3c9c4fb79a3669b057c.jpg

99008db27ef8148903c997bd7c2ef02a.jpg

c5fc75cc20fc9a00c9a5bc123e9bb13c.jpg


Sent from my iPhone using Tapatalk
 
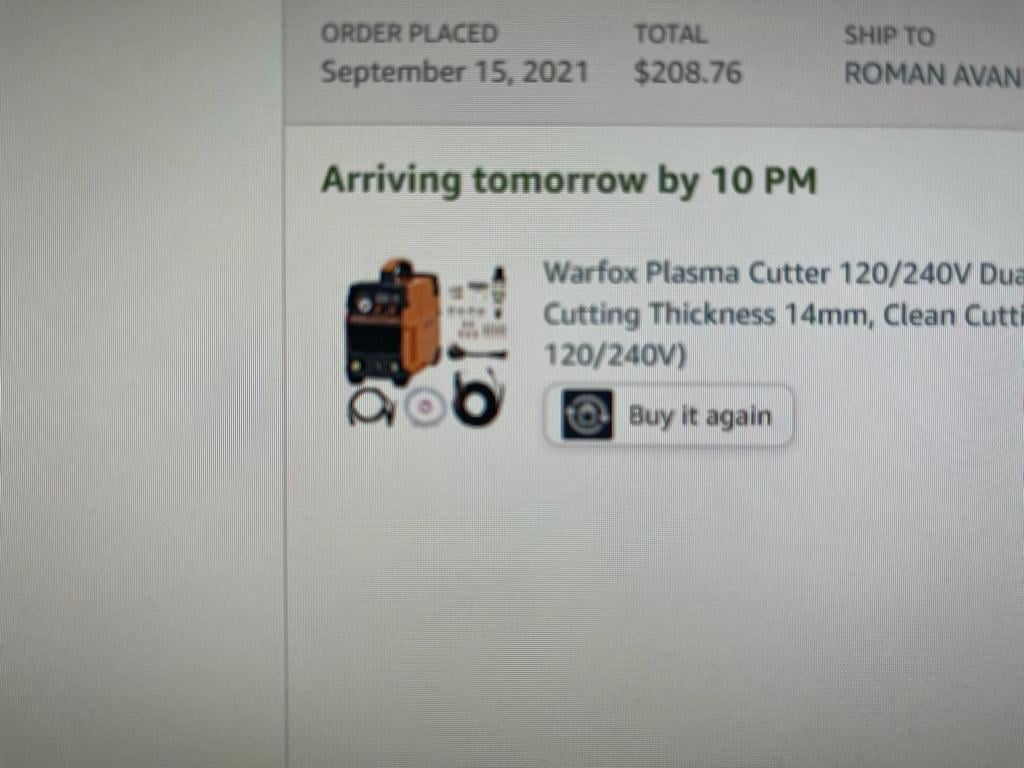
We’ll, in preparation for doing the mount relocation I figured instead of spending $50 bucks on cutting blades I’ll add a few more and get a cheap Amazon plasma cutter. Not the cheapest, but still cheap enough that I don’t expect to last very long, but should suffice for the job coming up plus will make life easier once I get going on fabricating the lower link mount and shock mount skid guards. Can’t wait to try it out.
cc6325f1df2d8c77e558b71a56bf89cb.jpg


Sent from my iPhone using Tapatalk
 
We’ll, in preparation for doing the mount relocation I figured instead of spending $50 bucks on cutting blades I’ll add a few more and get a cheap Amazon plasma cutter. Not the cheapest, but still cheap enough that I don’t expect to last very long, but should suffice for the job coming up plus will make life easier once I get going on fabricating the lower link mount and shock mount skid guards. Can’t wait to try it out.
cc6325f1df2d8c77e558b71a56bf89cb.jpg


Sent from my iPhone using Tapatalk

I have the same one, works pretty well, even on 120v
 
I have the same one, works pretty well, even on 120v

Just realized I posted a really crappy blurry picture of it... but thats really awesome to hear man! Gives me a bit more peace of mind. I don't expect it to perform VERY good or last too long at the price point it's at, but at the same time too there really isn't all that many projects I have on the list to use it for so I couldn't justify a $600+ unit. But low $200.. yes please :) it should pay for itself in time and money not spent on additional cut off wheels.
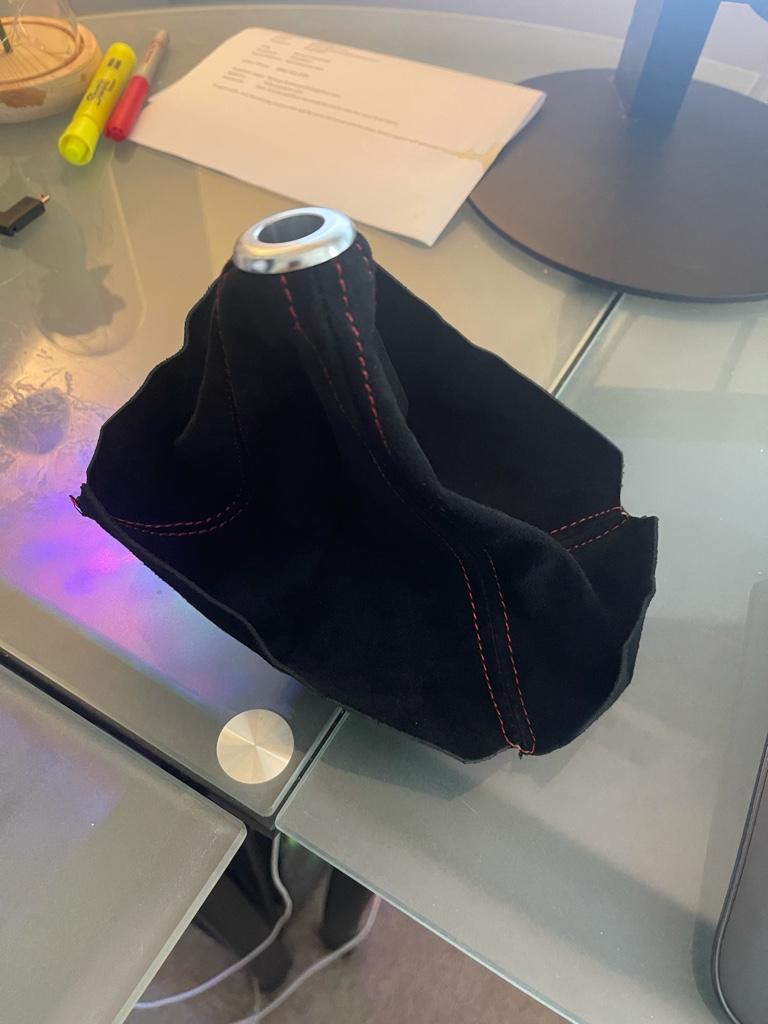
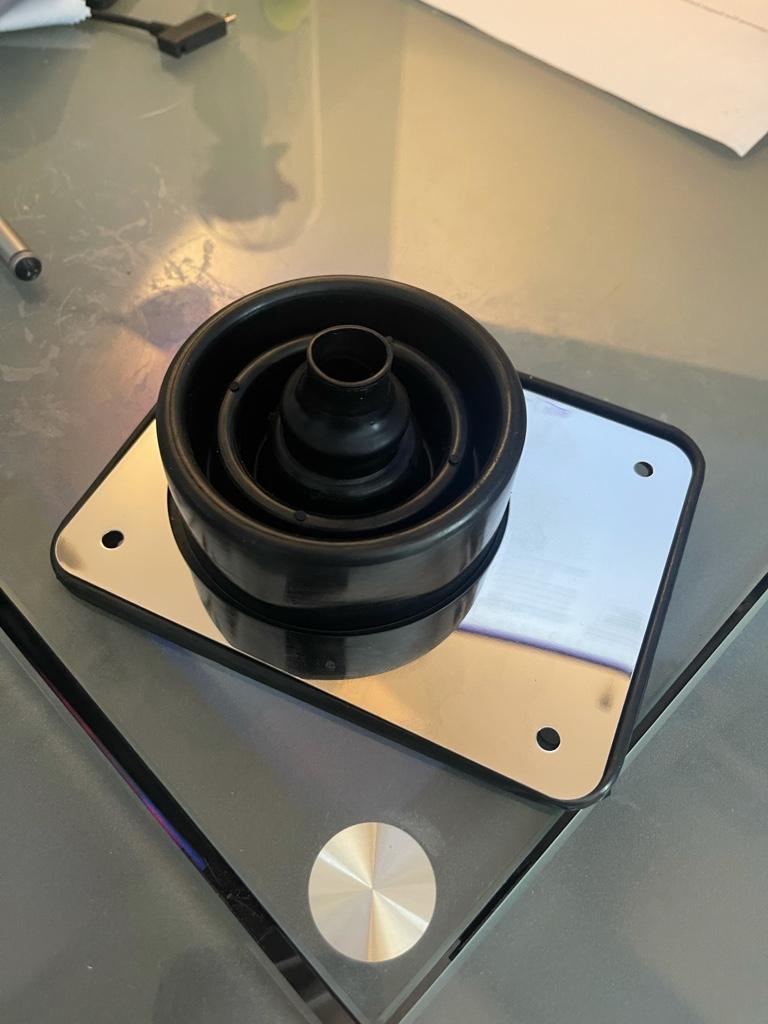
 
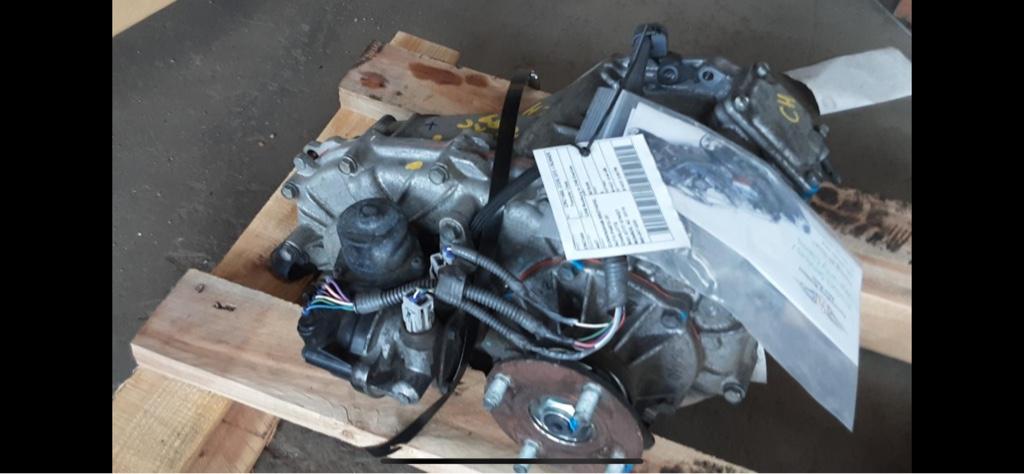
Well.. sure glad I asked for pictures of the tcase before going to pick it up. Not sure how they got it screwed up.. but the manual t case out of the 2015 4runner is not a manual tcase lol. I would have been PISSED if I drove 1.5 hours round trip for this thing.. lol.

They are showing an actual FJ cruiser case in stock with 139k miles for the same price so I’m having them check on that now. Hopefully it’s still there and I can pick it up tomorrow.
44d8641742b5436487fcba71437a8ea5.jpg


Sent from my iPhone using Tapatalk
 
And speaking of the tcase.. (which we are sorting out now, they have a 2007 FJ with 118k miles for even cheaper that is coming out of a mom mobile that looks like it’s never seen any use at all) I got the first round of goodies to make the conversion happen.. I’m sure it’ll take some fabricating but I think these should work out nice.

Just got an email that my driveshaft spacer is on its way as well for delivery those weekend. If Sunday wasn’t our anniversary with the wife I’d have this thing in the rig by the end of the weekend ! Lol
5bbcac56ec0c6a41f02683723d00e344.jpg

4070ea1e0dd126ae3b48c6c3e6ec33b1.jpg


Sent from my iPhone using Tapatalk
 
Got my plasma cutter in yesterday, pretty sweet to be able to zap through some cuts with minimal effort.

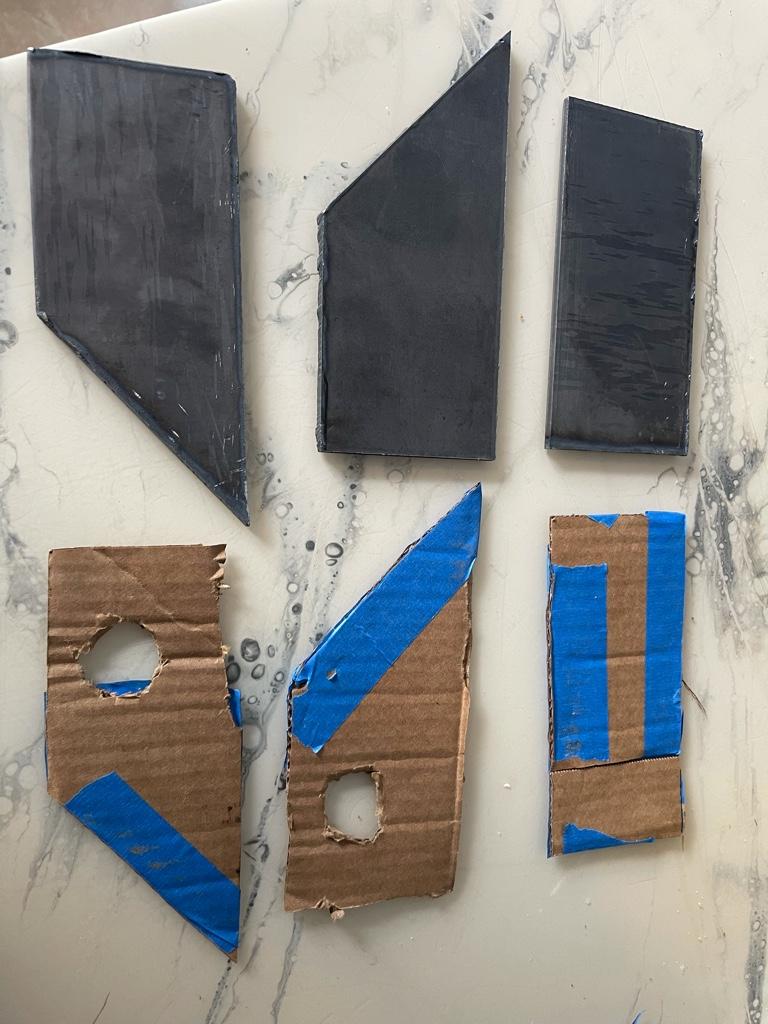
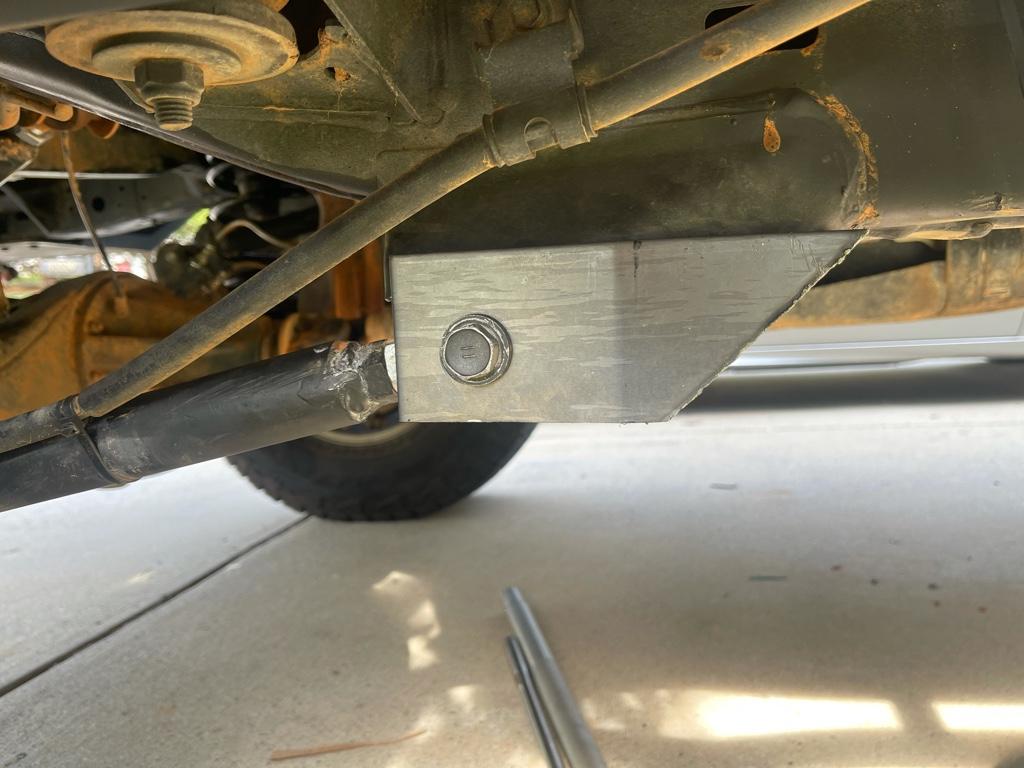
Started with a template for the lower link guards since I banged then up pretty bad last time, and they are small so figured it’s a good starting point.

Decided it wasn’t the effort to make templates, buy more sheet metal, cut and fab the differential skid so placed an order for the RCI one today, can’t wait to get it in.

The remainder of the skids I plan to fab myself. I need to make a gas tank skid, and some lower shock guards. Once the FJ transfer case is in I may think about fabricating a cross member with a skid to go under it as well since I sat it right on the tcase skid a few times as well..

Got the inner and outer tie rods replaced yesterday with a driveway alignment :) and took some time this morning making sure there were no loose connections along my steering shaft anywhere. Found a thread on the tacom forums talking about play in the shaft resulting from a slip joint wearing out and needing a small tack weld. Come to find out after taking it al apart that the 4tunner is different. So no issues anywhere and I should be good to go.

Next up will be gearing up for the FJ tcase swap.. hopefully I can have it knocked out next week. Then I also have to tackle the cab mount relocation kit (which I’m hoping the plasma cutter will make much quicker) as well as getting the cam tab gussets knocked out.
978c34a67ce99c2189c206b31cb44fc3.jpg

801918ba13eb2e919d582a65ade4749e.jpg

7281e20aa5f39f43a946c0e8b0ea1a52.jpg

25ecbd91a33d275c91afa10856bab04b.jpg

2ff93149f2598d5d8c4c5e62c375f0c3.jpg


Sent from my iPhone using Tapatalk
 
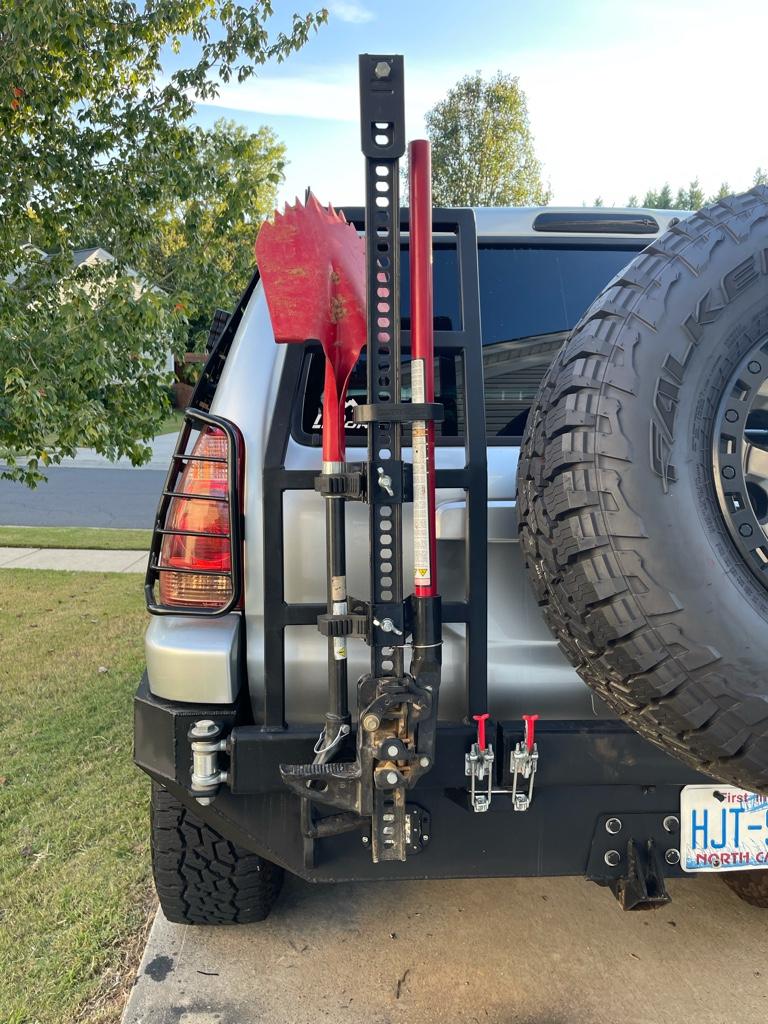
I can’t stand not having something to work on.. so I took a little time to make a new mounting location for my krazy beaver shovel. Instead mounting it behind the spare when it could rotate and hit my lift gate I decided to mount it vertically on the hi lift mount on the ladder. Now just to find a better spot for my ace… probably need to get a good clamp and throw it back on top of the molle panels where it started.
ad413f1a4db98c23dd61ba06df68d65d.jpg


Sent from my iPhone using Tapatalk
 
dfd9a2c588a4e54519d7da334e5e71e0.jpg

3930791a07df7580fa89a178381cb24e.jpg

3694d8cf742504657a2b265859d5788d.jpg


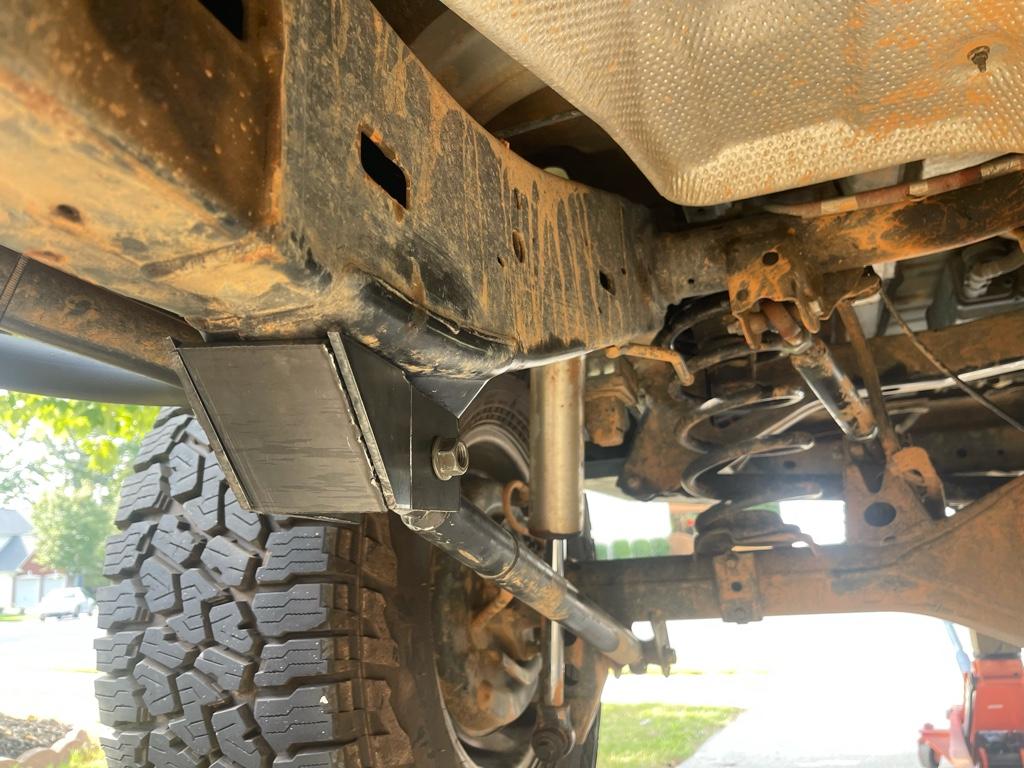
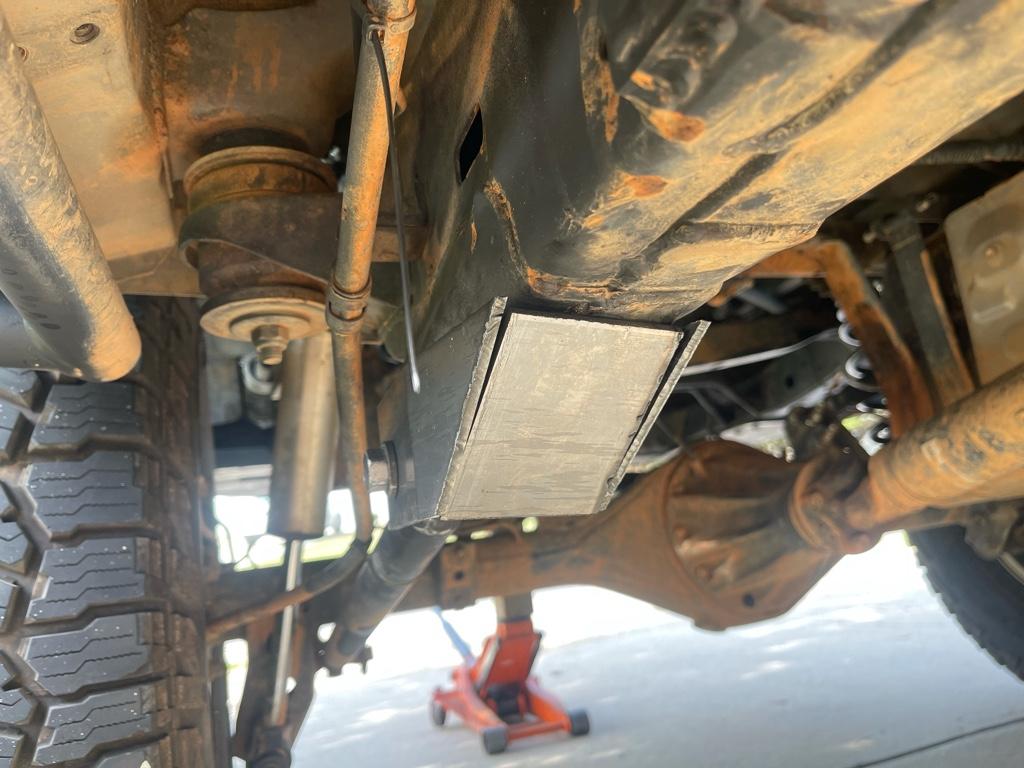
Not a bad start for the lower link reinforcement .. considered welding them in place permanently but then decided it would be a good idea to be able to replace later as needed.


Sent from my iPhone using Tapatalk
 

Members online

Forum statistics

Threads
278,312
Messages
3,554,086
Members
248,016
Latest member
Advally Service

Trending content

Back
Top