Agent_Outside: Adventures in a 4Runner Limited

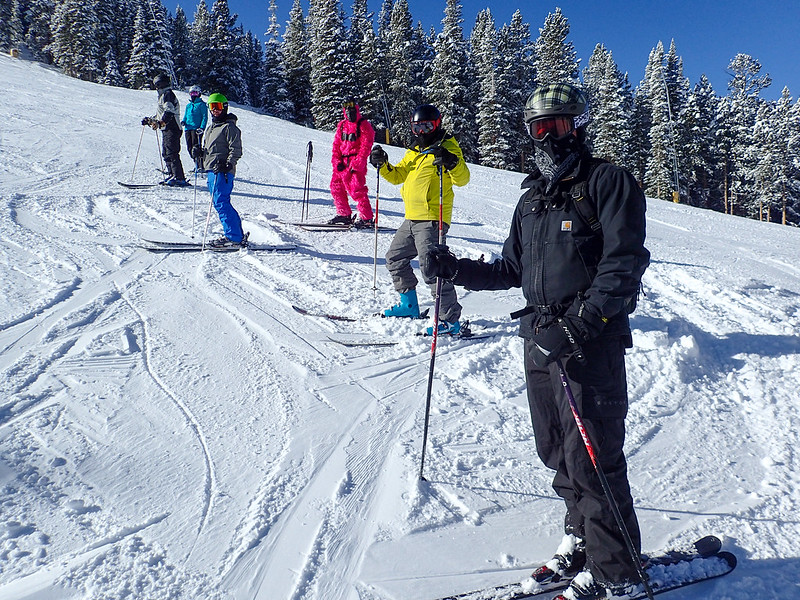
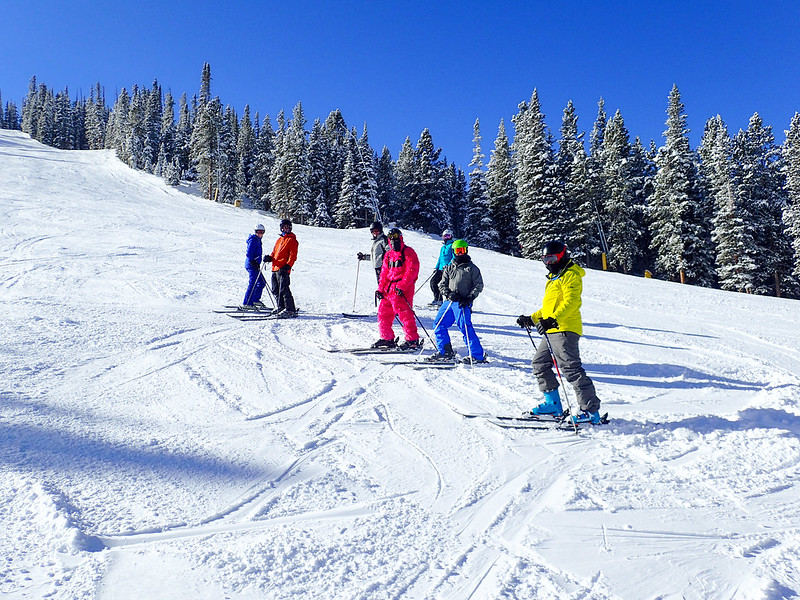
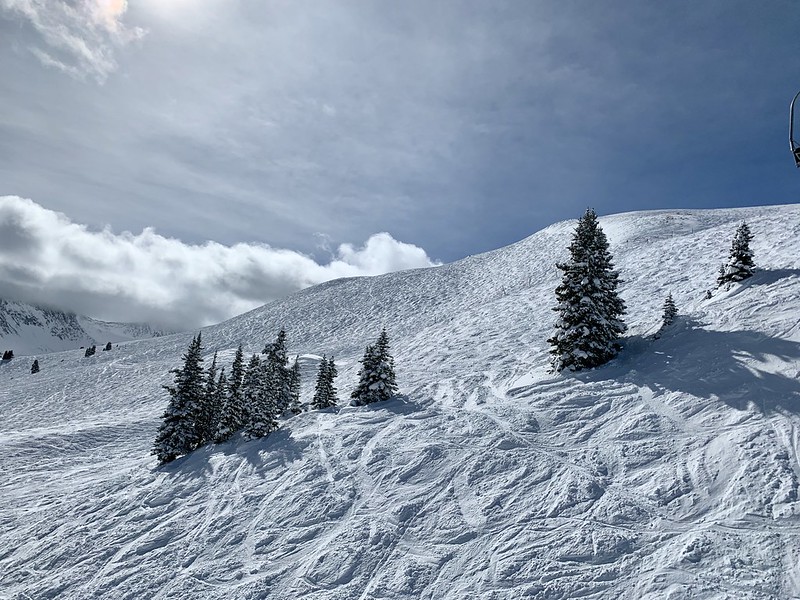
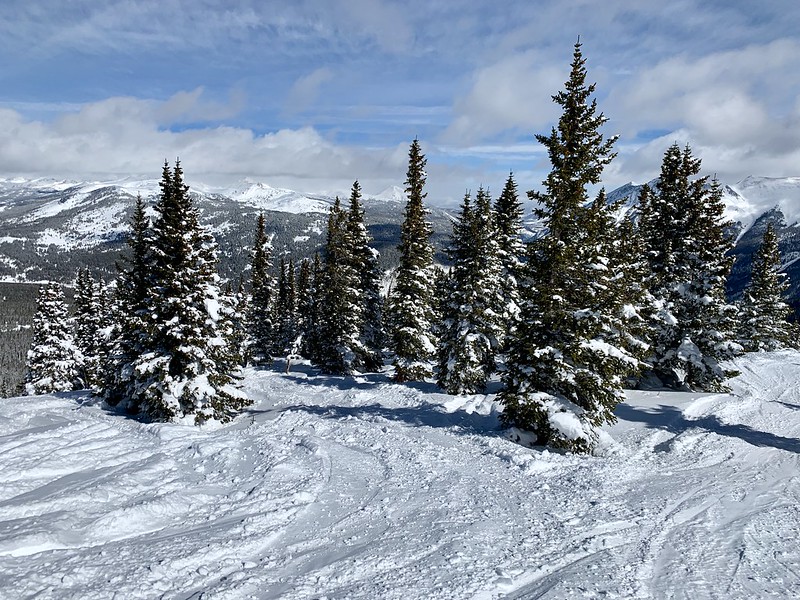
Copper

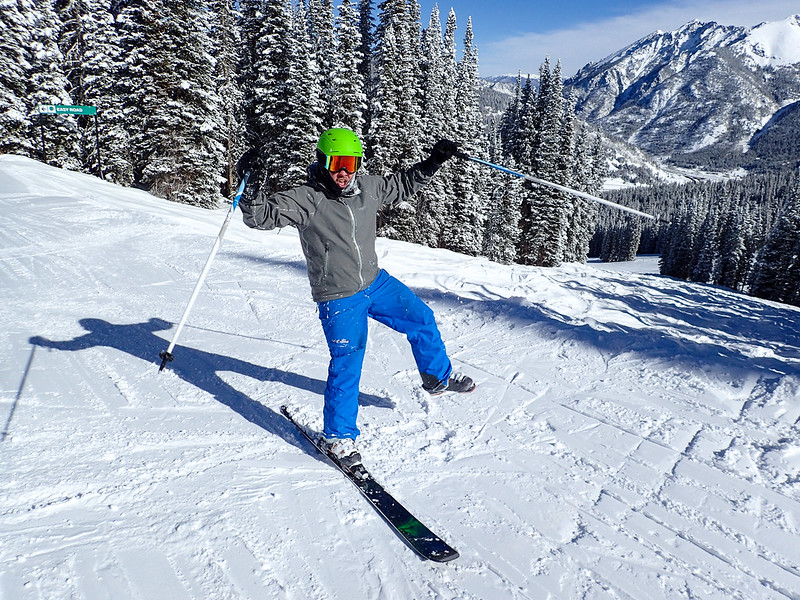
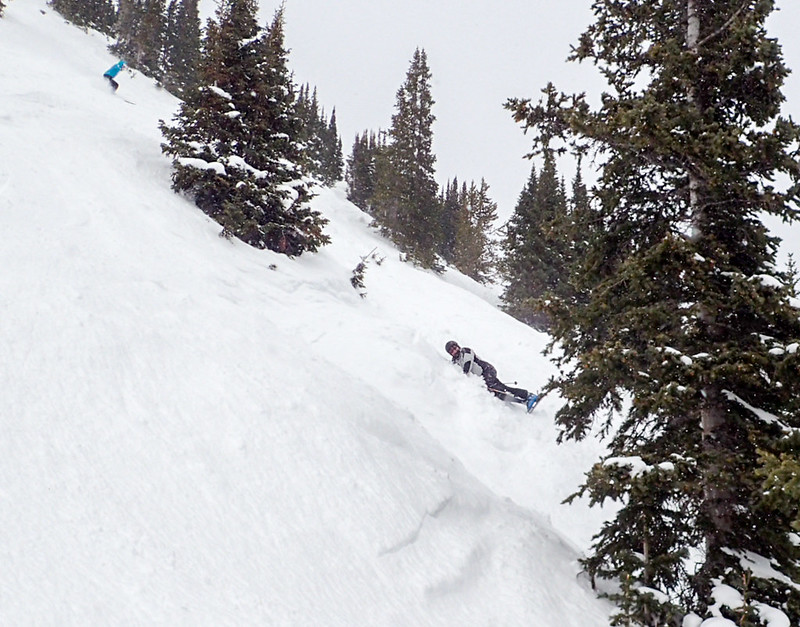
Kevin ate it while my wife was cruising just fine.
32280831727_68f9654b05_c.jpg


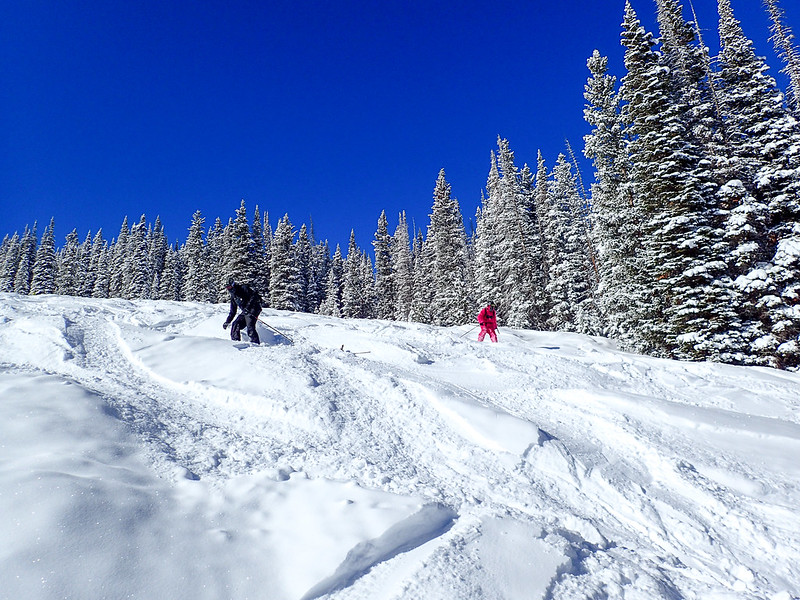
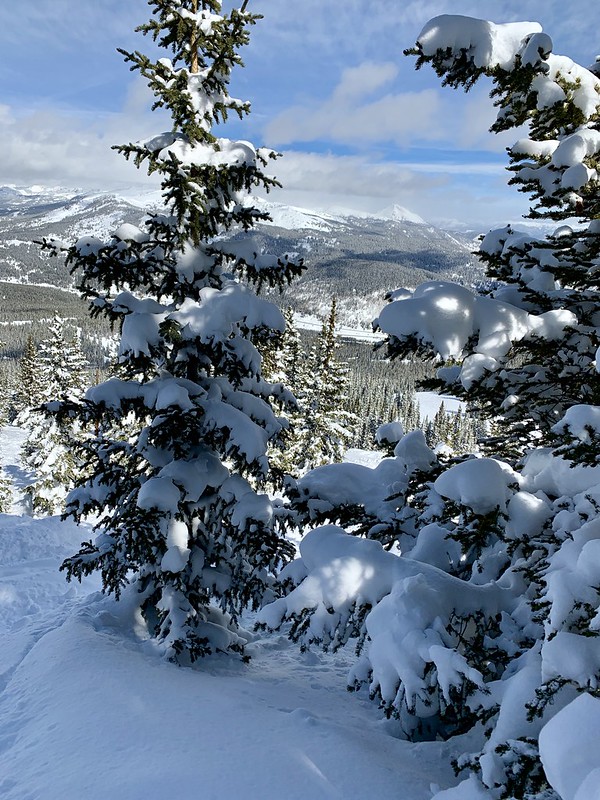
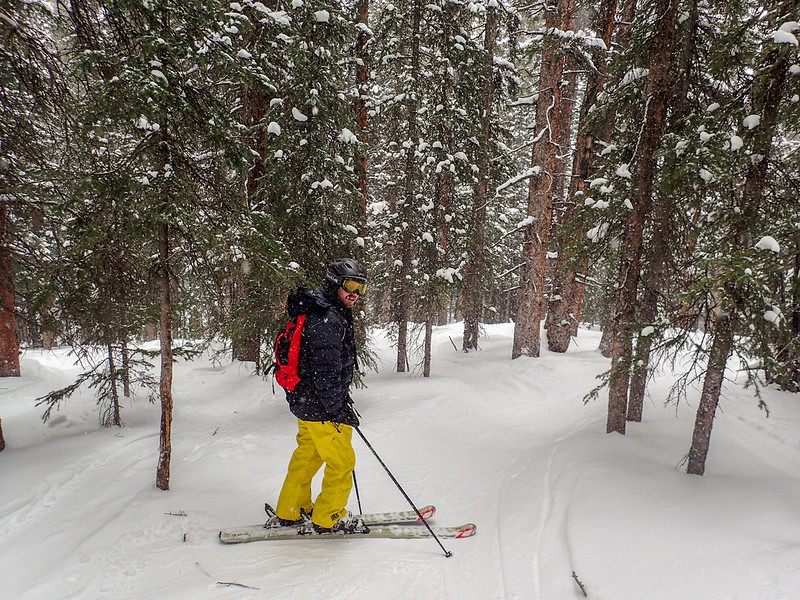
The snow really started coming down and visibility was getting bad, so we went into the trees.
33347360898_a22c078c25_c.jpg


Man down
46499621864_69aea0046c_c.jpg


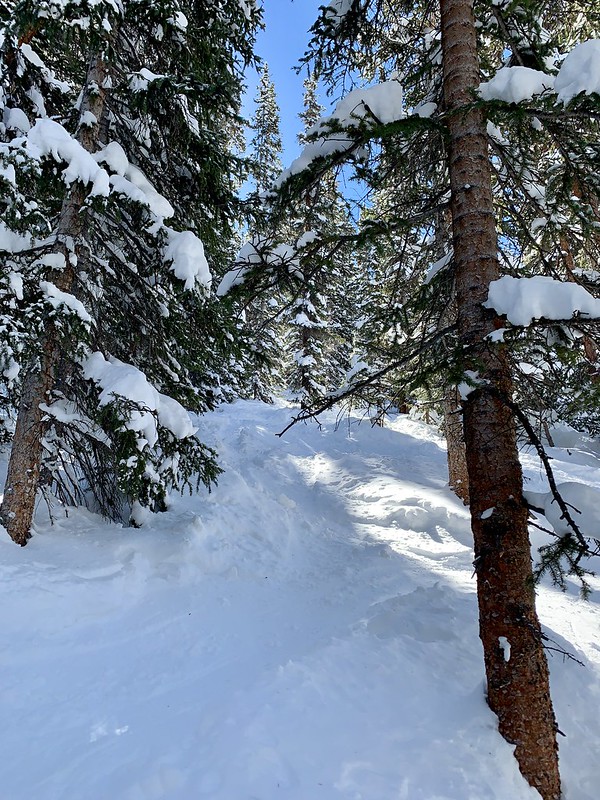
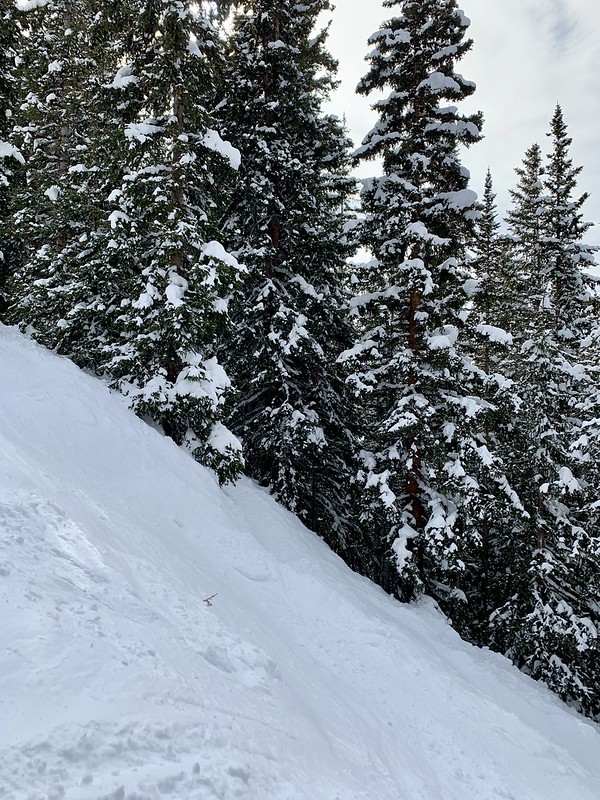
Double black tree runs
47170858102_839376345a_c.jpg


33347532338_69f1a690e4_c.jpg


My wife killing it!
47170854422_3e0dd1cd67_c.jpg


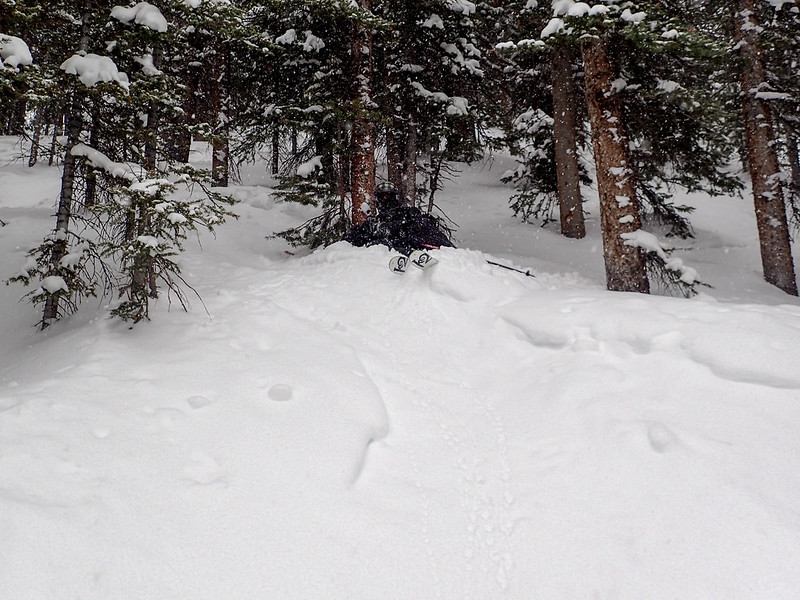
Down again, partially stuck in a tree well... this is why you never ski trees alone.
46308565155_55c0c02863_c.jpg


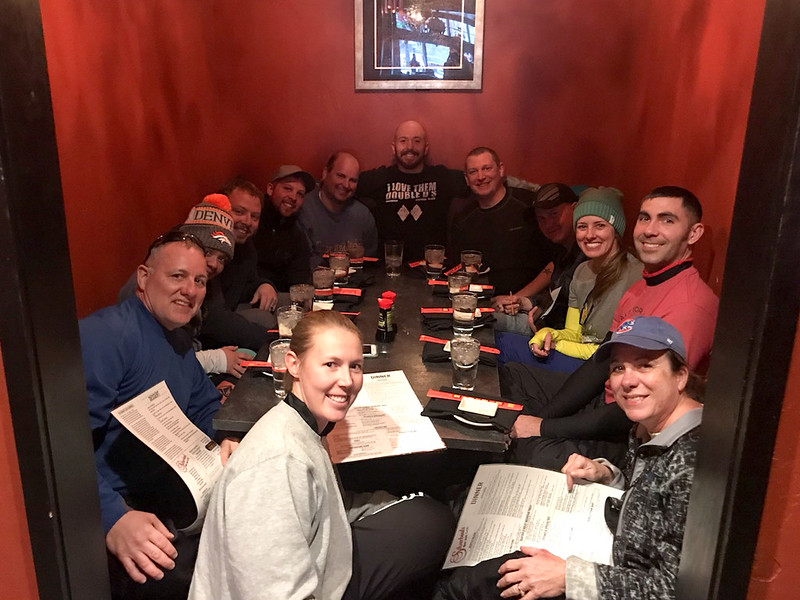
Sushi is part of the ski trip tradition
47222923721_d4571eef5e_c.jpg


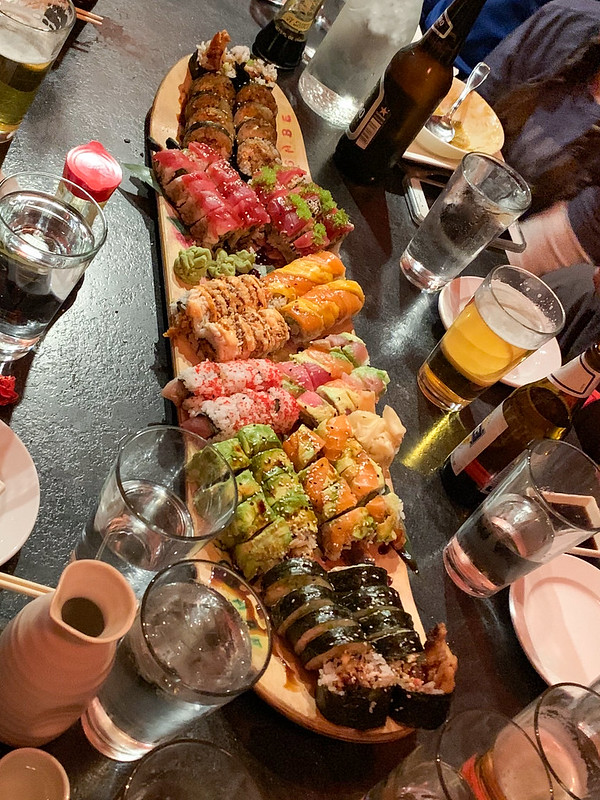
It comes out by the skateboard if you order enough.
47222923251_afe4c28229_c.jpg
 
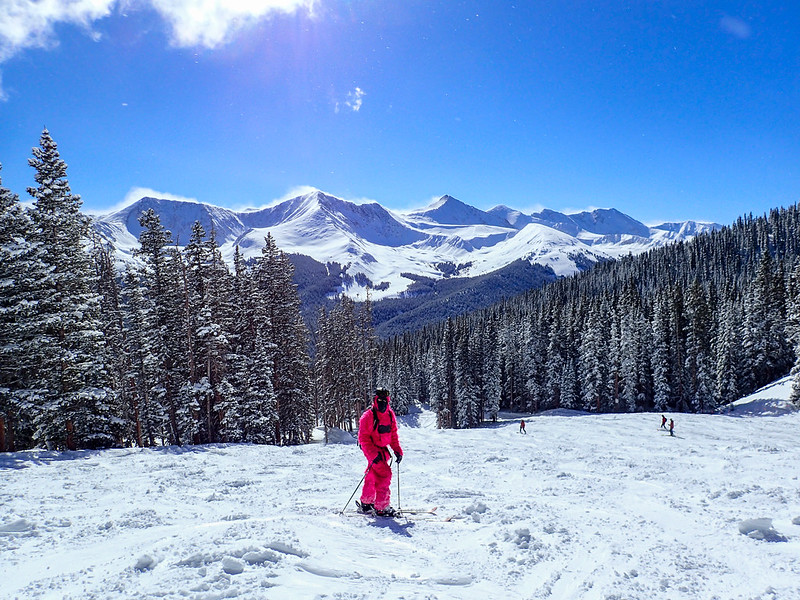
The following day the official snow total was 6" to along with the bluebird skies.

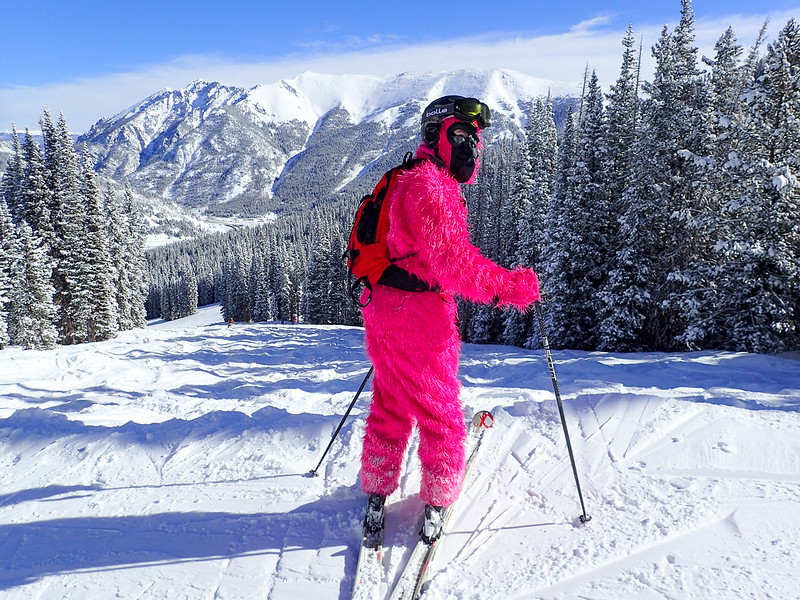
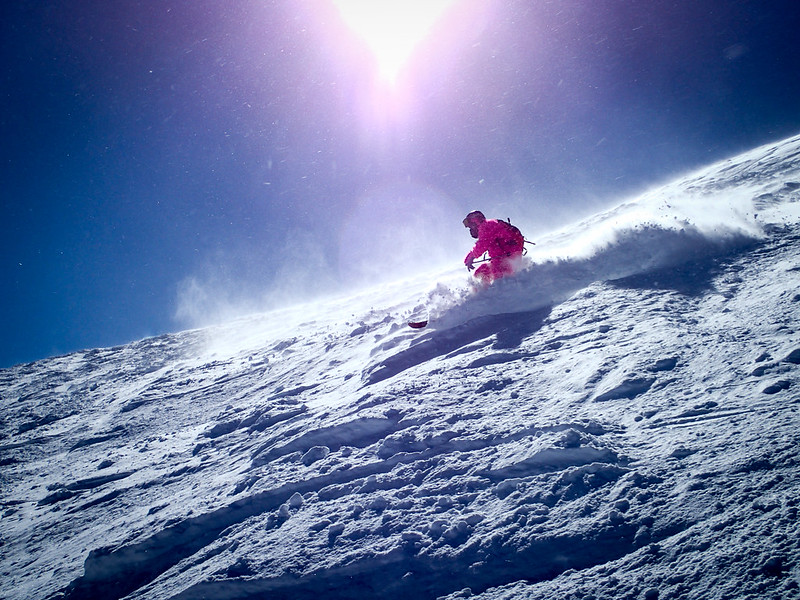
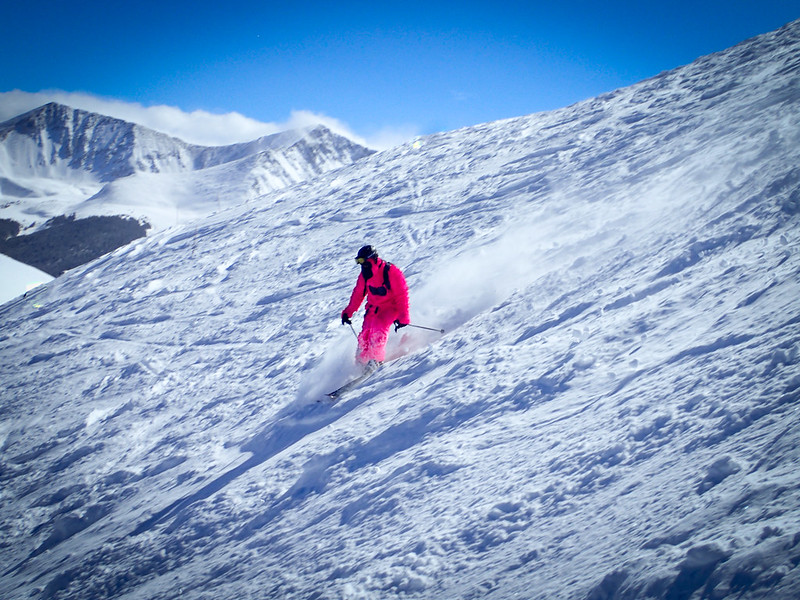
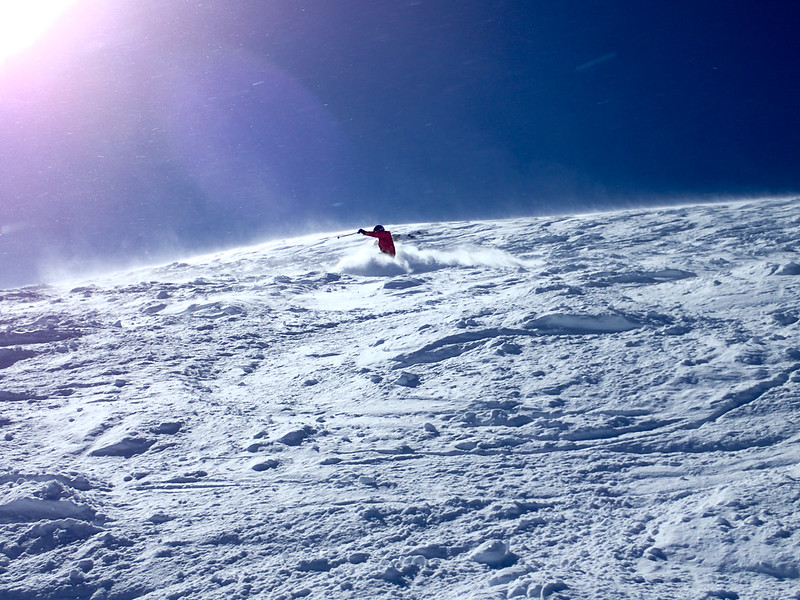
Scott decided to bring a pink gorilla suit lol
40257933293_51e574bb8d_c.jpg


47222919441_586907d8d8_c.jpg


32280796667_9865051f28_c.jpg


47170831332_84075548e0_c.jpg


33347337358_affb8f3f0d_c.jpg


47170826882_8c865df76f_c.jpg


47222906231_da4427fcd0_c.jpg


47222901881_d69bbf78e9_c.jpg


47222899921_c6127e6ecc_c.jpg


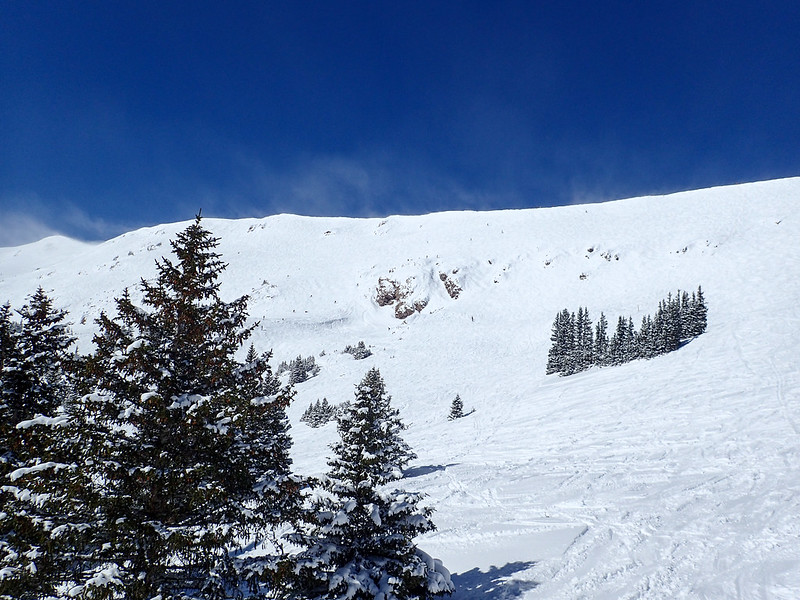
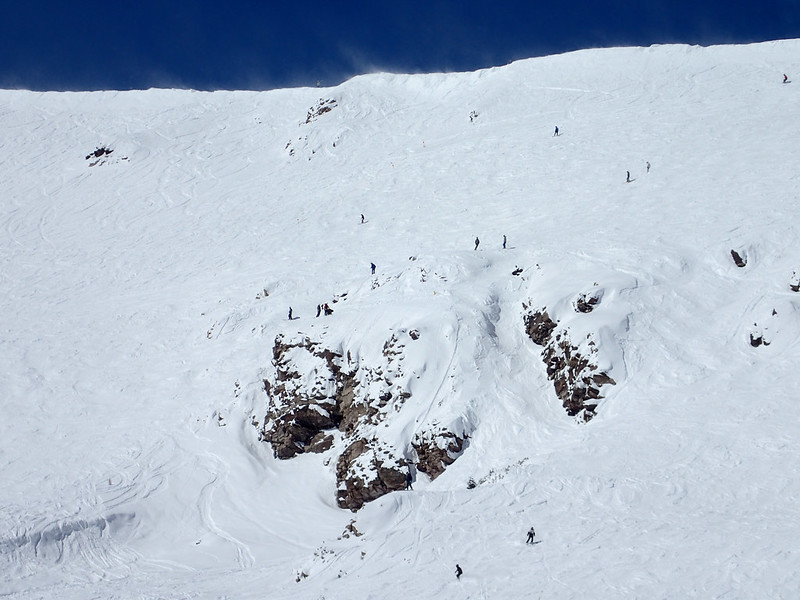
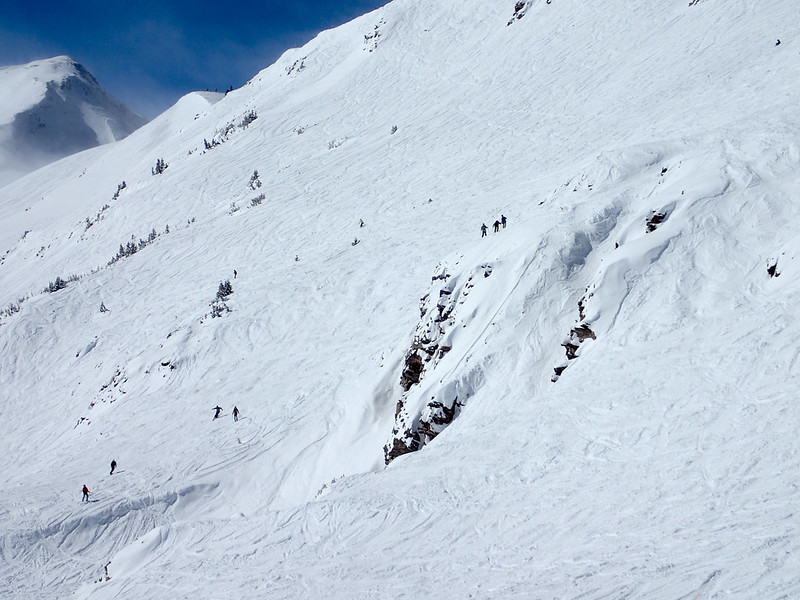
I've always wanted to drop that tight chute down the face of that rock but I've never gotten to it with good enough snow to not destroy my skis in the process. I finally got to do it.

47222898291_98532c78f5_c.jpg


46308534525_e68dd2c1d7_c.jpg


47222895881_d4ec08a396_c.jpg


46308530095_ee11da561f_c.jpg


47170812932_a61e7c6ce1_c.jpg


46308526895_8e04b5838f_c.jpg


47170807552_0af1b7e50d_c.jpg


46308521995_3138349369_c.jpg


33347293408_dec5ae881c_c.jpg
 
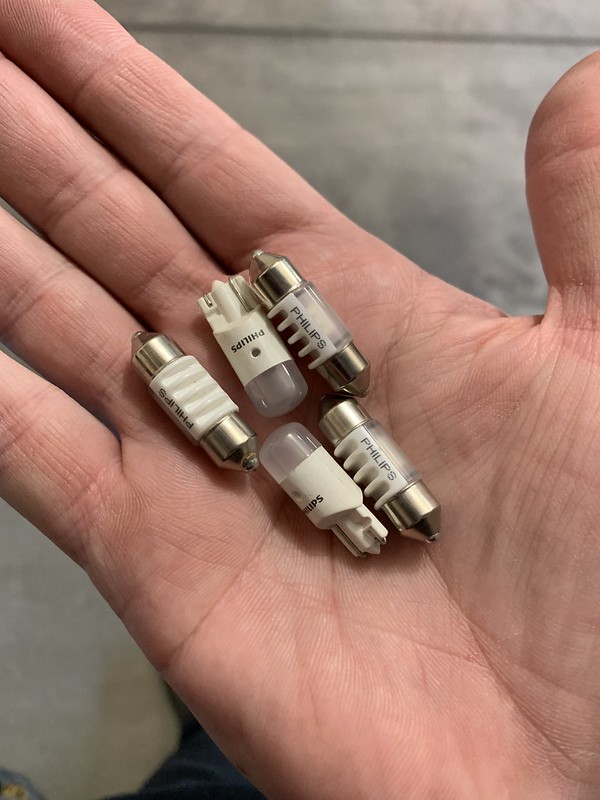
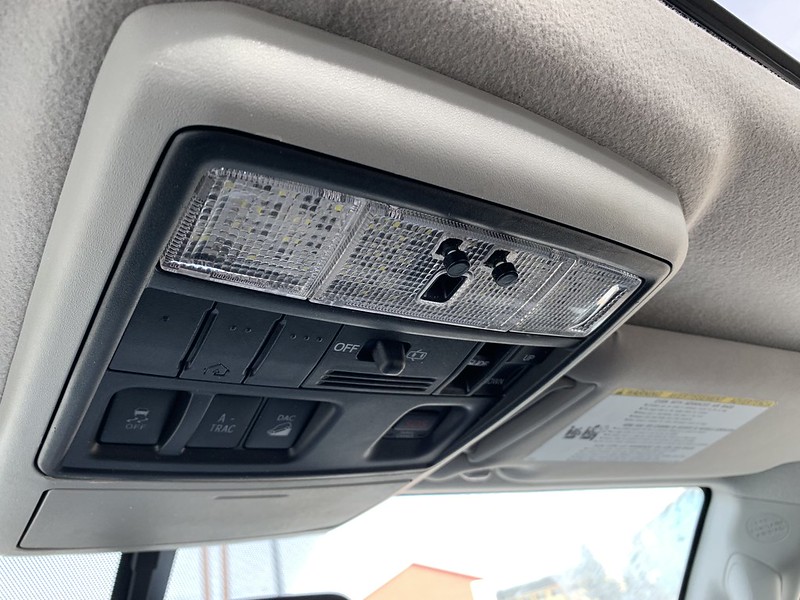
Out with the old Phillips Vision interior lights
47189224202_a326a15a87_c.jpg


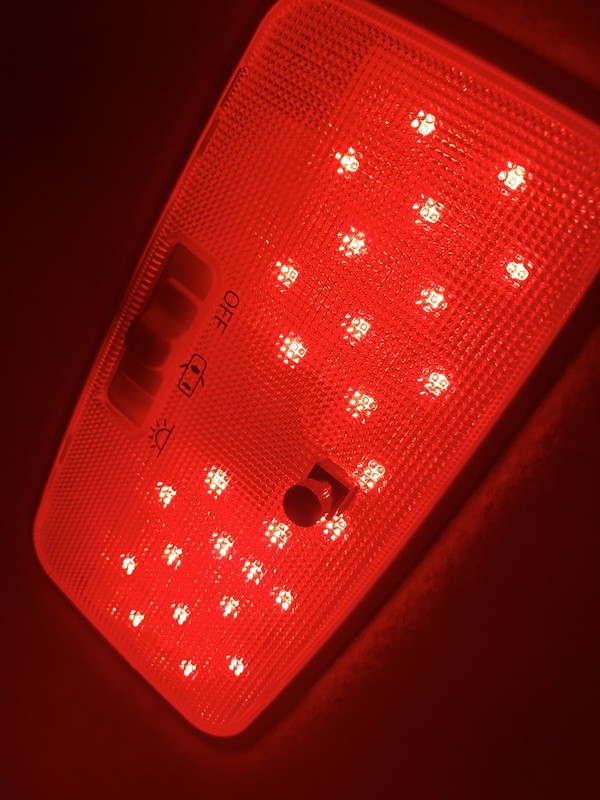
In with the new Arc Light LEDs. Stupid high powered and the black button changes them back and forth between red and white. Red light doesn't mess wiht your night vision and it doesn't attract bugs, perfect for camping.
46517707294_ec80f4dd82_c.jpg


46517706624_17ff434bc6_c.jpg


46517707114_df8da6f8a5_c.jpg


46517706164_c573d77148_c.jpg
 
I had a couple quick projects today.

Yesterday I stopped by Toytec and grabbed one of the 10mm OME rear trim spacers to put on the left rear to fix the slight lean in the rear. I installed that today.
46326781465_d4e9391548_c.jpg


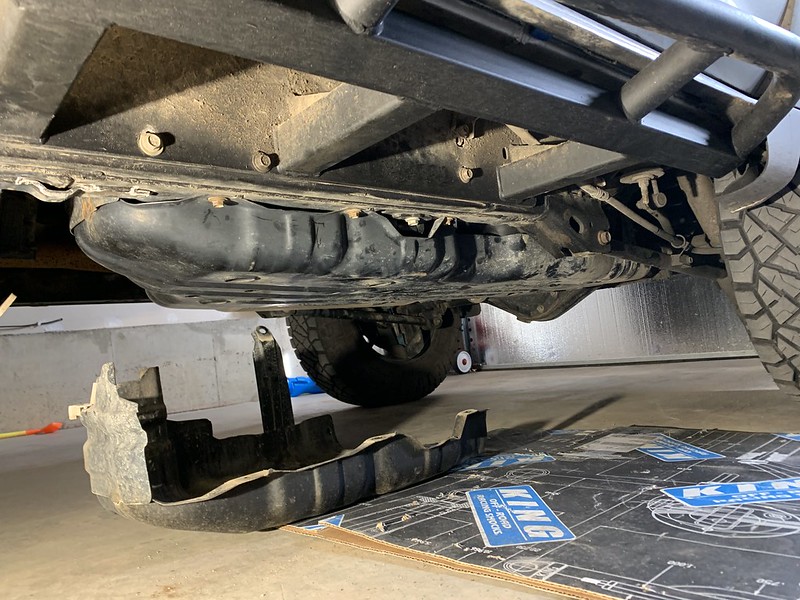
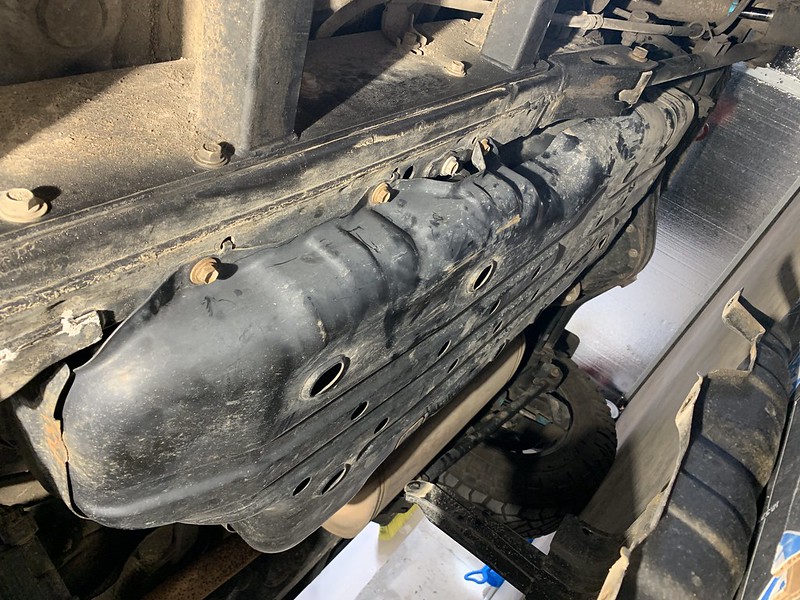
I also picked up an OEM TRD fuel tank skid. My Limited comes with a small little skid protecting the front edge a bit but leaves most of the gas tank exposed. I've been wanting to get a RCI aluminum fuel tank skid to go with the rest of mine but I got this locally for $30, it was worth it to me.

47189225262_f470a15882_c.jpg


32299189187_edfb0f5498_c.jpg


47241372431_03f82165d4_c.jpg


The last project was the parking brake. My parking brake has felt like a soggy bag of shit for a while so I decided to pull it all apart. I pulled the rotors/parking brake drums, dissembled, cleaned, lubed, and reassembled the brake shoes and all the hardware. Once it was all buttoned up I adjusted them for a much tighter pedal and a ton more bite. For a while now applying the parking brake on a hill it would still slowly roll gently back to the parking pawl. It holds nice and firm now.
 
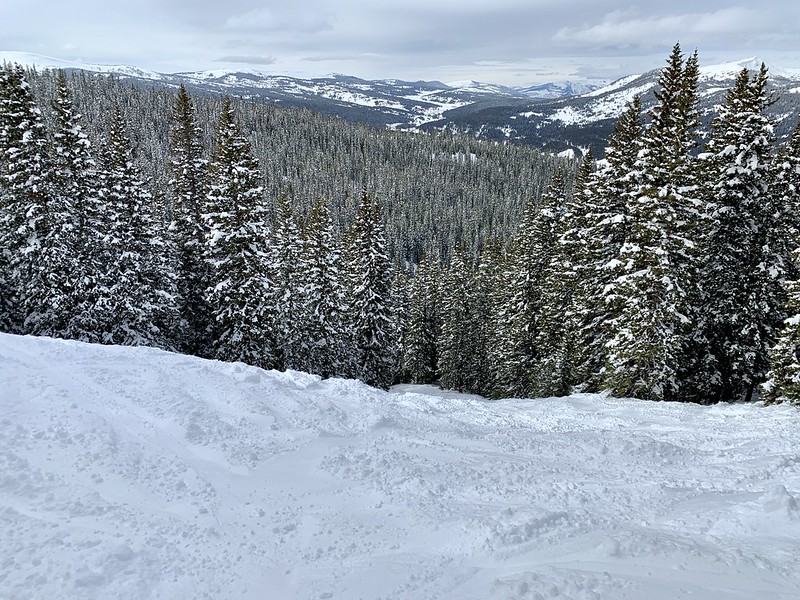
More snow. Copper got dumped on, I drove up the morning after the snow. I beat an avalanche closing the highway by minutes but it meant the resort was empty. Like it was so empty it was kind of eerie. I only road 1 chair all day that I had to share with another person.

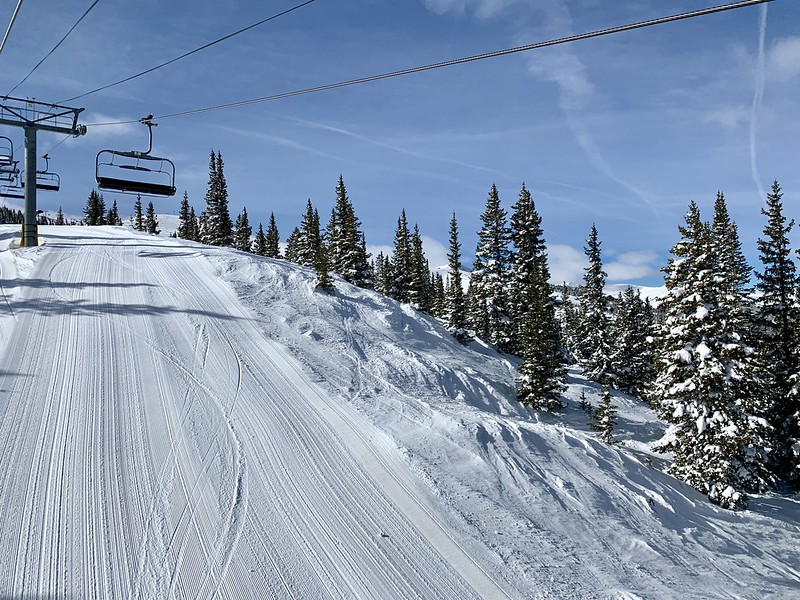
So much fresh snow they couldn't even get the groomers flat.
33512869618_f2aca2319d_c.jpg


33512854358_8c88a0a9fb_c.jpg


46665652944_675d4ffebb_c.jpg


32447201407_5e558d8e6d_c.jpg


33512848328_76027fec4b_c.jpg


32447181227_f3ed28bd6a_c.jpg


46665659384_2b1c06386f_c.jpg


47336186862_aa72d3813e_c.jpg


33512856038_f27f6c205f_c.jpg


46473924185_2ee953b1b3_c.jpg


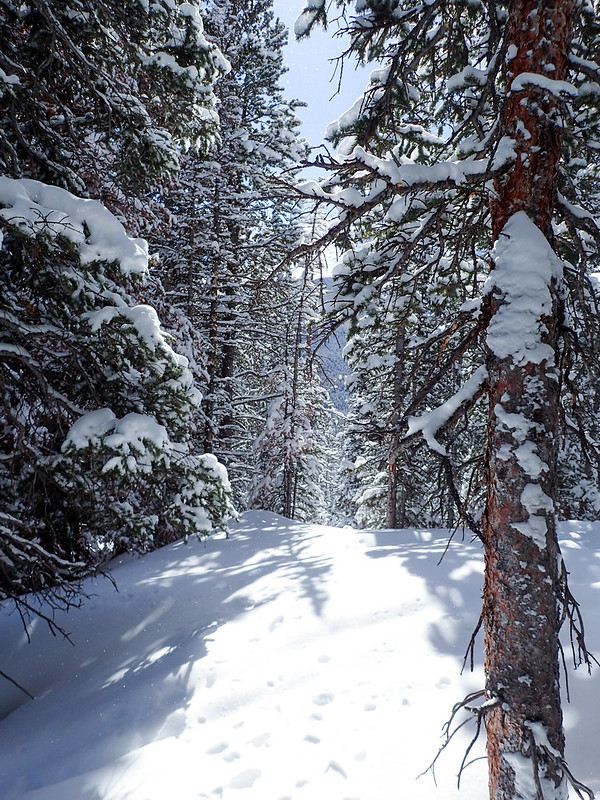
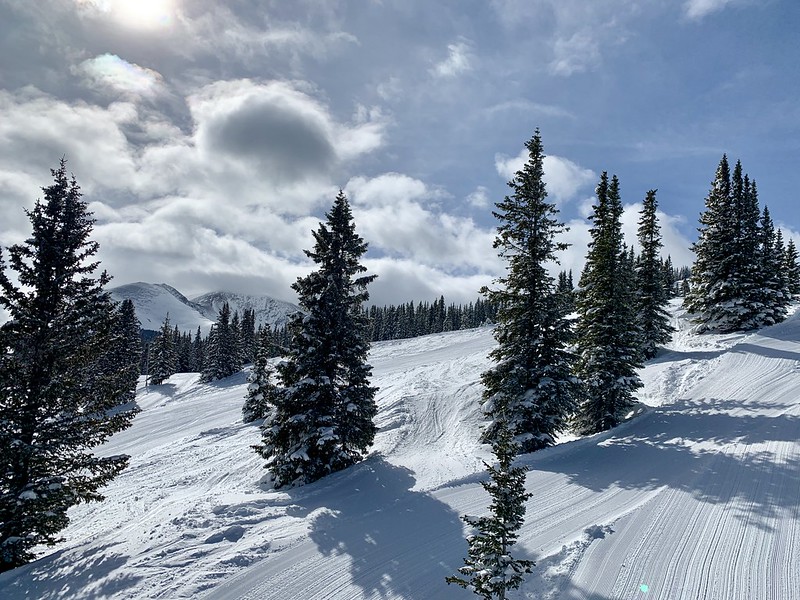
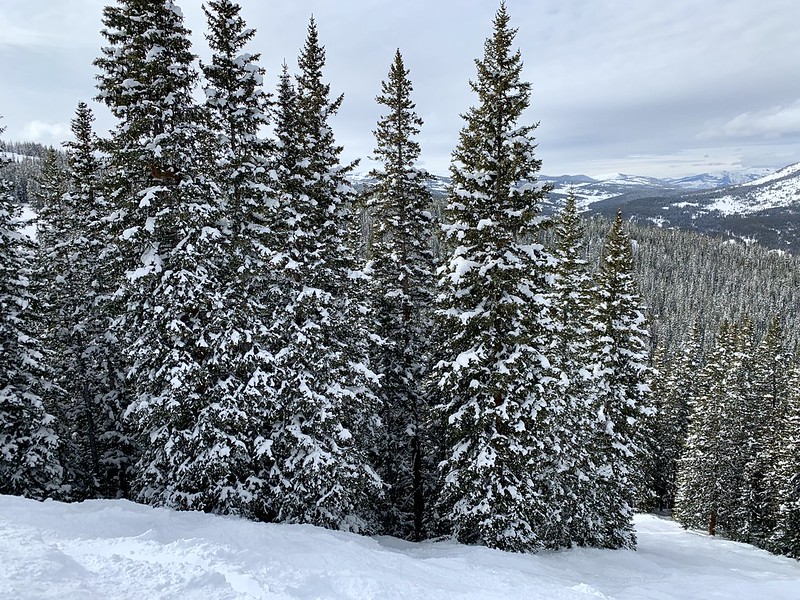
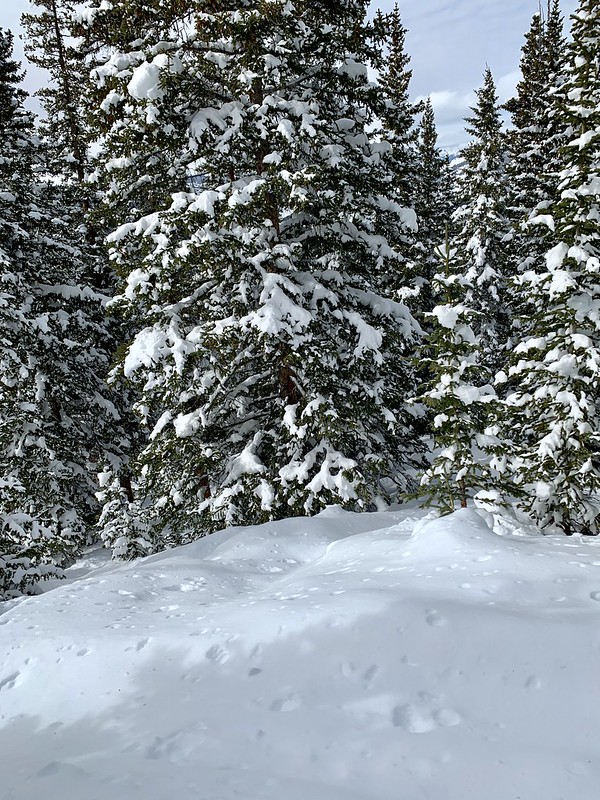
There's always fresh snow to be found in the trees.
47336201162_db6fb86a2b_c.jpg


47389005131_eb160ee254_c.jpg


33512869678_9c94a57178_c.jpg


47389001251_29b63d0977_c.jpg


32447181727_edd851dde1_c.jpg


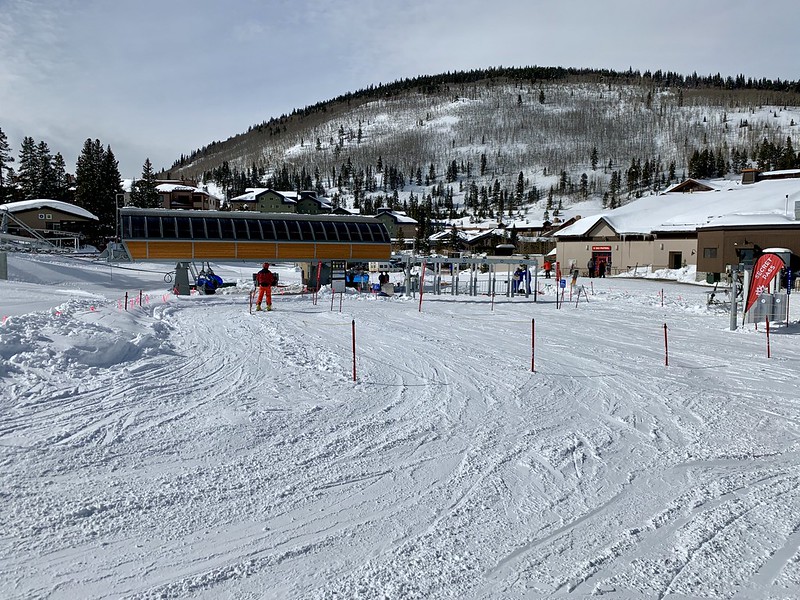
Liftline at the base after eating lunch.... this doesn't happen.
33512867148_6683d94c06_c.jpg
 
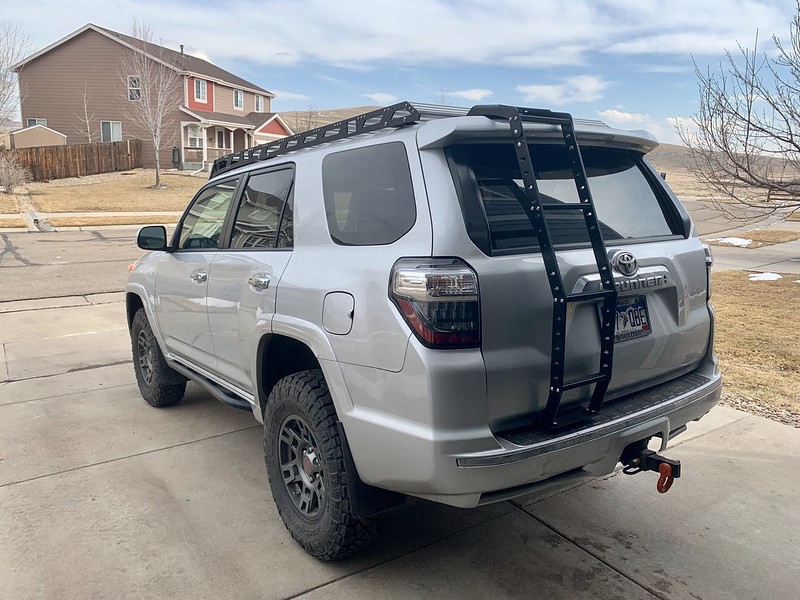
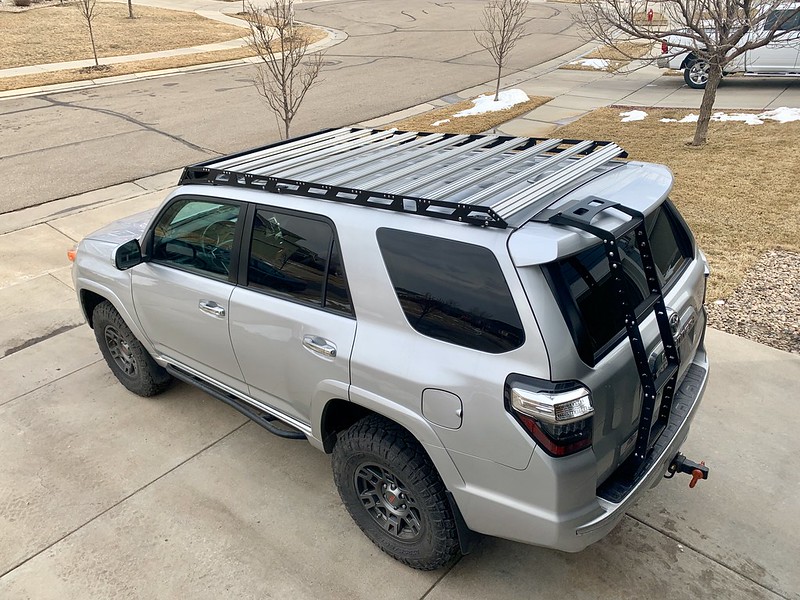
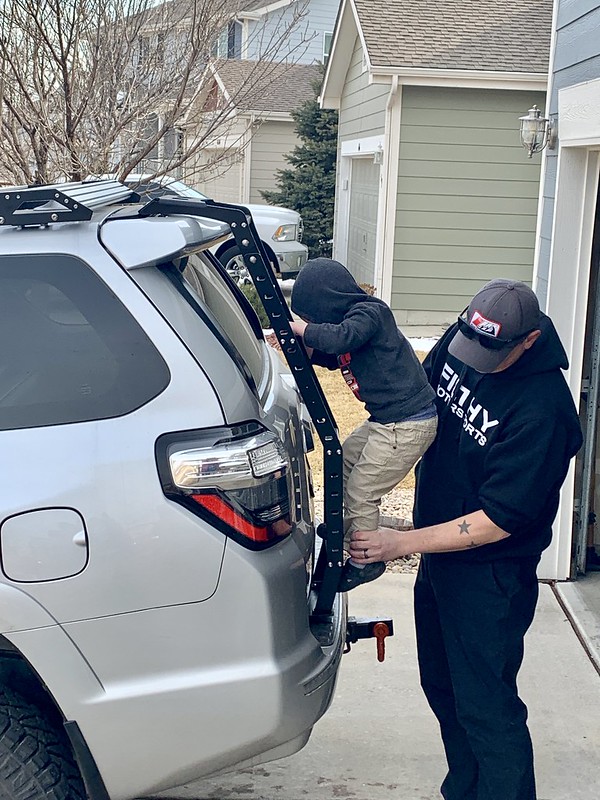
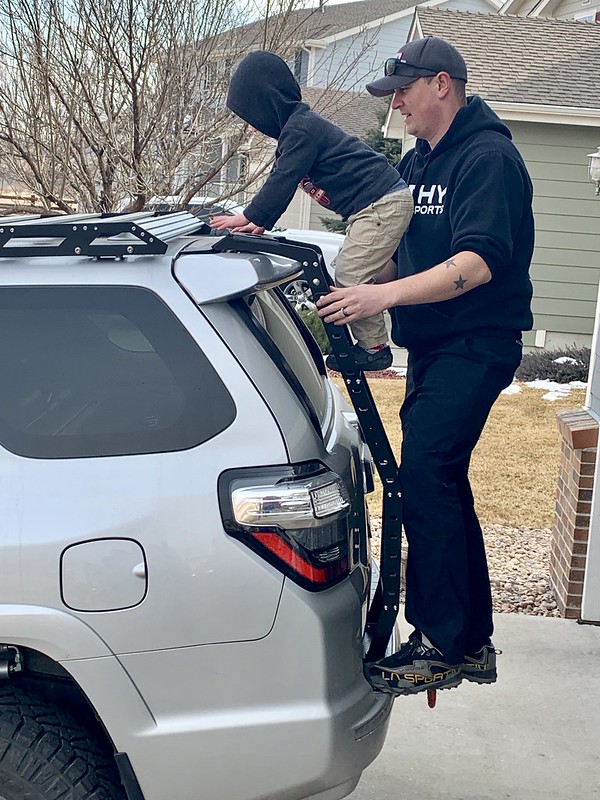
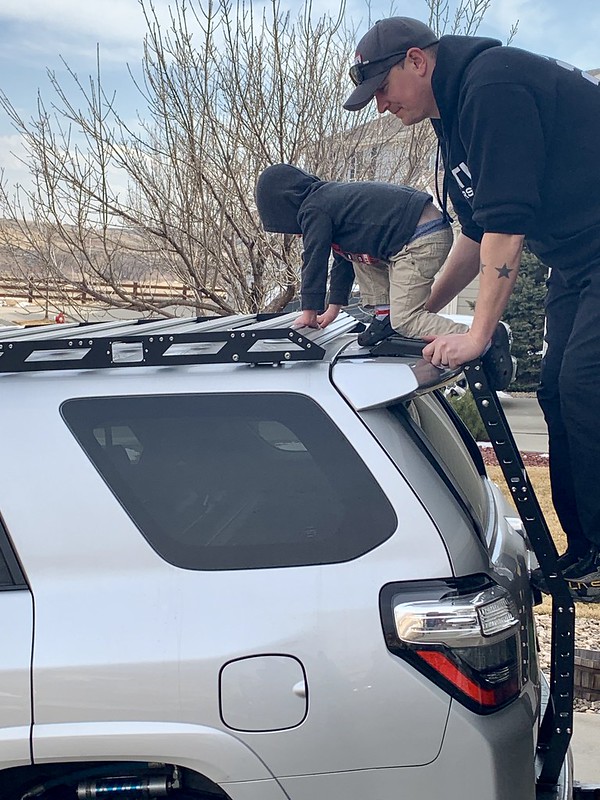
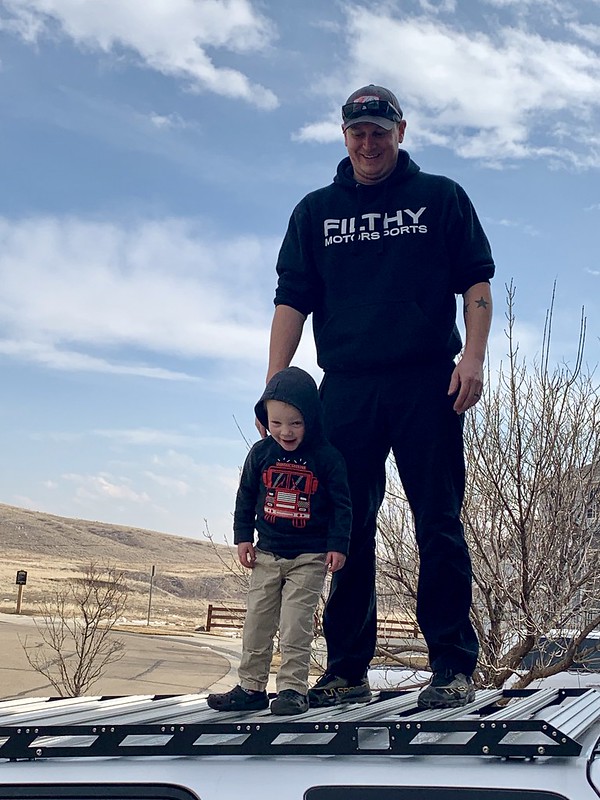
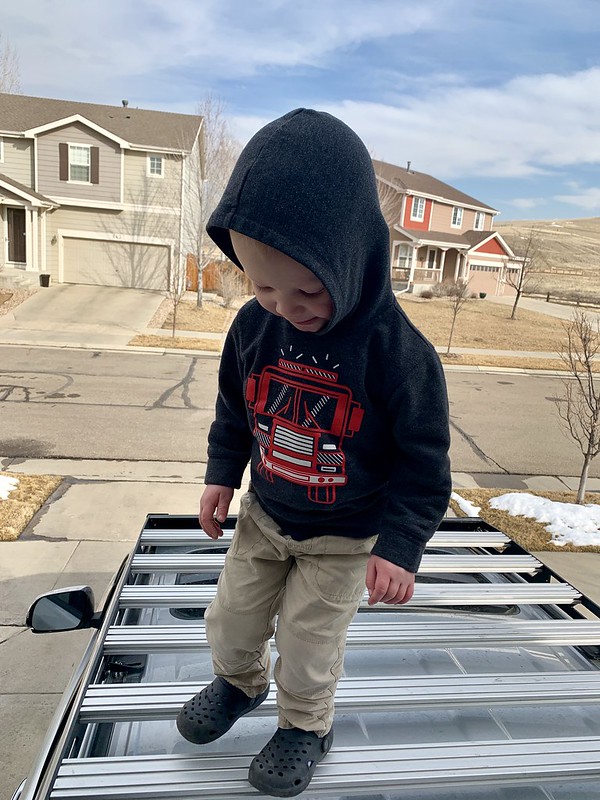
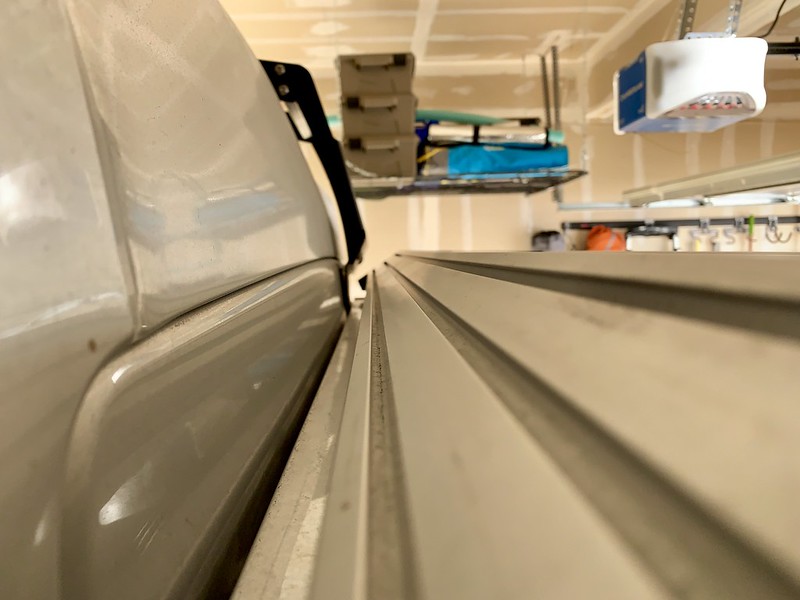
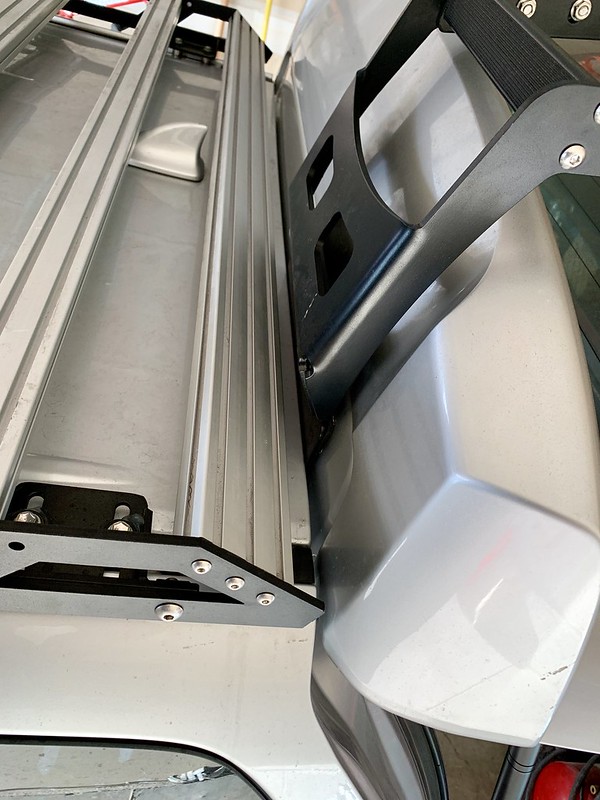
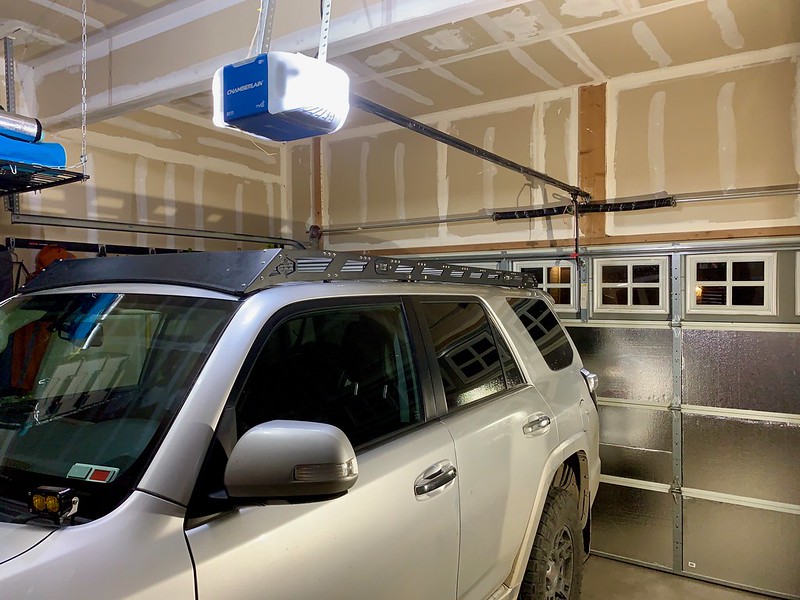
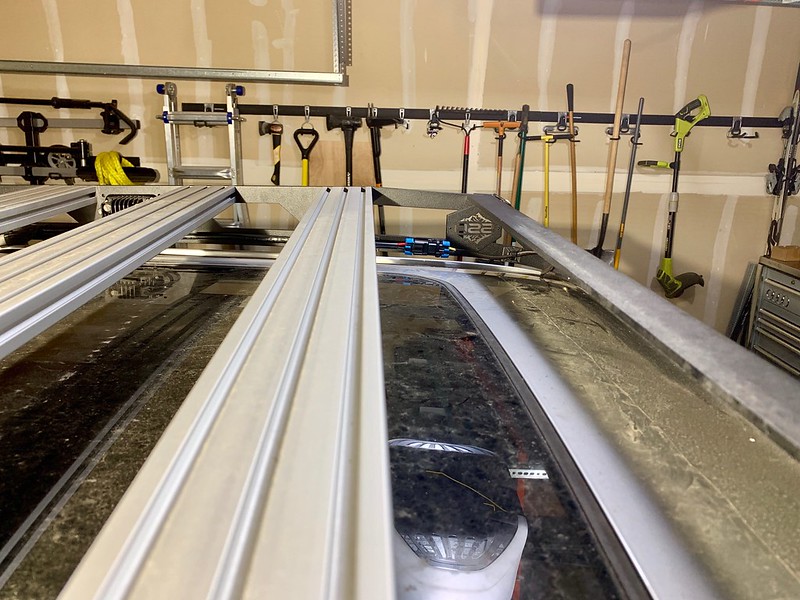
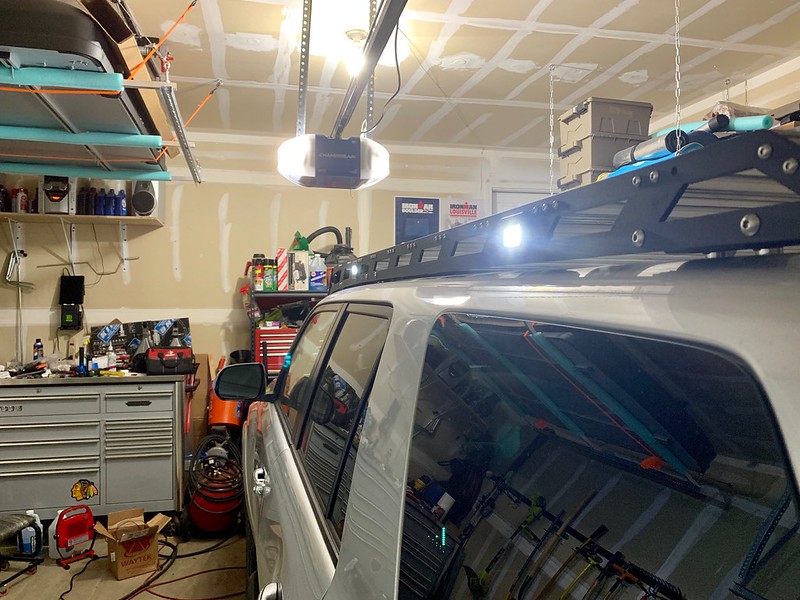
Southern Style Offroad roof rack with C4 ladder. They are a perfect paring in my opinion. Black with silver, angular, exposed bolt heads, the clearance between them is perfect, easy to install all of it solo.

40423462153_4a32d9dd95_c.jpg


47389003861_7c31945cdd_c.jpg


Littleman approved!

40423444793_b974f88e7b_c.jpg


47336209912_d3214f76db_c.jpg


46665658294_64639225c6_c.jpg


40423438523_0577eff1d9_c.jpg


32447178437_bd97693c1b_c.jpg


47388991801_b99db19481_c.jpg


47336198172_3c7f79706e_c.jpg


40423446923_7988758f8f_c.jpg
 
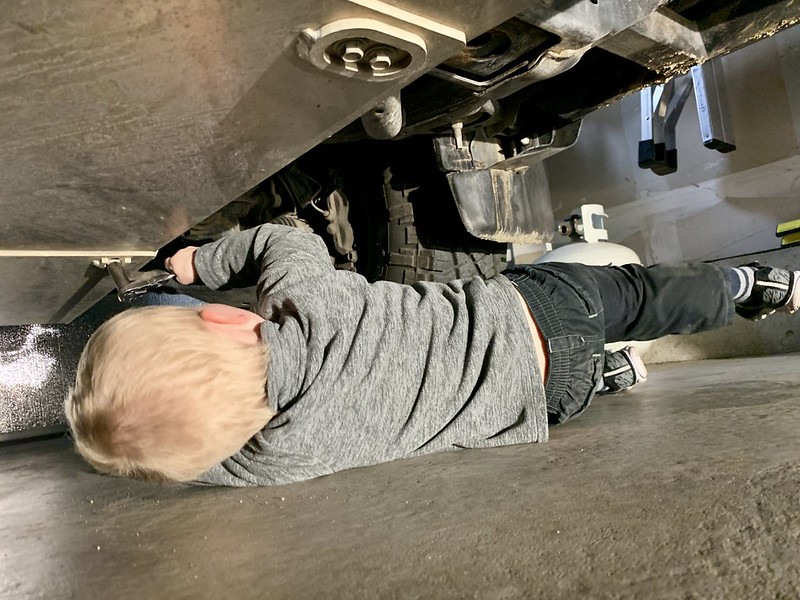
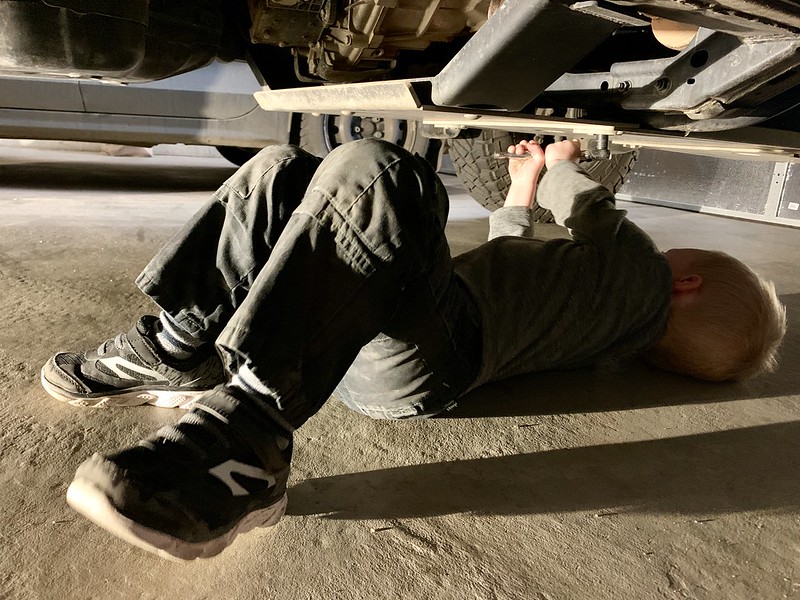
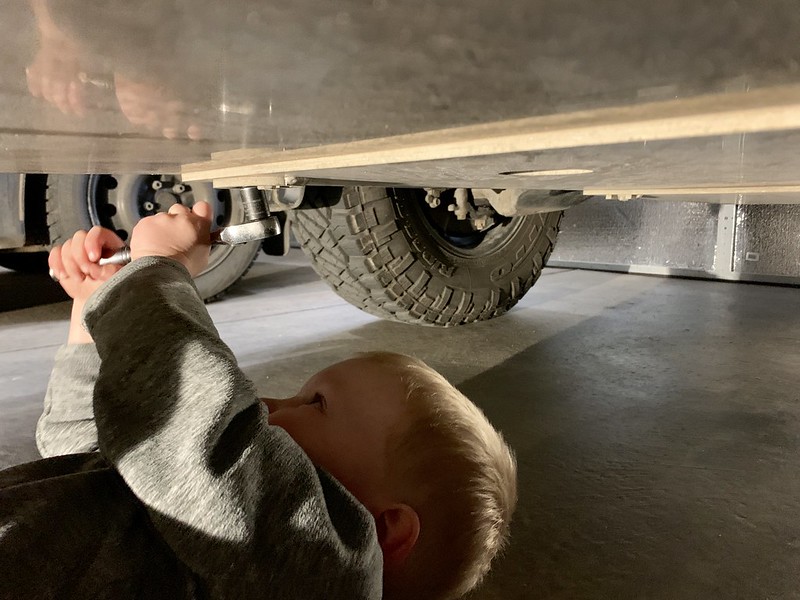
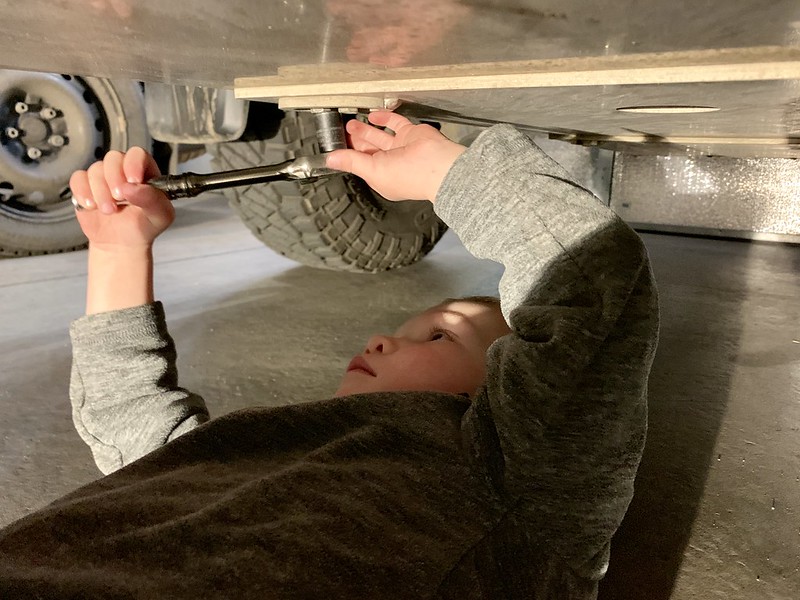
Every so often I'll get a tick sound over bumps which means its time to retorque the skid plate bolts. I had my 3rd year apprentice double check everything.

47336183562_7af868f850_c.jpg


33512855758_89f0917ef4_c.jpg


47389003571_55cc3198f3_c.jpg


47336190432_29eb5c7283_c.jpg
 
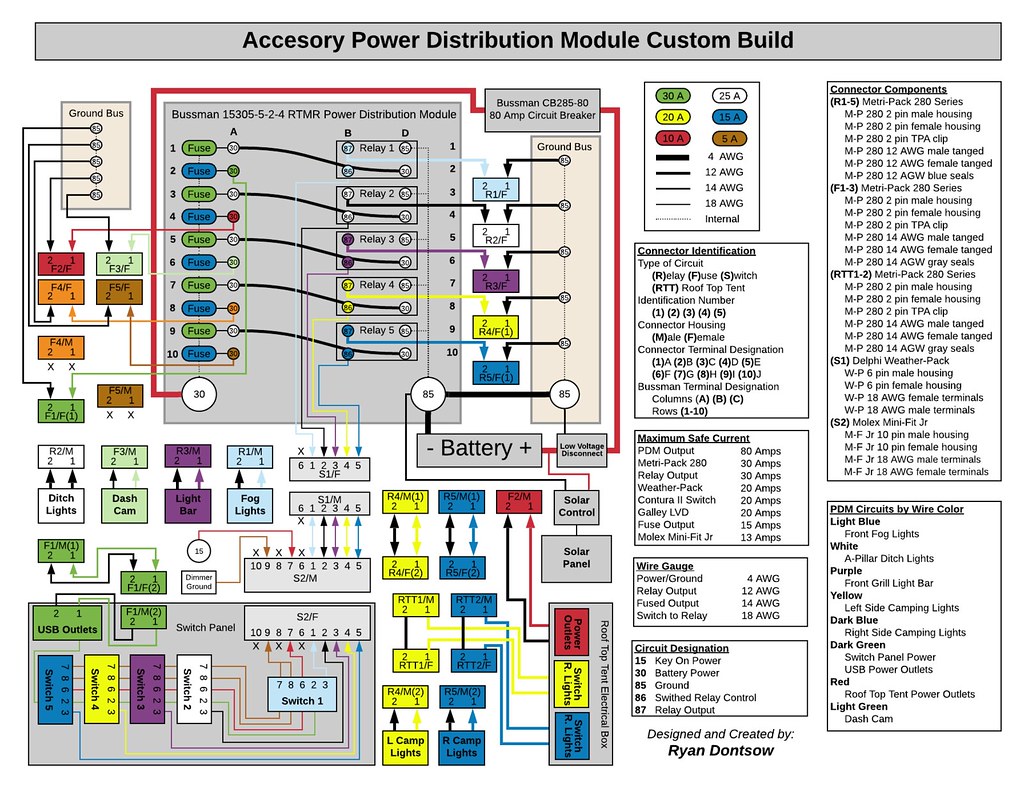
Here’s my newest project I’ve been working on. This has grown to be a lot more elaborate than I initially planned.

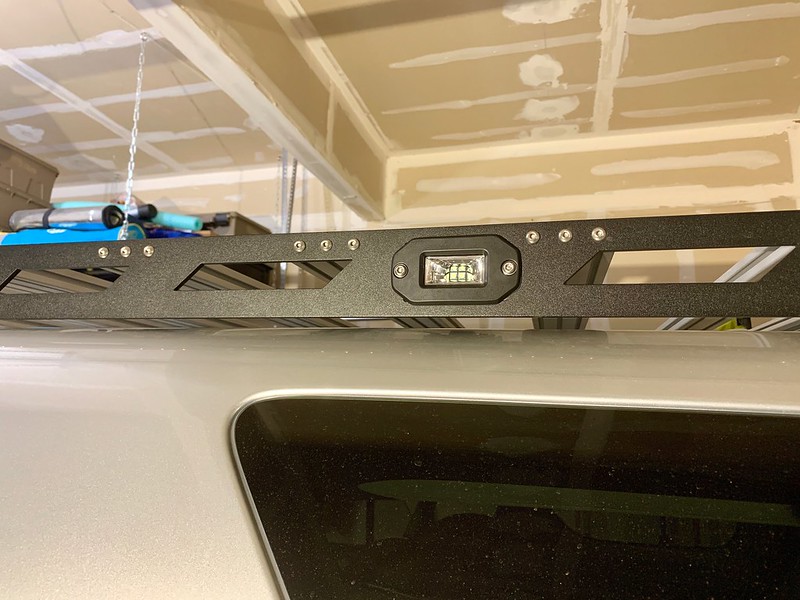
The side rails on my Southern Style Offroad roof rack has cutouts for flush mounted lights. The main use of the roof rack is for the an iKamper Skycamp roof top tent. Having scene lights installed on the sides would be perfect for camping. I already have a grill mounted light bar using an OEM style push button switch and the Baja Designs fog pocket kit using the OEM switch. I’m not liking to OEM push button switch so I thought I’d just move all the aftermarket lights over to a switch panel. I started planning out switches and mounting and this project just keeps growing and expending from the original plan.
Here’s the current plan... I want any and all added electronics and accessories as separated from factory electronics as feasible. I want a clean install that looks like it could have come that way from the factory. I want modularity in the installation and design so I can remove, change, add or disconnect things as my needs evolve. I want something physical that can be worked on/fixed if there’s an issue - I don’t want the big price tag of a SPOD or Switch Pros, plus the thought of just throwing it away and buying another one if something ever goes wrong isn’t appealing.

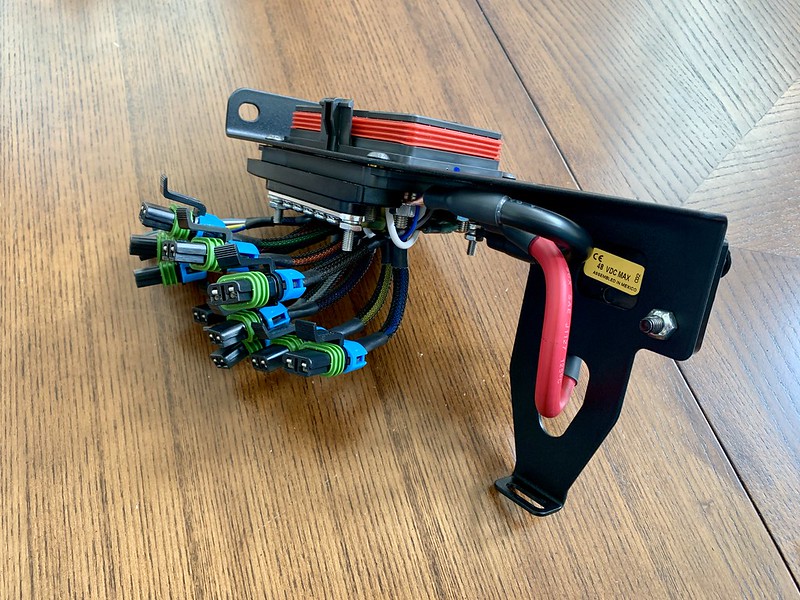
The plan is to tie in fog lights, ditch lights, light bar in the grill, left side camp lights, right side camp lights, solar charge controller & solar panel, USB charging ports, dash cam and an electrical box for in the roof top tent that that can turn the left or right side camping lights on and off independently from the inside the tent, plus I want power outlets. Other than tying into the dash lighting circuit for the switch backlighting and a main power and ground cable to the battery, it will be a fully standalone electrical system with a low voltage disconnect that will cut power to everything on the panel except the solar if the battery discharges past a preset level. I don’t want the weight or expense of a dual battery setup at this point, but I want this to easily adapt to a secondary battery IF I eventually go that way. In the mean time I want to make sure I don’t discharge the starter battery to the point of being stranded.

It’s getting to be complicated enough that I felt it was best to make a wiring diagram that maps everything out to visualize my thoughts and aid with planning. Plus it’ll help with assembly. I want to build it right once and not constantly go back to modify harnesses as I figure stuff out.

This is where I’m at with the planning and wiring diagram.

46737643034_1f1e0c74c0_b.jpg
 
Last edited:
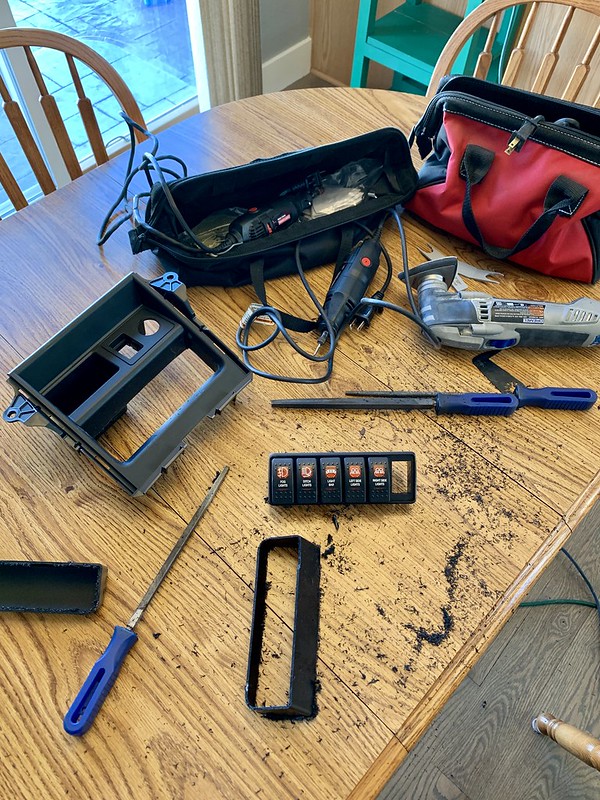
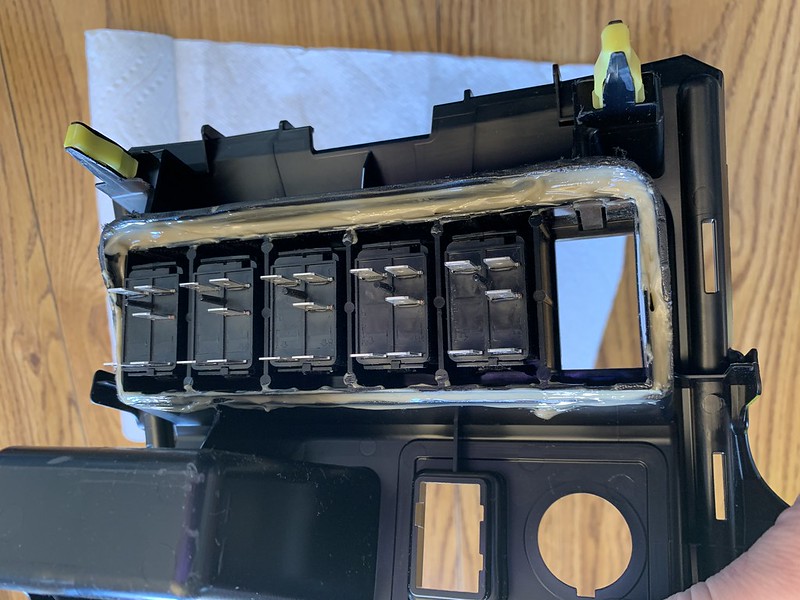
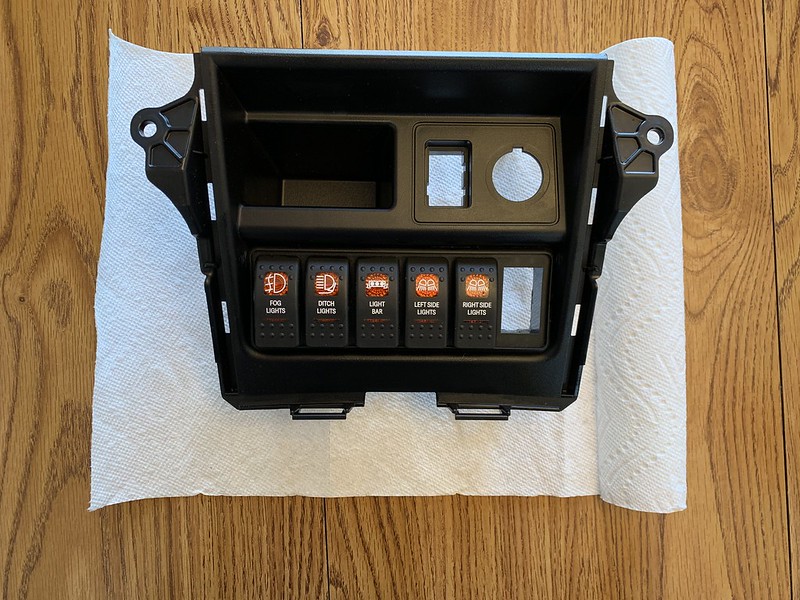
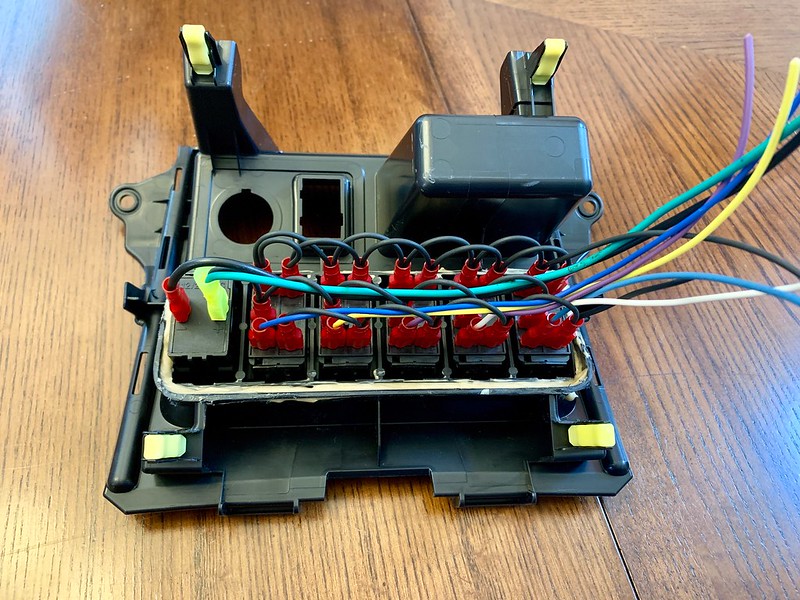
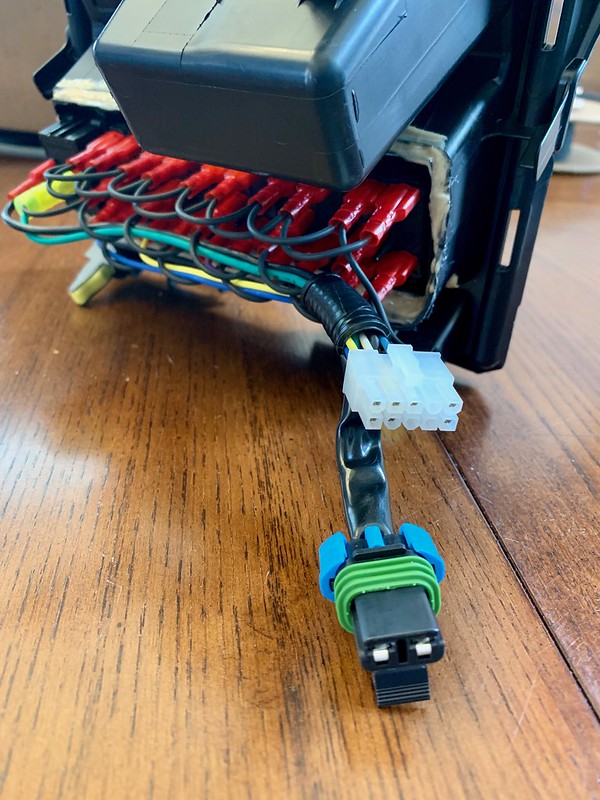
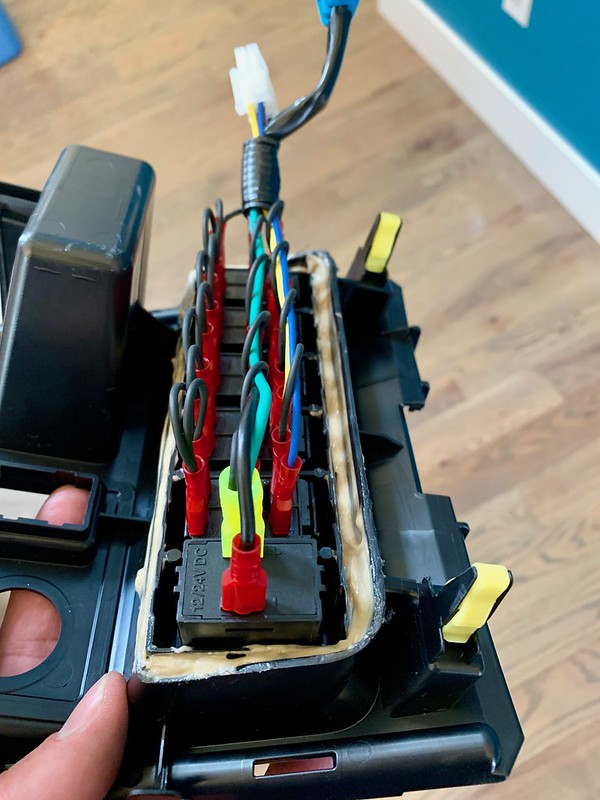
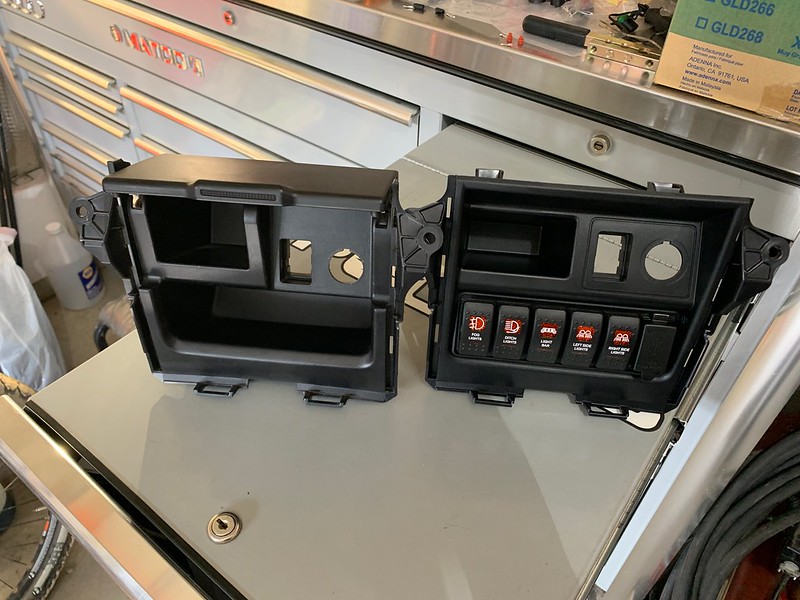
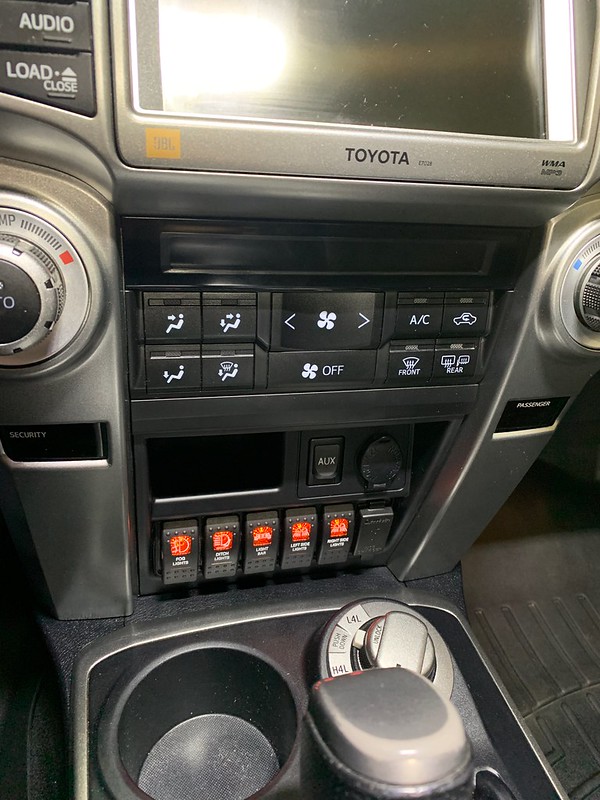
I picked up a new OEM dash compartment for a 2014+ (without the door) and some custom Contura II switches and a blank mounting panel to install them in. I was hoping the fit was going to be a little closer than it was was right out of the box but it actually took quite a bit of subtle shaping to get it to sit exactly how I wanted it to. Overall I’m happy with how it came out.

47388994311_97b2c4b4bc_c.jpg


40423446293_a6dc2e7223_c.jpg


Finished product minus a Blue Sea 1039 dual USB fast charger that is a direct fit into the Contura sized cutouts.
47336199882_ac9cfe7436_c.jpg
 
Ha I knew it! Thanks for posting this. I had a '10 limited that I upgraded to full RCI skid plates. I nowhave a '16 limited and was baffled that the gas tank skid was so small. When I moved the RCI skid plates to the new truck, I swore the gas tank skid was bigger on my '10, and you proved it for me.

I had a couple quick projects today.

I also picked up an OEM TRD fuel tank skid. My Limited comes with a small little skid protecting the front edge a bit but leaves most of the gas tank exposed. I've been wanting to get a RCI aluminum fuel tank skid to go with the rest of mine but I got this locally for $30, it was worth it to me.

47189225262_f470a15882_c.jpg


32299189187_edfb0f5498_c.jpg


47241372431_03f82165d4_c.jpg


The last project was the parking brake. My parking brake has felt like a soggy bag of shit for a while so I decided to pull it all apart. I pulled the rotors/parking brake drums, dissembled, cleaned, lubed, and reassembled the brake shoes and all the hardware. Once it was all buttoned up I adjusted them for a much tighter pedal and a ton more bite. For a while now applying the parking brake on a hill it would still slowly roll gently back to the parking pawl. It holds nice and firm now.
 
Last edited:
Today's updates.

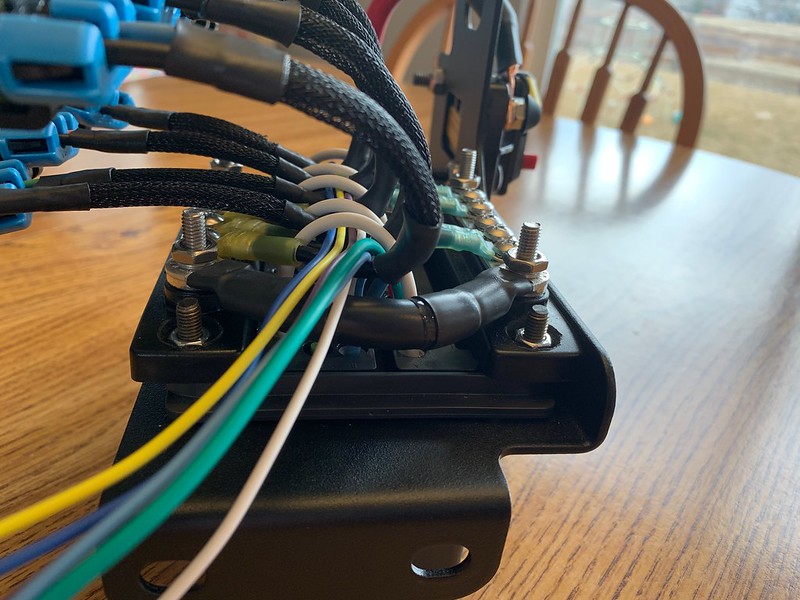
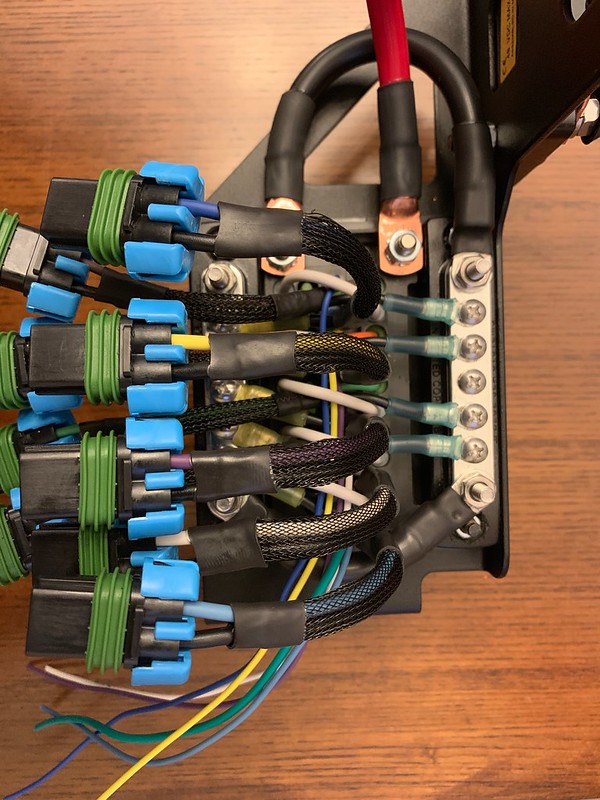
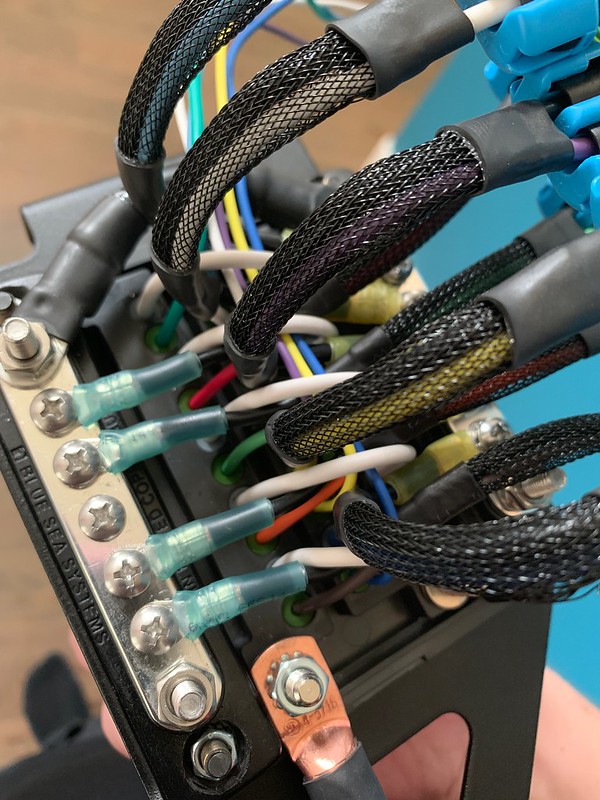
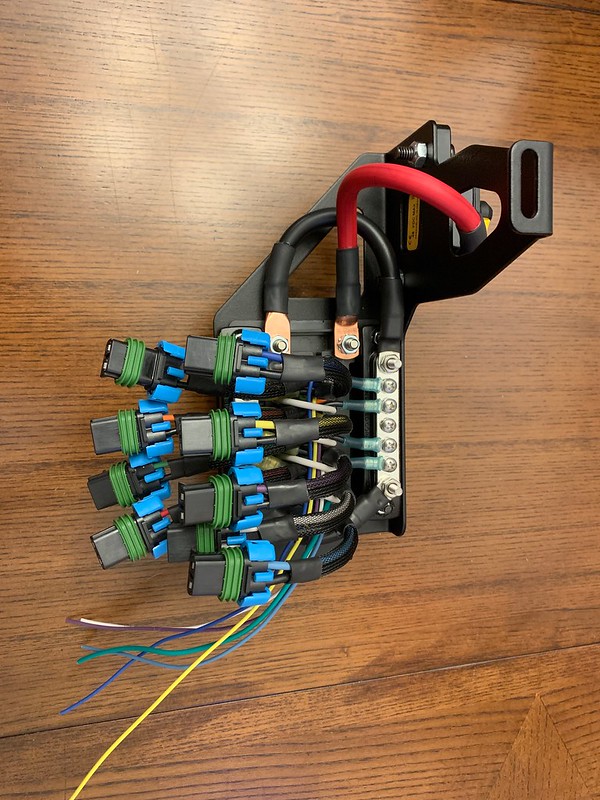
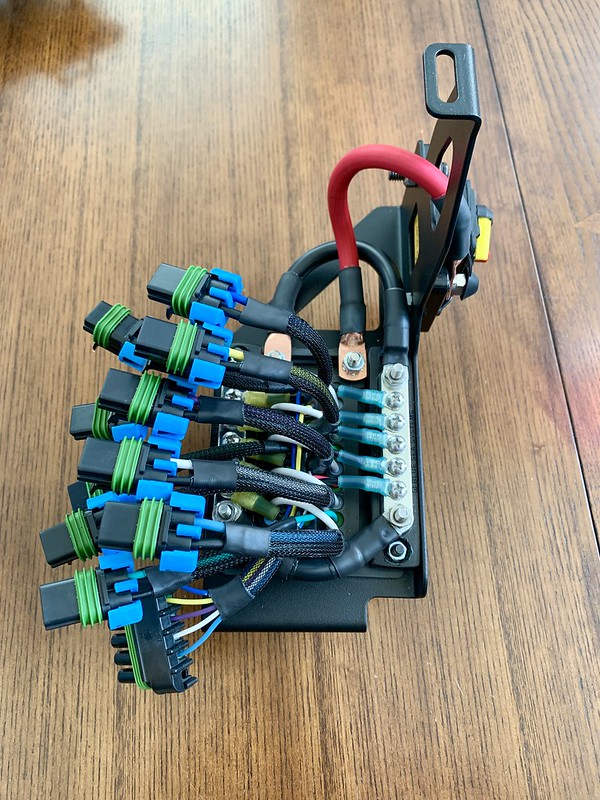
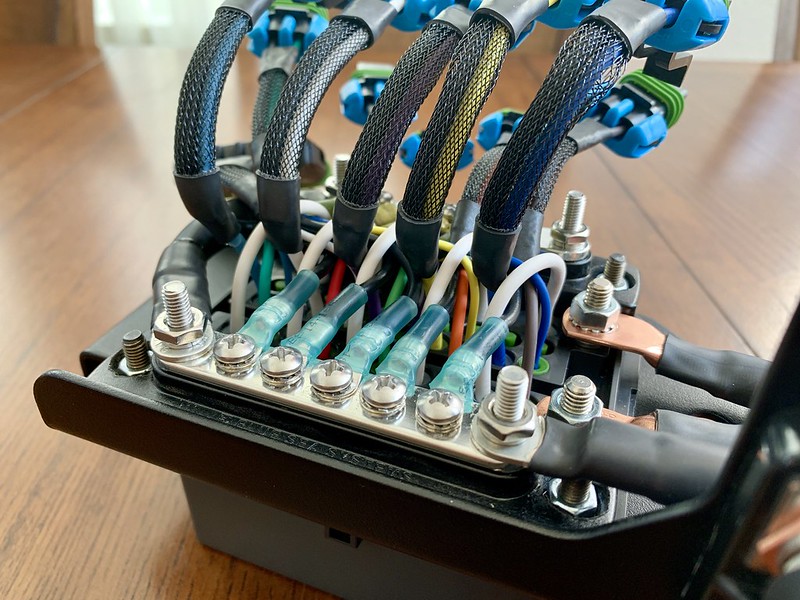
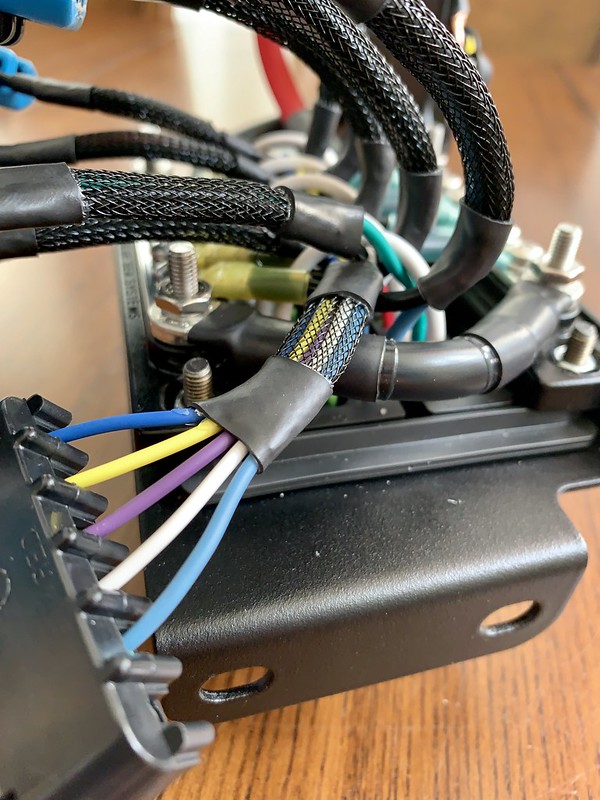
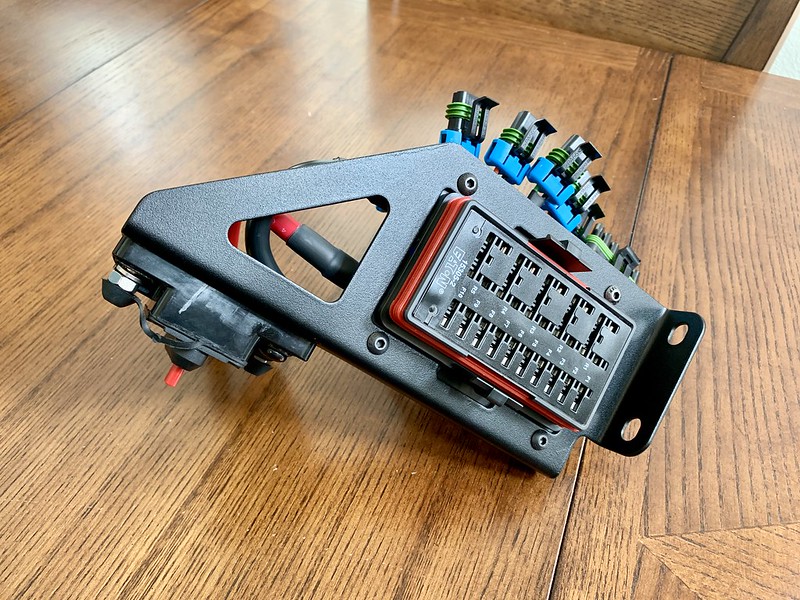
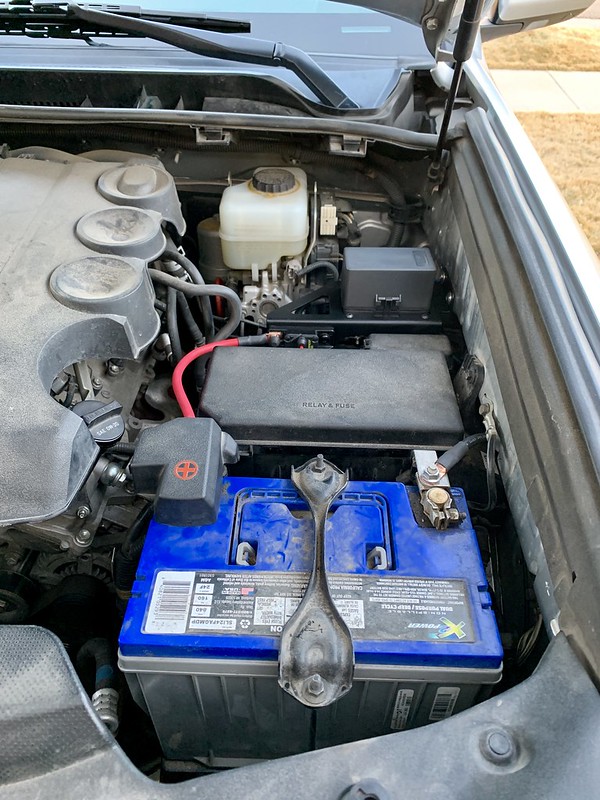
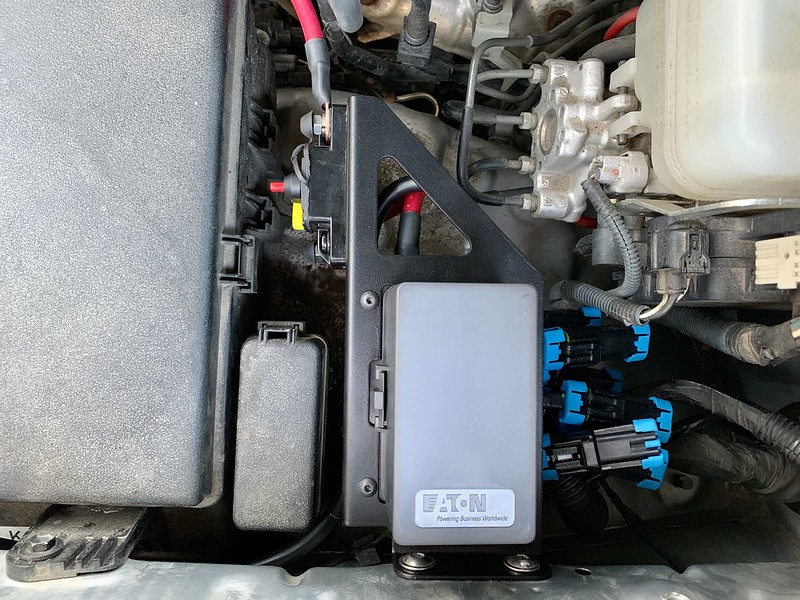
I got the first part of the switch harness done. The wiring is ran into the cabin but just tucked away under the floor mat and coiled up on the floor of the back seat. I’m going to wait to get my airbag recall done before I do the interior wiring and switch panel install. I got my Baja Squad Pro fog lights and Rago behind the grill light bar all wired up to the power distribution module today.

32541565377_86b7e6b38a_c.jpg


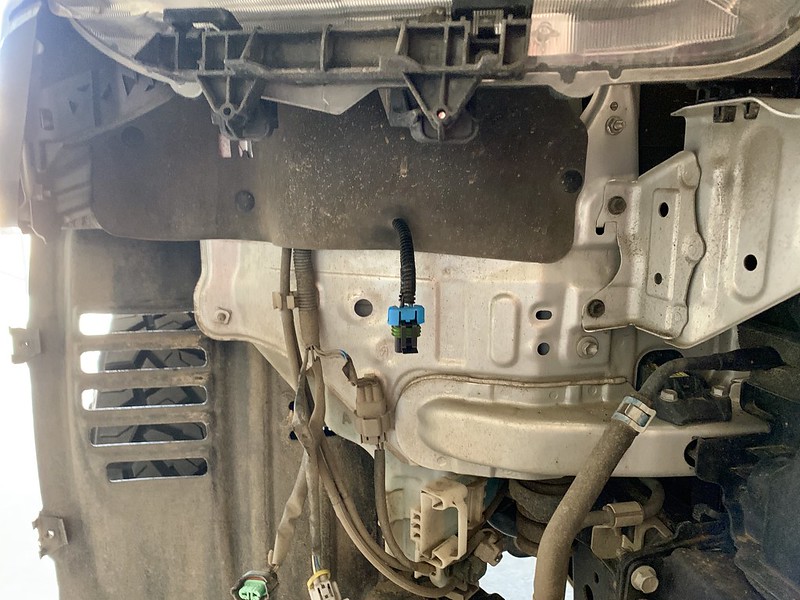
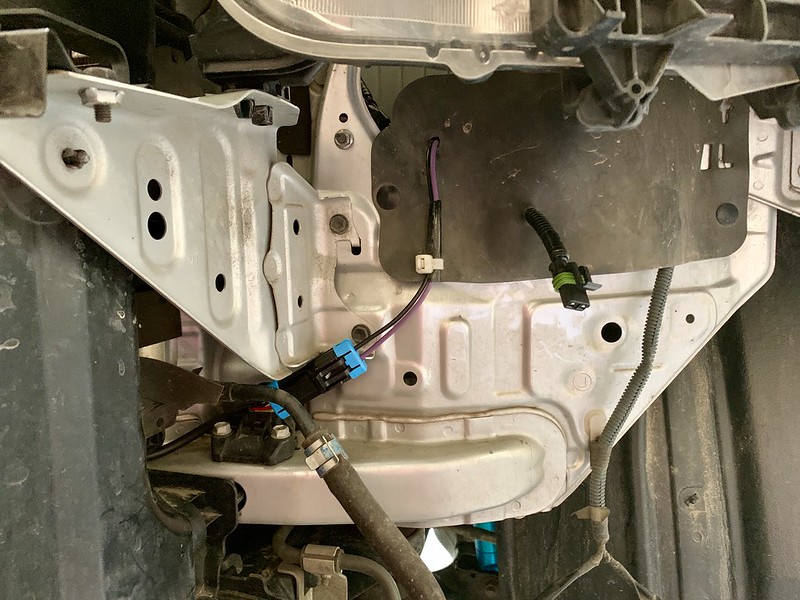
Passenger side fog light harness.
46568230735_9d5f43373e_c.jpg


The harness runs right through the radiator support over the to drivers side.
32541565547_5acb6803f0_c.jpg


The drivers side fog light and the light bar harness.
32541565537_1a81aed602_c.jpg


Fog light wiring spliced together and harnesses routed around the battery back to the PDM.
32541565327_b417be2017_c.jpg


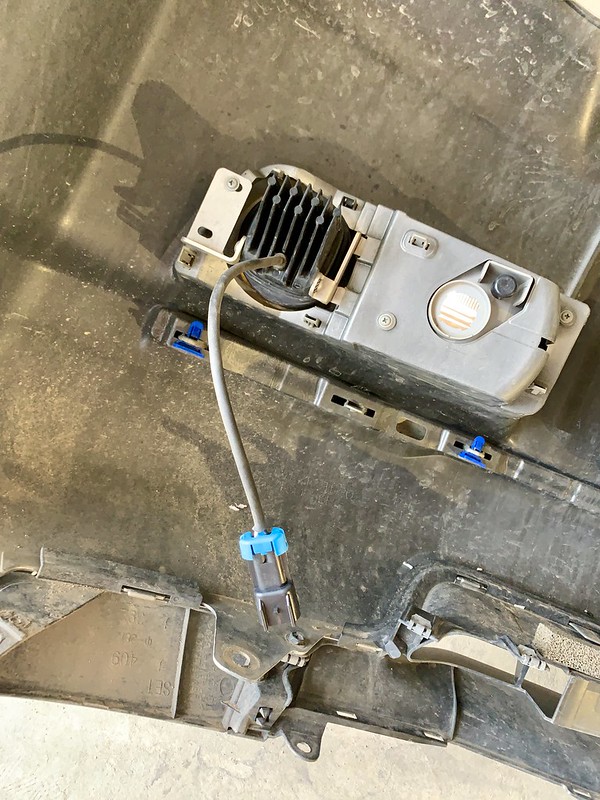
I took the connectors from the Baja fog pocket kit. I pulled the terminals out, put a dab of sealant and stuck terminal plugs in them. These plug into the OEM fog light wiring and keeps it all sealed up water tight since those harnesses are no longer in use.
46568229715_2051ab9f5e_c.jpg


47430619312_fb33d1def7_c.jpg


The last thing I had to do before getting the bumper back on was cut the connectors off the Baja lights and repin them to use the connectors for my setup.
40517502153_a5dbc8d993_c.jpg
 
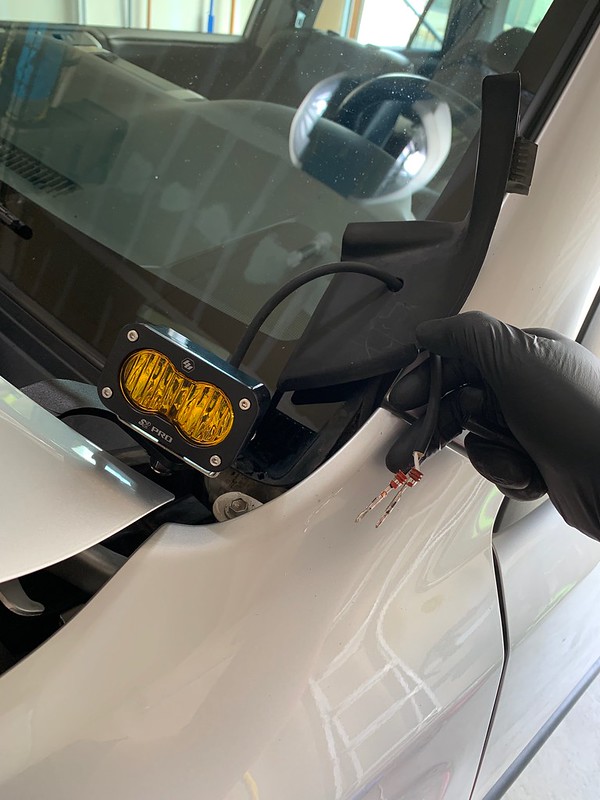
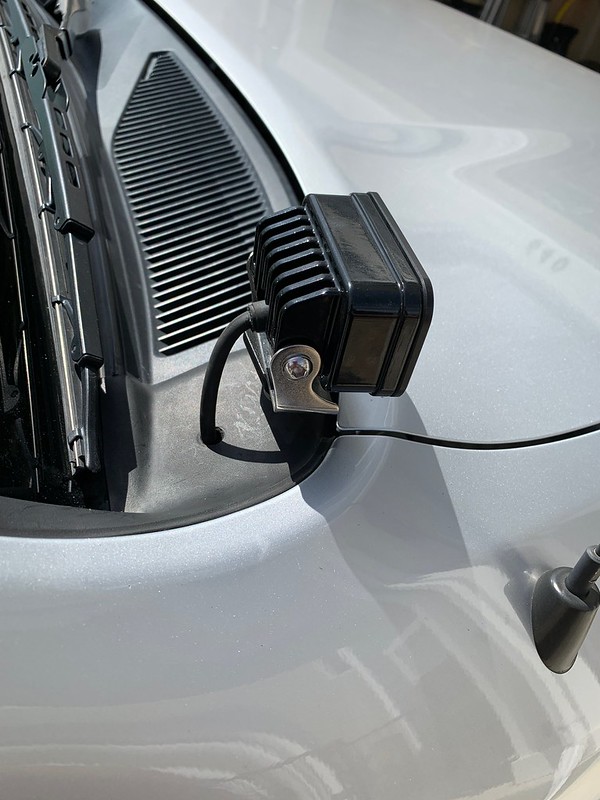
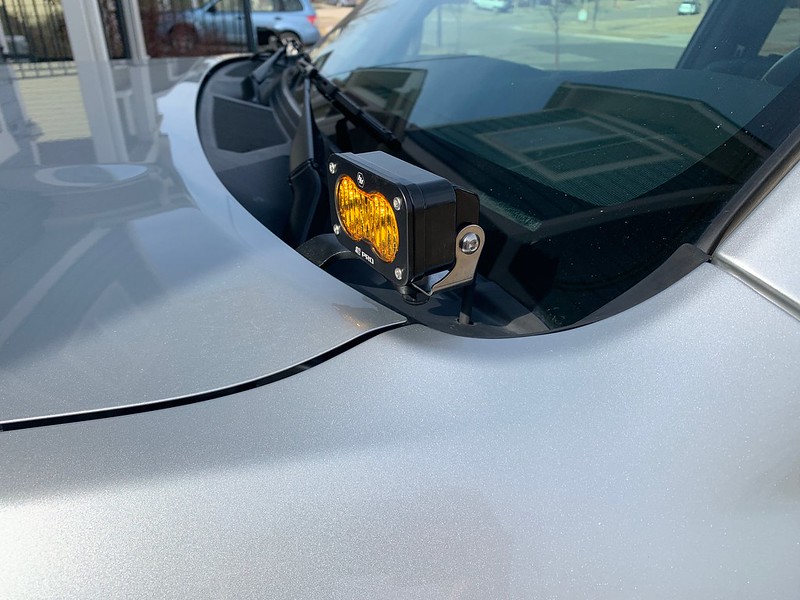
Cali Rasied low profile ditch mount brackets with Baja Designs S2 Pro wide cornering amber lights.

I depinned the connector in order to route the harness through a small hole I drilled in the trim.
40523670333_345d2c48c8_c.jpg


Pretty clean install
40523670523_f4e261110c_c.jpg


Harness routing
47436764292_a01161138b_c.jpg


Passenger side light wiring
47436764272_1404aa8e43_c.jpg


Drivers side light wiring and the harness to the PDM
33613003278_7f4732ca09_c.jpg


Done. A small discreet setup with a ton of light output.
33613003488_efd76c31cf_c.jpg
 
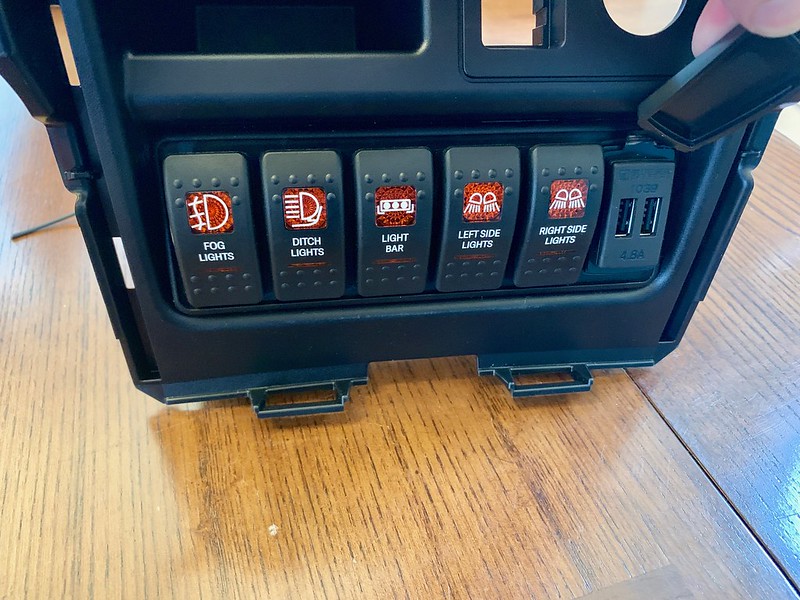
I got my airbag recall completed yesterday so today I got the switch panel installed and the interior harness built and routed. I did some messing around with it and changed up the switch lighting. The original plan was to have the LEDs on the dimmer, I temporarily tied it in and tried it, it worked but what I didn't anticipate was the inability to make out the emblems on the switch. Since the text is not backlit and the logo is but not clear enough to see what it says I decided to not wire them to be backlight at all when off. I set it up so the switches are totally dark when off and the upper LED comes on when the switch is on. I kept the extra wires in the harness though in case I change my mind down the road.
47532691131_8e831d93a6_c.jpg


47532691321_0ed880e31c_c.jpg


47532691401_018777762f_c.jpg


47479937962_e0c5a453c3_c.jpg
 
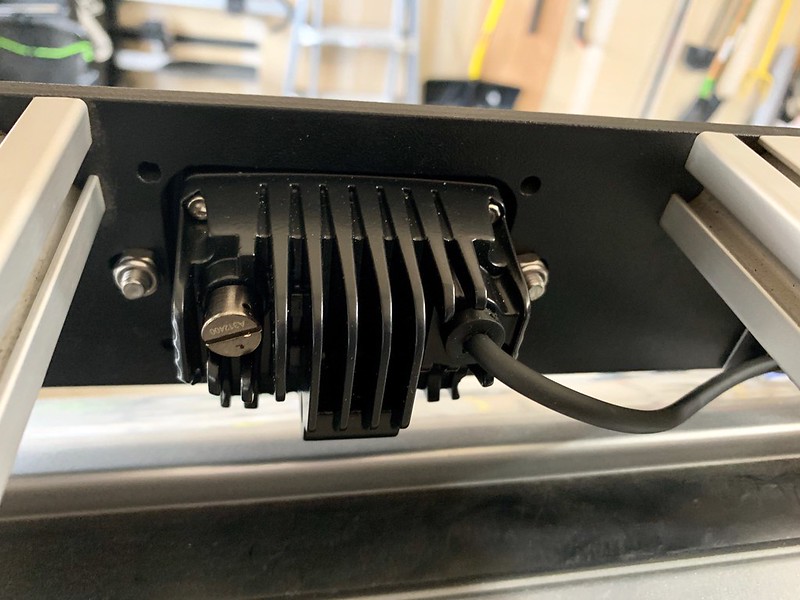
So the rack is predrilled for the side lights, but SSO drills them for Baja S2 lights or some Rigid flush mounts. I don't see the value in buying Baja Designs or Rigid for camping lights so I went with some Aurora LED flush mounted scene lights. The bolt pattern was just slightly narrower than the Rigid lights so I used a file and slotted the mounting holes on the rack inwards to fit the new lights and painted the inside of the slot with a black tractor and implement paint but before that, I just looped a zip tie to hold the light in so I could get a visual of the layout and take some measurements for the harness.
33663148738_e6345342d7_c.jpg


Mounted
32597390587_9806ecddaa_c.jpg


I don't that most roof rack light setups are messy and covered in zip ties so I made sure to make this as clean and hidden as possible.
32597390437_17c34e1915_c.jpg


46816241034_51208aa78a_c.jpg


32597390397_7ea2057b3d_c.jpg


No visible zip ties or wires
46816239964_c106eef97f_c.jpg


Wiring from the power distribution module up to the rack.
46816240124_458922dba4_c.jpg


46816241994_9b9440cf3c_c.jpg


Wiring completed and 100% functional.
33663148958_74e4d0b8f4_c.jpg


It came out really clean, everything is hidden behind the lower solid portion of the rack.
33663149158_f74515ee76_c.jpg


33663149078_cb97369039_c.jpg


33663148968_a280d4a9eb_c.jpg


This is where the roof top tent electrical box will plug in. Disconnect that connection, hook up the wiring from the box inline and there will be a second switch wired in series controlling the side lights. Leave the dash switch activated and then the switch in the tent takes over control of the system.
32597390777_8fdf5eea30_c.jpg


More of the completed wiring
47487110512_2926845d1c_c.jpg


33663148928_75c637907d_c.jpg


47487111132_b000115909_c.jpg


32597390787_56173d6383_c.jpg


Now I have to duplicate a mirror image of it for the other side, I'm not really looking forward to that. I probably won't touch it again until next week.
 

Members online

Forum statistics

Threads
278,315
Messages
3,554,104
Members
248,016
Latest member
Advally Service

Trending content

Back
Top