Agent_Outside: Adventures in a 4Runner Limited

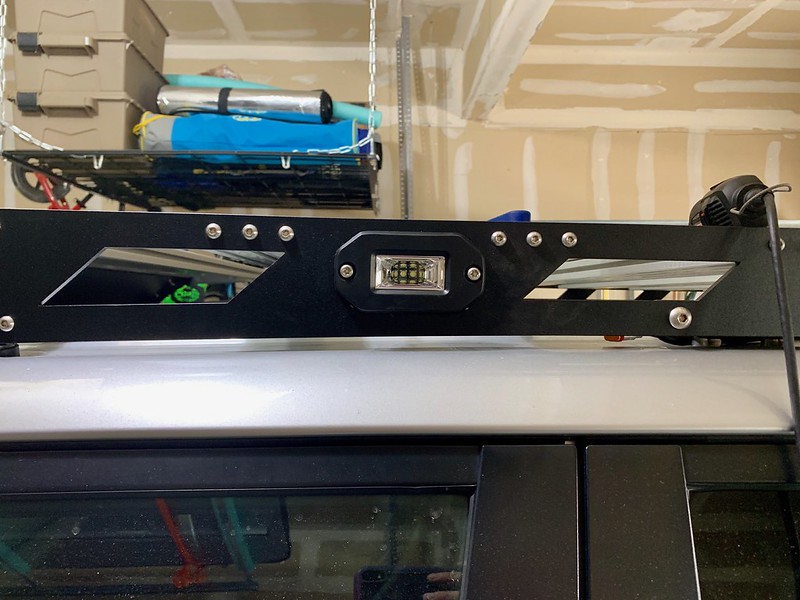
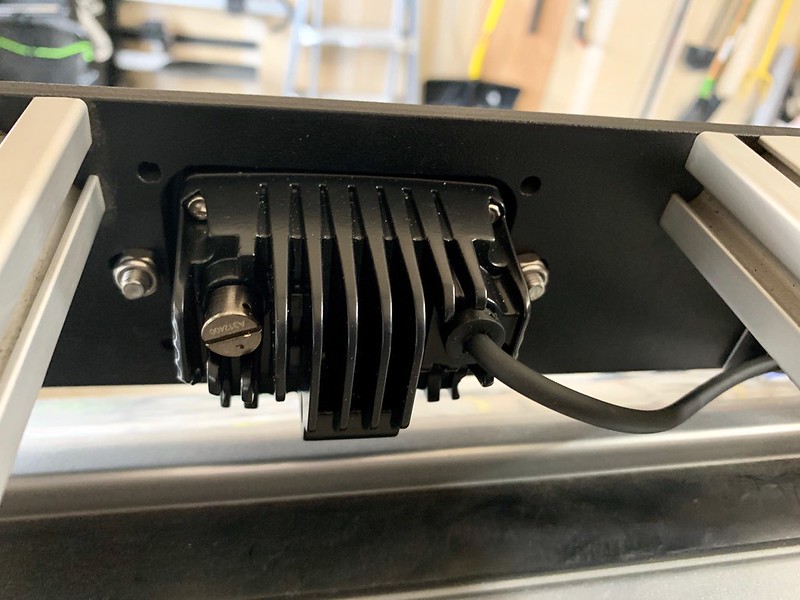
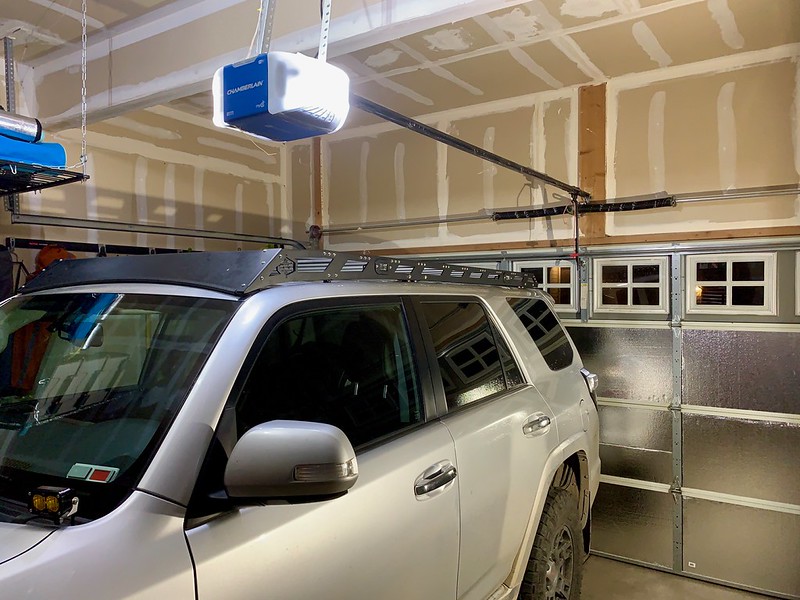
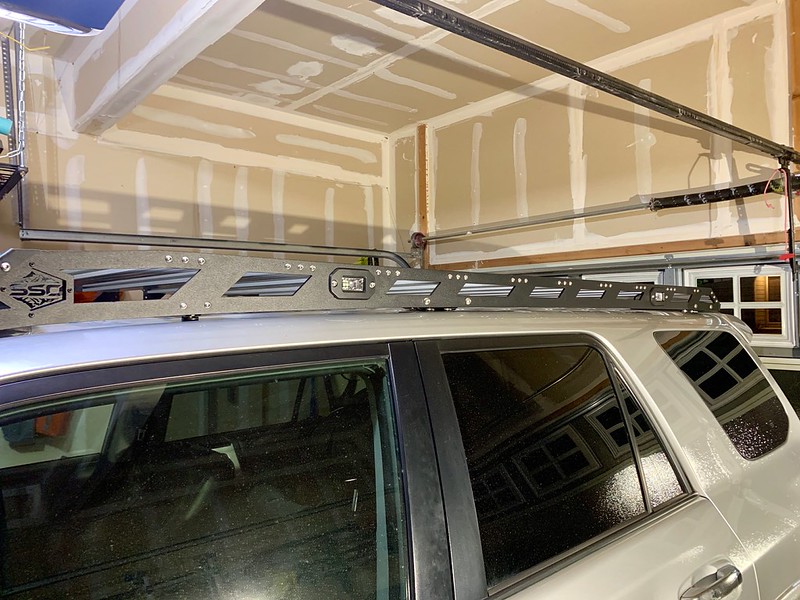
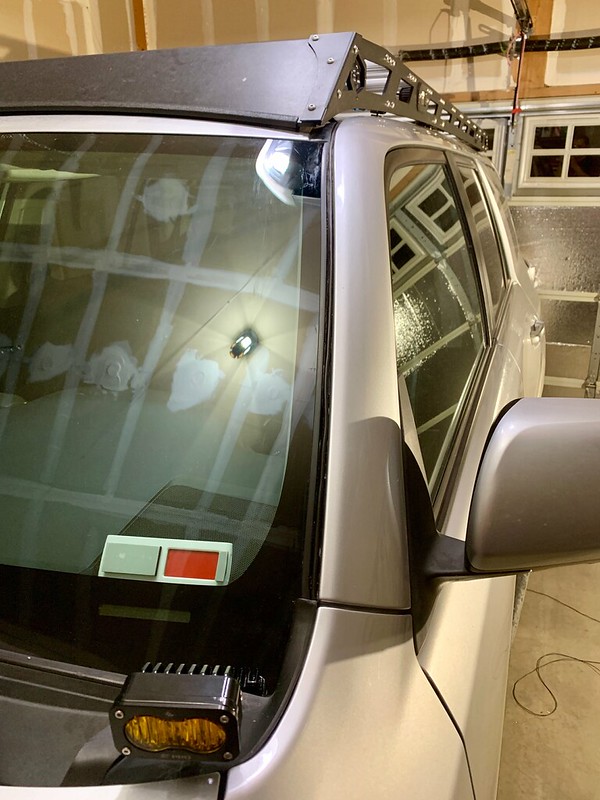
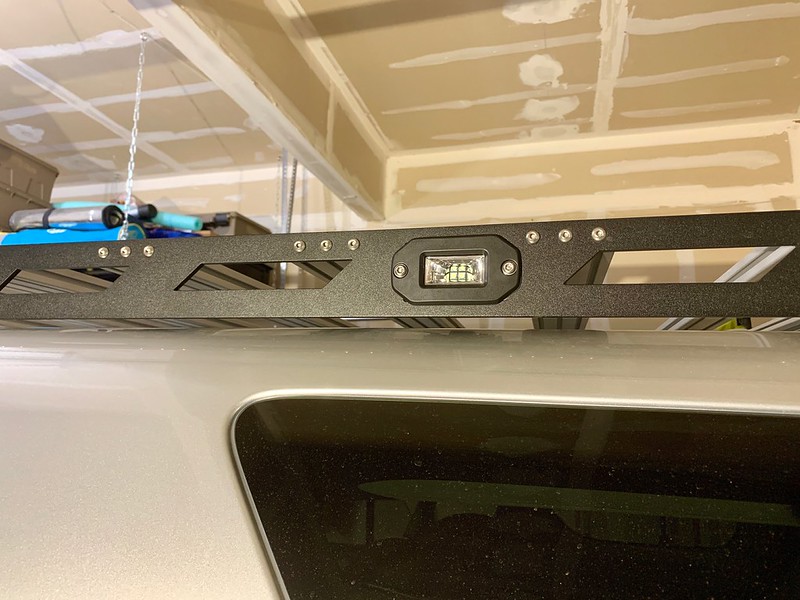
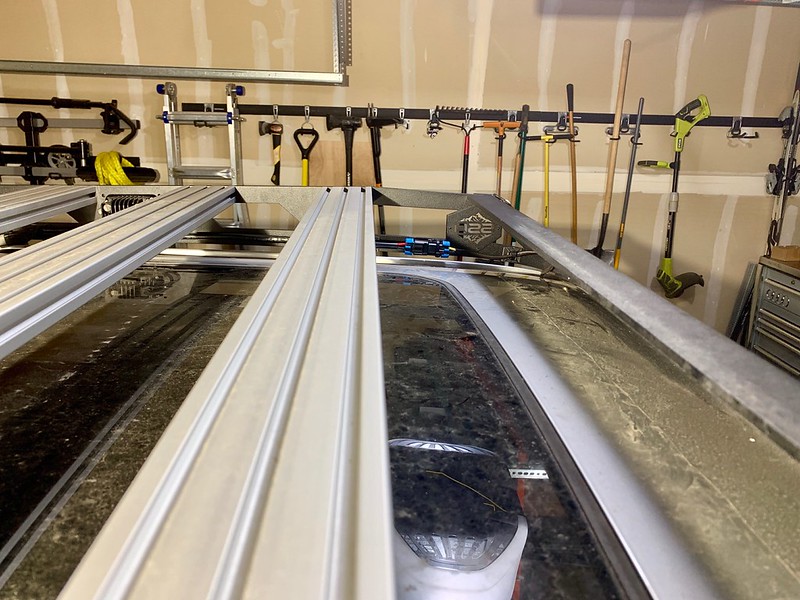
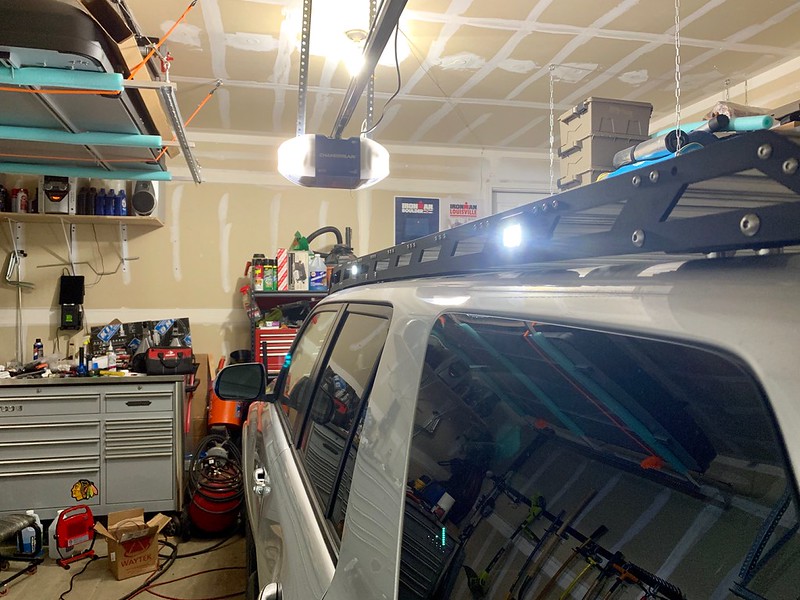
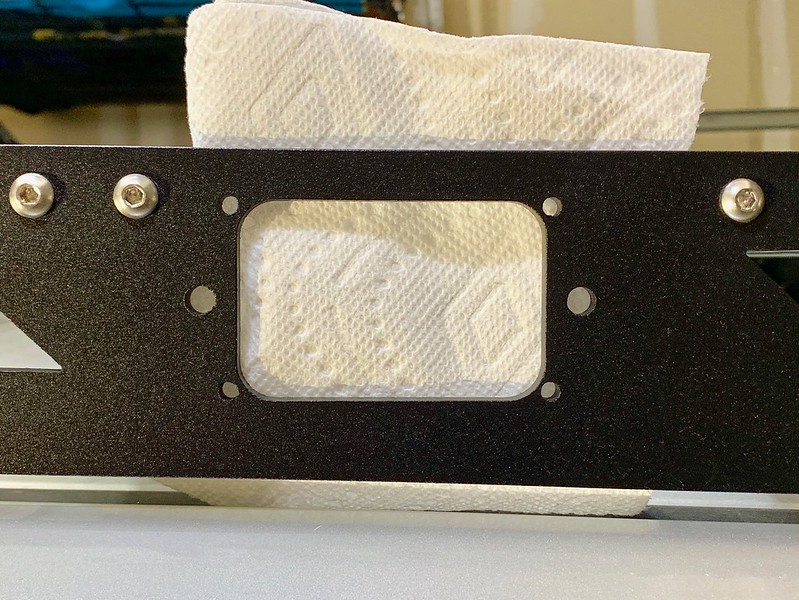
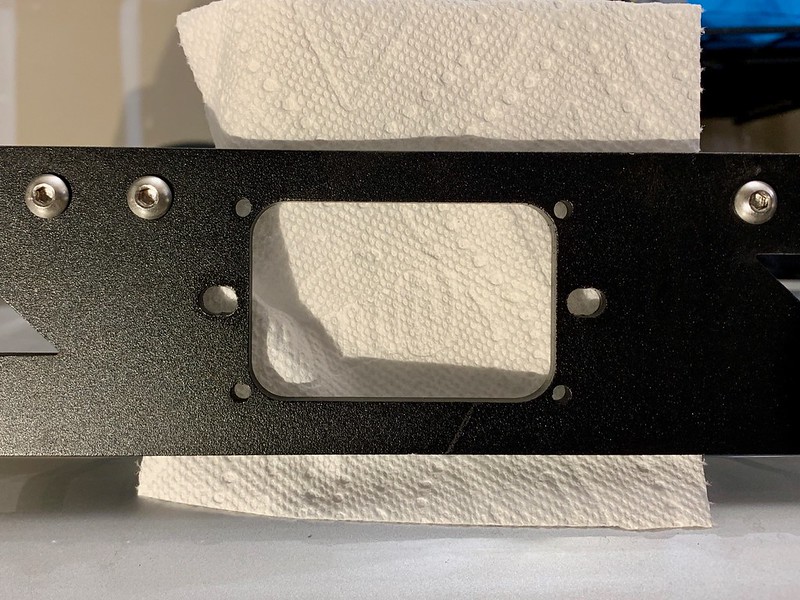
So the rack is predrilled for the side lights, but SSO drills them for Baja S2 lights or some Rigid flush mounts. I don't see the value in buying Baja Designs or Rigid for camping lights so I went with some Aurora LED flush mounted scene lights. The bolt pattern was just slightly narrower than the Rigid lights so I used a file and slotted the mounting holes on the rack inwards to fit the new lights and painted the inside of the slot with a black tractor and implement paint but before that, I just looped a zip tie to hold the light in so I could get a visual of the layout and take some measurements for the harness.
33663148738_e6345342d7_c.jpg


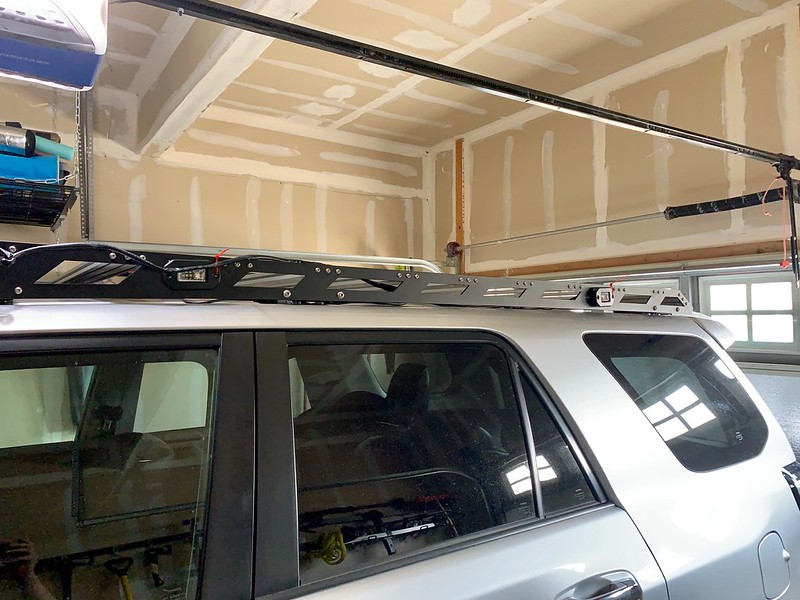
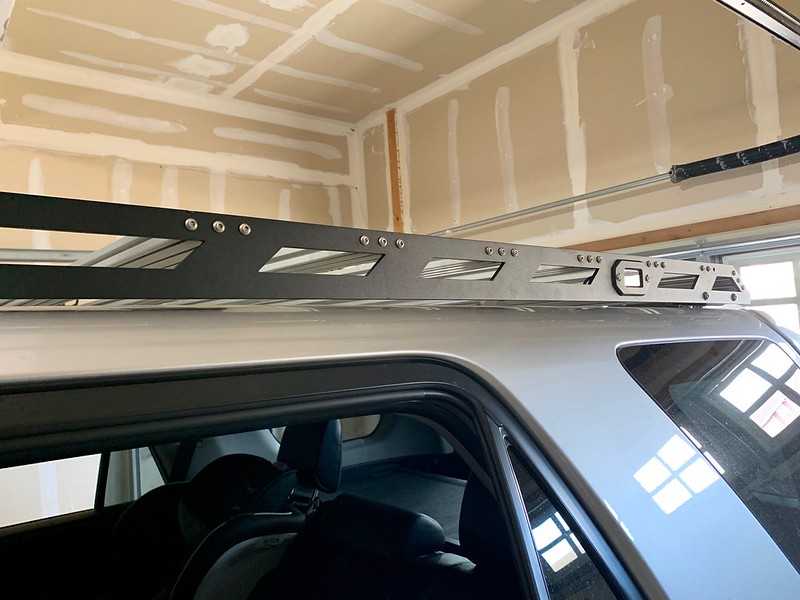
Mounted
32597390587_9806ecddaa_c.jpg


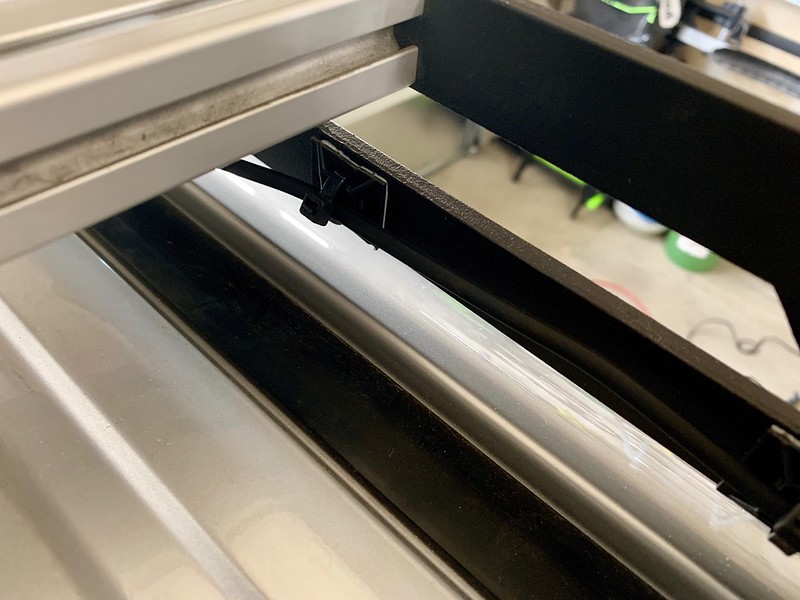
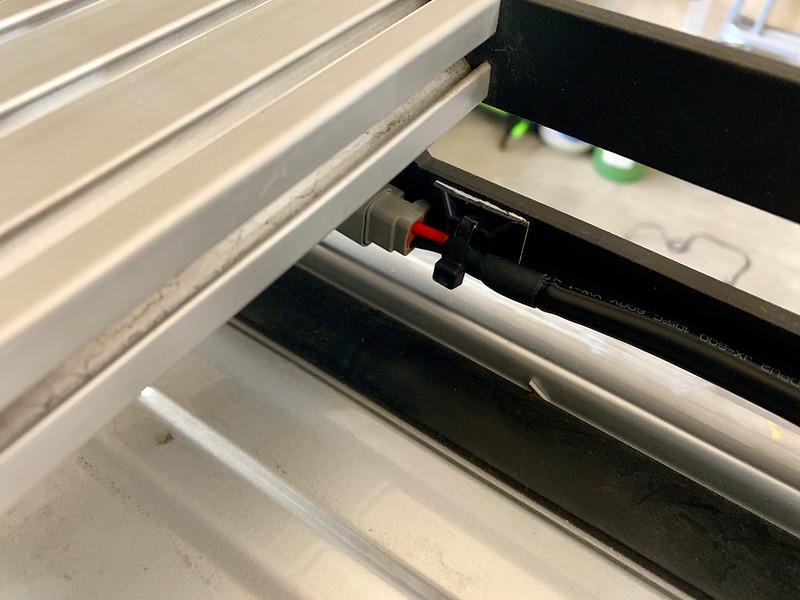
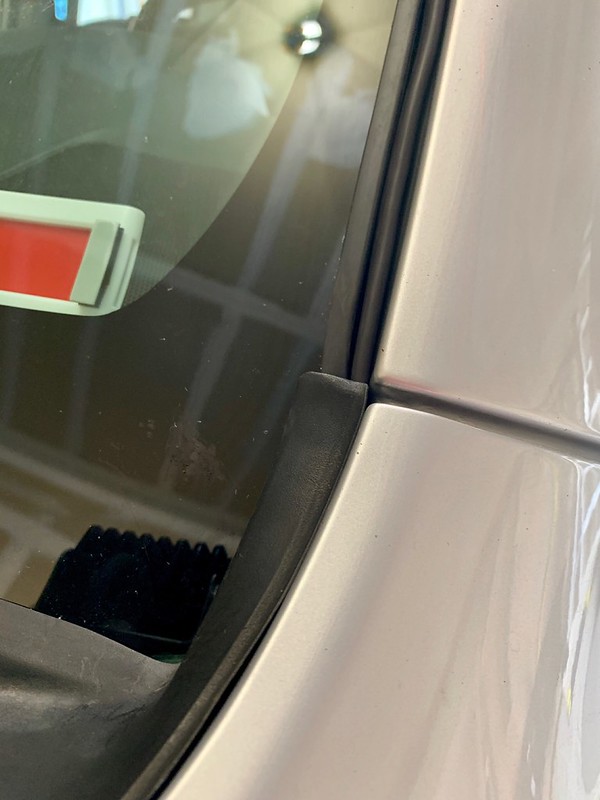
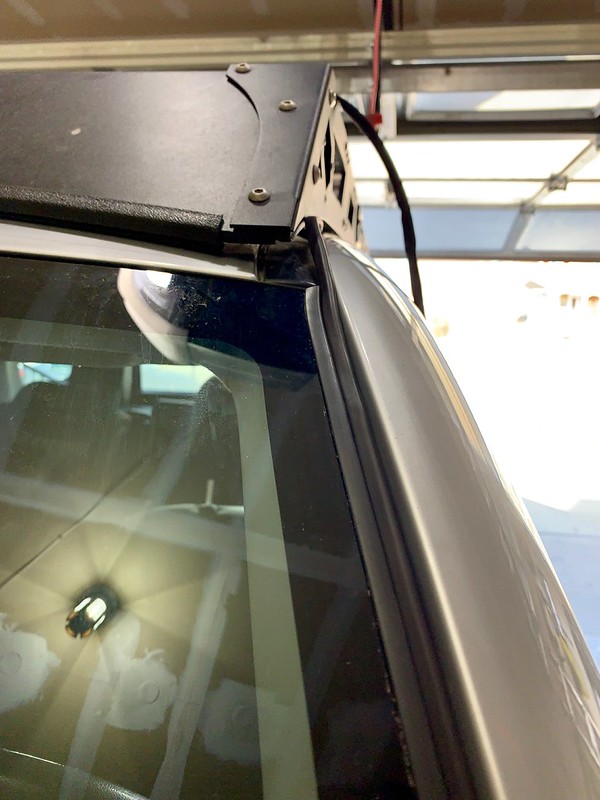
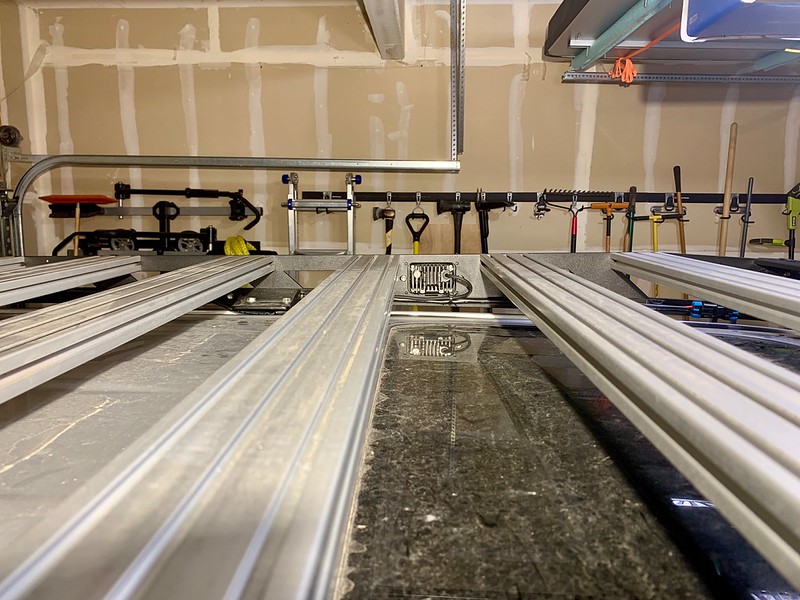
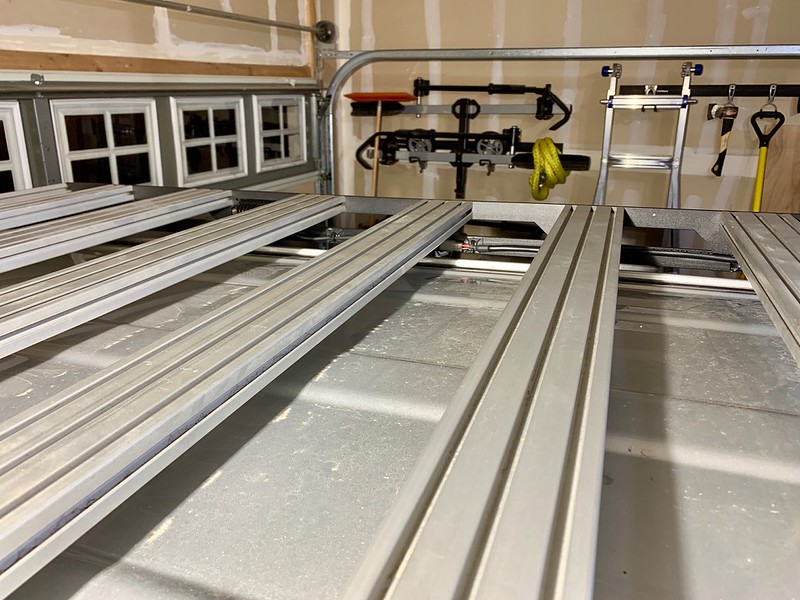
I don't that most roof rack light setups are messy and covered in zip ties so I made sure to make this as clean and hidden as possible.
32597390437_17c34e1915_c.jpg


46816241034_51208aa78a_c.jpg


32597390397_7ea2057b3d_c.jpg


No visible zip ties or wires
46816239964_c106eef97f_c.jpg


Wiring from the power distribution module up to the rack.
46816240124_458922dba4_c.jpg


46816241994_9b9440cf3c_c.jpg


Wiring completed and 100% functional.
33663148958_74e4d0b8f4_c.jpg


It came out really clean, everything is hidden behind the lower solid portion of the rack.
33663149158_f74515ee76_c.jpg


33663149078_cb97369039_c.jpg


33663148968_a280d4a9eb_c.jpg


This is where the roof top tent electrical box will plug in. Disconnect that connection, hook up the wiring from the box inline and there will be a second switch wired in series controlling the side lights. Leave the dash switch activated and then the switch in the tent takes over control of the system.
32597390777_8fdf5eea30_c.jpg


More of the completed wiring
47487110512_2926845d1c_c.jpg


33663148928_75c637907d_c.jpg


47487111132_b000115909_c.jpg


32597390787_56173d6383_c.jpg


Now I have to duplicate a mirror image of it for the other side, I'm not really looking forward to that. I probably won't touch it again until next week.

Those look great man.
 
I got the passenger side lights wired up the same way as the driver's side so nothing really new to post about that but I took some pics fo the side rails modified for the Aurora lights.

Before and after (the paint was freshly applied and still wet in the after picture.

32644485667_c08397641b_c.jpg


33710074608_ccc6dbb466_c.jpg
 
Thanks for all the nice diy instructionals and the great pics. Was curious what you think of the squadron pros in the fogs? I have the wide angle sports and they seem to work ok for short distance. I may consider changing to driving combo lenses to get more throw. But do you think the pros are ok for street driving? I dont live in the city so traffic is not heavy, but there are occasional oncoming cars. Was wondering how blinding they are, and also if you get flashed for it.

Do find the scene/work lights on the rack to be useful? I have an order in for the sso rack and am considering doing s2 sports in there for camping etc. i am just not sure how the light throw is at that angle and with the edge of the roof probably blocking some of it.

Planning on doing any lighting on the rear of the rack as well?

I was planning to add s2 pro or squadron pro ditch lights and maybe some s2 sports on the top of the rack. I have s2 sports under the rear bumper and they seem to work well for camping or when backing up. I dont see many great reviews for front light bars up top due to hood glare. But the ditch lights should work well enough and maybe a front light bar when i do a hybrid or full bumper.
 
Thanks for all the nice diy instructionals and the great pics. Was curious what you think of the squadron pros in the fogs? I have the wide angle sports and they seem to work ok for short distance. I may consider changing to driving combo lenses to get more throw. But do you think the pros are ok for street driving? I dont live in the city so traffic is not heavy, but there are occasional oncoming cars. Was wondering how blinding they are, and also if you get flashed for it.

Do find the scene/work lights on the rack to be useful? I have an order in for the sso rack and am considering doing s2 sports in there for camping etc. i am just not sure how the light throw is at that angle and with the edge of the roof probably blocking some of it.

Planning on doing any lighting on the rear of the rack as well?

I was planning to add s2 pro or squadron pro ditch lights and maybe some s2 sports on the top of the rack. I have s2 sports under the rear bumper and they seem to work well for camping or when backing up. I dont see many great reviews for front light bars up top due to hood glare. But the ditch lights should work well enough and maybe a front light bar when i do a hybrid or full bumper.

I like the driving combo pattern but the pros are WAY overpowered for street use. They are significantly brighter than high beams. I don't plan on any rear lighting, someday down the line I might do flush mounts in the rear bumper but that's at the bottom of my list of priorities.
 
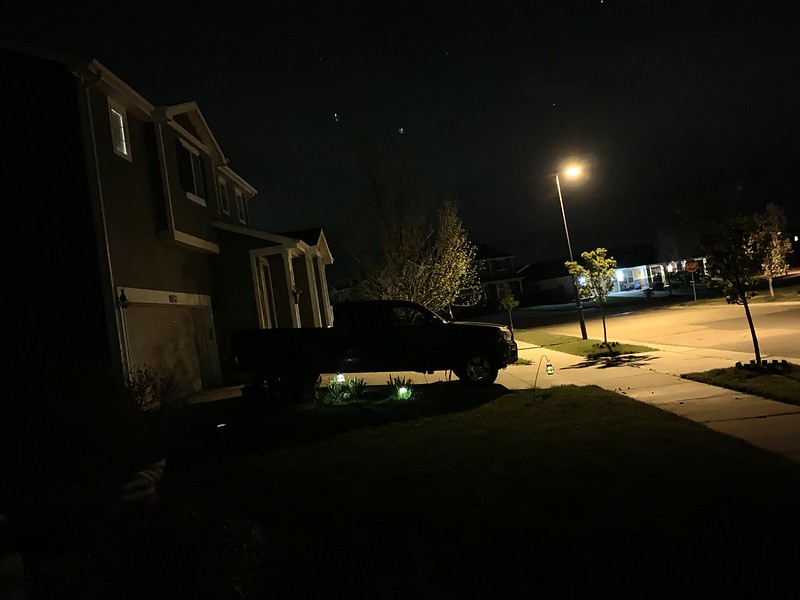
If possible, can you upload a photo of the rack lights in use at night?... to see how much srea lighting you are getting?

I've been out of town for 3 weeks. I finally was able to grab a couple pics of the camping lights. Both pics are via iphone Xr with the camera resting on the door panel against the driver window. They put out a lot more light than necessary.

46869036865_419f74a8fb_c.jpg


46869037065_b01ab954d2_c.jpg
 
Yep thats a lot of light!!

I am pretty interested in fitting lights of some sort into the rack and agree that the baja and rigid ones are a lot of dough when you really dont need THAT much output. This looks like a great option. Im also trying to see if I can just do a rock light kit and use 4 of thos in the rack. An adapter plate would need to be cut to fill the openings but I think for camping light it would be sufficient. Maybe?


Good job on the wiring too. Nice and neat!

I have avoided light upgrades so far but was doung a section of the georgia traverse last week and arrived at 2:30am to a camping spot. On the road in it dawned on me...”so THIS is what ditch liggts are for”.... the terrain and grade and switchbacks had my headlights and foglights such that I couldnt see the shoulders or in front of me. Rack lights like yours would have made a big difference for that.
 
Last edited:
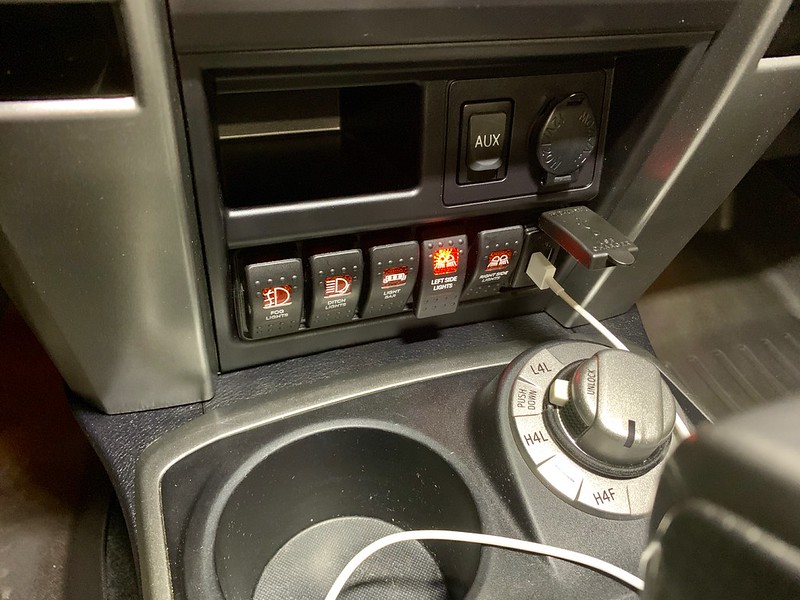
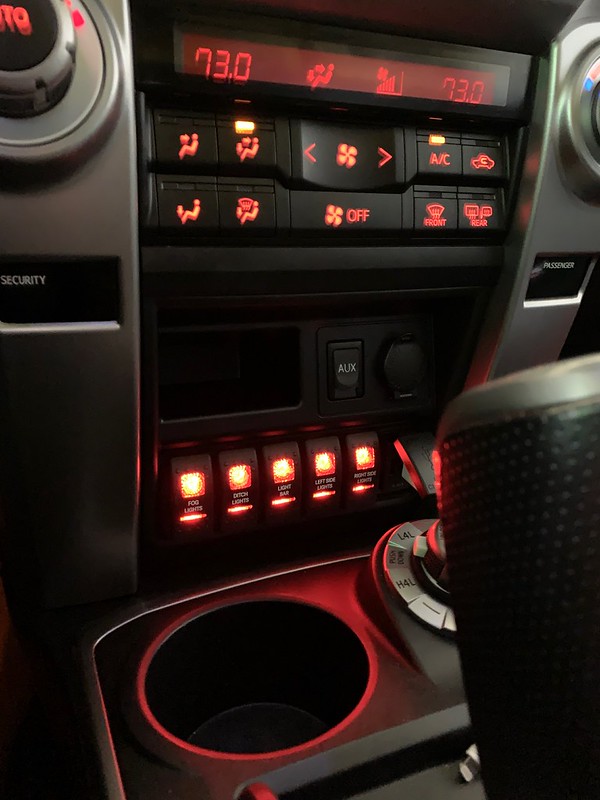
I don't think I ever posted this, but here's the color match on the switches in the interior.

The top light goes on when the switch is activated and the bottom light goes on anytime the ignition is activated.
46903715345_bd327d64de_c.jpg
 
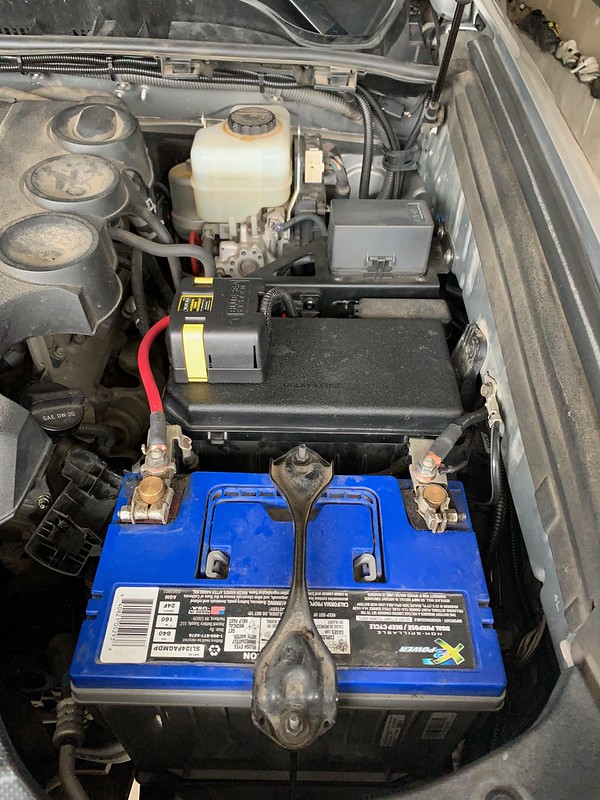
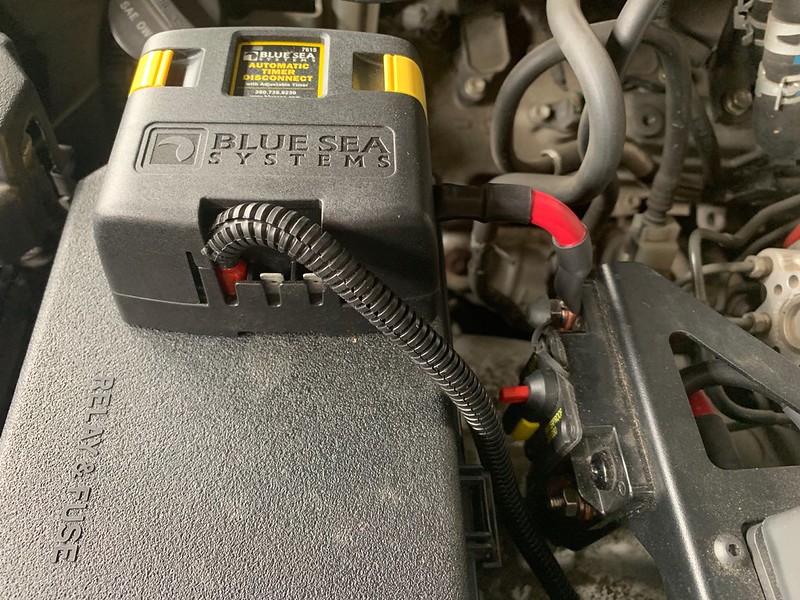
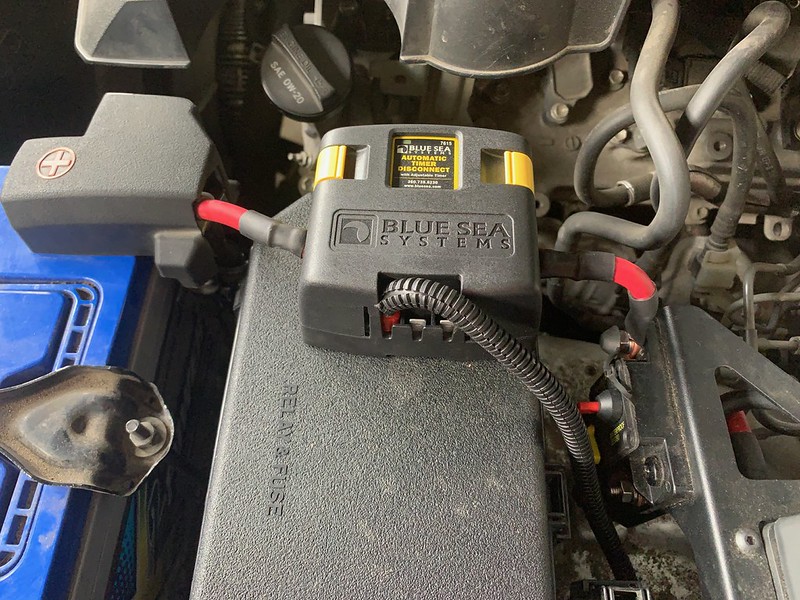
This is where I mounted the low voltage disconnect.
32876210717_340ab9a3c8_c.jpg


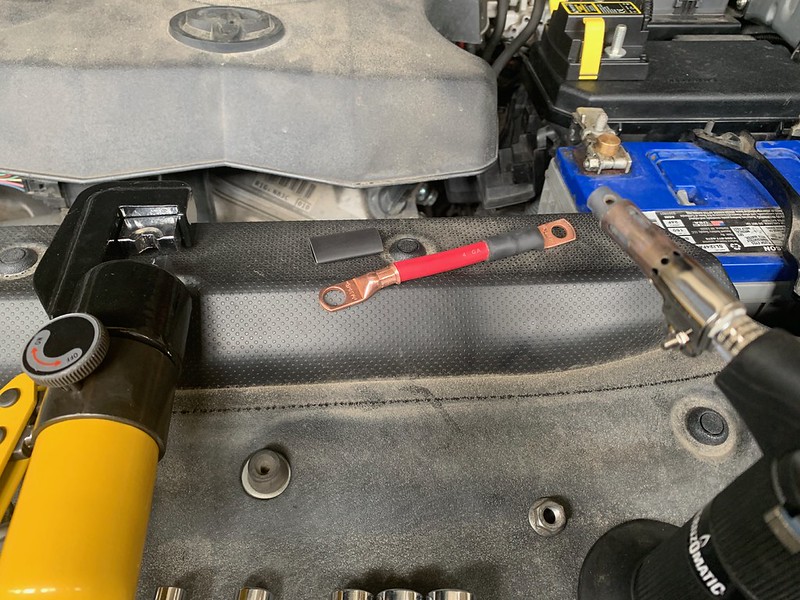
I gave it a ground connection and cut the existing power wire from the battery to the breaker and ran the disconnect inline. Like before I used closed-ended terminals and marine grade dual wall adhesive lined heat shrink. Heres the load side to the breaker finished.
40853576213_7a37a27c16_c.jpg


A 10 ton hydraulic crimper with the proper dies makes for some very secure connections.
32876210807_b4f4974b0b_c.jpg


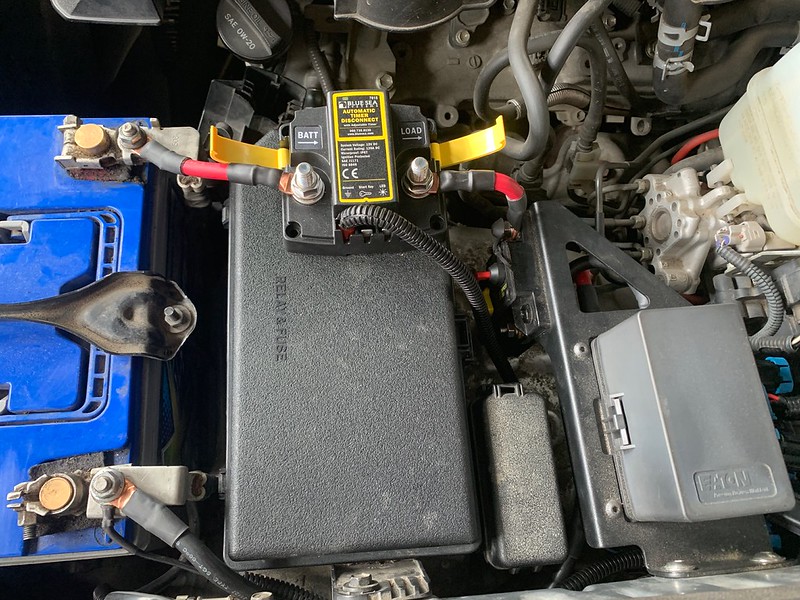
Cables are done.
40853576153_368873a90a_c.jpg


I notched the positive protective cap for the wire off the battery and it's finished.
32876210977_8a28c1e815_c.jpg
 
Curious, what did you use to crimp your cables? I've been looking for a good hydraulic crimper but they all seem to be quite expensive.
 
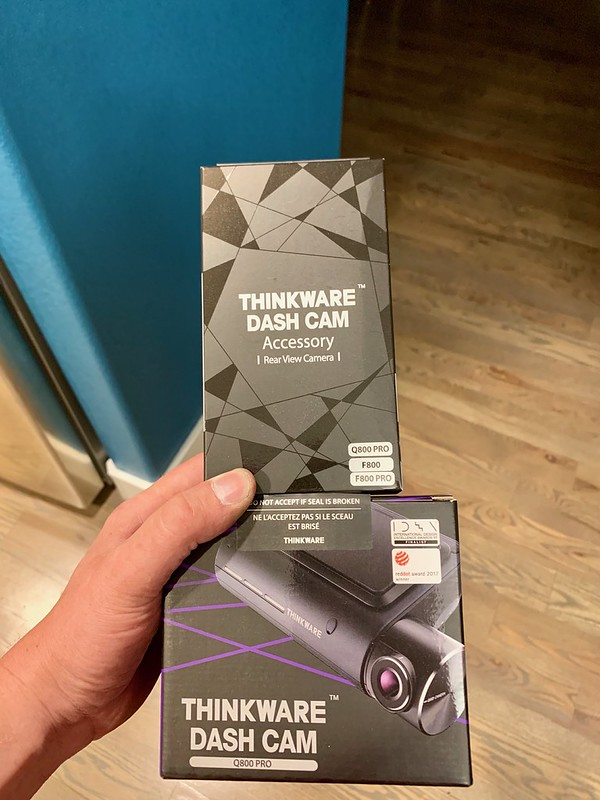
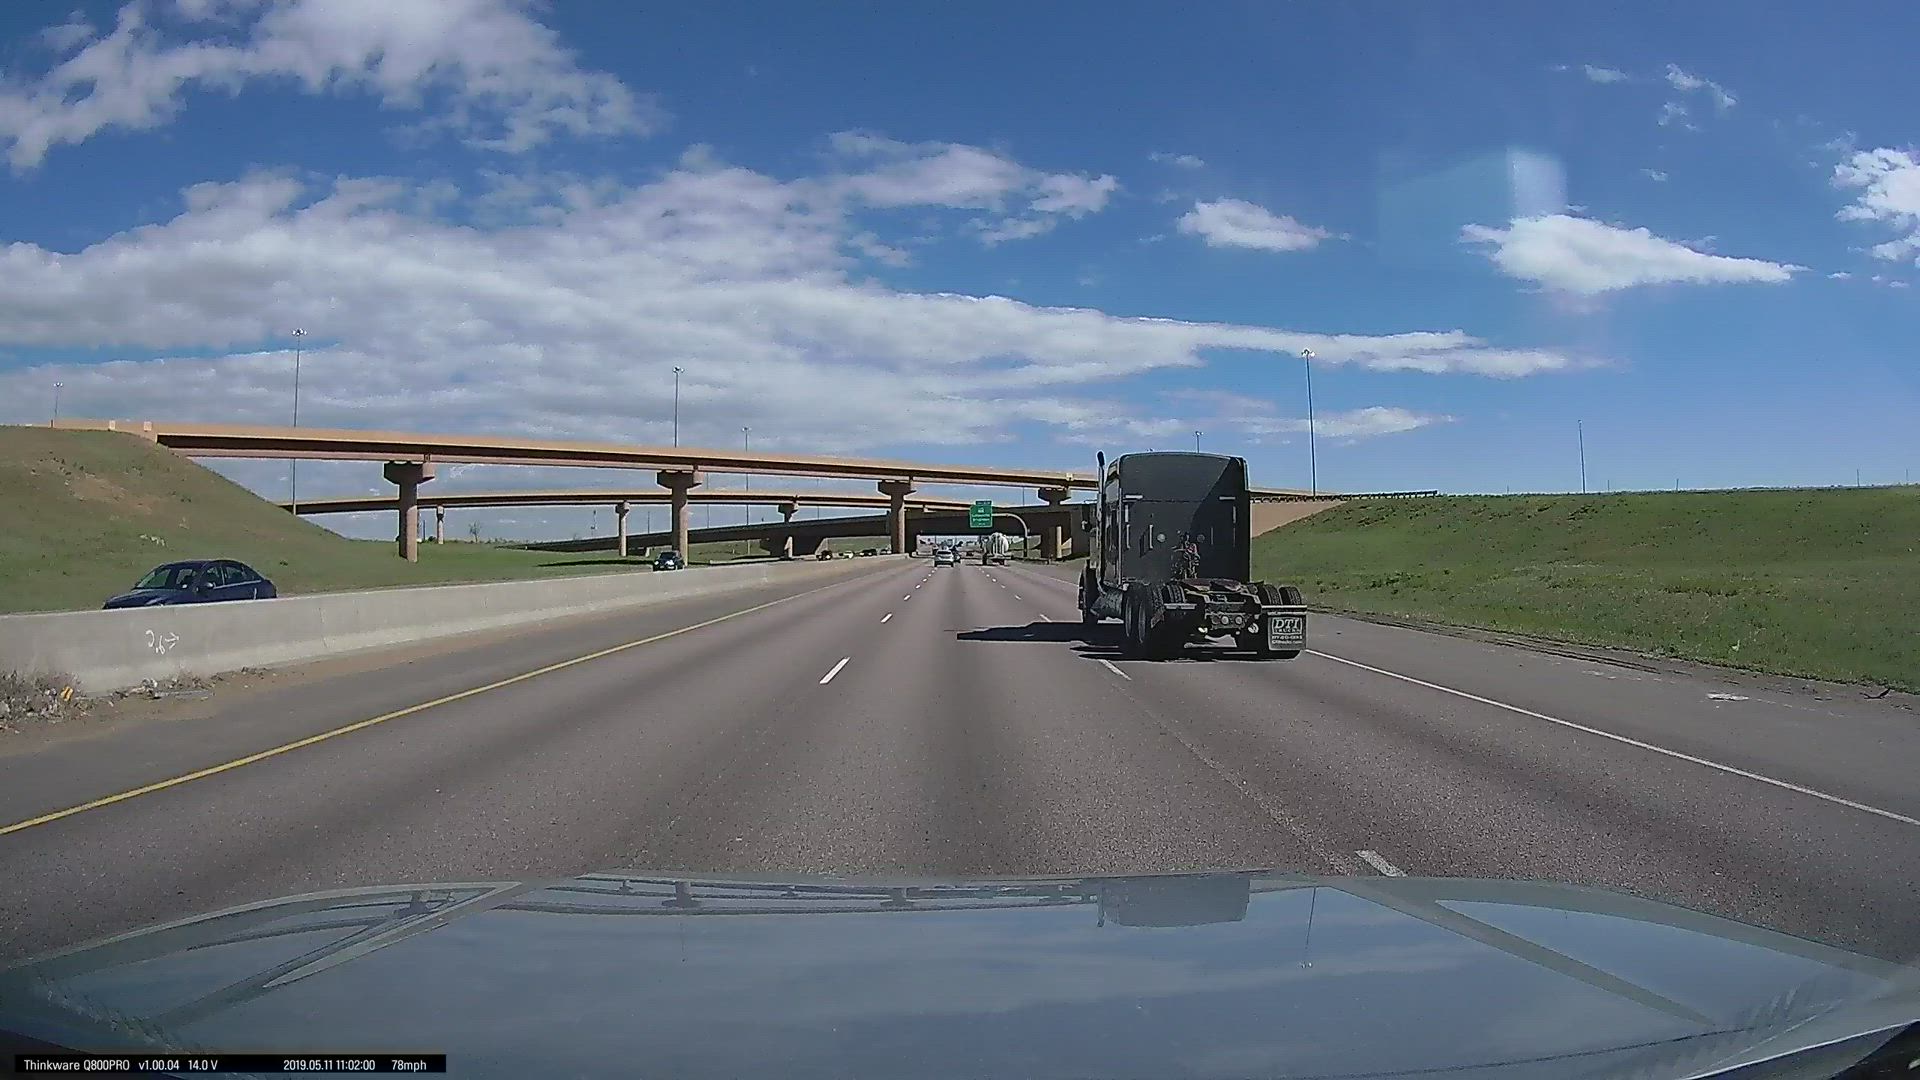
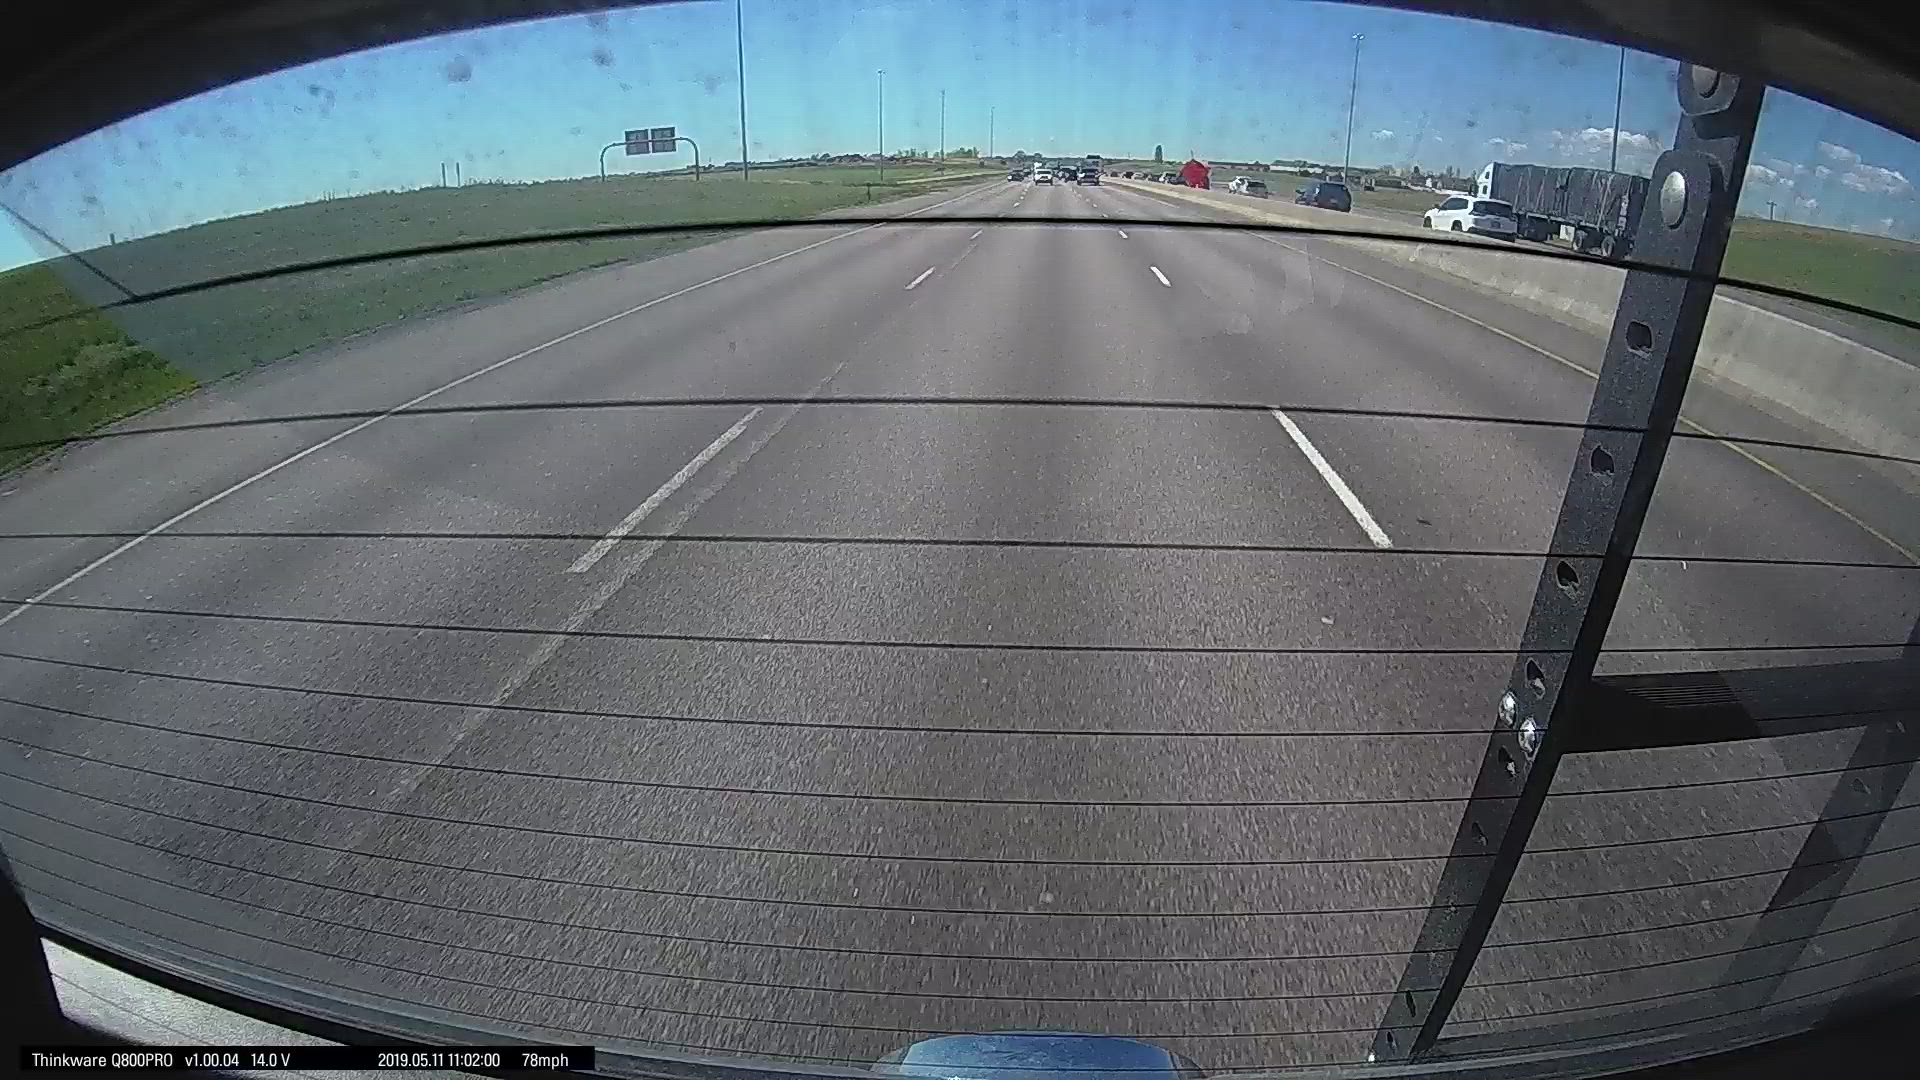
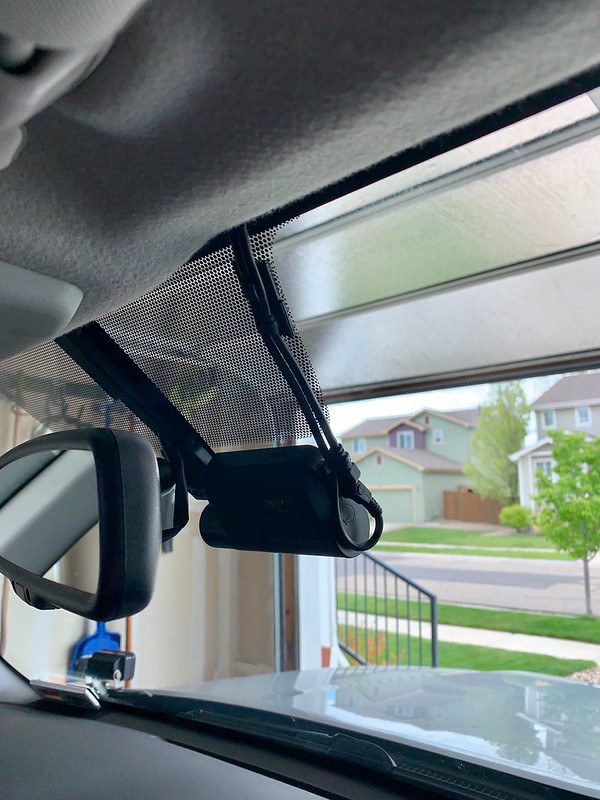
Thinkware Q800-Pro 2 channel dash cam with a hardwire kit for parking mode. 1440p front cam and 1080 rear cam with more bells and whistles than are really needed.

40861575933_6a89f65d58_c.jpg


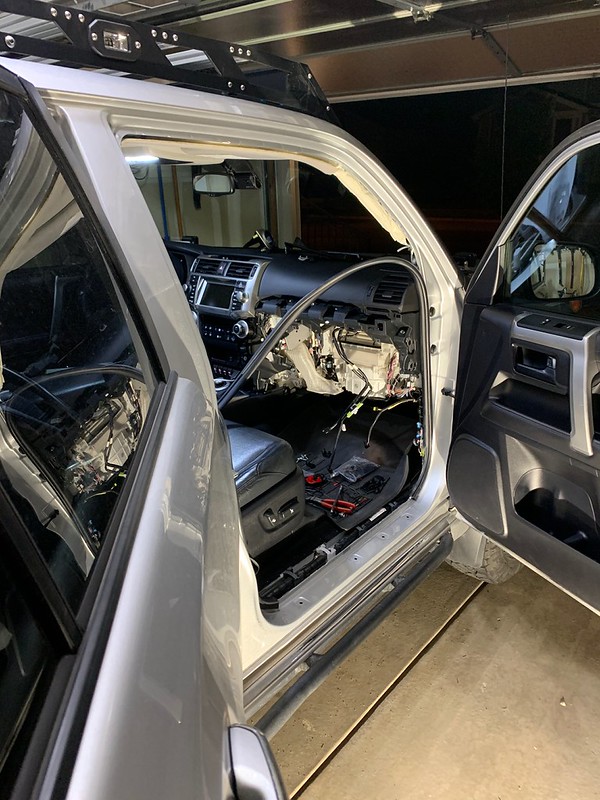
Making sure it’s a neat clean install, one thing often overlooked is to make sure cables are ran BEHIND the side curtain airbags, just poking the wire up under the edge of the headliner is not good enough.
40861576483_da8821c9ba_c.jpg


Front
40861576383_867f86ec1a_c.jpg


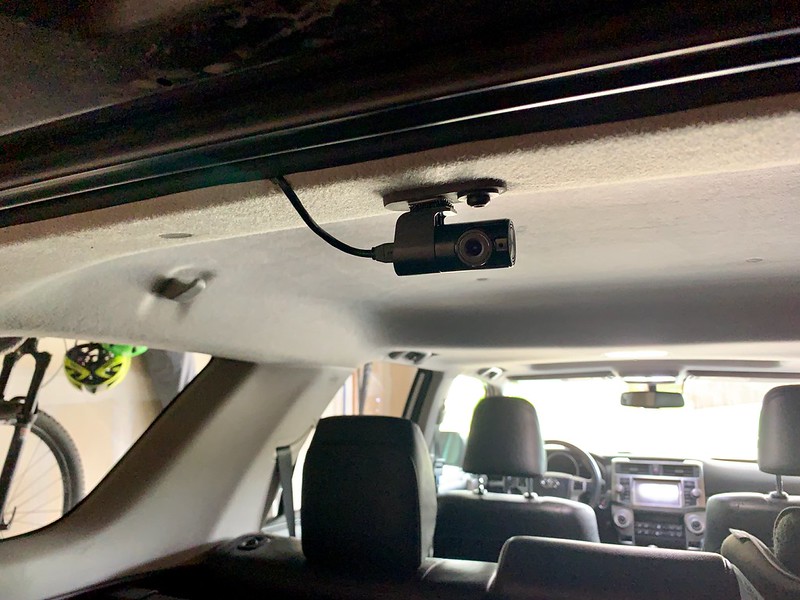
Rear with a custom mount I made.
47038488894_f09f356567_c.jpg
 
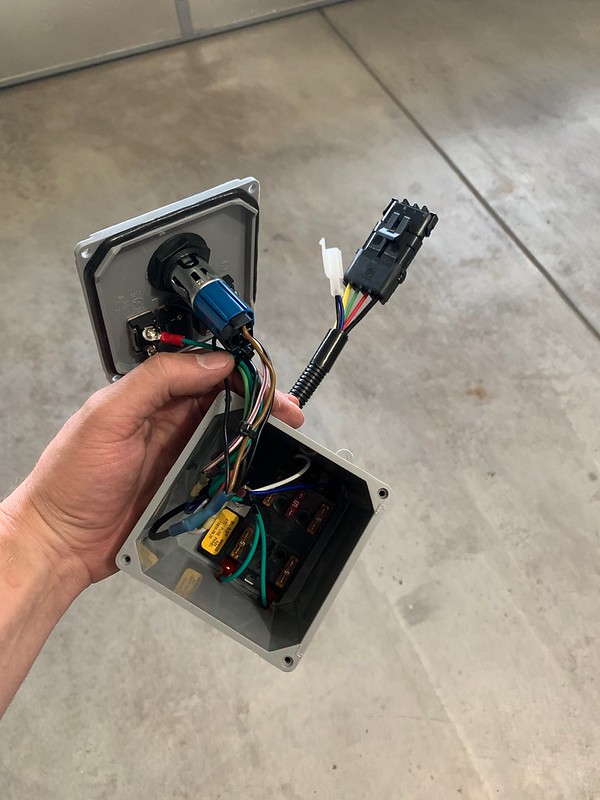
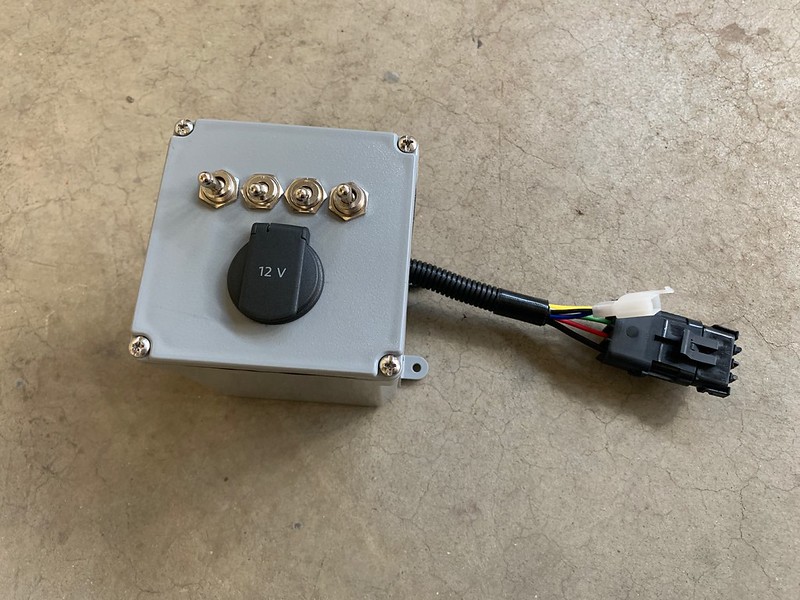
Yesterday I built the rooftop tent box. I still have to make the harnesses to connect it to the truck though. I changed up my plan a little bit. The circuit up to the roof rack is built to handle 35 amps. I’m going to use the drivers side camping light circuit as the power and ground for the whole box. Power goes in, it’s split by into 5 circuits with a small fuse block. The switches laid out left to right is left side camping lights, red tent interior lights, white tent interior lights, then right side camping lights, plus an always hot 12v power outlet.

40892507173_5bc722dedf_c.jpg


40892507223_9165e7de99_c.jpg
 
[MENTION=196768]Agent_Outside[/MENTION] that box is pretty cool. I was thinking about doing something similar for camping lights as well. are you planning to install double relays so nothing happens if you somehow flip that in tent switch as well as your dash switch?
 
[MENTION=196768]Agent_Outside[/MENTION] that box is pretty cool. I was thinking about doing something similar for camping lights as well. are you planning to install double relays so nothing happens if you somehow flip that in tent switch as well as your dash switch?

I want to make it as simple as possible so you have to switch both switches.

I put connectors at the front of the roof rack on both sides, without the tent box hooked up the dash switch’s control the lights. I can disconnect that connector and plug in my tent box in series. So at that point with the dash switch on power will go to the tent box, and then the tent switch will power up the lights. With the box installed both switches have to be on to have light, with the box removed the dash switches alone control the lights.
 

Members online

No members online now.

Forum statistics

Threads
278,315
Messages
3,554,104
Members
248,016
Latest member
Advally Service

Trending content

Back
Top