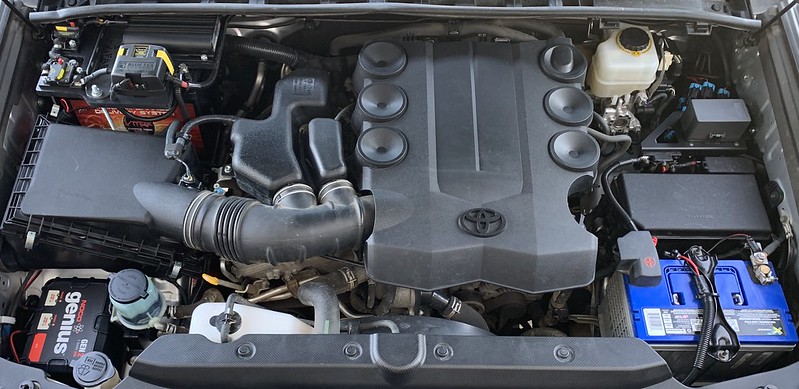
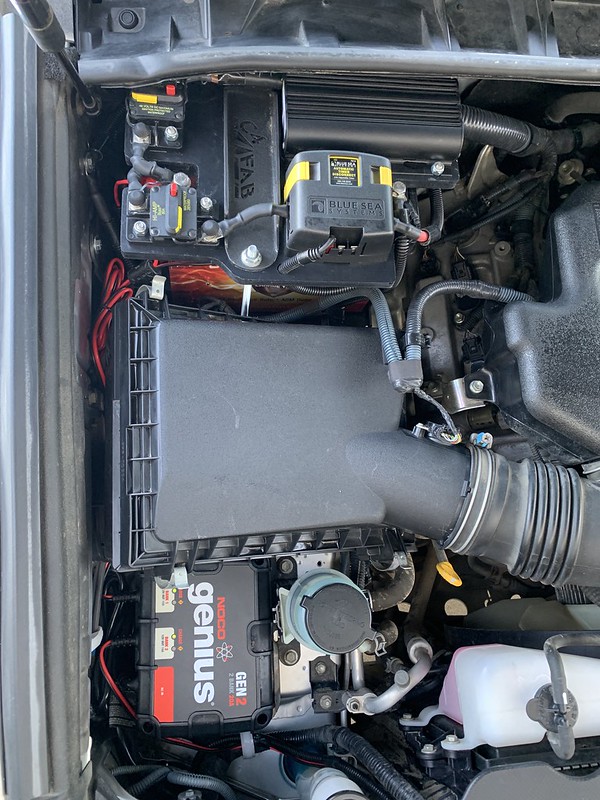
There's a power wire from the positive terminal of the X2 Power (rebranded Northstar for Batteries Plus) BCI Group 24F 76ah AGM dual purpose deep cycle starter battery to a Blue Sea 40 amp circuit breaker. From the circuit breaker, the power wire runs to the red battery input on the RedArc DC-DC 12 volt 25 amp dual input (DC and solar) charger. The brown power output wire on the RedArc goes to a BlueSea 40 amp circuit breaker. From the circuit breaker, a power wire goes to the positive terminal of the Vmax Tanks BCI Group 24 SLR85 85ah deep cycle accessory battery. A power wire from the accessory battery goes to a BlueSea 80 amp circuit breaker. From the circuit breaker, a power wire runs to a BlueSea low voltage disconnect. From the low voltage disconnect, a power wire runs to the positive terminal on the power distribution module. The power distribution module ground wire connects to the negative terminal of the starter battery. The accessory battery negative terminal has a cable to chassis ground and a wire to the ground the low voltage disconnect. The blue wire from the RedArc goes to an ignition on reference under the dash. The orange and green wires from the RedArc are not utilized in my application and are terminated and weather sealed. The yellow wire off the RedArc is capped and weather sealed, it will be used as the solar input at a later date.
It's all together and fully functional. Everything is weatherproofed and fully sealed and I performed a voltage drop on each connection to verify everything is good. All of the aftermarket lights and accessories are powered by the accessory battery with the lone exception of the interior switch panel backlighting. While I ran the ignition on reference wire to the interior I also ran 3 additional power wires from yet to be utilized power distribution module circuits, one will for sure be power for a fridge, I'm thinking another might be to add 2nd row ower outlets/USBs.
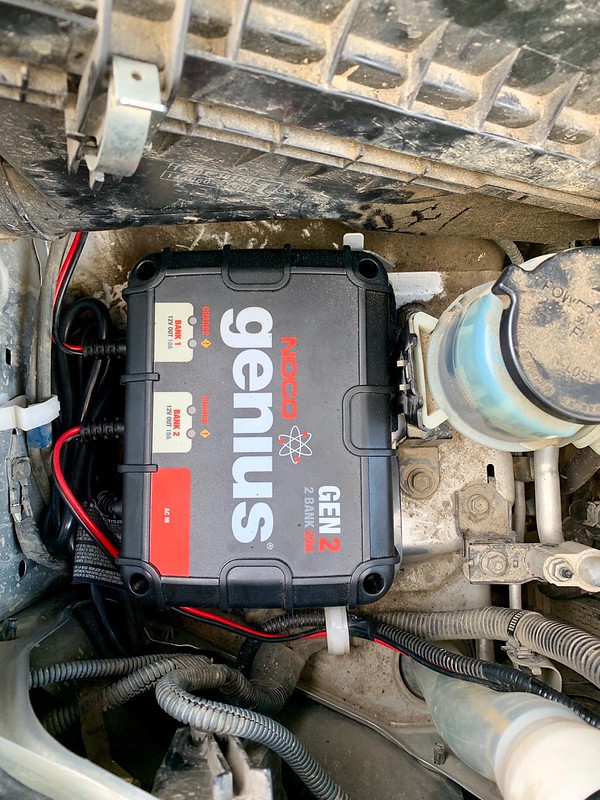
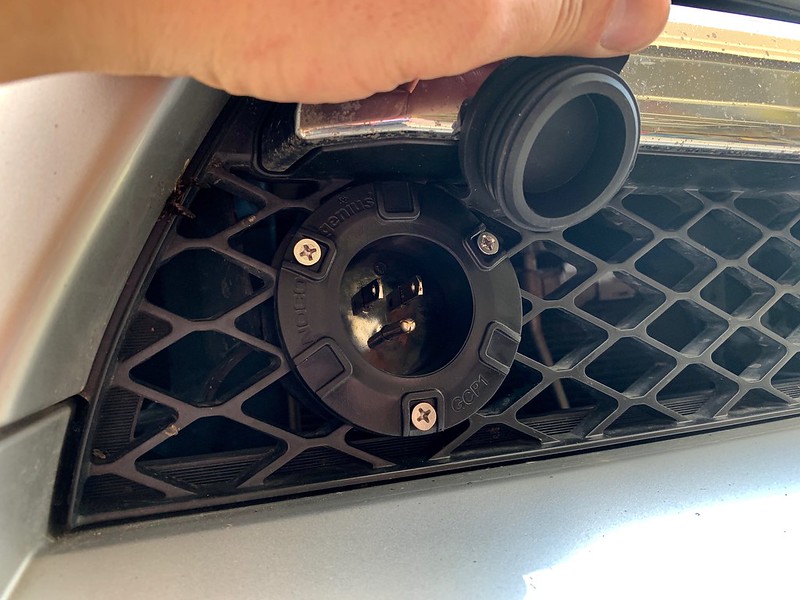
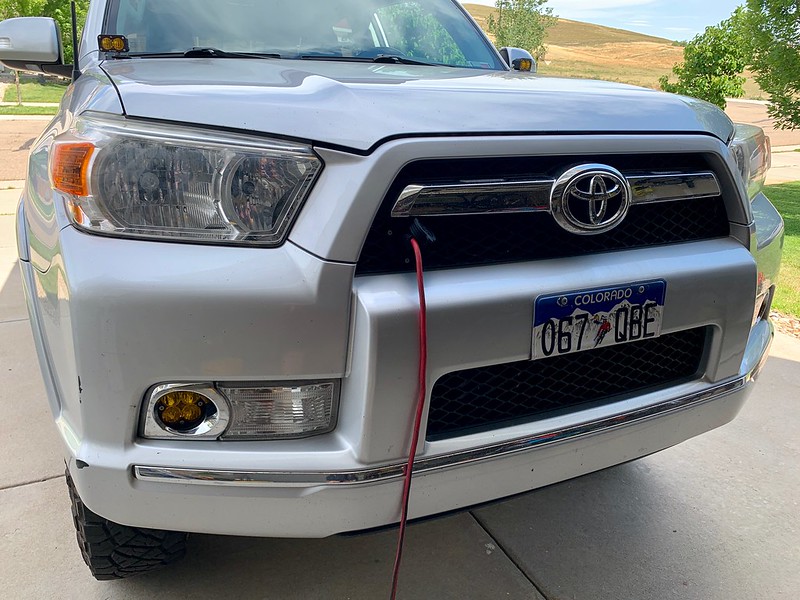
Today a Noco Genius Gen 2 dual bank 20 amp battery charger shows up. It's a waterproof onboard charger that connects to both of the batteries. When plugged into shore power (normal house AC outlet) it will charge and maintain each battery individually while supplying up to 10amps per battery. I can ensure the batteries are topped up before leaving, and if we're at a campground or something with an electrical hookup we can run everything off an AC plug.
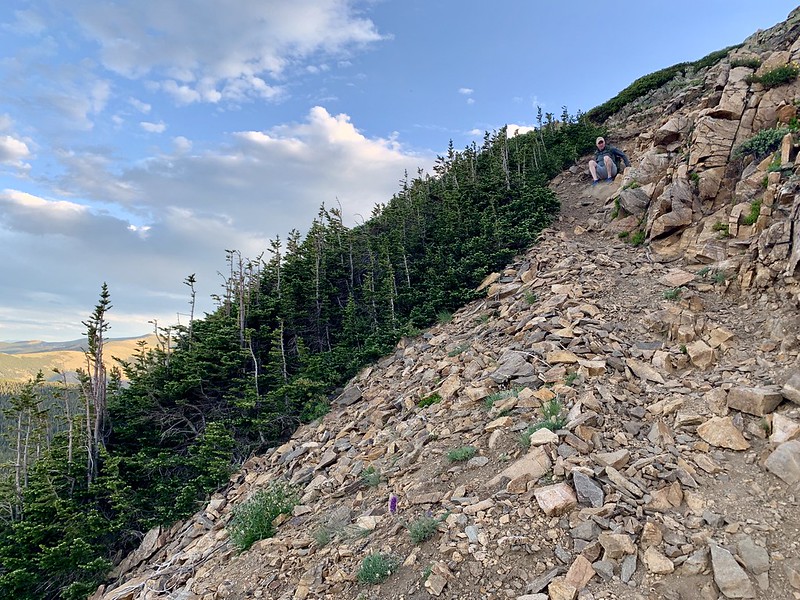
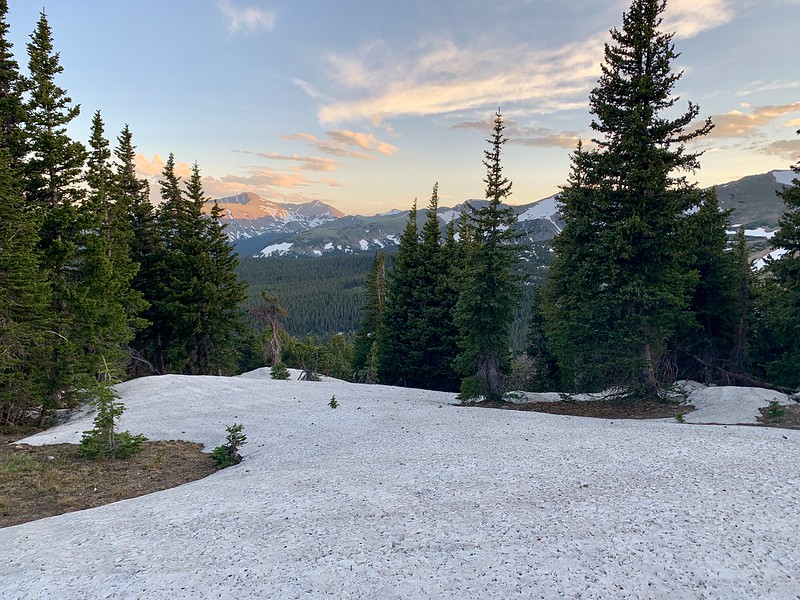
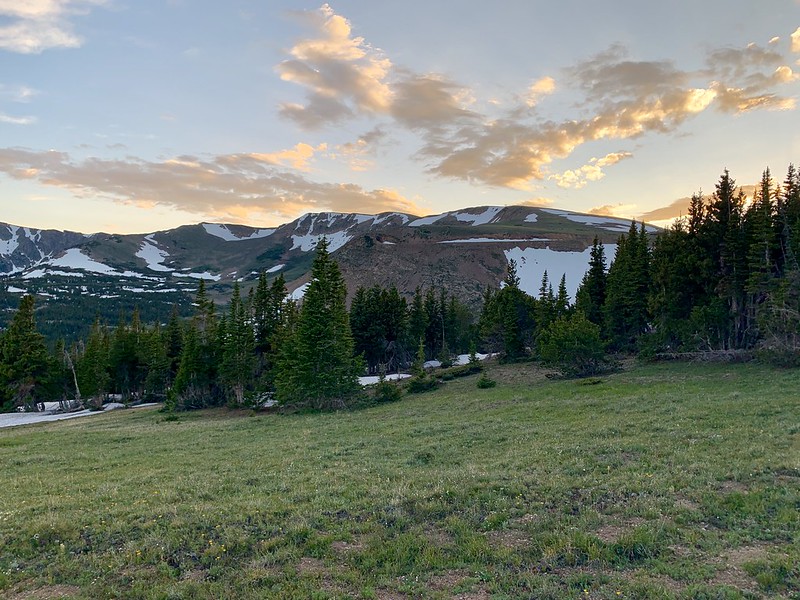
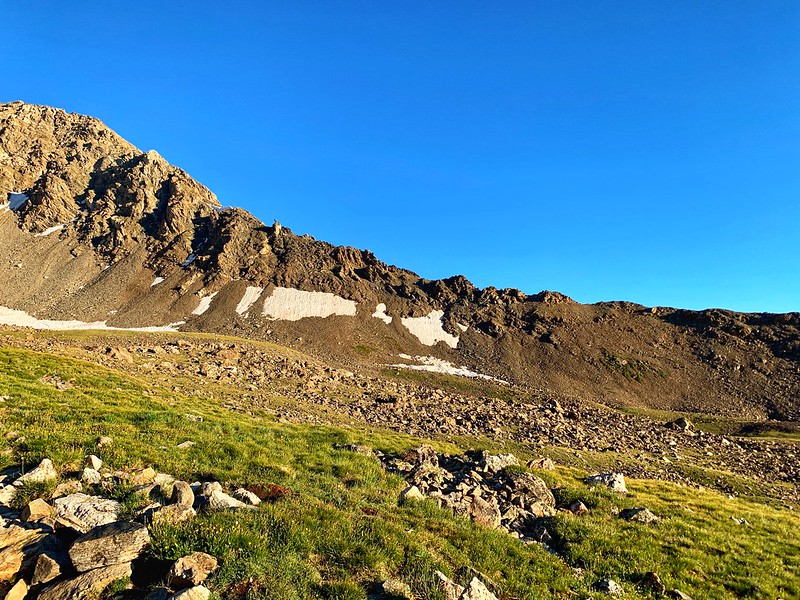
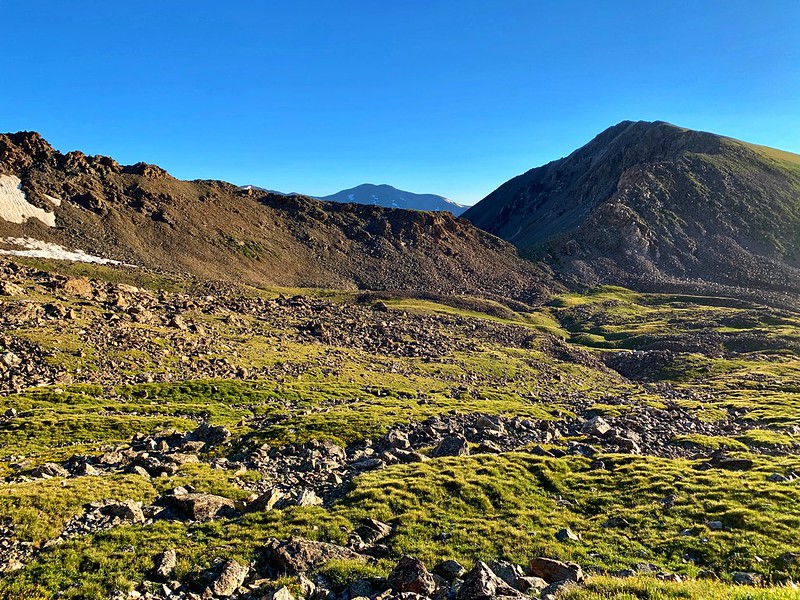
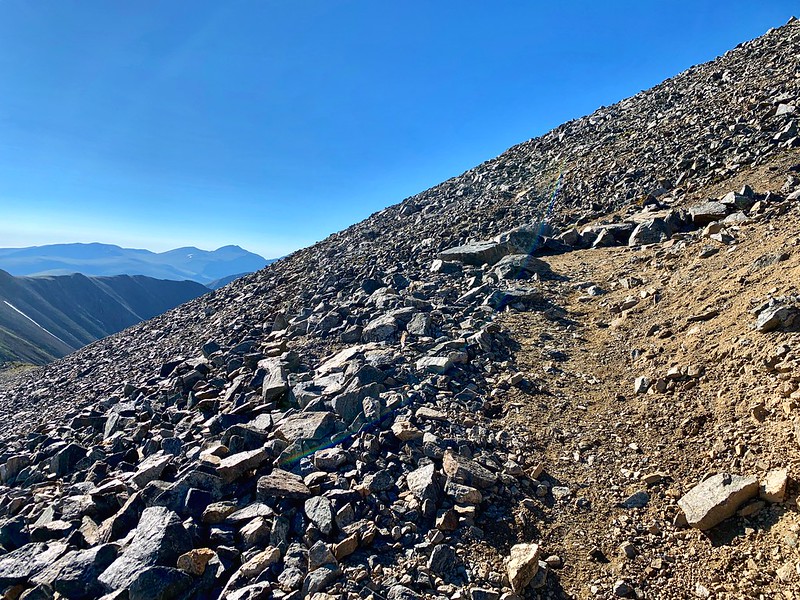
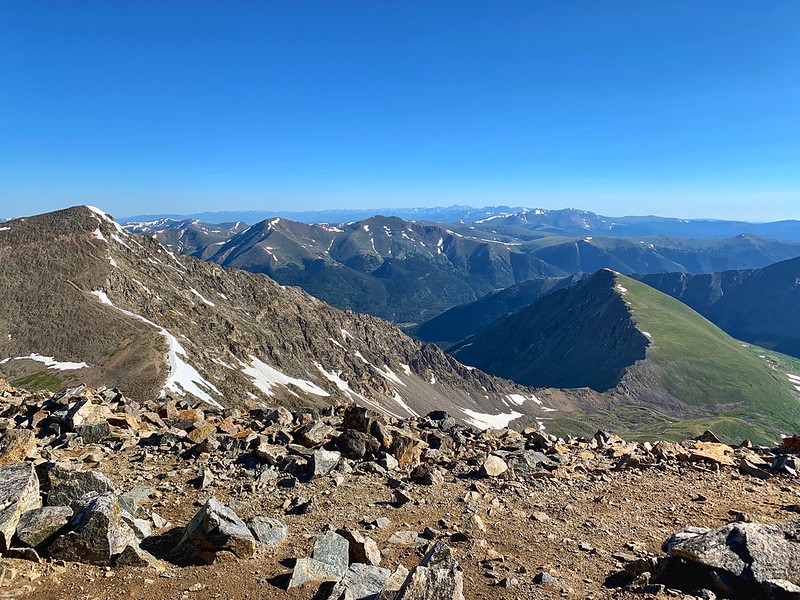
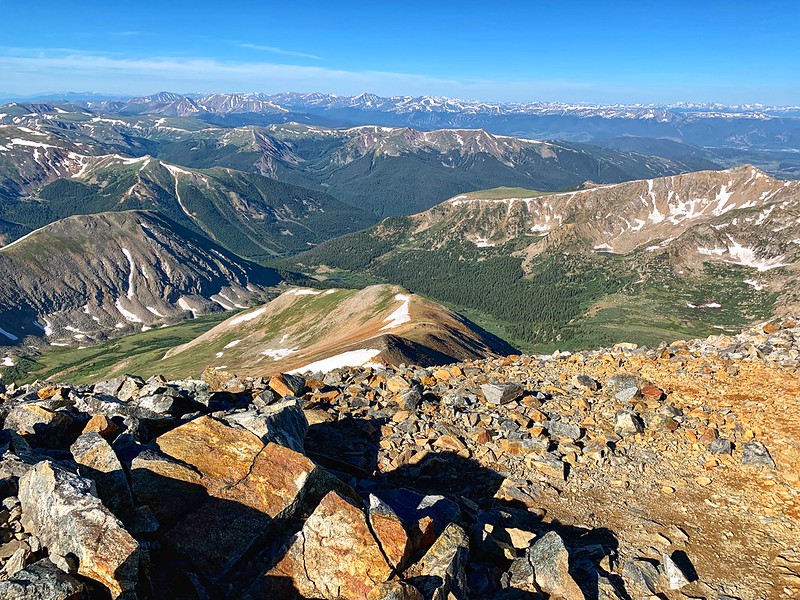
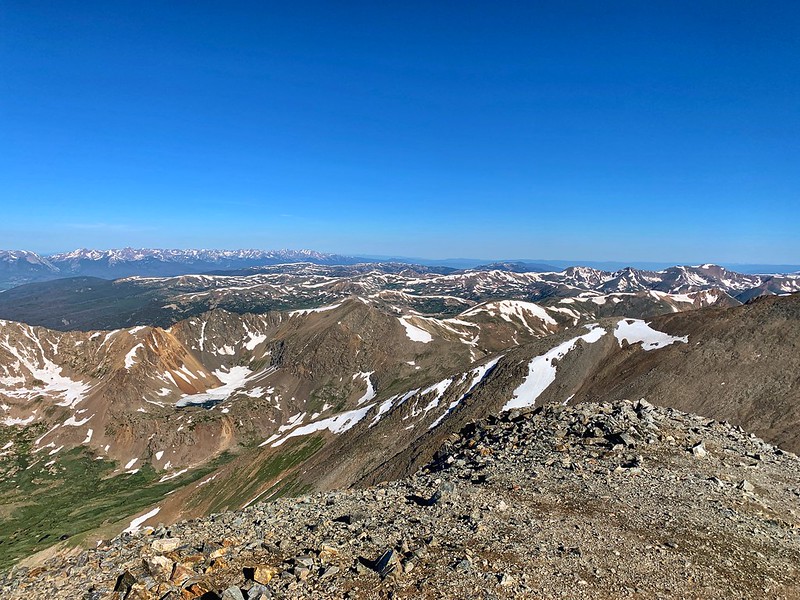
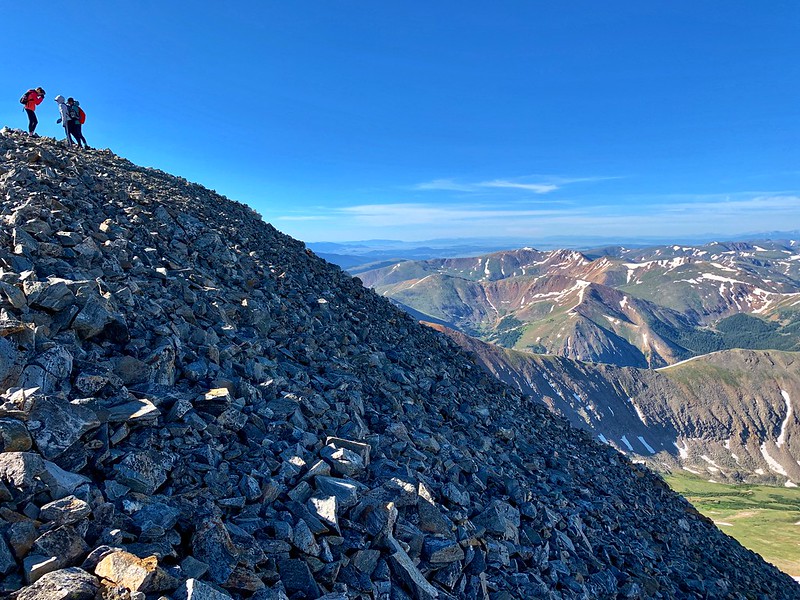
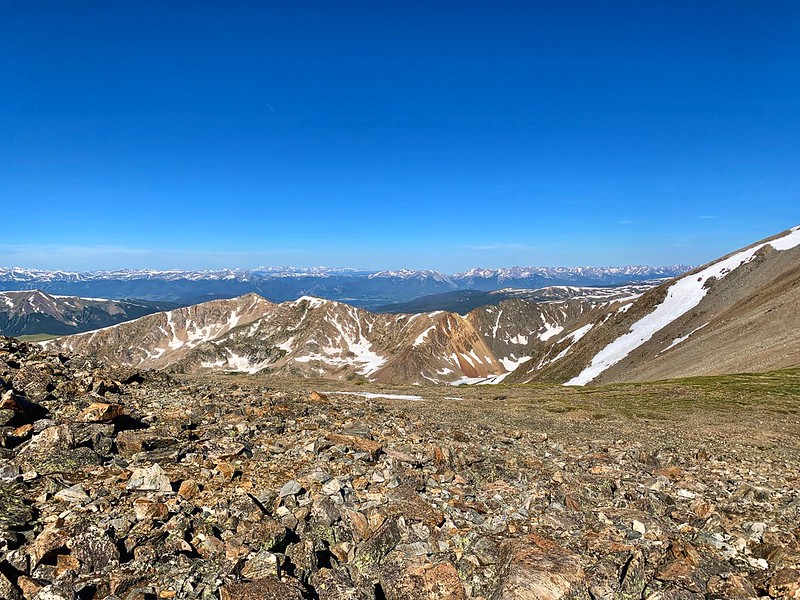
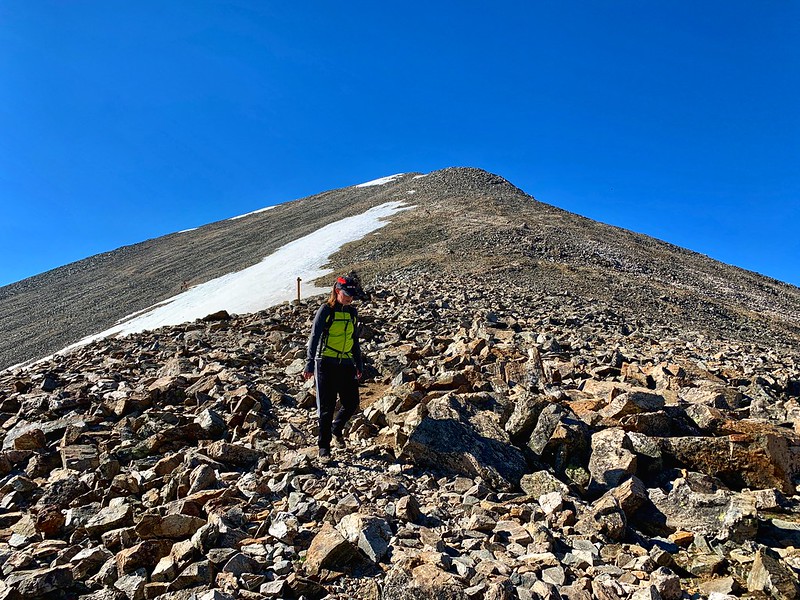
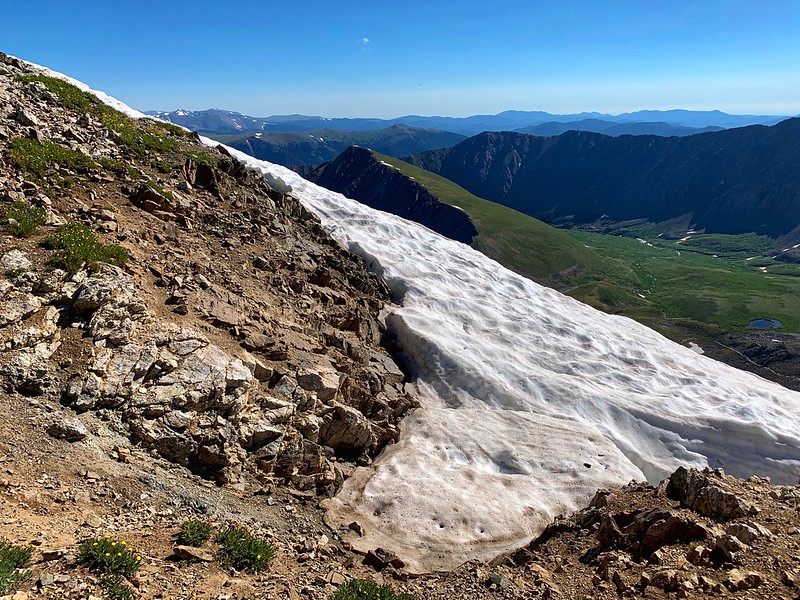
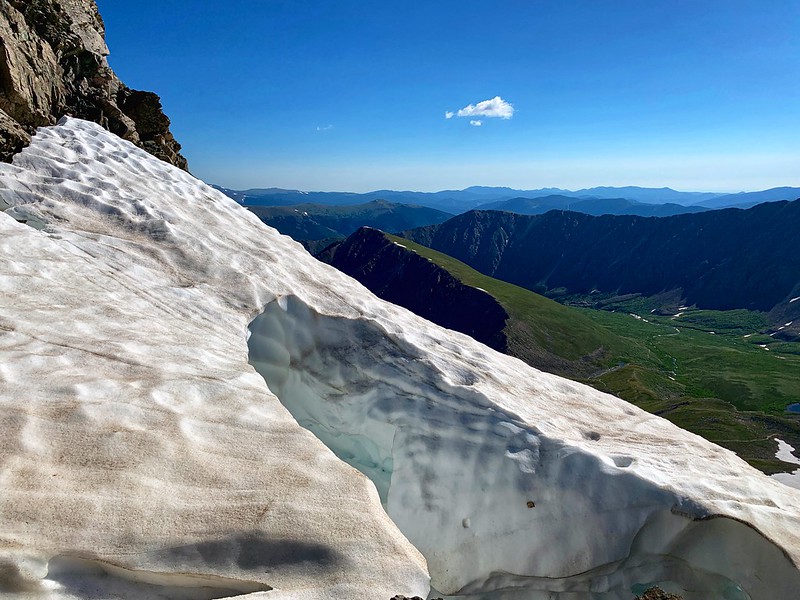
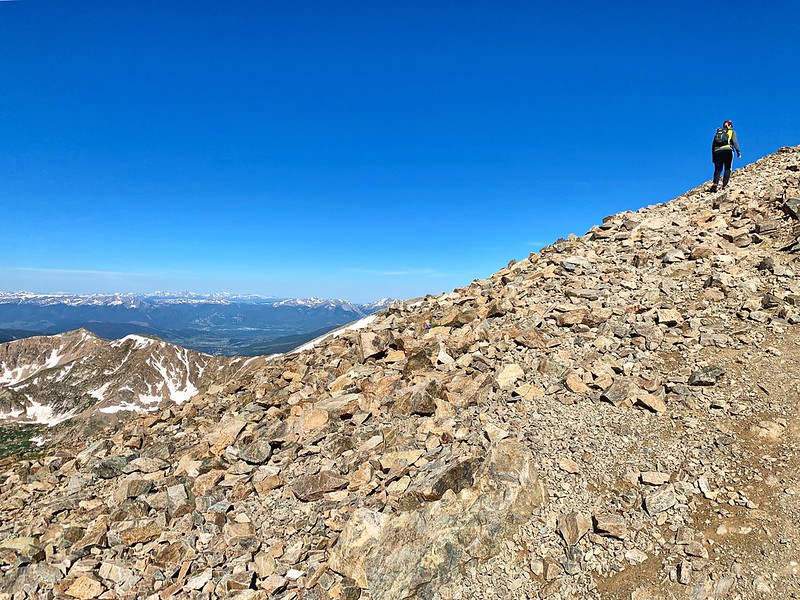
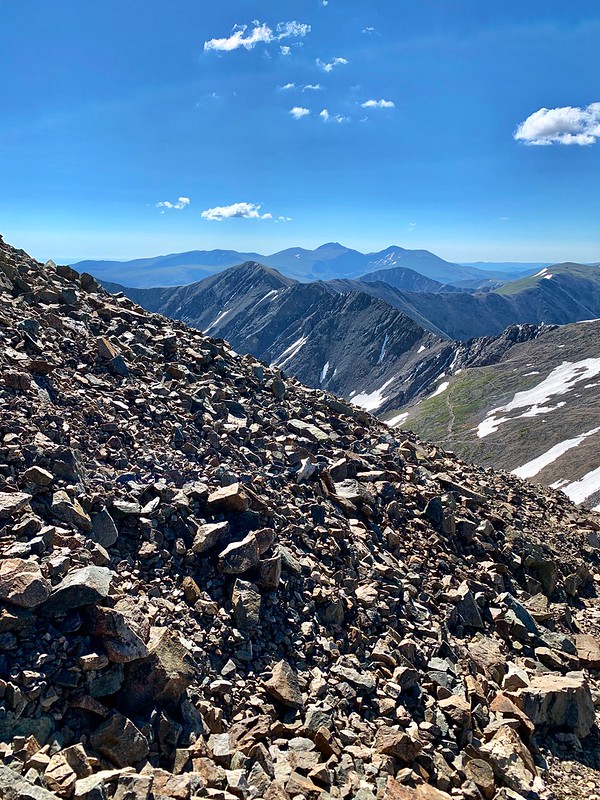
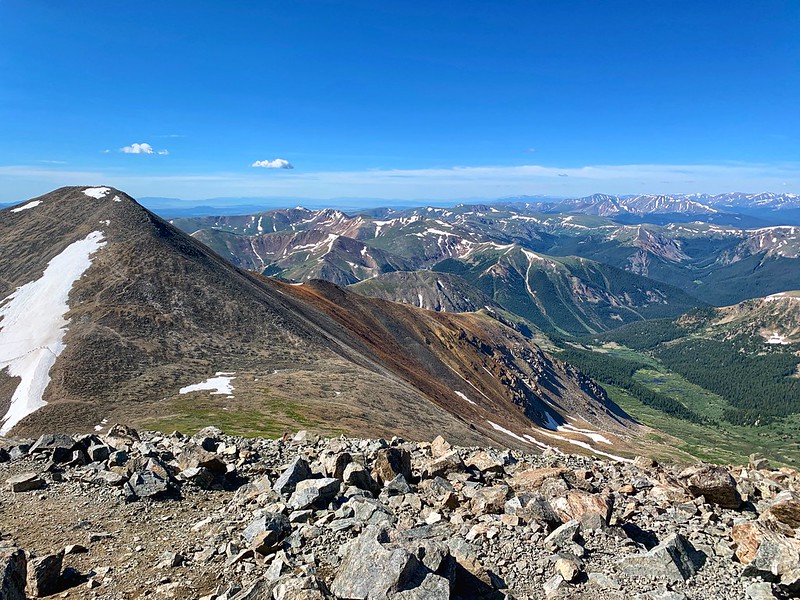
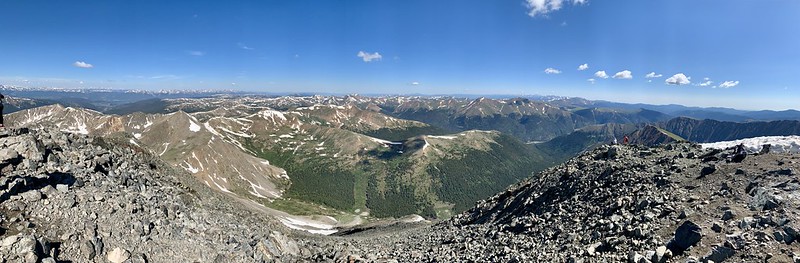
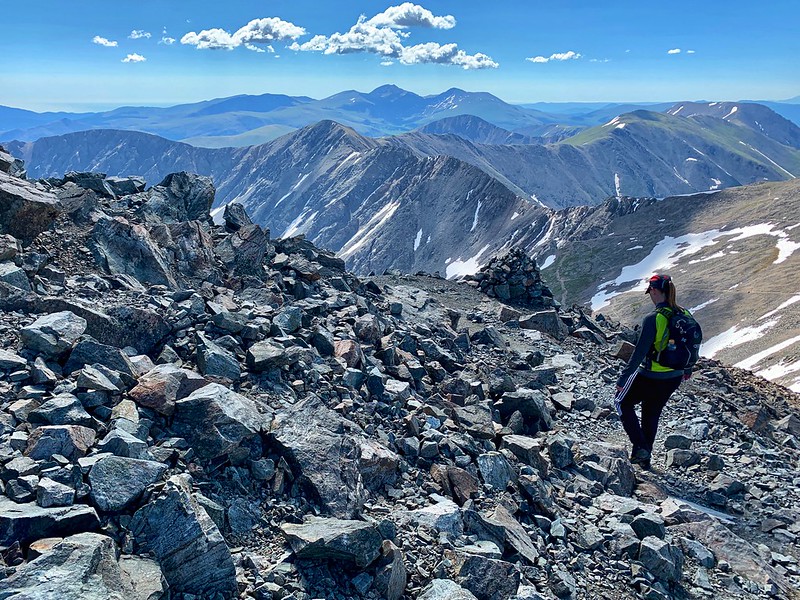
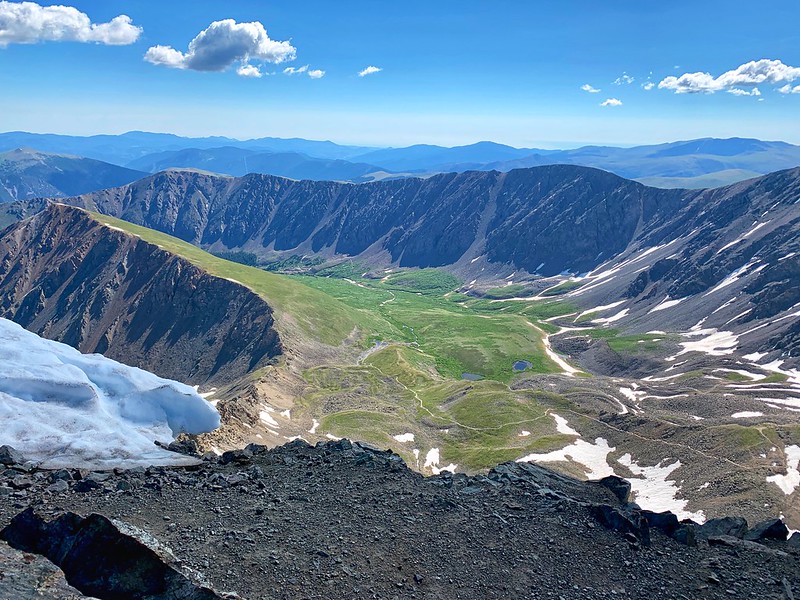
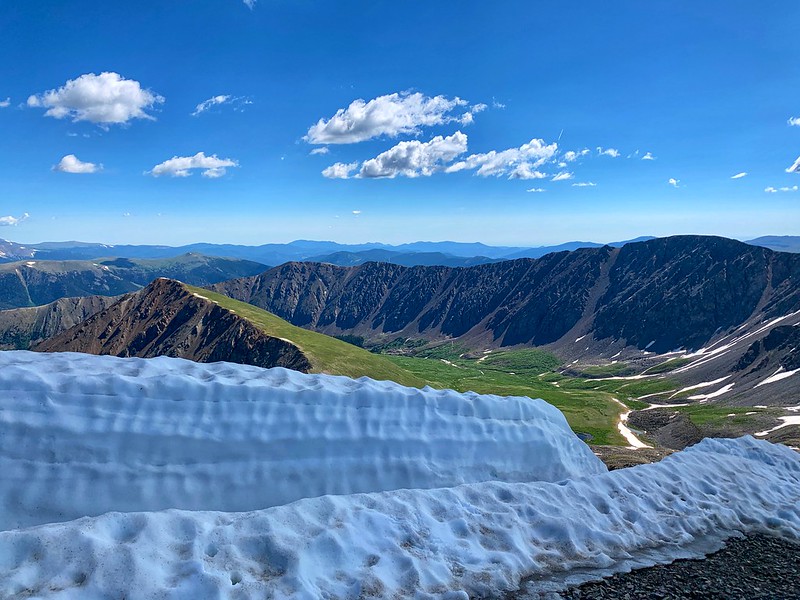
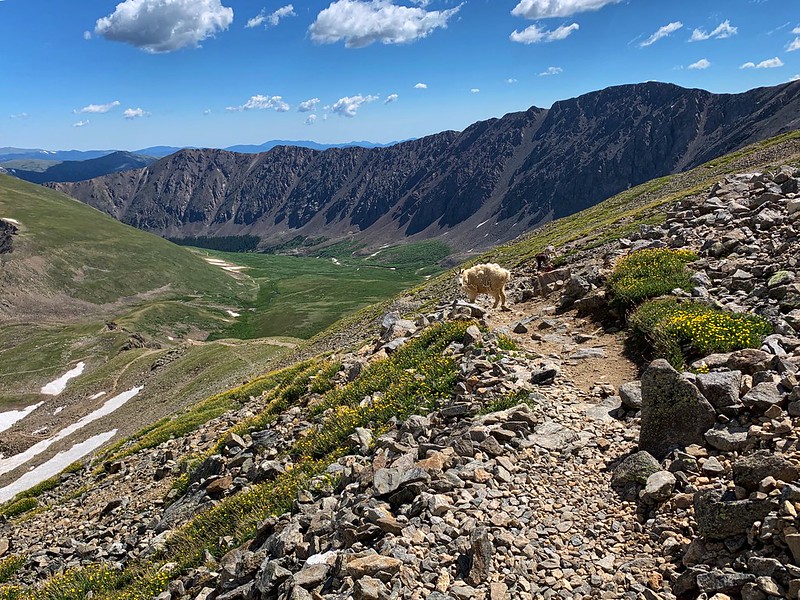
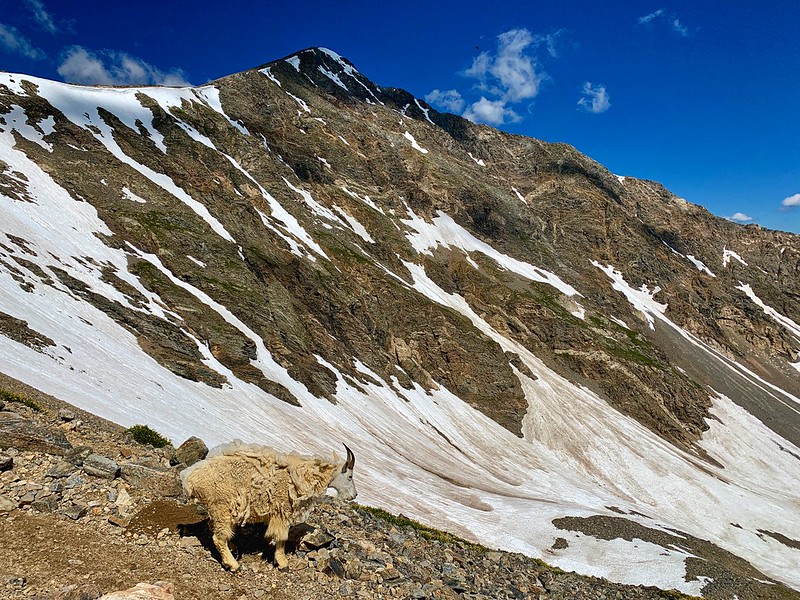
I’ve been meaning to get these pics up for a couple weeks. My wife took a day off of work so we could get out on a week day for a big hike. From the truck up to the first peak (14,270 feet) across the saddle over to a second peak (14,270 feet) and back down to the truck was a little over 9 miles with 4,000 feet of elevation gain.
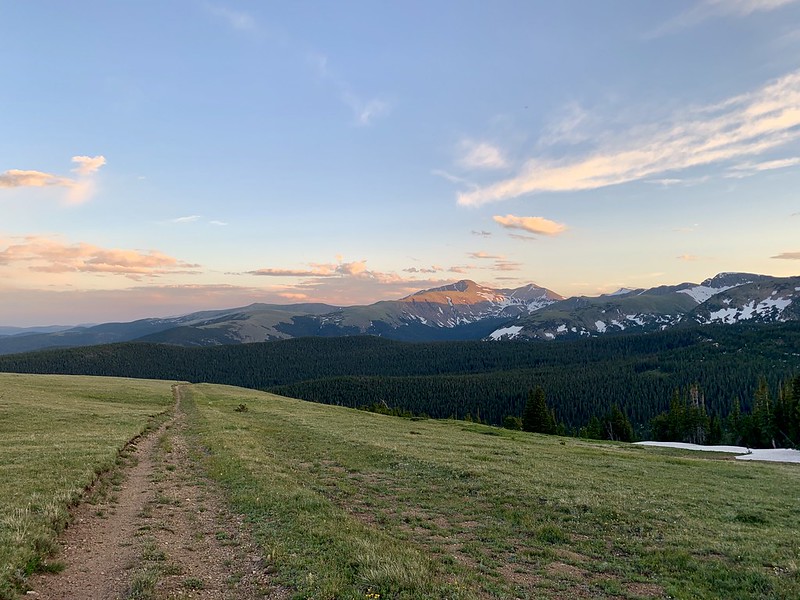
We started early, the sun just up enough to hit that peak.
The morning sun peaking out over the mountains.
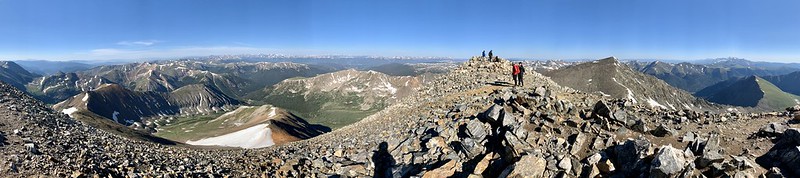
That’s our goal right there dead center. Don’t mind the weird iphone panoramic sky stripes lol
looks really cool! what part of Colorado is that in?? Ive only been to the gunnison area in the mountains for hunting but I have never seen a place that looked that nice.
looks really cool! what part of Colorado is that in?? Ive only been to the gunnison area in the mountains for hunting but I have never seen a place that looked that nice.
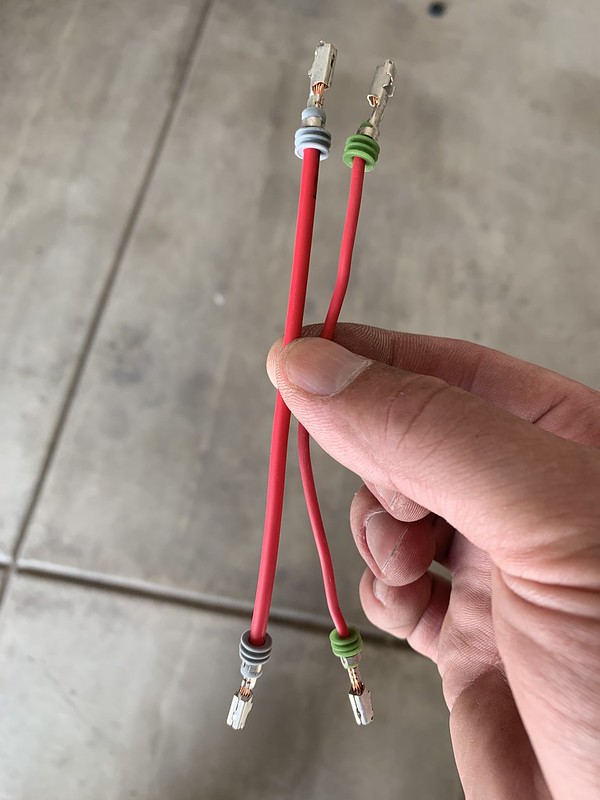
I decided to beef up the wiring for the circuit that will power the fridge, this is from the fuse in power distribution module to the plug and play connector for the circuit.
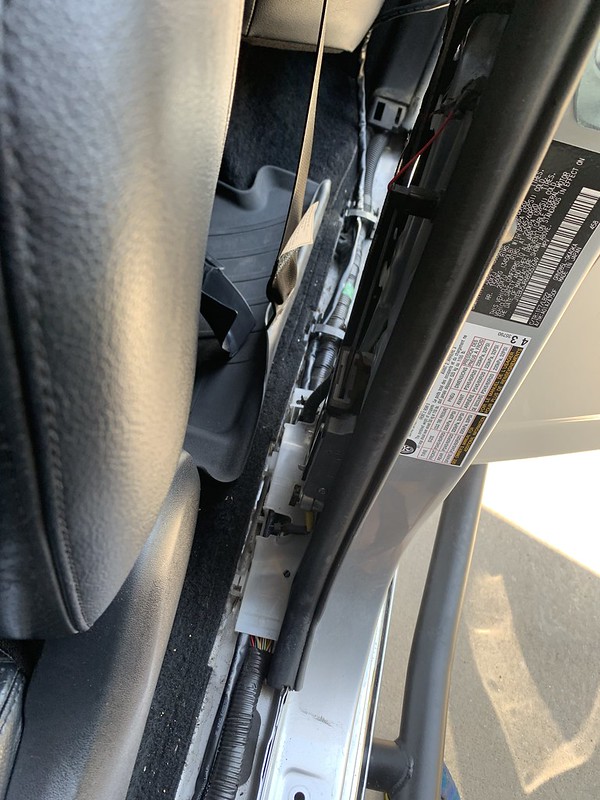
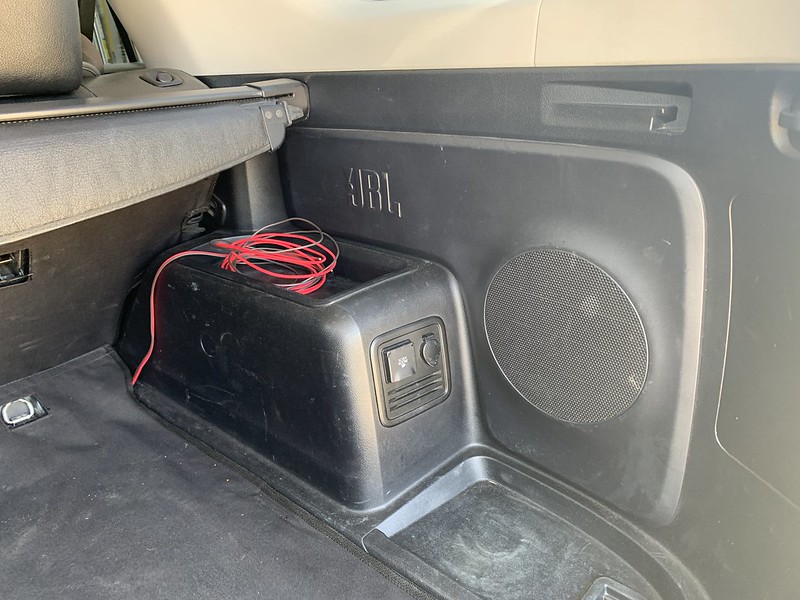
Running the wiring to the back.
Now to figure out how I want to wire it- hardwire it with a connector, or install a 12v power outlet, and either way where should I put it when I have the JBl system. I do want the fridge on that side because that’s the side with the child seat, meaning we never fold that side seat down flat.
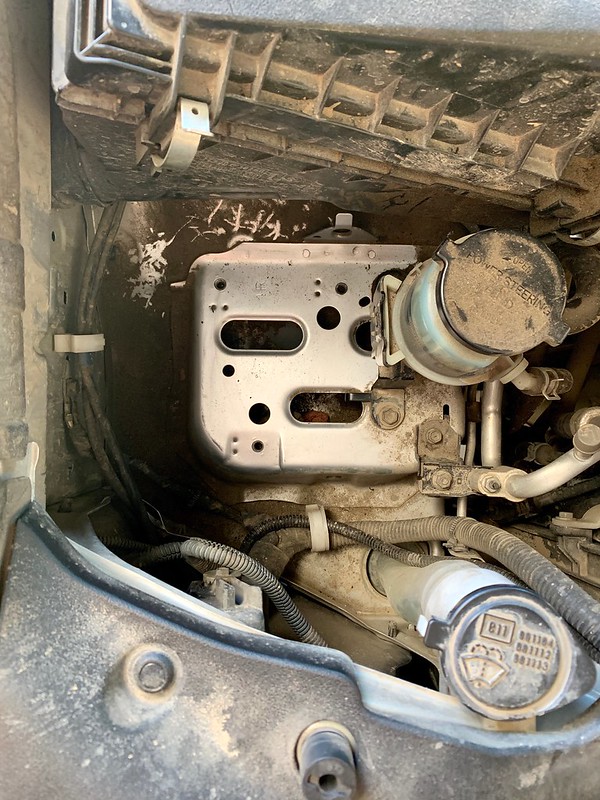
And since I was working in the engine bay for the first time ever I cleaned the engine bay a bit. Just sprayed it down with foamy engine cleaner and then rinsed it with water.



 Click pic for video
 Click pic for video