Alternator Brush kit, IC regulator, Diode Removal

nissanh

Senior Member
Alternator Brush kit, IC regulator, Rectifier Removal

Disconnect the battery ground

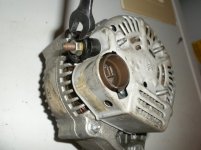
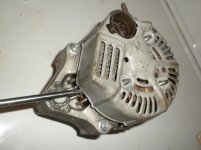
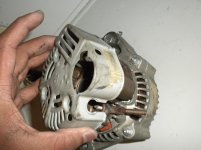
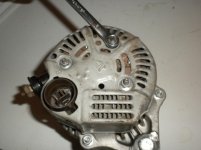
Take the alternator off the engine

Remove the back cover with 8 mm spanner

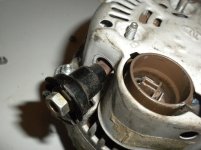
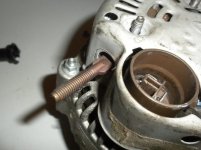
Remove the constant 12 V terminal nut and the plastic insulator.

Pull the back cover off

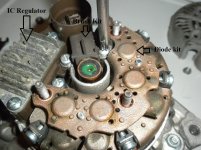
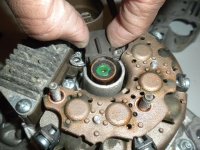
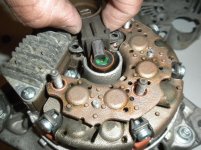
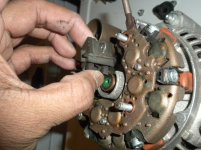
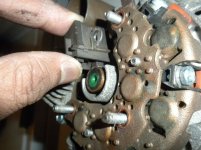
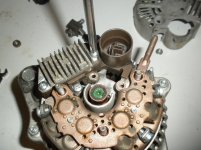
Remove the two bolts holding the brush kit. (use a magnetized Phillips screw driver to avoid the bots falling into the alternator)

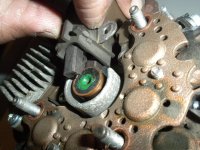
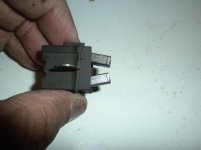
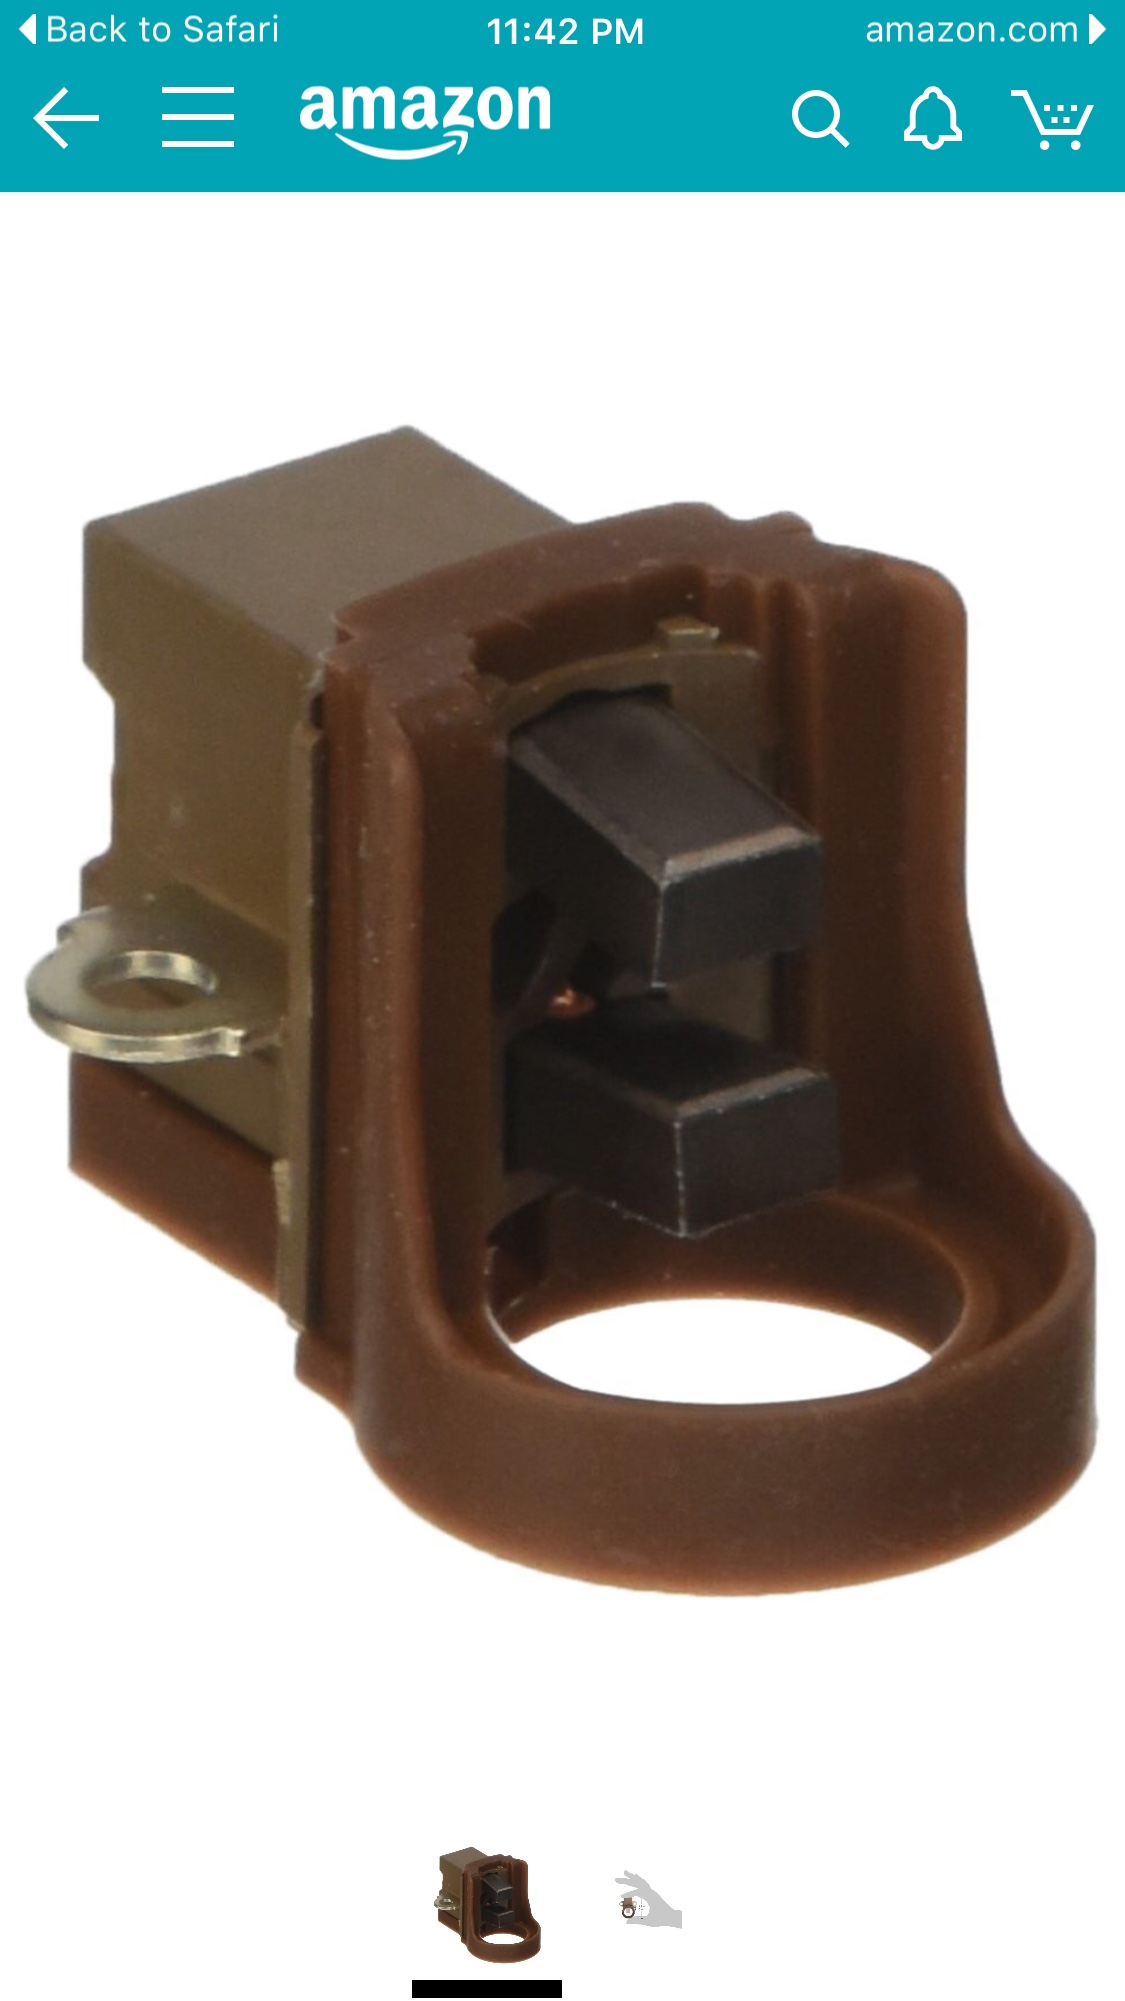
The brush kit in the picture is good. The brushes will extend as you take it off from the alternator. Bad brush will extend about 1/4 inches or less.

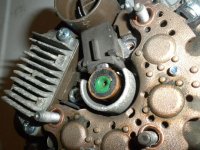
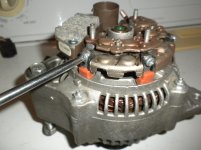
If you overload the alternator the diodes (rectifier) will go bad, and to remove rectifier assembly remove the 4 bolts to the side. Be careful not to break any wire attachments attached to the assembly bolts.

To remove the IC regulator remove the bolts around it.

These bolts come in different lengths, so remember their locations.

To put back the brush kit into the alternator, you have to press the brushes into its holder...
 

Attachments
  • DSCN3264.jpg
    DSCN3264.jpg
    71.5 KB · Views: 9,301
  • DSCN3266.jpg
    DSCN3266.jpg
    82.7 KB · Views: 7,419
  • DSCN3267.jpg
    DSCN3267.jpg
    92.5 KB · Views: 6,386
  • DSCN3268.jpg
    DSCN3268.jpg
    90.8 KB · Views: 6,724
  • DSCN3269.jpg
    DSCN3269.jpg
    74.8 KB · Views: 6,958
  • DSCN3272.jpg
    DSCN3272.jpg
    137 KB · Views: 17,123
  • DSCN3274.jpg
    DSCN3274.jpg
    138.2 KB · Views: 6,563
  • DSCN3275.jpg
    DSCN3275.jpg
    137.7 KB · Views: 13,256
Last edited:
Register to hide this ad
Continued..
 

Attachments

  • DSCN3276.jpg
    DSCN3276.jpg
    132.9 KB · Views: 6,138
  • DSCN3278.jpg
    DSCN3278.jpg
    53.4 KB · Views: 5,979
  • DSCN3282.jpg
    DSCN3282.jpg
    133.1 KB · Views: 8,321
  • DSCN3284.jpg
    DSCN3284.jpg
    134.3 KB · Views: 6,260
  • DSCN3286.jpg
    DSCN3286.jpg
    137.5 KB · Views: 6,734
  • DSCN3291.jpg
    DSCN3291.jpg
    85.3 KB · Views: 6,186
Removal of IC regulator and the diode kit
 

Attachments

  • DSCN3287.jpg
    DSCN3287.jpg
    132.4 KB · Views: 6,151
  • DSCN3289.jpg
    DSCN3289.jpg
    85.2 KB · Views: 6,203
This is interesting. BTW what are you trying to solve / why do this?

Also are there certain part numbers you replaced? What are they?

Perhaps some clarification in first post .
 
I would assume worn out brushes and the like; I've had EXACTLY this problem occur with other alternators in other vehicles I've owned, so while I don't know that I'll have this problem, if I DO, I'd rather replace parts.
 
This is interesting. BTW what are you trying to solve / why do this?

Also are there certain part numbers you replaced? What are they?

Perhaps some clarification in first post .

I did this because a member who had that charging light issue wanted to know whats inside and how to replace things in the alternator.
Thanks
 
I guess my questions are:

Is it is possible to fix an alternator this way? If yes then please post part #s so members can benefit and do the project.

If its not possible to fix the alternator doing this , you might want to edit/note that in the original post.

For example I am wondering how much it costs to do this mod. I recently bought a used alternator with 88k miles on it from scrapyard online parts store for about $65.00
 
I guess my questions are:

Is it is possible to fix an alternator this way? If yes then please post part #s so members can benefit and do the project.

If its not possible to fix the alternator doing this , you might want to edit/note that in the original post.

For example I am wondering how much it costs to do this mod. I recently bought a used alternator with 88k miles on it from scrapyard online parts store for about $65.00

Yes you can fix your alternator this way. You can buy parts online. Brush kit about $5, Rectifier $130 at camelbacktoyota

Don't rely on the mileage for a part you bought online. You GOT to see the truck with the mileage and the part still on the truck to make sure the part you want has that many miles.

I'll update the original post with part numbers if I find those. Currently looks and no luck so far.

The main reason why I did this is because many don't know how easy to fix an alternator and how much money one can save by doing this simple repair.
 
when I tried this procedure it worked fine, except my "Remove the constant 12 V terminal nut and the plastic boot" part. The gold screw (mine was completely rusted) broke at the nut. So I need to know the name of that part so I can replace it, and I can't find anything by searching, any help? Or can I just solder it together and have it work?
 
Using [MENTION=85046]nissanh[/MENTION] write-up and the FSM as guides, [MENTION=102606]infamousRNR[/MENTION] and I replaced the brushes on my alternator as preventative maintenance. A mountain biking friend of mine who is a long time mechanic told me he has seen many vehicles come in around the 150,000 mile mark having charging issues and quite often the culprit was worn brushes in the alternator. So, I decided it would be a good idea to replace mine before I had a charging problem, possibly in BFE and then get stuck.

So, without further ado, here's the video. Enjoy the show!

<iframe width="560" height="315" src="https://www.youtube.com/embed/71_kBhg6_-A" frameborder="0" allowfullscreen></iframe>
 
Using [MENTION=85046]nissanh[/MENTION] write-up and the FSM as guides, [MENTION=102606]infamousRNR[/MENTION] and I replaced the brushes on my alternator as preventative maintenance. A mountain biking friend of mine who is a long time mechanic told me he has seen many vehicles come in around the 150,000 mile mark having charging issues and quite often the culprit was worn brushes in the alternator. So, I decided it would be a good idea to replace mine before I had a charging problem, possibly in BFE and then get stuck.


So, without further ado, here's the video. Enjoy the show!


You should do the older Alt that doesn't use the all in one 27370-75060 brush kit also.

I'm about to roll up the sleeves and replace the brushes on the 97 when they get here Tuesday. Wish it was the kit like in your video rather than taking the holder assembly apart and installing the replacement brushes.

The reman CarQuest that came with the project 97 SR5 I ended up having to do the tap method to the alt to get it to charge. I also have a OEM Denso from our 97 limited that developed a really loud whine when under load. (Headlights on)


Sent from my iPhone using Tapatalk
 
This is interesting. BTW what are you trying to solve / why do this?

Also are there certain part numbers you replaced? What are they?

Perhaps some clarification in first post .

I replaced my brushes. Occasionally my battery light would come on. Turns out the original brushes were worn out. Plus it’s good to have a few in the tool box. Never know when you might need them on a trail.
 
dd7a2def7f0fef99cdd100a7a52284db.jpg


According to Toyota 27370-35060 is the complete assembly for my 97. And fits production dates 11/1995 to 7/1998 and is 15 dollars on the one Toyota parts site.

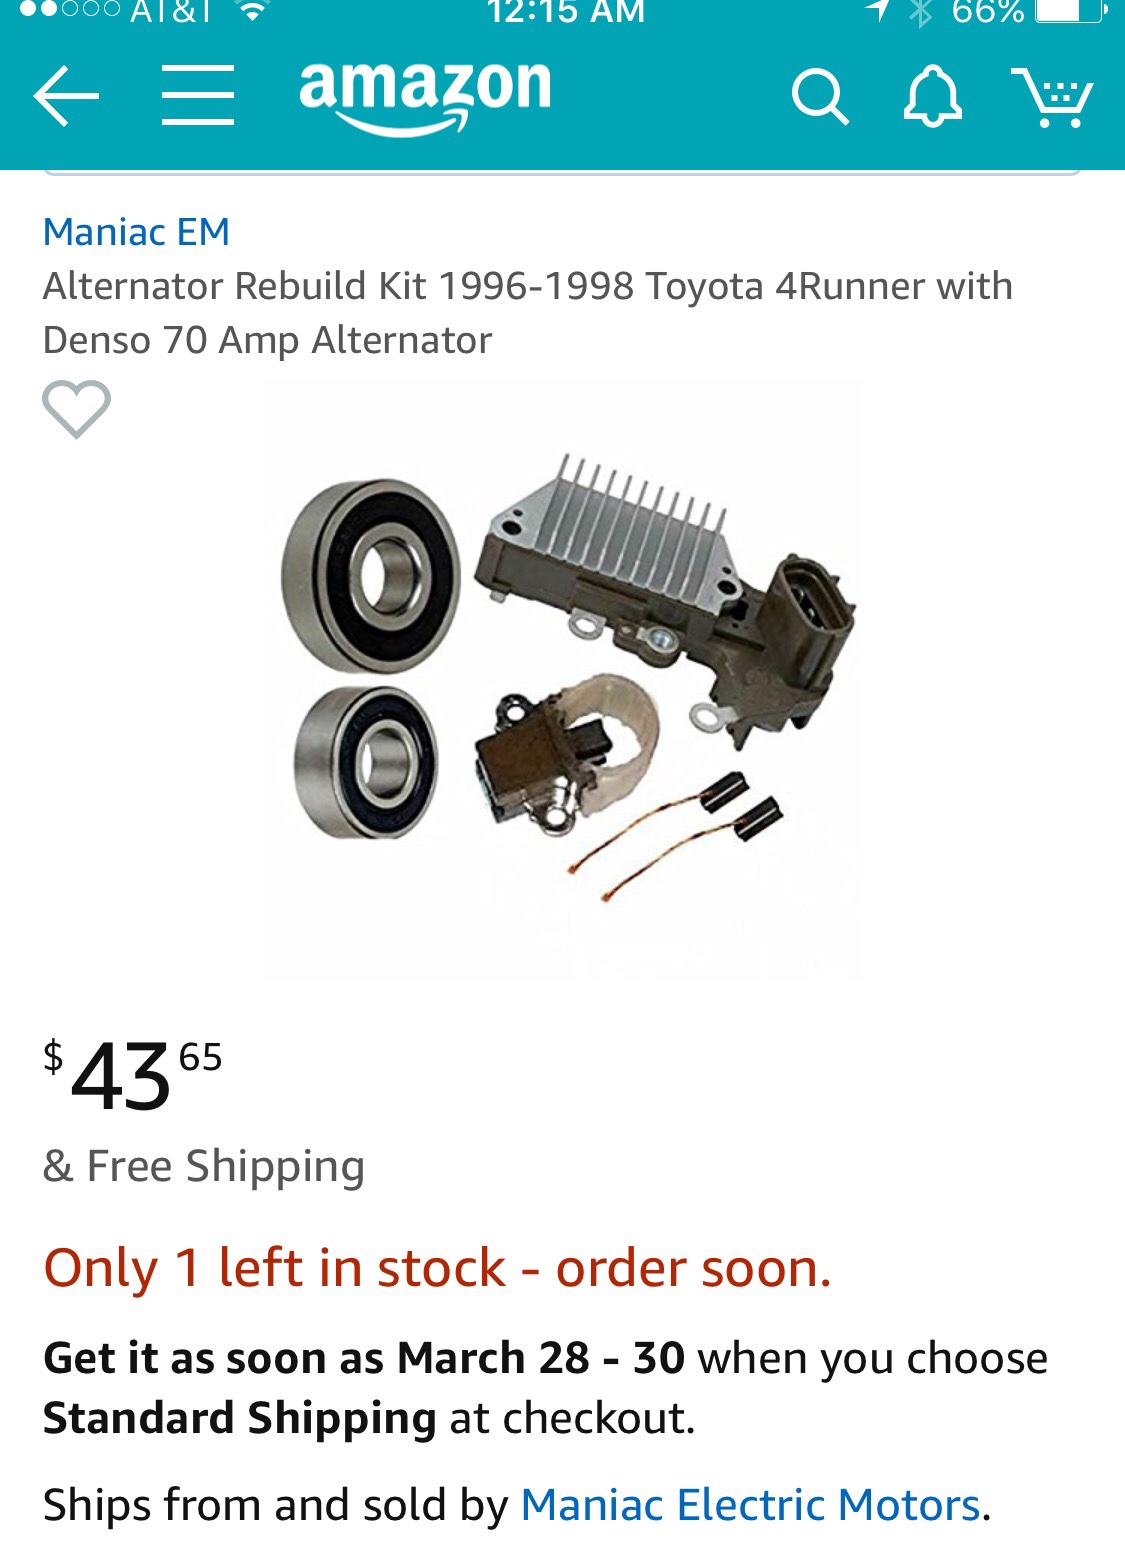
I'll be ordering this or I'll be getting a complete rebuild kit from Maniac EM rather than messing with just brushes.


I purchased this kit it's Maniac EM part number is 13671RK and states it fits my 27060-62180/101211-4132 alternator.

Tapatalk
b9e51e68cad244c83b92b5ea08628d69.jpg
 
Last edited:

Members online

No members online now.

Forum statistics

Threads
278,312
Messages
3,554,083
Members
248,016
Latest member
Advally Service

Trending content

Back
Top