Subwoofer install- HOW TO
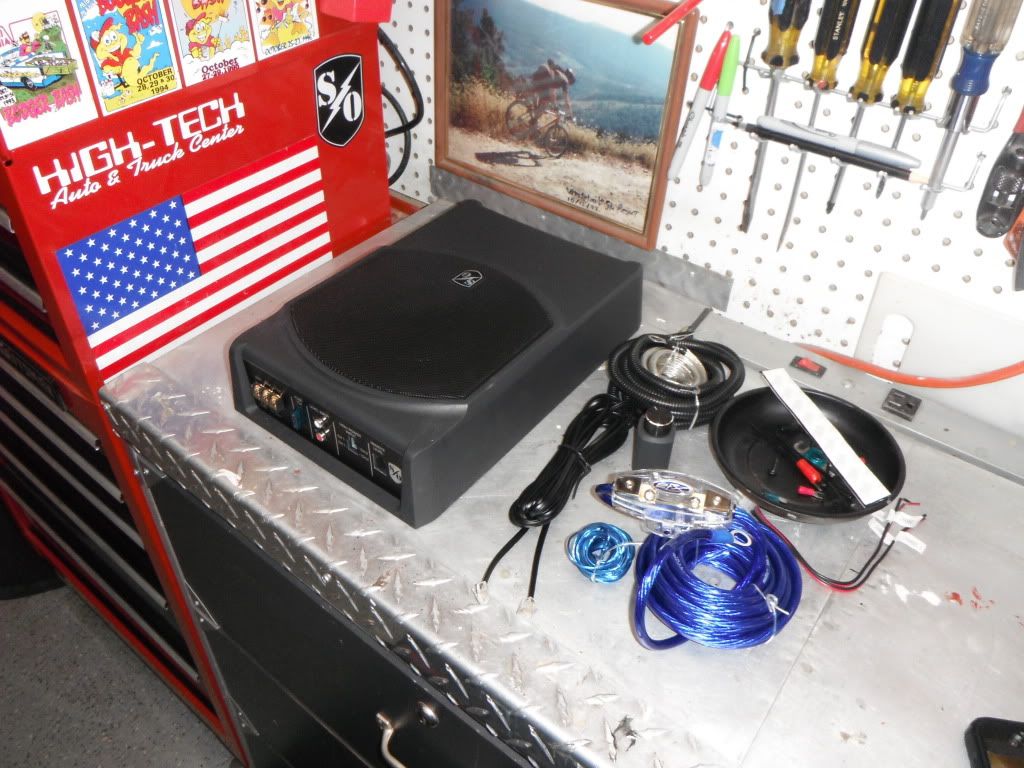
Picked up a small powered subwoofer from Crutchfield, and I figured I would post a writeup for those of you that are considering doing something like this. I'll give some hints, and suggestions for all you newbies to this sort of thing.
OK- Some background. I have had everything from 2-12's in the back of a pickup, to a nice small 10" custom box in my GTI, to powered subs in other vehicles. My ears aren't as young as they used to be, but I do enjoy feeling some bass when I'm cranking it!
You really can't compare a compact unit like this to a "real" box/amp combo. If you want to blow out your windows, this is NOT the sub for you. Basically it just fills in the lower end and creates a richer sound. It does thump hard enough to shake the rearview mirror, and you can feel the bass, not just hear it. For $200 (free shipping, and a free wiring kit too

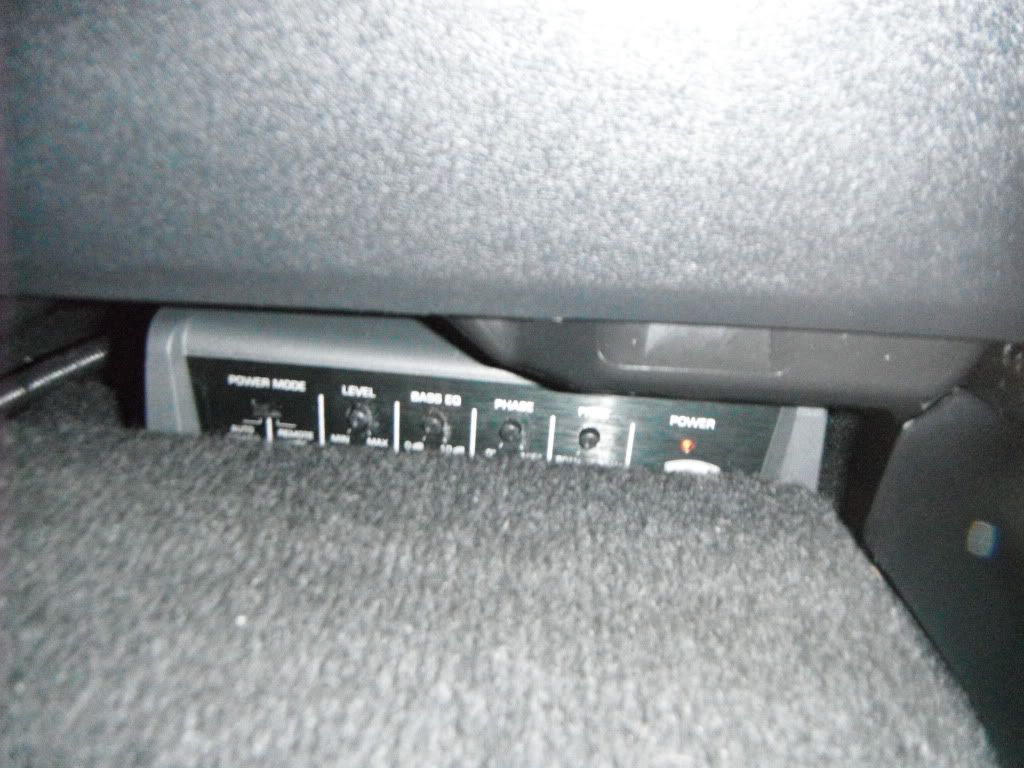
), it's a pretty good deal. If you've never had a subwoofer before, you will be impressed. I would rate it as "good". Oh yeah, it fits under the seat for a nice stealthy install!
On to the install-
First, disconnect the negative battery cable. Don't forget to do this! Don't freak out, but when you reconnect everything and start up your 4Runner, the engine will probably die, and you will have to restart it. Normal stuff.
This sub is convenient because you only need to run a few wires. Power from the battery, a ground, and speaker inputs. First thing we will do is tap into the factory speaker wires and run them to the sub.
Start by removing the headunit. Darkdane did an excellent writeup on this, even including the speaker wire designations...
http://www.toyota-4runner.org/5th-gen-t4rs/90970-removing-stock-head-unit-5th-gen-4runner.html
Remove the top of the center console. This is optional, but it makes running the wires easier. To take the console apart, unscrew the shiftknob, and the 4WD knob counterclockwise. Sit in your passenger seat and pull the cover up. You will see the white connector (sorry forgot a pic!). When you unplug that, the console cover is off. Easy.
Since we are taking stuff apart- remove the drivers sill plate- just pull! And, the drivers kick-panel. There is a plastic "screw" next to the footrest that you can unscrew by hand. Then just pull the kickplate off towards you. Everything on the interior comes apart really easy, and goes back together nicely. Go Toyota!
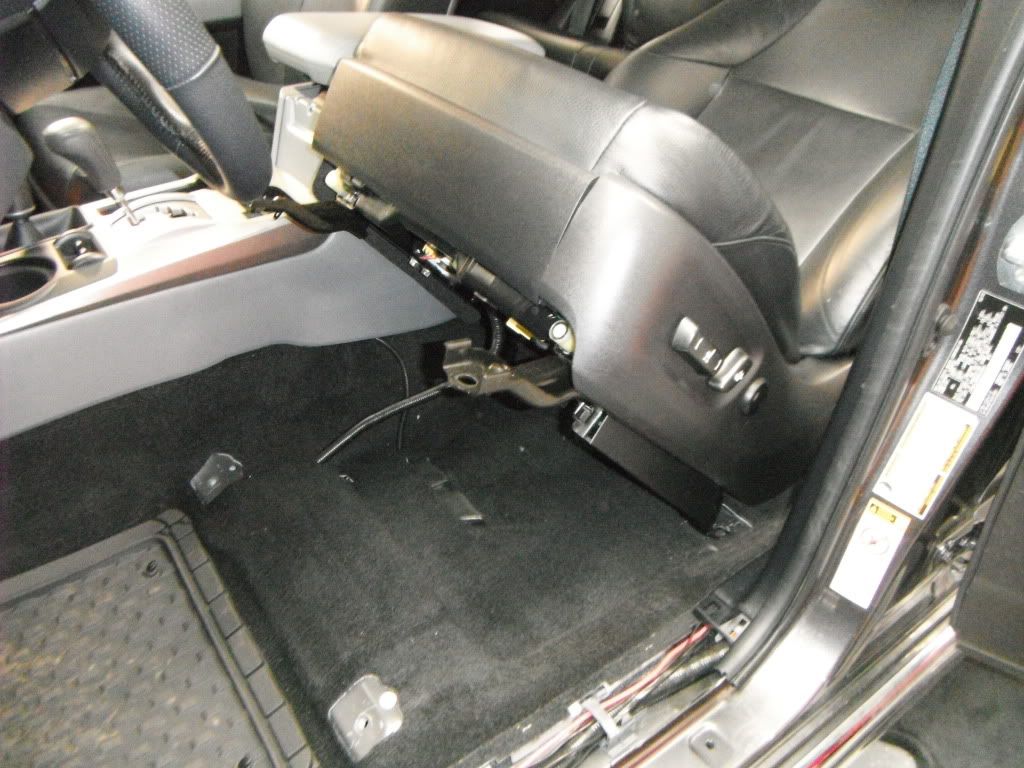
Time to unbolt the drivers seat. You can leave the seat in the truck, it's just sooooo much easier if you unbolt it to have access to the floor.
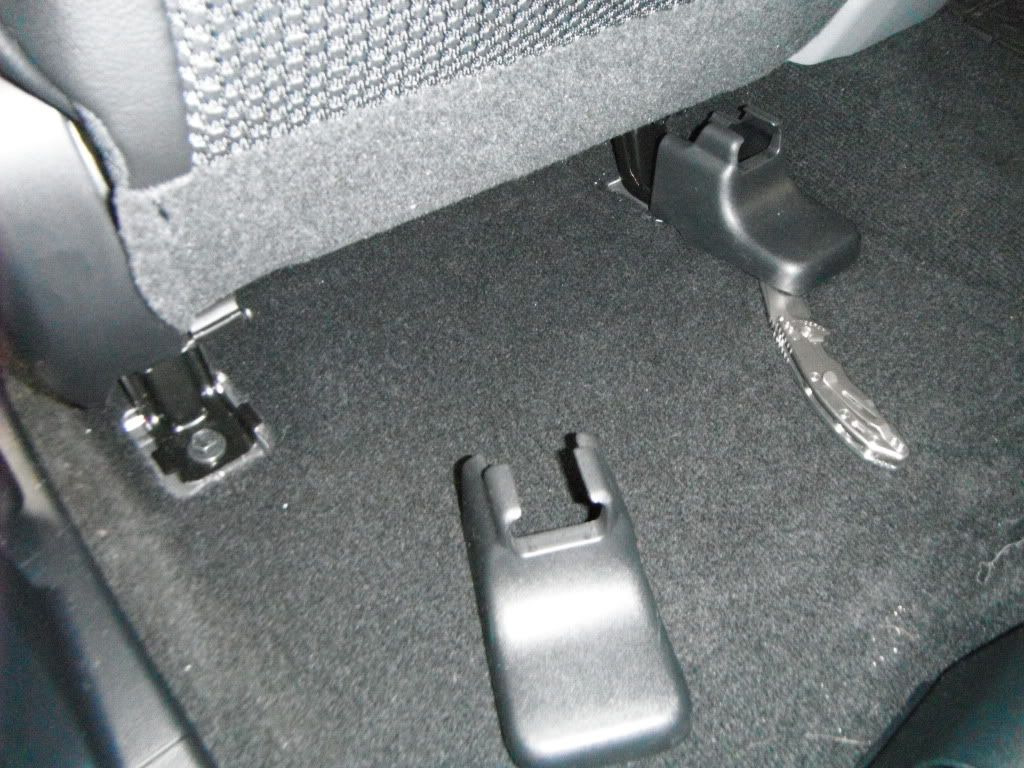
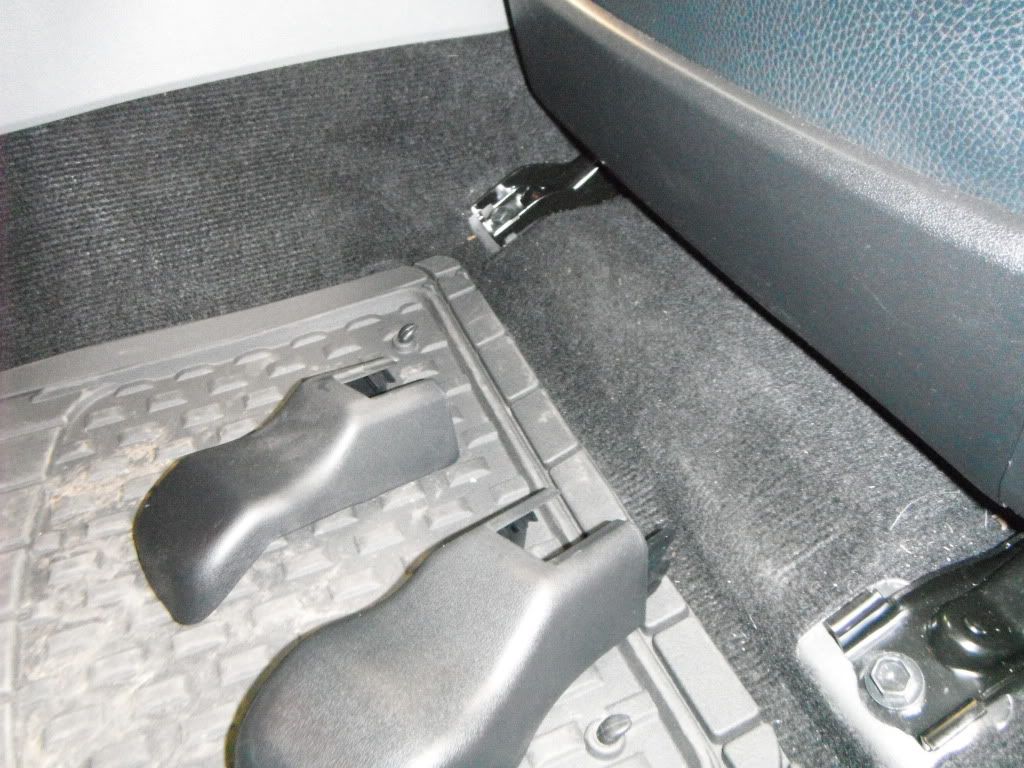
Pry up on the bolt covers and set them aside.
The 4 bolts are 14mm. Take them out and, Bingo! easy access. You do not need to unplug your seat's wiring harness.
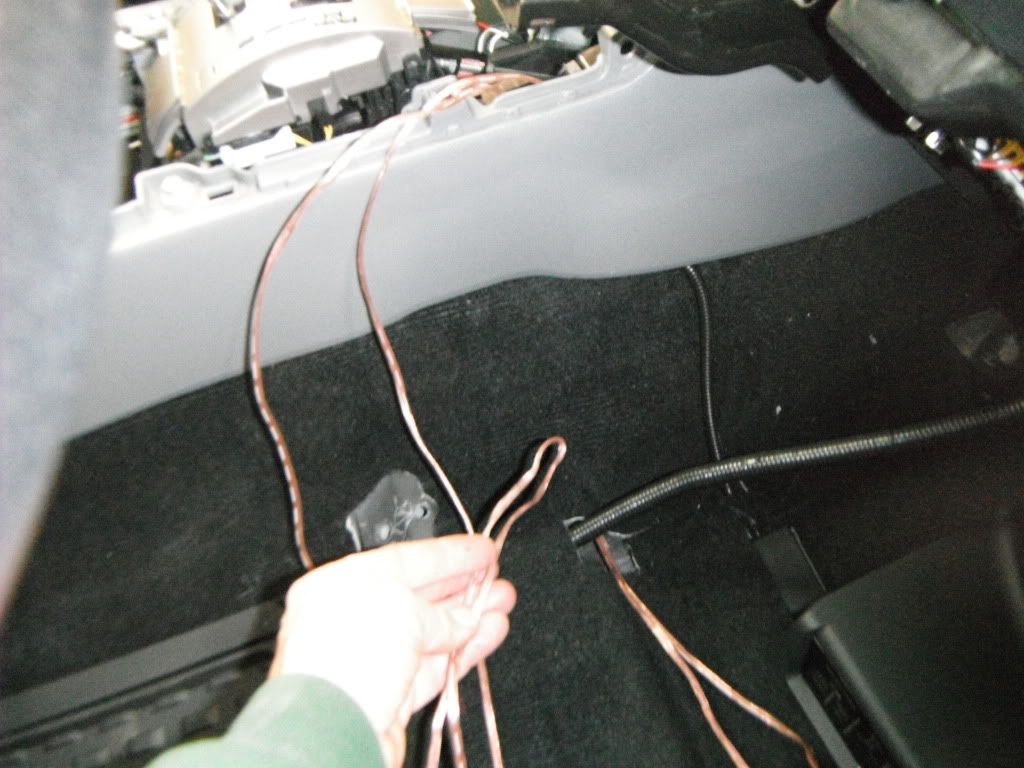
All done taking stuff apart. Time to run some speaker wire up to the headunit. You will need 2 speaker wires. TIP- instead of running 2 separate wires, fold a wire in half and run it. You can cut it in half once it's in place.
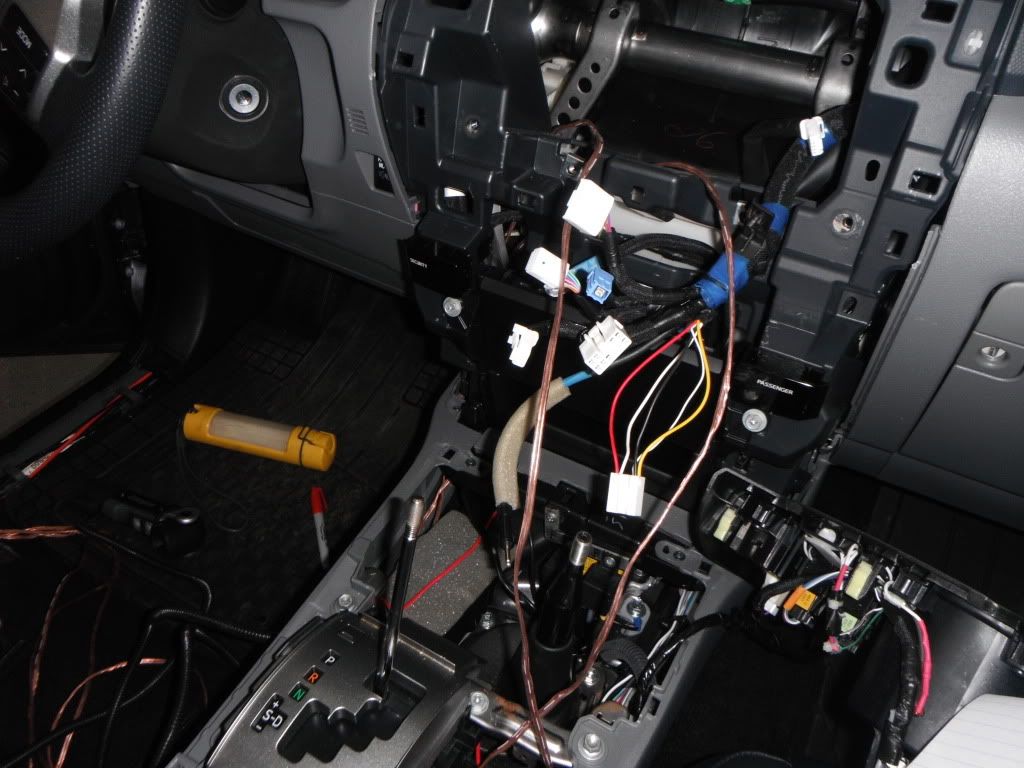
I ran the wire under the carpet, by the hole where the factory seat wiring exits, up into the console and up the dash into the headunit opening.
This is where we are now, organized chaos!
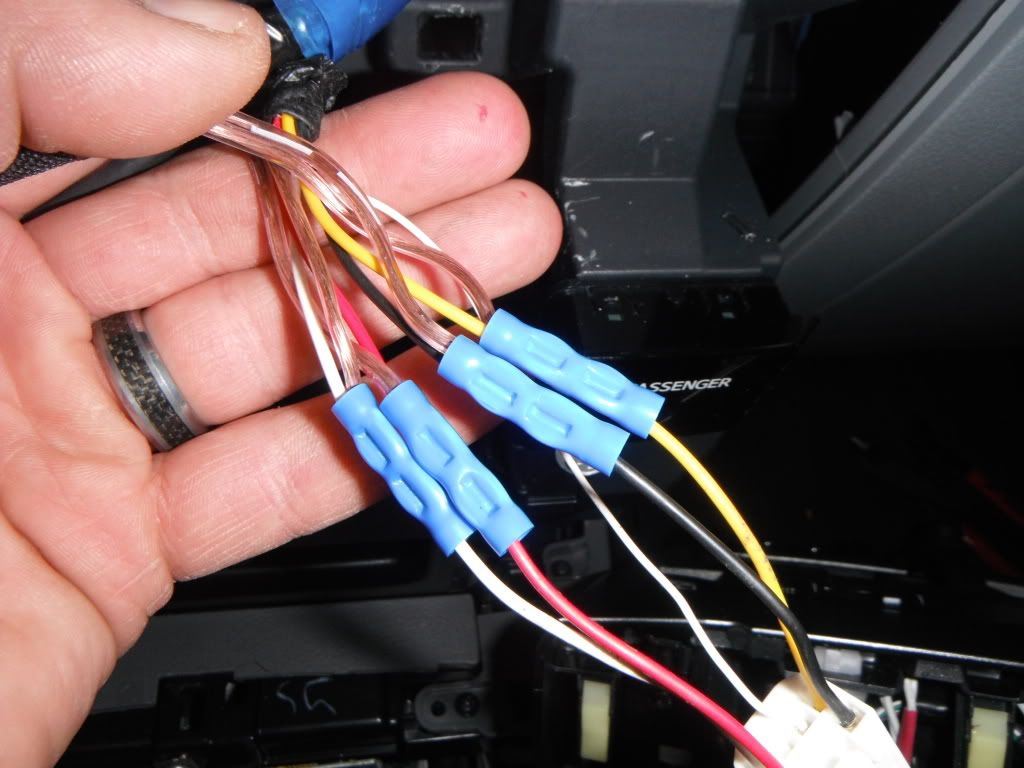
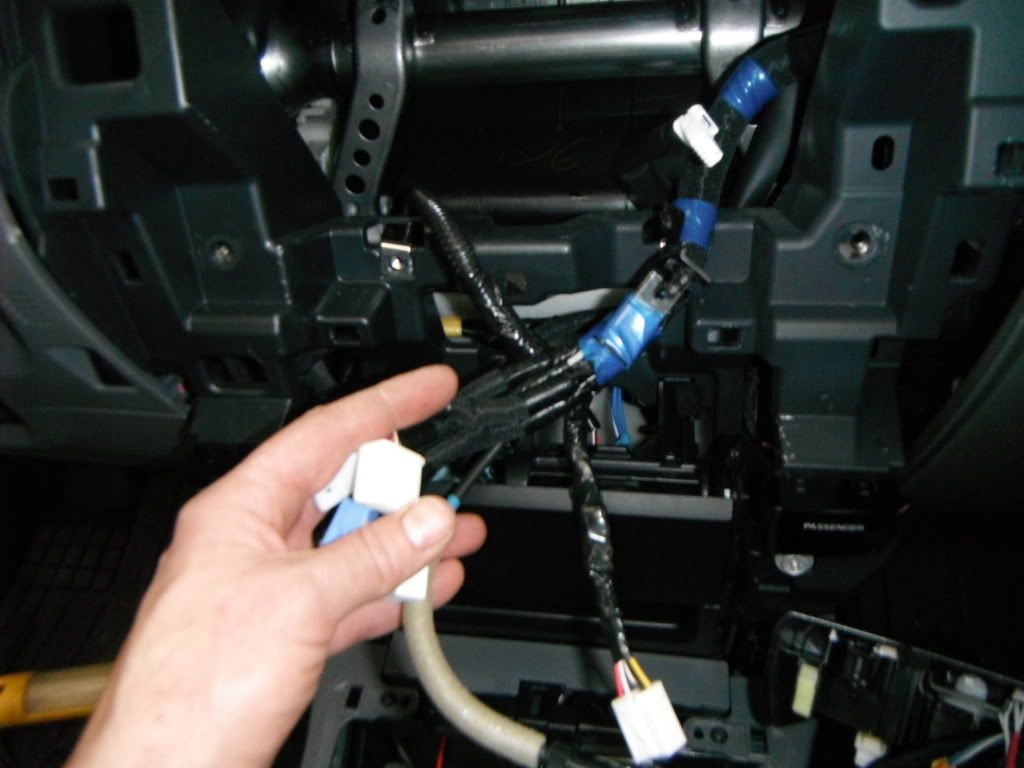
Time to tap into the rear speaker wires. White plug #G5. There are 5 wires, but we will only use 4.
These wires will send the signal to your amp (duh).
Black= LR+
Yellow=LR-
Red=RR+
White=RR- (Note use the THICKER white wire)
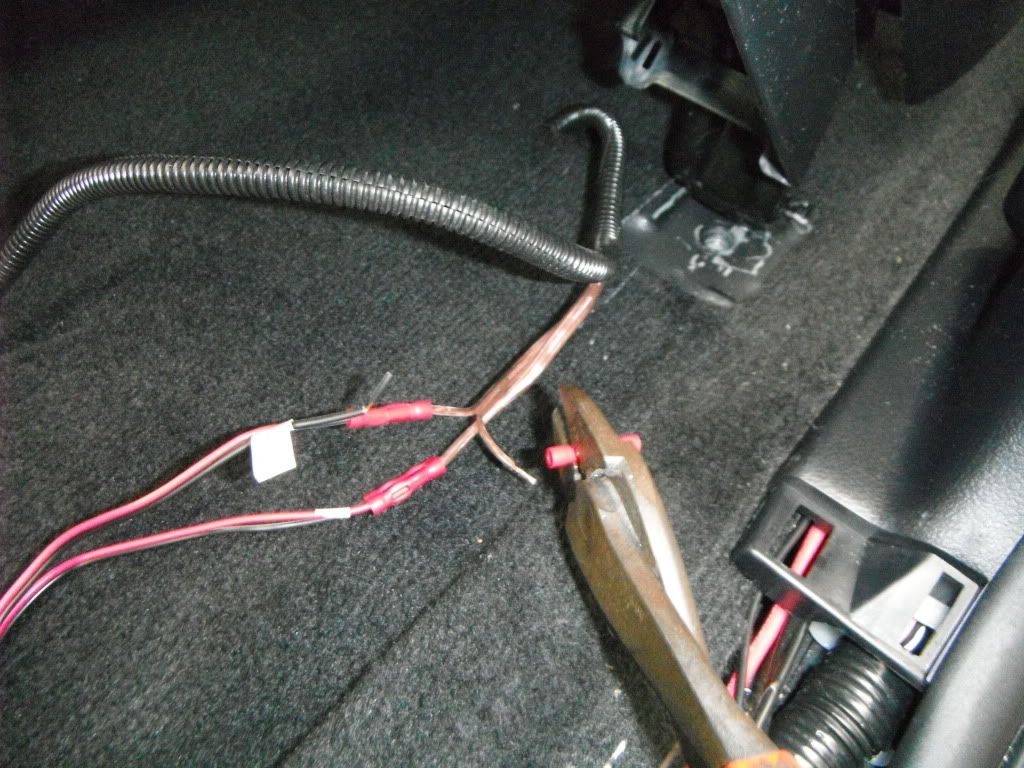
The blue things are called butt connectors. They are fairly easy to use, and make a nice connection. Pull the electrical tape off the factory plug, along with the split loom. Cut the wires about 3" from the plug. Leave yourself room to work! Strip both ends that you cut. Crimp a butt connector to the plug side for each wire.
Now, take the speaker wire you folded in half, and cut it. Split the speaker wire into 2 strands at the end. Strip the ends of all 4 wires.
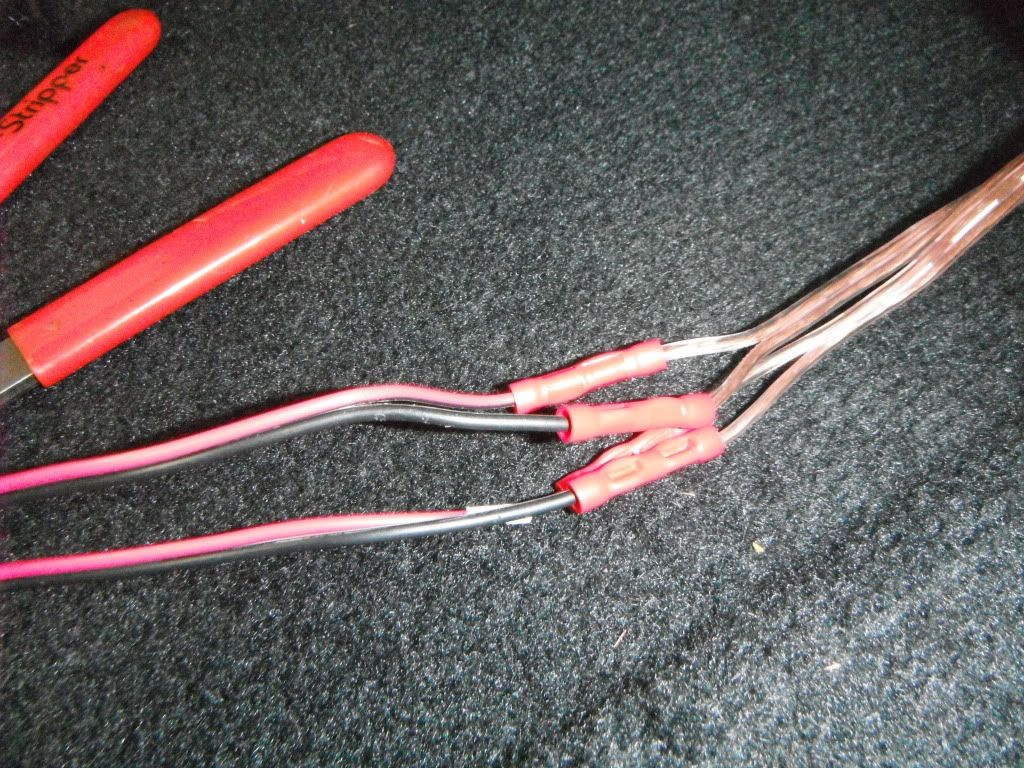
Time to designate which wire is which for your hookups. Left and right doesn't matter, just positive and negative. Sooo, let's say the striped speaker wires will be positive. Twist a striped wire with the black wire, and crimp them both to the butt connector as one. The other striped wire will connect to the red wire. Do the same for the remaining 2 wires. It's easier to look at the pic!
Once the connections are made, throw some split loom on the speaker wires, and electrical tape the connections. Make it look neat, and it will last!
Go ahead and put your center console and head-unit back together now.
Time to run the power wire!
The sub comes with a free wiring kit- that's definitely the way to go unless you have all that stuff laying around!
Make sure there is no fuse in the holder for your power wire (just to be safe).
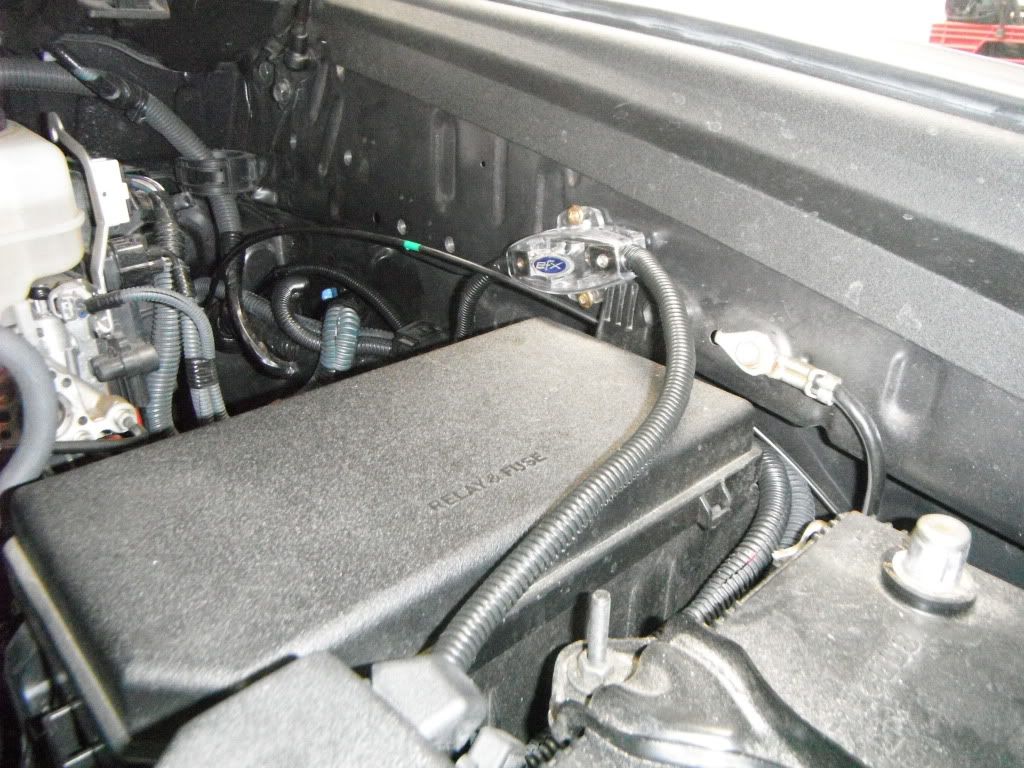
Make the connection at the battery + terminal. I mounted the fuse holder here.
The kit comes with split loom. USE IT. You do not want this wire to ever be chafed, or cut. Even with a fuse, it could still spark if cut!
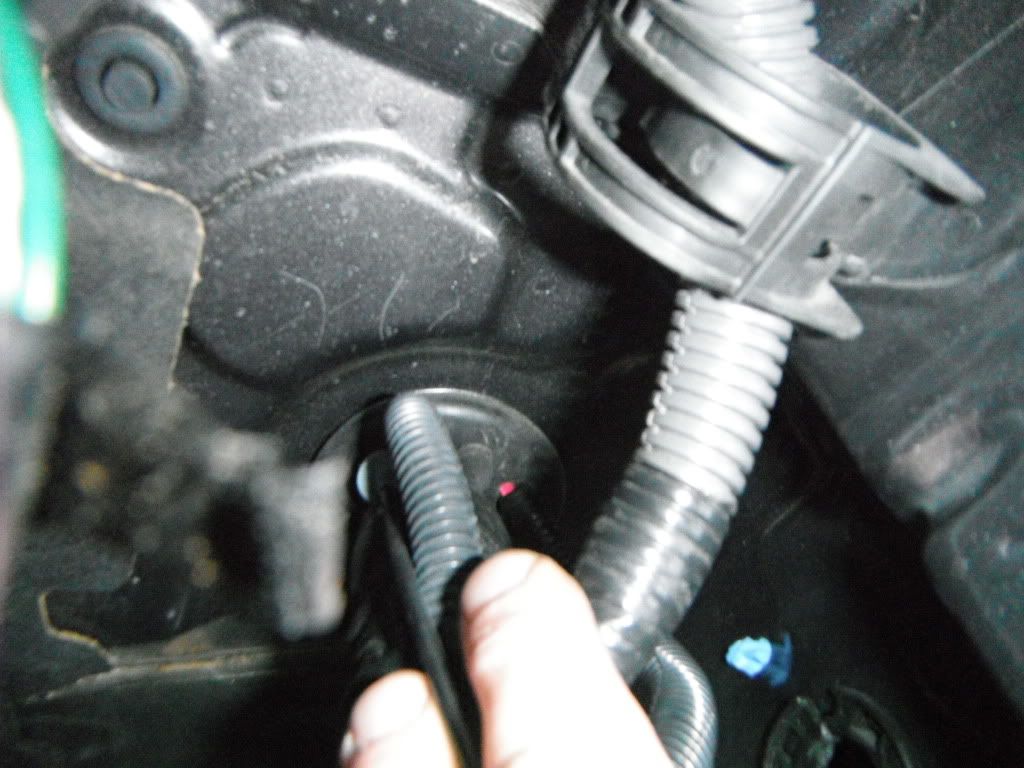
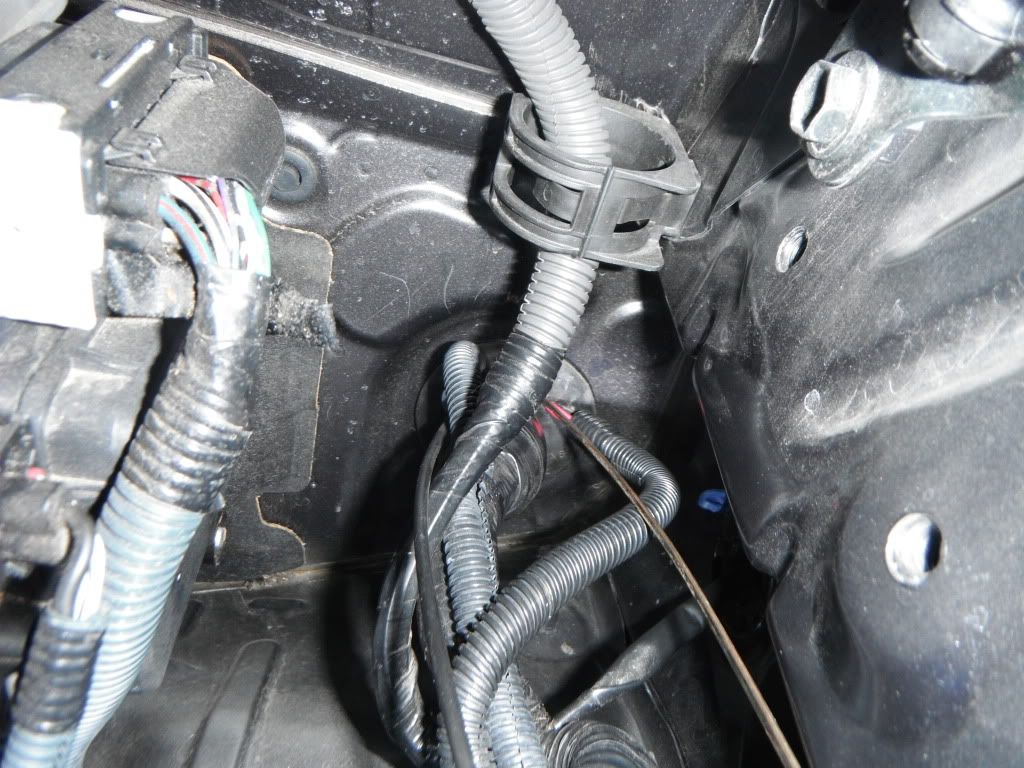
Here is a nice rubber grommet to run the power wire through- driver's side firewall.
Best way to run this through is with a metal wire fish- like electricians use. I have a short piece that I use for things like this. Basically, a 3' piece of metal strap. You can push the fish right through the rubber grommet from the inside with a little force (NOTE- make sure the end of the fish is rounded, and not sharp so you can't nick any wires. Even the rounded end will push right through the rubber. Here's the fish in the engine compartment, from the driver's footwell (the rusted thing).
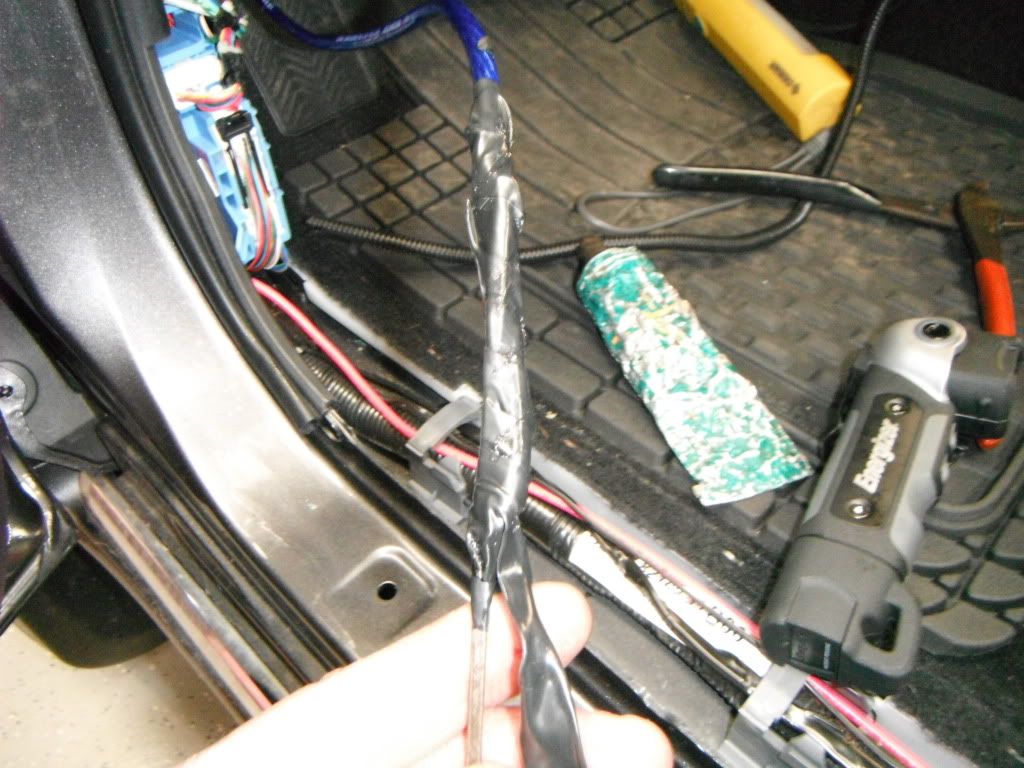
Tape your power wire to the fish. TIP- Make sure the fish is clean and dry. Wrap electrical tape tightly around the fish a couple of times, and then introduce the wire. Overlap of about 3" is sufficient. Wrap around the wire and the fish, and then up around just the wire itself. The point where the end of the wire and the fish are taped, will need to be taped until it tapers nicely, not a "step", or the wire will pull free.
TIP- I know you guys have some lube laying around, right? :frisky:
I don't care what kind you use, but you need to generously coat what you just taped up. I used dielectric grease, pervs...Pull the wire through from the inside.
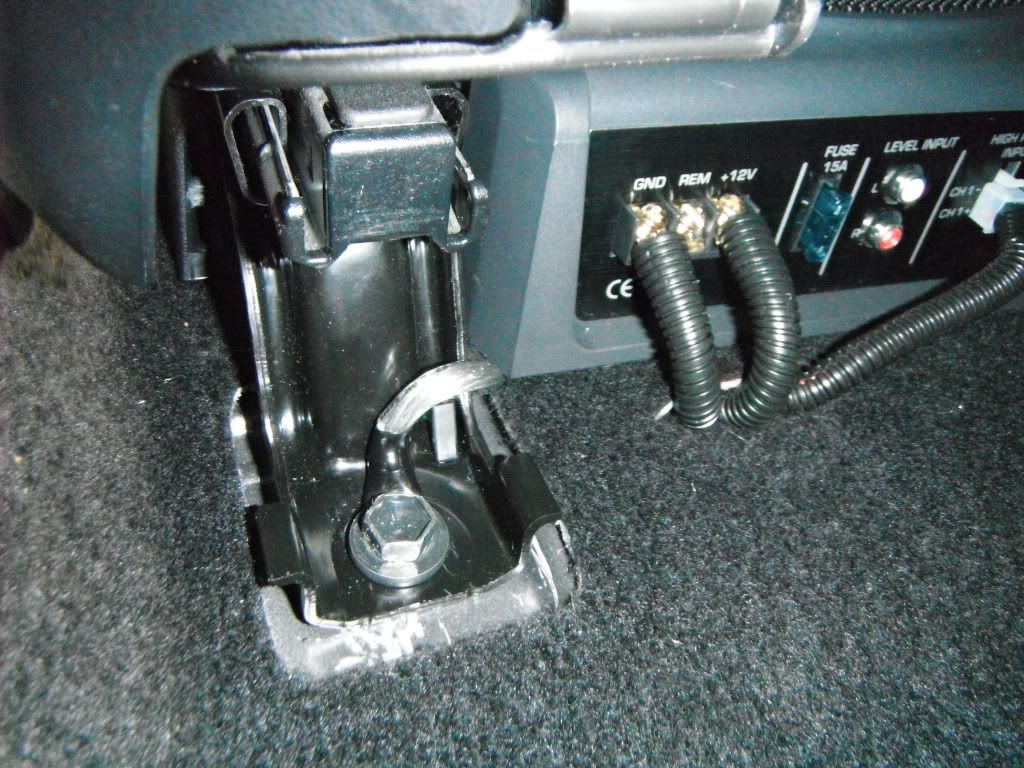
Run the wire down into the sill plate area, and then under the carpet to exit by the amp connections. I cut a small slit in the carpet for the wires to exit, right next to the amp connections. You can see this better in later pictures...
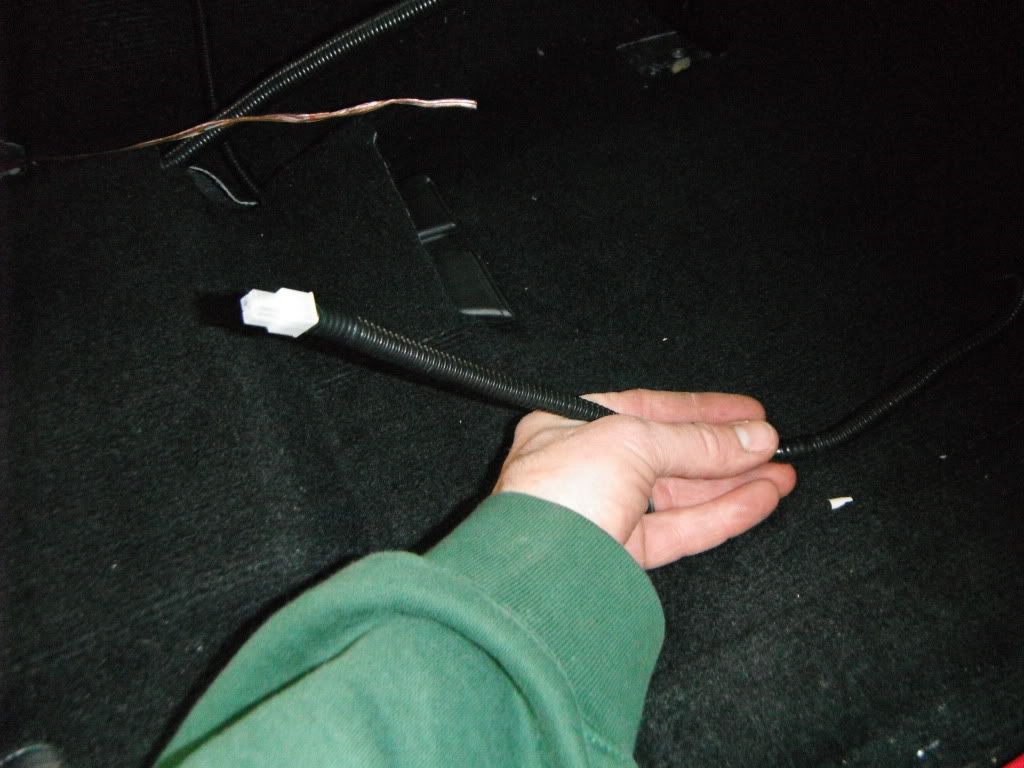
The speaker wires can now be fished out of the slit in the carpet, and connected to the plug for the amp. Remember- striped wires are +. TIP- To make crimping easier, strip the wire and then twist it. Put the butt connector into the crimpers FIRST, and then slide the connector over the stripped wire for crimping. Makes it much easier that way.
Wireloom the wires where they exit the slit.
One more wire to worry about- the ground. The ground wire should be as short as possible. You can connect it under the left rear seat bolt.
Continued: