N-Fab side step install- Rocker panel trimmed: HOW-TO
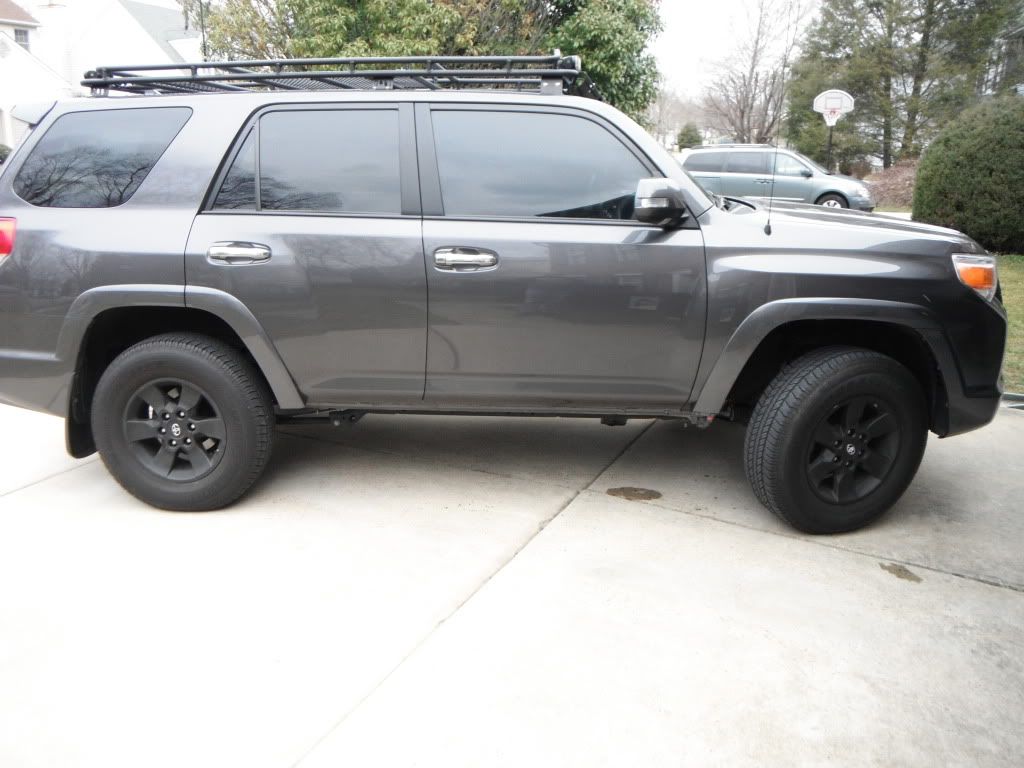
Kraeken sold me his extra set of N-Fab bars for a crackin' deal (bad pun, I know) and I installed them today. Many members here on T4R have installed these and either cut the rockers, fabbed spacers, or painted the exposed area where the rockers were removed. After reviewing all the threads (
I know how to use search) I still had some questions, and honestly it scared the heck out of me to think of cutting these rocker panels up! But, what the hell, I did it anyway.
I figured I would post a quick writeup for those on the fence...
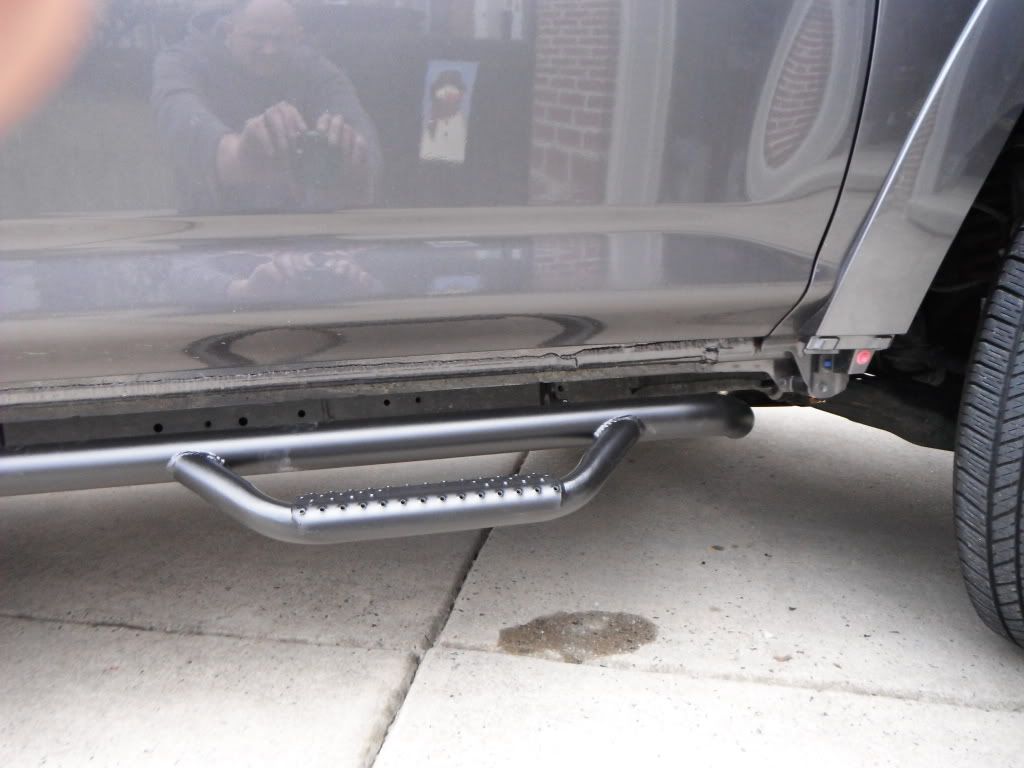
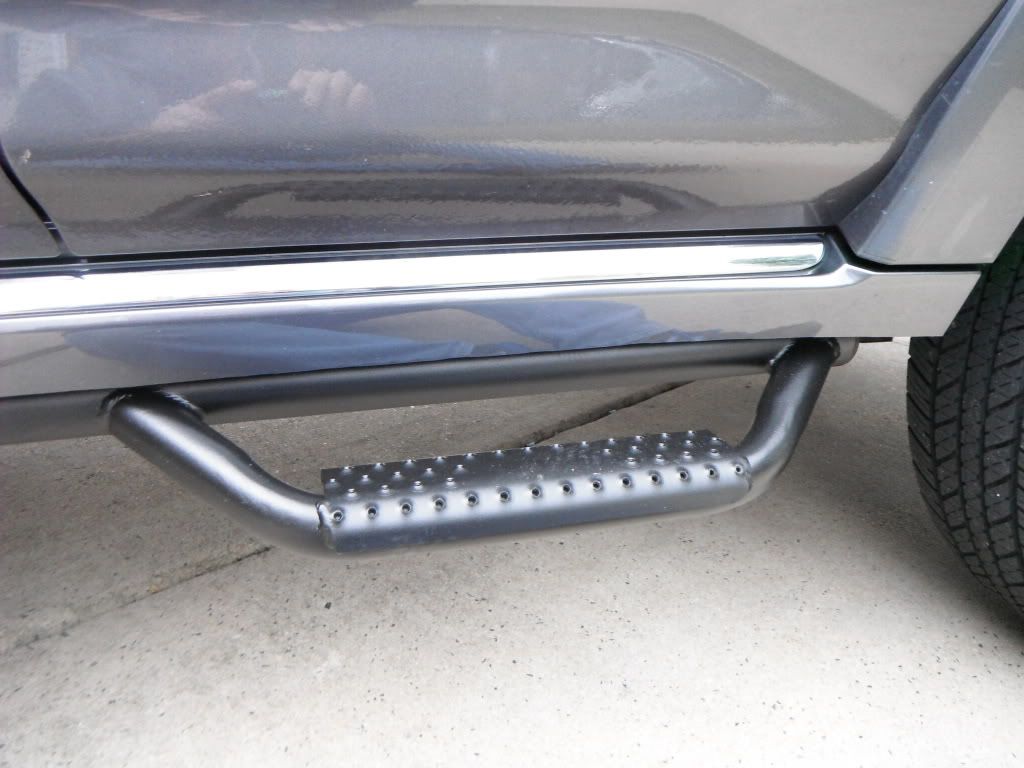
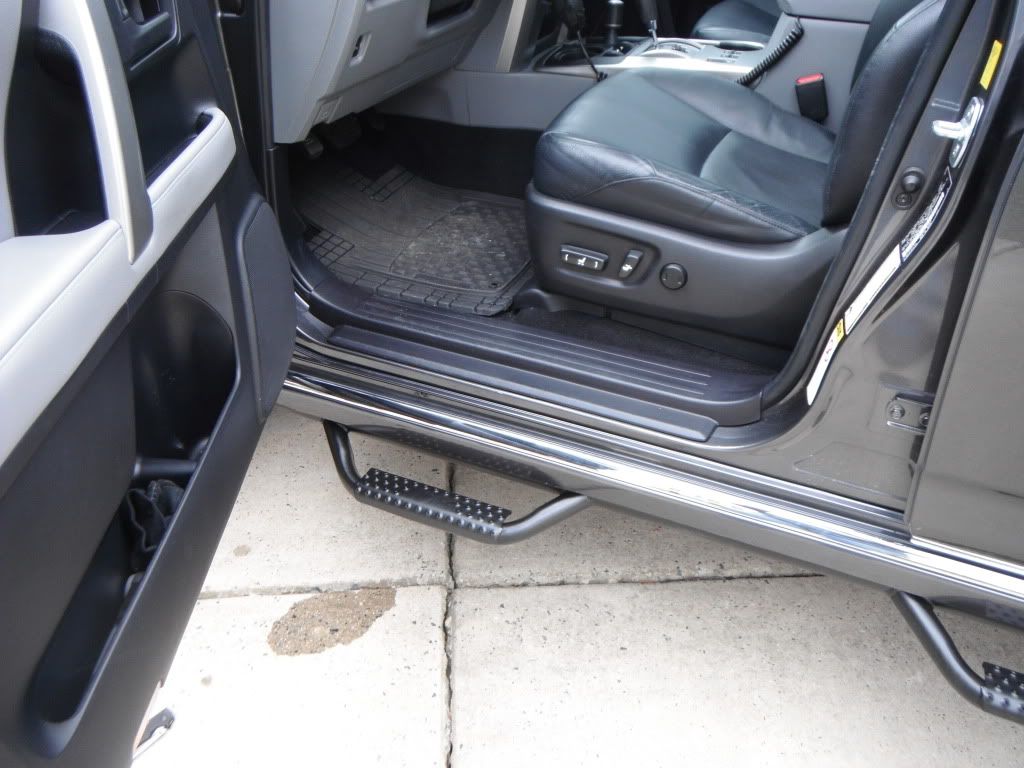
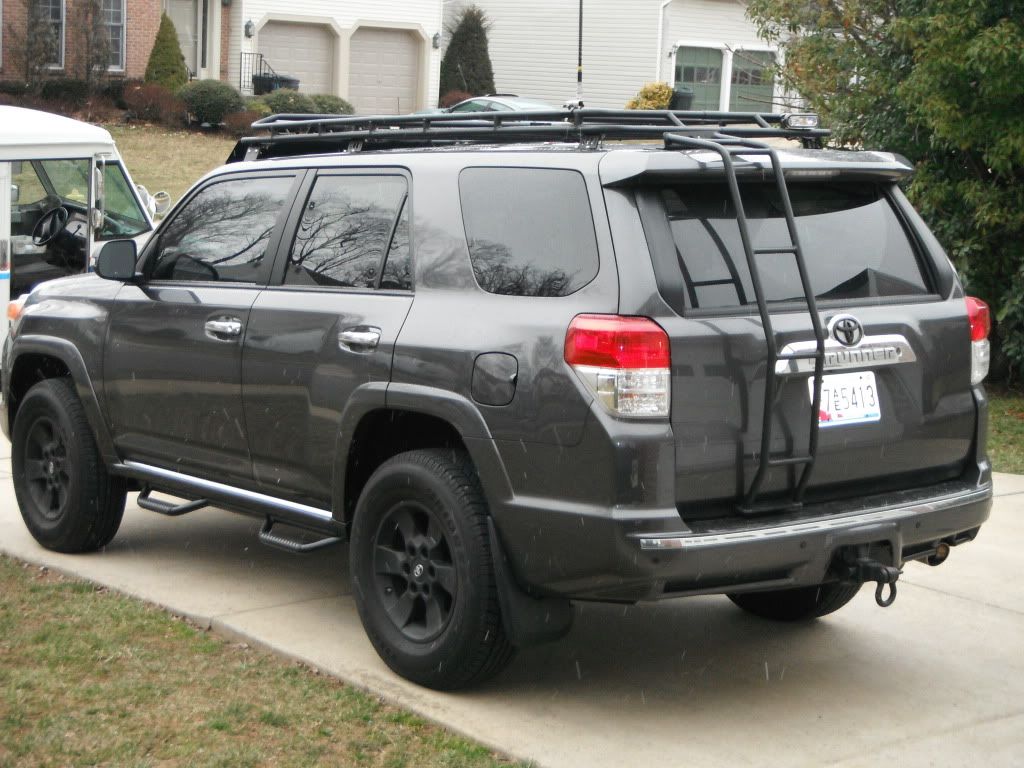
Some background on the N-fabs. They are marketed as "TE Only", because the SR5/LE rocker panels get in the way. The spacers that are available from RiDE are nice, but the steps hang way too low for my tastes. I decided to mount them directly to the vehicle, and cut the rocker panel for a more finished look. They tuck up nicely under the doors. These steps are very high quality, and strong. They are NOT rockrails, but hey, if I ever decide to go offroad, 5 bolts per side and they are off...
On to the install:
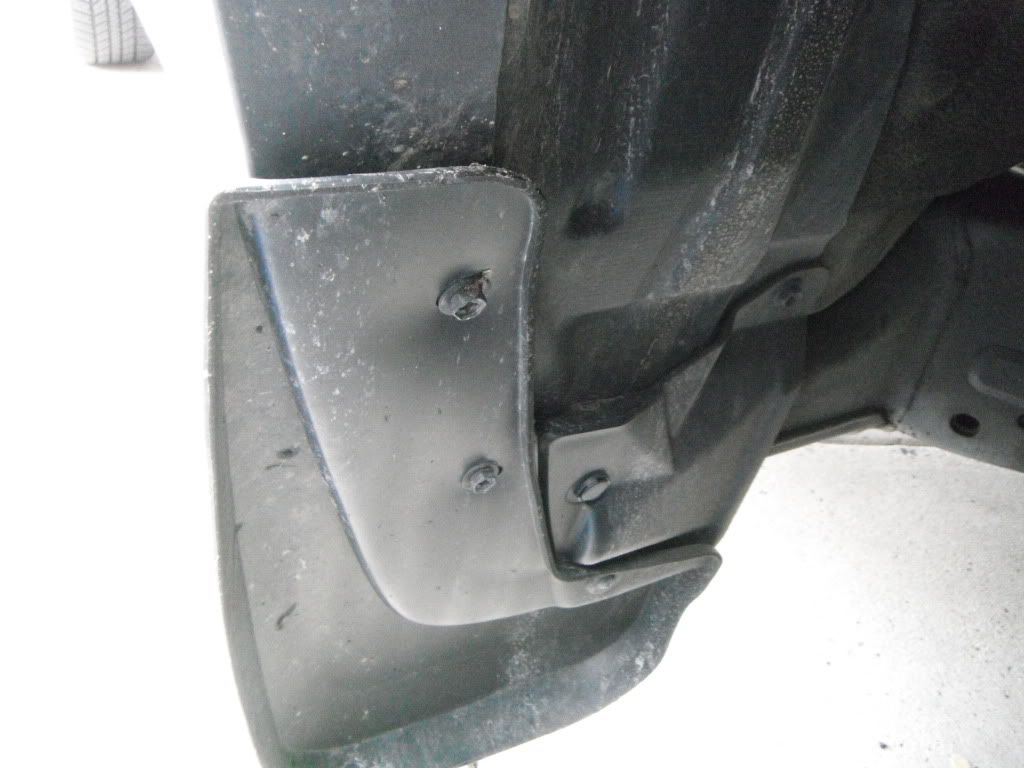
First you gotta take off the rocker. Remove the hardware you see in the front wheelwell in this picture: 3- 10mm bolts, a phillips screw, and a pop-pin. The rear wheelwell has 1-10mm bolt to remove.
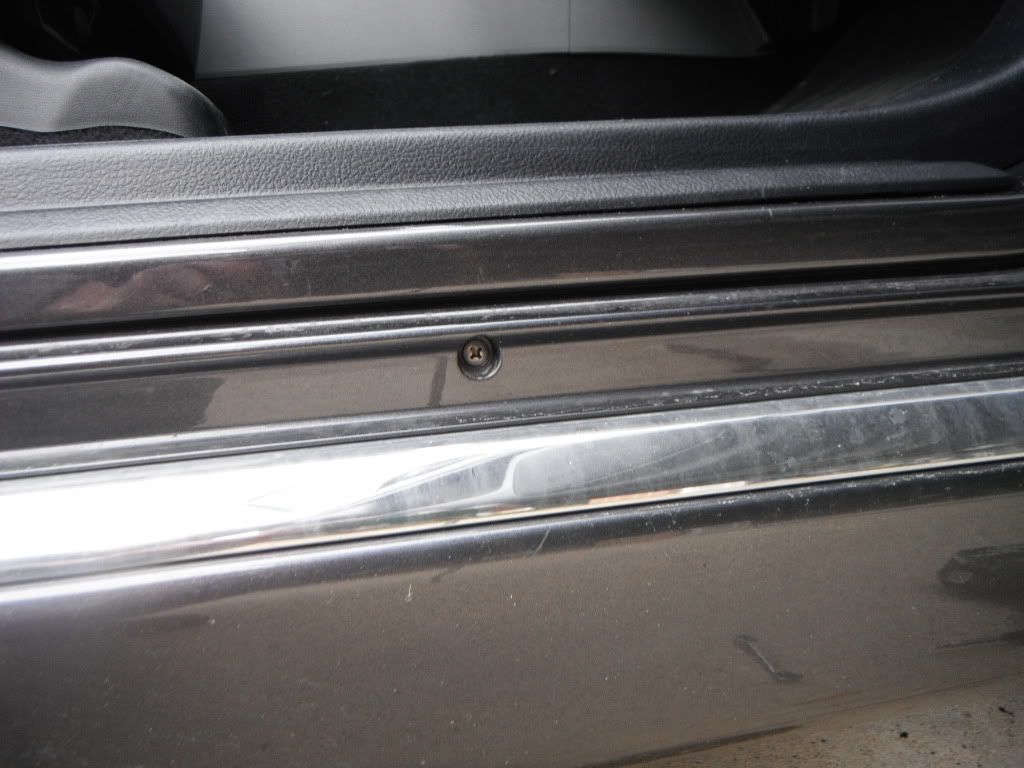
There are 2- stainless screws- one behind each door. Remove them.
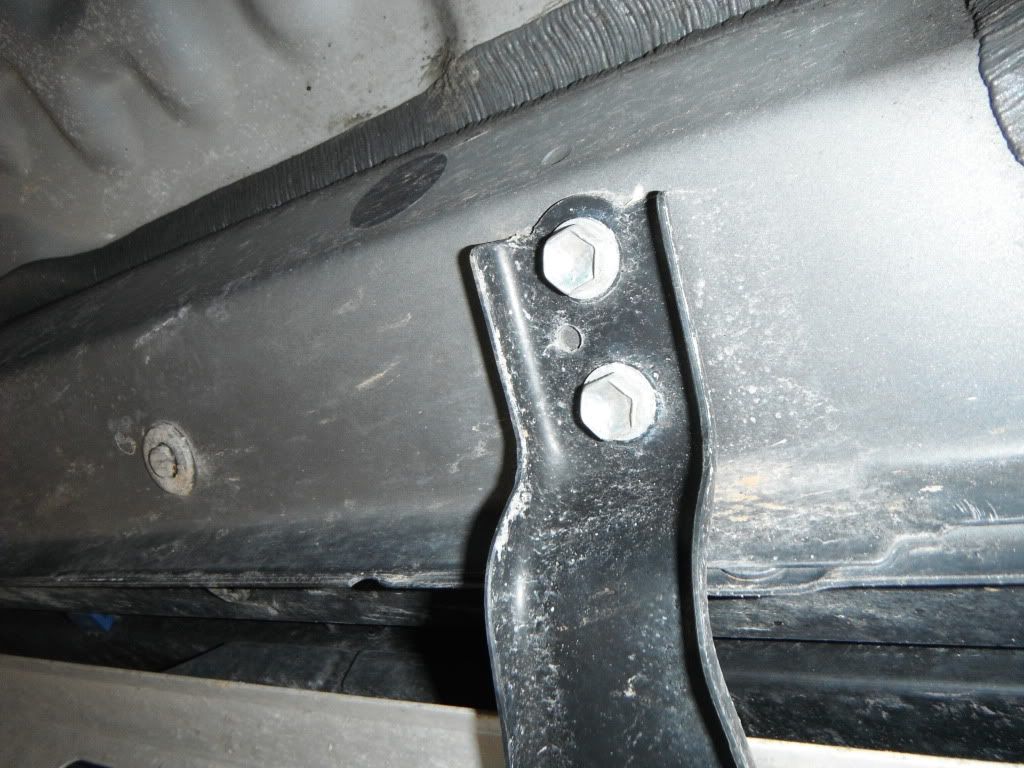
There are 6 of these 13mm bolts under the door sills, on each side. Remove them.
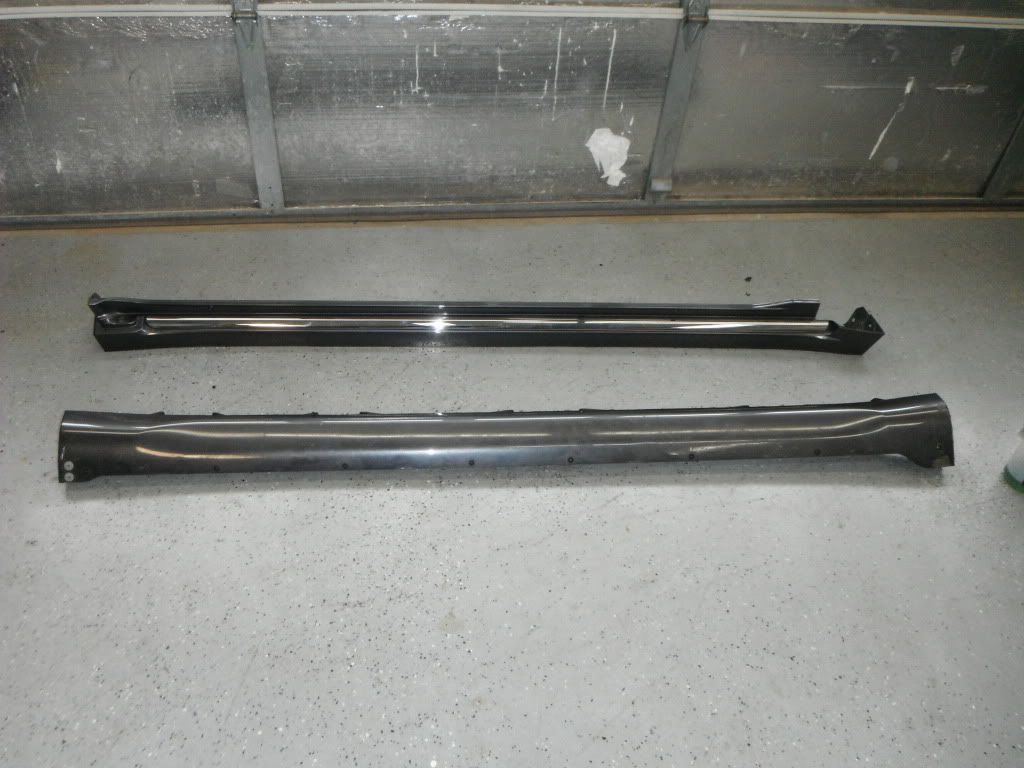
Now you can pull your rocker off... Notice the ugly pink clip, and the unfinished area under the front fender. Yuk.
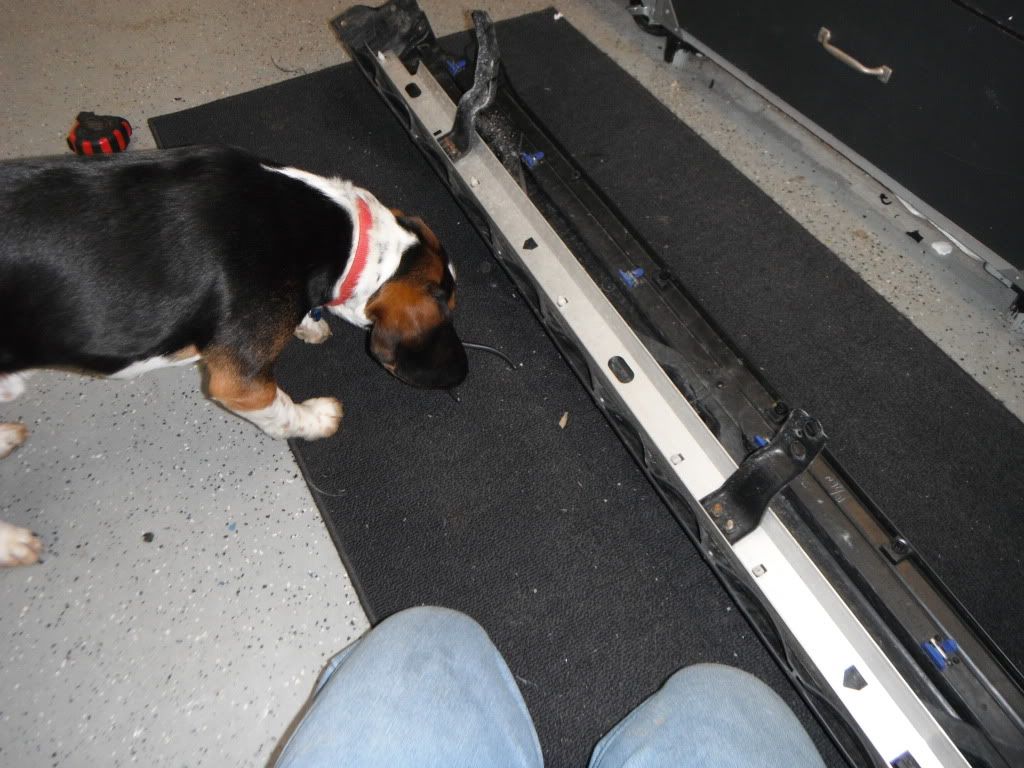
This is the back side of the panel being inspected by Eddie...
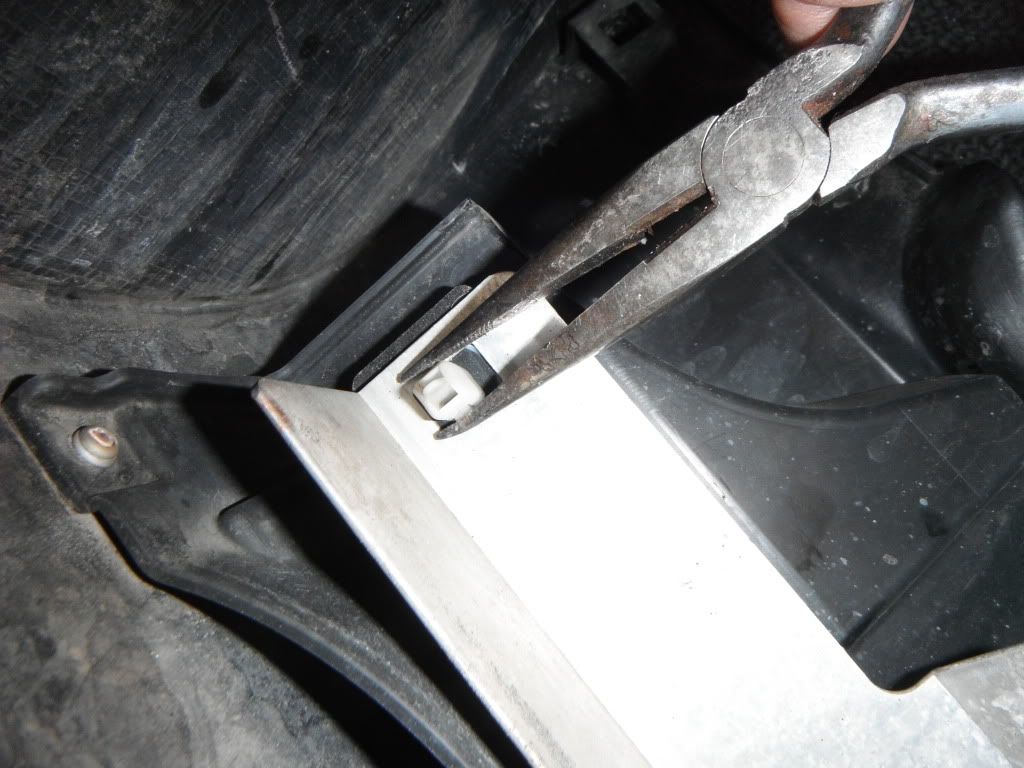
Eddie told me to remove the aluminum brace, so I did. Eddie rules! Crimp these white clips and lift up on the brace as you go.
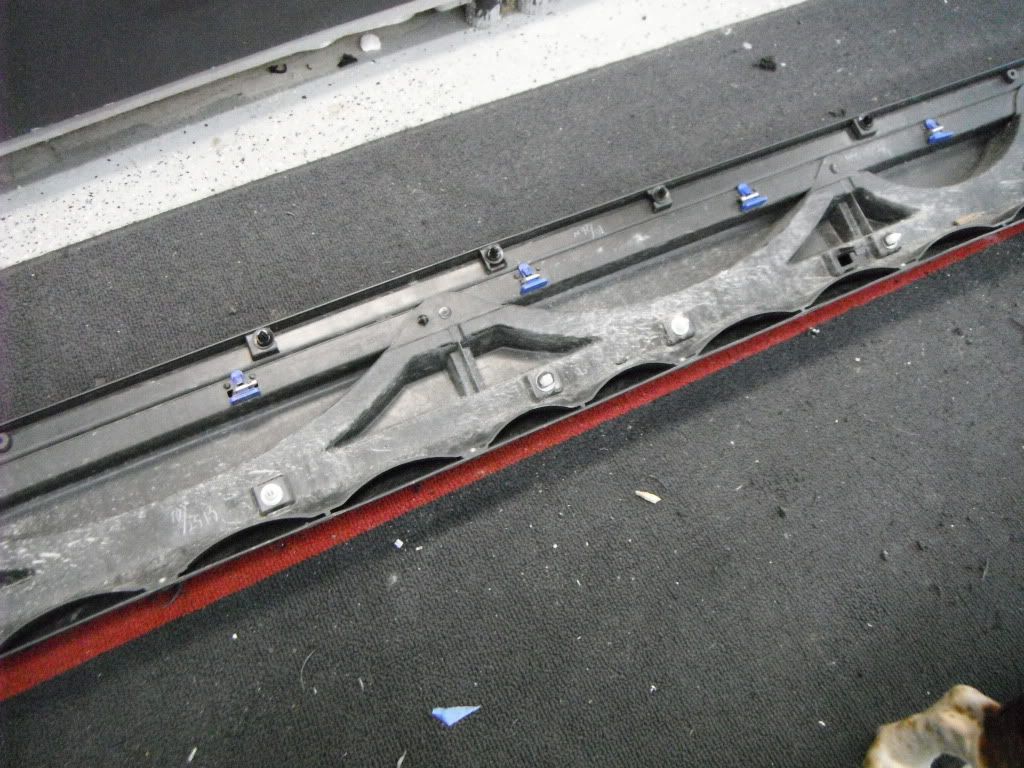
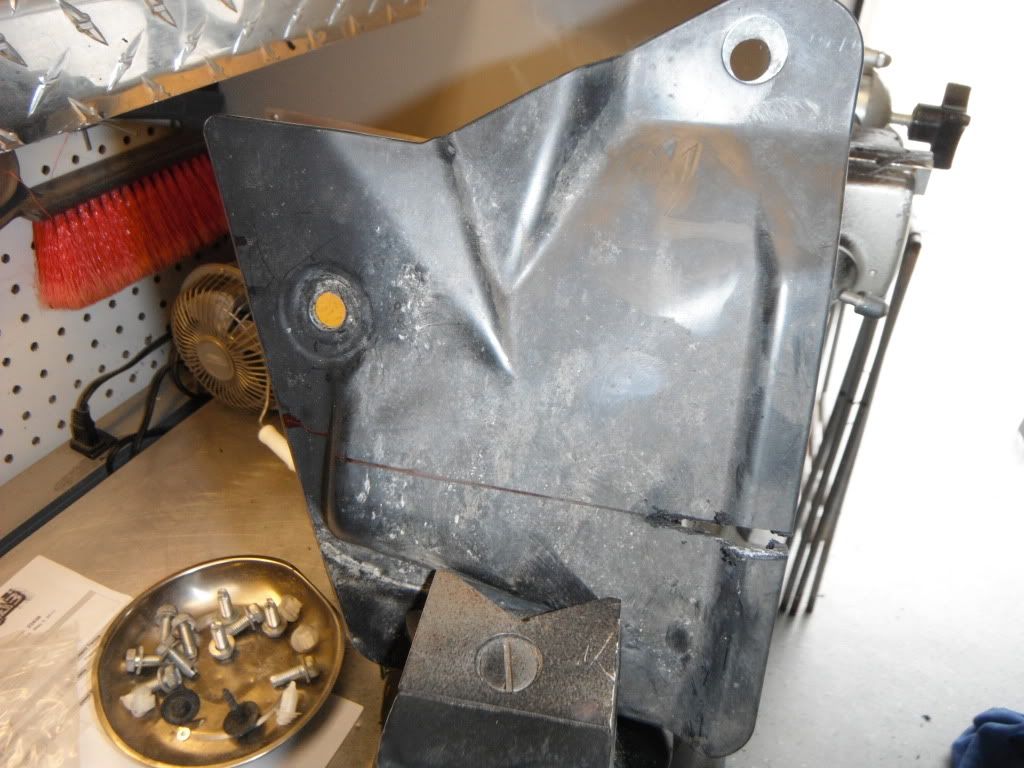
The plastic bracing will stay in place- for now. It will be MUCH easier cutting the rocker with the bracing intact.
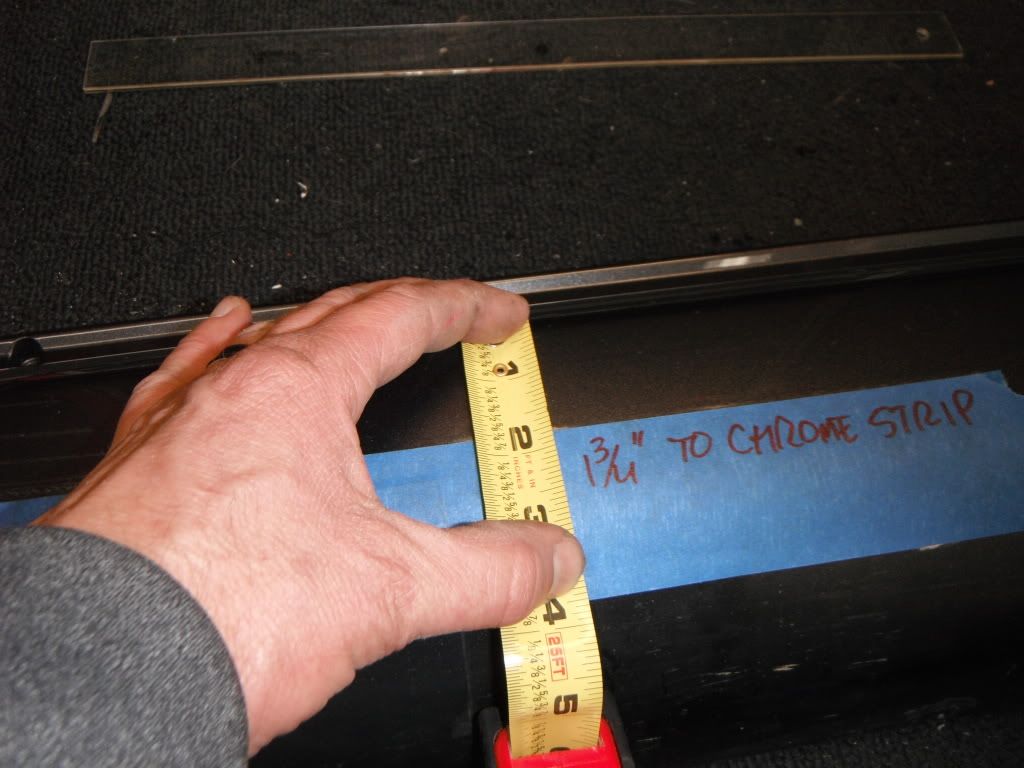
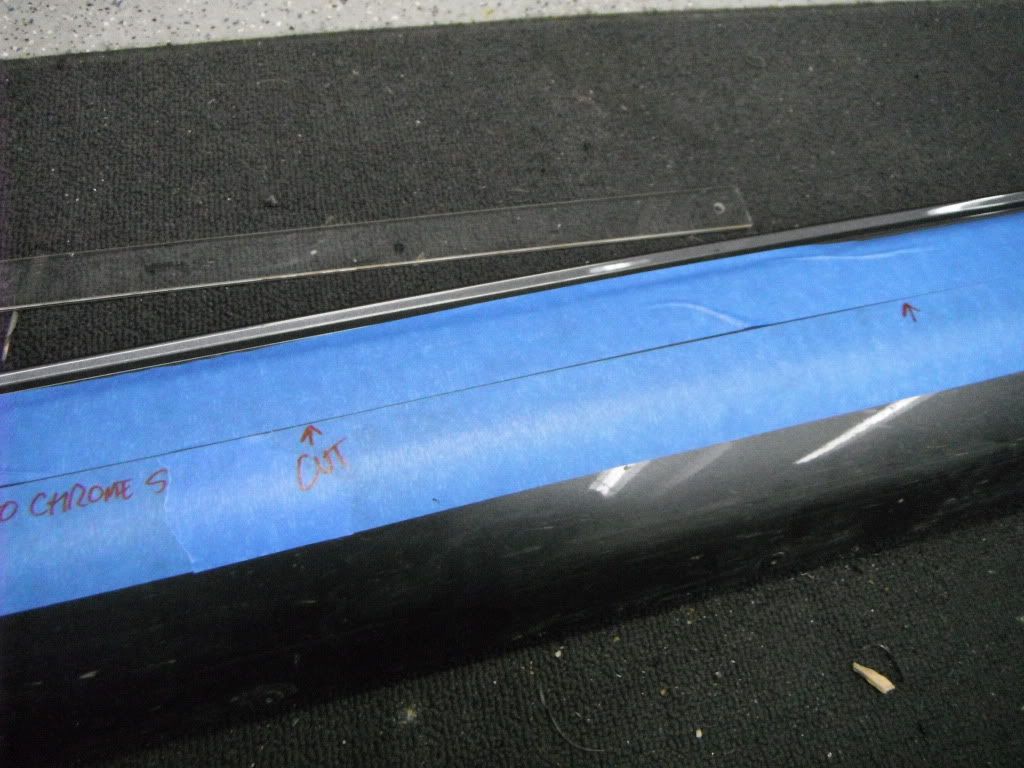
Time to measure. I found that 1-3/4" from the chrome strip is just about right. The end of the tape measure fits in the slot next to the chrome trim piece for an easy measurement. Note: The chrome trim angles upwards slightly on each end, so measure carefully. Make sure it's even by taping it up and viewing it from a distance...
Lay down another piece of tape about 1/16" from the first to protect your paint.
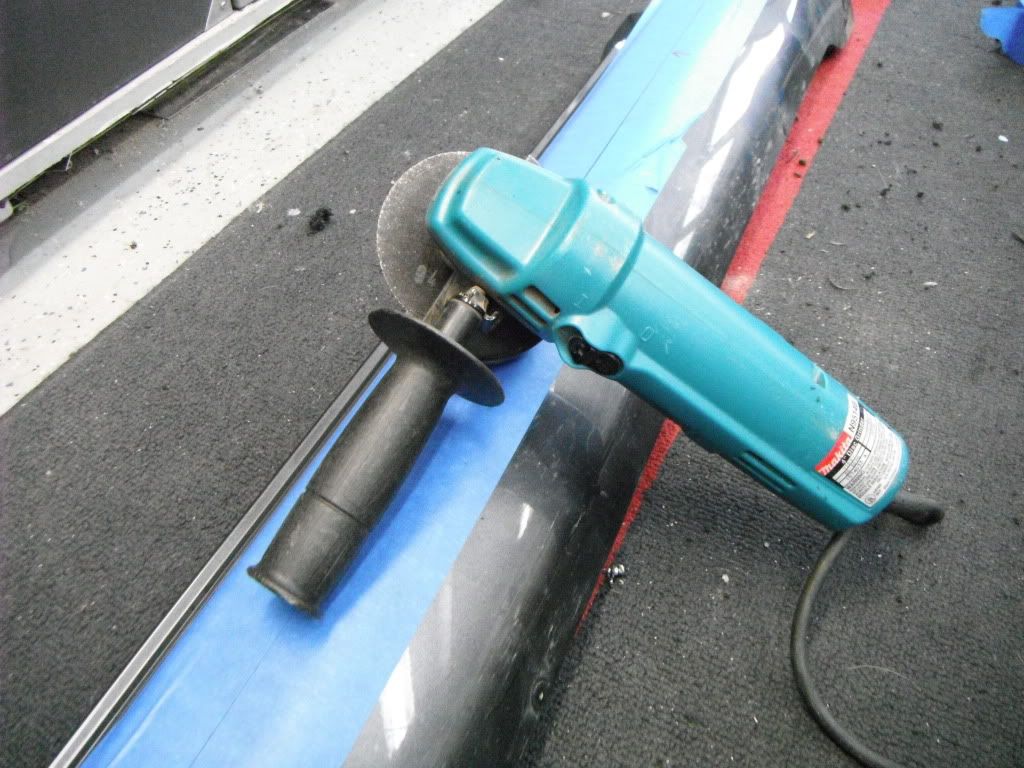
"Say hello to my little friend!!" Makita angle grinder+metal grinding wheel.
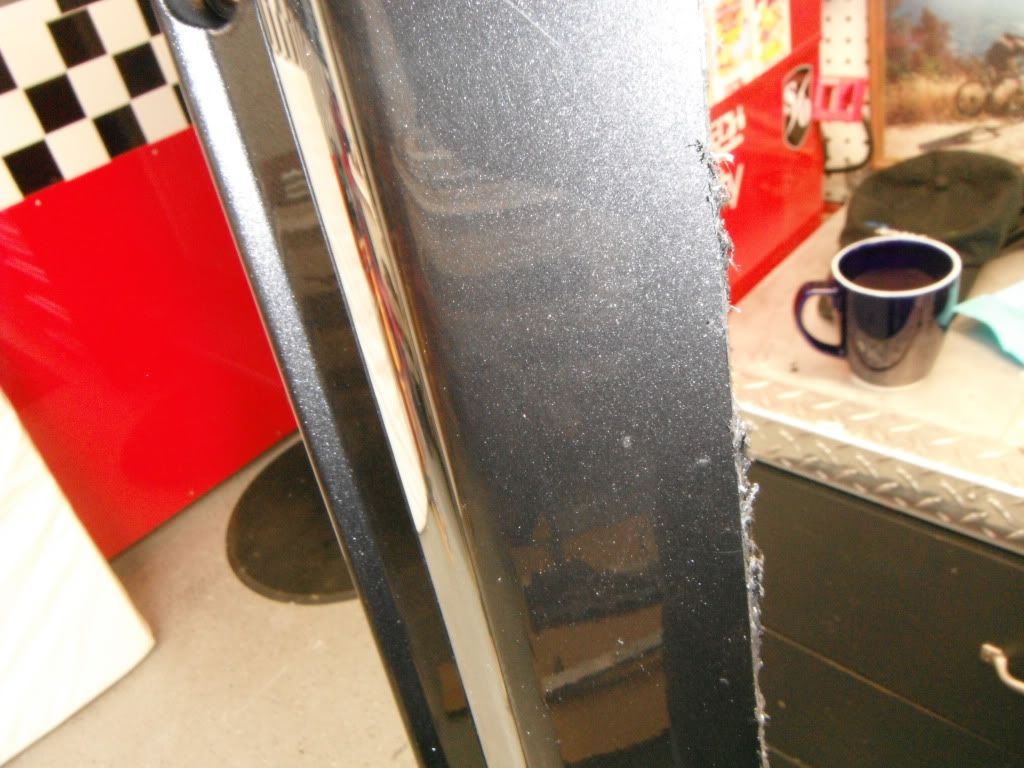
Take a deep breath, and carefully cut between the lines. Some of the plastic will melt, that's OK. It'll trim up nice and clean later. Once you cut the side, you will need to cut the ends as well. Take your time and make everything square and true...
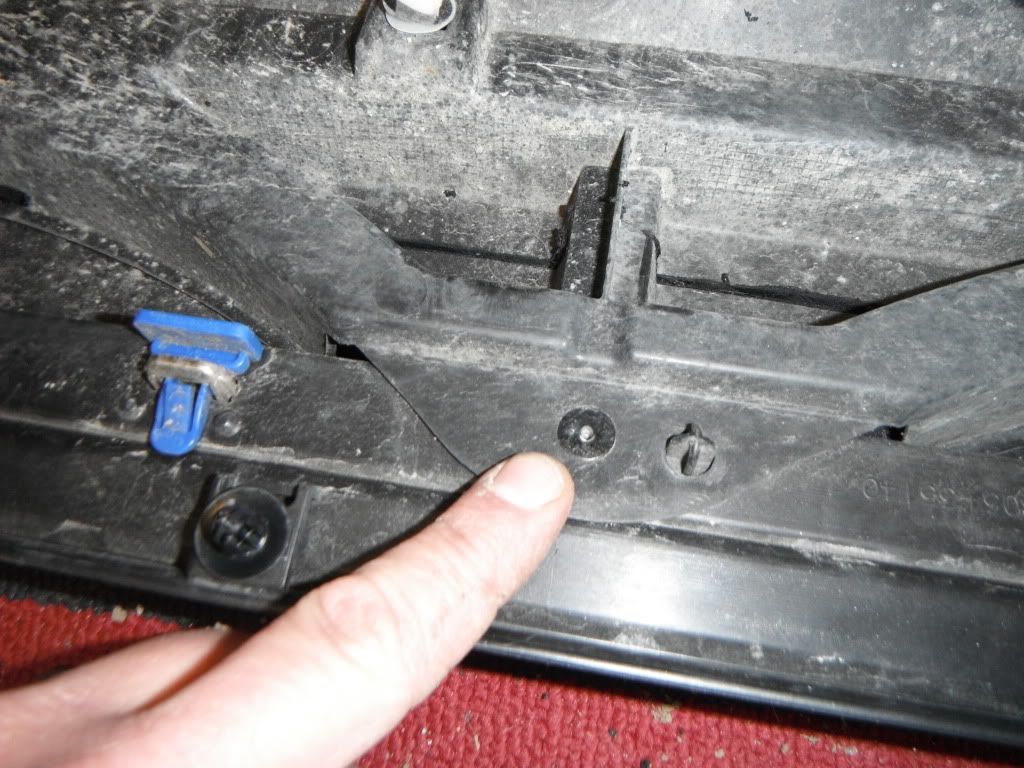
The 2 halves won't separate due to these aluminum rivets holding the bracing in place. I used the grinder to "erase" the rivet heads- 4 on each side. Now you have 2 halves...
After grinding, the edges of the panel will have some melted plastic stuck to it. That's normal...
Carefully trim the back and the edge with a box cutter. DO NOT use a lot of pressure or you will dig into the "good" plastic. Rub the cut with your fingers. It will look perfect with a little work.
I also cut these trim pieces for a more finished look. They install in the front wheelwell. After pushing your rockers back on, hold this piece in place and mark both ends with a sharpie. Hit it with the grinder.
The rocker snaps back on.
Re-install the hardware in the wheelwells, and the screws behind each door. No more aluminum brace needed (it is still stout).
WITHOUT ROCKER:
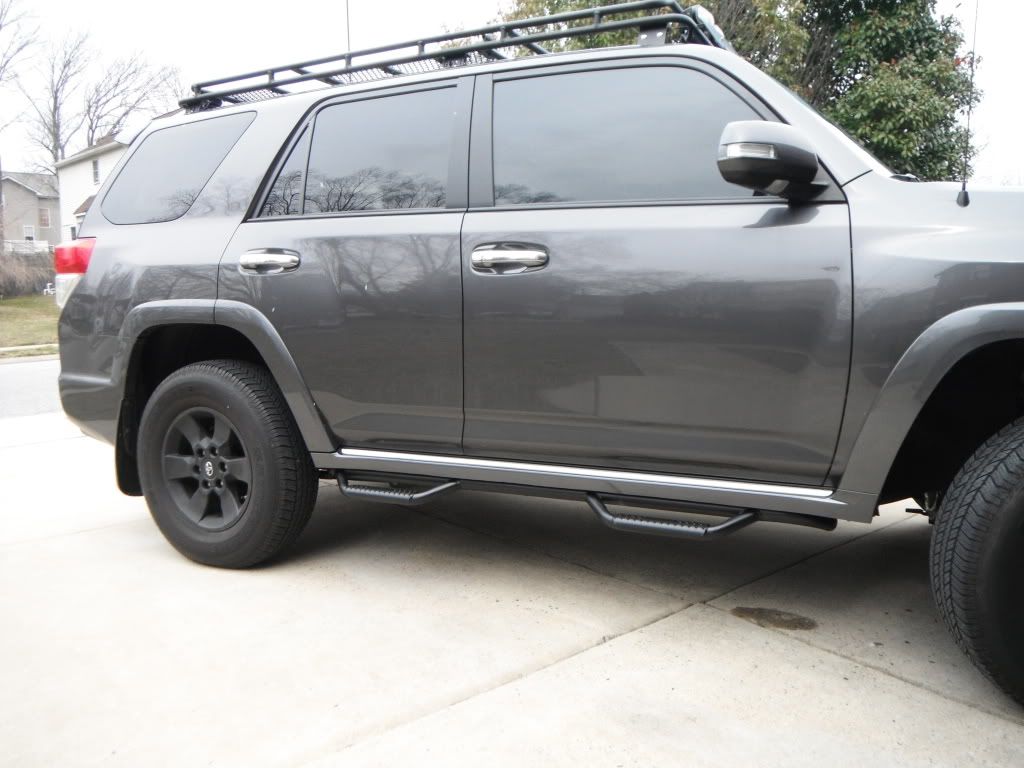
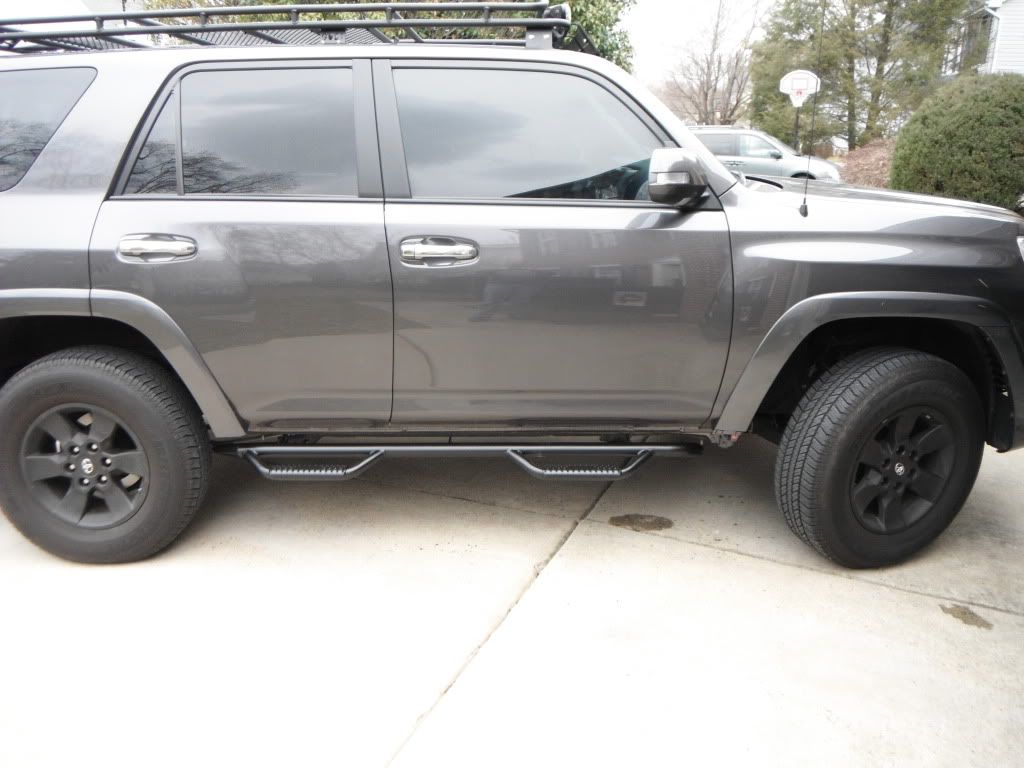
WITH ROCKER:
I Love 'em!!!
Happy Modding- ANTMAN