

Antman
Elite Member
I am now an OFFICIAL poser!!!!
Bilstein 5100's all the way around and SAW 1.5" rear coils! Many have done it, now I can join the crowd. Yippeeeeeeeeeeee!
First of all a giant "Thank You!" is needed (YOU know who you are...:thumb

Technical info and unofficial measurements at the wheelwells first, because I know you guys like that sort of thing:
Bilstein front shocks at 2.5"
SAW rear 1.5" coils with 5100's
Airlift 1000 rear airbags.
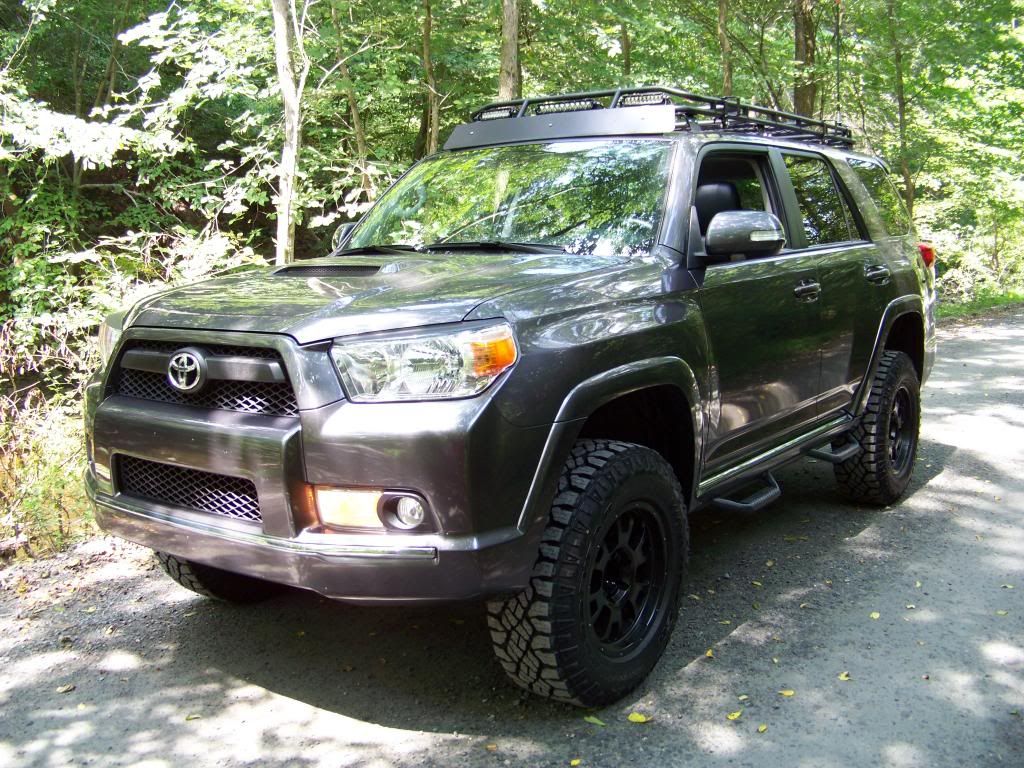
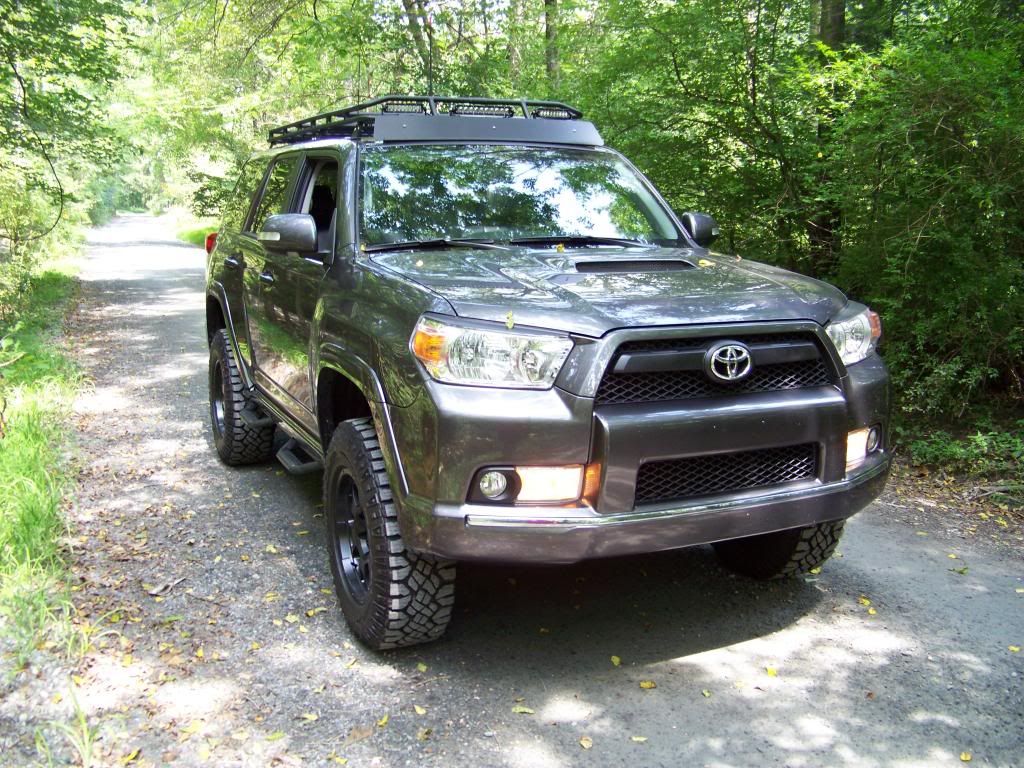
Duratrac's- 265/70R17- E rated on Level8 Guardian wheels
Fender liners pulled forward.
Nothing rubs at all.
Front Drivers: 38"
Front Pass : 38 1/8"
Rear Drivers : 38 5/8
Rear Pass : 39"
Things still need to settle a little bit, and the alignment is tomorrow.
The ride is a million times better. Smoother, quieter, more stable, no more dive, no more wander. It's like a new truck, but better!
Before:

After: (The forward rake you see in the pic has been reduced quite a bit after some driving!)

I used the same method as installing the top spacer.
No spring compressor needed for the front.
It worked like a charm for the front (again)! The rear springs went right in with some "jack induced articulation" and the airbags are easier the second time around. A quick note about the airbags. They are NOT fragile. Beat those suckers into submission and cram 'em into place. I basically stepped on the bags, forcing most of the air out and then I found a small cap for the nozzle. With the bag compressed, I shoved it into the spring and took off the cap. The bag self inflates right into position. Easy peasy!
Some install photos:
Stock with bags (I installed the rear 5100's a week ago)


Spring differences:

New springs installed with bags:


Just the rear finished last night!

All in all it looks pretty normal under there for going on 2 years, BUT- There was some rust that was, what I would consider, a little worse that it should be. Nothing to be overly concerned with though.
Under the panhard bar (where it mounts) was pitted pretty badly (no pic because I hit my head and got pissed for a while LOL). The spare tire lowering mechanism looked like this. I sprayed both with rustoleum rust converter, along with anything else that wasn't pretty.

On to the front:


In went a lamb- out came the LION!



Continued:
Bilstein 5100's all the way around and SAW 1.5" rear coils! Many have done it, now I can join the crowd. Yippeeeeeeeeeeee!
First of all a giant "Thank You!" is needed (YOU know who you are...:thumb

Technical info and unofficial measurements at the wheelwells first, because I know you guys like that sort of thing:
Bilstein front shocks at 2.5"
SAW rear 1.5" coils with 5100's
Airlift 1000 rear airbags.
Duratrac's- 265/70R17- E rated on Level8 Guardian wheels
Fender liners pulled forward.
Nothing rubs at all.
Front Drivers: 38"
Front Pass : 38 1/8"
Rear Drivers : 38 5/8
Rear Pass : 39"
Things still need to settle a little bit, and the alignment is tomorrow.
The ride is a million times better. Smoother, quieter, more stable, no more dive, no more wander. It's like a new truck, but better!
Before:

After: (The forward rake you see in the pic has been reduced quite a bit after some driving!)

I used the same method as installing the top spacer.
No spring compressor needed for the front.
It worked like a charm for the front (again)! The rear springs went right in with some "jack induced articulation" and the airbags are easier the second time around. A quick note about the airbags. They are NOT fragile. Beat those suckers into submission and cram 'em into place. I basically stepped on the bags, forcing most of the air out and then I found a small cap for the nozzle. With the bag compressed, I shoved it into the spring and took off the cap. The bag self inflates right into position. Easy peasy!
Some install photos:
Stock with bags (I installed the rear 5100's a week ago)


Spring differences:

New springs installed with bags:


Just the rear finished last night!

All in all it looks pretty normal under there for going on 2 years, BUT- There was some rust that was, what I would consider, a little worse that it should be. Nothing to be overly concerned with though.
Under the panhard bar (where it mounts) was pitted pretty badly (no pic because I hit my head and got pissed for a while LOL). The spare tire lowering mechanism looked like this. I sprayed both with rustoleum rust converter, along with anything else that wasn't pretty.

On to the front:


In went a lamb- out came the LION!


Continued:
Last edited:


