cjacob316
New member
I have managed to find pretty detailed write ups about everything I've wanted to do or will do in the future to my 4runner with the exception of an ARB compressor install, specifically using AOB switches instead of the ARB switch. I know the instructions with the compressor are pretty fool proof, but I know I would have appreciated a write up on it to make some of the work a little easier to figure out.
I received the CKMA12 as a gift for Christmas, and as I waited for the inflation kit, I did little research and prepped the AOB switch harnesses. I already have two AOB switches, one for the compressor and one for a future light bar, and I also have a compressor mount from a member here.
After looking through the parts and reading the instructions, I came up with a slight "problem" I wanted to make sure I solved in the install. For some reason the inline fuse was installed about a foot away from the compressor and over five feet away from the battery end. First thing was first, I cut back the tape to give myself some room and cut off the fuse.

Later I took the battery end of the cable, stripped it and used a butt connector and some heat shrink to attach it to one side of the gap, lined up the wire, cut it to size, and then connect the other side of the gap. afterwards I taped it back up just for fun, trying to make it look like it came that way.
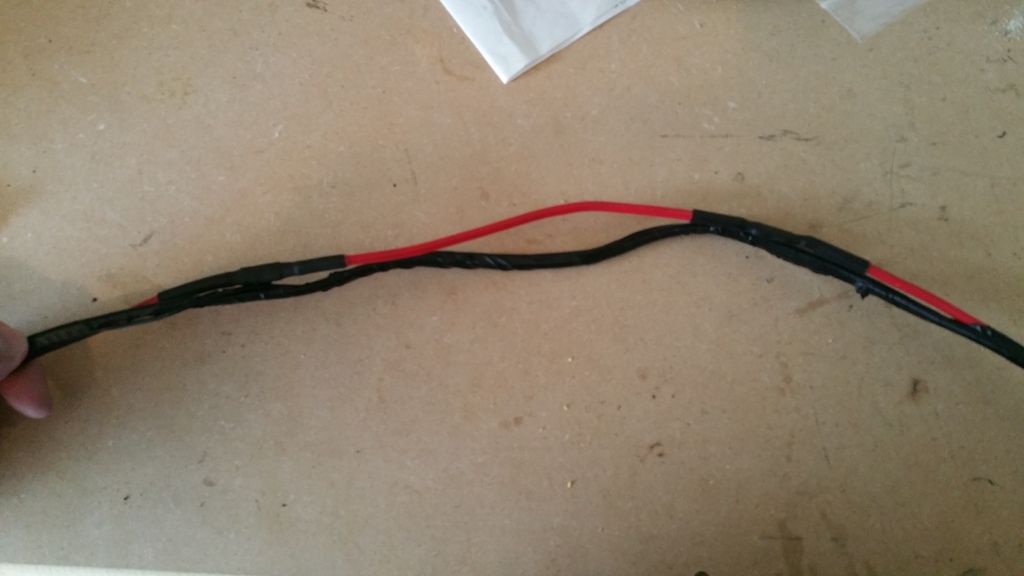
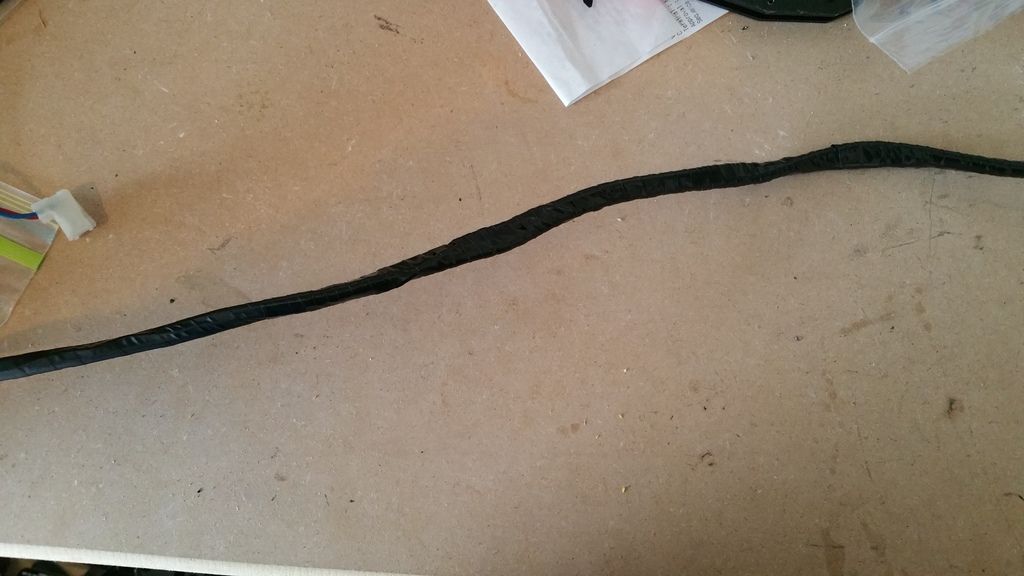
Then I shoved everything into a split loom and taped the ends. I then taped up the locker solenoid connectors just to protect them.

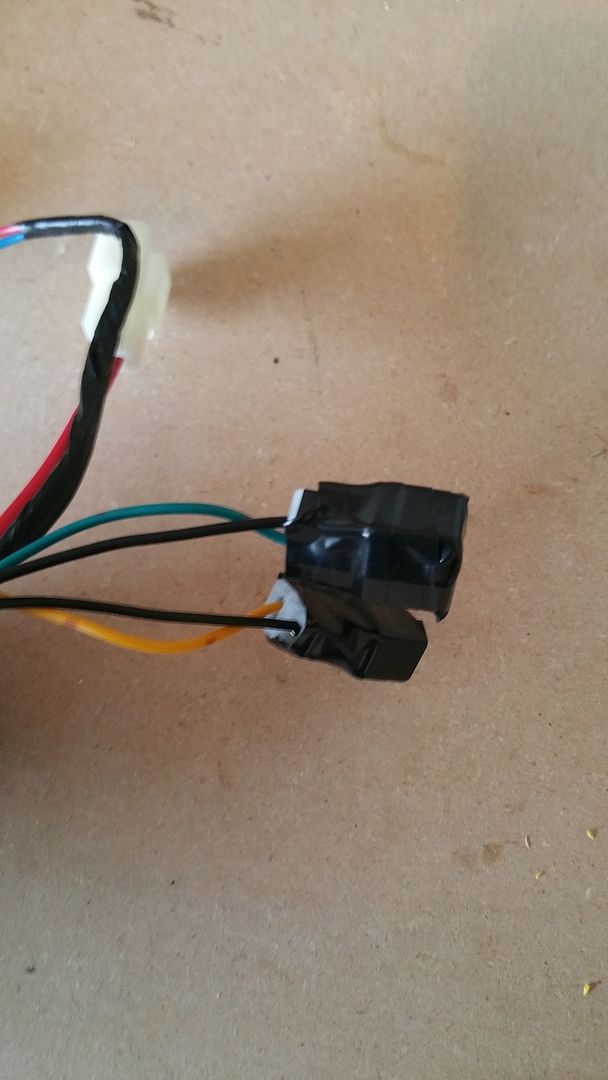
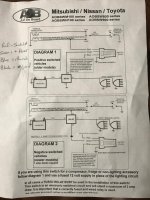
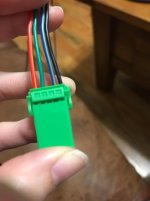
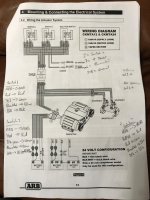
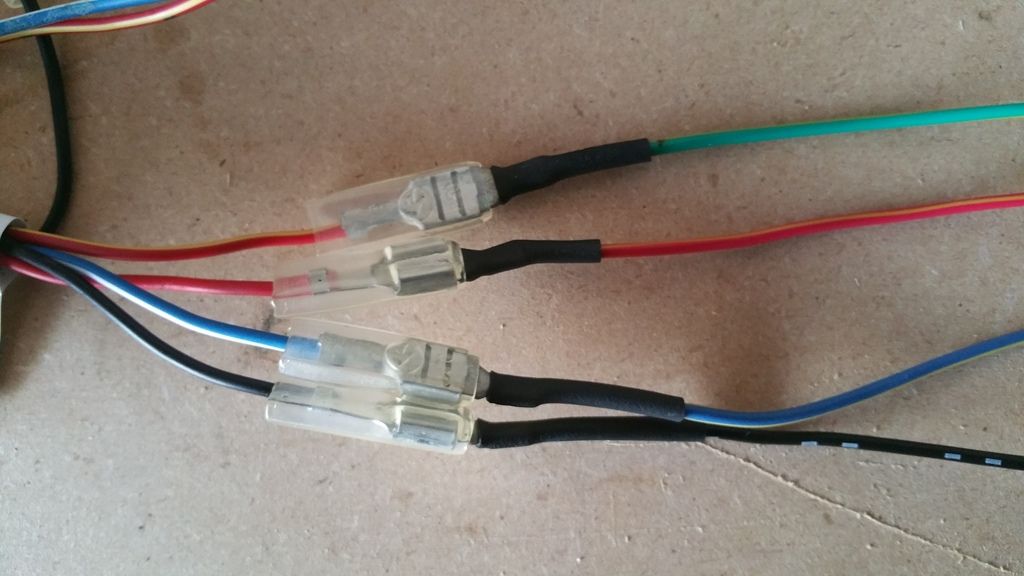
Next up I prepped the switch harnesses. I am not using the compressor for lockers, at least not yet, but I still wanted to use the main harness for a few reasons. It will allow me to be able to just plug in a switch for a locker down the road if I want to add one, It provides me with multiple wires to light switches but only had to tap one wire into the factory dash lights, and it provides numerous ground wires. Otherwise you can just hook your switch into the first part of the harness that you pull through the firewall instead of dealing with the three switch harness. I just put spade connectors onto the ends of the wires for the switches and they fit nicely into the female ends from the ARB wiring harness. From the AOB switch to ARB harness you want to go:
AOB --> ARB
Black --> Black
Blue/Yellow --> Blue/White
Red/Yellow --> Red
Green/Yellow --> Red/Yellow
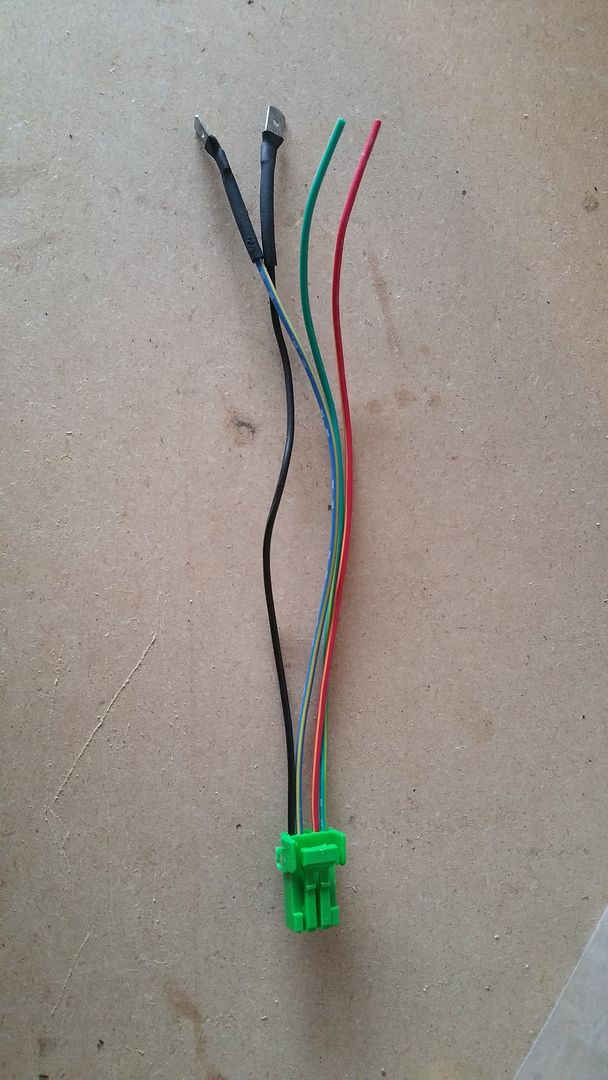
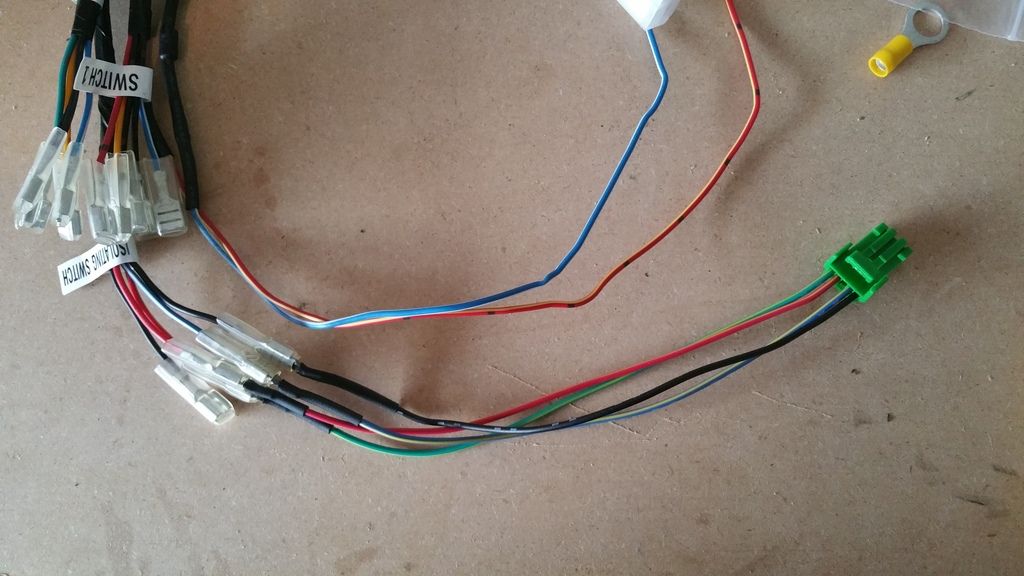
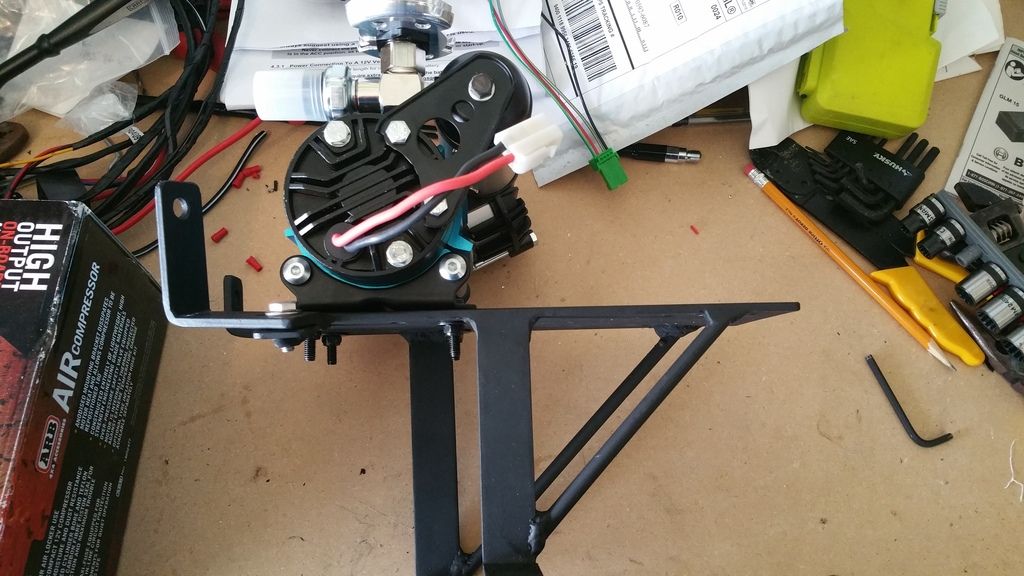
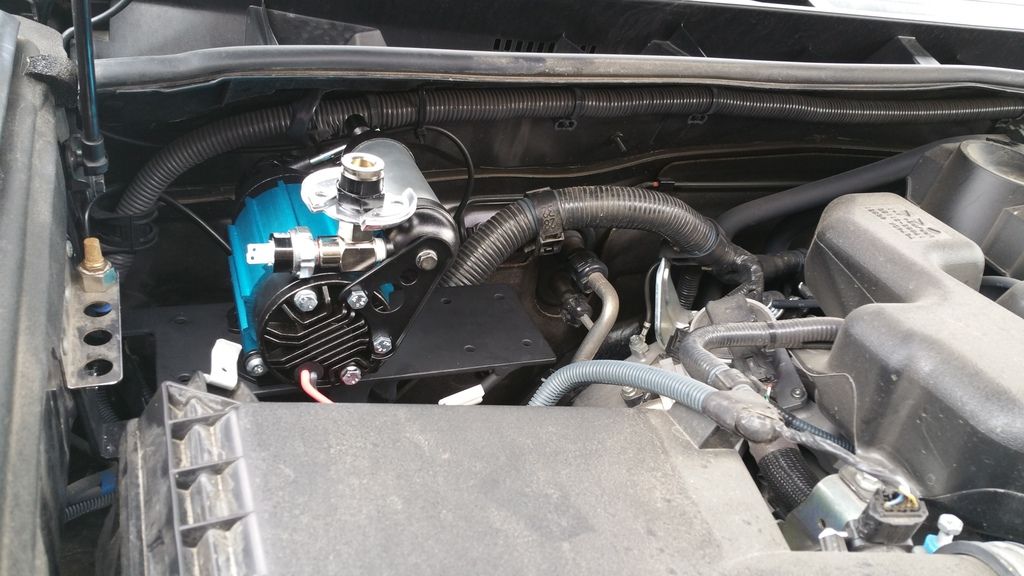
Once my inflation kit came in, I test fit the pump and mount in a few positions. I had to drill extra holes since this mount was made for the dual compressor so I wanted to make sure I got it just right... I failed, I placed the pump too close to the fender well and just could not get my hands in to bolt down the mount, so I had to drill more holes. But I eventually got it mounted up, I took some of the pictures before I moved the compressor on the mount.
I ran the wires for the switch through the little nub above the main harness. I just cut it off and fed it though with a fish tape and some grease. I also fed through a harness for a led light bar I want to add later. I wanted to go ahead and get all the wires through at once, and I wanted to use the 12v supply for the switch from the light bar harness for the compressor switch as well.
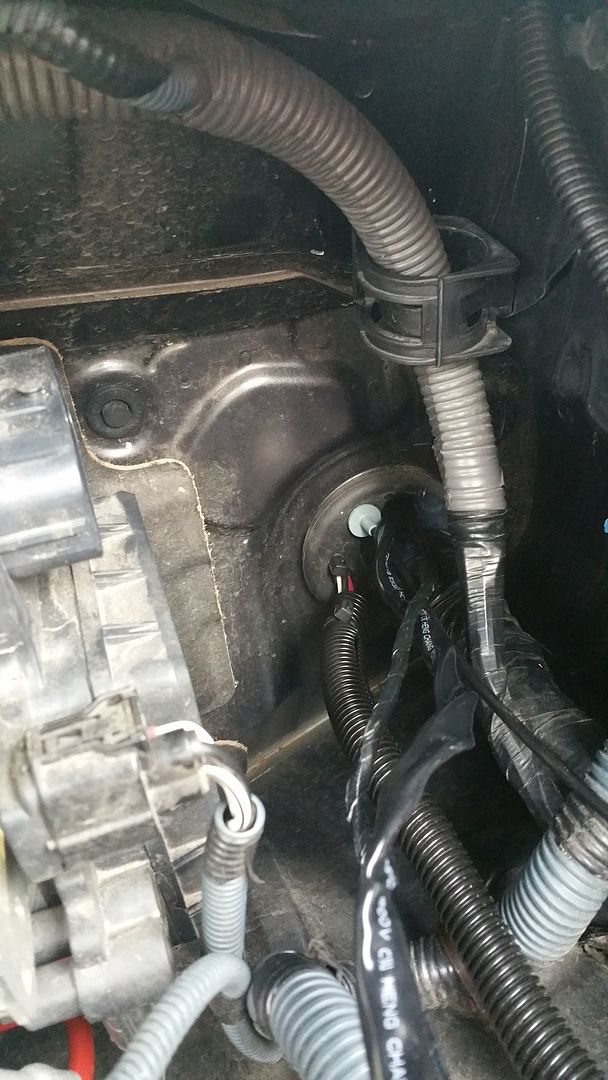
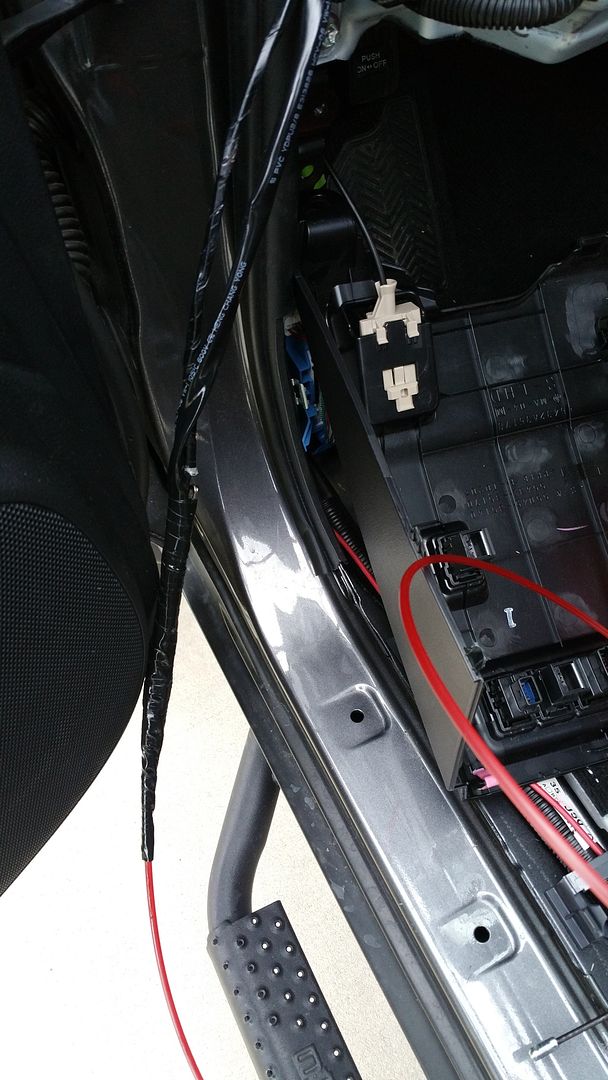
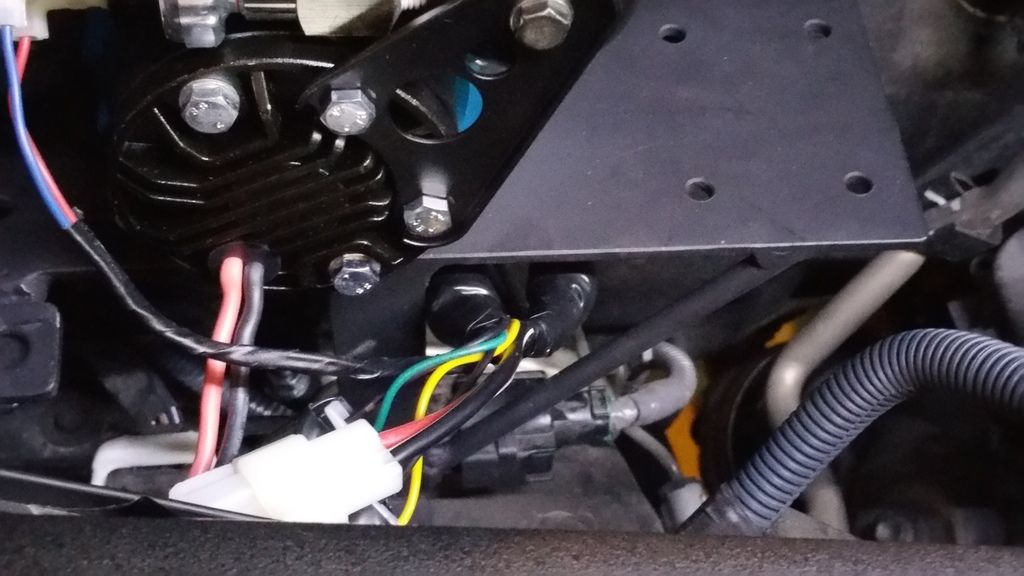
These are the wires for the AOB switch for the future light bar and the Red/Yellow 12v supply wire for the ARB harness. I Attached the Red/Yellow wire from the ARB harness and the Green/Yellow wire from the light bar switch to a spade connector, then attached that to the light bar wire harness. Now I have a 12 supply for the light bar switch and all the switches on the ARB harness.
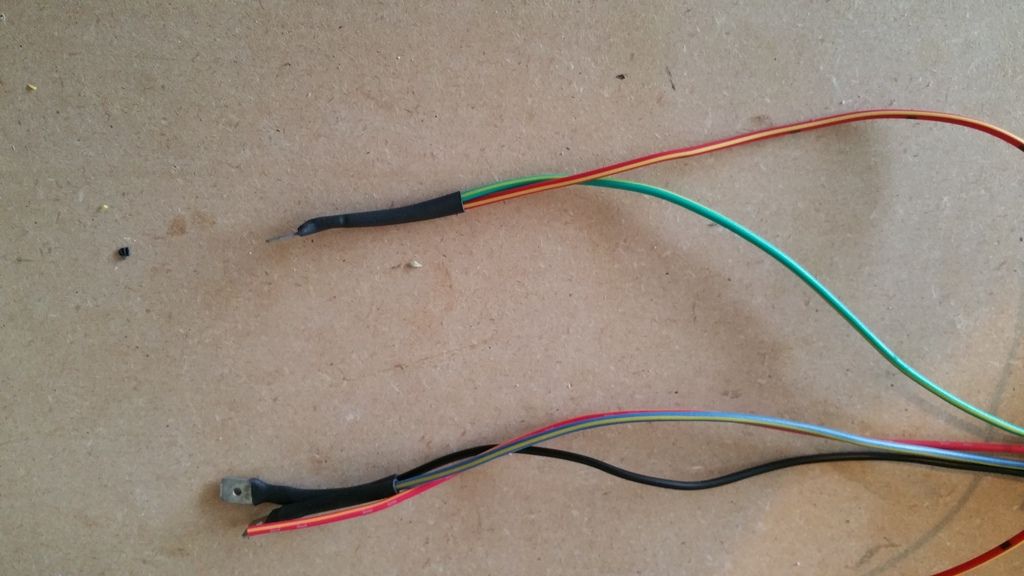

I cut the green wire for the wiper de-icer and used a butt connector to attach the Blue/White wire from the ARB harness with the green wire to illuminate the switch with the dash lights. I plugged the Blue/Yellow wire from the AOB light bar switch to the Blue/White wire for "switch 2" of the ARB harness since this switch will likely never be used by me given I already have one locker.

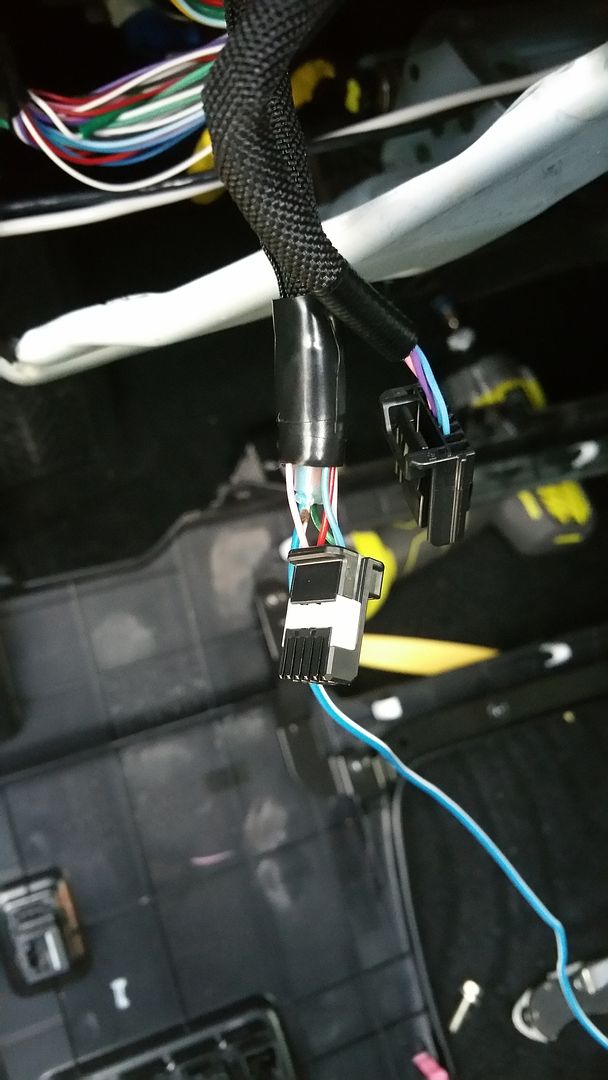
I tucked everything up and tested the dash lights. I Need to go back at some point and trim down all the excess wires. I just didn't have all the proper parts or time to do it today.
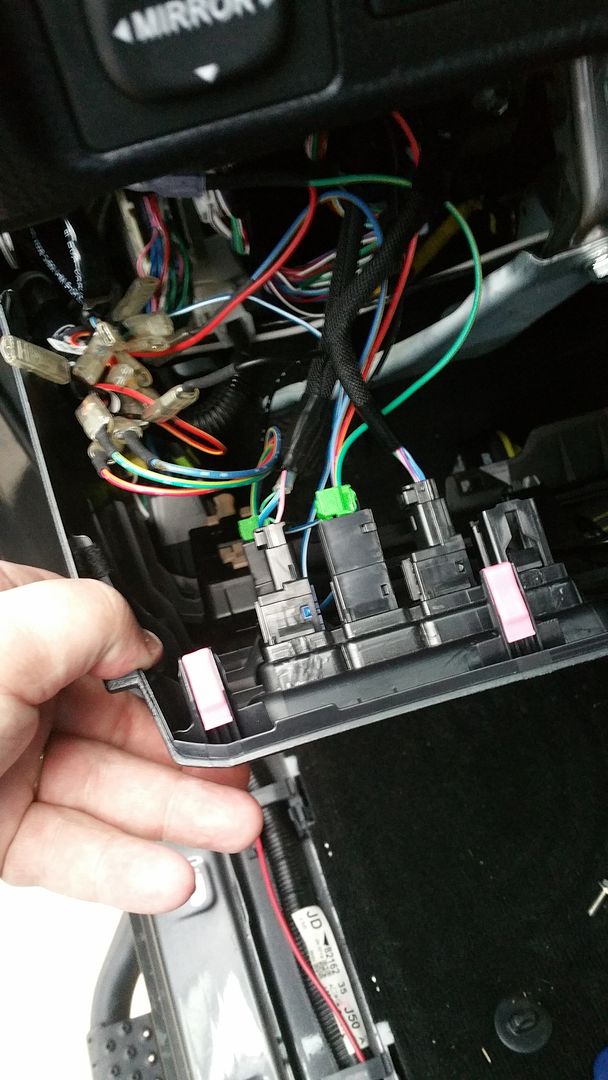
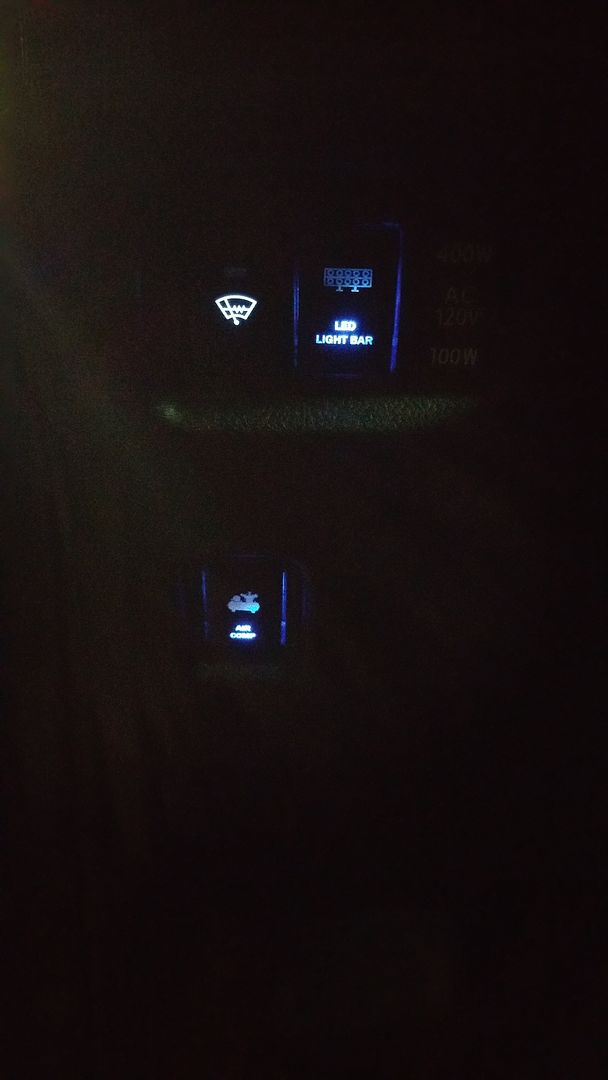
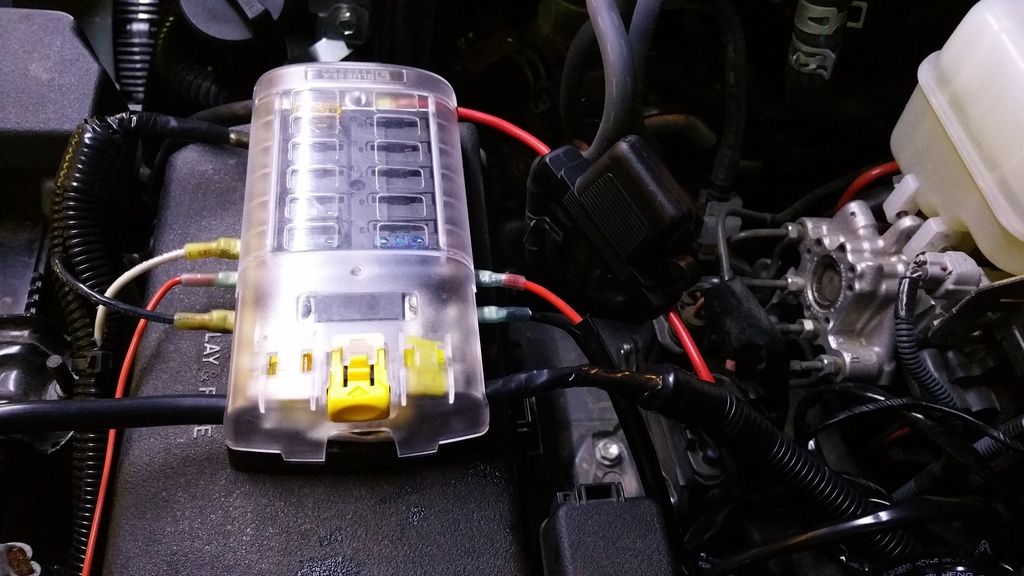
Lastly, I hooked up all the power and zip tied the ARB wire loom along the top of the firewall. I ran the loom under the mount to avoid the heat from the pump melting the wires or connectors.
I received the CKMA12 as a gift for Christmas, and as I waited for the inflation kit, I did little research and prepped the AOB switch harnesses. I already have two AOB switches, one for the compressor and one for a future light bar, and I also have a compressor mount from a member here.
After looking through the parts and reading the instructions, I came up with a slight "problem" I wanted to make sure I solved in the install. For some reason the inline fuse was installed about a foot away from the compressor and over five feet away from the battery end. First thing was first, I cut back the tape to give myself some room and cut off the fuse.

Later I took the battery end of the cable, stripped it and used a butt connector and some heat shrink to attach it to one side of the gap, lined up the wire, cut it to size, and then connect the other side of the gap. afterwards I taped it back up just for fun, trying to make it look like it came that way.


Then I shoved everything into a split loom and taped the ends. I then taped up the locker solenoid connectors just to protect them.


Next up I prepped the switch harnesses. I am not using the compressor for lockers, at least not yet, but I still wanted to use the main harness for a few reasons. It will allow me to be able to just plug in a switch for a locker down the road if I want to add one, It provides me with multiple wires to light switches but only had to tap one wire into the factory dash lights, and it provides numerous ground wires. Otherwise you can just hook your switch into the first part of the harness that you pull through the firewall instead of dealing with the three switch harness. I just put spade connectors onto the ends of the wires for the switches and they fit nicely into the female ends from the ARB wiring harness. From the AOB switch to ARB harness you want to go:
AOB --> ARB
Black --> Black
Blue/Yellow --> Blue/White
Red/Yellow --> Red
Green/Yellow --> Red/Yellow


Once my inflation kit came in, I test fit the pump and mount in a few positions. I had to drill extra holes since this mount was made for the dual compressor so I wanted to make sure I got it just right... I failed, I placed the pump too close to the fender well and just could not get my hands in to bolt down the mount, so I had to drill more holes. But I eventually got it mounted up, I took some of the pictures before I moved the compressor on the mount.


I ran the wires for the switch through the little nub above the main harness. I just cut it off and fed it though with a fish tape and some grease. I also fed through a harness for a led light bar I want to add later. I wanted to go ahead and get all the wires through at once, and I wanted to use the 12v supply for the switch from the light bar harness for the compressor switch as well.


These are the wires for the AOB switch for the future light bar and the Red/Yellow 12v supply wire for the ARB harness. I Attached the Red/Yellow wire from the ARB harness and the Green/Yellow wire from the light bar switch to a spade connector, then attached that to the light bar wire harness. Now I have a 12 supply for the light bar switch and all the switches on the ARB harness.


I cut the green wire for the wiper de-icer and used a butt connector to attach the Blue/White wire from the ARB harness with the green wire to illuminate the switch with the dash lights. I plugged the Blue/Yellow wire from the AOB light bar switch to the Blue/White wire for "switch 2" of the ARB harness since this switch will likely never be used by me given I already have one locker.


I tucked everything up and tested the dash lights. I Need to go back at some point and trim down all the excess wires. I just didn't have all the proper parts or time to do it today.


Lastly, I hooked up all the power and zip tied the ARB wire loom along the top of the firewall. I ran the loom under the mount to avoid the heat from the pump melting the wires or connectors.


Last edited: