Things you need:
Auto dimming mirror, Sensor
Flat and phillips screwdriver
Mounting button
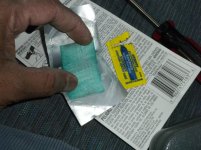
Windshield mount adhesive
Extra wires
tape
Cable ties
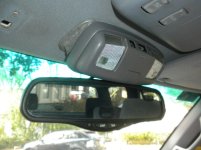
First get your existing mirror parallel to the roof. Mark wither ends to the sun visors so you can align your new mirror in place
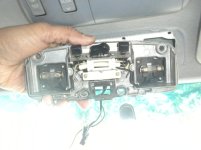
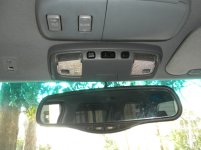
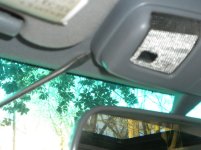
Using a flat screwdriver pry the plastic cover in the reading lamps (closer to the windshield)
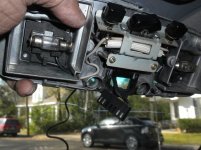
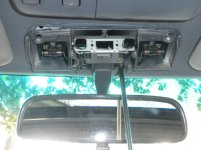
Remove the 4 phillips bolts and disconnect the wire plug and remove the unit.
Now, remove the mirror from the reading lamp unit by removing the phillips bolt. (two small cylindrical parts may fall, so be ready to hold it)
Remove the driver side sun visor
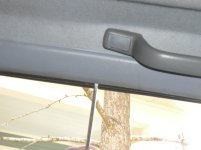
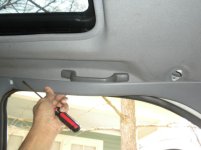
IMPORTANT: Remove the front grab handles (IMPORTANT) this is the toughest job in this process!!! USE a GOOD phillips screwdriver and with a strong push TURN the BOLT to the RIGHT little bit (I know... but do it) This will break lose the thread locking. Now SLOWLY turn the bolt left and right (all the time put enough pressure on the screwdriver so it won't strip the bolt). Do it slowly until you remove the bolt. Takes about 8 minutes per bolt!! Patience guys..
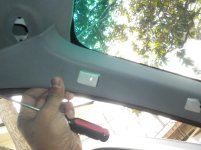
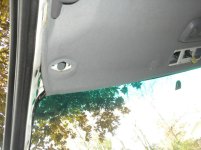
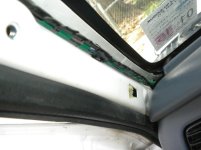
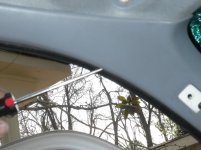
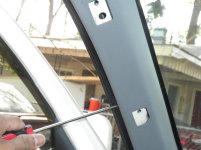
Remove the plastic cover on the roof by prying the locations ONLY shown in the pictures (so you won't break any tabs). Pull the cover from the rear door insert. Now you can lift the cover off
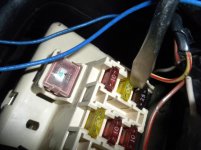
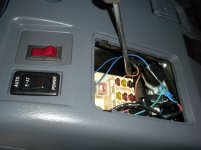
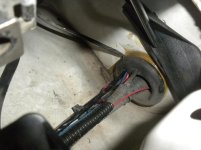
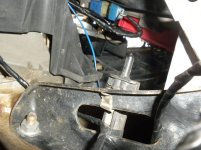
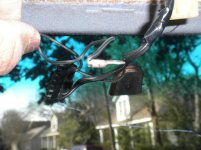
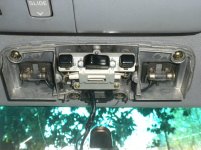
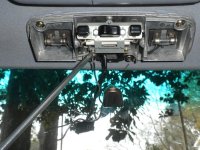
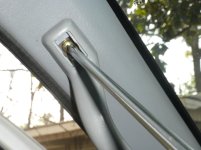
Pass 3 wires from the reading lamp opening to the left pillar post. One goes to the fuse (wiper 20 A. ) attach it to the right post as shown by the screw driver head. Other two wires should go to the front Head lamp area. Pass it through the rubber gourmet on the driver side firewall
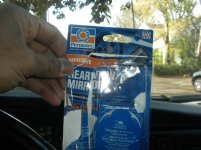
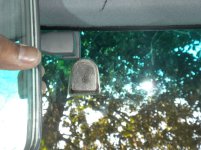
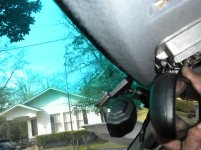
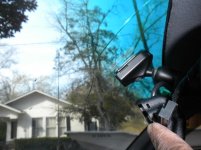
Now, open the windshield mount adhesive. Clean the area where the button is going to attach. Leave for a minute. Follow the directions on the cover.
Allow the button to settle for 15 minutes. ( I left about 3 hours).
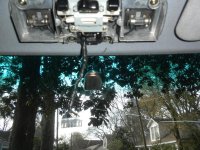
Connect the 3 wires to the mirror rear wire plug. The 4th wire is ground and you can ground it to the reading lamp bolt easily.
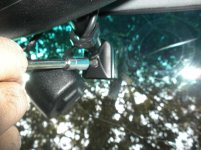
Slide the mirror over the button and by using a star bit, tight the bolt.
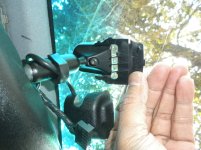
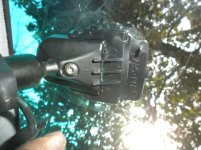
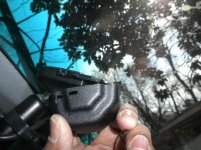
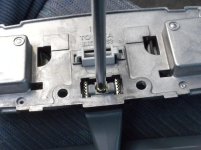
There are two plastic covers to attach the compass monitor to the mirror mount. Follow the images. (don't use too much force to press anything in just to be safe)
Pass the wire plug through the reading lamp unit and plug it to the mirror.
Put everything back in.
Remember to calibrate your compass according to the region you are in.
Hold the compass button for few seconds, You'll see Z and some number. If you hit the compass button you can change the number (which is the zone you live in). Once you get your zone wait for few seconds.... the mirror now shows CAL and it is time to make two full circles slowly in a parking lot (take spacial care when you are making a full cycle in a parking lot) I did it in the night.
See this link to find your zone (Figure 19)
http://allscion.com/images/rostra/Installation instructions for all mirrors.pdf
(ADDITIONALLY: I install a 2nd generation reading lamp so it will light up when I open the drivers door)
Auto dimming mirror, Sensor
Flat and phillips screwdriver
Mounting button
Windshield mount adhesive
Extra wires
tape
Cable ties
First get your existing mirror parallel to the roof. Mark wither ends to the sun visors so you can align your new mirror in place
Using a flat screwdriver pry the plastic cover in the reading lamps (closer to the windshield)
Remove the 4 phillips bolts and disconnect the wire plug and remove the unit.
Now, remove the mirror from the reading lamp unit by removing the phillips bolt. (two small cylindrical parts may fall, so be ready to hold it)
Remove the driver side sun visor
IMPORTANT: Remove the front grab handles (IMPORTANT) this is the toughest job in this process!!! USE a GOOD phillips screwdriver and with a strong push TURN the BOLT to the RIGHT little bit (I know... but do it) This will break lose the thread locking. Now SLOWLY turn the bolt left and right (all the time put enough pressure on the screwdriver so it won't strip the bolt). Do it slowly until you remove the bolt. Takes about 8 minutes per bolt!! Patience guys..
Remove the plastic cover on the roof by prying the locations ONLY shown in the pictures (so you won't break any tabs). Pull the cover from the rear door insert. Now you can lift the cover off
Pass 3 wires from the reading lamp opening to the left pillar post. One goes to the fuse (wiper 20 A. ) attach it to the right post as shown by the screw driver head. Other two wires should go to the front Head lamp area. Pass it through the rubber gourmet on the driver side firewall
Now, open the windshield mount adhesive. Clean the area where the button is going to attach. Leave for a minute. Follow the directions on the cover.
Allow the button to settle for 15 minutes. ( I left about 3 hours).
Connect the 3 wires to the mirror rear wire plug. The 4th wire is ground and you can ground it to the reading lamp bolt easily.
Slide the mirror over the button and by using a star bit, tight the bolt.
There are two plastic covers to attach the compass monitor to the mirror mount. Follow the images. (don't use too much force to press anything in just to be safe)
Pass the wire plug through the reading lamp unit and plug it to the mirror.
Put everything back in.
Remember to calibrate your compass according to the region you are in.
Hold the compass button for few seconds, You'll see Z and some number. If you hit the compass button you can change the number (which is the zone you live in). Once you get your zone wait for few seconds.... the mirror now shows CAL and it is time to make two full circles slowly in a parking lot (take spacial care when you are making a full cycle in a parking lot) I did it in the night.
See this link to find your zone (Figure 19)
http://allscion.com/images/rostra/Installation instructions for all mirrors.pdf
(ADDITIONALLY: I install a 2nd generation reading lamp so it will light up when I open the drivers door)
Attachments
Last edited: