Brilliant's Mod Thread

just read through the whole thing... great build! love the 4runner. any more pictures of this shelf setup? havent seen anyone build anything similar

I dont have any more pics. I need to rework it some and make it more rigid and to raise the cross bar. Its just 2 hitch carriers welded together.
 
The rear hatch looks great! I must have missed that mod. Is that from a Surf or did you modify a stock one? I guess if you wanted to add the tire carrier you's have to weld a support under the quarter panel.

The recent trip pics look great too!
 
Hey Brilliant,

On your center console mod. You mention in the description that you used plastic epoxy, and then say that you need to reinforce it with some glass.. But it doesn't look in the pictures like you did any fiberglass work. Did you end up doing any fiberglassing on the scion switches, or was the plastic epoxy enough. And what type of plastic epoxy did you use, and were you happy with it, or if you did it again do you think you would use a different product?

Thanks again for posting all this good stuff. I order my scion window switch panel off of e-bay today. I already have my junkyard console. Hoping to start working on this over the holidays..

And I apologize in advance if my questions have already been answered in your thread. I've read through the whole thing, but its a pretty big thread and there is always a chance that I missed something.
 
Put on the rail extensions today. I will get rid of the aero bars, but for now, I put them back on.

RTVed the rivnuts underneath, then again on the screw and on top of the nut when set the rail.

26599086666_3b442e26dd_z.jpg


26599082556_88deb64f47_z.jpg


26351961010_527411ec4d_z.jpg
Are those oem rails just cut down or proline racks or another? I have a deal on rhino rack tracks and I wanted to know where you drilled by the sunroof to avoid hitting anything important. I want to run long tracks as well. Thanks

Sent from my SAMSUNG-SM-G870A using Tapatalk
 
Great pictures from your trip!! I laughed about the Honda Ridge drive telling you to turn back :lol:

Great build...
 
Are those oem rails just cut down or proline racks or another? I have a deal on rhino rack tracks and I wanted to know where you drilled by the sunroof to avoid hitting anything important. I want to run long tracks as well. Thanks

yea, oem rails cut down. There is a pic of where I drilled, I didnt hit anything important there.
 
Last edited:
what size rivets? And you just measured distance from the gutter to match the other rail holes I see. Did you know that the two holes you put for the front rails was going to be safe or did you have measurements to avoid sunroof hardware?
 
I thought I would detail post for limiteds since I couldn't find what I needed elsewhere. Lots of posts for SR5s but not limiteds, and I never found a concise one.

Parts List
Cluster - 3 x - Type 24 | T6.5 wedge
Key - 1 x - Type 74 | T5 wedge
Ashtray - 1 x - Type 74 | T5 wedge
AT Shifter – 1 x - Type 24 | T6.5 wedge
Glove Box – 1 x Type 74 | T5 wedge
Rear Window button- 1 x – Type A | T3 8mm Japanese Instrument panel bulb
ECT/Rear Defroster - 1 x - Type A | T3 8mm Japanese Instrument panel bulb
Climate Control – 2 x – Type A | T3 8mm Japanese panel bulbs & 2 x - Type B | T4 10mm Japanese panel bulbs
Flasher - 1 x – Type A | T3 8mm Japanese panel bulbs
Cig Lighter – Custom. I pulled the old bulb out, cut off the housing from a Type 74 so it was bare LED, wires, and resistors. I put it in with a tad of silicone.
Window Switches – Micro LED, requires printed circuit board solder, modified type 74s.

I used superstars with lens covers for the Type 24s for the cluster and AT shifter. The 3 LED ones do not fit, they are too loose (maybe glue them if you want). I used narrow LEDS for all the Typa A & B, dont buy they wide square heads, they will not fit the ECT and rear window button well.

Finally I can see my climate controls!

Puke green/yellow wasn't an option for color match, so I went green.

Note: some trimming of the Type A and B bulb's locking 'slats' had to be done to make them fit. I used a hobby knife and pliers to hold the bulbs.

Where I bought them:
LED Lights, Bulbs & Accessories - SUPER BRIGHT LEDS
www.autolumination.com
Bulb Guide: Automotive Bulb Visual Finder

I had 1 cluster, key ring, ECT, rear window, AT boot, climate controls, and glove box all out by previous owner. All better now. Hopefully this helps other limited owners sort it out what they need, but fix them. Its super easy.

Good info! Thanks :hello:
 
Got off my lazy arse and put in a hatch light. Inspiration was originally from Rickashay. I got the pin out info from some random post I found on the interweb.

Wire as it is, it will auto on off with opening the hatch. You of course can turn it off as well with the hatch open.

I used an LED panel like my overhead lights. Trace housing, transfer to pen, and stay inside the lines. Contact cement and a lil black RTV to fill the gaps to finish it off. Big picture of what to tap. Be sure to leave enough of a tail to pop the panel off and disconnect.


th_DSCN1589.jpg~original


DSCN1594.jpg~original

Thanks for the pictures, I am going to do this tomorrow night :ybrick:
 
Wait, what exactly are you doing in the last post? More pics?

Which post?

LOL my kind of shopping :p

Do you remember how much you paid? I see the switch alone fluctuates around $15-30 USD, and still need the outlet and inverter :ybrick:

You can get the pontiac vibe panel which has the switch and outlet for around 20 if you look for a while. Toyota seems to be priced higher. I just got a small cheapo inverter. I was using the outlet mainly for charging handheld radios and other small stuff.
 
You can get the pontiac vibe panel which has the switch and outlet for around 20 if you look for a while. Toyota seems to be priced higher. I just got a small cheapo inverter. I was using the outlet mainly for charging handheld radios and other small stuff.

Awesome I will look for the Pontiac vibe

Thank you
 
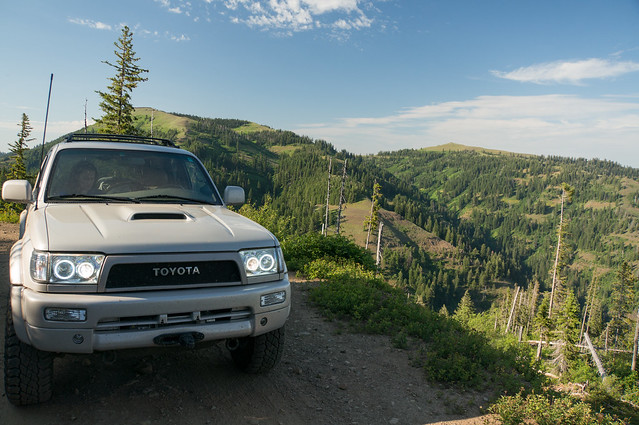
Took the 4runner to the Umatilla national forest, Kendal Skyline road. The road was still drifted. After digging out one drift to get by, we ran into some hikers. They said there were a few more drifts past the next large drift we saw, so we bailed. 2nd time Ive driven across the state to end up on this road and to be turned around. Last time it was a culvert replacement crew.

35728954765_155bd6a899_z.jpg


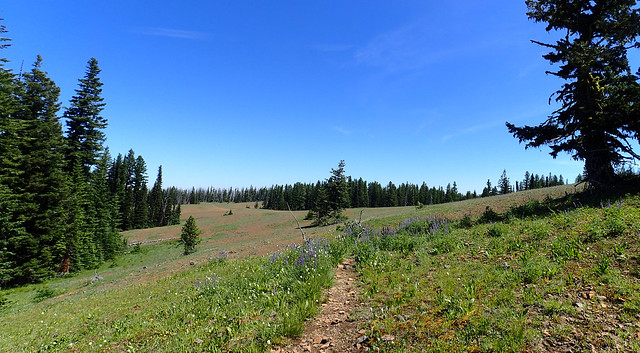
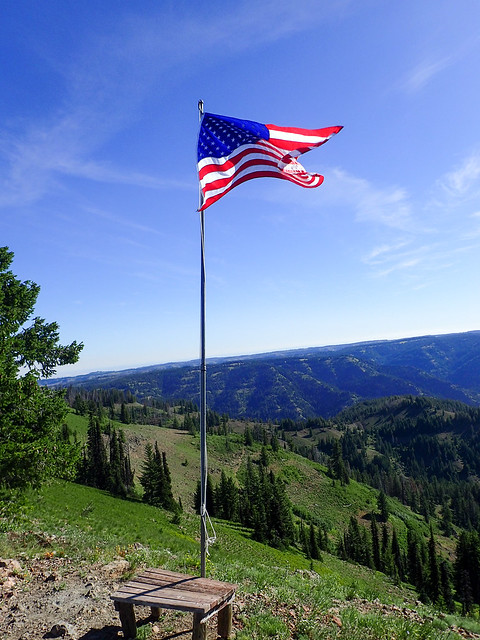
We drove around to the other side, hiked from Panjab trailhead, up Turkey Creek trail, hiked along Mt. Misery trail ridge into the Wenaha-Tucannon Wilderness and camped at a spring. Must have been 30 deer and elk through camp at night, lots of animals walking past the tent to get to the spring. Next day we hiked along the ridge, and then down the Panjob to the TH. Good way to spend the 4rth of July weekend

34887128094_c18e06a01c_z.jpg


35559465902_36c3c2feb7_z.jpg
 

Members online

No members online now.

Forum statistics

Threads
278,306
Messages
3,554,045
Members
248,016
Latest member
Advally Service

Trending content

Back
Top