Building, Driving and Adventuring the MTN4RNR

I just joined today, so this is my first post. I have a two week old 2016 Trail in the same color as yours, so I'm sure this wont be the last time I visit your thread.

My tailgate hits the garage door when opened, so I've just been slowly letting it kiss the door when opening. Your idea rocks though, I'm putting that together first thing tonight when I get home! I was going to say it'll be the first mod, but I already added OEM running boards due to the wife's request. Thanks for the idea.

Welcome to the forum! Glad this mod will work for you, sometimes it's the little mod's that count. Good luck with the build, and let me know if you have any questions about the truck, or the forum!
 
Welcome to the forum! Glad this mod will work for you, sometimes it's the little mod's that count. Good luck with the build, and let me know if you have any questions about the truck, or the forum!

Thanks! There's a long list of mods growing already... Already ordered that molle visor cover you showed, and a molle panel for the rear seat too.

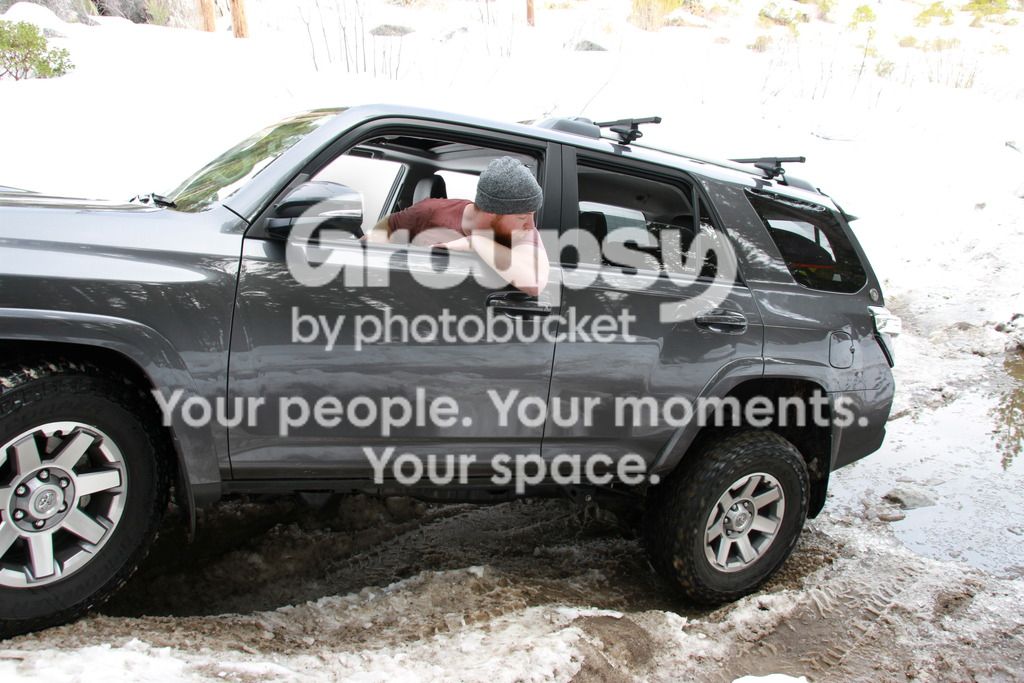
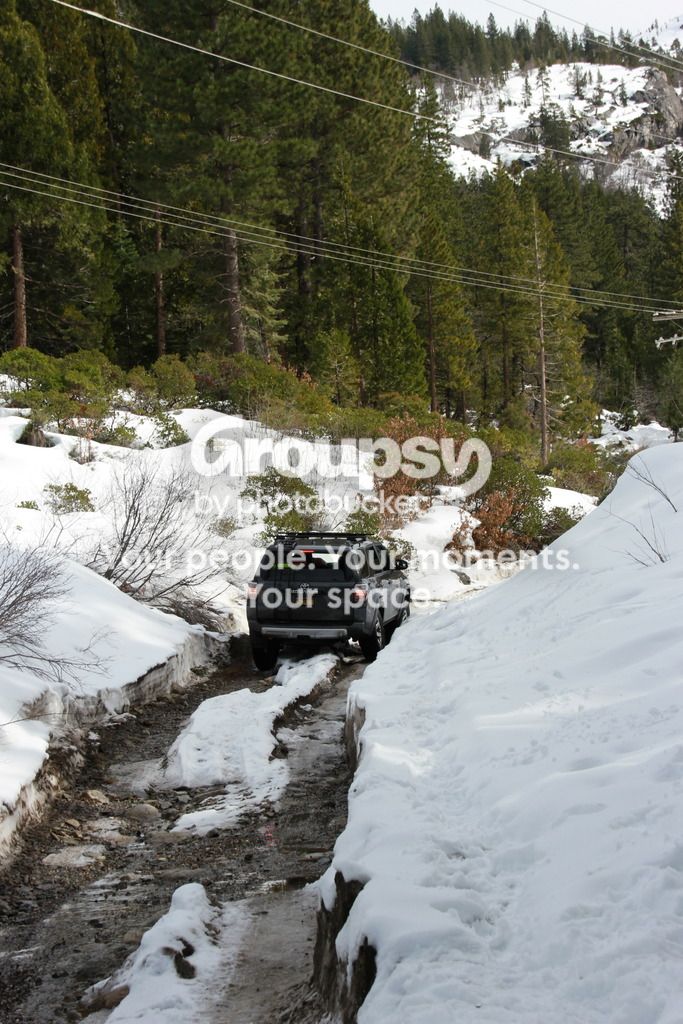
I took it off road for the first time Sunday, and it preformed beautifully in some nasty spots. Its my first 4Runner, and really my first off-road vehicle. Very happy so far.
 
Thanks! There's a long list of mods growing already... Already ordered that molle visor cover you showed, and a molle panel for the rear seat too.

I took it off road for the first time Sunday, and it preformed beautifully in some nasty spots. Its my first 4Runner, and really my first off-road vehicle. Very happy so far.

It's a black hole, beware. Anything BROG is great! I have a lot of their items, and am looking to add more.

This is my first capable off road rig as well, unless you count my beater Chevy pickup I had in high school. Not off roady by nature, but by a lot of skinny pedal haha.
 
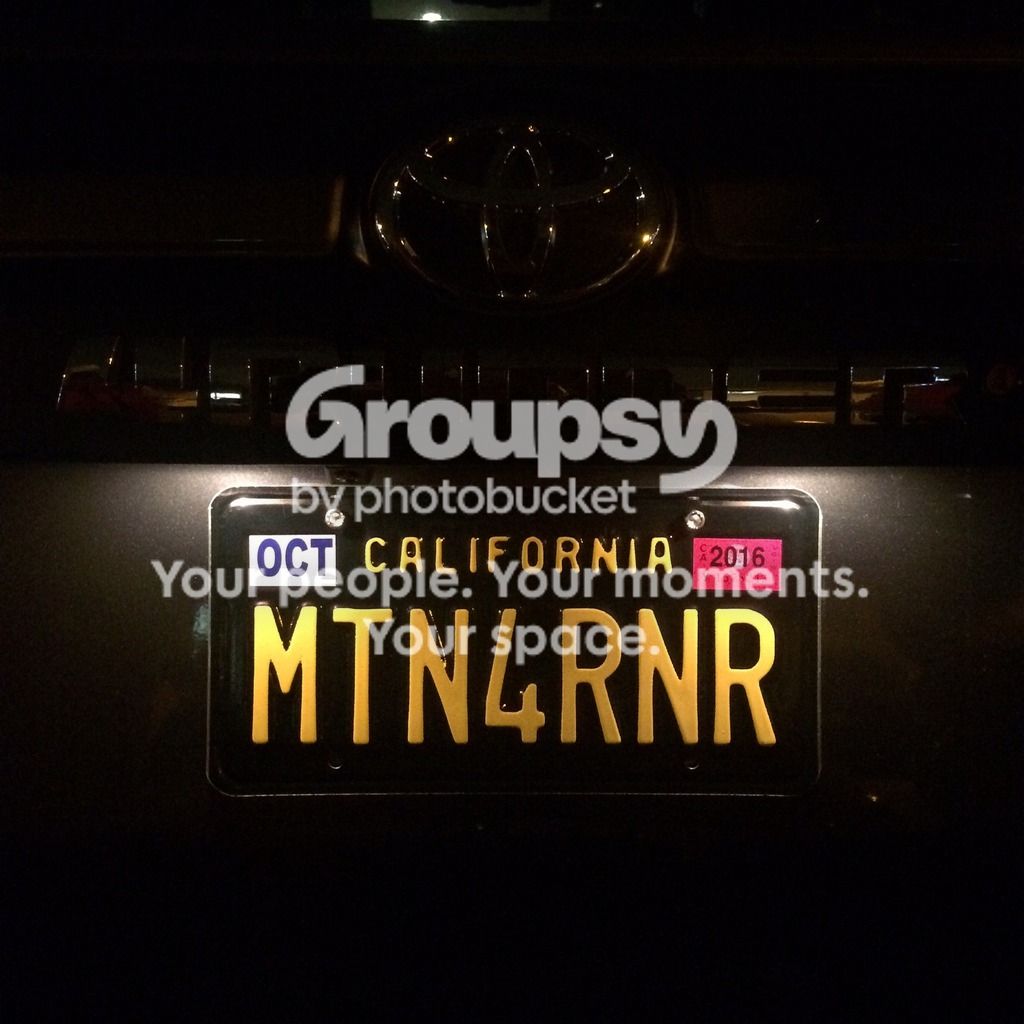
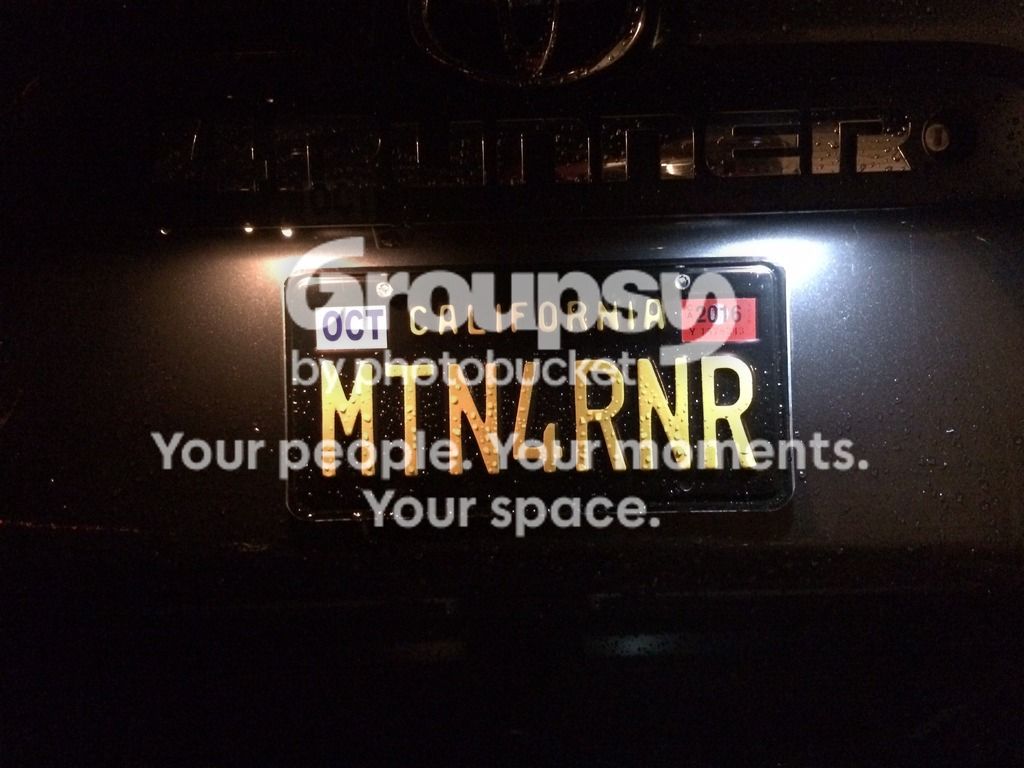
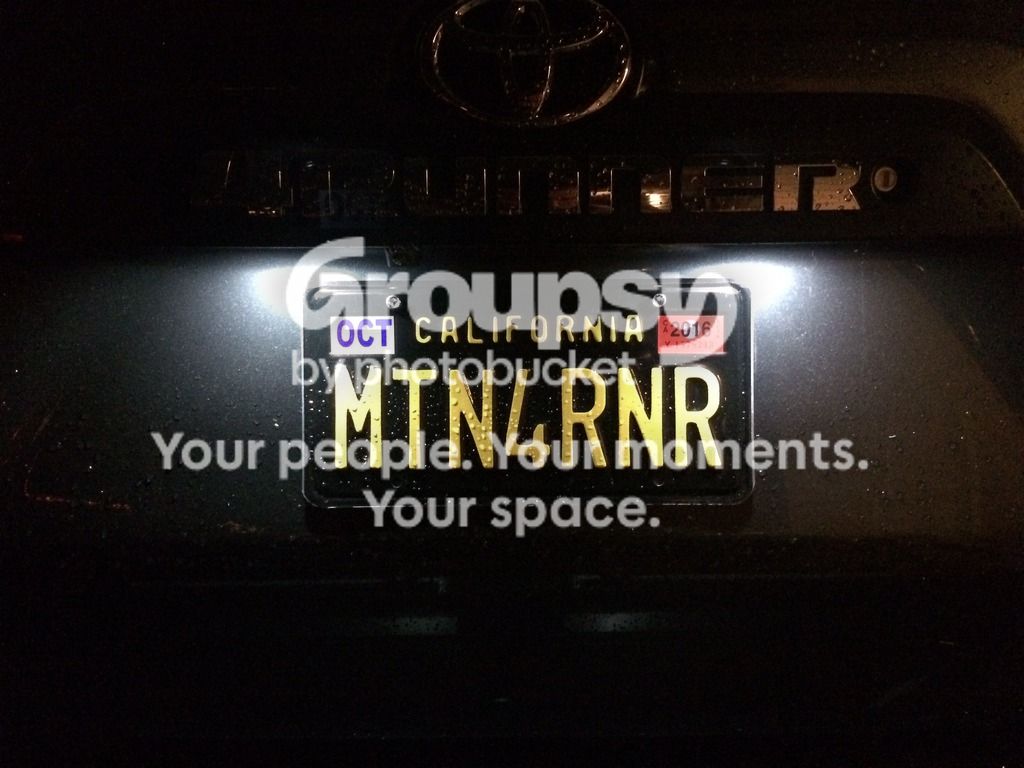
I upgraded the license plate and reverse light bulbs from the stock halogens. Goals were simple:
1. Hopefully increase the illumination and visibility from the reverse lights
2. Change the look of the rear end to better match the awesome LED stop/tail lights

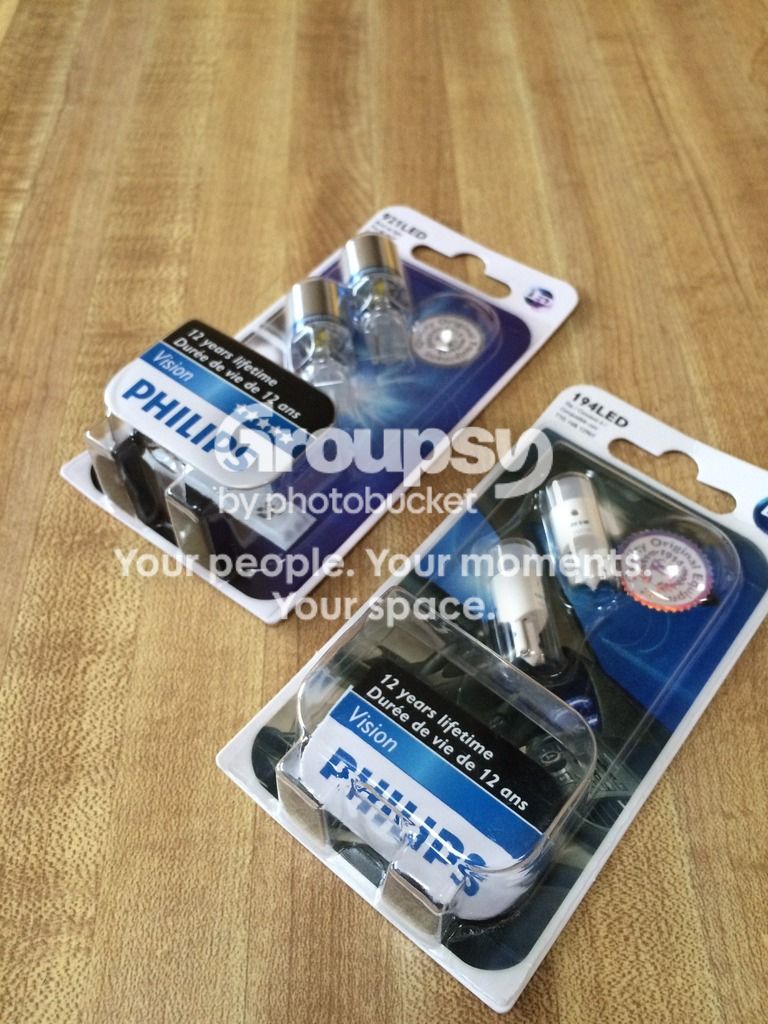
To do this I used LED lights from [MENTION=12905]XenonDepot[/MENTION] :

image_zpsqz4akzit.jpeg~original


- Reverse lights -
921 T16 Philips X-TREME Vision LED

I didn't take a before photo, because you can go in your driveway and look yourself if you don't have the LED's already...

During
image_zpstyhzezwb.jpeg~original


After
image_zpsebj0potb.jpeg~original


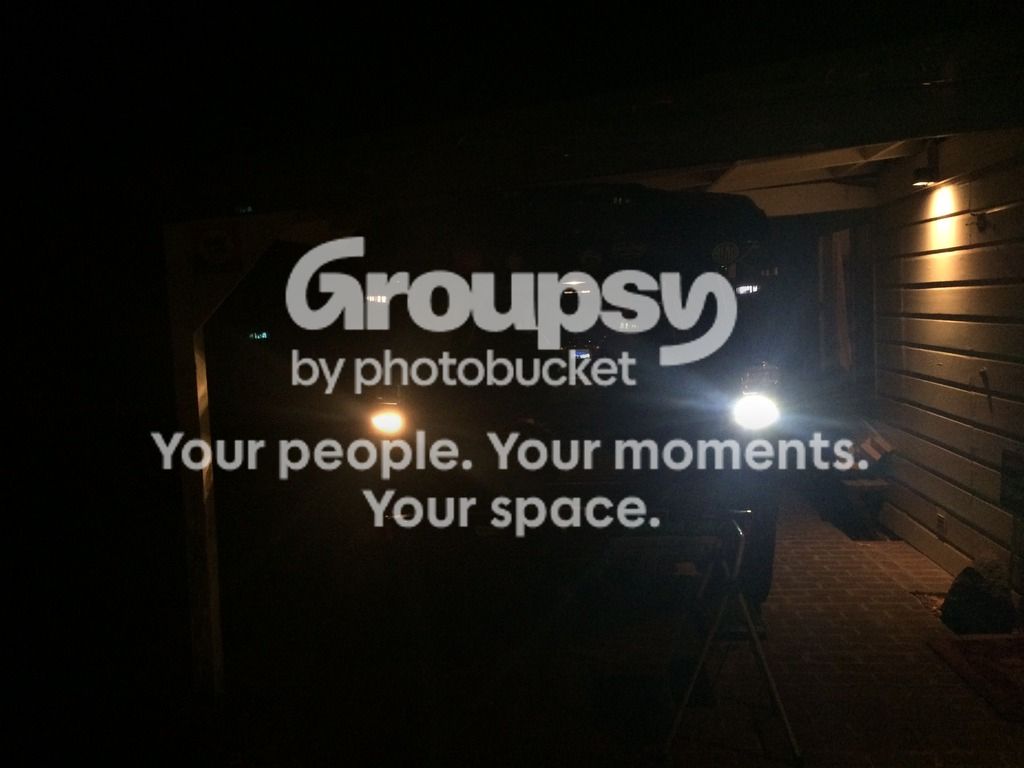
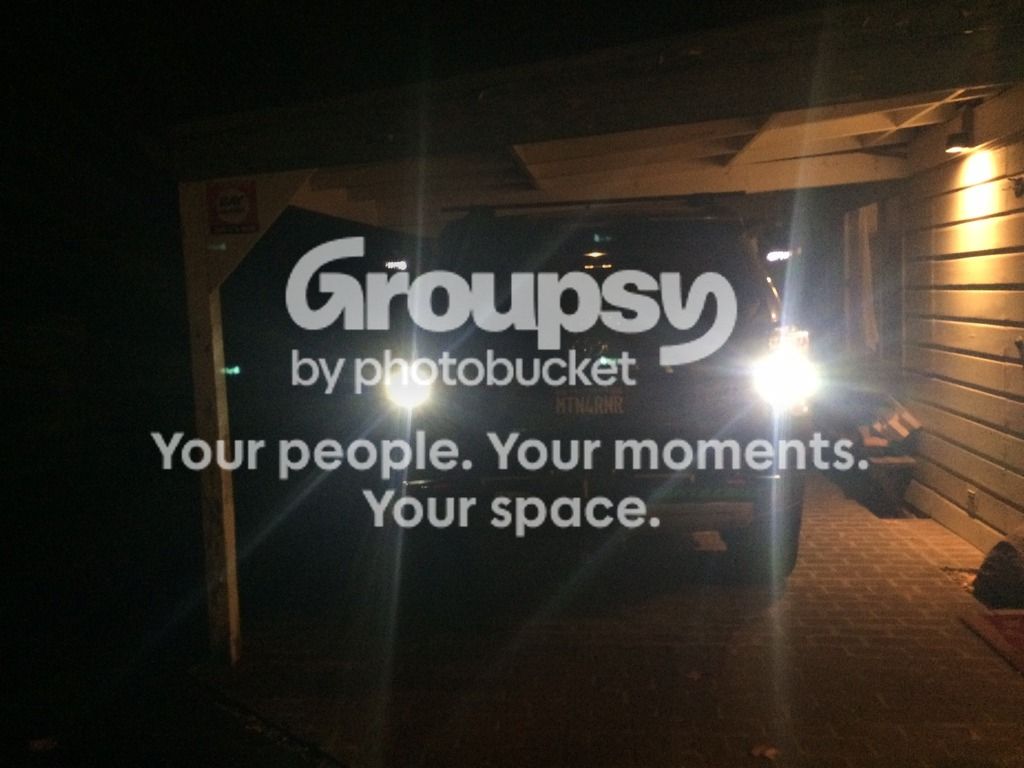
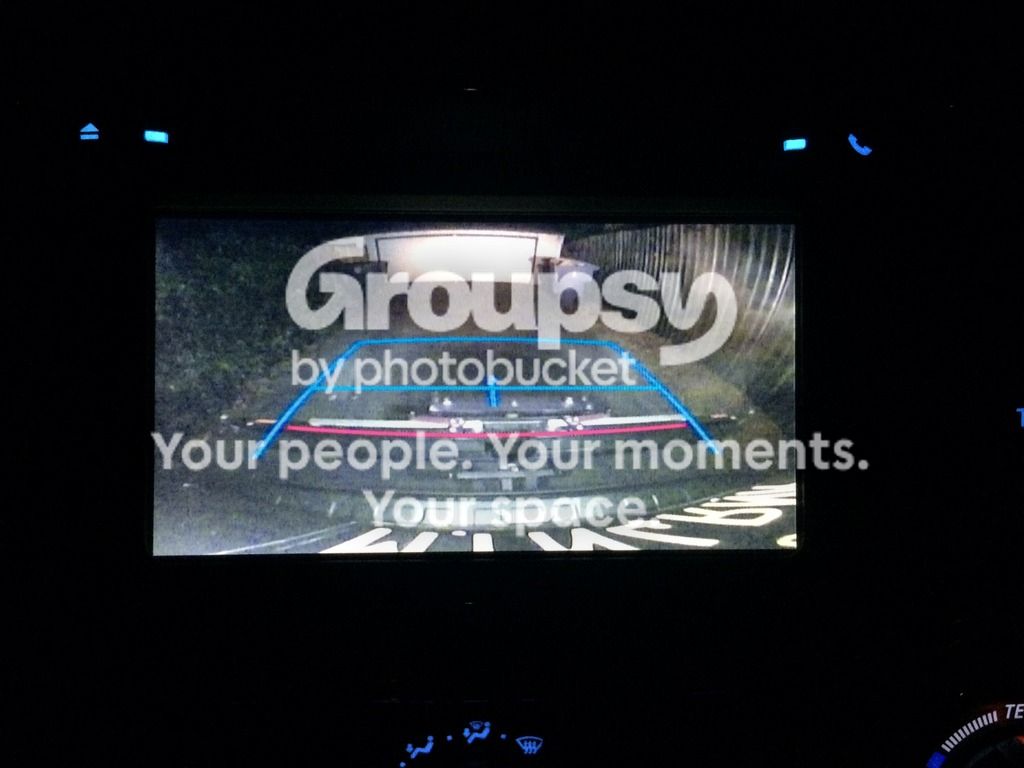
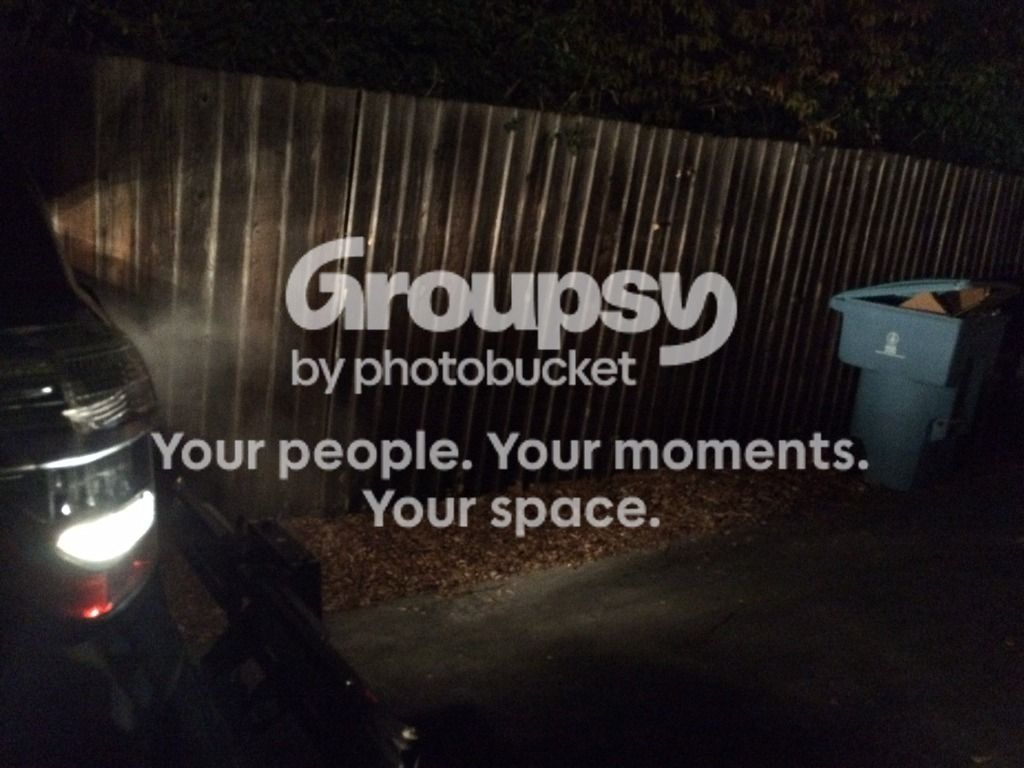
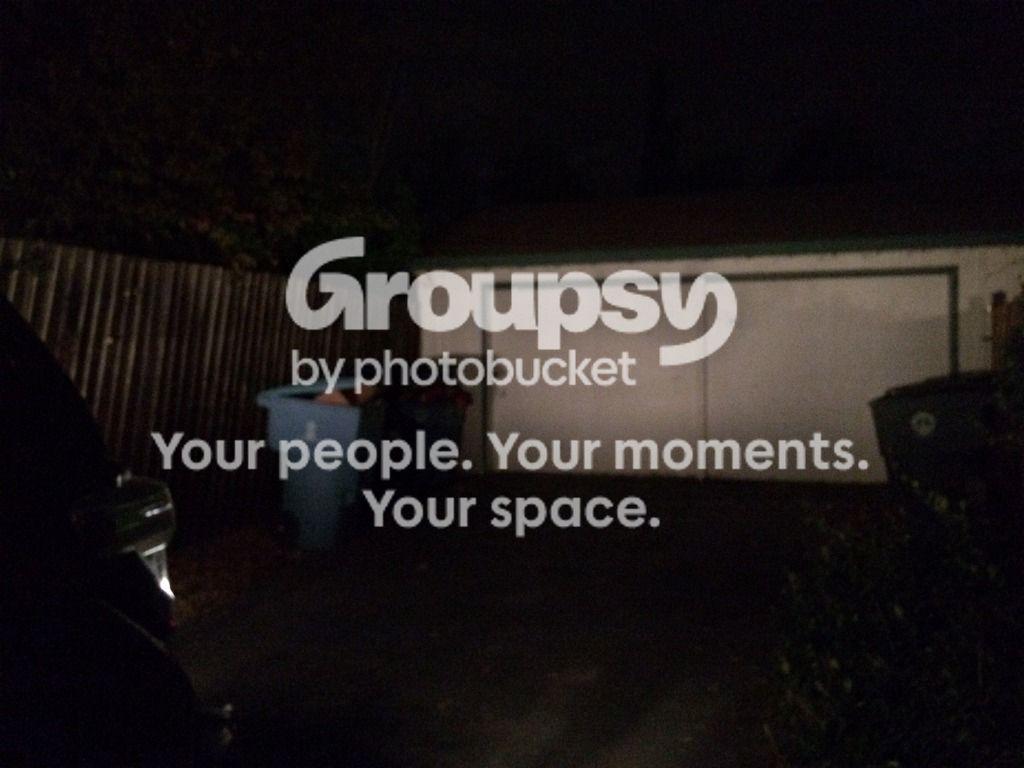
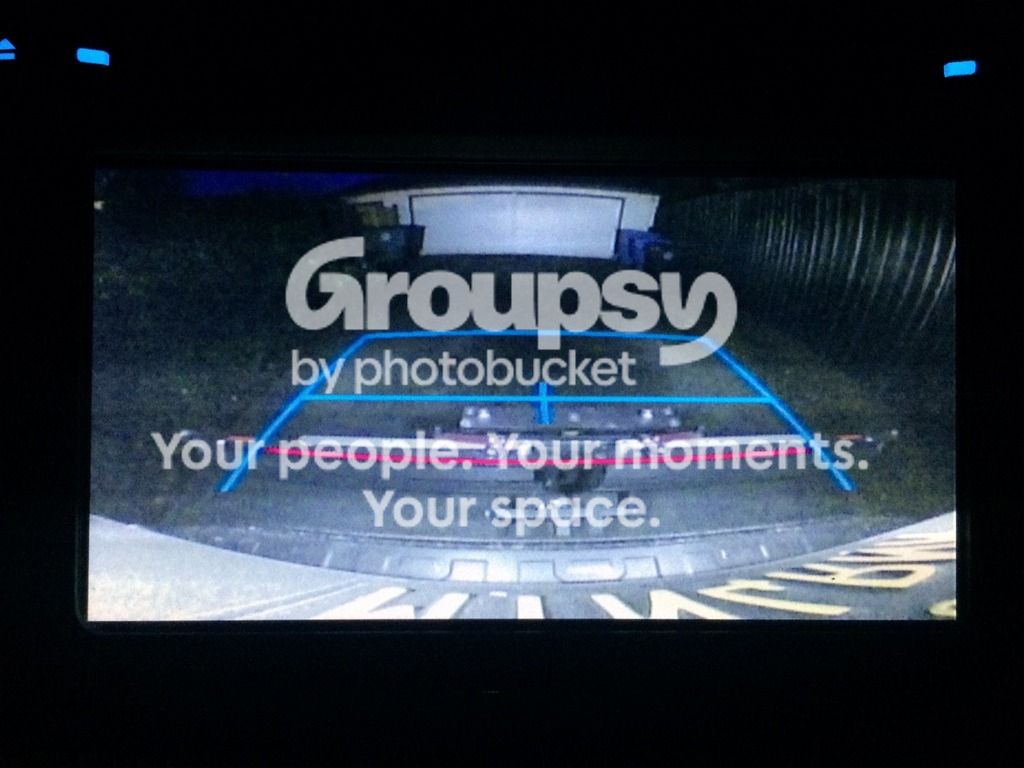
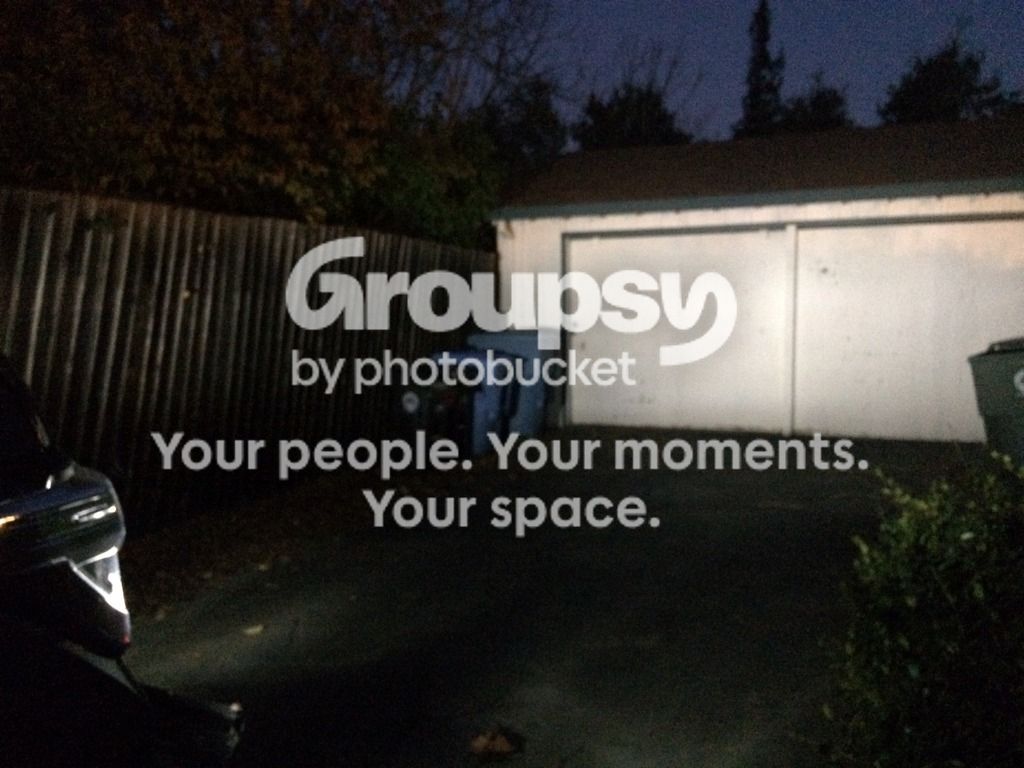
Here are some before and after photos in the same spot of my driveway to show the light dispersal difference between the stocks and the LED's.

Before:

Rear camera
image_zpsdwcug6wu.jpeg~original


Side dispersion
image_zpsi1uot6rr.jpeg~original


Rear dispersion (shotty focus, but you get the picture)
image_zpsmxwbgkxi.jpeg~original


After:

Rear camera
image_zpscmmkvq5p.jpeg~original


Side dispersion
image_zpsajky5il0.jpeg~original


Rear dispersion (same shotty focus)
image_zpsn5imkdlj.jpeg~original


- License plate lights -
194 T10 W5W Philips vision LED

Before
image_zpszzvuh72e.jpeg~original


During
image_zpsiwqmns65.jpeg~original


After
image_zpsr31p4jxq.jpeg~original


Overall impressions are that the reverse lights definitely brighter than the halogens from an illumination standpoint [not just a 'looking at it' standpoint, because we know the LED's will look brighter head-on]. And the license plate lights definitely make the back end look a bit more sophisticated and modern, which is what I was going for. Overall a good upgrade. Now for some HID headlights and LED fogs... [Hear that [MENTION=12905]XenonDepot[/MENTION] ?]

More to come...


Im looking at these bulbs for my new 2016 4Runner limited. I love that brightness you achieved. Looking at the site it says do you want it with "CANbuss" or without. I'm not sure what that is and if I need it or not. What did you purchase?
 
Im looking at these bulbs for my new 2016 4Runner limited. I love that brightness you achieved. Looking at the site it says do you want it with "CANbuss" or without. I'm not sure what that is and if I need it or not. What did you purchase?

Nothing in the 4Runner will require CANbus. It's tech that is usually in higher end cars that will tell the computer if a bulb is out, and which bulb it is. Our sticks and rocks 4Runners don't have/need that kind of tech! Hope that helps.
 
Looking Good

Great build so far! Very clean. I will be following your thread to see what you decide on the lift. I am on the fence due to garage height limitations.
 
Great build so far! Very clean. I will be following your thread to see what you decide on the lift. I am on the fence due to garage height limitations.

Thanks, man! I am hoping it will be sooner rather than later, but there are some other things on the bucket list that might be more important at the moment (i.e. On-board air, sliders, etc) Stay tuned though, I will try to keep things as interesting as possible! :guitar3:
 
I used your build thread as a guide to help decide On which hid kit to buy.

I have the same hid kit from xenon depot and I am very satisfied with how it came out. The amount of light that it orojects, I now see objects that I never noticed before. Now very clear. I actually look forward to driving at night. Only issue I had was when I had about 500 pounds in the cargo area. The hid was pointed a little more upwards from the weight and did get flashed by another vehicle.

Same interior bulbs from xenon depot. The map lights are now a very bright useable light. The second row festoon bulb is brighter than stock halogen, but does not seem as bright as the front map light. Maybe there's two lights in front. Aldo having a black interior probably doesn't help.

Thanks for the help
 
I used your build thread as a guide to help decide On which hid kit to buy.

I have the same hid kit from xenon depot and I am very satisfied with how it came out. The amount of light that it orojects, I now see objects that I never noticed before. Now very clear. I actually look forward to driving at night. Only issue I had was when I had about 500 pounds in the cargo area. The hid was pointed a little more upwards from the weight and did get flashed by another vehicle.

Same interior bulbs from xenon depot. The map lights are now a very bright useable light. The second row festoon bulb is brighter than stock halogen, but does not seem as bright as the front map light. Maybe there's two lights in front. Aldo having a black interior probably doesn't help.

Thanks for the help

It's funny that you say you look forward to driving at night, I feel the same way. The cut-off with the HID's is sublime. Technically the same as with the halogens, but much more noticeable. It's a bummer that the 4R doesn't have the same 'adjustable headlight' tech as the Tundra. We have a pair of them as work trucks, and the feature is nice for when they are hauling weight, just adjust the knob, and away you go!

Yeah, I definitely noticed an output difference with the festoon light, but after living with it for a few weeks now, I can't say that it has really bothered me at all. Hence I haven't swapped it.

Glad I could help with your build! Looking great!
 
Last edited:
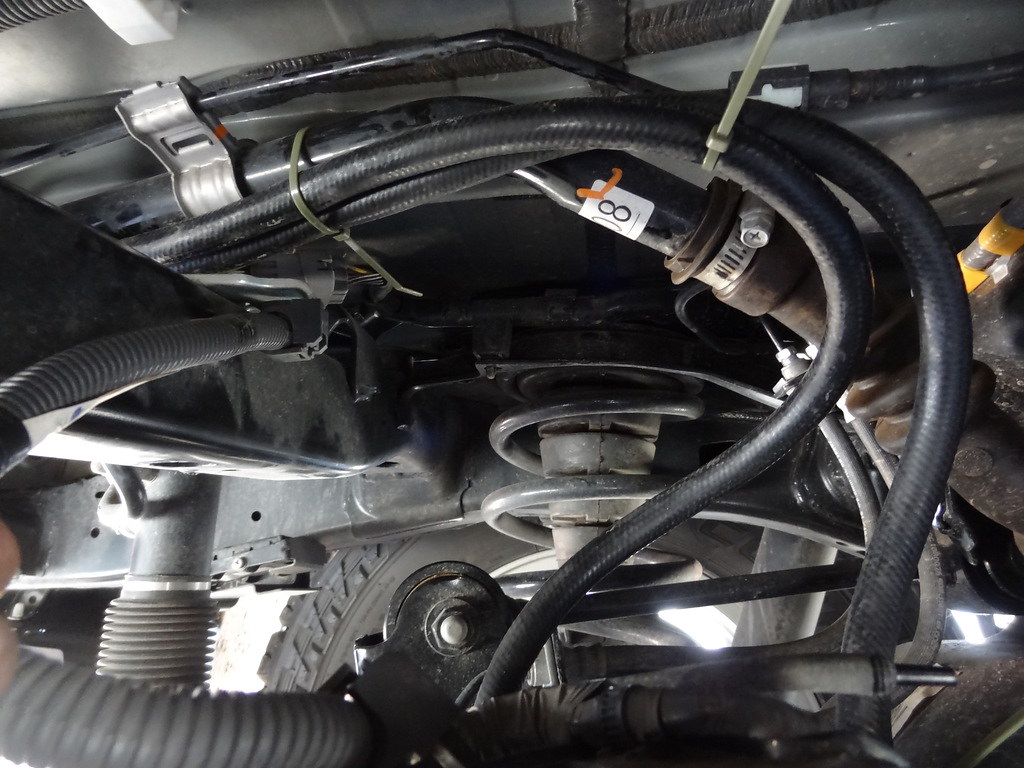
After reading of many members of this forum relocating their differential breathers to avoid inevitable milky gear oil, I decided to give it a go. A little cheap insurance later on down the road can't hurt, and if nothing else, I got some good one on one time with the rig, getting to know a little more about her. I have a trail, and thus a locker. So a separate breather for that as well, because overkill. I decided to use the T4R.org standard OEM Toyota front differential (2-way) breathers. Let's get into it:​

Parts used:
- 14' Transmission oil cooler hose, 3/8"
- Toyota part 90404-51319 (Union)
- Toyota part 90930-03136 (Breathers) (x2)
- Stainless steel hose clamp (x4)
- Enough zip ties to hold it all together
- Teflon tape
- Sierra Nevada Torpedo IPA

DSC09002_zps6jabgsw8.jpg~original

DSC09003_zpsop6p4s5o.jpg~original


I want the breathers to end up in the jack/tool compartment on the driver's side of the cargo area. I decided to use the same route as [MENTION=1913]hoeftm2002[/MENTION] in his write up here. An unused grommet in the cavity below the jack/tool mount. First step was to remove the tools/jack and drop the spare. I located the grommet, removed it and fed my lines through.

DSC09005_zps2lglvqbk.jpg~original

DSC09004_zpsxpslijjx.jpg~original

I stopped when I had a good loop in the compartment
DSC09012_zps5o8iup62.jpg~original

Removed the stock 1-way valve, added some teflon tape to the new nipple and installed it on the rear differential
DSC09014_zpsdur9zlpn.jpg~original

DSC09015_zpsawqlrfqd.jpg~original

I then pulled the connector off of the e-locker breather hose, leaving the end exposed
DSC09017_zpsirtbqhwm.jpg~original

Routed the lines from the fender to the axle along the fuel tank fill line
DSC09019_zpsvvjbvqic.jpg~original

I left some wiggle room to account for suspension travel
DSC09021_zpsvs2d4woz.jpg~original

I attached the hose ends to the installed nipple, and the end of the e-locker hose using the hose clamps. The e-locker hose that is attached fits into the new transmission cooler line loosely, but will clamp down with the hose clamp tightly. I used a zip tie on the e-locker line to keep it from moving around too much. Be sure to route away from the exhaust, too close might get a bit toasty.
DSC09023_zpsoggm8dty.jpg~original

I cut the line in the cargo area, and cut the OEM grommet plug to fit around the lines.
DSC09027_zpszcznppm2.jpg~original

DSC09028_zpsn07wqt11.jpg~original

This is where things got a bit sideways. I spent the better part of an hour trying to seat the grommet plug in the hole to no success. I then took the rear fender bumper off to get a better look.
DSC09037_zpsw17v6cug.jpg~original

DSC09041_zpsp5fxpwgf.jpg~original

I decided to install the grommet plug from the outside. I cut the plug along the edge, and fit it around the lines. With a bit of soap, I was able to fit it in for a decently sealed fit. Hind sight, don't cut the plug, just remove the bumper edge first and feed from the outside. Done deal.
DSC09046_zpszovxndf2.jpg~original

Install the breather valves on the hoses with hose clamps.
DSC09030_zpsx1cdhvvc.jpg~original

Zip tie the hoses into a spot that is convenient for you.
DSC09045_zpsog3hlwqj.jpg~original

Reinstall the spare tire, put the jack/tools away, install the covers, finish your beer, done.

Now, to find a creek crossing... More to come...​


Do the new breather valves rattle next to the sheet metal or did you zip tie them away from the sides? Avoid ghost rattles. :ybrick:
 
Do the new breather valves rattle next to the sheet metal or did you zip tie them away from the sides? Avoid ghost rattles. :ybrick:

I haven't driven it yet since the install. It's not my work commuter, but I will carry some extra zips with me when I go out next time to square anything away if I need to. The big scare came when I was attempting to use a paint can opener to push the grommet plug back in, and I let it slip from my hands. Definitely an oh sh!t moment.
image_zpspqscst8i.jpeg~original

THANKFULLY I was able to fish it out. God knows what I would have done with a rattle in the back of the truck for the next 10 years...
 
Last edited:
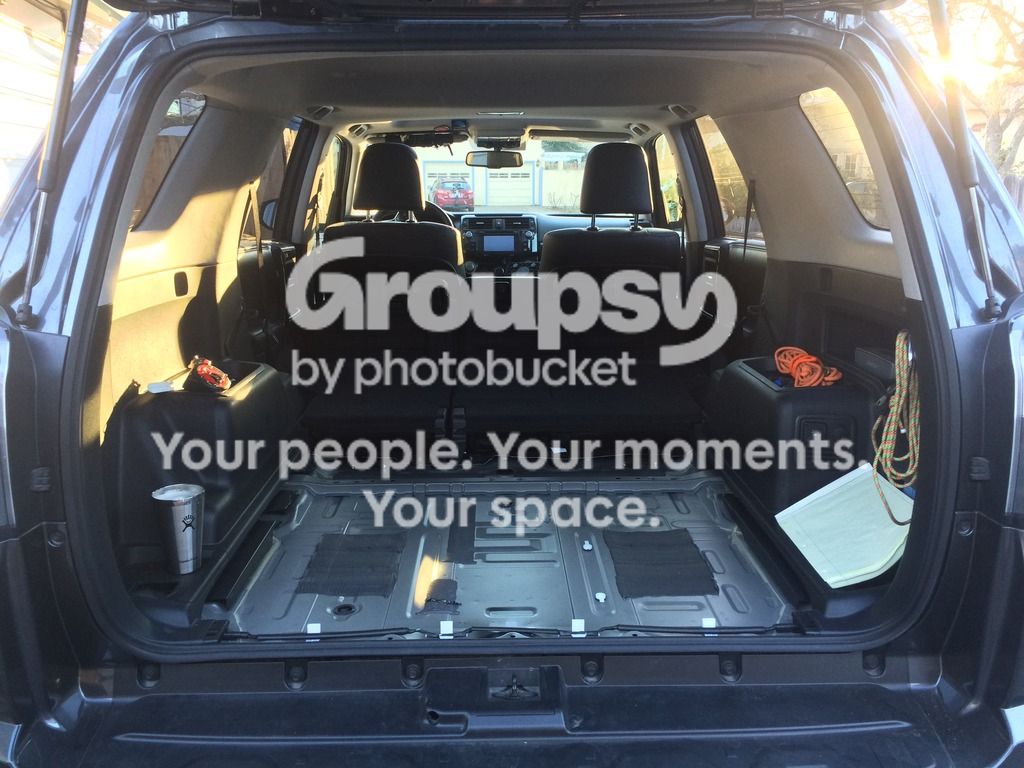
Took apart the cargo area to start taking some measurements for building a rear tie-down platform. Gotta see what's underneath before I start drawing!
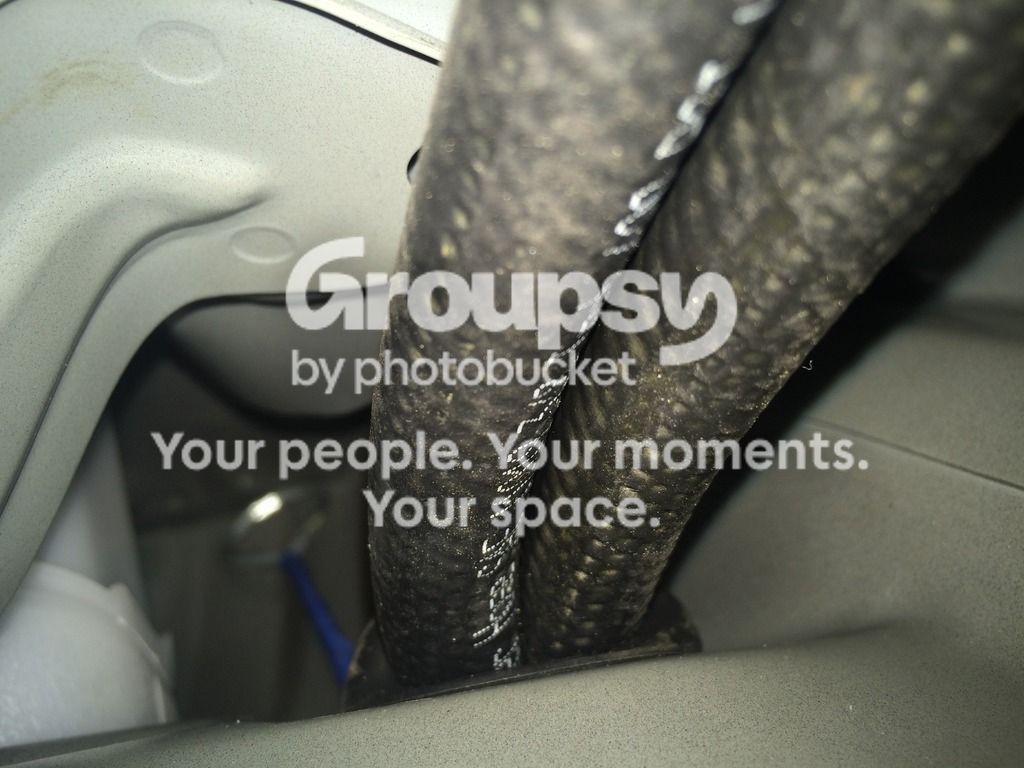
image_zpszeeaecm6.jpeg~original

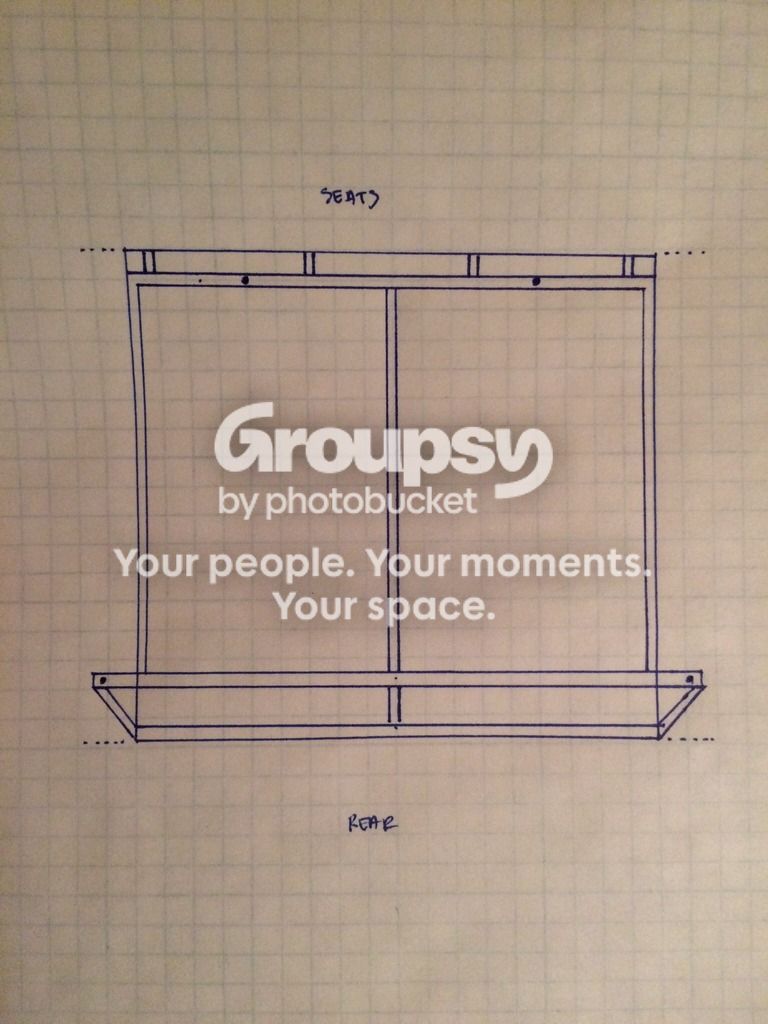
And drawing!
image_zpsutmyca9p.jpg~original

Let's see where this goes...​
 

Members online

Forum statistics

Threads
278,316
Messages
3,554,113
Members
248,016
Latest member
Advally Service

Trending content

Back
Top