Building, Driving and Adventuring the MTN4RNR

Thanks, I read through your install and it seems pretty straightforward...just need to decide on lightbar size now! Appreciate your help!

No problem, good luck with the decision. You can't go wrong either way, it just comes down to how much light you want and what your budget is. I would contact Baja Designs directly and talk to Bailey. He can set you up with what you want, and answer any questions that you have. Let me know if you have any additional questions :thumb3:
[MENTION=87816]Baja Designs[/MENTION]
 
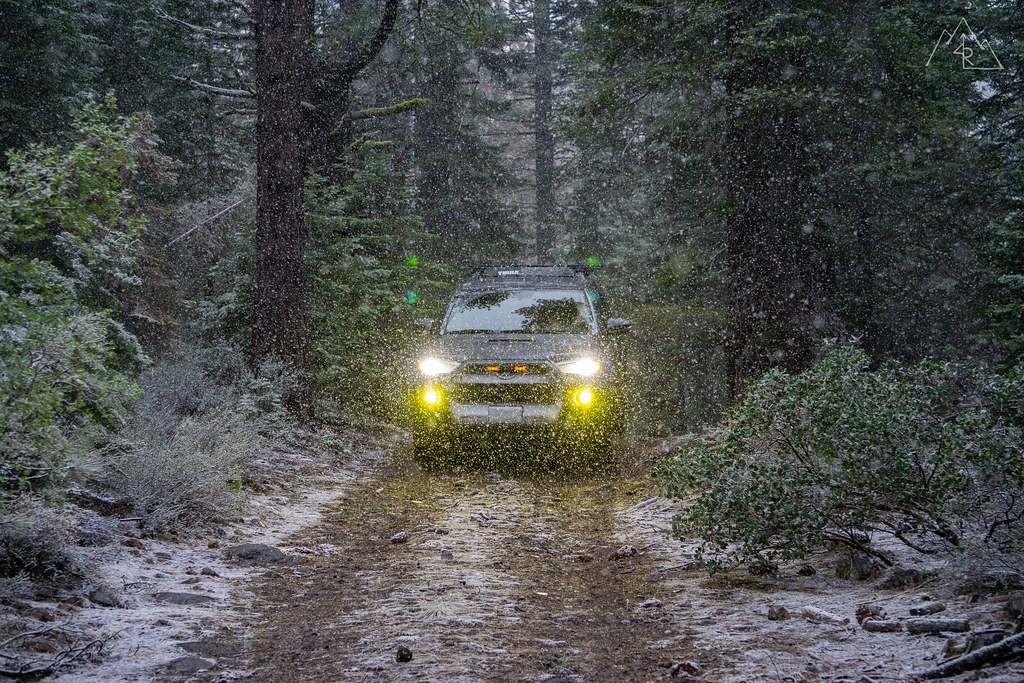
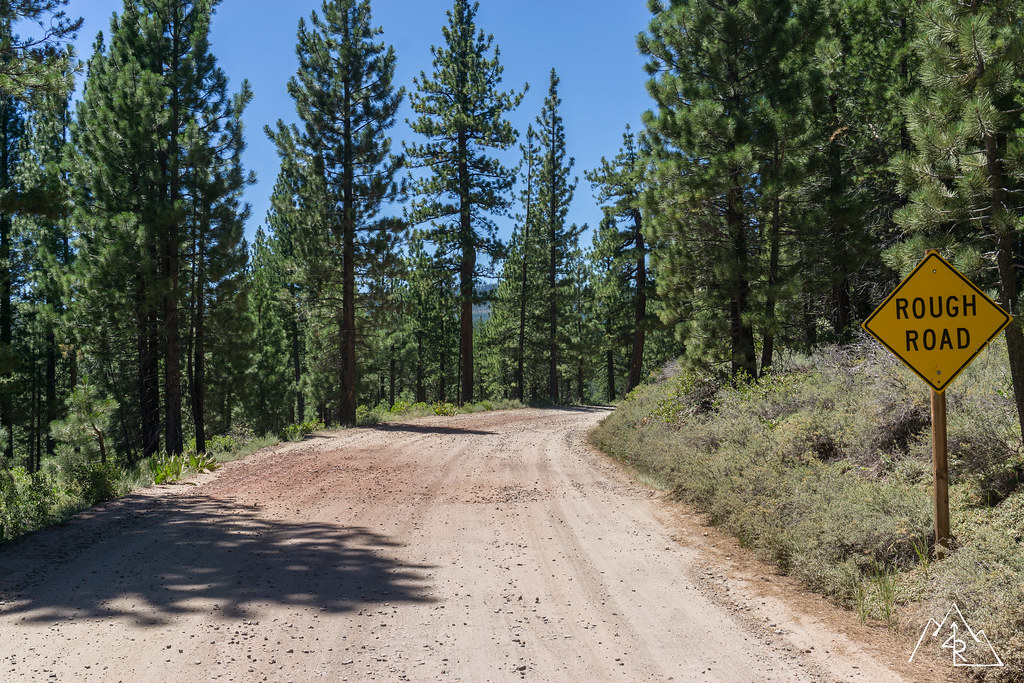
Trip Report / Winter in June

I forgot to post a link for this a while back, but here it is now!

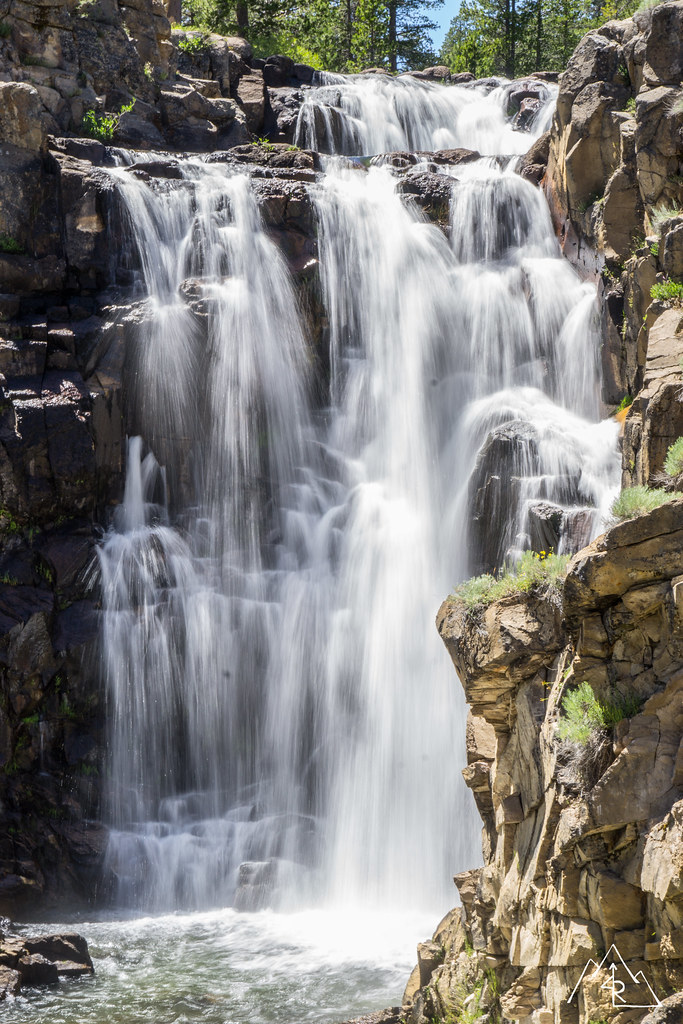
Winter in June / June 2017

34959243004_bdd9107199_b.jpg
 
Thanks for your discretion

I forgot to post a link for this a while back, but here it is now!​


I appreciate how you don't usually name names when it comes to specific sites. Thanks. I have seen places publicized on the Internet subsequently get hammered with visitation. Let's keep our secret fishing holes secret!​
 
I appreciate how you don't usually name names when it comes to specific sites. Thanks. I have seen places publicized on the Internet subsequently get hammered with visitation. Let's keep our secret fishing holes secret!

Sometimes you either need to explore to find secret spots, or tag along with someone that can show you the way :thumb3:
 
Always enjoy your posts and pics!!

I'm headed to South Lake Tahoe next week. Any recs for off-road trails, food, things to do? I'll be camping at Fallen Leaf Campground on the south end for a few days and then have two other days to burn.

I'll send you a PM!
 
Good write up on the Squadron Pro fogs. I installed them this morning in about an hour. I didn't lift the truck and it was possible, just a little more challenging. Appreciate the overview.
 
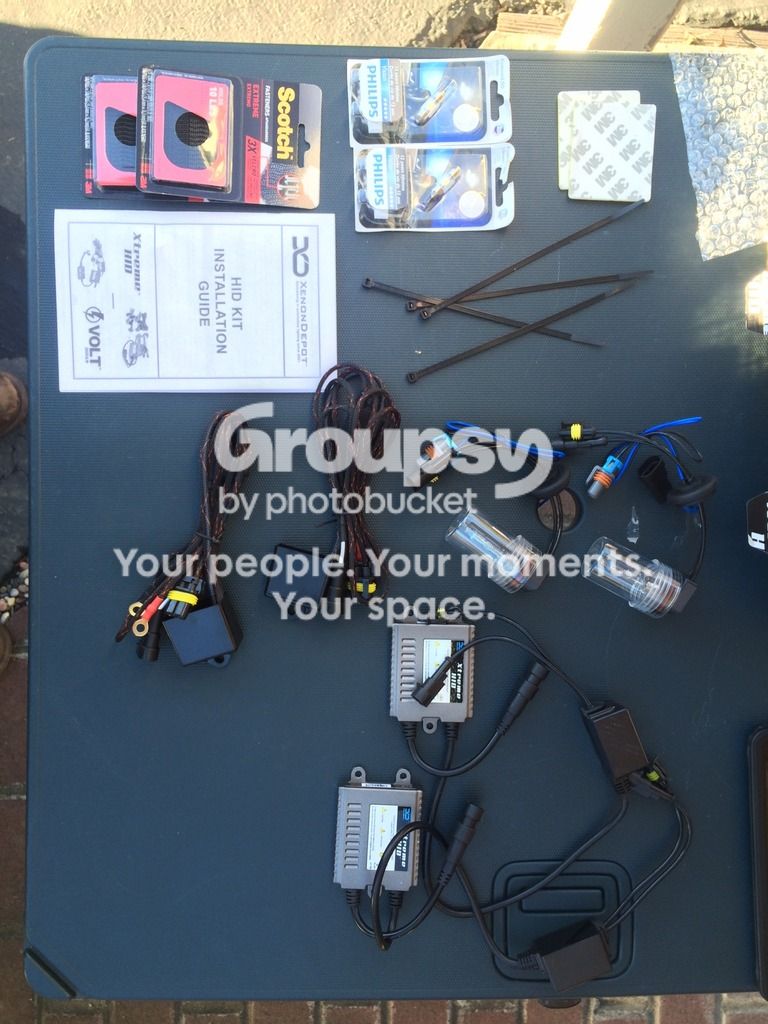
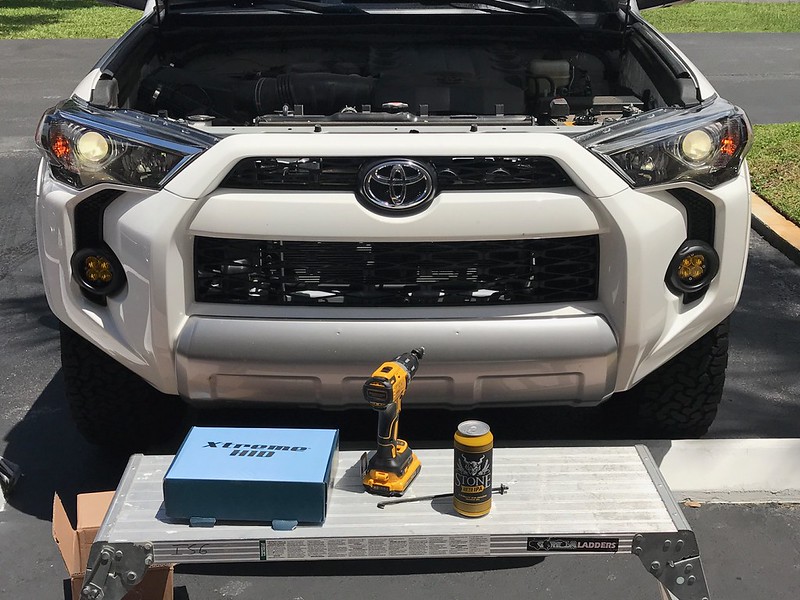
I gifted myself a set of [MENTION=12905]XenonDepot[/MENTION] Xtreme HID's for the low beams on the 4Runner. I really like the ability to see as much as I can on the road, and once I saw the light output from my dad's GX (which is LED, but still much brighter) I knew that an upgrade was in order. After reviewing my options, I settled on the Xtreme HID kit, with the Philips bulbs.​

Parts used:
- Xenon Depot Xtreme HID H11 kit
- Drill of choice
- Milwaukee #9 step drill bit
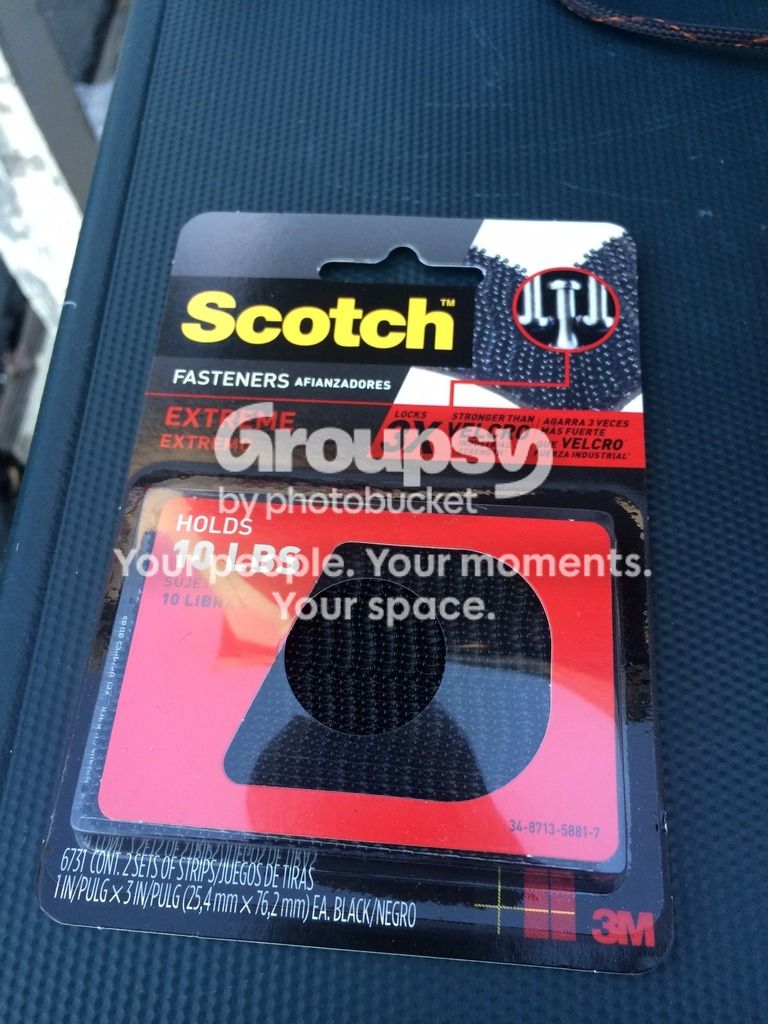
- Scotch Extreme Fasterners
- Knee Deep Brewing Midnight Hoppyness


Everything laid out (including the fuses, which I didn't use)
image_zpsvwcd93wf.jpeg~original


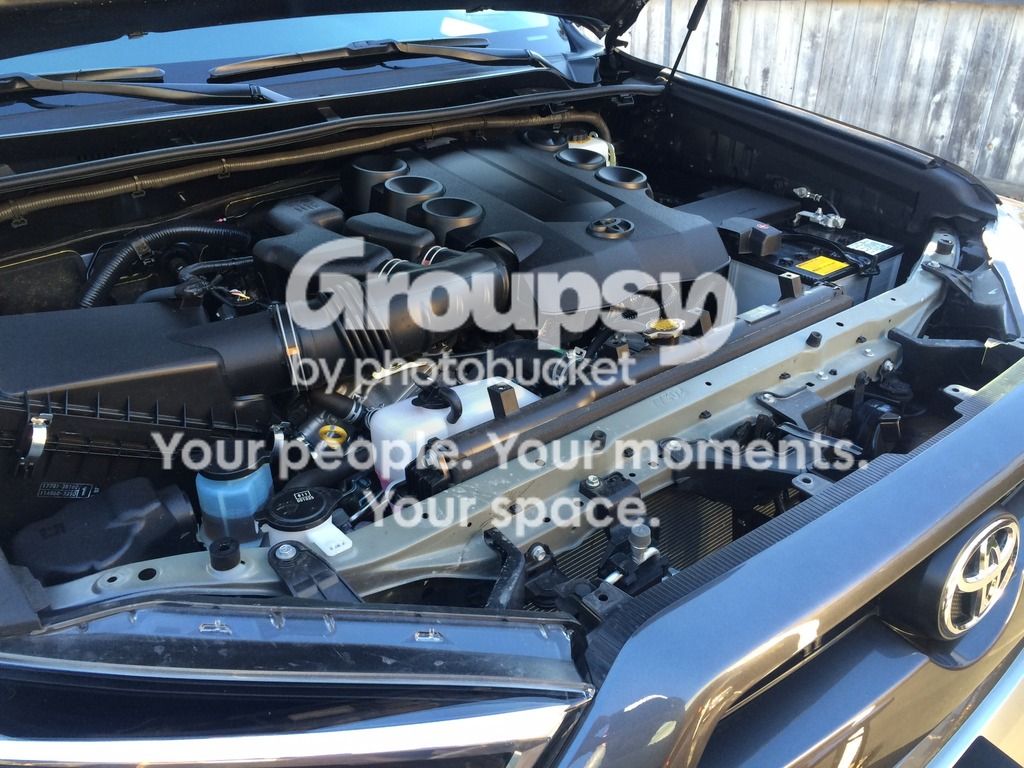
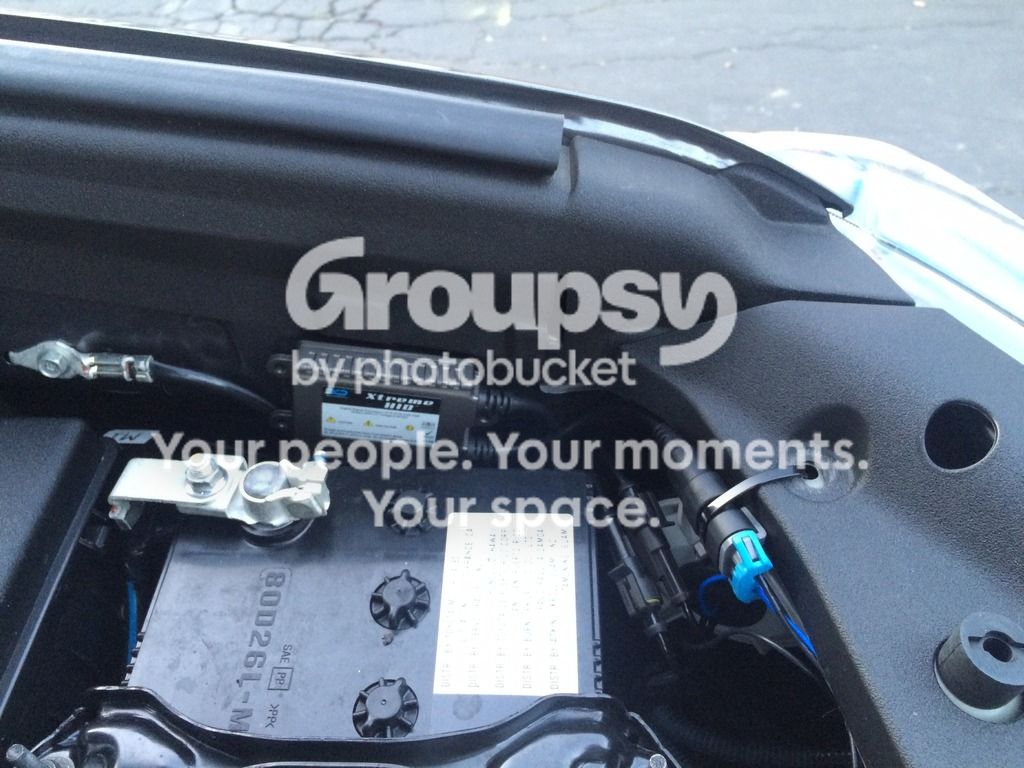
I took off the plastic cover for the radiator, not knowing whether or not I would need to. To install the kit, you do not NEED to pull this piece off, but in the end I used two of the fastener holes on the outside to zip tie the wiring into a secure position.
image_zps8ultq36w.jpeg~original


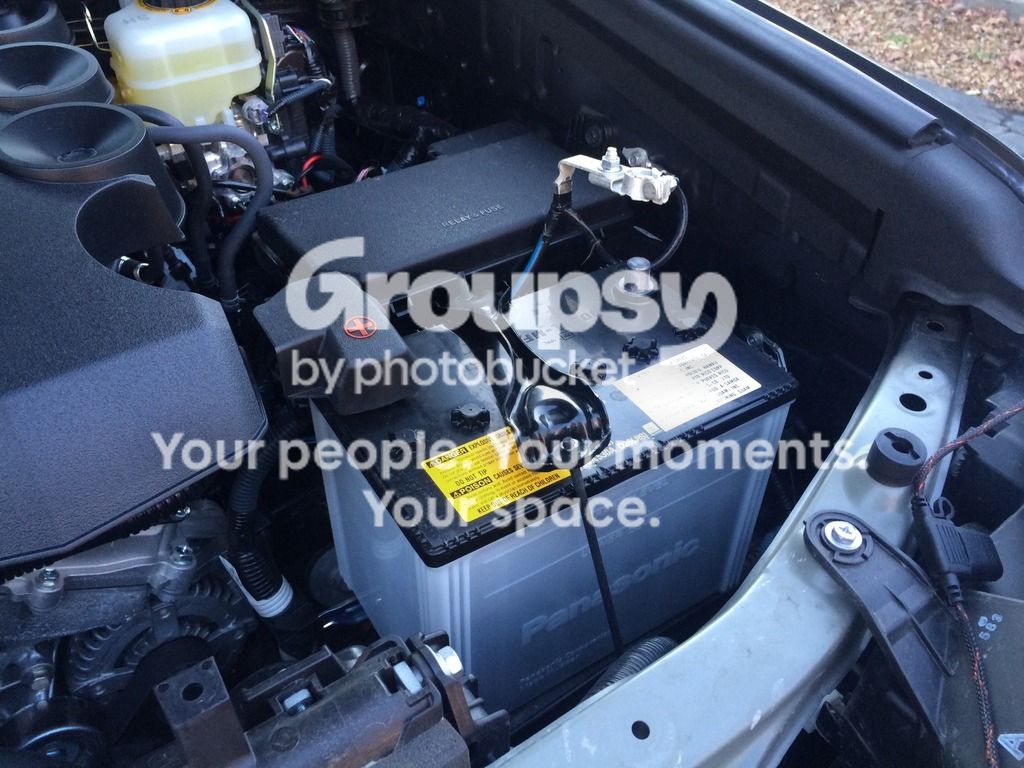
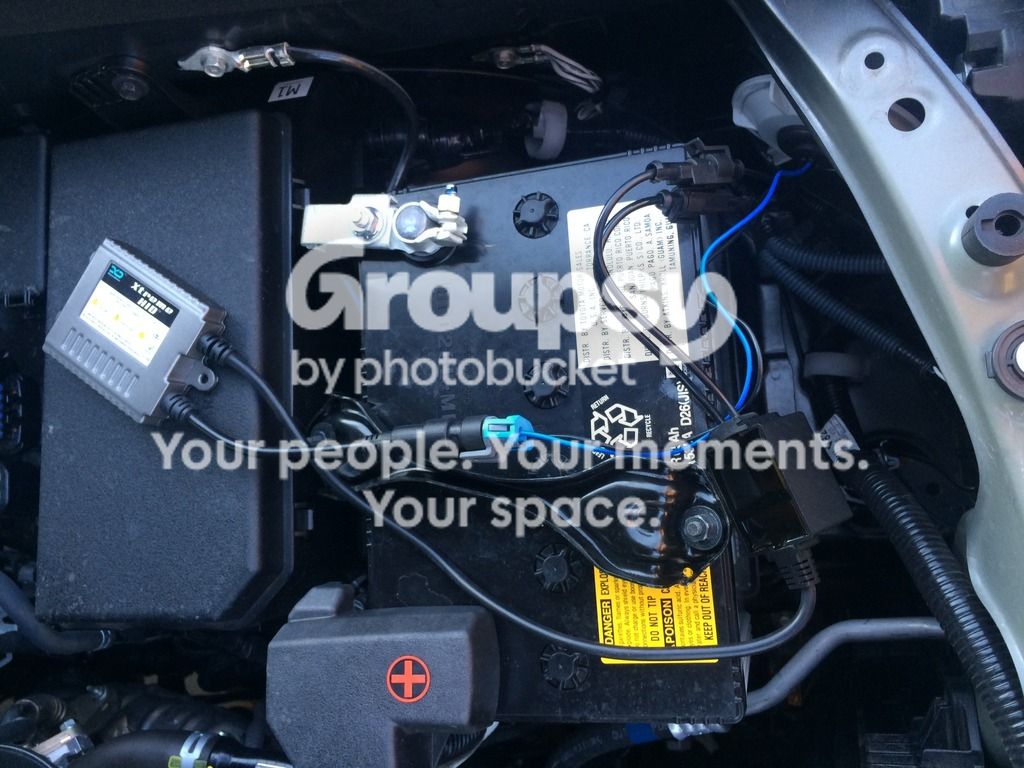
I removed the negative battery terminal, and removed one side of the battery restraint to move it towards the engine, giving me a bit more space to access the light housing
image_zps009gr61v.jpeg~original


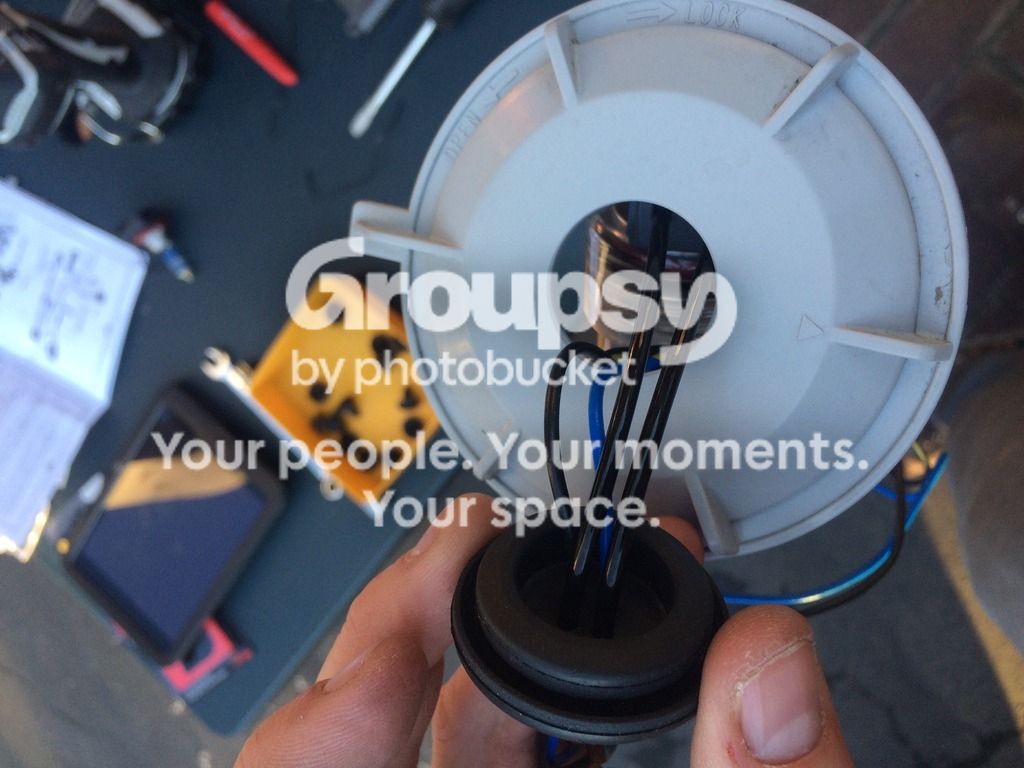
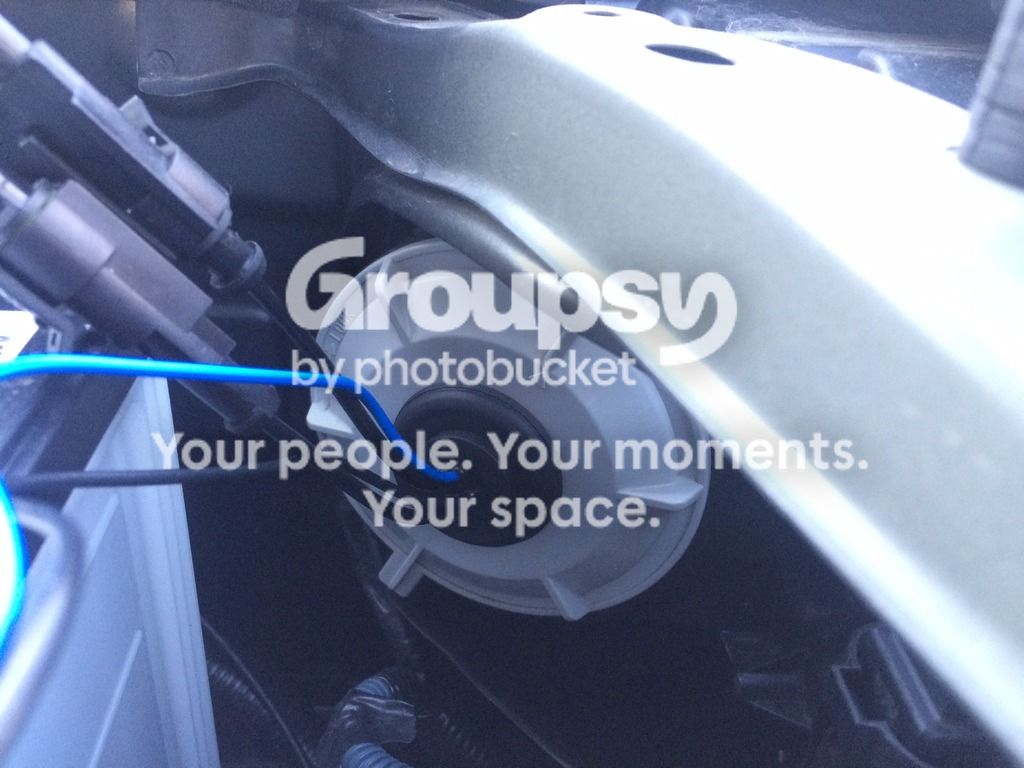
I removed the dust cap covers and drilled two 1-1/16" holes dead center. I used a Milwaukee #9 step drill. I have found that they work very well with plastic materials and producing a very clean hole. It also allows you to start with a slightly smaller hole and make it gradually larger to make sure there is a snug fit. Drilling is always hard to do on a new truck, but that's what the beer is for.
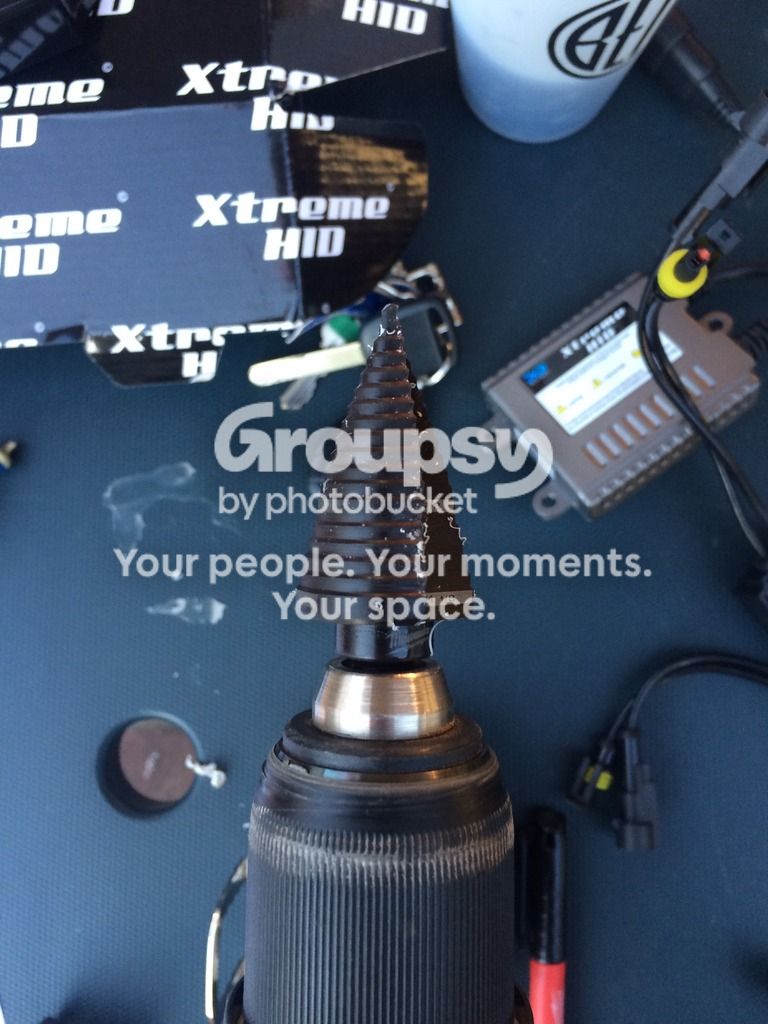
image_zps2gy9supo.jpeg~original


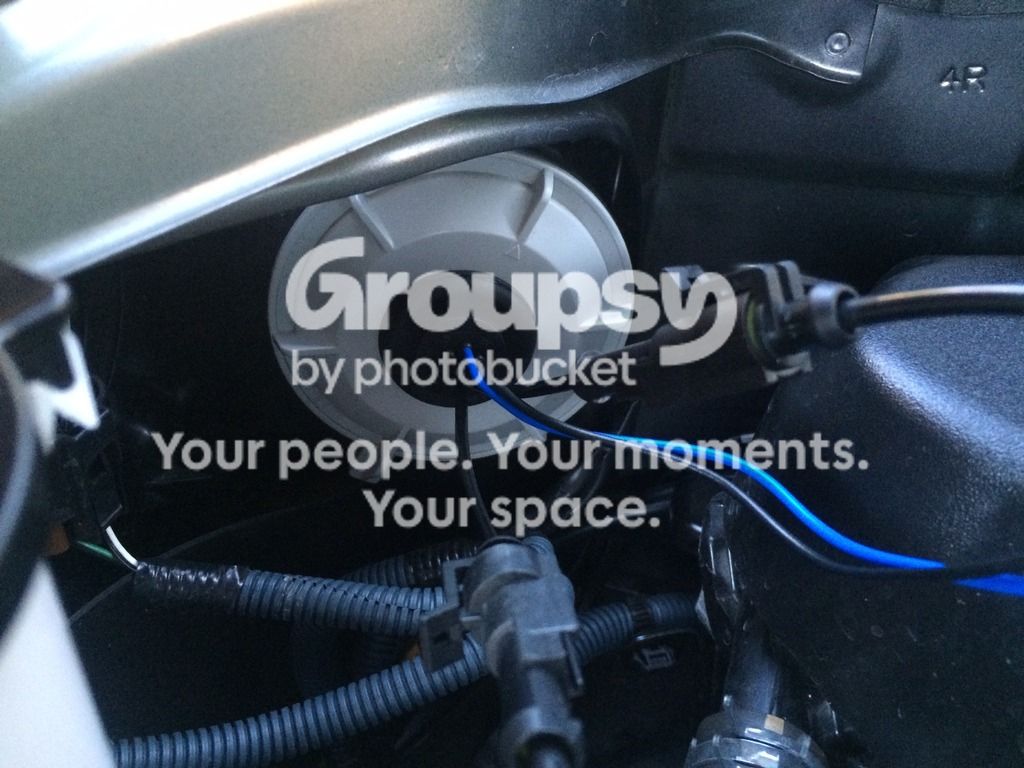
I then fed the wiring through the hole, and secured the grommet. Interestingly, I read many on this forum that didn't like the idea of drilling the hole in the cap because it would compromise the sealing ability of the housing (dust, water, etc.). What I found interesting was that in the bottom of the same housing, Toyota uses the same style grommet boot to bring the factory wiring into the housing. It would seem that this kit would not compromise any of the sealing ability in the housing than what Toyota had already installed. I didn't snap a photo, but I might remove the cap and take one to add later.
image_zpsqz7raqez.jpeg~original


I then installed the bulbs into the housing and hooked everything up to determine if I would need to reverse the polarity on the harness as indicated in the instructions.
image_zps6okn423j.jpeg~original

image_zpsissa5dnk.jpeg~original

image_zpsmcvyjbnl.jpeg~original

image_zpsj8hylxvo.jpeg~original


Turns out the system fired right up with no wire swap needed.
image_zpsiejw3lft.jpeg~original


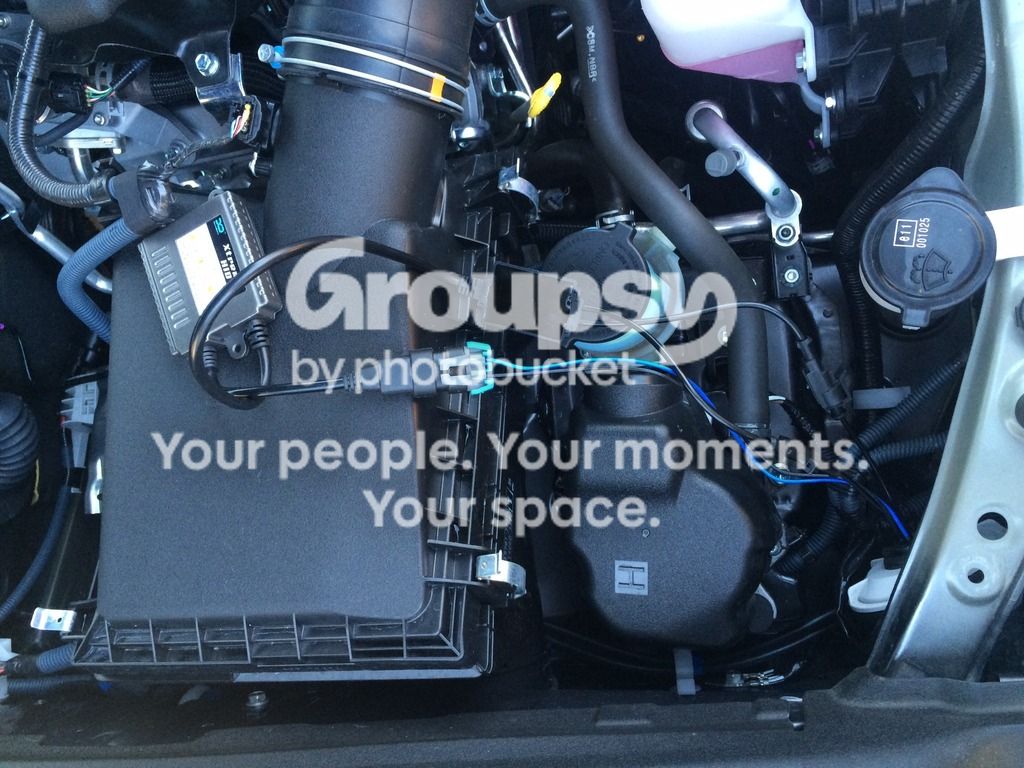
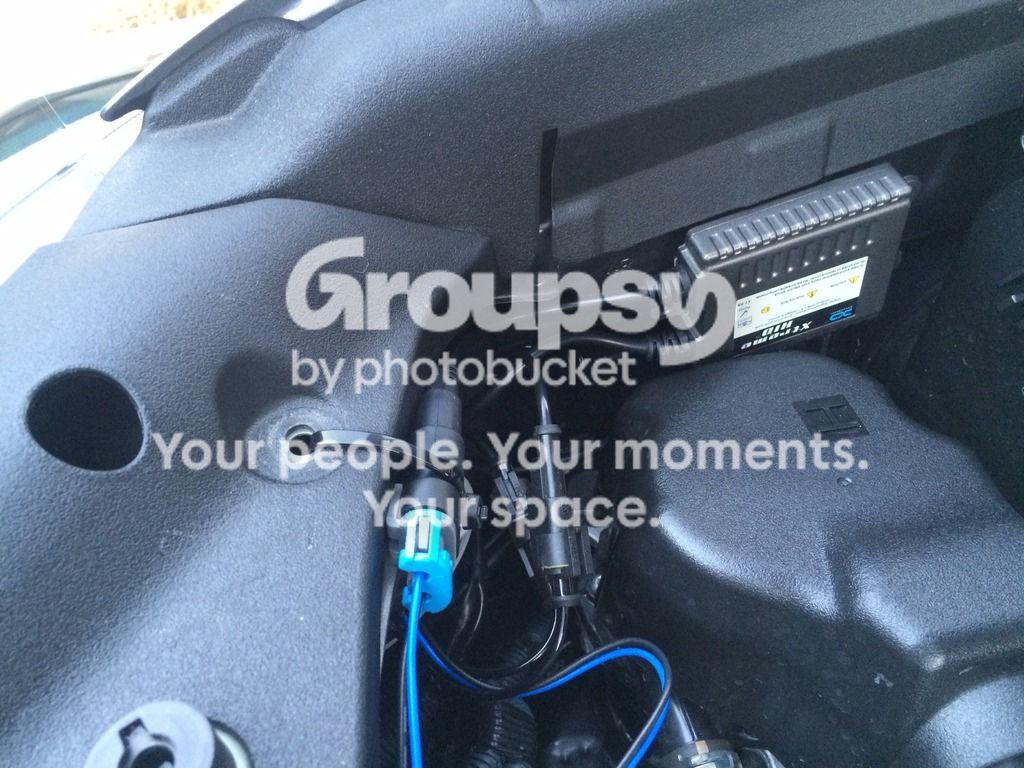
Clean up time. I used Scotch Extreme Fasteners to secure the ballast and harness to the inner fender sheet metal. The kit came with a double sided 3M product, but I like the idea of being able to remove the ballasts easily if needed down the road. They are rated to hold 2lbs/sq. inch and seem to hold very well. After driving around, they show no signs of moving.
image_zpsz1n2mrzh.jpeg~original


Passenger side (note the zip tie holding the harness to the radiator valence/support as mentioned in the beginning)
image_zpskeyqj6i6.jpeg~original


Driver side (note the zip tie holding the harness to the radiator valence/support as mentioned in the beginning)
image_zpsawoza0nf.jpeg~original


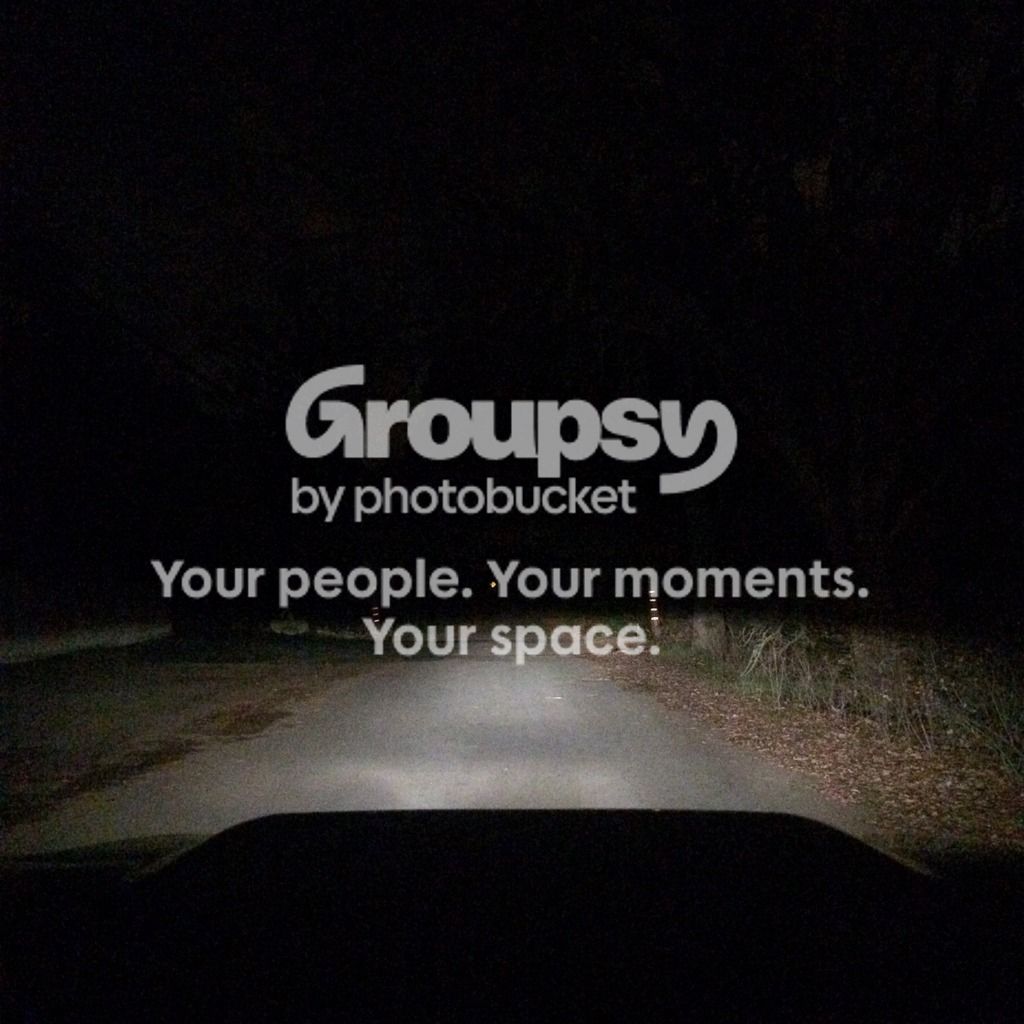
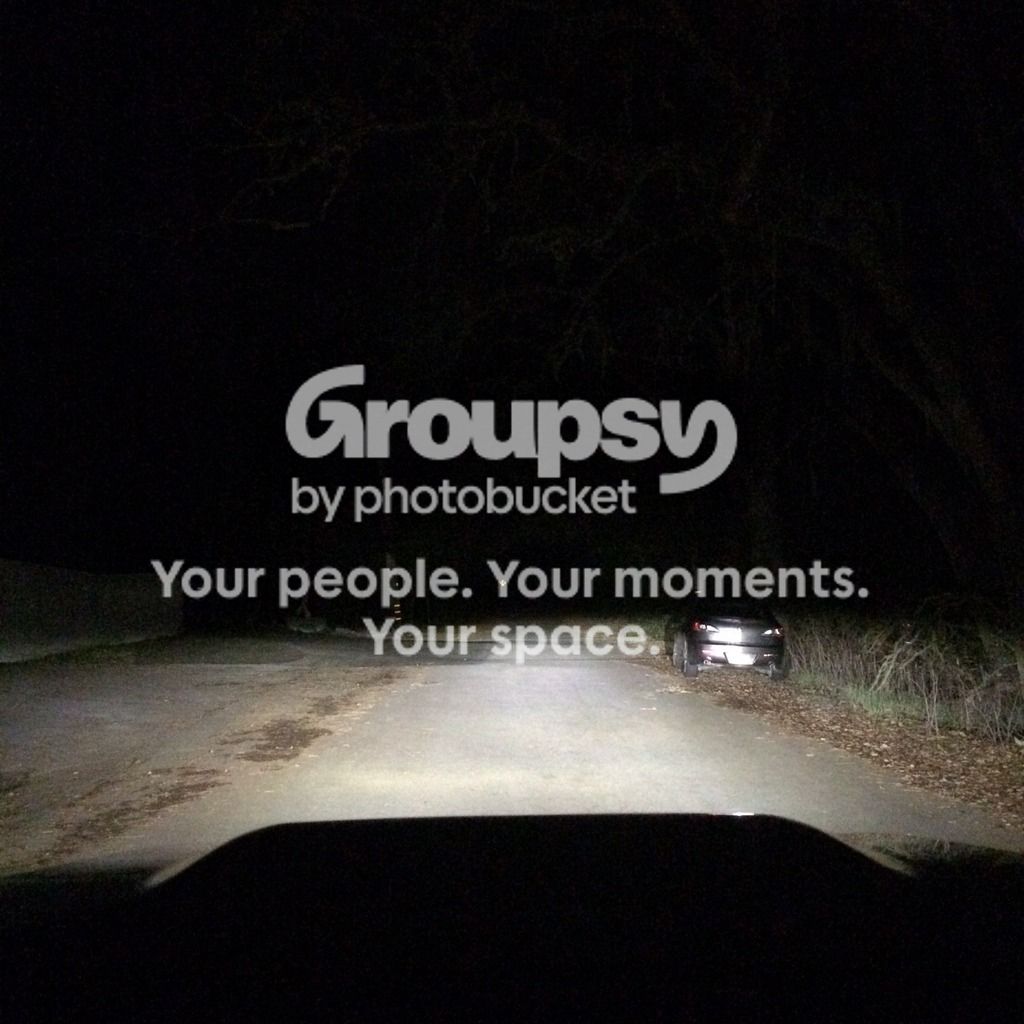
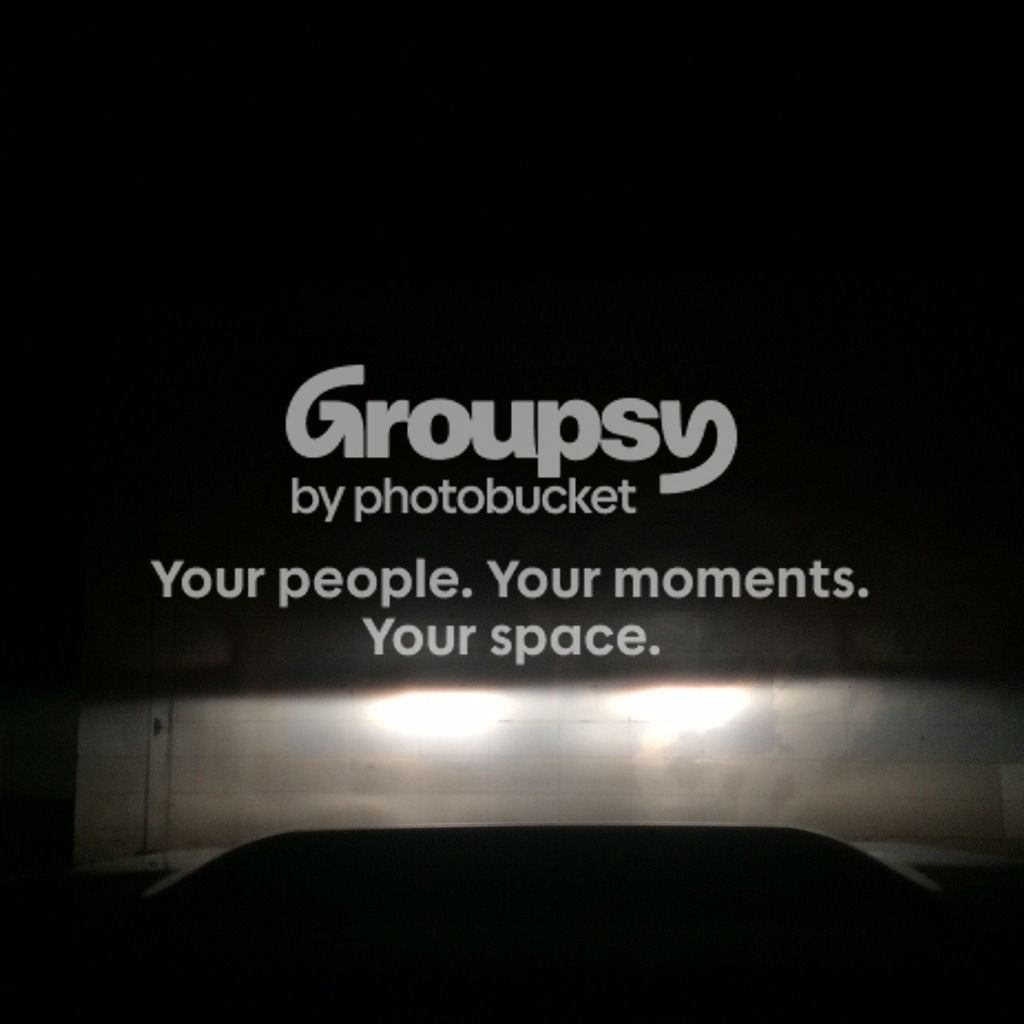
Now for some comparisons

Before (no fogs)
image_zps5hbd1ykl.jpeg~original

After (no fogs)
image_zps1vukulrj.jpeg~original


Before (no fogs)
image_zpsblcmhxi6.jpeg~original

After (no fogs)
image_zpswwxnwxbr.jpeg~original


Before (sorry I don't have an identical head-on shot, but this is the best I have)
image_zpsd5pe3d5q.jpeg~original

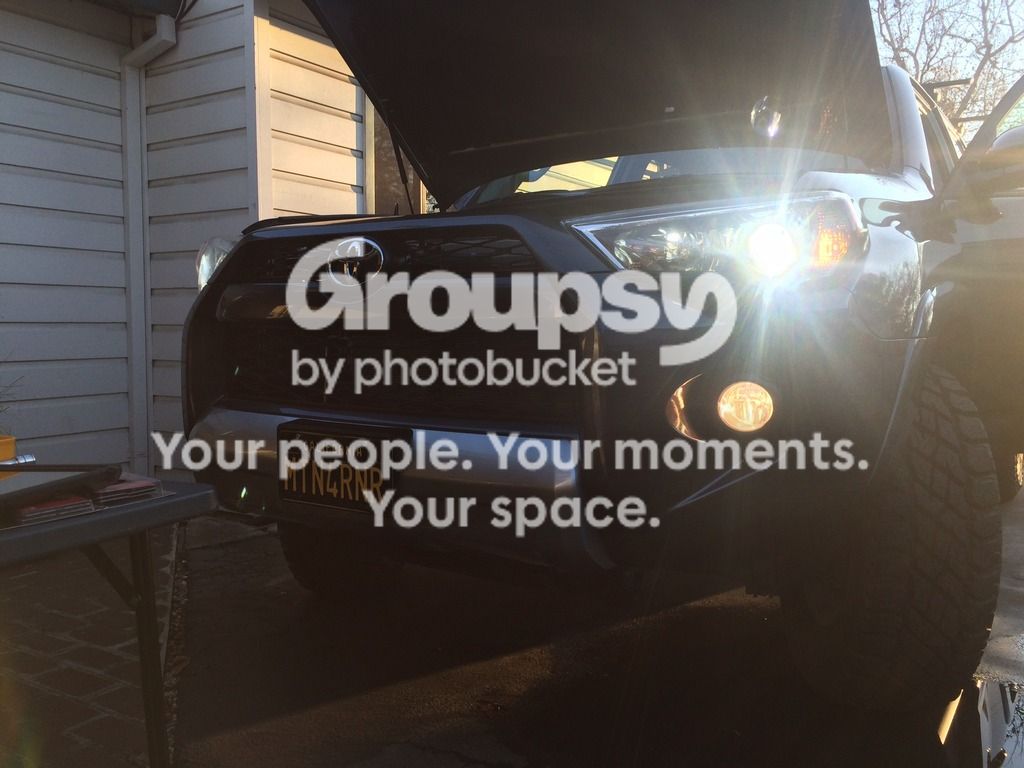
After
image_zps24dayqc2.jpeg~original


The photos show some of the difference, but don't do enough justice. Driving on the road, this upgrade is something that should have been included from the factory. Night and day difference. I am very happy with the product, and the outcome. Thanks [MENTION=12905]XenonDepot[/MENTION] for the great product!


Next up, Amber LED fog upgrade...

More to come...


Your write up with pics was perfect. Unfortunately I received my XD lights after the photobucket BS. Any chance I can get these picture to help with my install? And at the risk of asking too much, I also bought the amber fog lights from XD...are those pictures also available? I'm afraid that without the pics my limited skills might cause the project end in a lighting tragedy. I don't want yo to have that on you consciencehttp://im.toyota-4runner.org/images/icons/icon12.gif
 
Your write up with pics was perfect. Unfortunately I received my XD lights after the photobucket BS. Any chance I can get these picture to help with my install? And at the risk of asking too much, I also bought the amber fog lights from XD...are those pictures also available? I'm afraid that without the pics my limited skills might cause the project end in a lighting tragedy. I don't want yo to have that on you consciencehttp://im.toyota-4runner.org/images/icons/icon12.gif

What are you concerned about with the install? You can look up instructional videos on YouTube for the installation of the low beams. It's pretty straightforward. The hardest part IMO was just getting the lights seated into the lens. Just search YouTube for "5th get 4Runner HID install" and lots should come up.
 
What are you concerned about with the install? You can look up instructional videos on YouTube for the installation of the low beams. It's pretty straightforward. The hardest part IMO was just getting the lights seated into the lens. Just search YouTube for "5th get 4Runner HID install" and lots should come up.

Of course you are right. First video with your recommended search makes me feel better about doing this. I think my hang-up is with taking a drill to a perfectly good piece of plastic. Anyway, thanks for snapping me out of it.
 
Of course you are right. First video with your recommended search makes me feel better about doing this. I think my hang-up is with taking a drill to a perfectly good piece of plastic. Anyway, thanks for snapping me out of it.

Don't worry about the plastic. That's a cheap replacement in the grand scheme of things if you mess it up. My suggestion, if you haven't done it yet, is to use a stepped drill. Take it slow, and keep checking the fit after you hit each new step. That way you can get just a big enough opening to fit the wiring through and still get a good water-resistant seal from the gasket. If you have any other questions, feel free to PM me.
 
Awesome work man, Loving the blog layout. Keep em coming!

Thank you!

Good write up on the Squadron Pro fogs. I installed them this morning in about an hour. I didn't lift the truck and it was possible, just a little more challenging. Appreciate the overview.

Yep, I came to the same conclusion. It's a little bit more tricky, but better than going through and lifting the truck. Happy to help.

Your write up with pics was perfect. Unfortunately I received my XD lights after the photobucket BS. Any chance I can get these picture to help with my install? And at the risk of asking too much, I also bought the amber fog lights from XD...are those pictures also available? I'm afraid that without the pics my limited skills might cause the project end in a lighting tragedy. I don't want yo to have that on you consciencehttp://im.toyota-4runner.org/images/icons/icon12.gif

What are you concerned about with the install? You can look up instructional videos on YouTube for the installation of the low beams. It's pretty straightforward. The hardest part IMO was just getting the lights seated into the lens. Just search YouTube for "5th get 4Runner HID install" and lots should come up.

Of course you are right. First video with your recommended search makes me feel better about doing this. I think my hang-up is with taking a drill to a perfectly good piece of plastic. Anyway, thanks for snapping me out of it.

Don't worry about the plastic. That's a cheap replacement in the grand scheme of things if you mess it up. My suggestion, if you haven't done it yet, is to use a stepped drill. Take it slow, and keep checking the fit after you hit each new step. That way you can get just a big enough opening to fit the wiring through and still get a good water-resistant seal from the gasket. If you have any other questions, feel free to PM me.

I would agree, the step drill is the way to go. While Photo Bucket screwed me over with my photos, Xenon Depot published my DIY on their website. So if you need a reference, here is the link. Feel free to shoot me any questions via PM.
 
HIDs and a Stone Go-To, which is my go-t...my preferred session IPA.
I used your write up (via Xenon Depot), cheers.

35956087711_fe8af69a29_c.jpg
 
Saw you saturday night at 680 before you exited 580. Very nice rig, lighting is good. No wonder you rig is nicely dirtied.
 

Members online

Forum statistics

Threads
278,316
Messages
3,554,112
Members
248,016
Latest member
Advally Service

Trending content

Back
Top