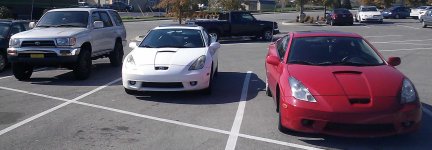
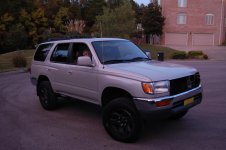
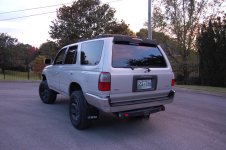
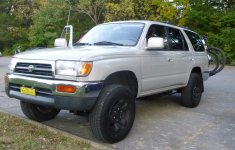
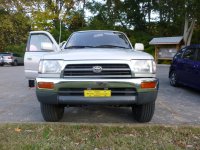
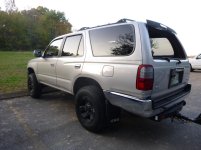
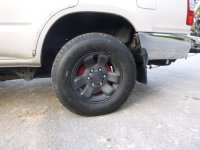
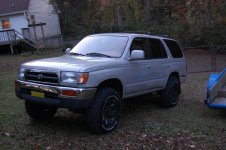
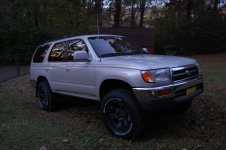
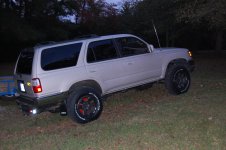
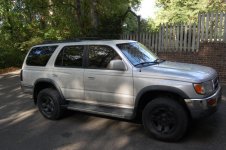
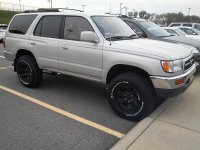
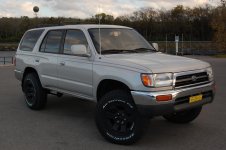
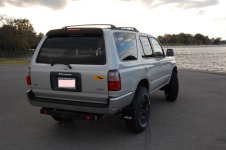
Chuckles' 98 Manual SR5 4Runner

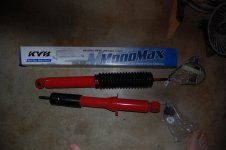
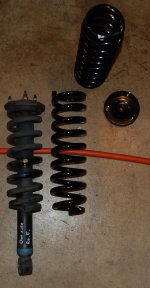
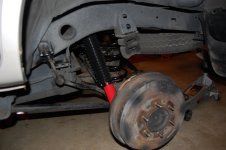
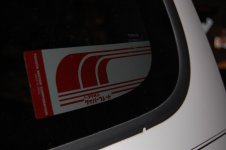
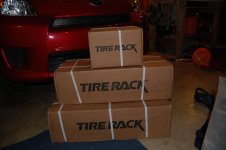
Got some goodies to go with the 99 tall coils which are supposed to come in later this week
DSC_3808.jpg

DSC_3810.jpg

DSC_3811.jpg

When we find someone to buy the tires, I will be getting some pizza cutter 235/85/16 BFG A/T's

 

Attachments

  • DSC_3808.jpg
    DSC_3808.jpg
    124.8 KB · Views: 2,419
  • DSC_3810.jpg
    DSC_3810.jpg
    131.2 KB · Views: 2,419
  • DSC_3811.jpg
    DSC_3811.jpg
    130.1 KB · Views: 2,450
Dad here - the ribs (or braces) on the hood have partially come un-glued. What's the best way to reattach?
:fro:
 
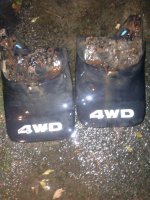
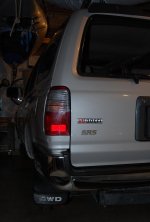
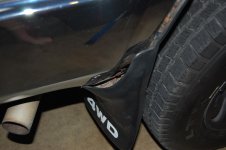
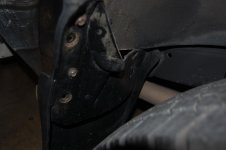
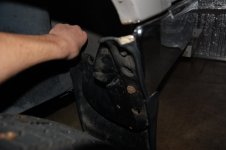
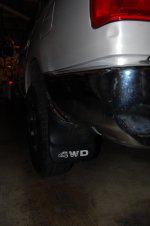
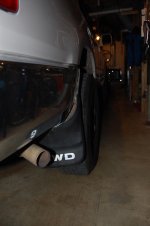
Went to another junkyard today and got a steering wheel ($6), right side tail light ($6), and some 4WD rear mud flaps fro a 2nd gen ($4). Found out that the steering wheel is a 2 spoke instead of a 4 spoke, so there went 6 bucks for nothing. Tail light is good and will replace the one with a hole in the side. The mud flaps will bolt up pretty good with only one hole to be added in the bumper.
2014-10-14 20.20.52.jpg
 

Attachments

  • 2014-10-14 20.20.52.jpg
    2014-10-14 20.20.52.jpg
    136.2 KB · Views: 2,291
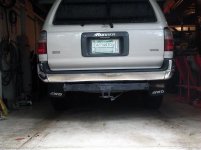
Got the mud flaps on
2014-10-15 12.24.23.jpg

Started on shocks and springs!
DSC_3814m.jpg

The '99 coils have ten coils; the '98 coils have nine coils (on the front springs) and are both color coded blue and yellow on the passenger side.
 

Attachments

  • 2014-10-15 12.24.23.jpg
    2014-10-15 12.24.23.jpg
    131.8 KB · Views: 2,563
  • DSC_3814m.jpg
    DSC_3814m.jpg
    140.9 KB · Views: 2,463
Nice resurrection! I've been doing a lot on mine also. It was always maintained but lots of visual stuff needs done. Now only if I could find some decent leather seat covers for the front...
 
I finished up the lift this morning! Did the rears all by myself and I apparently made my dad's day when I told him. Siliconed all the bushings and the hoses in the engine compartment.
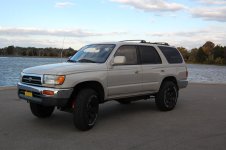
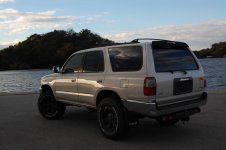
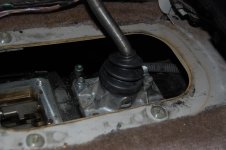
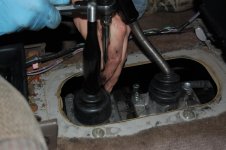
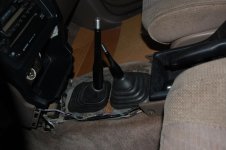
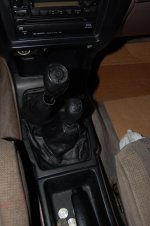
Re-did the gaskets on the shifters- transmission and transfer case along with new boots and grease
DSC_3828.jpg

DSC_3831.jpg

DSC_3852.jpg

DSC_3853.jpg

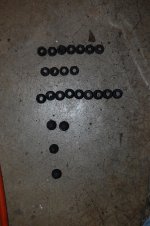
Lug nuts have been ordered to replace the six types of wrong ones
DSC_3833.jpg

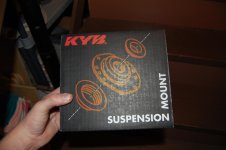
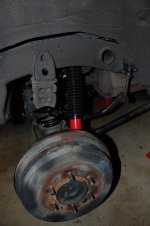
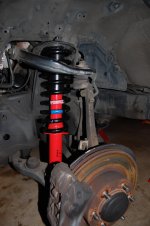
Suspension- 99 Tall Coils with KYB Monomax Shocks

DSC_3839.jpg

DSC_3847.jpg

DSC_3849.jpg
 

Attachments

  • DSC_3828.jpg
    DSC_3828.jpg
    127.5 KB · Views: 2,343
  • DSC_3831.jpg
    DSC_3831.jpg
    127.9 KB · Views: 2,376
  • DSC_3833.jpg
    DSC_3833.jpg
    134.3 KB · Views: 2,227
  • DSC_3852.jpg
    DSC_3852.jpg
    130.2 KB · Views: 2,300
  • DSC_3853.jpg
    DSC_3853.jpg
    123.9 KB · Views: 2,348
  • DSC_3839.jpg
    DSC_3839.jpg
    124.3 KB · Views: 2,317
  • DSC_3847.jpg
    DSC_3847.jpg
    129.2 KB · Views: 2,665
  • DSC_3849.jpg
    DSC_3849.jpg
    121 KB · Views: 2,526
What do y'all think of these ideas:

V6 3.0 EFI
DSC_3851m.jpg

or

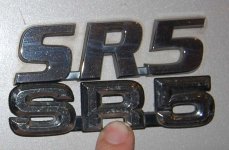
Replace the SR5 with this one and a V6 badge from a 2nd gen
DSC_3880.JPG


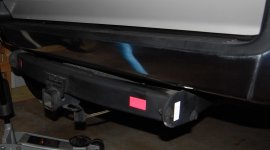
I put some reflectors on the hitch
DSC_3882.JPG

Cool Japanese stuff
DSC_3868.jpg

Tires are listed on Craigslist


Thanks to G Squared, I will be replacing the driver's side headlight with one that is not broken. Thank you! (We mailed the check for shipping today)
 

Attachments

  • DSC_3851m.jpg
    DSC_3851m.jpg
    122 KB · Views: 2,276
  • DSC_3880.JPG
    DSC_3880.JPG
    86.1 KB · Views: 2,198
  • DSC_3882.JPG
    DSC_3882.JPG
    88.9 KB · Views: 2,265
  • DSC_3868.jpg
    DSC_3868.jpg
    114 KB · Views: 2,281
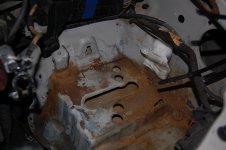
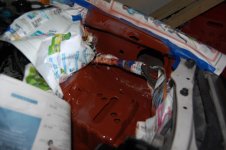
We sanded and prepped the battery area for painting this morning. The final prep was using acetone to clean everything. Then we taped and papered what we did not want to paint. I used Rustoleum Rusty metal primer. Area looks better already. We'll paint the area Sunday night with the factory color Duplicolor paint in the battery area. It will definitely look better than before.

Its amazing how much better Chuckles truck looks already. Still lots to do

Stephen
 
Pics from the battery area
DSC_3883.jpg

DSC_3896.jpg

Tonight, we painted it with gray primer and sprayed some desert sand mica duplicolor. Pics will come after a few coats.

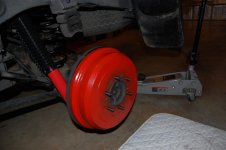
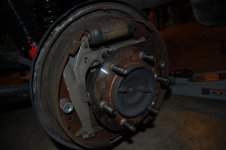
Brake drums are red! Same can of paint my dad did his 1st gen with 10+ years ago
DSC_3911.jpg

Brakes are new and look good
DSC_3909.jpg

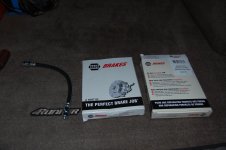
New Napa brake lines for up front
DSC_3912.jpg

The guy we ordered lug nuts from, sent us ones from a 5 lug tundra, so I can't drive it for another week until we get the right ones :(
 

Attachments

  • DSC_3883.jpg
    DSC_3883.jpg
    125.4 KB · Views: 2,262
  • DSC_3896.jpg
    DSC_3896.jpg
    118.9 KB · Views: 2,250
  • DSC_3911.jpg
    DSC_3911.jpg
    123.3 KB · Views: 2,408
  • DSC_3909.jpg
    DSC_3909.jpg
    122.6 KB · Views: 2,369
  • DSC_3912.jpg
    DSC_3912.jpg
    132 KB · Views: 2,233
How did I miss this? Congrats, I know it will be well cared for. I can't believe you found a 4WD for that price. First I was screaming, "take off the running boards," and you did. Then I was screaming, "get rid of the Nightshades!" and your dad did that.

..."or
Replace the SR5 with this one and a V6 badge from a 2nd gen..."

You can totally debadge it and just leave the Toyota logo that's beneath the rear wiper. That logo has two studs that fit into two holes in the hatch. I like the plain look.

For the record I did not drain the fluid before discovering the bolt was JB Welded...only because it was the drain plug that was welded. I suppose it was in lieu of the crush washer.

Good luck and keep posting!
 
The official name is "Chuckwagon III". My mom named my dad's '86 Civic "The Chuckwagon" and his '89 4Runner "Chuckwagon II", so I have the new chuckwagon lol

Lug nuts came! They look great with the black wheels

I'm getting my tires tomorrow! We have sold the Michelins for $300- not bad for 7 year old tires

Rear sway bar end links are making really bad noises and new ones have been ordered.

The rear springs sit low compared to the front, so a 1.5" spacer kit may be coming soon...

2014-10-26 11.20.00m.jpg

Before we put the grill and new headlight on:
DSC_3914.jpg

DSC_3918.jpg

After:
P1030158m.jpg

P1030160.jpg

P1030162.jpg

P1030161.jpg

I put in the new ignition cylinder today, so I won't have to jiggle and flip the key around anymore.

I painted the middle skid plate and will paint the front one after I clean it some more.

That's all I have for now, but I'm sure I forgot something :car:
 

Attachments

  • 2014-10-26 11.20.00m.jpg
    2014-10-26 11.20.00m.jpg
    157.3 KB · Views: 2,258
  • P1030158m.jpg
    P1030158m.jpg
    139.6 KB · Views: 2,333
  • P1030160.jpg
    P1030160.jpg
    141.2 KB · Views: 2,261
  • P1030162.jpg
    P1030162.jpg
    130.6 KB · Views: 2,283
  • P1030161.jpg
    P1030161.jpg
    133.3 KB · Views: 2,194
  • DSC_3914.jpg
    DSC_3914.jpg
    130.4 KB · Views: 2,779
  • DSC_3918.jpg
    DSC_3918.jpg
    140.2 KB · Views: 2,338
Nice! Do you have any more pics of the 2nd gen mudflaps installed? I would love a set of those on my truck!

They don't fit perfectly with the bottom center bolt hole molded into the mudflap, so there is a gap on the side. You could lessen the gap by drilling a hole farther over in the bottom of the bumper or making a bracket. I used the existing holes in the bumper and cut holes in the flaps for the bolts to go through with a knife. In the 4th picture, it shows where I will be drilling a hole in the body to secure the other side of the mudflaps. That will pull the mudflaps straight so they aren't slightly angled.

DSC_3920.jpg

DSC_3922.jpg

DSC_3923.jpg

DSC_3926.jpg

DSC_3927.jpg

DSC_3928.jpg

The pair I got came off a rustbucket and took off a chunk of the bumper when I twisted one of the bolts lol. There is metal inside them and I tore it all out leaving just the rubber.
 

Attachments

  • DSC_3920.jpg
    DSC_3920.jpg
    121.8 KB · Views: 2,370
  • DSC_3922.jpg
    DSC_3922.jpg
    123.8 KB · Views: 2,174
  • DSC_3923.jpg
    DSC_3923.jpg
    128.3 KB · Views: 2,202
  • DSC_3926.jpg
    DSC_3926.jpg
    118.1 KB · Views: 2,205
  • DSC_3927.jpg
    DSC_3927.jpg
    122.2 KB · Views: 2,191
  • DSC_3928.jpg
    DSC_3928.jpg
    121.9 KB · Views: 2,137
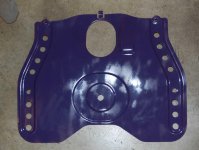
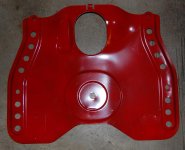
Pictures of the middle skidplate. Purple is on the bottom and red is on the top. The skid plate and brake drums are all painted with the same cans of paint my dad used on his '89 10+ years ago

DSC_3931m.jpg

DSC_3932m.jpg

I will be getting the following parts next weekend: Ashtray, passenger door weatherstripping, spare tire tools, and base model rear mudflaps.
 

Attachments

  • DSC_3931m.jpg
    DSC_3931m.jpg
    126.2 KB · Views: 2,225
  • DSC_3932m.jpg
    DSC_3932m.jpg
    128.8 KB · Views: 2,270
Tires!

DSC_3939.jpg

DSC_3944.jpg

DSC_3935.jpg
 

Attachments

  • DSC_3939.jpg
    DSC_3939.jpg
    137 KB · Views: 2,165
  • DSC_3944.jpg
    DSC_3944.jpg
    134.7 KB · Views: 2,115
  • DSC_3935.jpg
    DSC_3935.jpg
    137.7 KB · Views: 2,203
Last edited:
Lots of work has been done the last few days- I will post up pictures and details tomorrow afternoon/ night.

What a transformation!

DSC_3499.jpg

2014-10-28 07.46.09.jpg

:driving:
 

Attachments

  • DSC_3499.jpg
    DSC_3499.jpg
    139.2 KB · Views: 2,083
  • 2014-10-28 07.46.09.jpg
    2014-10-28 07.46.09.jpg
    137.1 KB · Views: 2,367
Lookin' real good man, why'd you choose to ditch the flares though?

Thanks!

TBH, I just like the plain look better- they were also faded, loose, and some were damaged. I am glad I took them off though, because I found some rust behind them and they were in the process of wearing the paint off in the non rusty places.
 
Thanks!

TBH, I just like the plain look better- they were also faded, loose, and some were damaged. I am glad I took them off though, because I found some rust behind them and they were in the process of wearing the paint off in the non rusty places.

I actually need a few SR5 flare pieces and may just buy the set off of you - if want to sell them? Ill send a PM :)
 
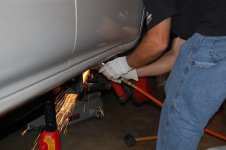
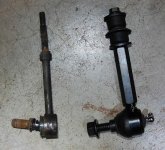
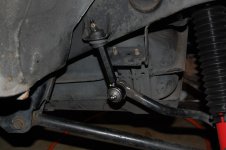
We put on some new sway bar end links for the rear. The old ones were loose and made an awful noise. The new ones are AcDelco and are MASSIVE. They were $20 a piece on amazon with free shipping. The ride is so much better and the truck looks level now.

They needed a little encouragement ;)
DSC_3949.jpg

Old vs. New
DSC_3952m.jpg

Installed
DSC_3954.jpg

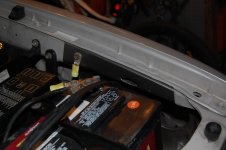
Added a gauge 4 ground wire- Duplicolor Perfect Match isn't very perfect but looks better than rust lol
DSC_3956.jpg

Poser pics
DSC_3963.jpg

DSC_3960m.jpg

DSC_3958.jpg

DSC_3959m.jpg

I attached the mudflaps with a bolt through the body so they are straight now
 

Attachments

  • DSC_3949.jpg
    DSC_3949.jpg
    132.1 KB · Views: 2,050
  • DSC_3952m.jpg
    DSC_3952m.jpg
    136.6 KB · Views: 2,041
  • DSC_3954.jpg
    DSC_3954.jpg
    124.4 KB · Views: 2,066
  • DSC_3956.jpg
    DSC_3956.jpg
    122.1 KB · Views: 2,063
  • DSC_3963.jpg
    DSC_3963.jpg
    134.5 KB · Views: 2,234
  • DSC_3960m.jpg
    DSC_3960m.jpg
    132.5 KB · Views: 2,097
  • DSC_3958.jpg
    DSC_3958.jpg
    131.5 KB · Views: 2,066
  • DSC_3959m.jpg
    DSC_3959m.jpg
    127 KB · Views: 2,132

Members online

No members online now.

Forum statistics

Threads
278,310
Messages
3,554,078
Members
248,016
Latest member
Advally Service

Trending content

Back
Top