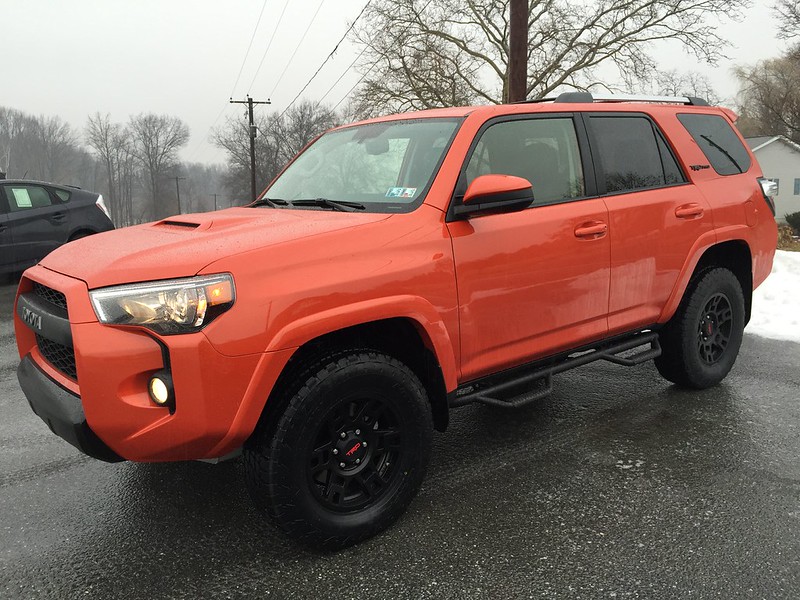
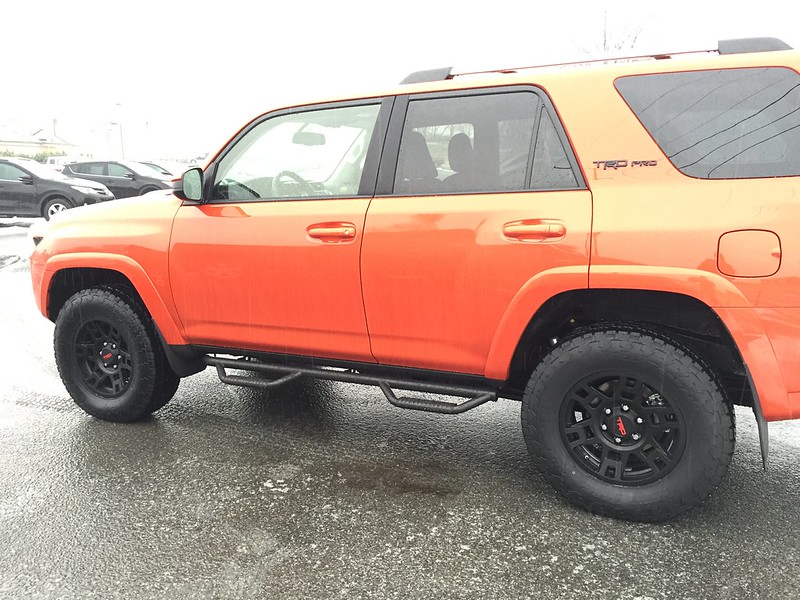
Chudiddy- Inferno TRD PRO Build

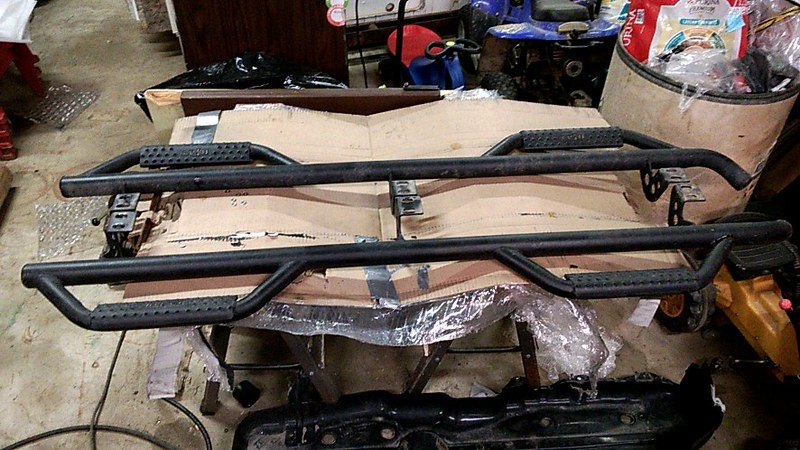
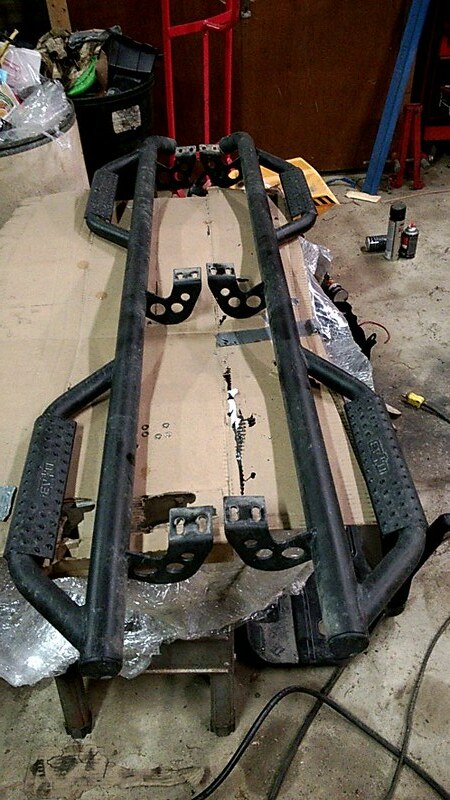
What did you do to prep the metal and then what paint did you end up going with? I'm very interested in those sliders!
 
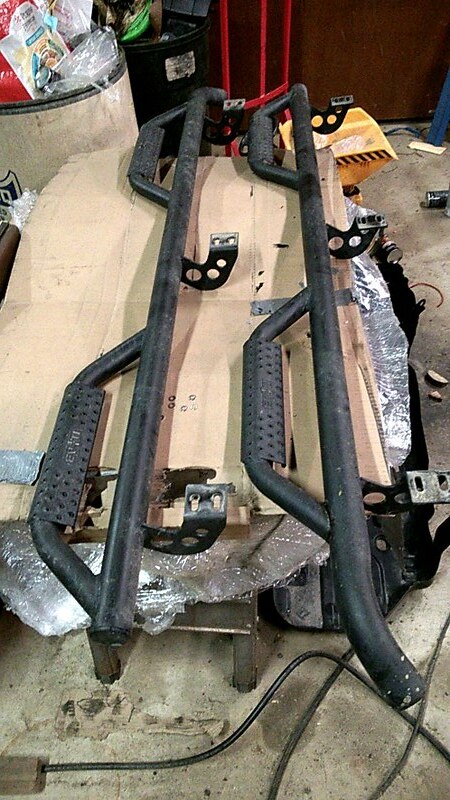
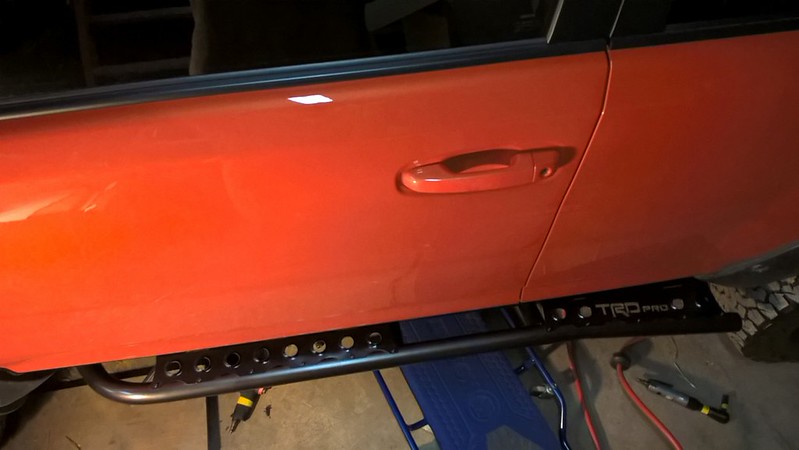
Awesome build man. On the sliders, were the removable top plates a custom order thing or are they now making them all bolt-on rather than welded on? I really like the idea of being able to remove them if you choose.
 
Awesome build man. On the sliders, were the removable top plates a custom order thing or are they now making them all bolt-on rather than welded on? I really like the idea of being able to remove them if you choose.

All of the sliders now come with removable step plates. We have gotten a couple requests for this option to make it easier to paint. It really doesn't take us any longer to make them this way, so we made the change!
 
Thanks, dude! what a great move that was! I've been racking my brain on what to do with the wire, and this is the perfect solution. super clean. i refuse to drill through the roof to run the wire, and this solves it. thanks again, and great looking build. FYI, I've read that the bushwackers can damage the paint, so you may want to put in some 3M protective tape like you did with the wind deflector. i actually did the same exact thing with the wind deflector.


Did you have to remove the weather stripping to do this?
 
I figured, but was hoping there was another way. The wiring harness on the Baja lights have such thick wires that just tucking won't work for me. I can't figure out a good solution
 
I figured, but was hoping there was another way. The wiring harness on the Baja lights have such thick wires that just tucking won't work for me. I can't figure out a good solution

Can't you peel off the sheathing and just run the wires under the weather strip? That's what I did.
 
Can't you peel off the sheathing and just run the wires under the weather strip? That's what I did.


I did try that. Spent a couple of hours on it. Barely was able to get one wire in - no chance of getting both. Not sure if it's the gauge of the wires or just the way my truck is rigged. Only other thing I can think to try is removing the weather stripping and then hoping i can replace it and that it fits snugly on top of the wires without affecting the seal.
 
I did try that. Spent a couple of hours on it. Barely was able to get one wire in - no chance of getting both. Not sure if it's the gauge of the wires or just the way my truck is rigged. Only other thing I can think to try is removing the weather stripping and then hoping i can replace it and that it fits snugly on top of the wires without affecting the seal.

I was able to get two 16 ga wires in a sheath through that channel. But it had to be cleaned out first. There was mud and gunk in there, probably from the precious owner living in Spokane.

I took a panel removing tool and just ran it down the channel a few times. Was surprised how much stuff was in there.

Might give that a try and see if it helps.
 
24386767165_3ce3c93629_c.jpg


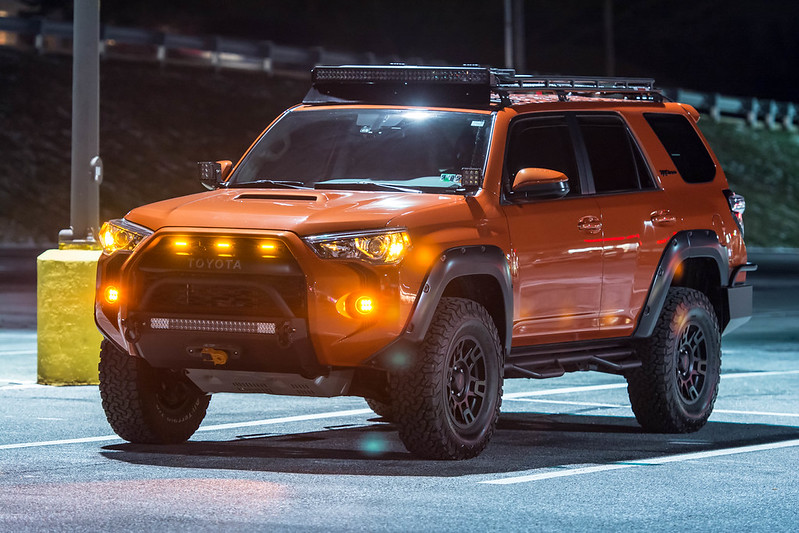
Ok so since the most common question regarding my truck has been the 3 Amber Lights in my grill, I thought I would do a quick, simple write up on what was used, how they're mounted, and how they're wired. Its actually more simple then what people think.

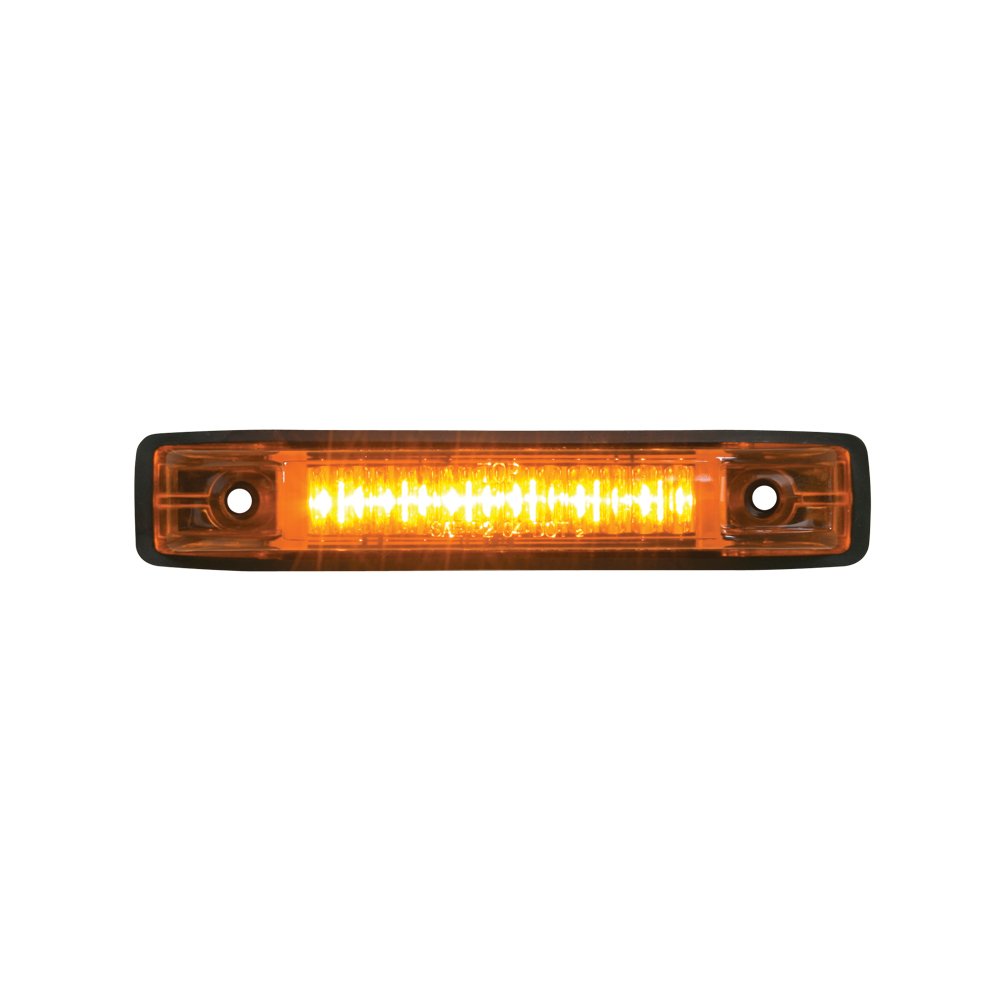
First off these are the Amber Marker lights I chose:

51NUVG5eG0L._SL1000_.jpg


Amazon.com: Grand General 77650 Amber Thin Line 6-LED Marker and Clearance Sealed Light: Automotive

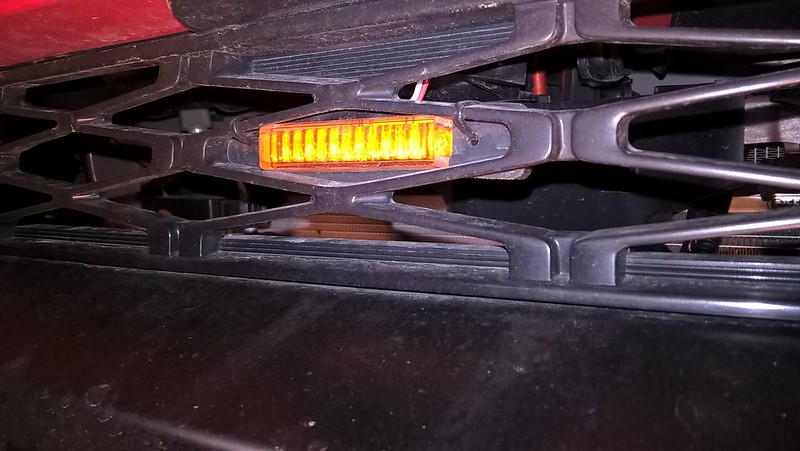
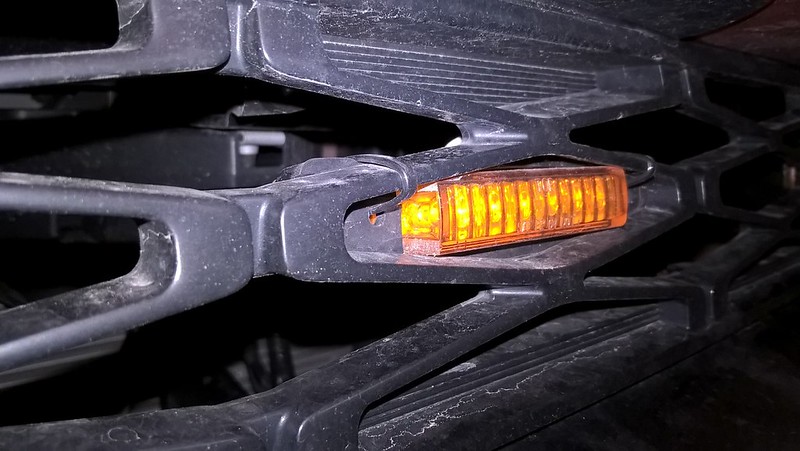
The next part pertains to installs for the TRD Pro grill: What we ended up doing was trimming the plastic ribs that extended off the main body of each marker light. That way they fit in each opening of the TRD PRO grill. A bench grinder was used to do this although i'm sure a dremel would work as well.

Ok next is the hardest part:

25093604936_b53756ba85_c.jpg


24493103453_66441af365_c.jpg


The marker lights are simply attached to the grill using zip ties. Simple, yet effective. That's it!!

As far as wiring goes, the marker lights are wired in parallel. Take all the red (positive +) from each marker lights and wire them together. Do the same thing with all the black (negative -) wires and wire them together. Then take each red and black wire and tap in to the corresponding (+) and (-) parking light wires. Solder them up, wrap them in electrical tape, and VOILA...you're done.

You do not want to wire these LED's in series, there will be a drop in voltage if you do this and won't be as bright.

Enjoy!!​
 
Last edited:
[MENTION=62757]chudiddy[/MENTION] your set up is amazing! I have the hybrid bumper coming in a few weeks. What winch are you using and what is that orange piece on the outside of the bumper holding it there?
 

thanks for the info. it appears you shaved the rounded ends off the lens covers and cut some sort of rubber/plastic cover to slip over the front, correct?

they fit really well in those grill slots with the ends trimmed off. great work
 
thanks for the info. it appears you shaved the rounded ends off the lens covers and cut some sort of rubber/plastic cover to slip over the front, correct?

they fit really well in those grill slots with the ends trimmed off. great work

+1 I would like to know what you cut to go around the LED bars.
 
thanks for the info. it appears you shaved the rounded ends off the lens covers and cut some sort of rubber/plastic cover to slip over the front, correct?

they fit really well in those grill slots with the ends trimmed off. great work

Updated the write up to include what was done to make them fit. I forgot that step. Sorry
 
Items for sale..

I have a few things available for sale:

1x ARB 2500 Awning (ARB4401A) Brand new sealed-SOLD

I'm also including mounting brackets that should work for any roof rack.

Link: ARB Awning 2500 (ARB4401A)
----------------------------------------------------------------------------------
1 Pair of Rigid Industries D Series Midnight Edition Spot- Used for about 3 weeks. Comes in original box with brand new harness- SOLD

Link: D-Series Midnight Edition Pair Surface White Black | Rigid Industries
----------------------------------------------------------------------------------
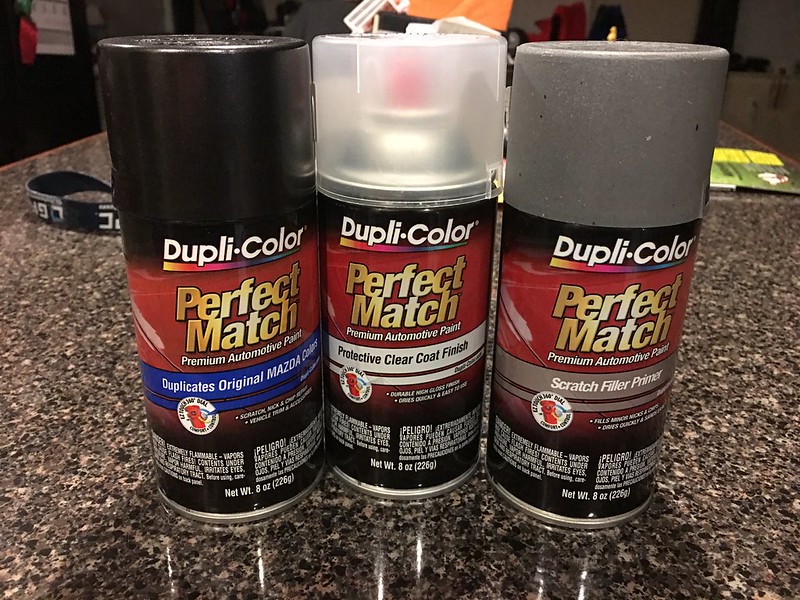
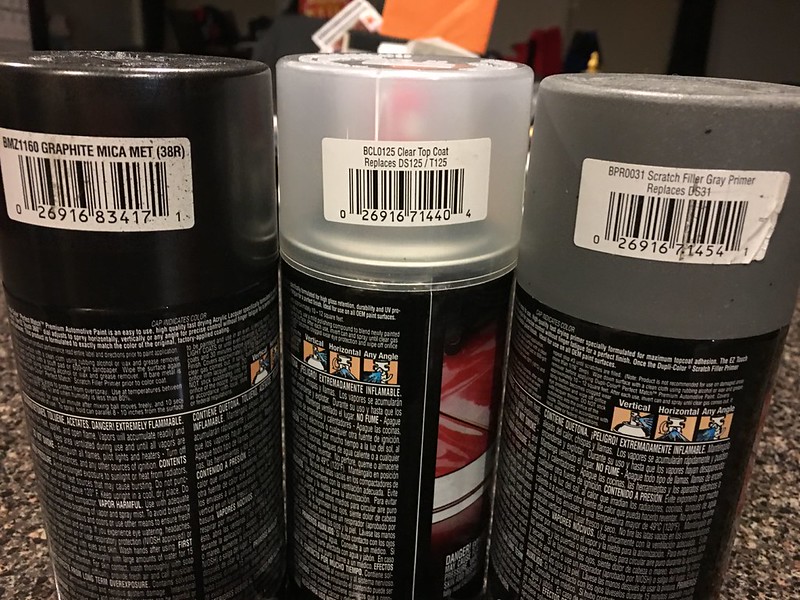
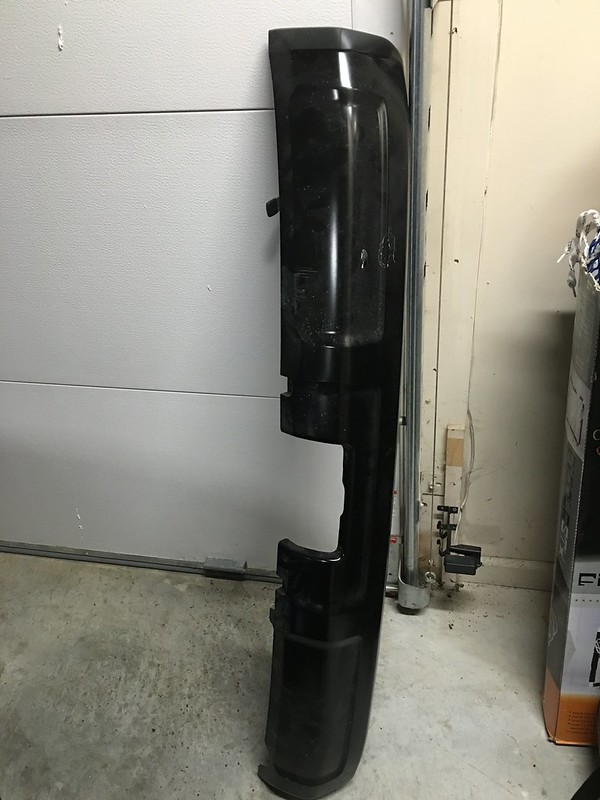
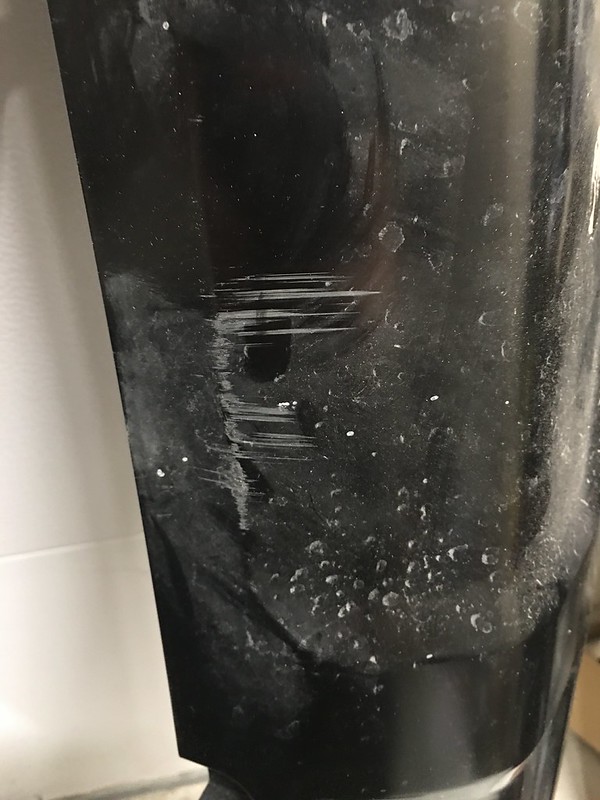
Rear Valence off rear bumper of TRD PRO- Good condition, small scuff on bottom, can probably buff out. See pic- $125 shipped COTUS

24862200050_f0fdee21b8_c.jpg


25039596742_af914eecf9_c.jpg

----------------------------------------------------------------------------------
Have a pair of NFab Step Bars T1464R- On my truck for a year- SOLD

Link: Manufacturers of high quality Nerf Steps, Prerunners, Harley Bars, Light Bars, Replacement Front Bumpers, Rock Rails, Rear Runners, Tire Carriers & Truck Accessories

16238356976_0d46ab3b8f_c.jpg


16262458781_53de412c3e_c.jpg


Pics from today:

24862575610_e2046b2274_c.jpg


24527549244_f70e52021f_c.jpg


24790535189_b477db9c0d_c.jpg
 
Last edited:
Update...

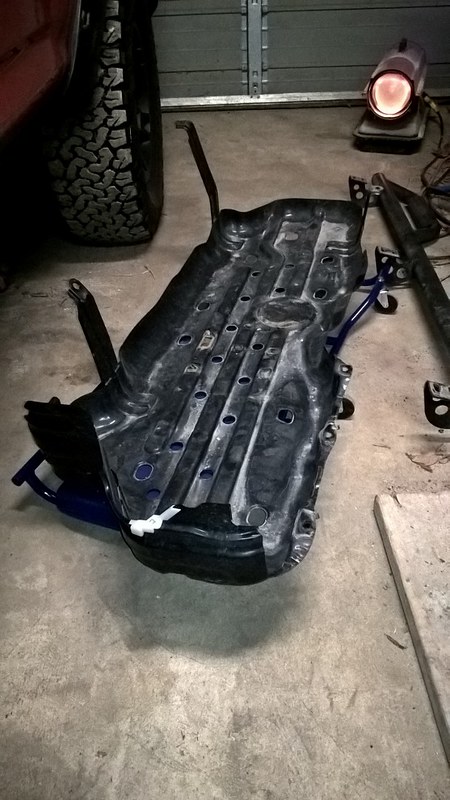
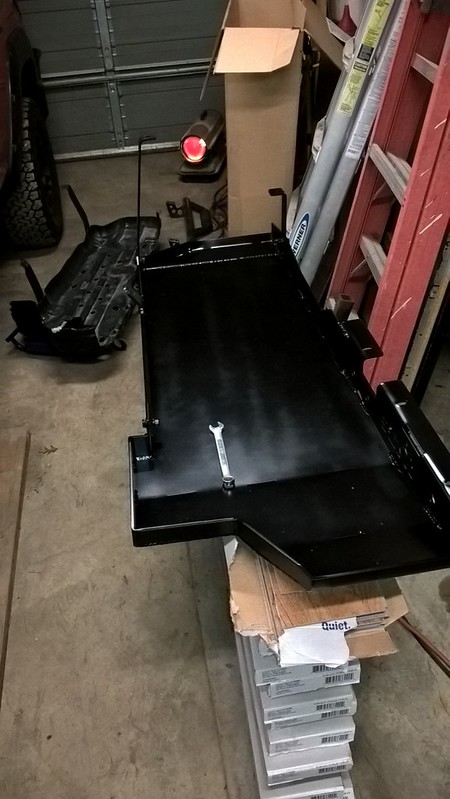
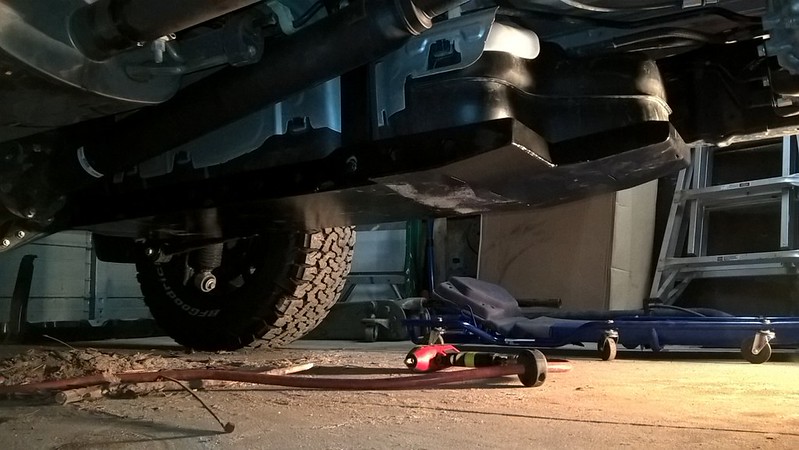
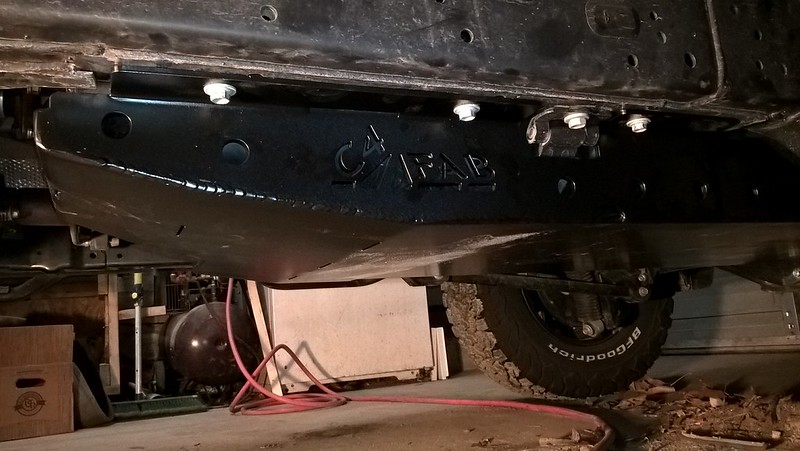
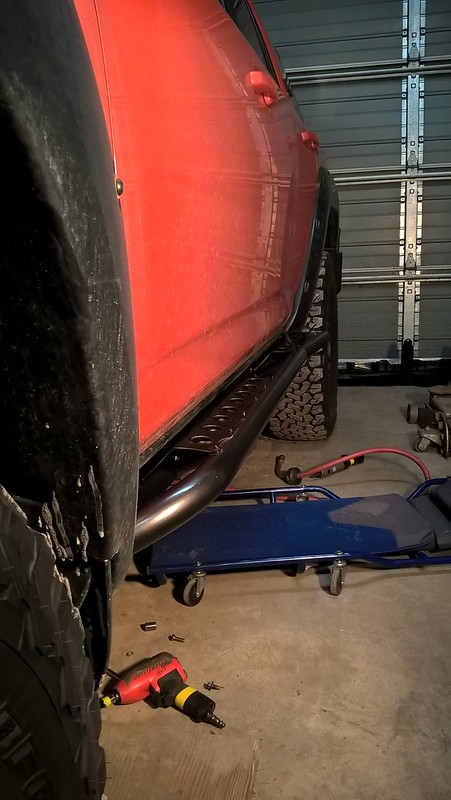
New Fuel Tank Skid and Sliders are mounted. Still a few more things to do.

OEM Fuel Tank Skid:

25026604231_490fe8964d_c.jpg


C4 Fuel Tank Skid:

24489211994_006c1cf2cc_c.jpg


24489207814_27bc313f9d_c.jpg


25093520866_ccb5a03d7c_c.jpg


Sliders installed:

25119861005_e57c9392d9_c.jpg


25119864035_14e07f6bf1_c.jpg


Really can't say enough about the quality of the skid and sliders. Wonderful craftsmanship and build quality. Super pleased with them.​
 
Update...

New Fuel Tank Skid and Sliders are mounted. Still a few more things to do.

Really can't say enough about the quality of the skid and sliders. Wonderful craftsmanship and build quality. Super pleased with them.​

Thanks so much for the positive comments on the products. Im glad they fit well and you are pleased with them!:hatsoff:
 

Members online

No members online now.

Forum statistics

Threads
278,316
Messages
3,554,120
Members
248,016
Latest member
Advally Service

Trending content

Back
Top