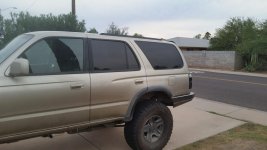
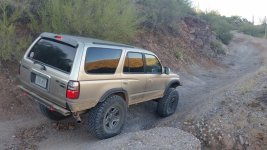
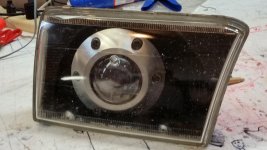
D Farms' Build thread: "Goldilocks"

I admire your confidence to dive into projects like this, but I think we can come up with other means to the same end that introduce a lot less variables into this.

First of all, avoid 3 force suspension arms like this at all cost. I am dealing with one at work right now that is driving me nuts, want to slap the person who approved this design. And if you must, at least give it better geometry. Try to shape it more like a boomerang so more of the forces are in tension and less in bending and shear. I realize this is worse for ground clearance, but its worth it.

Second, you don't want to extend the lower arm length and mounting point without touching the upper arm or your pinion angle will be stupid bad at anything but 1G position. If anything, its better to lengthen the upper arms a bit to keep the pinion angle in check at all stroke values. Also, at full bump and rebound, its the upper arms binding that is really hindering articulation.

You can get pretty damn good travel out of the stock geometry with some less restrictive control arm bushings, longer shocks and longer brake lines. But the main thing to make sure you control is that the bump stops are fully compressed before the shocks are, I have seen a lot of people destroy shocks by completely neglecting the bump stops.
 
I admire your confidence to dive into projects like this, but I think we can come up with other means to the same end that introduce a lot less variables into this.

First of all, avoid 3 force suspension arms like this at all cost. I am dealing with one at work right now that is driving me nuts, want to slap the person who approved this design. And if you must, at least give it better geometry. Try to shape it more like a boomerang so more of the forces are in tension and less in bending and shear. I realize this is worse for ground clearance, but its worth it.

Second, you don't want to extend the lower arm length and mounting point without touching the upper arm or your pinion angle will be stupid bad at anything but 1G position. If anything, its better to lengthen the upper arms a bit to keep the pinion angle in check at all stroke values. Also, at full bump and rebound, its the upper arms binding that is really hindering articulation.

You can get pretty damn good travel out of the stock geometry with some less restrictive control arm bushings, longer shocks and longer brake lines. But the main thing to make sure you control is that the bump stops are fully compressed before the shocks are, I have seen a lot of people destroy shocks by completely neglecting the bump stops.

Thanks, I guess I didnt state it explicitely but its going to be a 3 link, with the upper arm being the same length as the lower arms, the upper arm will be offset to the passenger side slightly. the lower shock mount is below the centerline of the link already, and my springs will remain in the stock location. obviously the shock placement is pretty important, which is why im moving it up, and ill place it so it bottoms out the bump stops before it bottoms out the shocks. If It doesnt work out so well, I can still use the stock lower shock mount until I can fix the problem.
Also I know this guy and can pick his brain for help on this. https://localmotors.com/gwilson/center-mounted-desert-ranger/
 
Last edited:
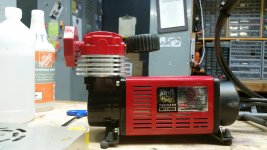
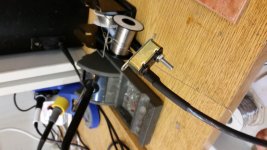
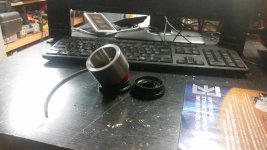
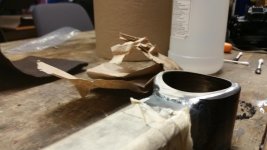
finally got myself an air compressor, a cheap mv50 off amazon dubbed the mf-1050. its nice and has an o ring on the out put valve that holds pressure and is relatively quiet. made a few mods. 6ga cables, 40a breaker, relay delete. I also machined a new heatsink for the piston cylinder with big fins and a tigher tolerance to the cylinder and a bit of thermal compound to seal the deal. I want to make a heatsink for the motor as well but that will take a lot more time since ill have to bore out a lot of material to make it work. for now the air coming out should be cooler than the stock rinky dink heatsink.
 

Attachments

  • 20151003_025704.jpg
    20151003_025704.jpg
    133.2 KB · Views: 1,109
  • 20150925_030644.jpg
    20150925_030644.jpg
    130.7 KB · Views: 1,117
There was someone on here that did some porting on theirs to move more air. I may be interested in that heatsink.
 
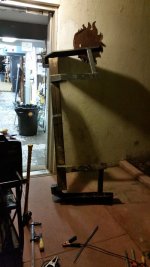
got the side pieces put on the old tube in the back, looking good, just need to mosaic some steel to go in between and fill the voids.
 

Attachments

  • 1.jpg
    1.jpg
    100.6 KB · Views: 1,004
  • 2.jpg
    2.jpg
    130 KB · Views: 1,312
  • 3.jpg
    3.jpg
    129 KB · Views: 1,057
  • 4.jpg
    4.jpg
    136.6 KB · Views: 1,014
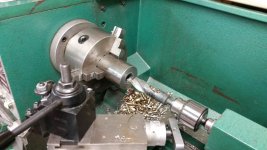
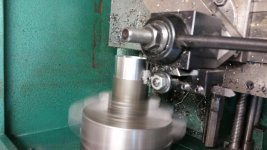
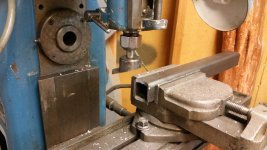
did some work on the lathe and mill, the cap screws add a nice industrial touch and also reinforce the hex theme im going for.
 

Attachments

  • 20151030_022640.jpg
    20151030_022640.jpg
    130.7 KB · Views: 990
  • 20151030_023531.jpg
    20151030_023531.jpg
    139.1 KB · Views: 975
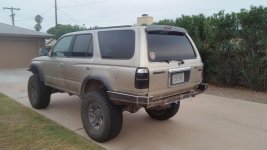
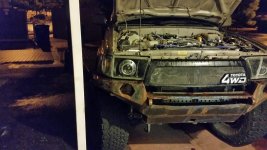
there now my truck looks nothing like Sylvester Stallone. perhaps more like arnold in total recall when he is exposed to the martian atmosphere. ill post some pictures up later when its light out.
arnold+on+mars.jpg

570_Sylvester-Stallone-says-he-still-tries-to-do-the-big-action-sequences-in-his-movie-7505.jpg
 
nice build. when ya gonna paint the bumpers?

When I'm done making them! Haha.

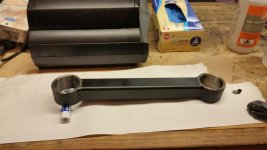
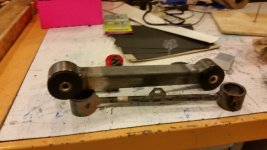
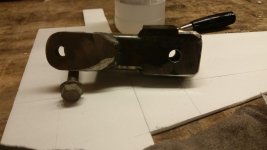
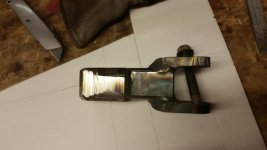
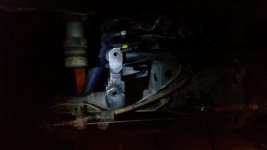
Made some upper links for the rear, nearly done with the lowers. Here's a few pictures.

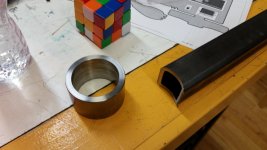
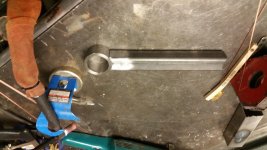
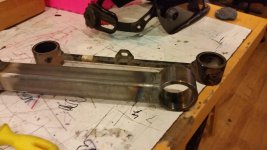
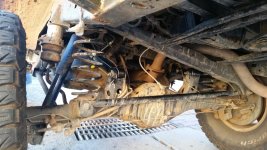
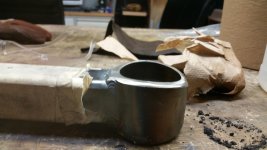
I ordered a set of energy poly bushings for a 4th gen off amazon. The instructions listed the I'd of the bushing cup as 1.968 and from measuring the width was 1.5" for the uppers and 2.0" for the lowers. Obviously I was not going to source any 1.968" I'd pipe so I bought 14" of 2.5" 1018 round stock. I drilled and then bored each bushing cup to within a couple thousandths of 1.968 and chamfered the ends of the cup to make it easy to press the bushings in and also to prevent wear and add extra clearance when they flex. Next I took some 3/16" wall 1.5" square tube and fishmouthed each end, then I chamfered the fishmouth. Next I checked the fit and it was great, I added a hair more than 1/2" to the length of the arms from center to center to correct the pinion angle. Then I tig welded the cups to the square tube. I painted them and lubed and then pressed the bushings in. I had to clearance the mounts slightly because the bushings were so.much bigger than the stock ones. Then I flexed it out, and listened for any scraping, there was none and the truck has slightly more body roll now, which to me indicates smoother articulation.
 

Attachments

  • 20151111_170417.jpg
    20151111_170417.jpg
    137.3 KB · Views: 857
  • 20151113_023543.jpg
    20151113_023543.jpg
    134.3 KB · Views: 853
  • 20151111_184249.jpg
    20151111_184249.jpg
    134.3 KB · Views: 844
  • 20151111_214241.jpg
    20151111_214241.jpg
    136.6 KB · Views: 854
  • 20151111_215826.jpg
    20151111_215826.jpg
    120.4 KB · Views: 869
  • 20151112_231512.jpg
    20151112_231512.jpg
    131.8 KB · Views: 854
  • 20151113_002755.jpg
    20151113_002755.jpg
    125.6 KB · Views: 859
  • 20151113_010537.jpg
    20151113_010537.jpg
    120.4 KB · Views: 839
Last edited:
Here they are installed.
 

Attachments

  • 20151113_074209.jpg
    20151113_074209.jpg
    144.8 KB · Views: 817
  • 20151113_003109.jpg
    20151113_003109.jpg
    121.4 KB · Views: 838
Last edited:
That's a lot of work for an end piece. Why not just buy some tube?

The bushings are a press fitting, I can't just run out and get 1.968" I'd tube. Also not that much time to make them if you know what you are doing. I'm also not mass producing these.
 
Last edited:
panhard lift. also i do all of my updates at like 3:00-7:00am haha.
 

Attachments

  • 20151119_015810.jpg
    20151119_015810.jpg
    112.7 KB · Views: 796
  • 20151119_015825.jpg
    20151119_015825.jpg
    118.1 KB · Views: 790
  • 20151119_021526.jpg
    20151119_021526.jpg
    119.7 KB · Views: 791
  • 20151119_024425.jpg
    20151119_024425.jpg
    130.5 KB · Views: 799
  • 20151119_030002.jpg
    20151119_030002.jpg
    116.9 KB · Views: 778
I ended up taking the lowers off and shaving them so they can flex more easily. they werejt binding but they were squishing the crap out of the poly bushings. this modification should make them last a bit longer. the upper links do not bind nor do they squish the poly bushings so nothing needs to be done to them.
 

Attachments

  • 20151121_225900.jpg
    20151121_225900.jpg
    118 KB · Views: 1,226
  • 20151121_225857.jpg
    20151121_225857.jpg
    121.9 KB · Views: 1,227
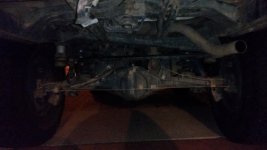
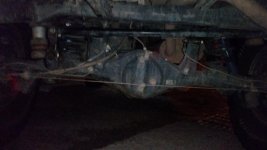
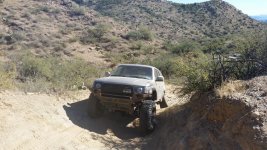
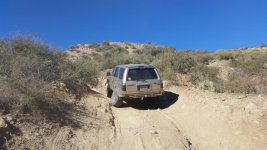
the control arms flexed out really well as you can see here, no binding. then right as i pulled out of this, I snapped something in my diff, so i had to front drive prerun the rest of the trail all the way home. the guys i was with helped me take off the drive shaft, but the rear axle was binding slightly on every revolution. this made it sound like a train. time to put the locked axle in thats been in my garage.


Attachments

  • 20151122_133051.jpg
    20151122_133051.jpg
    138.6 KB · Views: 4,324
  • 20151122_133014.jpg
    20151122_133014.jpg
    137.2 KB · Views: 4,395
Last edited:
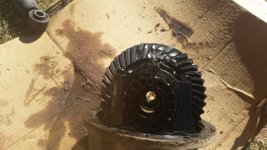
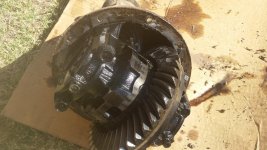
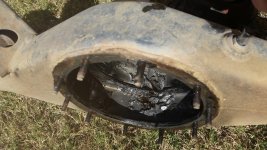
connor came over and helped me swap in that elocked axle. we unbolted everything from the old axle(brake lines shocks control arms abs sensors e brake) then we pulled the axle shafts out. and then finally removed the axle. we dropped out the third member and it had teeth sheared off in two sections on the ring gear and one section of the pinion gear. the section between the two missing chunks the teeth were ground down nearly flat. the diff housing also has a nice exit wound where a gear tooth attempted to make a run for it. we took the new elocked axle apart to inspect the 3rd member, it had some funky grime all in the axle housing. the elocked diff is a 4.30. a few differences i noticed: the 4.30 had a thicker ring gear, the teeth were sharper, the axle housing had a slightly different bolt pattern on one part. next we put the elocked diff back in its housing and slipped in my original axles. then we attached two bolts on each wheel and rolled the axle back under the truck. well almost. using 3 bottle jacks we maneuvered the around and hooked in all the control arms. the panhard was a real pain in the ass to get back into alignment. then we filled the diff with 2 quarts of oil and gave it a test drive.
 
thatll make it chooch.
 

Attachments

  • 20151124_105001.jpg
    20151124_105001.jpg
    132.5 KB · Views: 1,074
  • 20151124_104918.jpg
    20151124_104918.jpg
    140.1 KB · Views: 1,095
  • 20151124_105535.jpg
    20151124_105535.jpg
    143.1 KB · Views: 1,086

Members online

Forum statistics

Threads
278,312
Messages
3,554,089
Members
248,016
Latest member
Advally Service

Trending content

Back
Top