Dirtco
New member
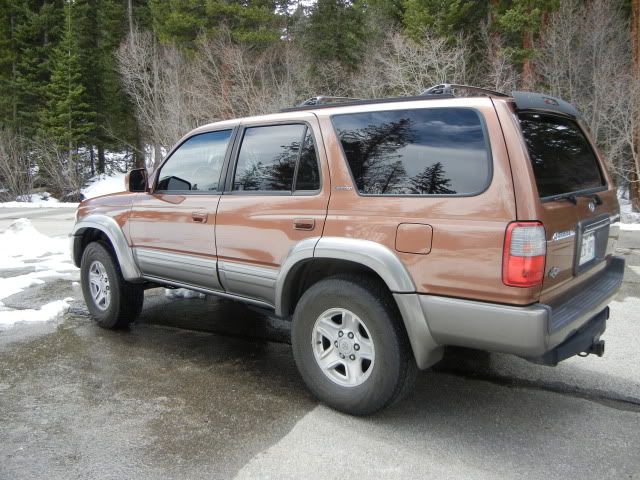
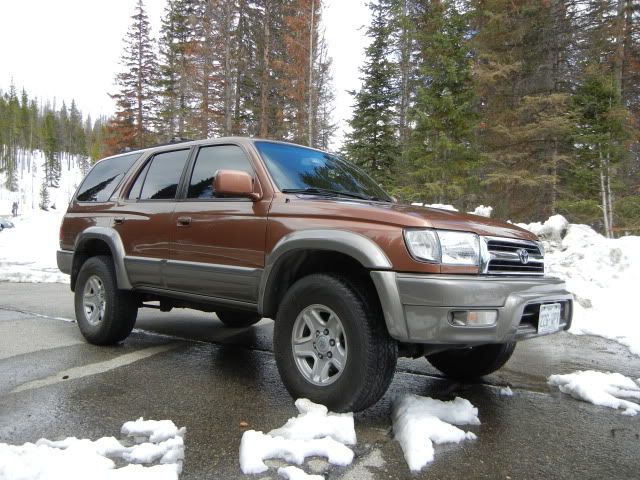
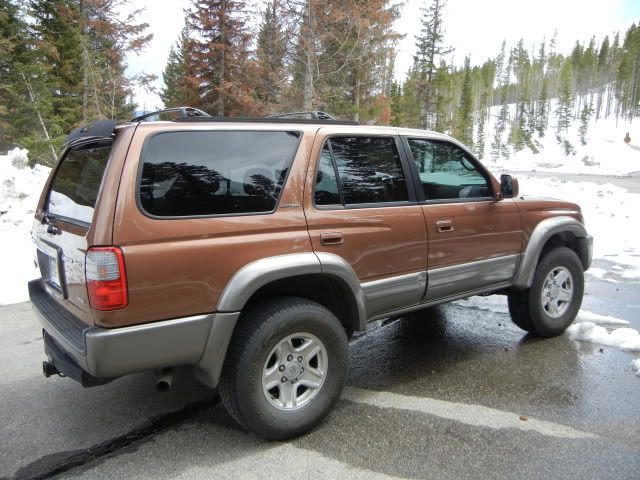
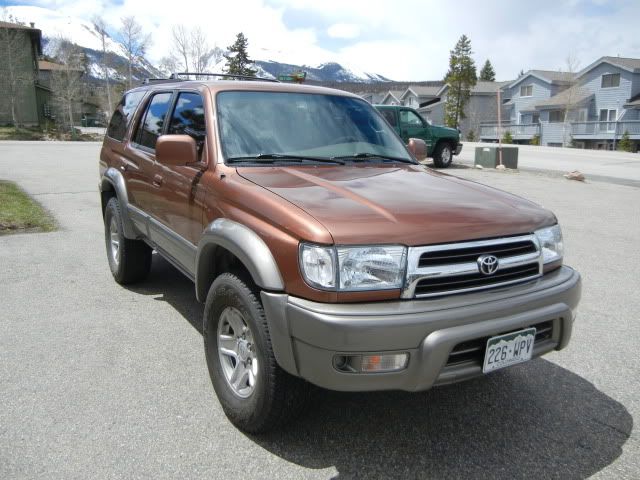
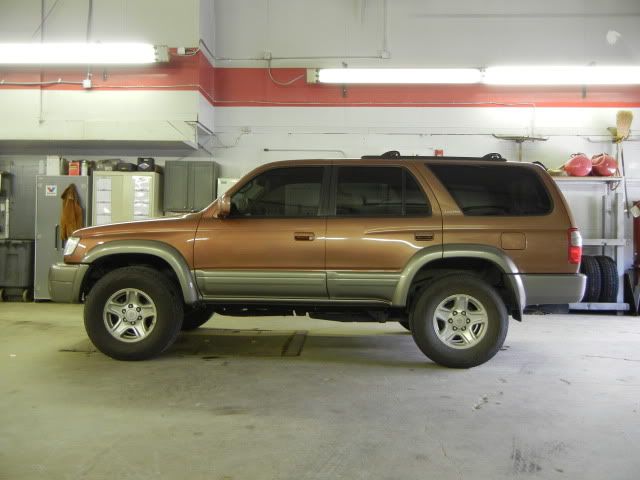
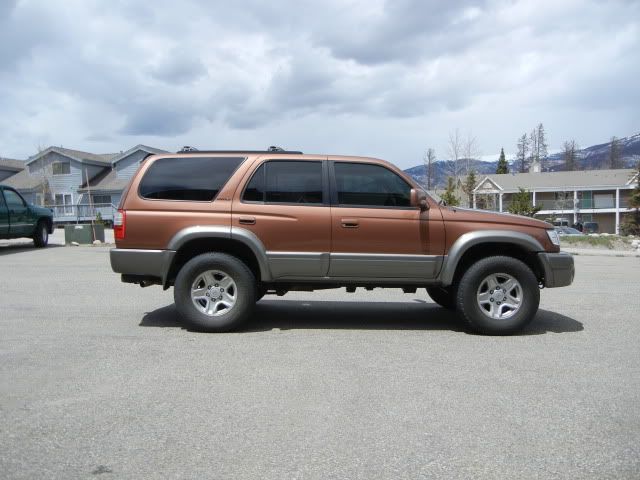
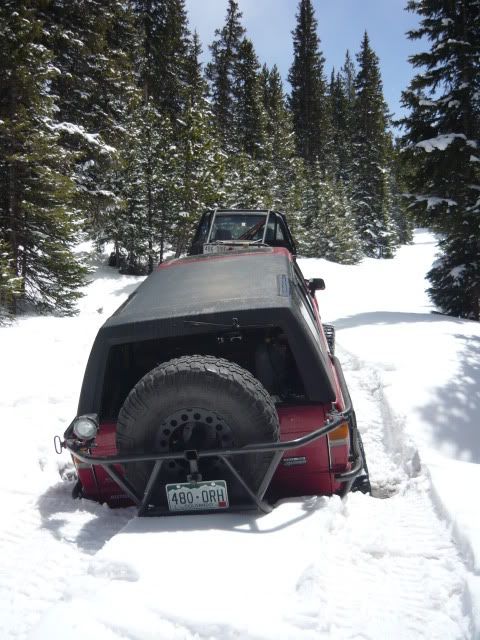
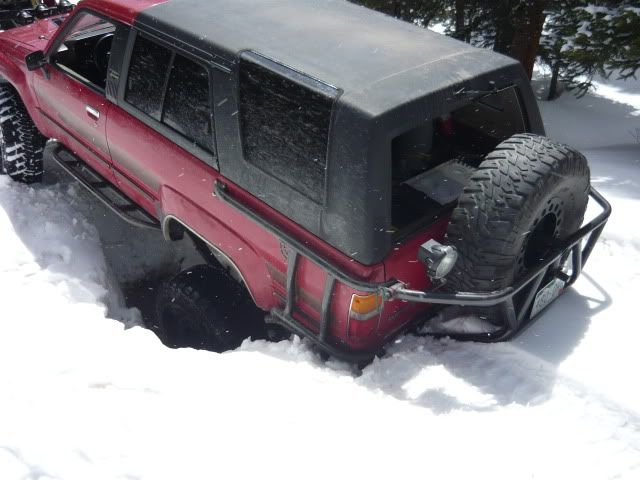
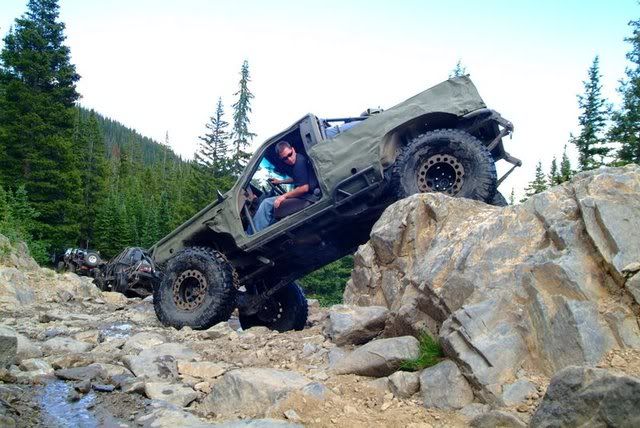
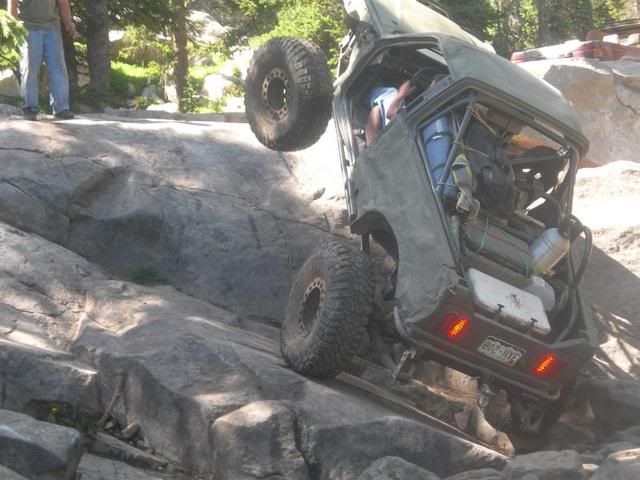
1999 Limited 4Runner – Autumn Blaze Metallic
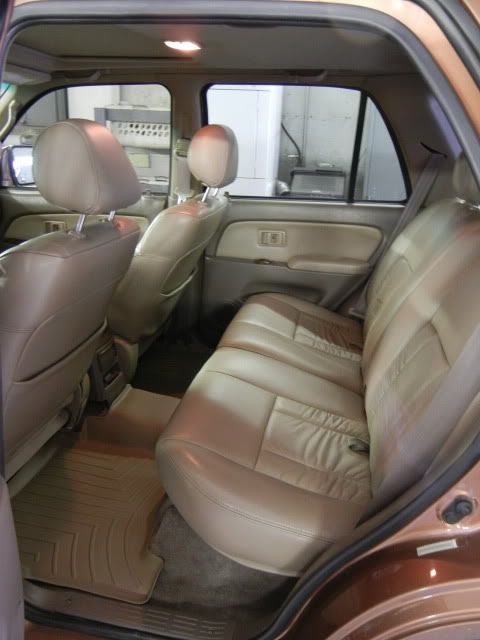
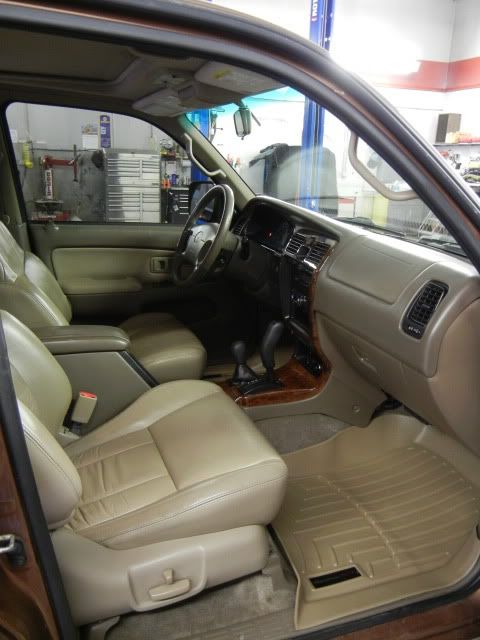
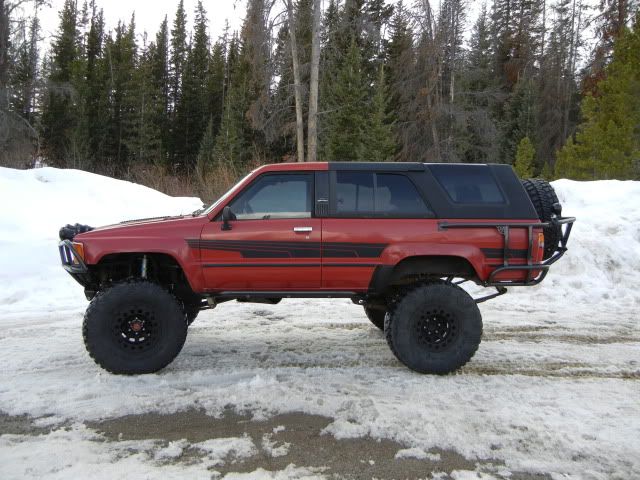
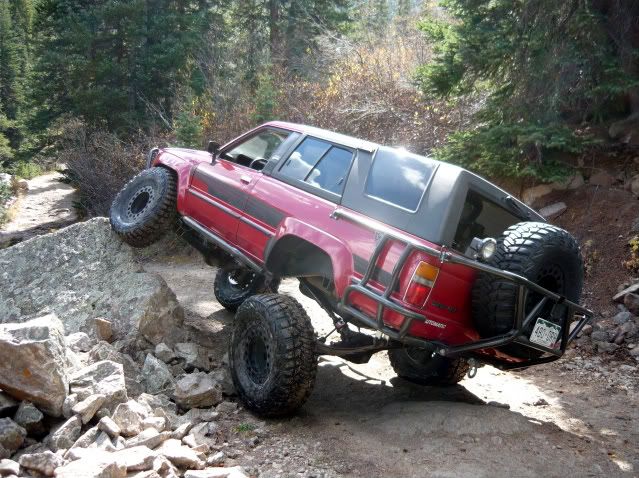
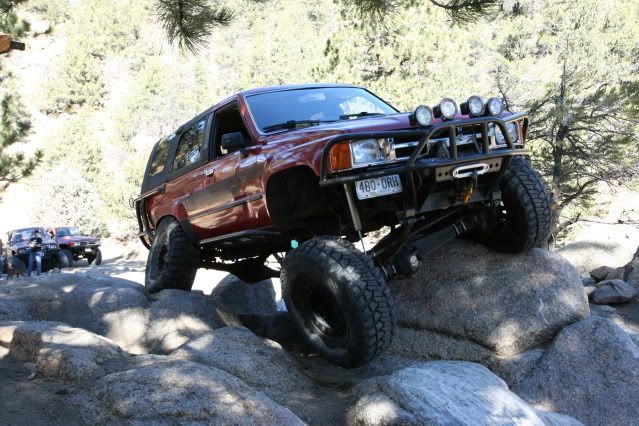
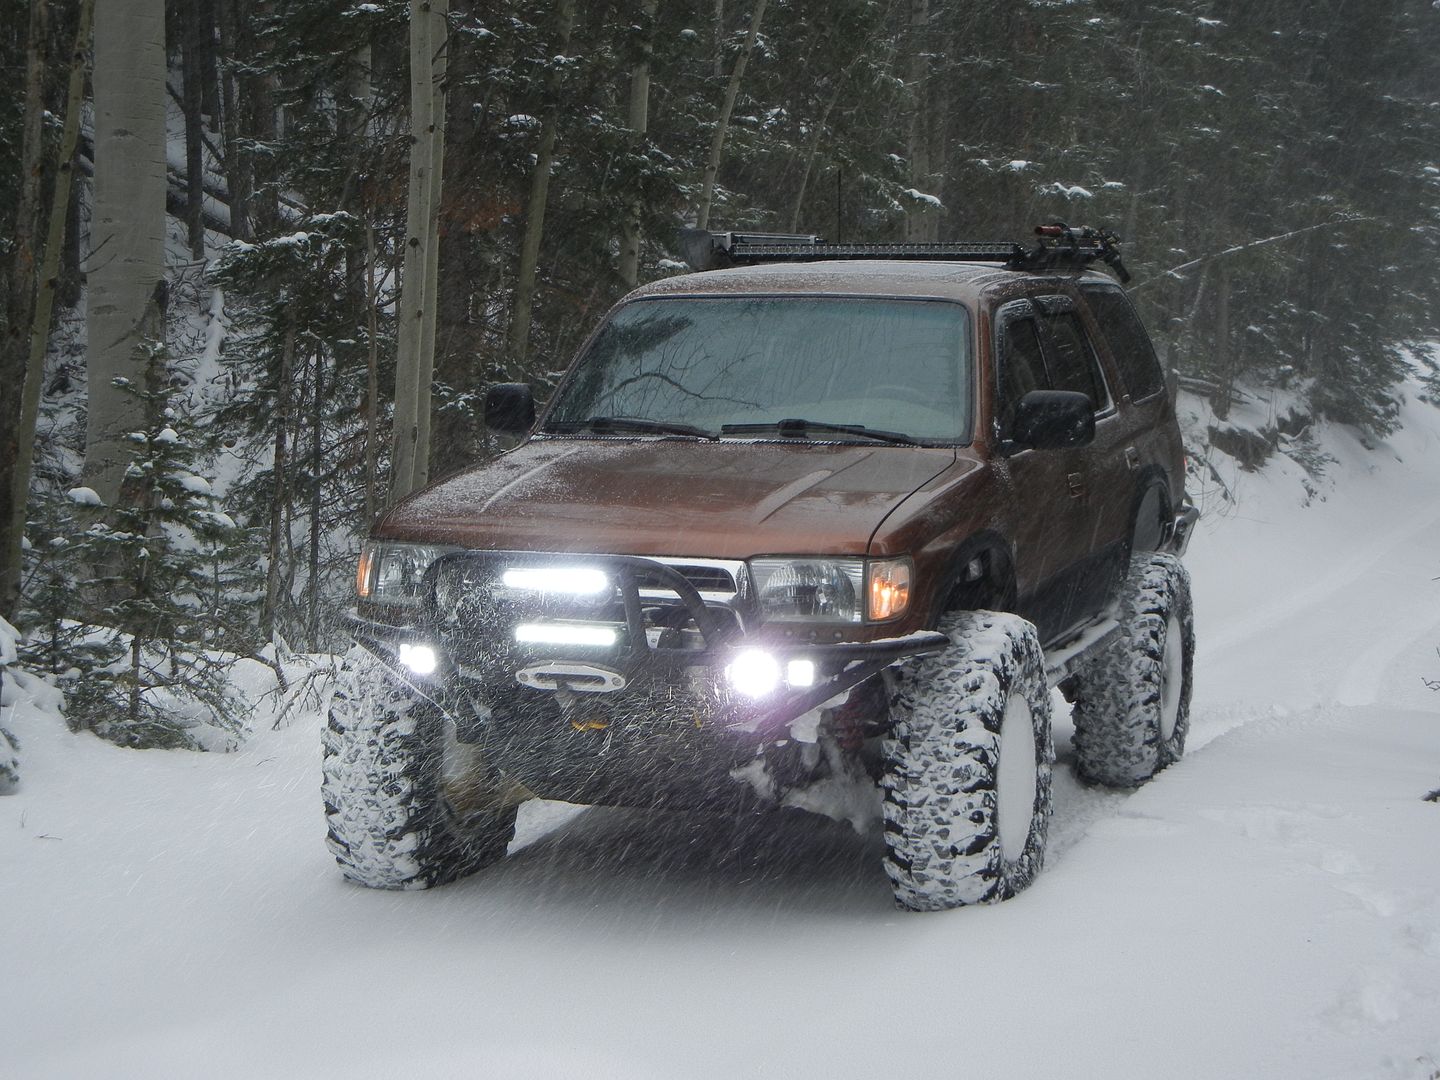
Current Pictures - March 2017
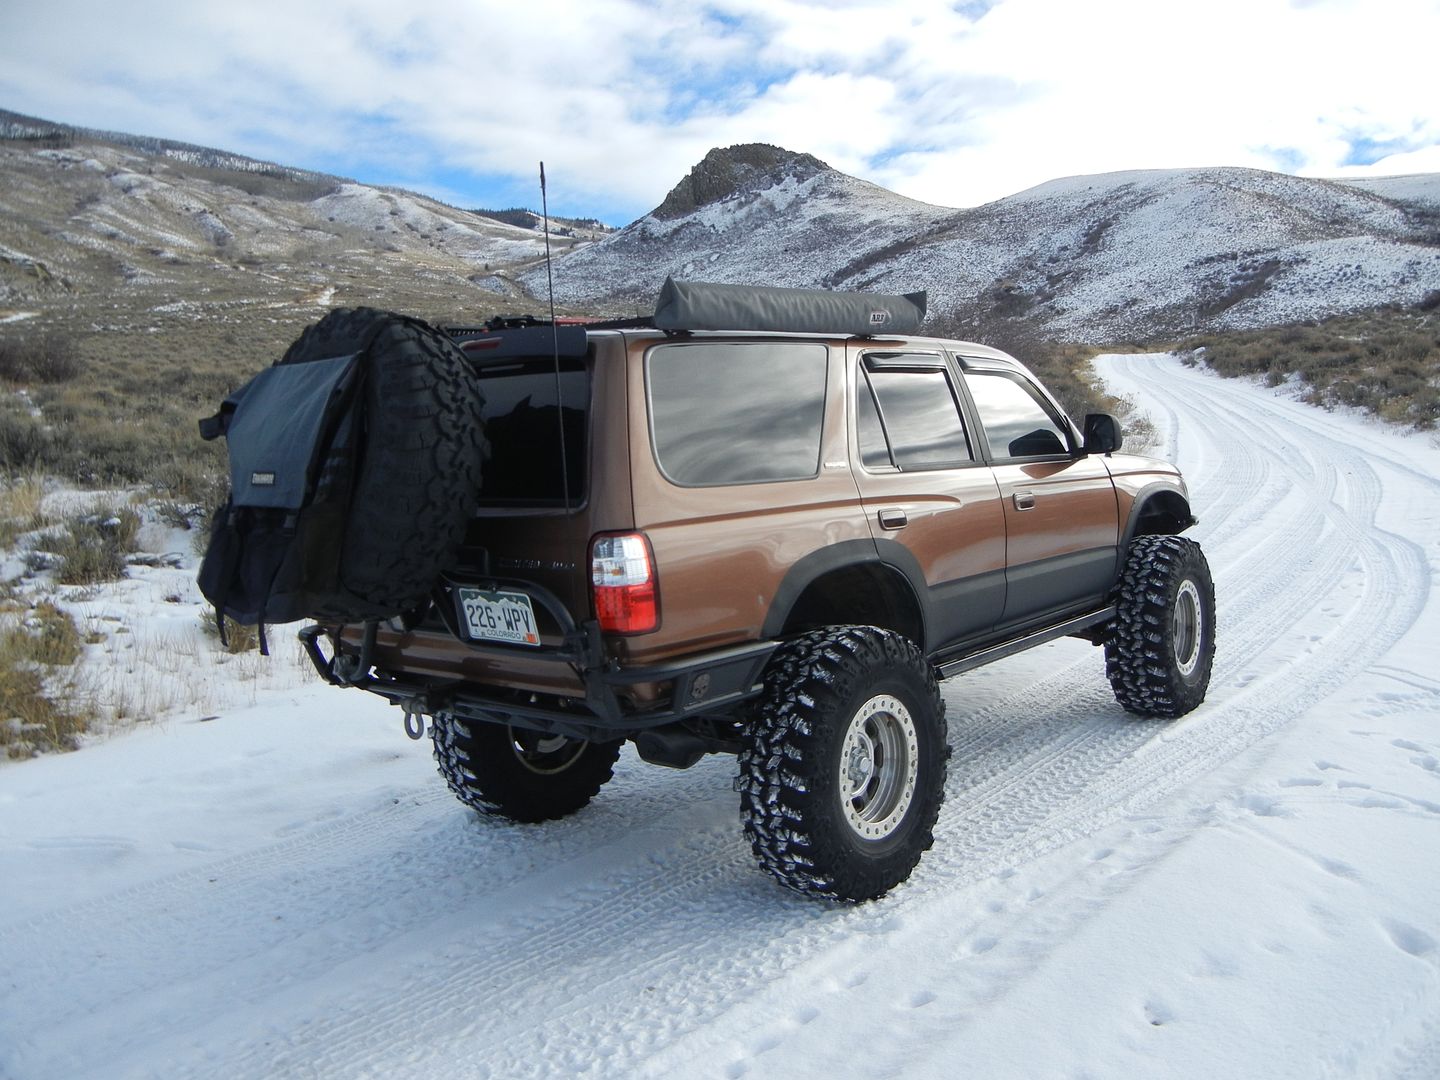
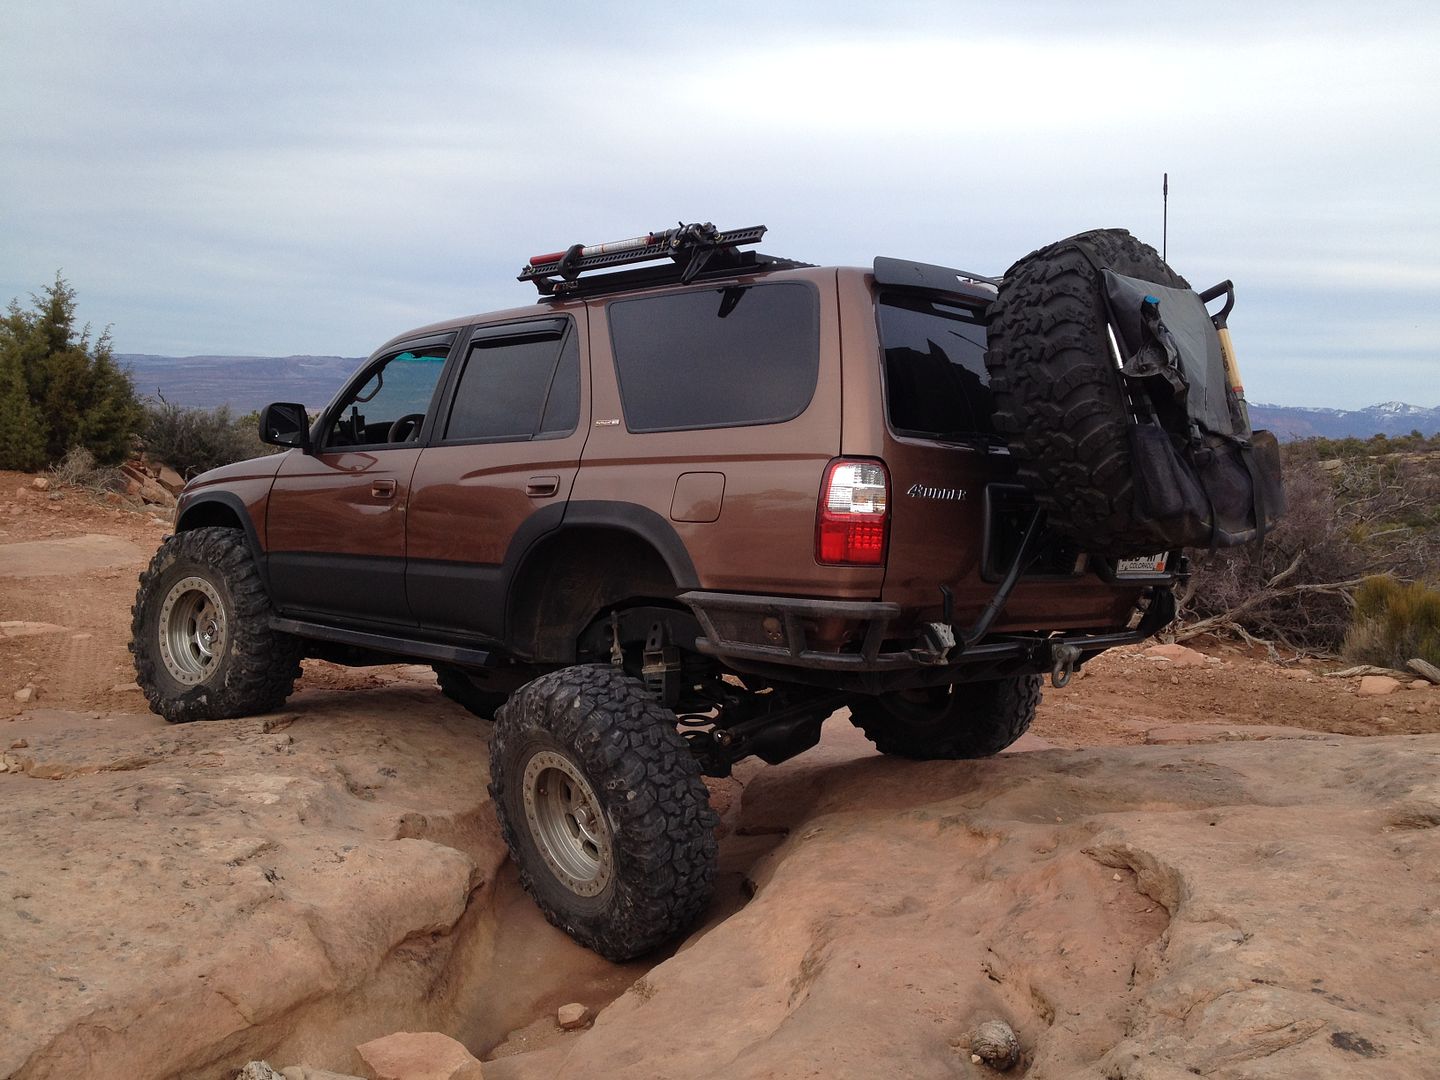
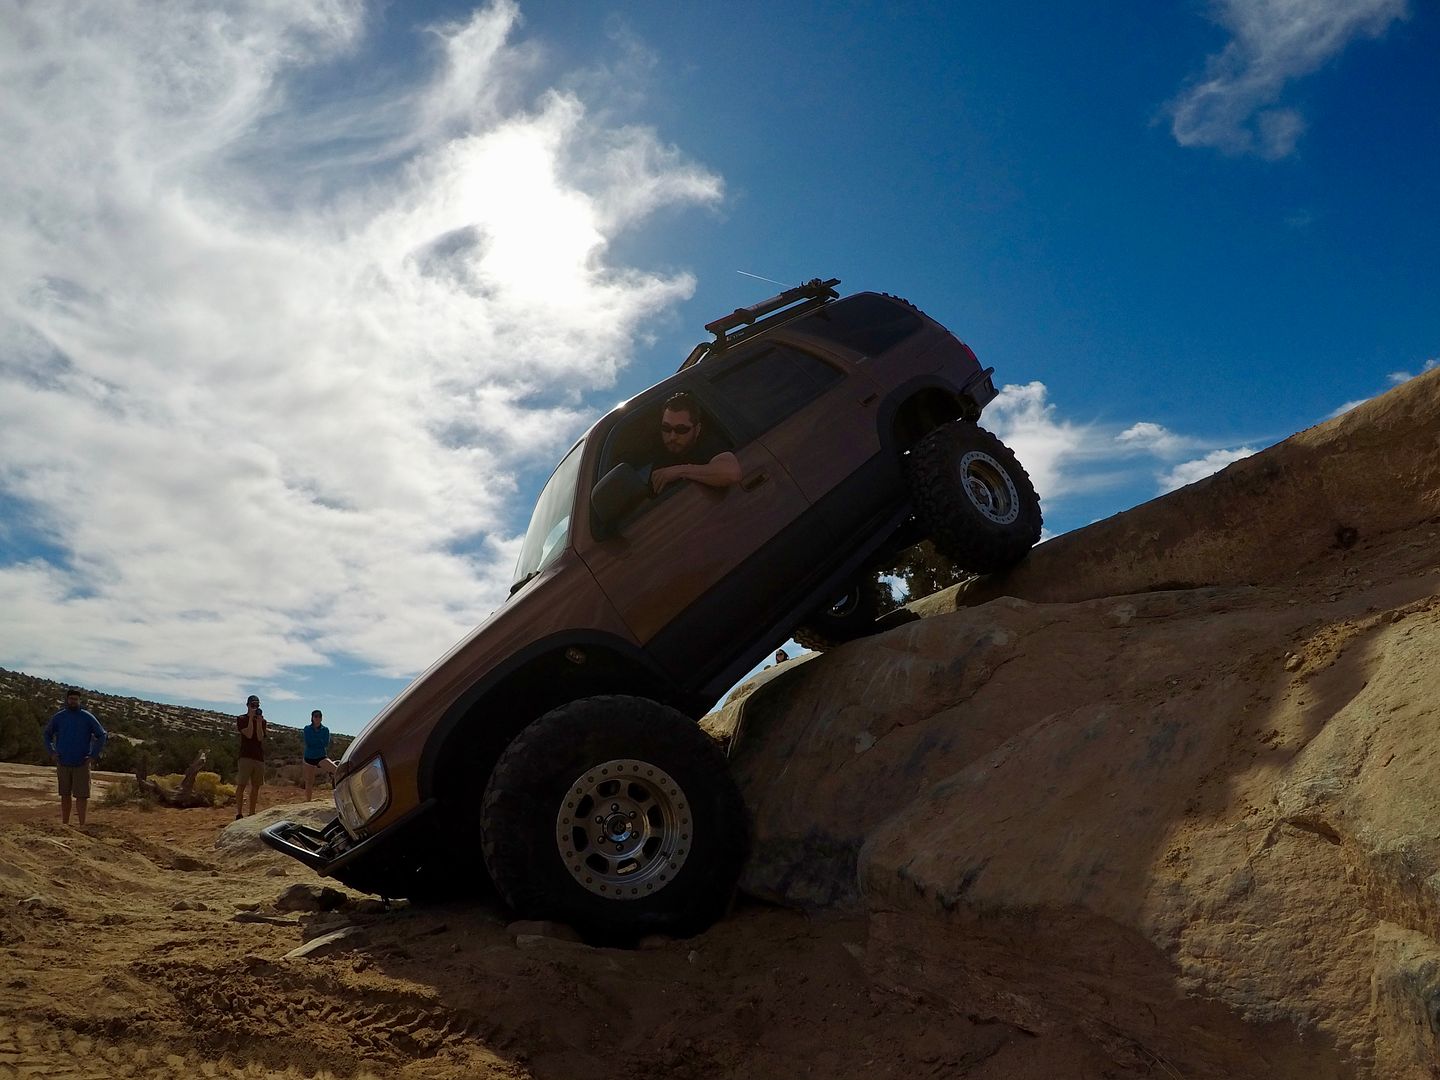
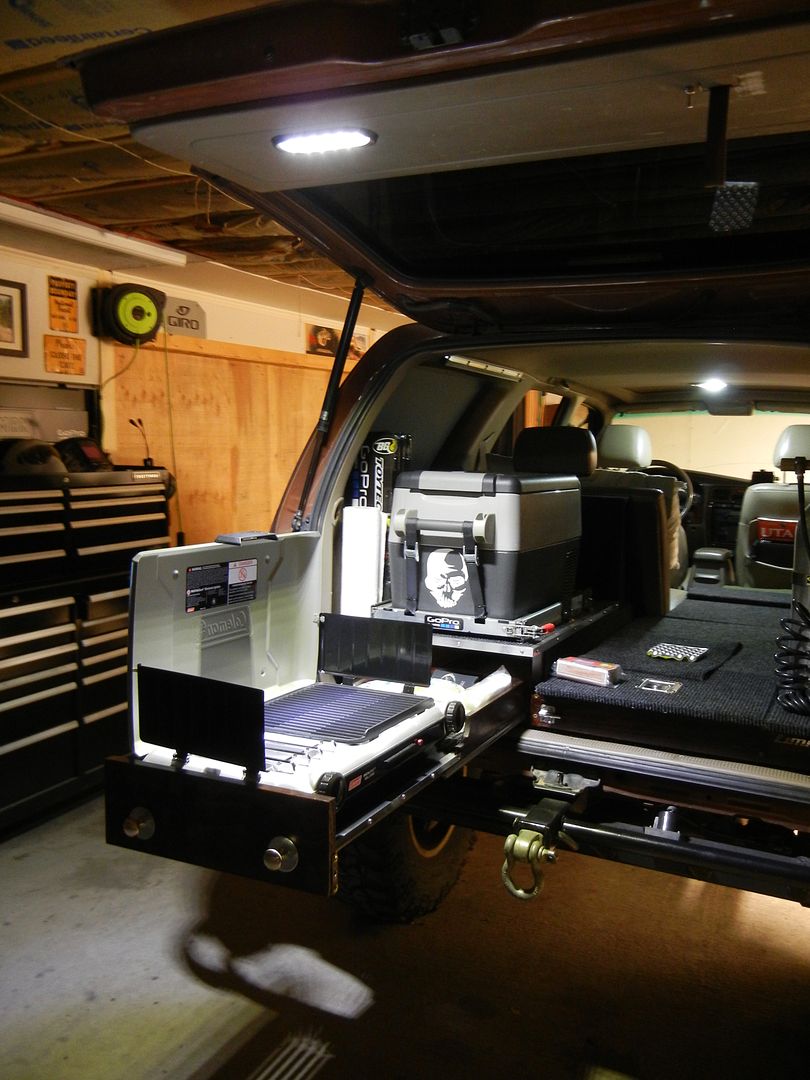
Modifications…
Suspension:
- Front: ToyTec BOSS Coilovers
- SPC / Light Racing UCA's
- Energy Suspension LCA bushings
- Sonoran Steel 1” diff drop
- Limit straps (Sonoran Steel and Poly Performance)
- Front sway bar removed
- Timbren front bumpstops
- Welded alignment cam tabs
- Rear: OME 861 Coil Springs
- Toyota "Tokico" black 80-Series Land Cruiser shocks
- ToyTec HD Adjustable lower control arms
- ToyTec HD Adjustable pan hard bar w/ adjustable bracket
- Gusseted upper stock panhard bracket
- ToyTec HD Adjustable upper control arms
- Custom limit straps (Poly performance)
- Rear sway bar removed
- Rear lower shock mounts relocated higher
- Extended progressive rate rear bumpstops
- Toytec 1” bodylift
Wheels and Tires:
- Trailready 17x9 HD Beadlocks (3.5” backspace)
- Super Swamper Irok Radial, 36x13.50x17 Load Range E (Custom Grooved)
- Powertank Monster valves
- TG 1" Wheel spacers (Front)
Drivetrain:
- Front: 5:29’s with ARB locker (built by ECGS)
- Lotus Development front CV axle shafts
- Safari LTD HD Steering rack
- Wheeler’s Off-Road steering rack bushings
- New Toyota inner/outer tie rod ends and lower ball joints
- Tack welded steering shaft
- Total Chaos spindle gussets
- Extended Breather with filter
- Royal Purple gear oil
- Rear: 5:29’s with the factory E-locker (built by ECGS)
- HD .120 wall rear CV driveshaft (Rocky Mountain Driveline)
- TG Rock Assault housing
- FROR Full Float kit w/ 4130 chromoly axles
- TG Chromoly spindles, wheel hubs, and drive flanges
- Custom machined seal adapters
- Geniune Koyo wheel bearings, ARP Hub studs
- Extended breather
- Royal Purple gear oil
Engine and Performance:
- 1st Gen TRD supercharger (Rebuilt)
- URD 7th injector kit
- URD 2.2 Pulley
- Relocated fresh air intake
- AFE Dry Flow cold air intake
- TRD dynamic tensioner kit
- Flowmaster Deltaflow 50 series, w/ custom tailpipe
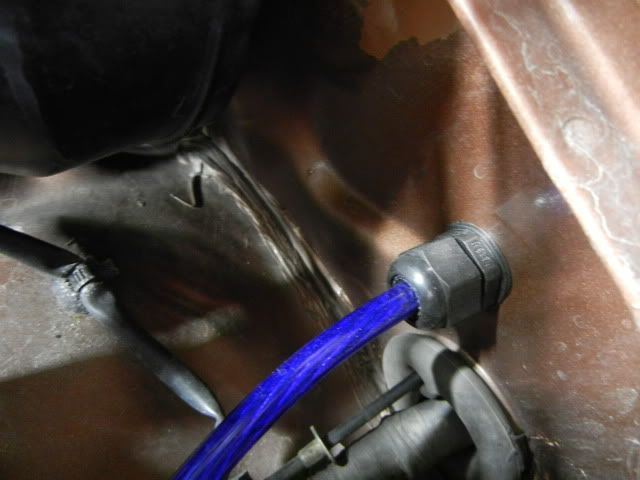
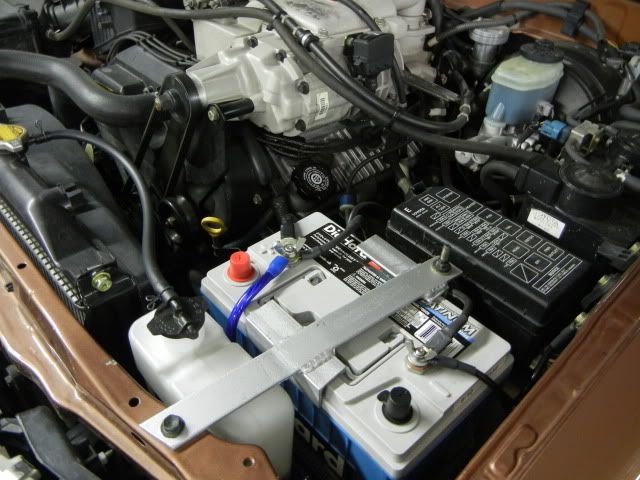
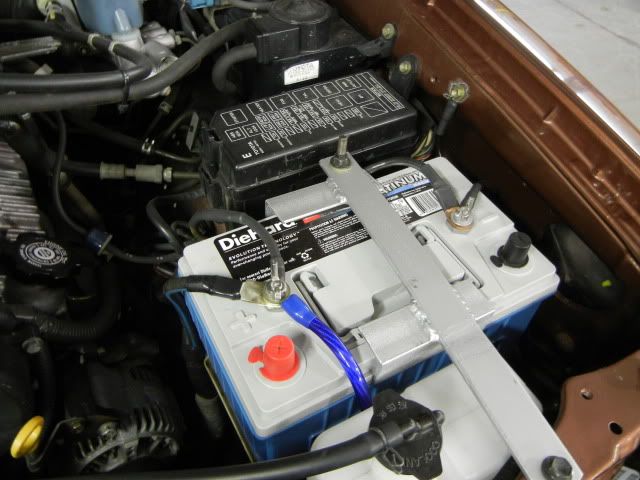
- Duralast Platinum AGM H8 w/ custom mount
- B&M transmission cooler
- Genuine Toyota Block heater
- Genuine Toyota Timing belt and water pump
Brakes:
- Front - Tundra 231mm 13wl calipers
- Genuine Toyota Tundra rotors / pads
- Wheeler's Off-Road stainless steel brake lines
- Rear disc brake conversion- 1986 4cyl calipers and pads w/ FJ60 Rotors
- Adjustable rear proportioning valve
Lighting:
- Ebay headlight housings, OSRAM bulbs
- Burtman Clear corners w/ LED bulbs
- LED Front turn signals
- LED Tail lights w/ Superbright LED reverse bulbs
- Rigid Industries 10” Single Row Specter (Driving) light bar
- Rigid Industries 10" Single Row (Spot) light bar
- Rigid Industries Dually D2 driving lights (wired to factory fog switch)
- Rigid Industries Dually D2 Hyper spot lights
- Rydel Fab LED Lightbar (Removed for Tacoma)
- Superbright LED interior dome lights, License plate light
- Rear deck/hatch LED camp light
- Rocklights – Rigid SRM's and Oznium LED’s
- Reverse light - Single Rigid Industries Dually D2 Diffused
- Under body reverse lights - Rigid SRM's Diffused
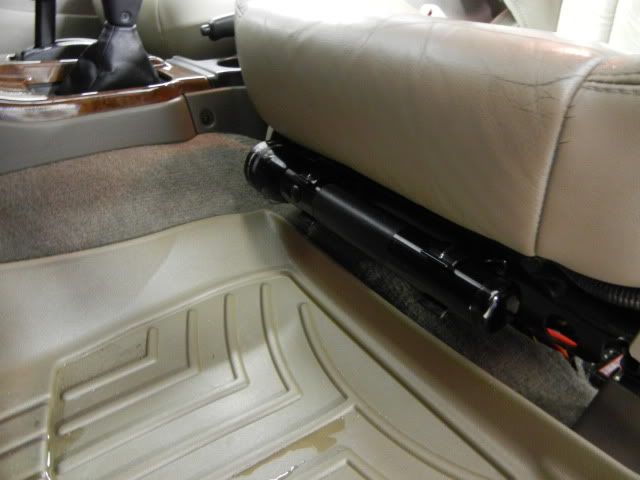
- LED Maglite – Mounted to D/S seat
Interior/Electrical:
- Custom PRP Daily Driver seat with heat and custom mount
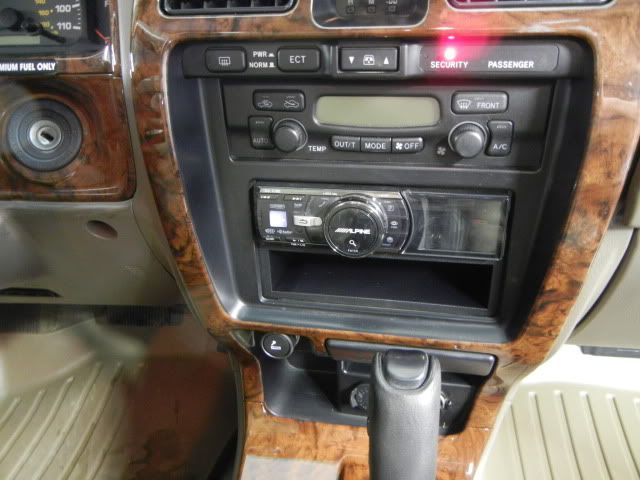
- Pioneer AVH-P3400BH headunit
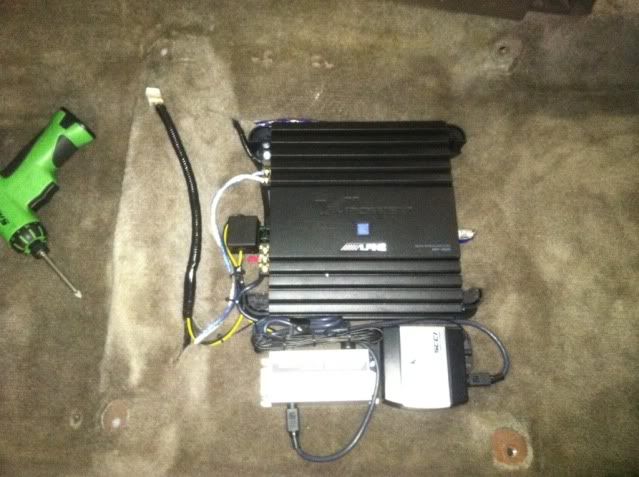
- Alpine amp
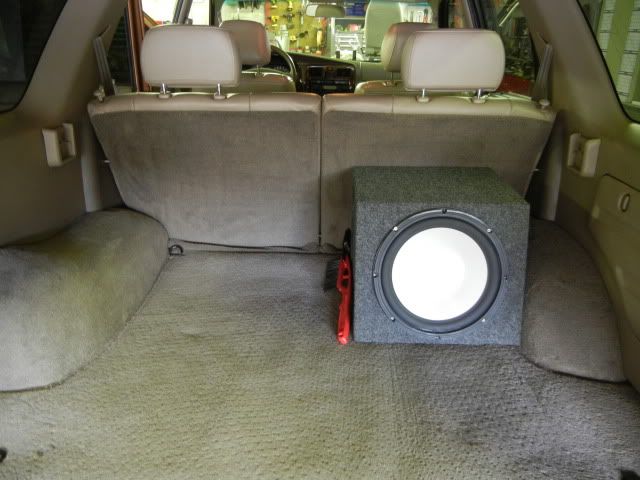
- 10" Rockford Fosgate subwoofer
- Rockford Fosgate speakers (front and rear)
- Sound deadening on all doors and rear cargo area
- Plug in USB charging port
- Dual USB charging port - switched
- Uniden Pro 520 XL CB radio and Wilson 4' flex antenna
- SPOT GPS messaging & locating beacon
- Garmin GPS w/ Ram Mount
- Trailer wiring (Stock & Aux for trailer goodies)
- Weathertech floormats front/rear
- Scangauge II
Camping and “Overland” Gear:
- Custom cargo and sleeping platform
- Indel B Fridge/Freezer on custom slide out
- Kitchen slide out with built in Coleman grill/stove
- Multiple LED lights, USB ports, and 12 volt outlets
- Carbon fiber wrapped rear side windows, side window screens and divider curtain
- Low profile roof rack with ARB awning, Hi Lift jack, Splitting axe, and 40" remote controlled LED light bar
- 15 Gallon auxiliary fuel tank with transfer pump
- Trasharoo with pine scented trash bags
Exterior / Accessories:
- Fender flares and cladding removed, holes filled and body bedlined
- Firewall tubbed, front and rear fenders trimmed and enlarged
- Clear bra (24” hood/fenders and headlights)
- 3M Carbon fiber wrapped door posts
- Ford E-350 horns
- 20% Tint on all side and rear windows
- AVS In-channel vent visors
Armor / Protection / Recovery:
- Custom built Front Bumper
- Smittybuilt X2O 12,000 winch w/ Masterpull Superline XD
- In-cab winch controller
- Custom built Rear bumper
- Custom built Spare tire carrier
- Custom built Rock sliders
- Lil’ Skip gas tank skid plate
- Inchworm E-locker guard
- Budbuilt front and belly pan (heavily modified)
- Lotus lower control arm skid plates
- Custom lower shock bolt protectors
- 20lb CO2 Tank, tools, recovery gear
Current Pictures - March 2017


Modifications…
Suspension:
- Front: ToyTec BOSS Coilovers
- SPC / Light Racing UCA's
- Energy Suspension LCA bushings
- Sonoran Steel 1” diff drop
- Limit straps (Sonoran Steel and Poly Performance)
- Front sway bar removed
- Timbren front bumpstops
- Welded alignment cam tabs
- Rear: OME 861 Coil Springs
- Toyota "Tokico" black 80-Series Land Cruiser shocks
- ToyTec HD Adjustable lower control arms
- ToyTec HD Adjustable pan hard bar w/ adjustable bracket
- Gusseted upper stock panhard bracket
- ToyTec HD Adjustable upper control arms
- Custom limit straps (Poly performance)
- Rear sway bar removed
- Rear lower shock mounts relocated higher
- Extended progressive rate rear bumpstops
- Toytec 1” bodylift
Wheels and Tires:
- Trailready 17x9 HD Beadlocks (3.5” backspace)
- Super Swamper Irok Radial, 36x13.50x17 Load Range E (Custom Grooved)
- Powertank Monster valves
- TG 1" Wheel spacers (Front)
Drivetrain:
- Front: 5:29’s with ARB locker (built by ECGS)
- Lotus Development front CV axle shafts
- Safari LTD HD Steering rack
- Wheeler’s Off-Road steering rack bushings
- New Toyota inner/outer tie rod ends and lower ball joints
- Tack welded steering shaft
- Total Chaos spindle gussets
- Extended Breather with filter
- Royal Purple gear oil
- Rear: 5:29’s with the factory E-locker (built by ECGS)
- HD .120 wall rear CV driveshaft (Rocky Mountain Driveline)
- TG Rock Assault housing
- FROR Full Float kit w/ 4130 chromoly axles
- TG Chromoly spindles, wheel hubs, and drive flanges
- Custom machined seal adapters
- Geniune Koyo wheel bearings, ARP Hub studs
- Extended breather
- Royal Purple gear oil
Engine and Performance:
- 1st Gen TRD supercharger (Rebuilt)
- URD 7th injector kit
- URD 2.2 Pulley
- Relocated fresh air intake
- AFE Dry Flow cold air intake
- TRD dynamic tensioner kit
- Flowmaster Deltaflow 50 series, w/ custom tailpipe
- Duralast Platinum AGM H8 w/ custom mount
- B&M transmission cooler
- Genuine Toyota Block heater
- Genuine Toyota Timing belt and water pump
Brakes:
- Front - Tundra 231mm 13wl calipers
- Genuine Toyota Tundra rotors / pads
- Wheeler's Off-Road stainless steel brake lines
- Rear disc brake conversion- 1986 4cyl calipers and pads w/ FJ60 Rotors
- Adjustable rear proportioning valve
Lighting:
- Ebay headlight housings, OSRAM bulbs
- Burtman Clear corners w/ LED bulbs
- LED Front turn signals
- LED Tail lights w/ Superbright LED reverse bulbs
- Rigid Industries 10” Single Row Specter (Driving) light bar
- Rigid Industries 10" Single Row (Spot) light bar
- Rigid Industries Dually D2 driving lights (wired to factory fog switch)
- Rigid Industries Dually D2 Hyper spot lights
- Rydel Fab LED Lightbar (Removed for Tacoma)
- Superbright LED interior dome lights, License plate light
- Rear deck/hatch LED camp light
- Rocklights – Rigid SRM's and Oznium LED’s
- Reverse light - Single Rigid Industries Dually D2 Diffused
- Under body reverse lights - Rigid SRM's Diffused
- LED Maglite – Mounted to D/S seat
Interior/Electrical:
- Custom PRP Daily Driver seat with heat and custom mount
- Pioneer AVH-P3400BH headunit
- Alpine amp
- 10" Rockford Fosgate subwoofer
- Rockford Fosgate speakers (front and rear)
- Sound deadening on all doors and rear cargo area
- Plug in USB charging port
- Dual USB charging port - switched
- Uniden Pro 520 XL CB radio and Wilson 4' flex antenna
- SPOT GPS messaging & locating beacon
- Garmin GPS w/ Ram Mount
- Trailer wiring (Stock & Aux for trailer goodies)
- Weathertech floormats front/rear
- Scangauge II
Camping and “Overland” Gear:
- Custom cargo and sleeping platform
- Indel B Fridge/Freezer on custom slide out
- Kitchen slide out with built in Coleman grill/stove
- Multiple LED lights, USB ports, and 12 volt outlets
- Carbon fiber wrapped rear side windows, side window screens and divider curtain
- Low profile roof rack with ARB awning, Hi Lift jack, Splitting axe, and 40" remote controlled LED light bar
- 15 Gallon auxiliary fuel tank with transfer pump
- Trasharoo with pine scented trash bags
Exterior / Accessories:
- Fender flares and cladding removed, holes filled and body bedlined
- Firewall tubbed, front and rear fenders trimmed and enlarged
- Clear bra (24” hood/fenders and headlights)
- 3M Carbon fiber wrapped door posts
- Ford E-350 horns
- 20% Tint on all side and rear windows
- AVS In-channel vent visors
Armor / Protection / Recovery:
- Custom built Front Bumper
- Smittybuilt X2O 12,000 winch w/ Masterpull Superline XD
- In-cab winch controller
- Custom built Rear bumper
- Custom built Spare tire carrier
- Custom built Rock sliders
- Lil’ Skip gas tank skid plate
- Inchworm E-locker guard
- Budbuilt front and belly pan (heavily modified)
- Lotus lower control arm skid plates
- Custom lower shock bolt protectors
- 20lb CO2 Tank, tools, recovery gear
Last edited: