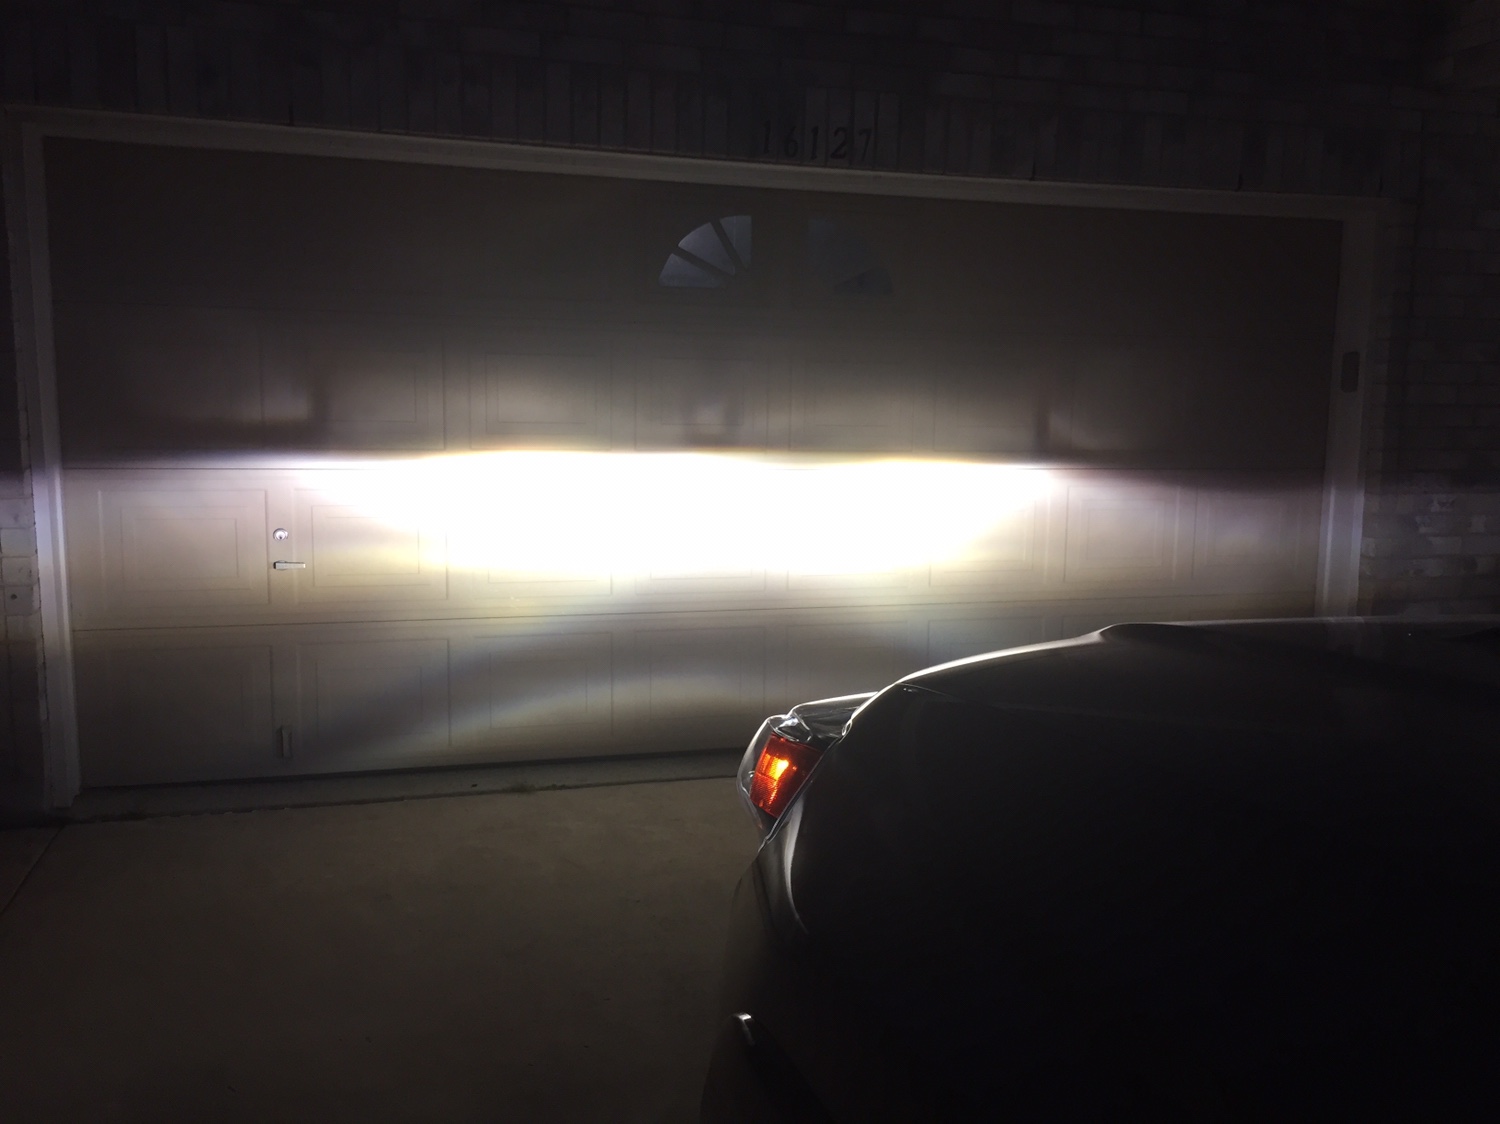
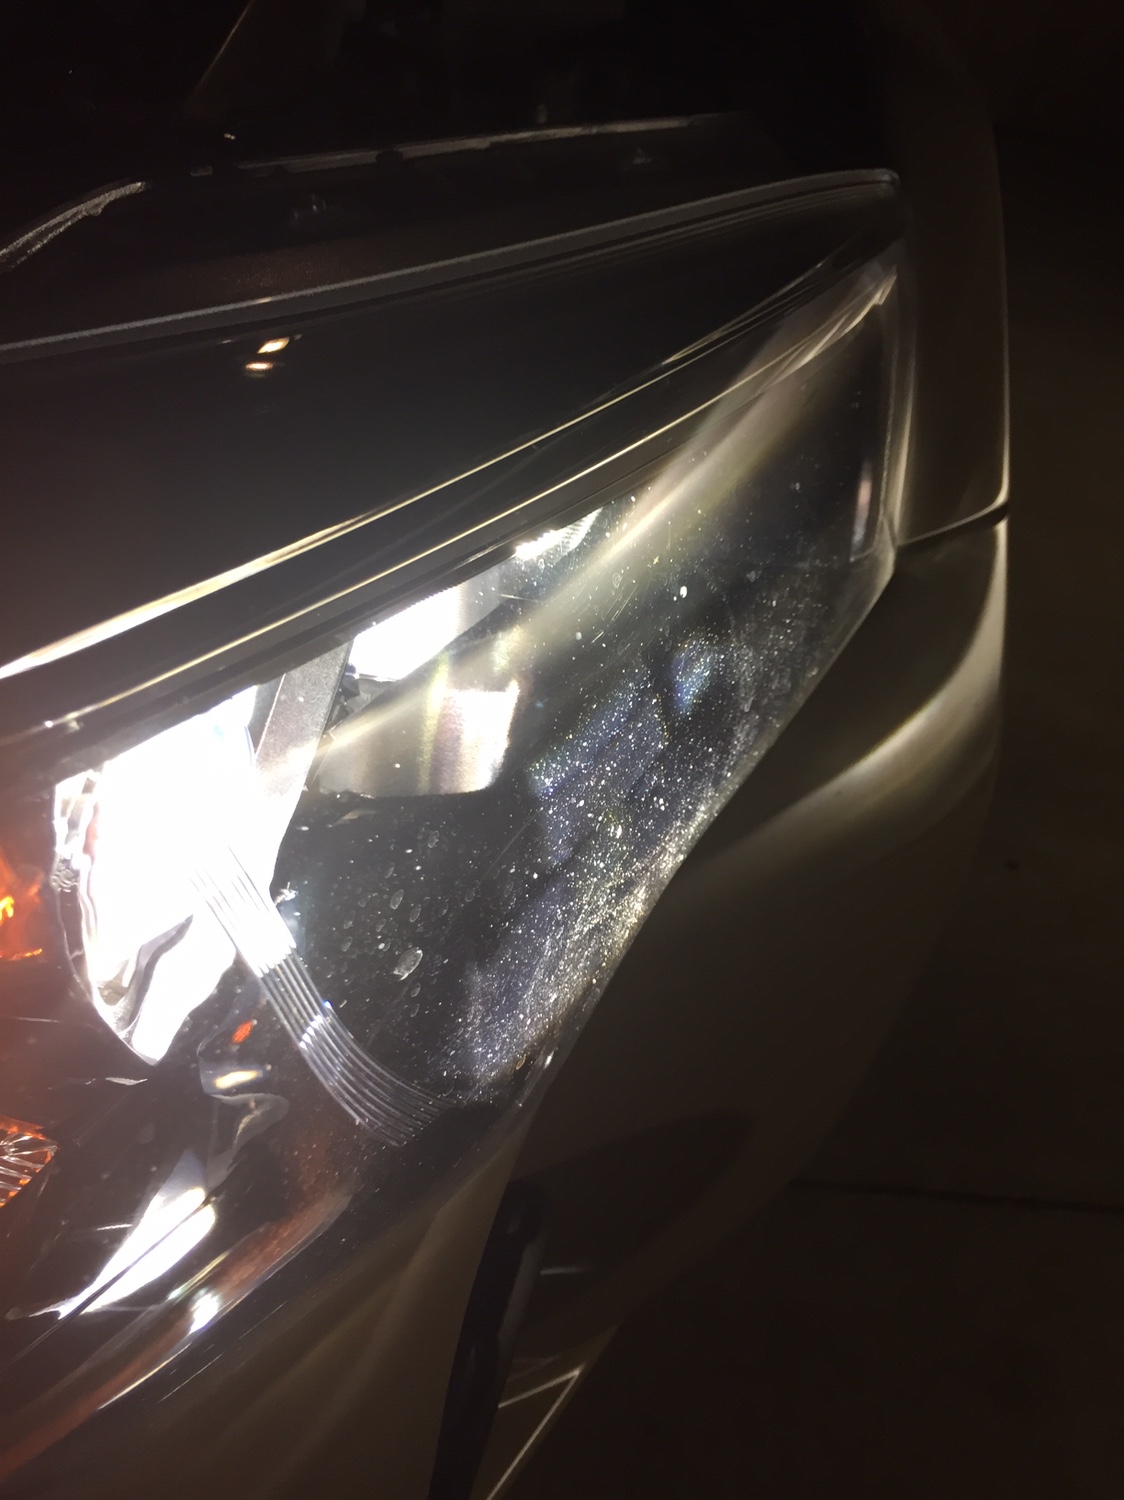
HID upgrade, which one to go with?

Xenon Depot Extreme HID 4300 K with Phillips bulbs and no Canbus

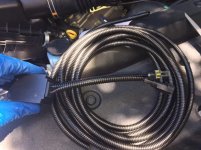
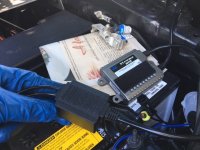
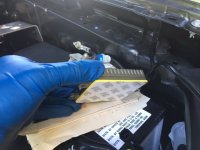
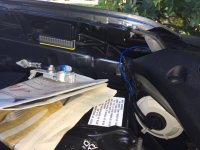
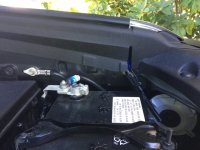
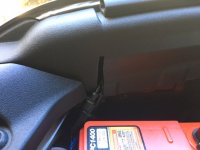
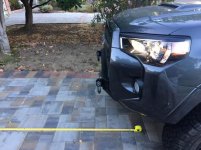
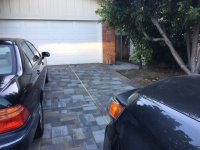
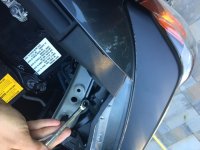
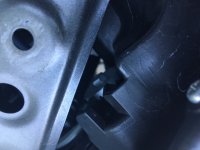
I love 'em! I did a clean install under the fender side skirt trim, added wire loom protection and Velcro tape to keep the ballast and wire harness box together. Used the 25' method against the garage door for initial adjustment, then refined it after a quick drive around the block. It's a tad lower than my brother's TRD Pro OEM headlights so I may raise the beams just slightly but very happy with these lights. One of the best mods to do since the OEM halogens don't cut it IMHO.
 

Attachments

  • IMG_3592.JPG
    IMG_3592.JPG
    122.5 KB · Views: 940
  • IMG_3593.JPG
    IMG_3593.JPG
    89.1 KB · Views: 932
  • IMG_3584.jpg
    IMG_3584.jpg
    60.8 KB · Views: 971
  • IMG_3587.JPG
    IMG_3587.JPG
    123 KB · Views: 936
  • IMG_3588.JPG
    IMG_3588.JPG
    96.4 KB · Views: 914
  • IMG_3591.JPG
    IMG_3591.JPG
    115.2 KB · Views: 932
  • IMG_3596.JPG
    IMG_3596.JPG
    109.4 KB · Views: 940
  • IMG_3595.JPG
    IMG_3595.JPG
    99.9 KB · Views: 920
Rest of the photos...

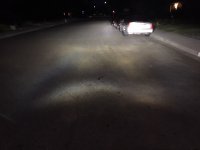
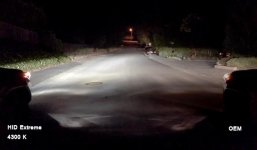
compared the HID Extreme kit (Left) to OEM headlights (Right). The beams are slightly crossing into each other but you get a good idea of how bright they are. Also, with the HIDs on - when turning the fog lights on, it almost does nothing as the HIDs light up the foreground very well on their own. It's like having the fogs and headlights on without actually having the fogs on.
 

Attachments

  • IMG_3607.jpg
    IMG_3607.jpg
    52.4 KB · Views: 915
  • IMG_3608.JPG
    IMG_3608.JPG
    122 KB · Views: 911
  • IMG_3601.JPG
    IMG_3601.JPG
    108.5 KB · Views: 898
  • IMG_3603.JPG
    IMG_3603.JPG
    93.9 KB · Views: 913
  • IMG_3611.JPG
    IMG_3611.JPG
    58.4 KB · Views: 902
  • IMG_3614a.jpg
    IMG_3614a.jpg
    25.3 KB · Views: 892
Just bought the xd extreme kit with phillip 4300k bulb, is there any logo on it? Mine is plain...?

Did you order the Xtreme HID kit with the Philips 4300K option? If so, then becuase the bulbs are rebased then there is no markings on them.

To further clearify, Philips D2S/D2R bulbs come with a P32D base. This is where all the Philips markings are found. This base gets removed in order to accommodate a custom moulded halogen base so that the product can be used in halogen headlights. These custom moulded bases are laser aligned to ensure optically correct beam patterns. A Philips bulb can be easily recognized though by the design of the burner. Philips HID bulbs have a unique shape to them.

Hope that helps,
Danny
 
Looking to see if anyone has ran across shadowing? I haven't seen anything yet so thought I'd ask.
0a2e79317b43d8fe25cdce97e1dcfca8.jpg


Right above the horizon line, on each side and the square shape in the middle. At first the only thing I could think was maybe part of the bulb, but after looking at it closer I couldn't see anything. The headlight housing projects the shadow just cant seem to see where it originates. It's minor but when I see everyone else's picture I don't notice it in theirs. Install was a clean as it gets I have OCD. I went with the 4300 kit. Looks great and I'm happy with it. I actually installed everything (relays and canbus) I read later I didn't have too. Can't hurt I guess.

d4ed17bb1ffa9d42538edf9c0640201d.jpg
. Thanks in advance for any feedback.

Cheers!


Sent from my iPhone using Tapatalk
 
that is most likely due to light scattering due to HID bulbs in a halogen reflector. I bet all the other cars also have that same pattern nothing you can really do about it honestly.
 
I love 'em! I did a clean install under the fender side skirt trim, added wire loom protection and Velcro tape to keep the ballast and wire harness box together. Used the 25' method against the garage door for initial adjustment, then refined it after a quick drive around the block. It's a tad lower than my brother's TRD Pro OEM headlights so I may raise the beams just slightly but very happy with these lights. One of the best mods to do since the OEM halogens don't cut it IMHO.

Did you have to drill any holes?
 
Looking to see if anyone has ran across shadowing? I haven't seen anything yet so thought I'd ask.

Right above the horizon line, on each side and the square shape in the middle. At first the only thing I could think was maybe part of the bulb, but after looking at it closer I couldn't see anything. The headlight housing projects the shadow just cant seem to see where it originates. It's minor but when I see everyone else's picture I don't notice it in theirs. Install was a clean as it gets I have OCD. I went with the 4300 kit. Looks great and I'm happy with it. I actually installed everything (relays and canbus) I read later I didn't have too. Can't hurt I guess.

Thanks in advance for any feedback.

Cheers!


Sent from my iPhone using Tapatalk

Was this in reference to the light above the cutoff? If so, that is perfectly normal with certain vehicles as they have "Squirrel Spotters" for road signs.

Danny
 
Thanks [MENTION=153717]Biggu[/MENTION]

No [MENTION=156070]jacksparrow[/MENTION]

Thanks [MENTION=12905]XenonDepot[/MENTION] at least that gives me a search point. I see it now thanks for the insight


Sent from my iPhone using Tapatalk
 
Looking to see if anyone has ran across shadowing? I haven't seen anything yet so thought I'd ask.

Right above the horizon line, on each side and the square shape in the middle. At first the only thing I could think was maybe part of the bulb, but after looking at it closer I couldn't see anything. The headlight housing projects the shadow just cant seem to see where it originates. It's minor but when I see everyone else's picture I don't notice it in theirs. Install was a clean as it gets I have OCD. I went with the 4300 kit. Looks great and I'm happy with it. I actually installed everything (relays and canbus) I read later I didn't have too. Can't hurt I guess.

. Thanks in advance for any feedback.

Cheers!


Sent from my iPhone using Tapatalk

it may just be because of the picture angle, but your headlights look like they are aimed way too high. you might have a cleaner cutoff if you aim them down.
 
No problem!


What kit did you get?


I went with the 4300. Solid equipment, clean install. I really took my time to hide everything, you can barely tell it's there. I'd say about 2 hours, but I was really just laid back and enjoying it.


Sent from my iPhone using Tapatalk
 
[MENTION=113833]e60ral[/MENTION] it definitely the squirrel spotters that was mentioned before. I don't see anyway around it. Saw a Lexus forum with some guy talking about JB weld and a piece of aluminum.

On a separate note I thought the same and I swear I turn my adjustment screw for a good 2 min and didn't notice a single change. I just had an open end wrench which is why it took longer. I never once felt any tension to indicate maybe I went to far or damaged anything. I tried both and didn't notice any movement. Though maybe I needed a ratchet and it just takes a lot of adjustments. Anyone else experience that?


Sent from my iPhone using Tapatalk
 
I went with the 4300. Solid equipment, clean install. I really took my time to hide everything, you can barely tell it's there. I'd say about 2 hours, but I was really just laid back and enjoying it.


Sent from my iPhone using Tapatalk

I'm thinking about going with 4300 with Phillips bulb but don't want to drill any holes in the housing.
 
You don't have to drill into the housing, you do have to drill a hole in the dust covers. It's super easy, I just put mine in last Friday. Took about 45 min start to finish. It's definitely an upgrade over oem, and the hot spots aren't too bad. I'm pretty spoiled with lights though coming from a car with quad bixenon morimoto h1's retrofitted into it.


Sent from my iPhone using Tapatalk
 
I'm thinking about going with 4300 with Phillips bulb but don't want to drill any holes in the housing.


It's minor... I can say I don't even have a cover on my is300 and it has never got condensation in it. Just use a step up bit and go slow. I didn't have a big enough step up so I finished off with a dremel and it was a perfect fit. You can you the plastic cover that the lights are shipped in to mark the perfect size to drill.


Sent from my iPhone using Tapatalk
 
[MENTION=113833]e60ral[/MENTION] it definitely the squirrel spotters that was mentioned before. I don't see anyway around it. Saw a Lexus forum with some guy talking about JB weld and a piece of aluminum.

On a separate note I thought the same and I swear I turn my adjustment screw for a good 2 min and didn't notice a single change. I just had an open end wrench which is why it took longer. I never once felt any tension to indicate maybe I went to far or damaged anything. I tried both and didn't notice any movement. Though maybe I needed a ratchet and it just takes a lot of adjustments. Anyone else experience that?


Sent from my iPhone using Tapatalk
Try a screwdriver from the top

Sent from my SM-G930V using Tapatalk
 
Also the dust cover is a cheap part to replace, you shouldn't be worried about drilling it. Also, it's not what keeps moisture out, the bulb itself has an o-ring to seal

Sent from my SM-G930V using Tapatalk
 
Try a screwdriver from the top

Sent from my SM-G930V using Tapatalk

Yea im about to pull it into my bay and try again. I did a google search of "squirrel spotters" and looked at the images. I can say its spot on, but mine isnt as bad as others. kind of strange I dont notice it on other pictures in the forum.
 
[MENTION=113833]e60ral[/MENTION]
Yea using a 8mm wrench was a dumb idea. It's 10x easier with a screw driver from the top. Either way all I did was move them down an inch. The lines are there to stay. I suppose you could possibly try and cover them inside the projector somehow. I don't think it would be worth the trouble. Thanks for the input though.
[MENTION=12905]XenonDepot[/MENTION]- Thanks for the knowledge and proving to my wife that I'm not crazy.


Sent from my iPhone using Tapatalk
 

Members online

Forum statistics

Threads
278,316
Messages
3,554,111
Members
248,016
Latest member
Advally Service

Trending content

Back
Top