T2MFE
New member
I have seen a few members ask how to do this process and the only response was to "Change your CV shafts" x 20. :twitch: So, this is pretty simple to do and more cost effective if your boots are just torn. If your boots are torn AND you hear them clicking by all means change your half shafts bc they are going out anyhow. I will preface this with it was time consuming @ about 1.5 hrs (per side) with air tools. You need a 19mm socket to take off the bottom A-Arm and a 35mm to get the CV shaft hub nut off, a CV boot clamp crimp tool ($8)/Safety wire pliers w/a screwdriver and beer assistant. Other than that, plan on making a BIG mess. I would use plastic grocery bags to wipe the grease off my hands and catch the expended grease.
*If you aren't 80% confident in your mechanical abilities don't do this*
1)Jack, Chock, and remove the tire.
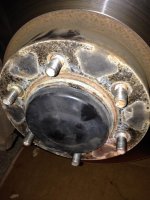
2)Take a screwdriver w/ hammer and remove the hub cover.
3)Remove the cotter key and retainer
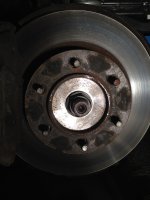
4)Remove the 35mm Hub nut
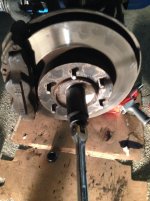
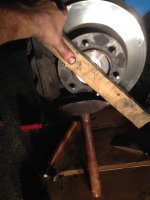
5)Remove the CV shaft with a piece of wood and sledge... Use something soft on the shaft side and something heavy on the other side of it.
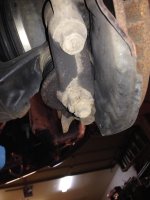
6)Remove the 2 19mm A-Arm bolts.
7)Have the beer assistant help you move the rotor UCA assembly (assy) out and away from the truck while you hold the shaft of the half shaft.
8)*Put cardboard, plastic bags or a drip pan down*
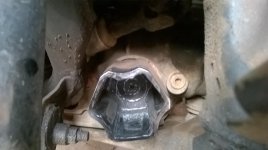
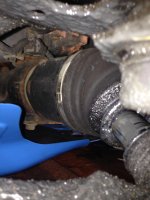
Now that the shaft is clear of the hub remove the two clamps on the inner shaft boot. After the clamps are off cut, the boot and remove the shaft but be careful not to bump the bearings.
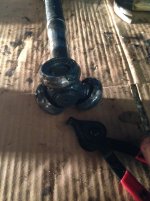
9)Use some Snap Ring pliers to take the C-Clip off of the end of the shaft.***PAY ATTENTION HOW IT CAME OFF*** The beveled splines will go towards the shaft not to the transfer case when you are re-installing this assy.
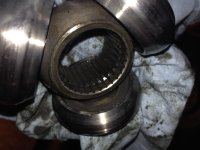
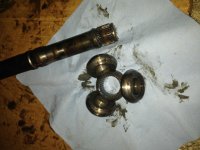
10)Remove the inner bearing assy and wrap it in a rag to keep it from getting contaminated
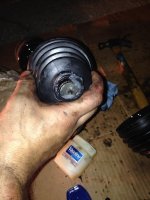
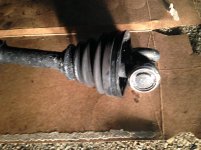
11)Remove the clamps on the outer boot and cut or slide the boot off the shaft. Again make sure you have something to catch the grease in.
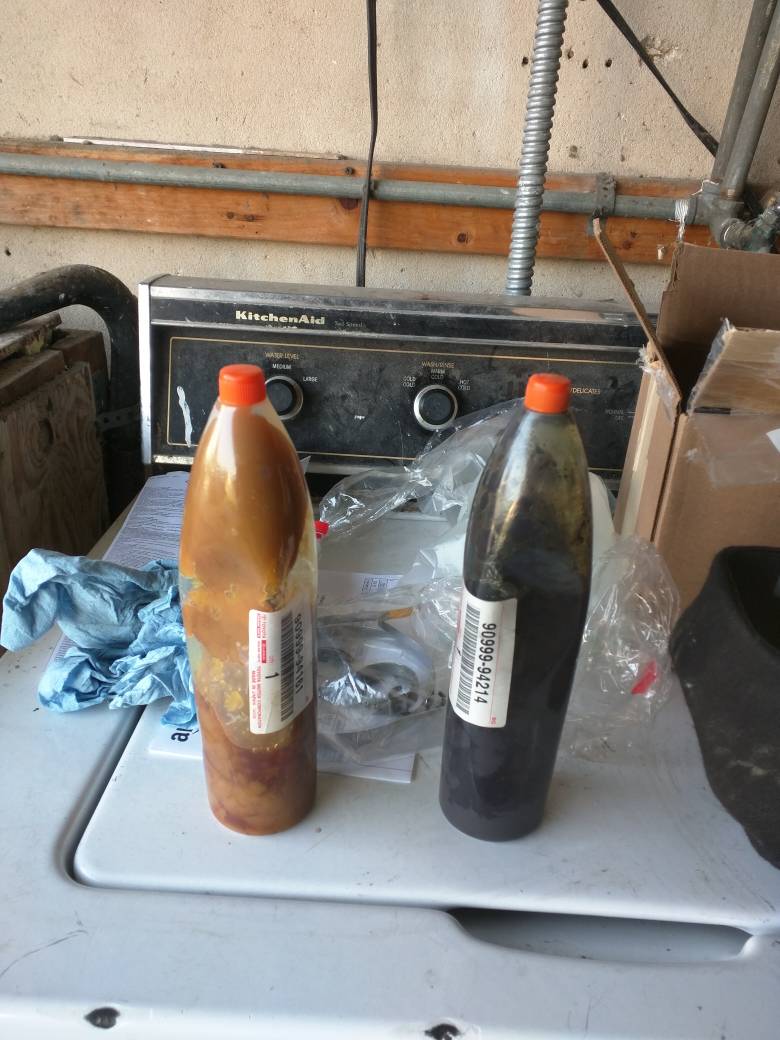
12)Clean what you can but don't get too crazy. Pack the outer bearing assy with the grease provided in the kit.
13)Put some PET (Vaseline) on the small opening to help it slide over the shaft.
14) Make sure you have the outer shaft boot (smooth circle) facing out towards the hub assy. Once in position clamp both sides of the boot. -The inner boot has channels for the boot to sit in-
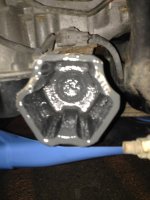
15)PET the inner boot's small opening and slide it to it's stop. Clamp the small opening and put the large clamp over the housing close to the transfer case so you can install it after the shaft is installed.
16)Clean and inspect the inner bearing housing. If you see cracks, gouges or galling you are screwed and need to R2 (remove and replace) the CV Joint Assy.
17)Put 3/4 of the grease pack into the housing and slam the rest in the exposed bearings.
18)Install is reverse of removal. You might have to go between locking the front diff and having it free spin to get the inner assy to fall into place.
19)After you see threads of the shaft come out of the hub hand start the 35mm nut then hand tighten to ensure you aren't hitting spline to spline.
20)Torque the Hub nut and install the cotter key.
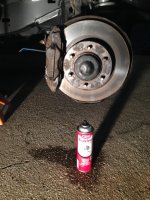
21)USE BRAKE CLEANER ANYTIME YOU TOUCH YOUR ROTOR!!!
22)OPs Check.
*If you aren't 80% confident in your mechanical abilities don't do this*
1)Jack, Chock, and remove the tire.
2)Take a screwdriver w/ hammer and remove the hub cover.
3)Remove the cotter key and retainer
4)Remove the 35mm Hub nut
5)Remove the CV shaft with a piece of wood and sledge... Use something soft on the shaft side and something heavy on the other side of it.
6)Remove the 2 19mm A-Arm bolts.
7)Have the beer assistant help you move the rotor UCA assembly (assy) out and away from the truck while you hold the shaft of the half shaft.
8)*Put cardboard, plastic bags or a drip pan down*
Now that the shaft is clear of the hub remove the two clamps on the inner shaft boot. After the clamps are off cut, the boot and remove the shaft but be careful not to bump the bearings.
9)Use some Snap Ring pliers to take the C-Clip off of the end of the shaft.***PAY ATTENTION HOW IT CAME OFF*** The beveled splines will go towards the shaft not to the transfer case when you are re-installing this assy.
10)Remove the inner bearing assy and wrap it in a rag to keep it from getting contaminated
11)Remove the clamps on the outer boot and cut or slide the boot off the shaft. Again make sure you have something to catch the grease in.
12)Clean what you can but don't get too crazy. Pack the outer bearing assy with the grease provided in the kit.
13)Put some PET (Vaseline) on the small opening to help it slide over the shaft.
14) Make sure you have the outer shaft boot (smooth circle) facing out towards the hub assy. Once in position clamp both sides of the boot. -The inner boot has channels for the boot to sit in-
15)PET the inner boot's small opening and slide it to it's stop. Clamp the small opening and put the large clamp over the housing close to the transfer case so you can install it after the shaft is installed.
16)Clean and inspect the inner bearing housing. If you see cracks, gouges or galling you are screwed and need to R2 (remove and replace) the CV Joint Assy.
17)Put 3/4 of the grease pack into the housing and slam the rest in the exposed bearings.
18)Install is reverse of removal. You might have to go between locking the front diff and having it free spin to get the inner assy to fall into place.
19)After you see threads of the shaft come out of the hub hand start the 35mm nut then hand tighten to ensure you aren't hitting spline to spline.
20)Torque the Hub nut and install the cotter key.
21)USE BRAKE CLEANER ANYTIME YOU TOUCH YOUR ROTOR!!!
22)OPs Check.
Attachments
-
 2014-08-30 002.jpg132.8 KB · Views: 9,895
 -
 2014-08-30 004.jpg130.8 KB · Views: 9,847
 -
 2014-08-30 005.jpg122 KB · Views: 9,827
 -
 2014-08-30 001.jpg117.1 KB · Views: 9,817
 -
 2014-08-30 006.jpg118.2 KB · Views: 9,920
 -
 2014-08-30 007.jpg131.9 KB · Views: 9,830
 -
 2014-08-30 008.jpg132.2 KB · Views: 9,869
 -
 2014-08-30 009.jpg130.7 KB · Views: 9,696
Last edited: